
Chanel cardigan knitting pattern is a popular choice among knitters looking to create a classic and timeless piece for their wardrobe. Inspired by the iconic designs of Coco Chanel, this cardigan is a versatile and elegant addition to any outfit. Whether you are a beginner or an experienced knitter, this pattern offers a step-by-step guide to help you create your own stylish cardigan.
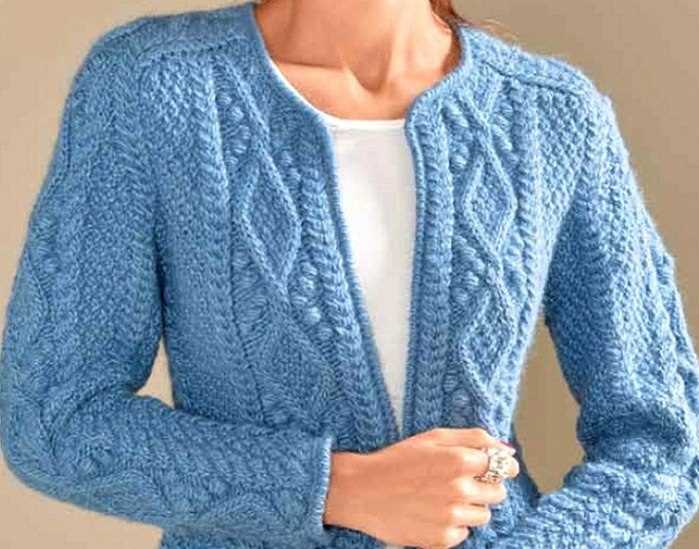
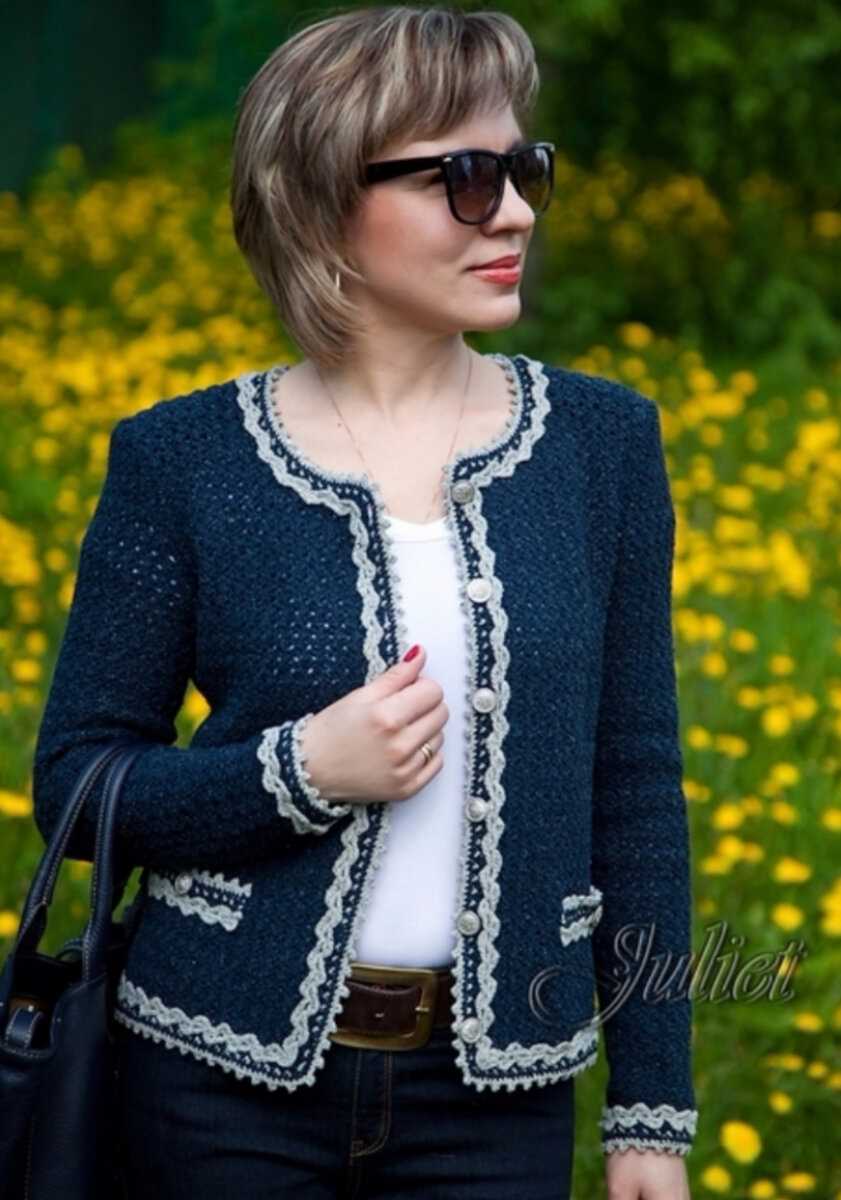
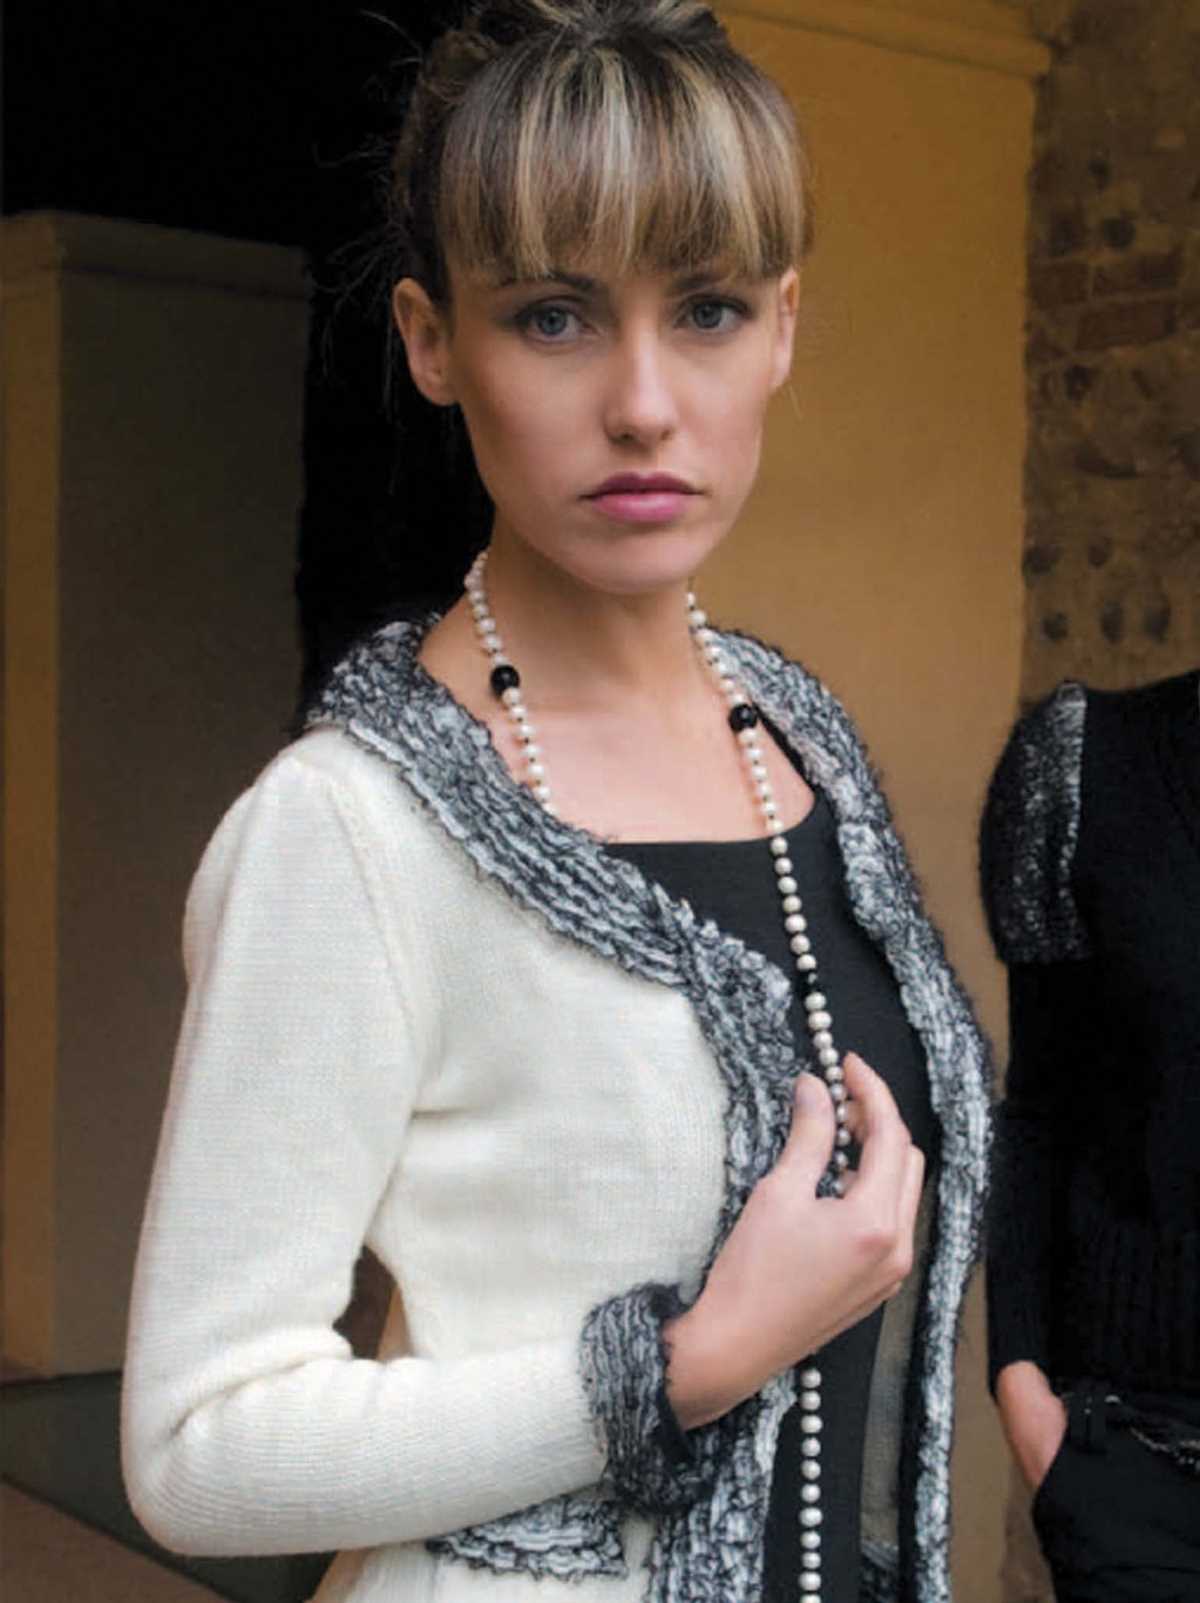
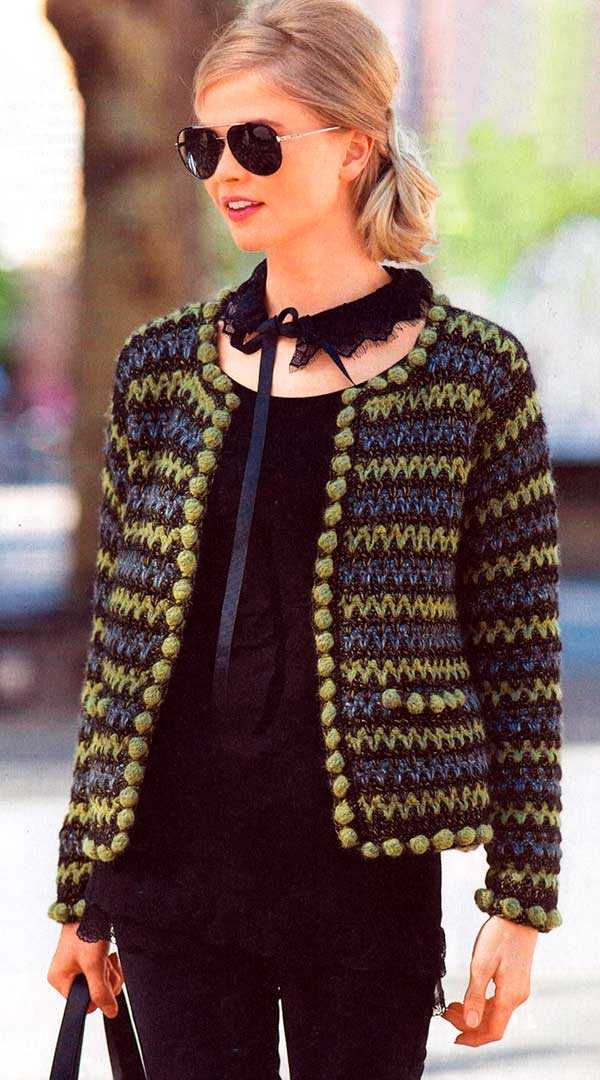
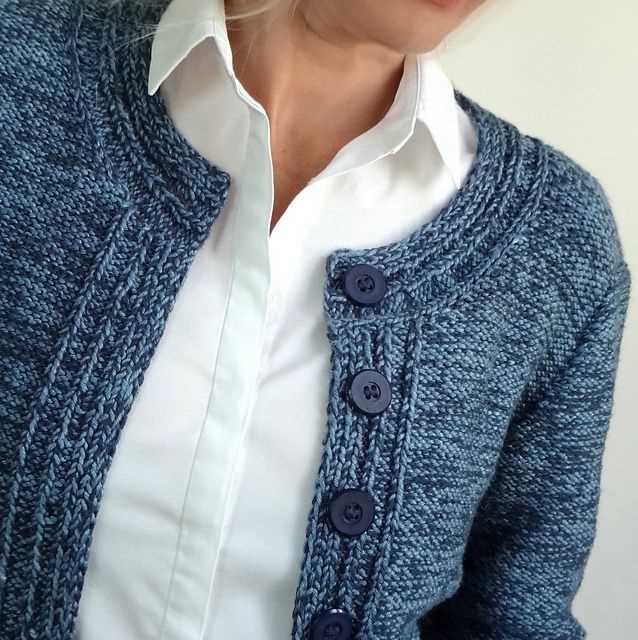
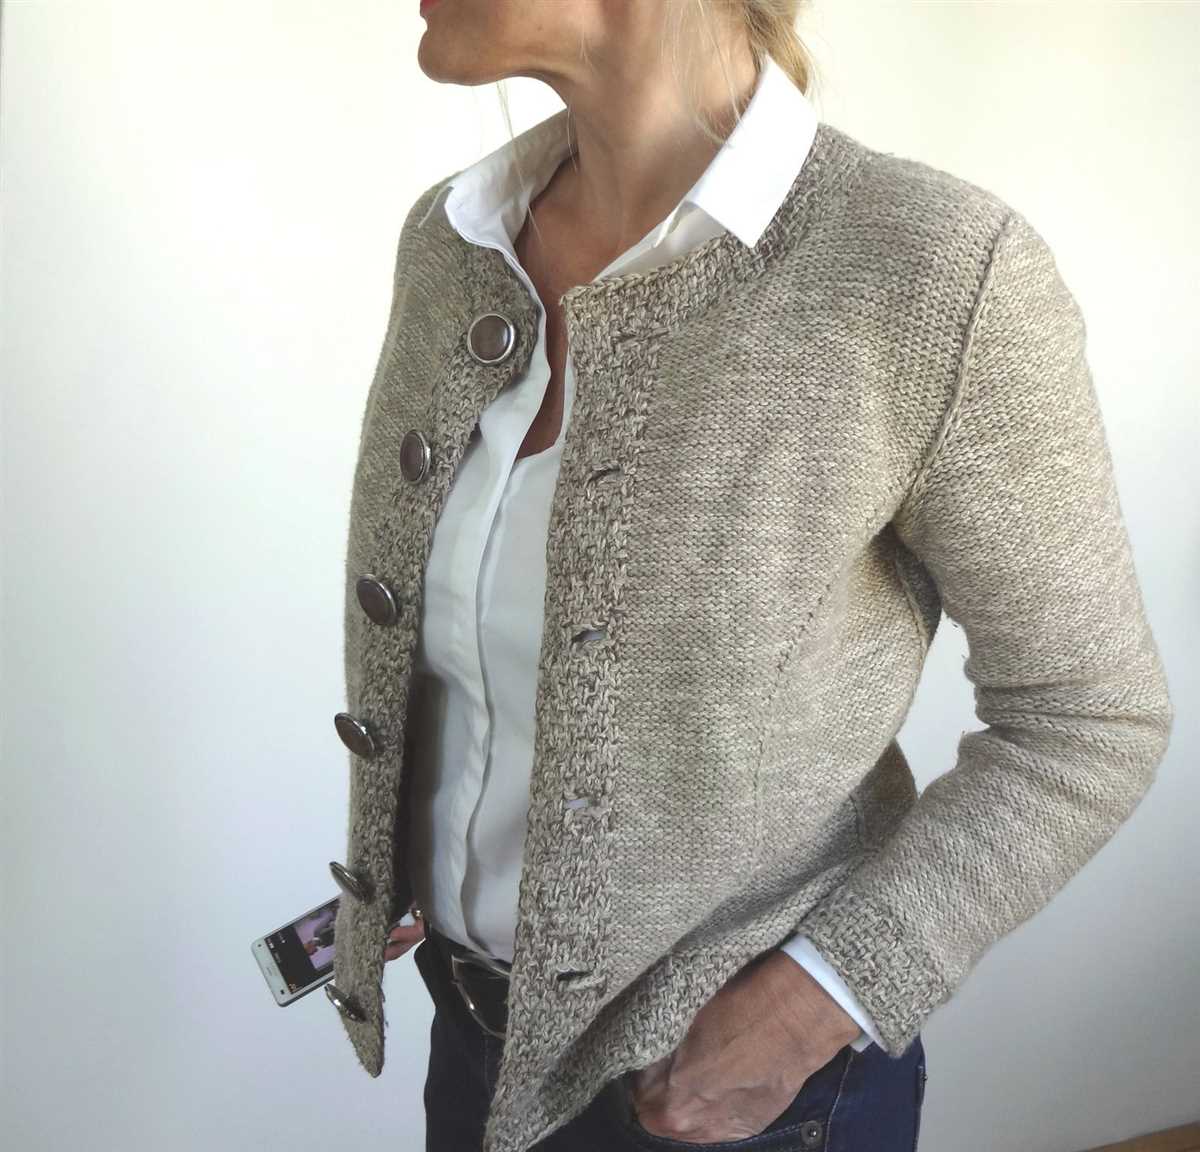
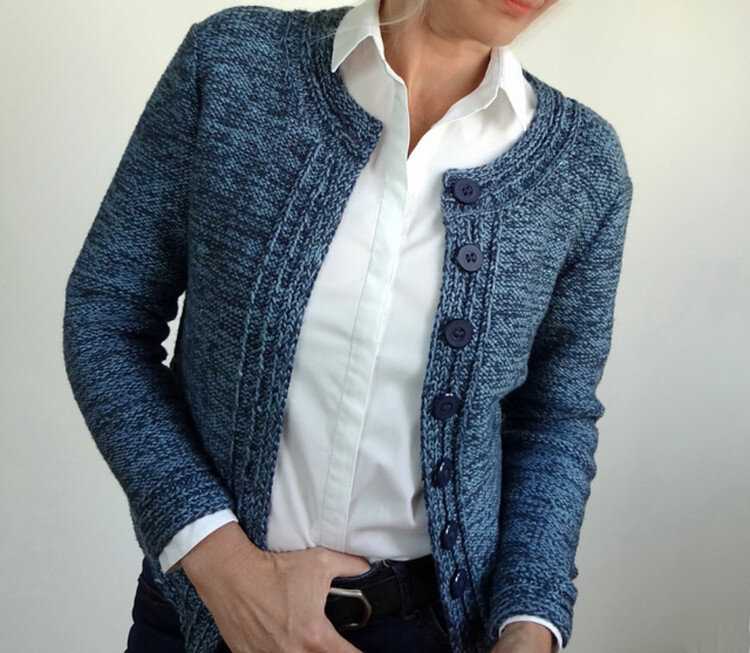
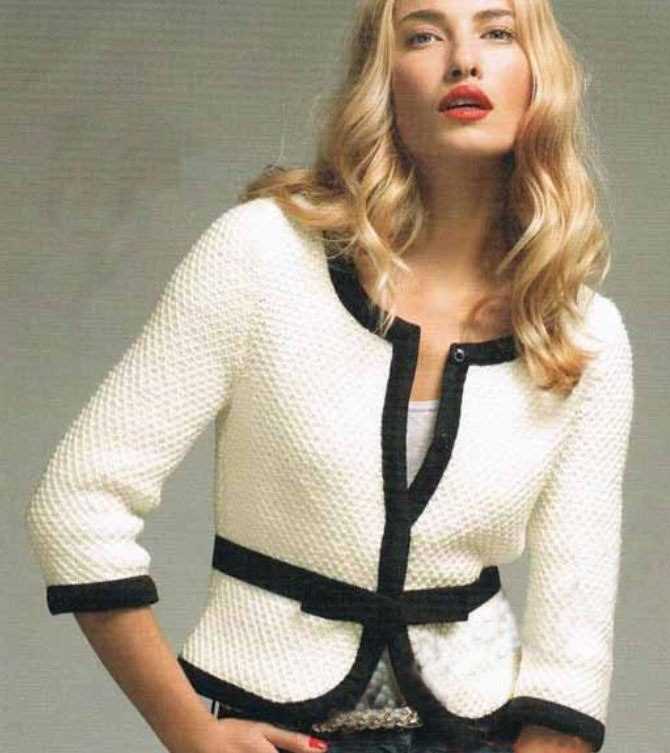
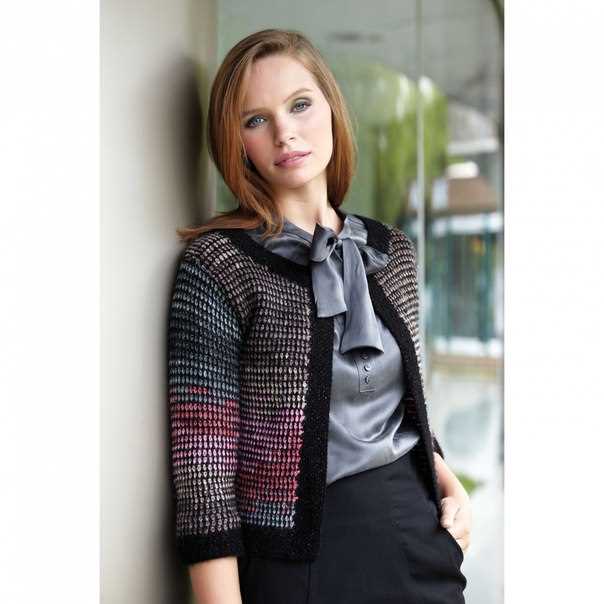
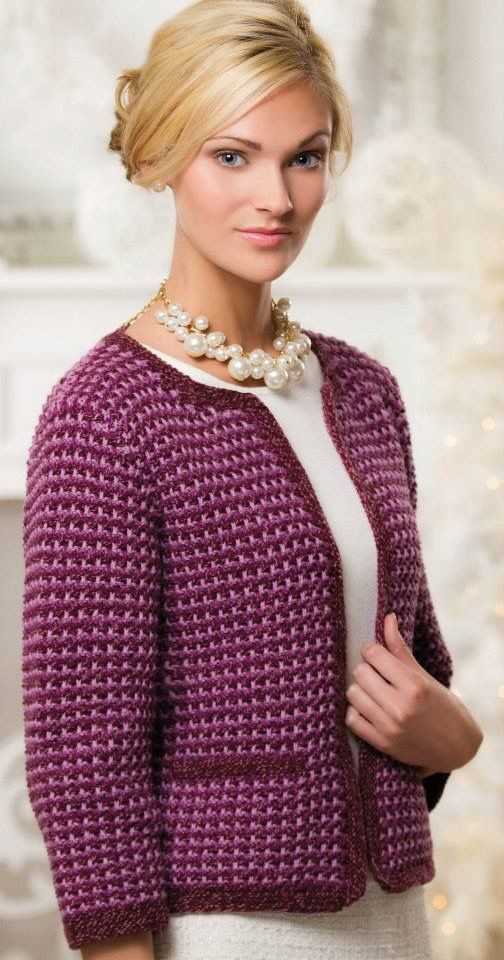
The Chanel cardigan is known for its tailored fit, sophisticated details, and luxurious materials. It features a collarless design, a slim fit through the body, and wide ribbed cuffs and hem. The cardigan is typically knit using a soft and lightweight yarn, such as cashmere or merino wool, to achieve a comfortable and high-quality finish.
This knitting pattern provides detailed instructions for each step of the process, from choosing the right yarn and knitting needles to creating the intricate stitch patterns and finishing touches. It also includes tips and tricks for achieving the perfect fit and adjusting the pattern to suit your personal style and preferences.
Chanel Cardigan Knitting Pattern
If you are a fan of the classic and timeless style of Chanel, then knitting your own Chanel-inspired cardigan is the perfect project for you. With this knitting pattern, you can recreate the iconic look of a Chanel cardigan right at home.
This knitting pattern features the signature details that make Chanel cardigans so coveted. The pattern includes instructions for knitting the traditional boxy shape, ribbed cuffs, and a contrasting trim along the edges. It also includes instructions for knitting the iconic Chanel logo on the chest, giving your cardigan an instantly recognizable touch.
To get started on your own Chanel cardigan, you will need a few essential supplies. Grab your knitting needles in the appropriate size, your choice of yarn in the desired color, and a tapestry needle for weaving in ends. You will also need a crochet hook for creating the button loops, and of course, the Chanel logo as a patch or embroidery.
The knitting pattern is written using standard knitting abbreviations, making it easy for experienced knitters to follow along. However, if you are new to knitting, don’t worry! The pattern also includes detailed instructions and tips for each step, making it accessible for beginners as well.
By knitting your own Chanel cardigan, not only will you have a unique and customized piece in your wardrobe, but you will also have the satisfaction of creating something with your own hands. Whether you choose to wear it yourself or give it as a gift, this cardigan will surely become a treasured and stylish item that you will cherish for years to come.
Materials Needed:
- Knitting needles in the appropriate size
- Yarn in the desired color
- Tapestry needle
- Crochet hook
- Chanel logo patch or embroidery
Instructions:
- Cast on the desired number of stitches for the back of the cardigan.
- Follow the pattern for knitting the body of the cardigan, including the ribbed cuffs and contrasting trim.
- Create the button loops using the crochet hook.
- Attach the Chanel logo patch or embroidery to the chest of the cardigan.
- Weave in any remaining ends and block the finished cardigan to shape.
Materials needed
In order to knit the Chanel cardigan, you will need the following materials:
- Yarn: You will need approximately 5-7 balls of Chanel yarn. Make sure to choose a yarn that is suitable for the desired gauge and has the desired texture and color.
- Knitting needles: You will need a pair of knitting needles in the appropriate size for the yarn you have chosen. Check the pattern for the recommended needle size.
- Circular knitting needles: You will also need a circular knitting needle in the appropriate size for the yarn. This will be used for knitting the body of the cardigan in the round.
- Stitch markers: Stitch markers are useful for marking specific points in the pattern, such as the beginning of the round or the placement of decreases or increases.
- Tapestry needle: A tapestry needle is needed for weaving in ends and sewing any seams that may be required.
- Buttons: Depending on the design of the cardigan, you may need buttons for closure. Make sure to choose buttons that complement the yarn and overall aesthetic of the cardigan.
- Scissors: A pair of sharp scissors will be needed for cutting the yarn.
- Row counter: A row counter can be helpful for keeping track of the number of rows knitted, especially if there are any shaping or pattern repeats.
A sample table:
| Yarn | Number of balls |
|---|---|
| Chanel yarn | 5-7 |
Choosing the right yarn
When knitting the Chanel cardigan pattern, it is important to choose the right yarn to achieve the desired results. The yarn you choose will greatly affect the drape, texture, and overall look of the finished cardigan.
Fiber composition: Consider the fiber composition of the yarn you are considering. The Chanel cardigan pattern calls for a yarn that is soft, lightweight, and has good stitch definition. Popular options include cotton, silk, and blends of natural fibers such as wool and cashmere.
Weight: The weight of the yarn will determine the thickness and warmth of the cardigan. The Chanel cardigan pattern typically calls for a DK or worsted weight yarn. It is important to choose a yarn that matches the recommended gauge in the pattern to ensure that your cardigan turns out the correct size.
- Texture:
- Color:
- Price:
It is always a good idea to swatch with different yarns before starting your project to see how they look and feel. By considering the fiber composition, weight, texture, color, and price, you can choose the perfect yarn for your Chanel cardigan and create a beautiful, high-quality garment.
Getting started with the Chanel cardigan knitting pattern
The Chanel cardigan knitting pattern is a popular and timeless design that allows knitters to create a classic and elegant cardigan. This pattern is inspired by the iconic cardigans made famous by the fashion house Chanel, known for their luxury and sophistication. If you are ready to embark on this knitting project, here are some tips to get you started.
1. Gather your materials
Before you begin knitting, make sure you have all the necessary materials. You will need a set of knitting needles in the recommended size, as well as the specified yarn type and color. It is important to choose high-quality materials to ensure the final product is durable and well-crafted.
2. Read the pattern instructions
Take the time to carefully read through the Chanel cardigan knitting pattern before you start. Familiarize yourself with the abbreviations and stitches used, as well as any special instructions or techniques. It may be helpful to highlight or make notes on the pattern to make it easier to follow as you knit.
3. Check your gauge
Before you dive into the main body of the cardigan, it is important to check your gauge. This involves knitting a sample swatch using the specified needles and yarn, and measuring the number of stitches and rows per inch. If your gauge does not match the one stated in the pattern, you may need to adjust your needle size to achieve the correct gauge.
4. Start with a smaller project
If you are new to knitting or have never attempted a cardigan before, it may be beneficial to start with a smaller project to practice the required stitches and techniques. This could be a scarf or a simple sweater. Once you feel confident in your knitting skills, you can tackle the Chanel cardigan pattern with greater ease.
5. Take your time
Knitting a cardigan is a labor-intensive project that requires patience and attention to detail. Take your time and enjoy the process. Break the pattern down into smaller sections, and focus on one step at a time. Remember, knitting is meant to be a relaxing and enjoyable activity, so don’t rush yourself.
By following these tips and taking the time to understand and prepare for the Chanel cardigan knitting pattern, you will be well on your way to creating a beautiful and elegant garment that will be cherished for years to come.
Knitting the body
When knitting the body of the Chanel cardigan, it is important to follow the pattern carefully to ensure a perfect fit. The body is typically knitted in one piece from the bottom up, starting with the ribbed hem. The ribbing provides the cardigan with structure and helps maintain its shape.
Once the ribbing is complete, the main body section is usually worked in stockinette stitch. This creates a smooth and even fabric, perfect for showcasing the intricate design of the cardigan. It is essential to maintain an even tension throughout the body to ensure a consistent look.
The body of the cardigan is often shaped using decreases and increases to create a tailored fit. These shaping techniques are typically worked at specific points, such as the sides or waist, to accentuate the natural curves of the body. It is important to pay close attention to the pattern instructions and stitch counts to ensure accurate shaping.
As you knit the body, it is important to periodically try it on to check the fit. This will help you make any necessary adjustments and ensure that the cardigan fits well. Additionally, trying it on can also give you a sense of the overall length and drape of the cardigan.
Knitting the body of the Chanel cardigan requires patience and attention to detail. Taking the time to properly follow the pattern and make adjustments as needed will result in a beautifully knit garment that fits perfectly.
Creating the Collar
One of the defining features of the Chanel cardigan is its elegant collar. To create the collar, you will need to follow the instructions provided in the knitting pattern. The pattern may include specific stitches or techniques that are unique to Chanel cardigans. It is important to carefully read and understand the instructions before beginning this part of the project.
In most cases, the collar is knitted separately from the body of the cardigan. This allows for easier shaping and customization. The collar is typically worked in ribbing or another stitch pattern that complements the overall design of the cardigan. The number of stitches and rows required for the collar will vary depending on the size and style of the cardigan.
Once the collar is complete, it is usually sewn onto the body of the cardigan. This is typically done using a tapestry needle and matching yarn. The collar is attached along the neckline, following the shape of the cardigan. It is important to take your time and ensure that the collar is sewn on securely and evenly.
After the collar is attached, you may choose to add any additional details or embellishments. This could include buttons, a contrasting trim, or even a small logo or label. These finishing touches can add a touch of personalization to your Chanel cardigan and make it truly unique to you.
The collar is an essential part of the Chanel cardigan design and helps to create its classic and timeless look. By carefully following the knitting pattern and paying attention to details, you can create a beautiful collar that perfectly complements the rest of the cardigan.
Adding buttons and buttonholes
A key feature of the Chanel cardigan knitting pattern is the addition of buttons and buttonholes. These small details not only serve a functional purpose, but also add an elegant and sophisticated touch to the finished garment.
To add buttons and buttonholes, you will need to carefully plan their placement on the cardigan. Start by measuring the distance between the two front edges of the cardigan. This will help you determine the number of buttons and the spacing between them. Consider the size and style of buttons you want to use, as well as the overall aesthetic of the cardigan.
Adding Buttonholes:
Once you have determined the placement of the buttons, you can then proceed to add the buttonholes. Starting from the bottom edge of the cardigan, use a smaller knitting needle to create a row of evenly spaced stitches that will serve as the buttonhole band. The number of stitches in this band should match the number of buttons you plan to use.
Next, you will need to create the actual buttonholes. To do this, work a set of short rows in the buttonhole band. These short rows will create a small opening through which the button can be inserted. Be sure to follow the instructions in the Chanel cardigan knitting pattern for the specific method of creating the buttonholes.
Attaching Buttons:
Once the buttonholes are complete, you can then attach the buttons to the corresponding side of the cardigan. Use a sewing needle and thread that matches the color of the cardigan to secure the buttons in place. Ensure that the buttons are evenly spaced and aligned with the buttonholes. Sew them securely to ensure they do not come loose with wear.
Adding buttons and buttonholes is an essential step in completing the Chanel cardigan. It not only provides a functional closure for the garment but also adds a polished finishing touch. Take your time and pay attention to detail to achieve a professional-looking result.
Knitting the sleeves
Knitting the sleeves for the Chanel cardigan is an important step in completing the garment. The sleeves add structure and shape to the cardigan, as well as providing warmth and comfort to the wearer.
When knitting the sleeves, it is essential to follow the pattern instructions carefully. The pattern will specify the number of stitches to cast on and the type of stitch pattern to use. It may also include shaping instructions, such as decreasing or increasing stitches to create a tapered sleeve.
One popular technique for knitting sleeves is to use double-pointed needles. This allows for knitting in the round, which eliminates the need for seaming the sleeve later. Using double-pointed needles can take some practice, but it gives a professional finish to the sleeve.
For those who are new to knitting sleeves, it is recommended to start with a simpler pattern or consult a knitting tutorial for guidance. Working on a smaller project, such as a baby sweater or a hat, can also help build confidence before attempting a larger garment like the Chanel cardigan.
Remember to take accurate measurements and compare them to the pattern sizes to ensure a proper fit. Adjustments may need to be made to the length or width of the sleeves to accommodate individual body proportions.
As with all knitting projects, take your time and enjoy the process. Knitting the sleeves for the Chanel cardigan is an opportunity to showcase your skills and create a beautiful, handmade garment that will be treasured for years to come.
Finishing Touches
Once you have completed knitting your Chanel cardigan, it’s time to add some finishing touches to make it truly special. These final details can elevate your cardigan from a homemade project to a high-end fashion piece.
Seaming
Before you can add any embellishments or closures, you need to seam your cardigan together. Use a yarn needle and matching yarn to sew the front and back pieces together at the sides and shoulders. Make sure to line up the stitches carefully to create a seamless and professional finish.
Embellishments
Now that your cardigan is assembled, you can add any desired embellishments. Chanel cardigans often feature beautiful buttons, so choose ones that complement the color and style of your cardigan. Sew these buttons onto the front panels, making sure they are evenly spaced and aligned. You can also add other decorative elements such as beads, appliques, or embroidery to further enhance the design.
Closures
A Chanel cardigan typically has a signature hook-and-eye closure. Sew these closures onto the front panels to give your cardigan an authentic Chanel look. Make sure the hooks and eyes are securely attached, as they will be used to fasten the cardigan when worn.
Blocking
Once you have finished all the finishing touches, it’s important to block your cardigan. Blocking helps to shape and size the garment, ensuring it fits properly and looks its best. Follow the blocking instructions specific to your chosen yarn type to achieve the desired results.
Final Thoughts
Add a personal touch to your Chanel cardigan by adding a label with your name or initials. This small detail can make your cardigan feel even more special and unique. Once all the finishing touches are complete, you can proudly wear your handmade Chanel cardigan, knowing that it is a one-of-a-kind piece that you created with skill and love.
Styling your cardigan
Once you have finished knitting your Chanel cardigan, it’s time to style it and create different looks with this versatile piece. Here are some ideas on how to style your cardigan:
1. Classic and chic
Wear your cardigan with a white button-down shirt, black trousers, and patent leather pumps for a classic and chic look. Add a statement necklace and a structured handbag to complete the outfit.
2. Casual and cozy
For a more laid-back and cozy look, pair your cardigan with a basic t-shirt, skinny jeans, and ankle boots. Layer with a scarf and accessorize with a beanie for extra warmth during colder months.
3. Edgy and modern
Create an edgy and modern outfit by wearing your cardigan with a leather skirt, graphic t-shirt, and ankle boots. Finish the look with statement earrings and a bold lipstick for a trendy and fashionable statement.
In conclusion, the Chanel cardigan is a versatile and timeless piece that can be styled in various ways to suit different occasions and personal styles. Experiment with different combinations and accessories to make the cardigan truly your own.