
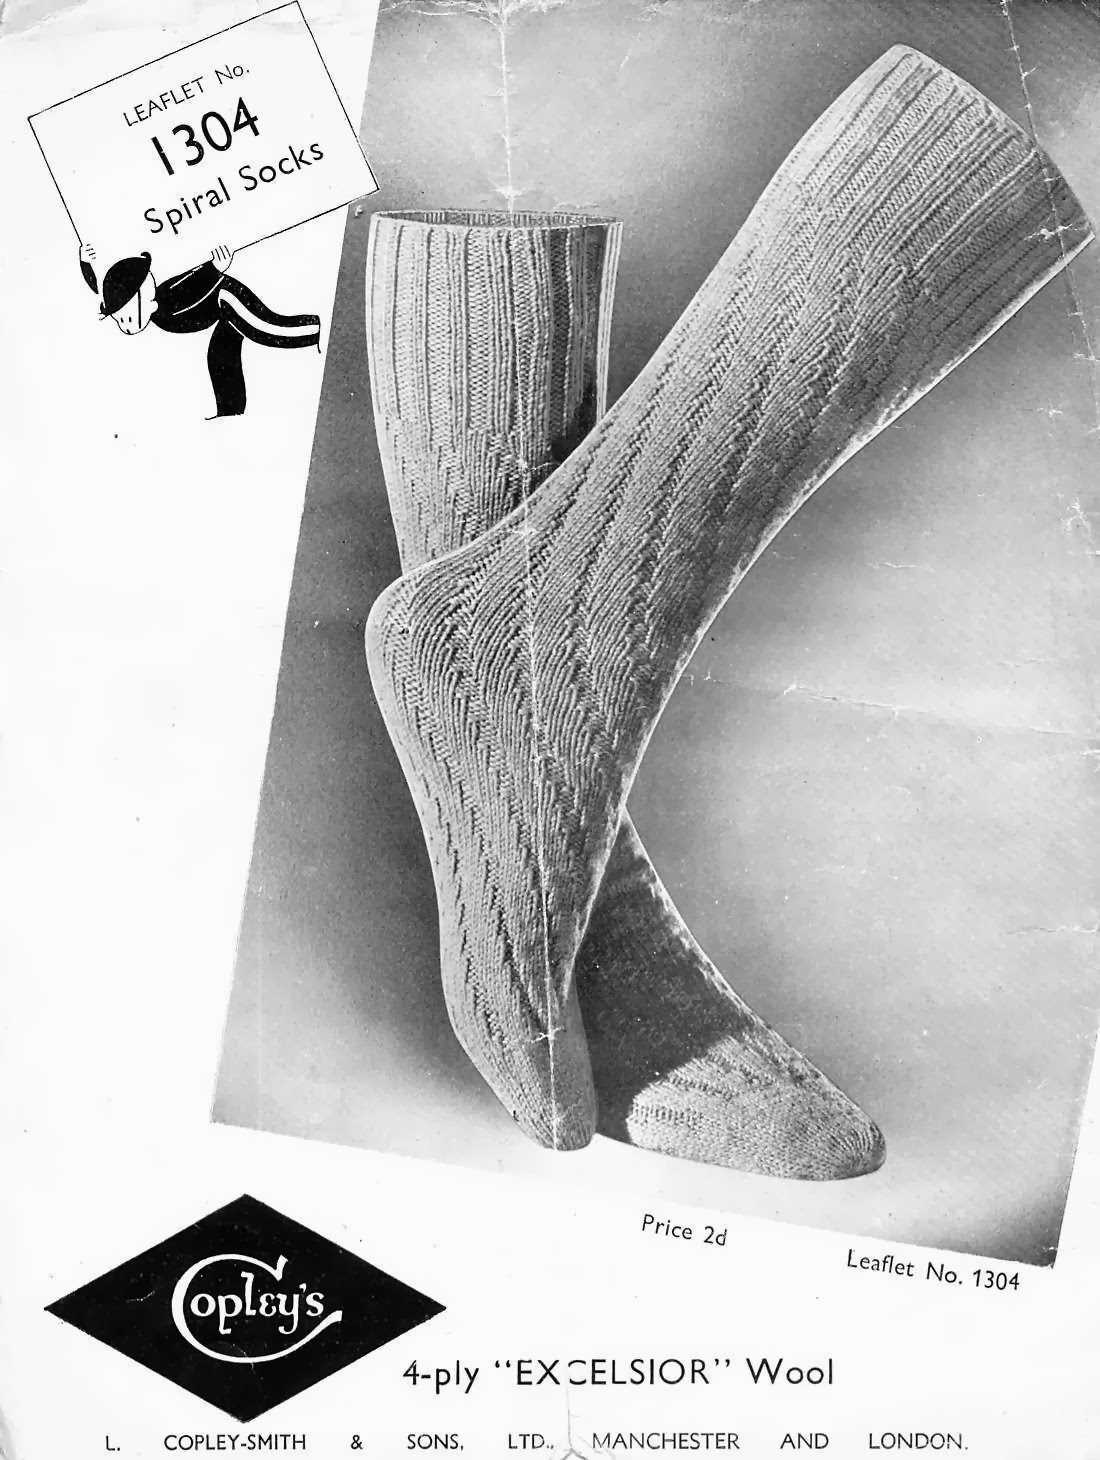
Knitting your own socks can be a fun and rewarding project for any knitter. If you’re looking for a unique and interesting pattern to try, why not give the no heel spiral socks a go? These socks are not only stylish and comfortable, but they also don’t require the traditional heel construction, making them a great option for knitters of all skill levels.
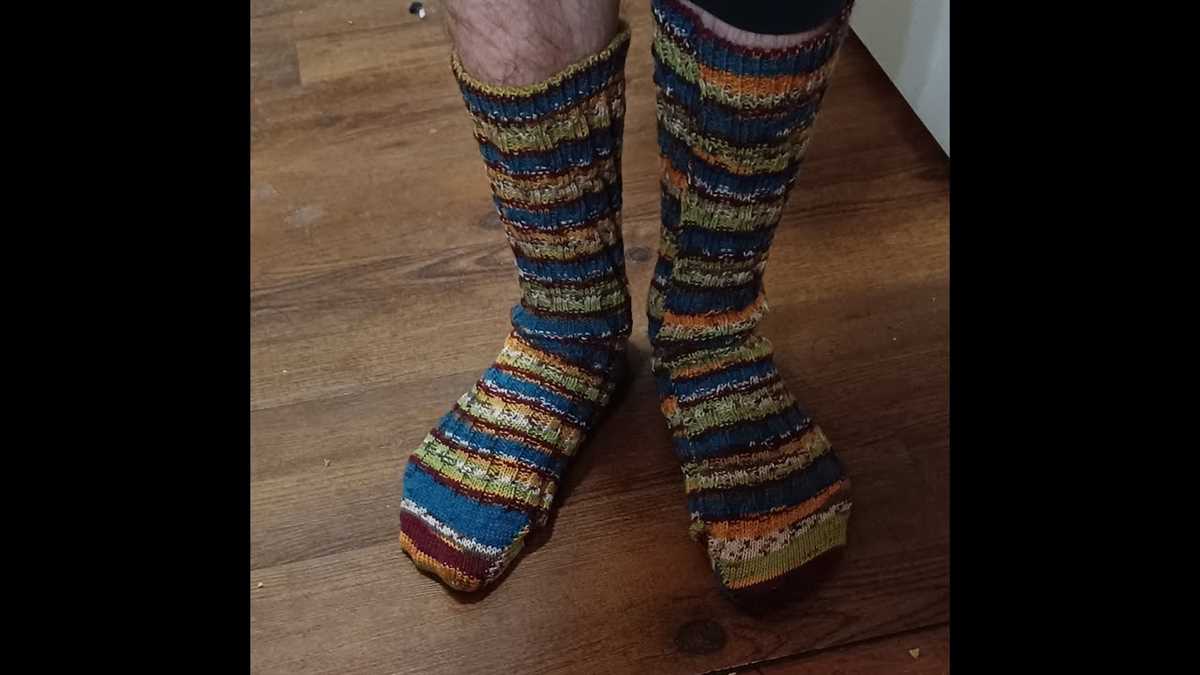
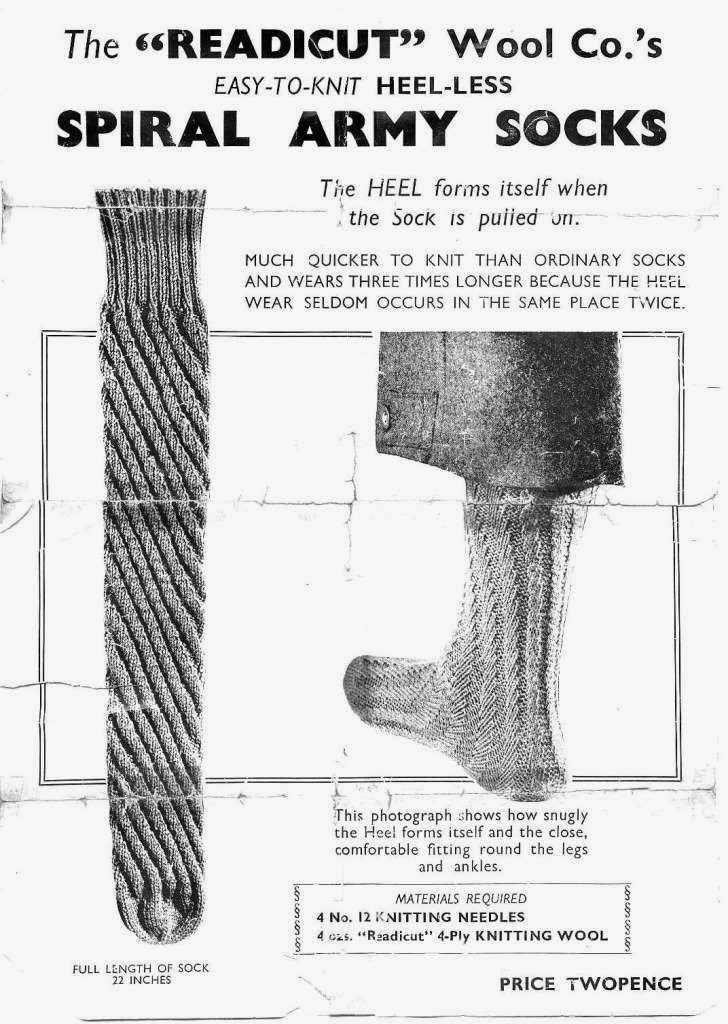
The no heel spiral socks feature a spiral design that starts at the toe and continues up the leg, creating a seamless and tailored fit. This pattern is perfect for those who find traditional heel construction challenging or uncomfortable, as it eliminates the need to shape the heel and instead focuses on creating a comfortable and snug fit throughout the sock.
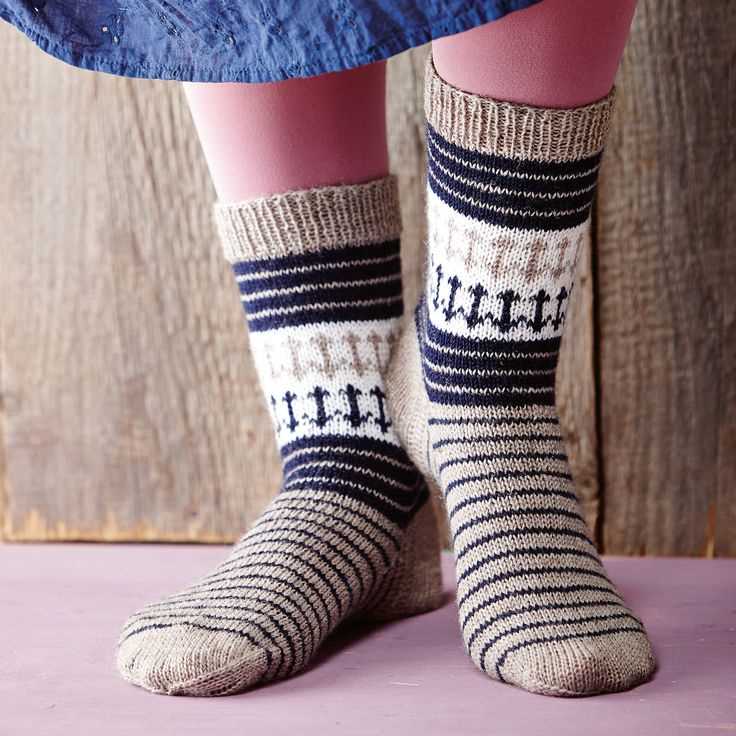
With this pattern, you can use your favorite sock yarn and needles to create a pair of socks that are as unique as you are. Whether you prefer bright and bold colors or subtle and classic tones, this pattern allows you to customize your socks to match your personal style. So why wait? Grab your needles and start knitting your own pair of no heel spiral socks today!
Materials needed
In order to knit the no heel spiral socks, you will need the following materials:
Yarn:
- A fingering or sock weight yarn of your choice. The yarn should be soft and durable.
- Approximately 350-400 yards (320-365 meters) of yarn for a pair of adult socks.
Needles:

- A set of double-pointed needles (DPNs) or a circular needle, depending on your preferred method of knitting in the round.
- The size of the needles will depend on the gauge you want to achieve. Typically, a US size 1-3 (2.25-3.25mm) needle is used for fingering weight yarn.
Stitch markers:
- Stitch markers are helpful for marking the beginning of the round and any pattern repeats.
- You will need at least 2 stitch markers, but you may want more depending on the pattern.
Tapestry needle:
A tapestry needle is used for weaving in the ends of the yarn and seaming the toe if necessary.
Scissors:
A pair of scissors will be needed to cut the yarn at the end of the project.
With these materials, you will be ready to start knitting the no heel spiral socks and create a cozy and stylish accessory for your feet.
Step 1: Cast on stitches
Before you can begin knitting the no heel spiral socks, you need to cast on stitches. The number of stitches you cast on will depend on the size of the socks you want to make and the thickness of your yarn. For this specific pattern, you will need a multiple of 4 stitches.
To cast on the stitches, start by making a slip knot with your yarn. Then, insert your knitting needle into the slip knot and tighten it. Hold the knitting needle with the slip knot in your right hand, and the working end of the yarn in your left hand.
Next, using your right hand, insert the needle into the slip knot from left to right. With your left hand, grab the working end of the yarn and wrap it counterclockwise around your right needle. Pull the working yarn through the slip knot, creating a loop on your right needle. Continue this process until you have cast on the required number of stitches, making sure to keep the stitches loose enough that you can easily slide them along the needle.
Step 2: Knit in spiral pattern
Now that you have completed the initial setup, it’s time to start knitting in a spiral pattern. This pattern eliminates the need for a traditional heel and creates a seamless and comfortable sock.
To begin, continue knitting in the round, maintaining the stitch pattern established in the previous step. Whether you’re knitting with double-pointed needles or using the magic loop method, make sure to keep your stitches evenly distributed across the needles or loop.
Here are some key points to keep in mind as you knit:
- Work each round in the established stitch pattern, which may be a combination of knit and purl stitches.
- Avoid joining the ends of each round, as this will create a seam. Instead, let the stitches flow smoothly from one round to the next.
- Continue knitting until the sock reaches the desired length, typically ending just above the ankle.
- Feel free to customize the pattern by incorporating different stitch patterns or adding colorwork if desired.
By knitting in a spiral pattern, you’ll be able to create a sock that fits snugly and comfortably without the need for a separate heel. This method is great for beginners or anyone looking for a new approach to sock knitting.
Step 3: Decrease stitches for heel

Once the leg of the sock is complete, it’s time to decrease stitches to create the heel. This step is essential for shaping the sock and providing a comfortable fit.
To begin, divide the total number of stitches on the needle by 2. This will give you the number of stitches you need to work with for the heel. For example, if you have 60 stitches, you will be working with 30 stitches for the heel.
Next, place a stitch marker at the center of the heel stitches to help you keep track of the decrease rounds. This will also help ensure that the heel is centered correctly.
Now, you can start the decrease rounds. This is usually done by knitting 2 stitches together at the beginning and end of the heel stitches. Repeat this decrease round every other row until you have reached the desired number of stitches for the heel. This will vary depending on the pattern and the size of the sock.
Once you have finished the decrease rounds, you can continue knitting the rest of the sock, following the pattern instructions. The decreased stitches will create a nicely shaped heel that hugs the foot comfortably.
By following these steps, you will be able to decrease stitches for the heel and continue knitting the sock with ease. Don’t forget to keep track of your stitch count and use stitch markers to help you stay organized. Happy knitting!
Step 4: Continue knitting in spiral pattern
Once you have completed the heel section of the sock, it’s time to continue knitting in a spiral pattern to create the rest of the sock. This method eliminates the need for a traditional heel flap and gusset, resulting in a seamless and comfortable sock.
To continue knitting in a spiral pattern, simply ignore the heel stitches and continue working with the stitches on the top and bottom of the sock. You will be knitting in a continuous spiral, without any breaks or turns.
It’s important to keep track of your rounds as you continue knitting. You can use a stitch marker to indicate the beginning of each round, or you can simply count your stitches. This will help ensure that your sock is symmetrical and that you don’t accidentally skip or add any stitches.
As you continue knitting, you can adjust the length of the sock according to your preference. You can knit until the sock is the desired length or follow a specific pattern for shaping the toe. Just make sure to maintain the spiraling pattern and avoid introducing any seams.
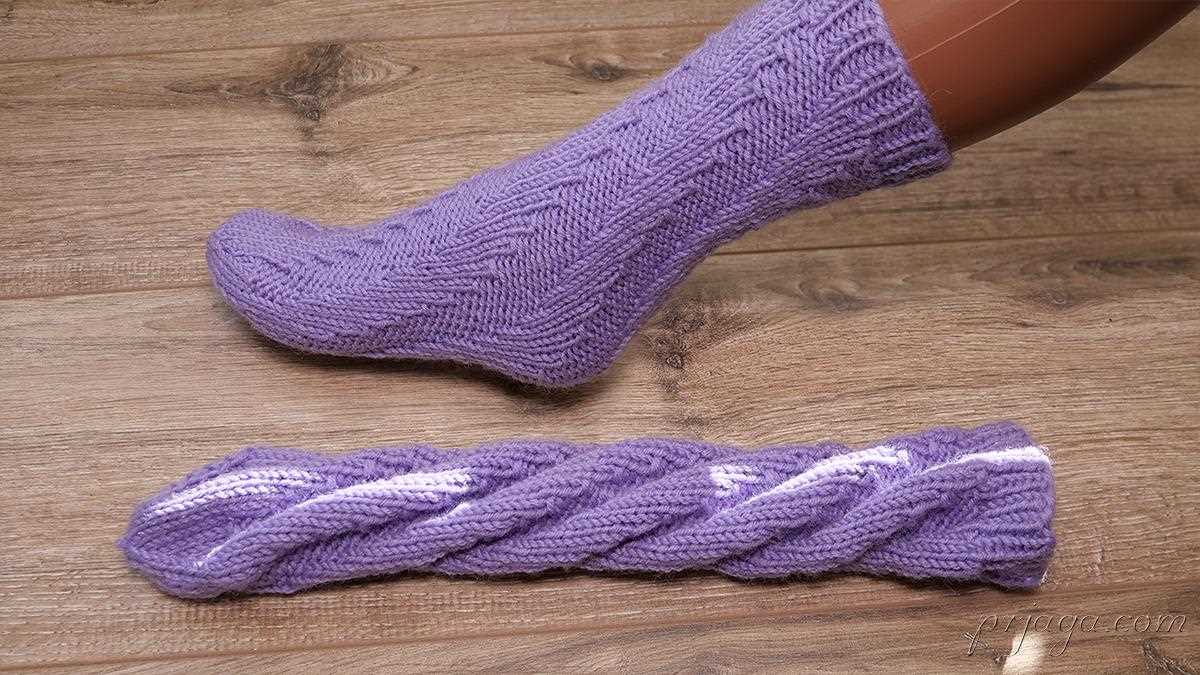
Knitting in a spiral pattern allows for a more customizable and comfortable fit, as there are no seams or breaks in the fabric. It’s a great technique to experiment with when knitting socks, and with practice, you’ll be able to create seamless and stylish socks that fit perfectly.
Step 5: Shape Toe
Once the foot section of the socks is complete, it’s time to shape the toe. This step will ensure a comfortable fit and a tidy finish for your socks.
To start shaping the toe, divide the stitches onto two needles. You will work on one needle at a time. The number of stitches on each needle will depend on the size of your sock and the pattern you are following.
Decrease Rows
Using the first needle, begin the decrease rows by knitting the first 2 stitches together. Knit the next stitch, then pass the two knitted stitches over the third stitch. Continue in this pattern until you reach the last 3 stitches. Knit the last 2 stitches together and knit the final stitch.
Now, switch to the second needle and repeat the same decrease pattern. Knit the first 2 stitches together, knit the next stitch, and pass the two knitted stitches over the third stitch. Continue until you reach the last 3 stitches, then knit the last 2 stitches together and knit the final stitch.
Repeat Decrease Rows
Continue the decrease pattern on each needle, repeating the decrease rows until you have the desired number of stitches left. This will vary depending on the size of your socks and the pattern you are following.
Once the desired number of stitches is achieved, cut the yarn, leaving a tail to weave in later. Thread the yarn through a tapestry needle and slip the needle through the remaining stitches, removing them from the knitting needles. Pull tight to close the toe and secure the end.
Repeat this toe shaping process for the second sock, and you’re all done! You now have a finished pair of no heel spiral socks.
Step 6: Bind off stitches
Once you have completed knitting the desired length for your no heel spiral socks, it’s time to bind off the stitches. Binding off is the process of securing the stitches and creating a finished edge. Follow these steps to bind off the stitches:
1. Knit the first 2 stitches. Insert the right needle into the first stitch on the left needle and knit it as you normally would. Repeat this step for the second stitch.
2. Pass the first stitch over the second stitch. Using the left needle, lift the first stitch over the second stitch and off the right needle. This leaves you with one stitch on the right needle.
3. Knit the next stitch. Insert the right needle into the next stitch on the left needle and knit it.
4. Repeat steps 2 and 3. Continue passing the previous stitch over the current stitch and knitting the next stitch until only one stitch remains on the right needle.
5. Cut the yarn and thread it through the last stitch. Cut the yarn, leaving a tail of about 6 inches. Thread the tail through the last stitch, tighten it to secure the stitch, and weave in the loose end to hide it.
Once you have bound off all the stitches, you can remove your no heel spiral socks from the knitting needles and your project is complete. Now you can enjoy wearing your cozy and unique socks!
Step 7: Finishing touches
Once you have completed knitting the spiral socks, it’s time to add the finishing touches to make them perfect. Here are a few steps to follow:
1. Secure loose ends: Check for any loose threads or yarn ends and weave them in using a yarn needle. This will ensure that your socks look neat and tidy.
2. Block your socks: Blocking is an important step in knitting socks as it helps to even out the stitches and gives them a professional finish. Soak your socks in lukewarm water for a few minutes, then gently squeeze out the excess water. Lay the socks flat on a towel and shape them to the desired size. Leave them to dry completely.
3. Try them on: Once the socks are dry, try them on to ensure that they fit well and are comfortable. Check the length and width, and make any necessary adjustments if needed.
4. Add embellishments: If you want to personalize your socks, you can add embellishments such as buttons, beads, or embroidery. Be creative and have fun with it!
5. Care instructions: Finally, don’t forget to include care instructions when giving or wearing your spiral socks. It’s important to know how to properly care for knitted items to ensure their longevity.
By following these finishing touches, your spiral socks will be ready to be worn and enjoyed. Enjoy the cozy warmth and unique design of your handmade socks!
Tips and tricks
If you are new to knitting socks with a no heel spiral pattern, here are some helpful tips and tricks to get you started:
1. Use a stretchy cast on
Since socks need to stretch to fit comfortably over the feet, it is important to use a stretchy cast on method. The German Twisted Cast On or the Long Tail Cast On are good options. This will ensure that the cuff of the socks has enough elasticity.
2. Mark your place
With the continuous spiral pattern, it can be easy to lose track of where you are in the knitting. To avoid confusion, use stitch markers to mark the beginning of each round. This will help you keep track of your progress and prevent any mistakes.
3. Carry the yarn up
When working on the spiral section of the socks, it can be tempting to cut the yarn at the end of each round. However, this will result in a lot of loose ends to weave in later. Instead, carry the yarn up the inside of the sock and continue knitting. This will save you time and make the finishing process much easier.
4. Try magic loop knitting
If you find using double-pointed needles too fiddly, consider trying the magic loop knitting technique. This technique allows you to knit in the round using a long circular needle. It can be easier to manage and more comfortable for some knitters.
These are just a few tips and tricks to help you with your no heel spiral socks knitting pattern. Enjoy the process and happy knitting!
Common mistakes to avoid
Knitting the no heel spiral socks can be a fun and rewarding project, but it’s important to avoid common mistakes to ensure the best results. Here are some tips to help you avoid these pitfalls:
- Not checking gauge: One of the most common mistakes knitters make is not checking their gauge before starting the project. This can lead to socks that are too large or too small. Take the time to knit a gauge swatch and adjust your needle size if necessary.
- Skipping the lifelines: Lifelines are an important part of the no heel spiral sock pattern and should not be skipped. They help to ensure that you can easily rip back if you make a mistake without having to start the entire project over. Place a lifeline every few rounds to make sure you have a safety net.
- Not counting stitches: It’s easy to get caught up in the rhythm of knitting and forget to count your stitches. However, one missed or added stitch can throw off the entire spiral pattern. Be sure to count your stitches regularly to make sure you’re on track.
- Ignoring pattern-specific instructions: Each pattern may have specific instructions and techniques that are unique to that design. It’s important to read and understand the pattern before starting and to follow the instructions closely. Ignoring or misinterpreting these instructions can result in a sock that doesn’t fit or looks different than intended.
- Not using suitable yarn: The type of yarn you choose can greatly affect the outcome of your socks. Make sure to select a yarn that is suitable for socks, such as a wool or wool blend that has good durability and elastic properties. Using the wrong yarn can result in socks that don’t fit well or wear out quickly.
Avoiding these common mistakes will help you create beautiful and well-fitting no heel spiral socks. Remember to take your time and enjoy the process, and don’t hesitate to seek help or clarification if needed. Happy knitting!
Final thoughts
Knitting a pair of spiral socks with no heel can be a fun and rewarding project for knitters of all skill levels. It offers a unique and stylish twist to traditional sock patterns, making them a fashionable accessory while still providing the comfort and warmth we all love in a good pair of socks.
This pattern is particularly great for beginner knitters who are looking to try something new and challenge themselves. With clear instructions and step-by-step guidance, you’ll be able to create your very own pair of no heel spiral socks in no time.
Remember to choose a soft and warm yarn that suits your preferences and style. Experiment with different color combinations and patterns to make your socks truly unique. Don’t be afraid to get creative and have fun with your knitting!
As with any knitting project, it’s always a good idea to gauge your tension and make a swatch before starting. This will help ensure that your socks fit perfectly and will save you from any potential disappointment later on.
So why not give this no heel spiral socks knitting pattern a try? Whether you’re knitting them for yourself or as a gift for a loved one, they are sure to be a hit. Happy knitting!