
When winter comes and the temperatures drop, it’s time to bundle up and protect yourself from the cold. One essential item for surviving the winter is a ski mask. Not only does it keep your face warm, but it also protects your skin from the harsh winter winds.
Knitting your own ski mask is not only a fun and rewarding project, but it also allows you to have a custom-made mask that fits perfectly. Plus, knitting is a great way to relax and unwind during the colder months. With this free pattern, you can create your own knitted ski mask without spending a dime.
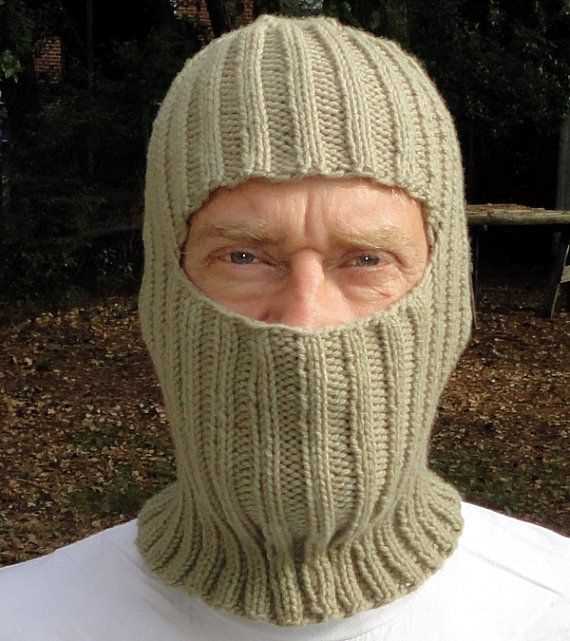
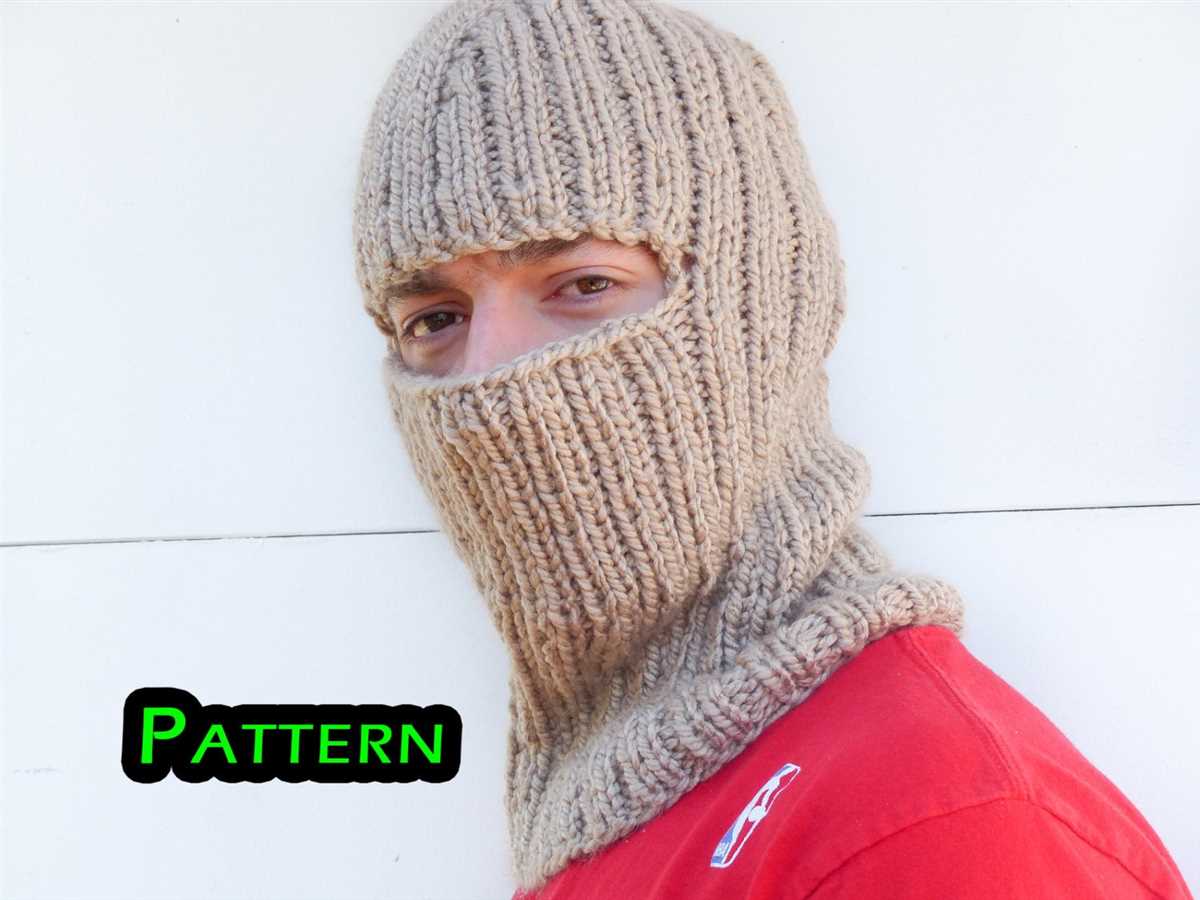
This knitted ski mask pattern is perfect for beginners, as it uses basic knitting techniques and simple stitches. The mask is designed to cover your entire face, with openings for the eyes and mouth. It’s also adjustable, so you can ensure a snug fit that keeps the cold out.
So grab your knitting needles and get ready to create your own cozy ski mask. With this free pattern, you’ll be able to stay warm and stylish all winter long.
Knitted Ski Mask Pattern Free
Knitted ski masks are a popular accessory for those who enjoy outdoor winter activities such as skiing, snowboarding, or hiking. They provide warmth and protection from the cold, while also adding a stylish touch to your winter outfit. If you’re looking for a knitted ski mask pattern that is available for free, you’re in luck! There are many resources online where you can find step-by-step instructions and patterns to create your own knitted ski mask.
To find a free knitted ski mask pattern, you can start by searching on knitting websites or forums. These platforms often have a dedicated section for free patterns, where you can browse and download patterns that suit your skill level and preferences. Make sure to read the instructions thoroughly before starting your project, as each pattern may vary in terms of difficulty and the type of yarn and needles required.
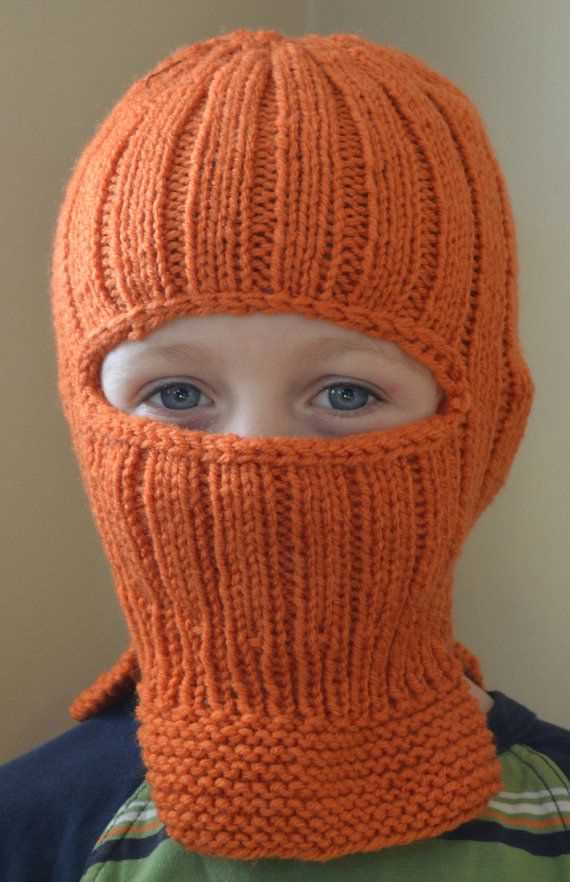
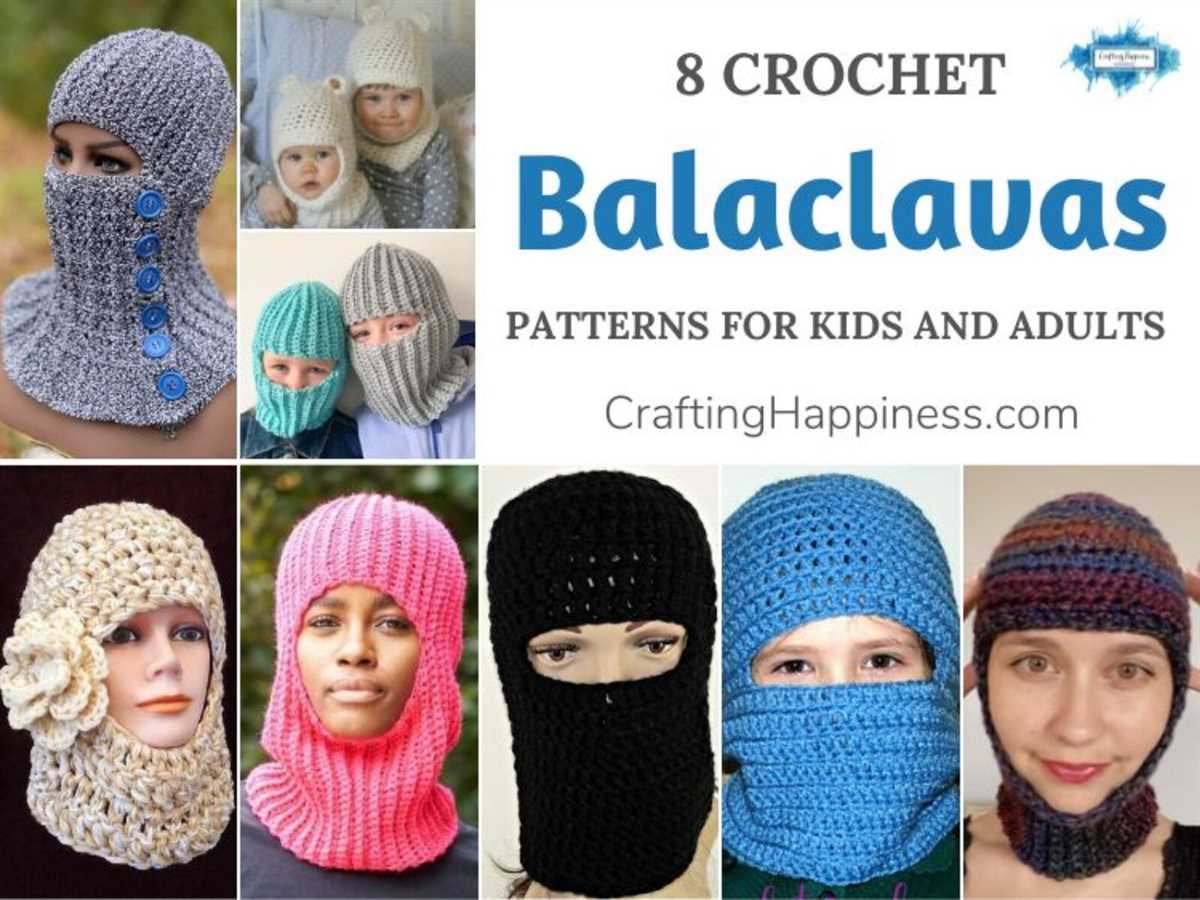
When choosing a knitted ski mask pattern, consider factors such as the type of yarn you want to use, the level of warmth and insulation you need, and the style and design you prefer. Some patterns may include additional features such as ear flaps or a balaclava-style design, which provide added protection from the cold and wind. It’s important to choose a pattern that suits your needs and skill level, so you can enjoy the process of knitting and end up with a ski mask that you’ll love to wear.
Tips for Knitting a Ski Mask
- Choose a yarn that is suitable for cold weather conditions, such as a wool or acrylic blend. These types of yarns are known for their insulating properties and ability to keep you warm.
- Consider using circular knitting needles for your ski mask project, as they allow you to easily knit in the round without the need for seaming.
- Take accurate measurements of your head circumference before starting your project, so you can adjust the pattern accordingly and ensure a proper fit.
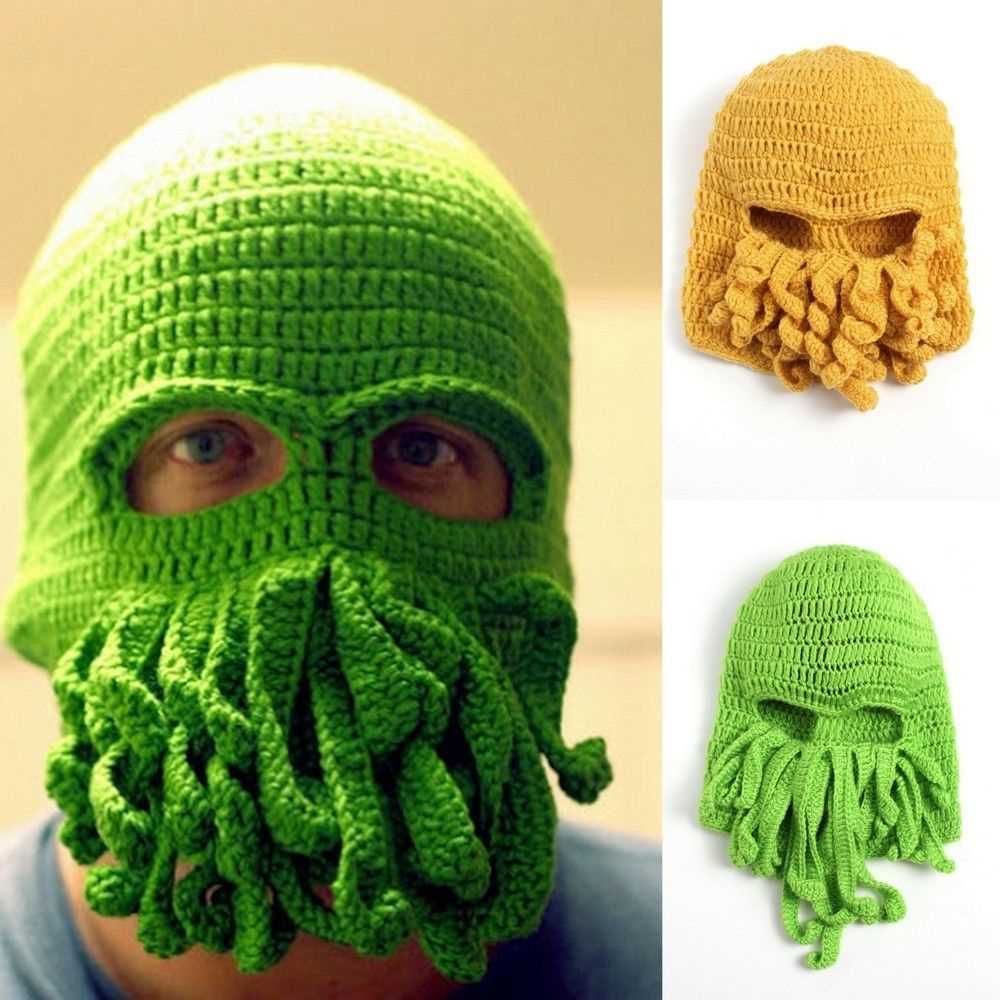
- Don’t be afraid to personalize your ski mask by adding embellishments such as pom-poms, ribbons, or embroidery. This will make your ski mask unique and add a personal touch to your winter ensemble.
- Remember to take breaks and rest your hands and wrists while knitting. Stretching and rotating your wrists can help prevent fatigue and repetitive strain injuries.
By following a free knitted ski mask pattern and incorporating these tips, you’ll be able to create a cozy and stylish accessory for your winter adventures. So grab your yarn and needles, and start knitting your own ski mask today!
Why Choose a Knitted Ski Mask
When it comes to protecting your face from the cold winter weather, a knitted ski mask is an excellent choice. This type of mask is not only warm and cozy, but it also offers a range of benefits that make it a popular option for outdoor enthusiasts and winter sports enthusiasts alike.
One of the main advantages of a knitted ski mask is its versatility. Unlike other types of face masks, which may be uncomfortable or restrict movement, a knitted ski mask is designed to fit snugly and comfortably over your face. It covers your entire head, providing insulation and protection from the harsh elements.
Protection from the cold: The primary purpose of a knitted ski mask is to keep you warm in cold weather conditions. The thick, tightly knit fabric helps to trap heat and create a barrier against the cold air. This means that your face will stay warm and cozy, even in freezing temperatures.
Moisture-wicking properties: Another benefit of a knitted ski mask is its ability to wick away moisture. When participating in winter sports or activities, it’s common for your face to sweat. A knitted ski mask is made from moisture-wicking materials that help to absorb and evaporate sweat, keeping your face dry and comfortable.
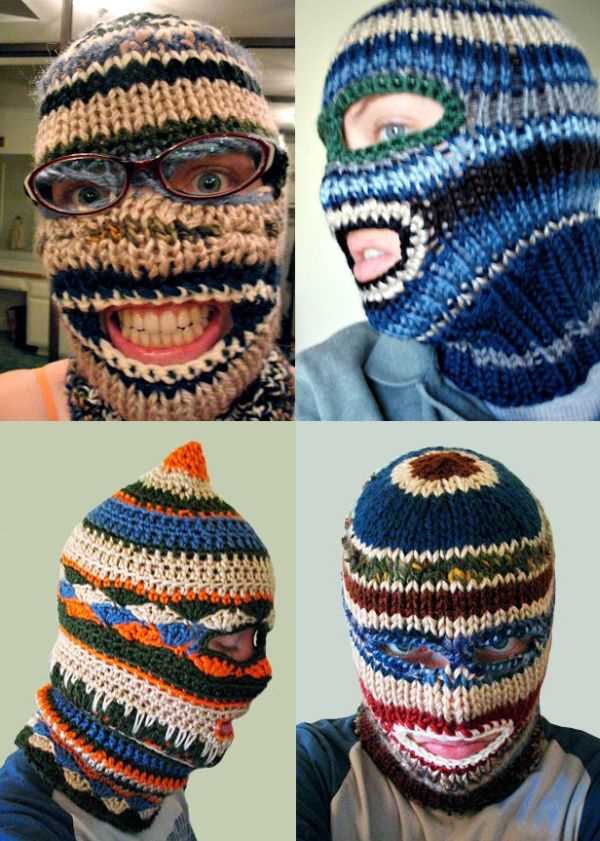
Style and design options: Knitted ski masks are available in a wide variety of colors, patterns, and designs. Whether you prefer a simple and classic style or a more unique and eye-catching design, you’re sure to find a knitted ski mask that suits your personal taste and style.
Easy to clean and maintain: Unlike some other face masks, knitted ski masks are relatively easy to clean and maintain. Most can be machine washed, making it convenient to keep your mask clean and fresh after each use.
Whether you’re hitting the slopes, going for a winter hike, or simply braving the cold weather, a knitted ski mask is a must-have accessory. Its warmth, versatility, and range of benefits make it a practical and stylish choice for anyone looking to protect their face and stay comfortable in cold weather conditions.
Materials Needed for Knitting a Ski Mask
In order to knit a ski mask, you will need a few specific materials to ensure a successful project. Here is a list of the essential items you will need:
- Yarn: Choose a yarn that is suitable for cold weather, such as a bulky or super bulky weight yarn. It should be soft and warm, and preferably made of wool or a wool blend.
- Knitting Needles: You will need a set of double-pointed knitting needles in the appropriate size for your yarn. The size will depend on the gauge you want for your ski mask.
- Tape Measure: A tape measure is essential for taking accurate measurements of your head to determine the size of your ski mask.
- Stitch Markers: Stitch markers will help you keep track of your stitches and pattern repeats, so it’s important to have a few on hand.
- Darning Needle: A darning needle will be used for sewing in loose ends and finishing touches on your ski mask.
- Scissors: A pair of scissors will be needed to cut the yarn and trim any loose ends.
- Pattern: Lastly, you will need a knitting pattern for a ski mask. There are many free patterns available online that you can download and print.
Once you have gathered all of these materials, you will be ready to start knitting your ski mask. Make sure to read through the pattern instructions carefully and have all of your materials within easy reach. Knitting a ski mask can be a fun and rewarding project, and with the right materials, you will be able to create a cozy and stylish accessory to keep you warm during winter activities.
How to Choose the Right Yarn for a Knitted Ski Mask
When knitting a ski mask, it is important to choose the right yarn that can withstand the harsh winter conditions and provide the necessary warmth and insulation. Here are some key factors to consider when selecting the yarn for your project:
1. Fiber Content

The fiber content of the yarn plays a crucial role in determining the performance of the ski mask. Wool is a popular choice for its natural insulation properties and ability to retain heat even when wet. Consider choosing a yarn with a high wool content, such as merino wool or alpaca, to ensure maximum warmth. If you prefer a vegan option, acrylic or synthetic fibers can also provide good insulation and durability.
2. Weight and Thickness
The weight and thickness of the yarn will affect the overall warmth and comfort of the ski mask. For a thicker and chunkier mask, opt for a bulky or super bulky weight yarn. This will help trap more heat and provide extra protection against cold winds. Alternatively, if you prefer a lightweight and breathable mask, choose a fingering or sport weight yarn.
3. Durability
A ski mask is likely to be exposed to various outdoor elements, so it is important to choose a yarn that is durable and long-lasting. Look for yarns that are resistant to pilling and have good stitch definition. Yarns with added nylon or acrylic blends can provide added strength and durability.
4. Color
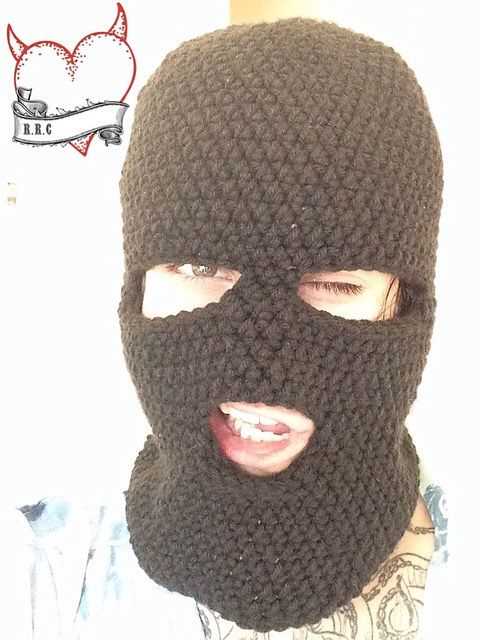
While the color of the yarn may seem like a purely aesthetic choice, it can also have functional benefits. Dark colors, such as black or navy, can help absorb sunlight and retain heat, while bright colors can enhance visibility on the ski slopes. Consider the practicality and visibility needs when selecting the color of your yarn.
By considering these factors, you can choose the right yarn for your knitted ski mask that will provide comfort, warmth, and durability during your winter outdoor adventures.
Getting Started: Basic Knitting Stitches

Knitting is a versatile and popular craft that allows you to create a wide range of items, from cozy scarves to intricate sweaters. Before you dive into more complex projects, it’s important to master the basic knitting stitches. These stitches form the foundation of knitting and will be used in most patterns.
1. Knit stitch: The knit stitch is one of the most basic and widely used stitches in knitting. It creates a smooth and flat fabric, and it’s often used for the right side of a project. To knit, insert your right needle into the front of the first stitch on the left needle, wrap the yarn around the right needle, and pull the loop through to form a new stitch. Repeat this process for each stitch on the left needle.
2. Purl stitch: The purl stitch is another essential stitch in knitting. It creates a bumpy texture and is often used for the wrong side of a project. To purl, insert your right needle into the front of the first stitch on the left needle, wrap the yarn around the right needle from back to front, and pull the loop through to form a new stitch. Repeat this process for each stitch on the left needle.
3. Garter stitch: The garter stitch is created by knitting every row. It produces a fabric with ridges on both sides and is reversible. Simply knit every stitch on every row to create the garter stitch pattern. This stitch is often used for scarves, blankets, and dishcloths.
4. Stockinette stitch: The stockinette stitch is created by alternating knit and purl rows. This stitch produces a smooth and flat fabric with a right side (knit stitches) and a wrong side (purl stitches). To create the stockinette stitch, knit one row, then purl the next row, and repeat these two rows.
- 5. Ribbing:
The ribbing stitch is commonly used for cuffs, collars, and hems. It creates a stretchy and elastic fabric. Ribbing is typically done with a combination of knit and purl stitches in a specific pattern, such as k1, p1 or k2, p2. This creates a ribbed pattern that alternates between knitted and purled columns.
By mastering these basic knitting stitches, you’ll have a strong foundation for tackling more advanced knitting projects. Take your time to practice each stitch and get comfortable with the knitting needles and yarn. With patience and practice, you’ll be able to create beautiful knitted items with ease.
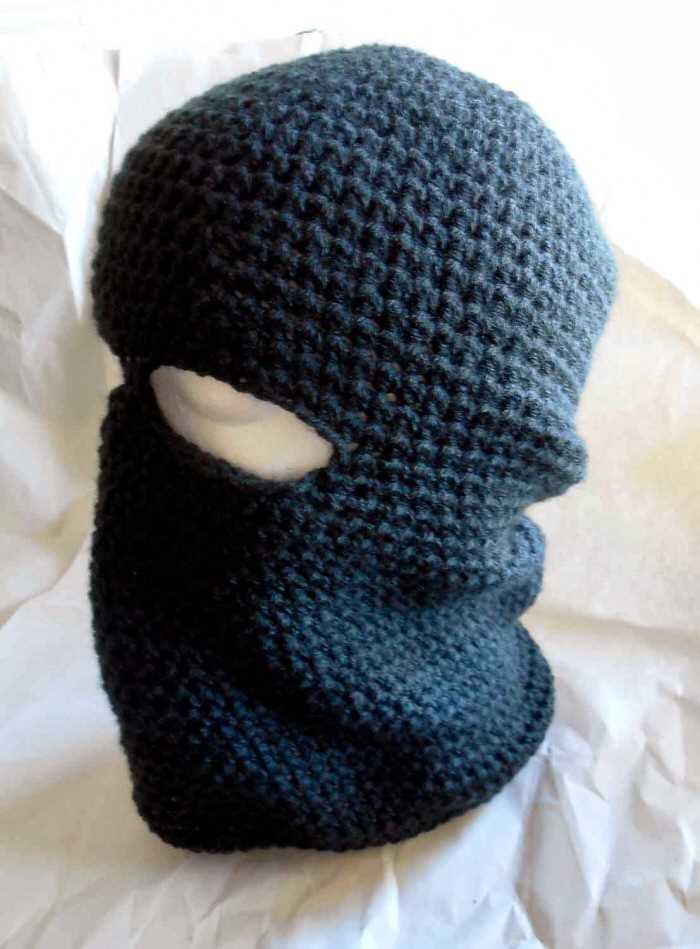
Knitting the Body of the Ski Mask
Once you have successfully completed the ribbing for the mask, it’s time to move on to the body. This is where the bulk of the knitting will take place, and it’s important to maintain proper tension throughout to ensure a snug fit on the wearer’s face.
To begin, you will continue working in the round using your chosen stitch pattern. Whether you prefer a simple stockinette stitch or a more intricate cable pattern, make sure to follow the instructions carefully and keep track of your rows to maintain consistency.
For a stockinette stitch:
- Knit all stitches on the right side, and purl all stitches on the wrong side.
- Continue working in this pattern until the body of the mask reaches the desired length, usually around 6-8 inches.
For a cable pattern:
- Follow the cable chart or written instructions carefully.
- Work the cable stitches as indicated, crossing the stitches over each other to create the desired design.
- Continue working in the cable pattern until the body of the mask reaches the desired length.
Remember to always check your gauge as you knit to ensure that your mask will fit properly. If your tension is too loose, consider going down a needle size, and if it’s too tight, try moving up a size.
Once the body of the ski mask is complete, you are ready to move on to the final steps of finishing, which include shaping the top of the mask and adding any necessary embellishments or closures. Stay tuned for the next section on shaping and finishing your knitted ski mask!
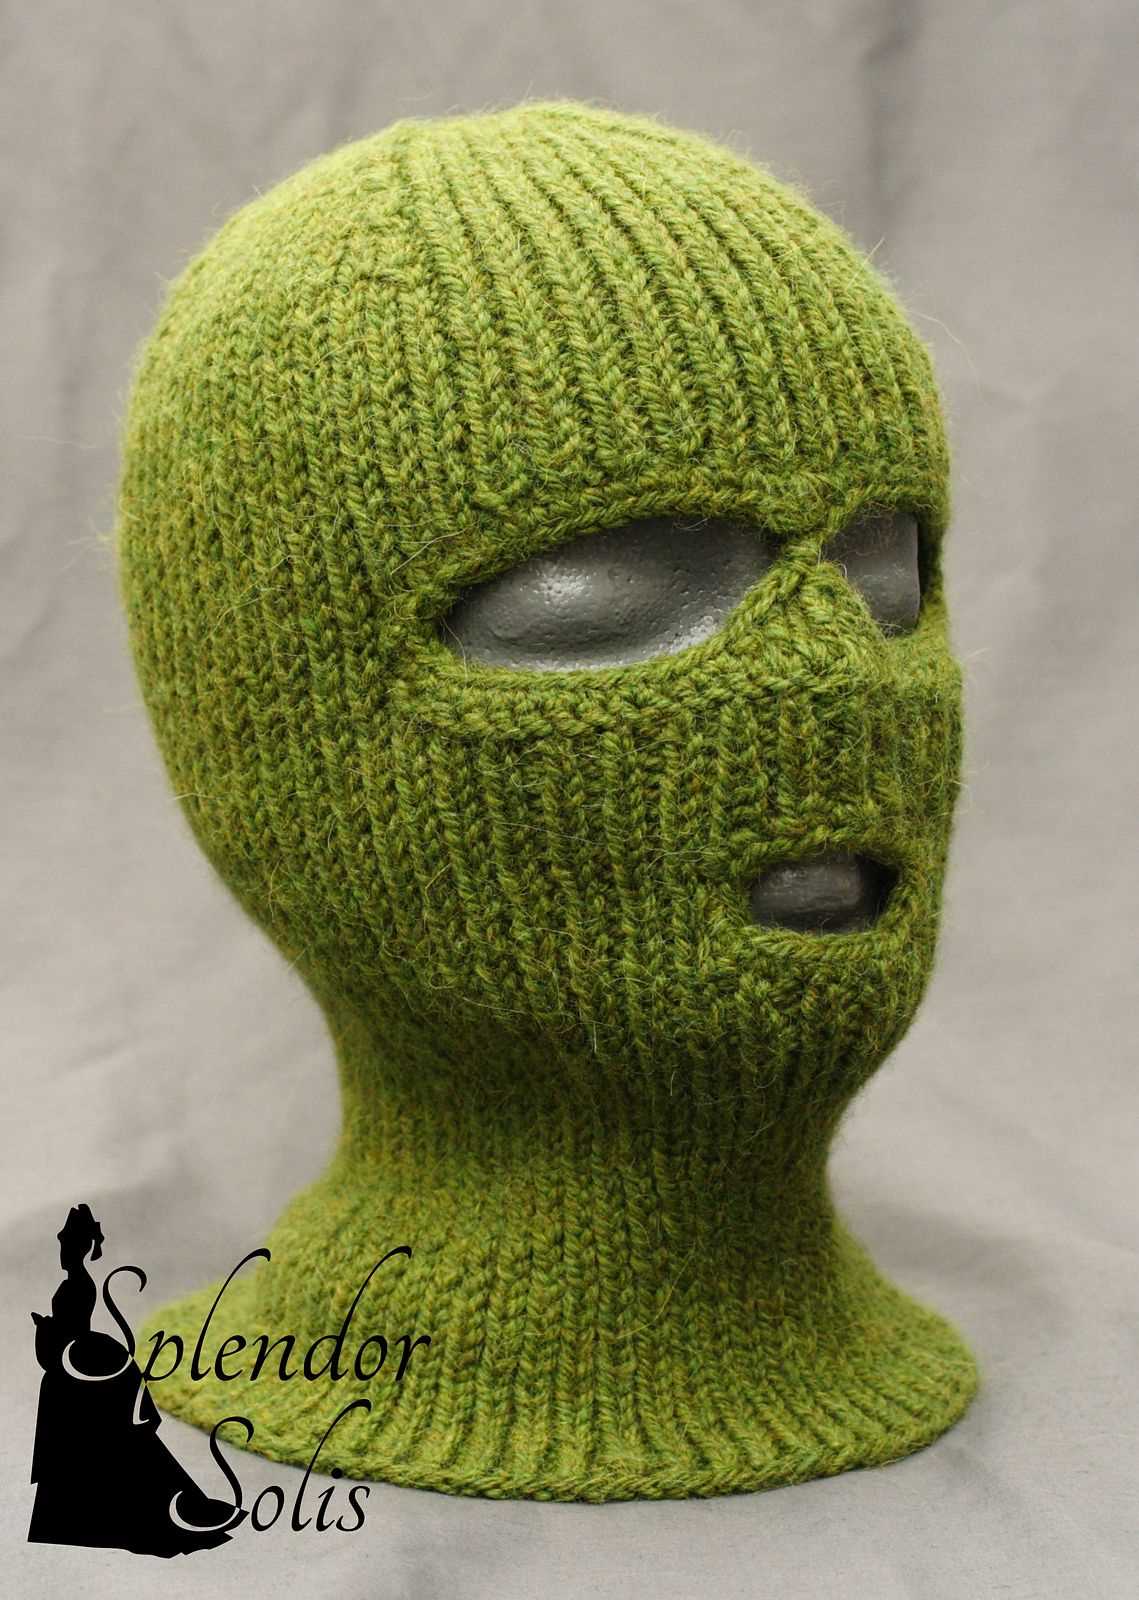
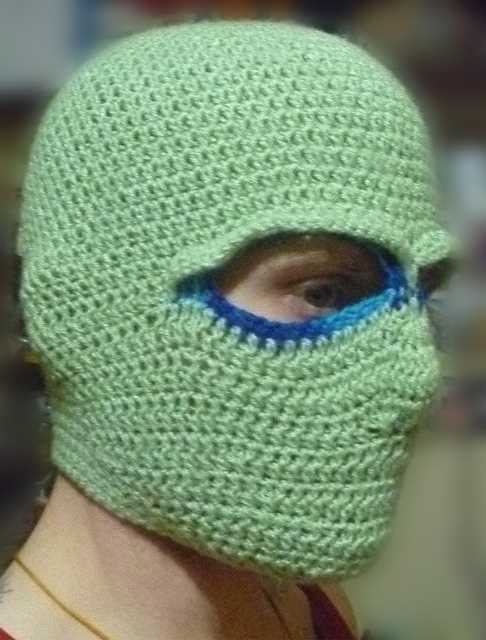
Creating the Openings for the Eyes and Mouth
When knitting a ski mask, it’s important to create openings for the eyes and mouth to ensure visibility and breathability while wearing the mask. Here are some steps to help you create these openings:
1. Eye Openings:
To create the eye openings, you will generally need to knit a few rows in a different stitch pattern or color to help distinguish the eye area. This can be done by switching to a rib stitch, garter stitch, or any other textured stitch pattern of your choice.
Measure the distance between the eyes and determine the width of each eye opening. Mark the stitches on either side of the desired opening and start knitting the stitches in the new stitch pattern. Continue knitting the eye area in the new stitch pattern for the desired number of rows.
2. Mouth Opening:

To create the mouth opening, you will need to decrease or omit stitches in the desired area. You can do this by knitting two stitches together or by simply not knitting certain stitches when working on the mouth area.
Measure the width of the mouth opening and mark the stitches on either side of the desired opening. Decrease or omit the marked stitches by knitting them together or by skipping them when knitting the mouth area. Continue knitting the mouth area for the desired number of rows.
Remember to follow the instructions provided in the pattern you are using, as the specific steps may vary. It’s also a good idea to try the mask on as you go and adjust the size and placement of the eye and mouth openings if needed. With the right technique, you can create a ski mask that not only keeps you warm but also allows you to see and breathe comfortably.
Knitting the Top of the Ski Mask
When knitting the top of the ski mask, it is important to follow the pattern to achieve the desired shape and fit. Start by dividing the stitches evenly onto four double-pointed needles. This will make it easier to work with and help maintain the integrity of the mask.
Next, continue knitting in the round, making sure to follow the instructions for decreases as indicated in the pattern. The decreases will shape the top of the mask and create a snug fit around the head. It is important to keep track of the decreases and ensure they are evenly spaced to achieve a symmetrical look.
As you continue knitting, you may need to switch to shorter double-pointed needles or use the magic loop method if the number of stitches becomes too small for the longer needles. This will allow you to continue knitting comfortably without stretching the stitches too much.
Once you have completed the decreases, you can bind off the remaining stitches using a stretchy bind off method. This will ensure that the edge of the mask has enough give to fit comfortably around the face without being too tight. The stretchy bind off method can vary depending on your preference, so be sure to choose one that matches the overall look of the mask.
Lastly, weave in any loose ends of yarn and block the ski mask to give it a professional finish. Blocking involves wetting the mask and laying it flat to dry, which will help even out the stitches and shape the mask. Once the mask is completely dry, it will be ready to wear and provide warmth and protection on the slopes.
Adding a Pom Pom to the Top of the Ski Mask
One way to add a fun and playful touch to your knitted ski mask is by adding a pom pom to the top. A pom pom is a small, fluffy ball made of yarn that can be attached to the crown of the mask. It not only adds an element of style and whimsy, but also provides a functional purpose by making it easier to locate the top of the mask.
To make a pom pom, you will need a few supplies, including yarn, a pom pom maker or a piece of cardboard, scissors, and a yarn needle. Start by selecting a yarn color that complements or contrasts with the color of your ski mask. You can choose a single color or mix multiple colors for a vibrant and multi-dimensional look.
Next, decide on the size of the pom pom you want. You can make small pom poms for a subtle accent, or larger ones for a more statement-making effect. If you are using a pom pom maker, simply follow the instructions provided. If you are using cardboard, cut out two identical donut-shaped cardboard pieces and wrap the yarn around them until they are nice and full. Then, carefully slide the yarn off the cardboard and tie a piece of yarn tightly around the middle. Finally, cut through the loops of yarn and trim the pom pom until it is perfectly round.
Once your pom pom is ready, it’s time to attach it to the top of your ski mask. Thread the yarn needle with a length of yarn, then insert the needle through the crown of the mask from the inside, pulling it through to the outside. Place the pom pom on top of the mask and use the threaded needle to sew it securely in place. Make sure to sew through the center of the pom pom multiple times to ensure it stays in place during wear.
With the pom pom attached, your knitted ski mask will have an extra touch of style and playfulness. Whether you opt for a single solid pom pom or a cluster of colorful ones, the addition of this accessory will surely make your mask stand out on the slopes!
Finishing Touches: Weaving in Ends and Blocking
After completing your knitted ski mask, it’s important to take the time to give it the finishing touches it deserves. This involves weaving in any loose ends and blocking the mask to ensure it maintains its shape and size.
Weaving in ends is a crucial step that ensures your knitted ski mask looks polished and professional. To weave in ends, you will need a tapestry needle and some patience. Start by threading your needle with the yarn tail and carefully thread it through the stitches on the wrong side of the mask, making sure to go in the same direction as the stitches. Repeat this process for any remaining loose ends, being careful not to pull too tightly and distort the fabric.
Once all the ends are woven in, it’s time to block the ski mask. Blocking involves gently wetting the mask and reshaping it to its proper dimensions. This process helps to even out the stitches and improve the overall appearance of the mask. To block your knitted ski mask, start by filling a sink or basin with lukewarm water and gently submerge the mask. Allow it to soak for about 10 minutes, then carefully remove it from the water and squeeze out the excess moisture, being careful not to wring or twist the fabric. Lay the mask flat on a clean towel and shape it to the desired dimensions. Use pins or blocking wires to secure the edges and maintain the shape while it dries. Leave it to air dry completely before removing the pins or wires.
By taking the time to weave in ends and block your knitted ski mask, you can ensure that your finished project looks professional and polished. These finishing touches may seem small, but they can make a big difference in the overall appearance and quality of your finished mask. Take the extra time to give your project the attention it deserves, and you will be rewarded with a beautiful and well-finished knitted ski mask.
Tips and Troubleshooting for Knitting a Ski Mask

Knitting a ski mask can be a fun and rewarding project, but it can also come with its challenges. Here are some tips and troubleshooting suggestions to help you along the way:
Tips:
- Choose the right yarn: Opt for a yarn that is warm, durable, and suitable for outdoor use. Acrylic or wool blends are often good choices for ski masks.
- Use the right needle size: Check the yarn label for the recommended needle size and adjust accordingly. Using the wrong size can result in a ski mask that is too tight or too loose.
- Take accurate measurements: Before starting your project, make sure to measure your head circumference and consider any additional length needed to cover your neck. This will help ensure a proper fit.
- Check your gauge: It’s essential to knit a gauge swatch before starting the main project. This will help you determine if you need to adjust your needle size or tension to achieve the desired size and fit.
- Follow the pattern instructions: Read through the pattern carefully before beginning. Pay attention to any special techniques or stitch patterns used, and follow the instructions step by step for best results.
- Take breaks and stretch: Knitting for long periods can strain your hands and wrists. Remember to take frequent breaks, stretch your muscles, and use proper ergonomic techniques to avoid discomfort or injury.
Troubleshooting:
- Fixing dropped stitches: If you notice a dropped stitch, use a crochet hook or a smaller knitting needle to pick it up and bring it back into place. Be careful not to pull too tightly or create tension differences in the fabric.
- Dealing with tension issues: Inconsistent tension can result in a ski mask that has visible gaps or tight sections. Try to maintain a consistent tension throughout your knitting, and consider using stitch markers to help keep track of your stitches.
- Resolving fitting problems: If your ski mask is too tight or too loose, try adjusting your needle size or switching to a different yarn weight. You can also add or decrease stitches to modify the pattern accordingly.
- Making modifications: Don’t be afraid to make modifications to the pattern to suit your preferences or needs. For example, you can add colorwork, cables, or different stitch patterns to make your ski mask unique.
In conclusion, knitting a ski mask can be a fulfilling project that keeps you warm during the winter months. By following these tips and troubleshooting suggestions, you’ll be well-equipped to create a cozy and comfortable ski mask. Happy knitting!