
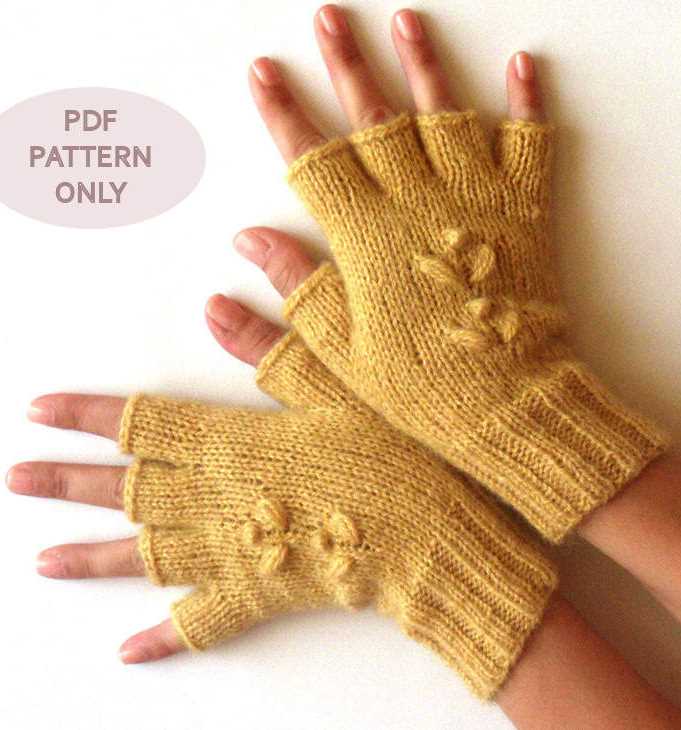
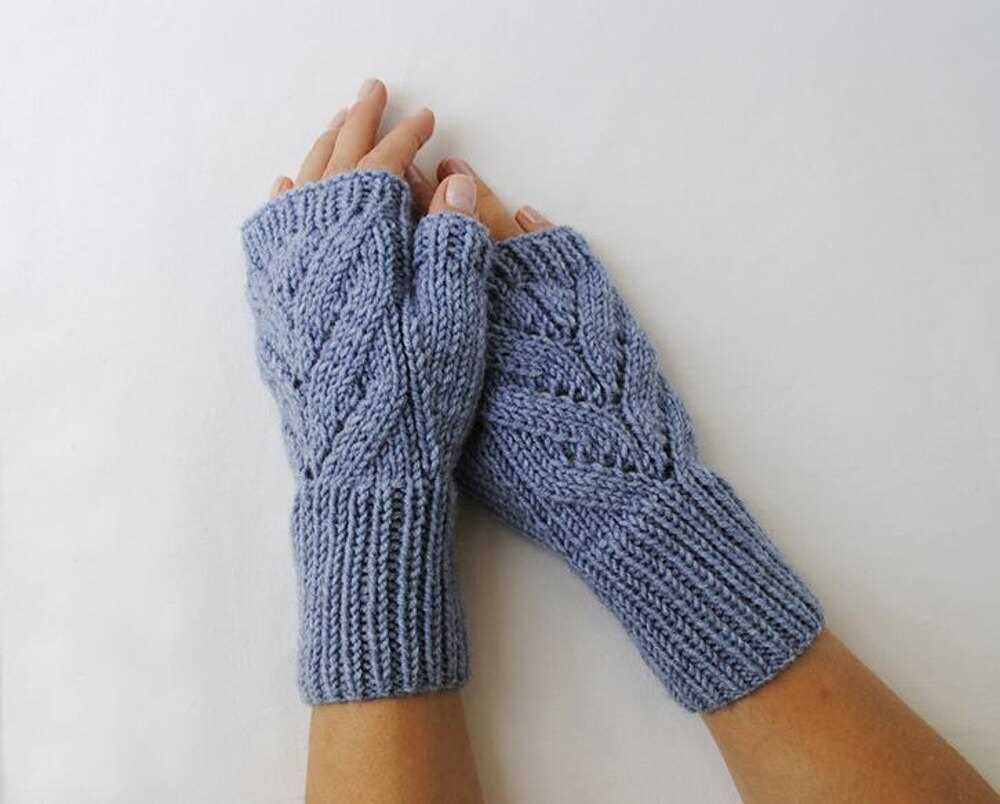
Fingerless gloves are a practical and stylish accessory for chilly weather. Whether you’re a seasoned knitter or new to the craft, this free knitting pattern is perfect for you. The best part? It’s designed to be knitted on 2 needles, making it accessible to knitters of all skill levels.
This pattern is great for those who prefer not to use double-pointed needles or circular needles. Instead, you’ll simply need a pair of straight knitting needles and a ball of your chosen yarn. It’s a straightforward pattern that’s perfect for beginners or those looking for a quick and easy project.
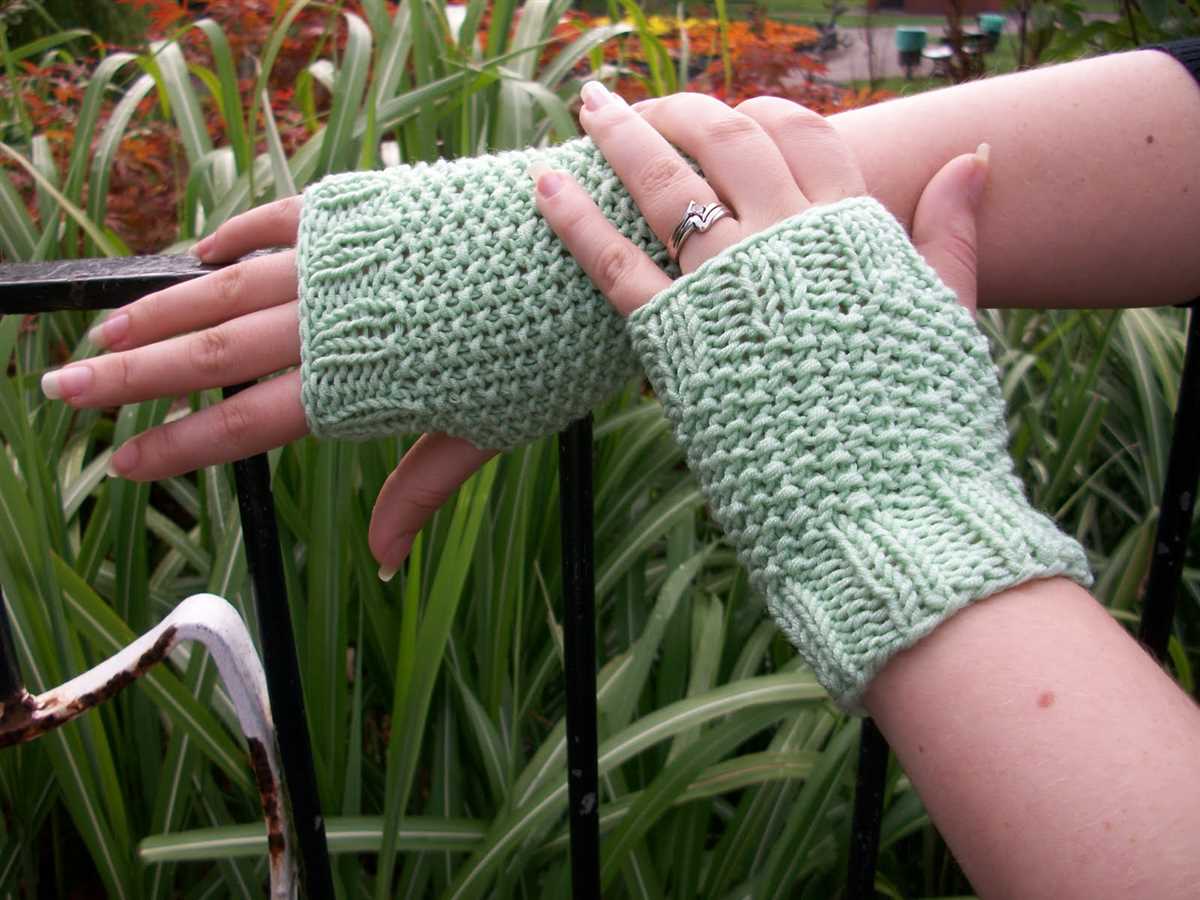
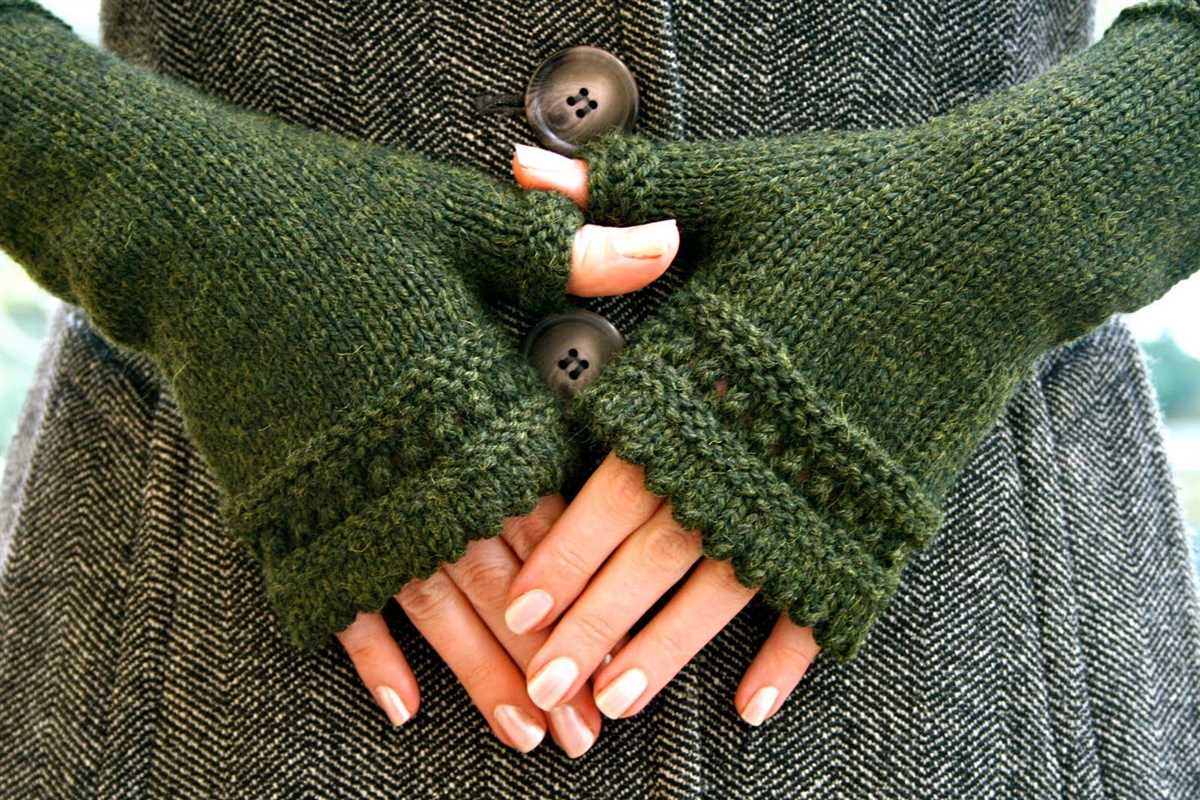
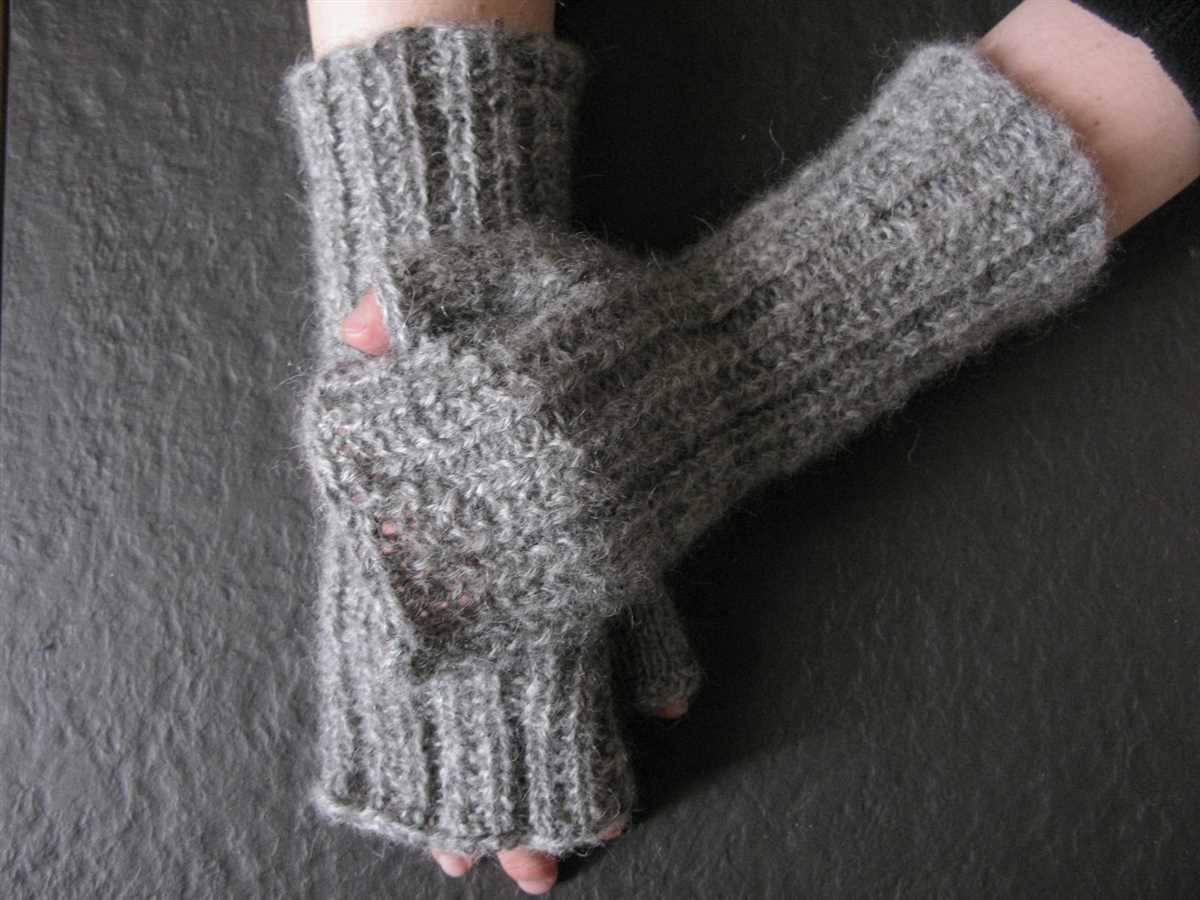
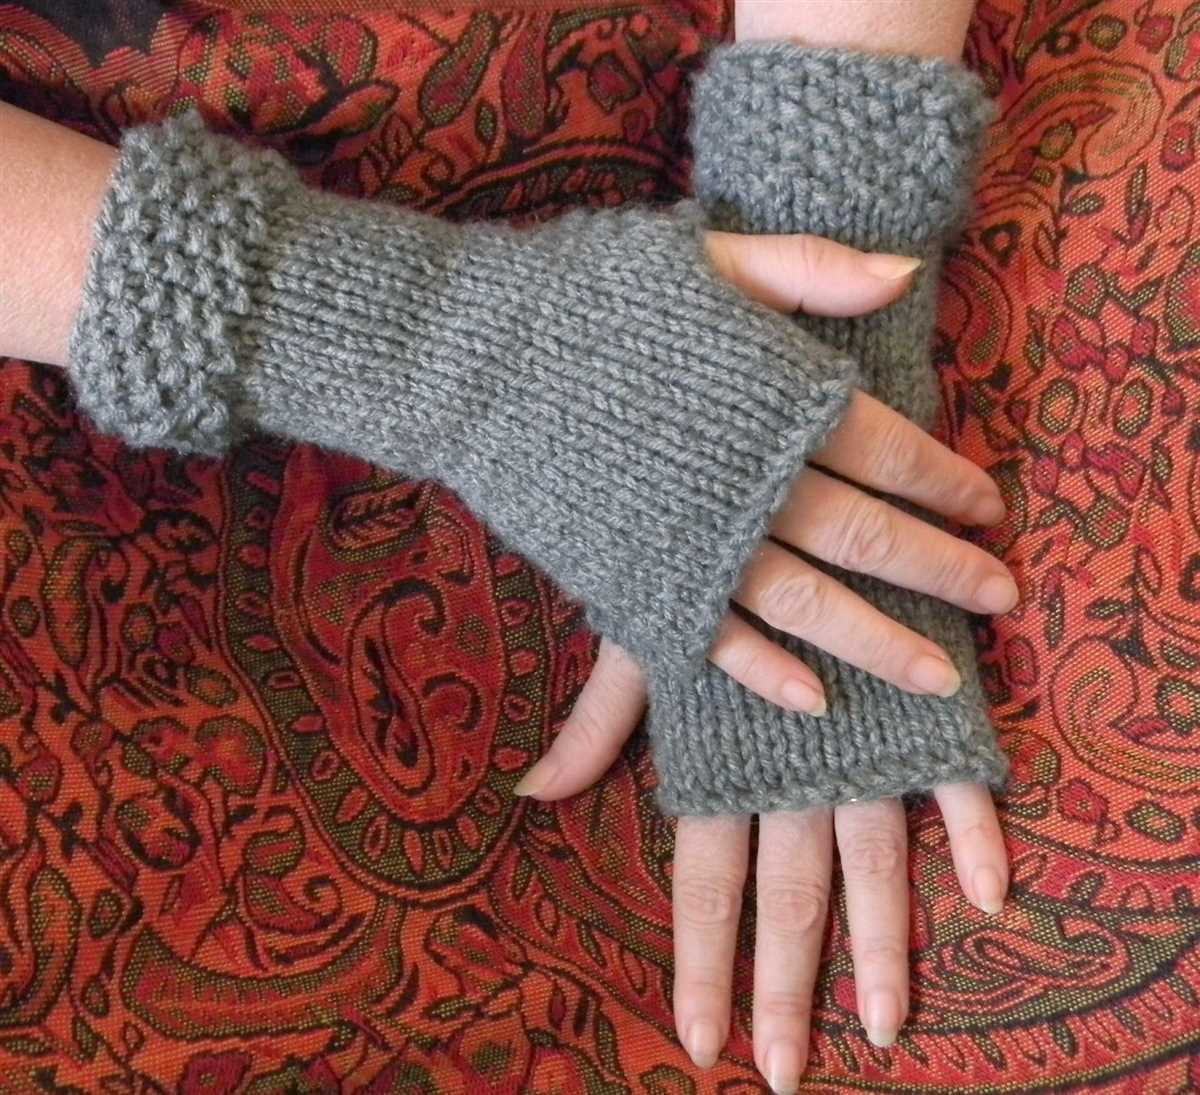
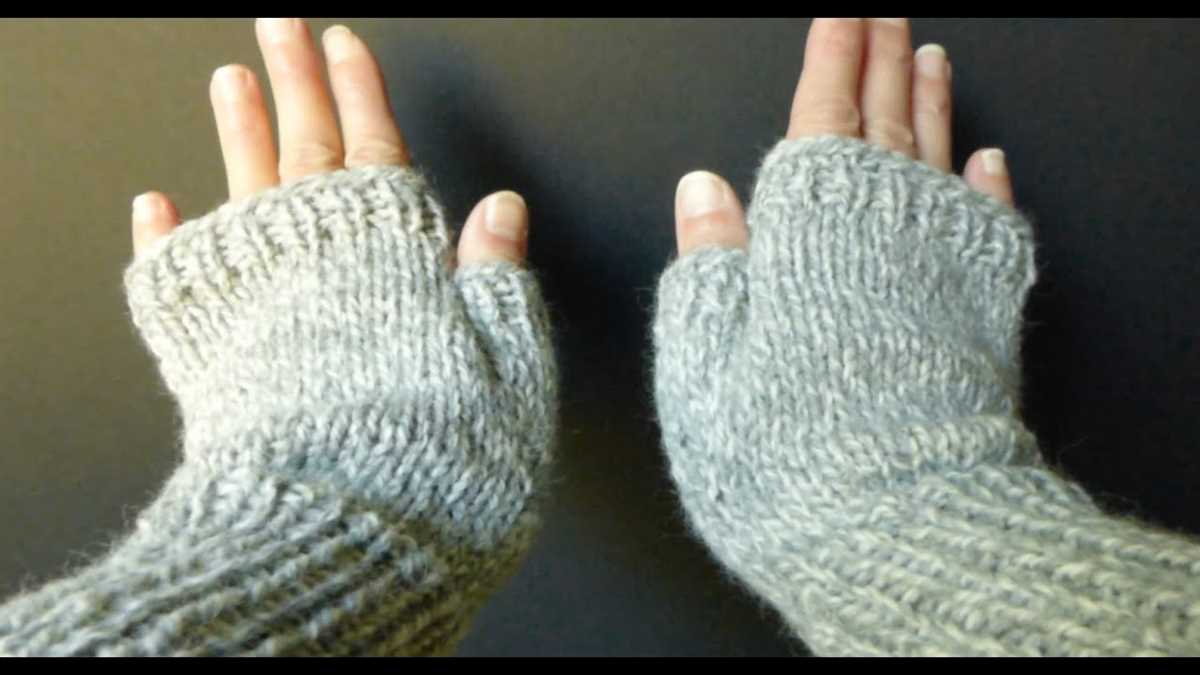
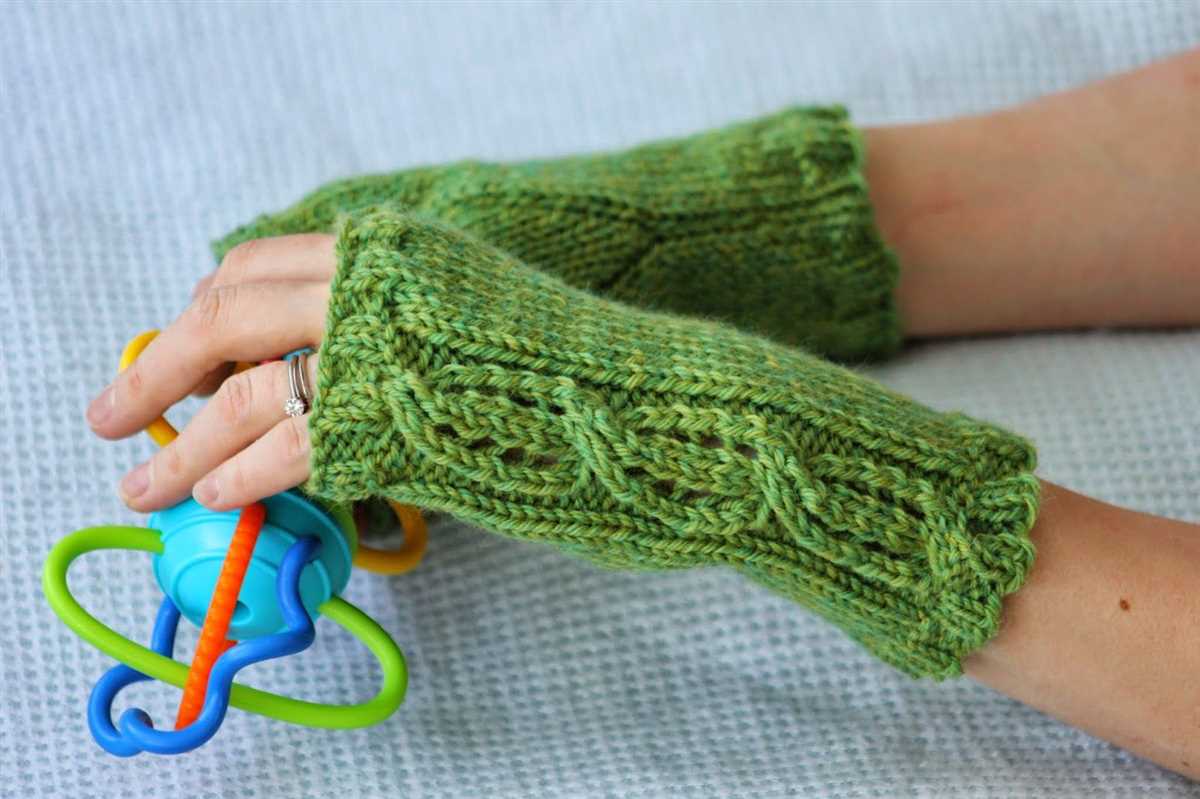
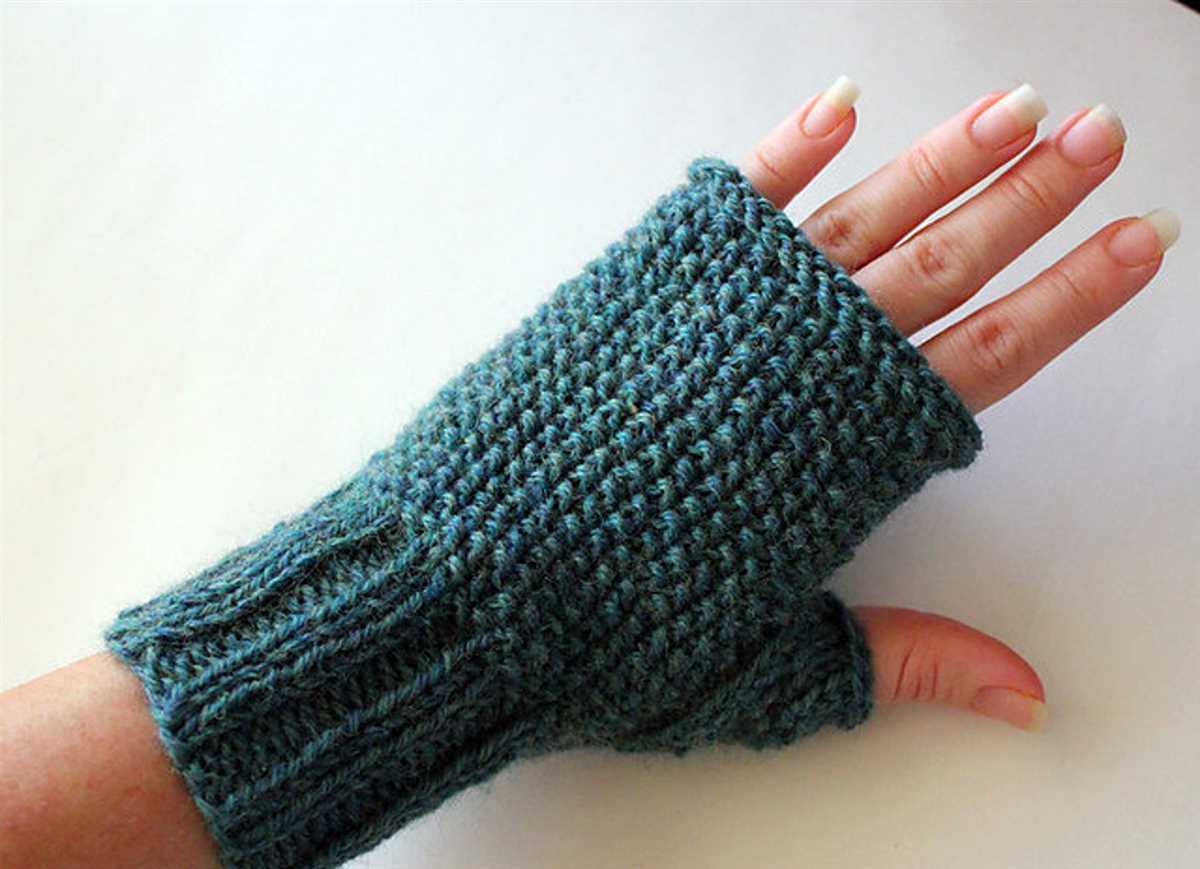
The fingerless gloves in this pattern are designed to keep your hands warm while still allowing your fingers to remain free. They’re ideal for everyday wear or for those who need to use their fingers while still keeping their hands protected from the cold. The pattern includes instructions for different sizes, so you can easily customize it to fit your hands perfectly.
Free Knitting Pattern for Fingerless Gloves on 2 Needles
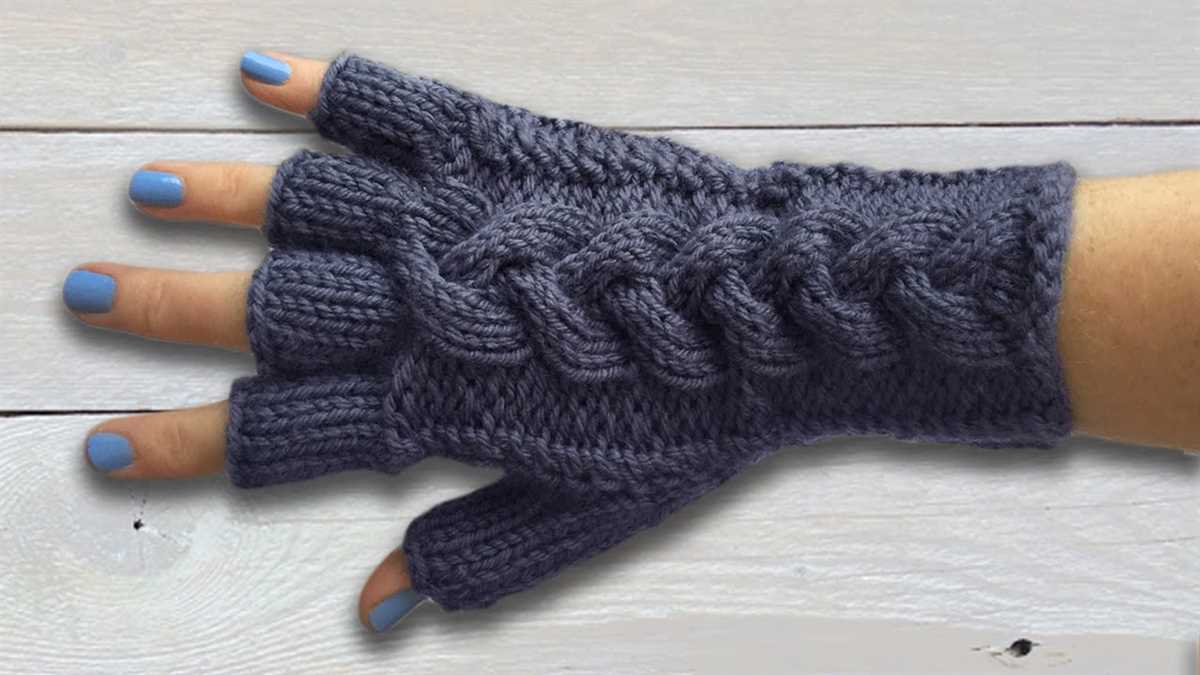
Fingerless gloves are a popular accessory for keeping your hands warm while still allowing your fingers to be free. If you’re an avid knitter or looking to try your hand at knitting, this free pattern for fingerless gloves on 2 needles is a great project to start with. With just two knitting needles, you can easily create a cozy pair of gloves that will keep your hands toasty during the colder months.
To begin this knitting project, you’ll need to gather the necessary materials. You’ll need a set of double-pointed knitting needles in a size suitable for the yarn you’ll be using. You’ll also need a skein of yarn in your preferred color, preferably a soft and warm yarn suitable for gloves. Additionally, you may want to have a set of stitch markers and a yarn needle on hand for finishing touches.
The knitting pattern itself is relatively simple and suitable for beginners. It involves basic knitting techniques, such as casting on, knitting, purling, and binding off. The pattern consists of knitting the glove in sections, starting with the cuff and then moving on to the hand and fingers. The instructions are detailed and easy to follow, ensuring that even novice knitters can successfully complete the project.
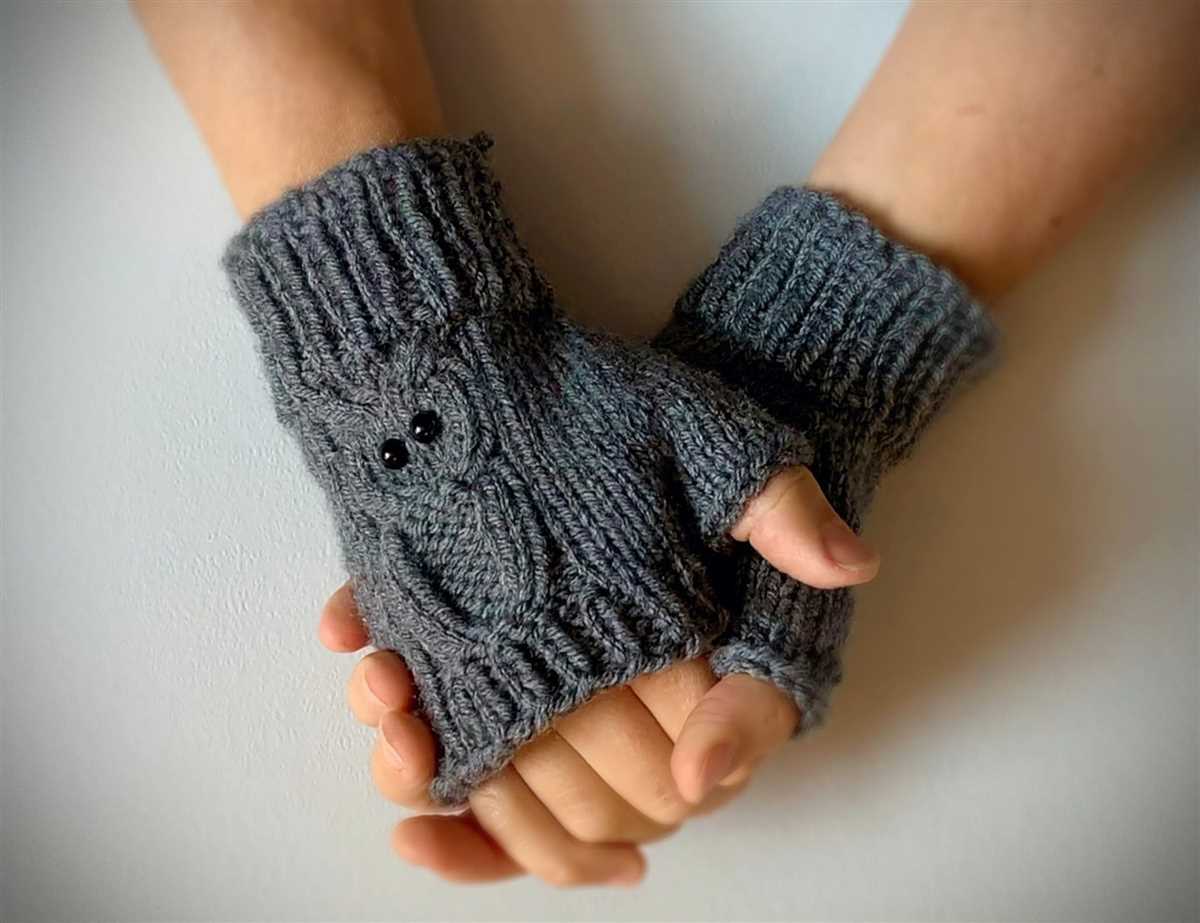
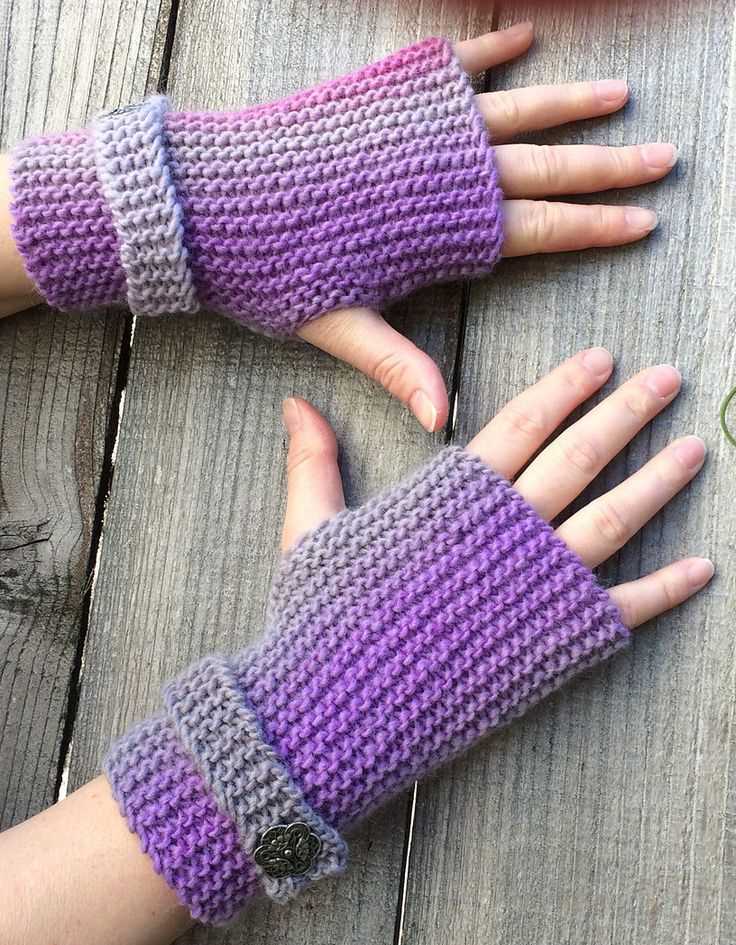
Once you’ve completed your fingerless gloves, you can customize them to your liking. You can add decorative buttons, beads, or embroidery to give them a personalized touch. You can also experiment with different yarn colors and stitch patterns to create unique and one-of-a-kind gloves. Whether you’re knitting these gloves for yourself or as a gift for someone else, they’re sure to be a cozy and stylish addition to any winter wardrobe.
Overall, this free knitting pattern for fingerless gloves on 2 needles is a great way to practice your knitting skills and create a practical and versatile accessory. So gather your materials, follow the pattern instructions, and get ready to enjoy the warmth and comfort of your very own hand-knitted fingerless gloves.
Materials Needed for Fingerless Gloves
Before you start knitting your fingerless gloves, make sure you have all the necessary materials. Here is a list of items you will need to complete this project:
- Yarn: Choose a soft, medium-weight yarn in your preferred color. Make sure to check the label for recommended needle size.
- Knitting Needles: You will need a pair of size 8 (5mm) straight knitting needles. These are commonly found in most knitting kits.
- Tapestry Needle: This needle will be used to weave in the loose ends of yarn and finish off your gloves.
- Scissors: A pair of sharp scissors will come in handy for cutting the yarn.
- Stitch Markers: These small, removable markers are useful for keeping track of your stitches and pattern repeats.
It’s always a good idea to gather all your materials before you begin, as it helps to stay organized and ensures you have everything you need. Once you have all these items ready, you’re all set to start knitting your fingerless gloves!
Choosing the Right Yarn
When it comes to knitting fingerless gloves, choosing the right yarn is crucial. The yarn you select will not only determine the overall look and feel of your gloves, but it will also affect their durability and warmth. Here are some factors to consider when choosing the perfect yarn for your project:
1. Fiber Content
The first thing to consider is the fiber content of the yarn. There are various types of yarn available, including wool, cotton, acrylic, and blends. Each type of fiber has its own unique characteristics. Wool, for example, is known for its warmth and natural elasticity, making it an excellent choice for gloves. Cotton, on the other hand, is lightweight and breathable, making it suitable for warmer climates or sensitive skin. Acrylic yarns tend to be affordable and easy to care for, but may not have the same level of warmth as natural fibers. Blends can offer a combination of different properties, allowing you to find the perfect balance for your gloves.
2. Weight
The weight of the yarn is another important consideration. Fingerless gloves typically require a medium or worsted weight yarn, as this provides a good balance between warmth and dexterity. However, you can also experiment with other weights depending on the desired thickness and insulation of your gloves. Keep in mind that using a heavier yarn may result in bulkier gloves, while a lighter yarn may create a more delicate and breathable fabric.
3. Texture and Pattern
The texture and pattern of the yarn should also be taken into account. Smooth and even yarns are great for showcasing intricate stitch patterns and cables, while variegated yarns can create interesting color patterns. Consider the style and design of your fingerless gloves when selecting yarn, and envision how the texture or pattern will enhance the overall look of the finished product.
4. Care Instructions

Lastly, consider the care instructions for the yarn. Some yarns may require special handling, such as handwashing or dry cleaning. Others may be machine washable, which can make your gloves easier to care for. Make sure to choose a yarn that fits your lifestyle and maintenance preferences.
By considering these factors and taking your personal preferences into account, you can choose the perfect yarn for your fingerless gloves that will not only look great but also provide warmth and comfort.
Gauge and Needle Size for Fingerless Gloves
When knitting fingerless gloves, it is important to pay attention to the gauge and needle size in order to achieve the correct fit and dimensions. The gauge refers to the number of stitches and rows per inch in the knitted fabric and is influenced by both the yarn thickness and the tension of the knitter’s stitches.
Before starting the project, it is recommended to knit a gauge swatch using the yarn and needle size specified in the pattern. The swatch should measure at least 4 inches square and be knitted in the stitch pattern that will be used for the gloves. By measuring the gauge of the swatch, the knitter can determine if they need to adjust their needle size to obtain the correct gauge.
Generally, fingerless gloves are knitted on small needles, ranging from US size 3 to 6 (3.25mm to 4mm). However, this may vary depending on the desired tension for the project. Thicker yarns will require larger needles, while finer yarns will require smaller needles.
It is important to keep in mind that different knitters may have slightly different tensions when knitting, so it is always a good idea to check the gauge and adjust needle size if necessary to achieve the desired measurements. The gauge of the swatch should match the gauge specified in the pattern in order to ensure the gloves will fit properly.
By paying attention to the gauge and needle size, knitters can create fingerless gloves that are the perfect fit and have the desired drape and texture.
Casting On Stitches
When starting a new knitting project, one of the first steps is to cast on stitches. This is the process of creating the loops that will make up the foundation of your project. Different methods of casting on can be used, but for this fingerless gloves pattern, we will use the long tail cast on method.
To begin the long tail cast on, you will need to estimate the amount of yarn you will need for each stitch. Measure out a length of yarn that is approximately three times the width of your project. Make a slipknot at the end of the yarn, leaving a tail that is about six inches long. Insert your right knitting needle into the slipknot and tighten it onto the needle. This slipknot does not count as a stitch.
Hold the needle with the slipknot in your right hand, and the tail and working yarn in your left hand. With your left thumb, bring the working yarn over the top of the needle, creating a loop. Reach through the loop from the left side with the tip of your needle and catch the tail. Pull the tail through the loop, creating a new loop on the needle. This is your first cast on stitch. Repeat this process until you have cast on the desired number of stitches for your gloves.
Once all the stitches are cast on, you will be ready to begin the next step of your fingerless gloves project. Casting on stitches correctly is crucial for the success of your project, so take your time and make sure each stitch is neat and even. Happy knitting!
Knitting the Ribbing
Before you begin knitting the fingerless gloves, you’ll need to start with the ribbing. The ribbing creates an elastic band around the wrist, ensuring a snug fit for the gloves. To create the ribbing, you’ll use a combination of knit and purl stitches.
To start, cast on the required number of stitches onto your needles. It’s important to note that the ribbing is worked in a multiple of two stitches. If you want a narrower ribbing, you can cast on fewer stitches, but keep in mind that it may affect the overall fit of the gloves.
Once you’ve cast on your stitches, you’ll begin by working your first row. As the ribbing pattern is a combination of knit and purl stitches, you’ll alternate between the two. For example, you could start by knitting the first stitch, then purling the next stitch. This will create the classic ribbing pattern.
Continue working in this alternating pattern of knit and purl stitches until you reach the desired length for the ribbing. Most patterns will specify the number of rows or inches needed for the ribbing. Remember to work the stitches as they appear on the row, whether it’s a knit stitch or a purl stitch.
Once you’ve completed the ribbing, you can then move on to the main part of the fingerless gloves pattern. The ribbing not only adds a decorative touch, but it also helps to keep the gloves securely in place on your wrist.
Working the Body of the Gloves
To begin working the body of the gloves, you will continue using the same needles and stitches that you used for the cuff. Take the working yarn and continue knitting in the rib pattern for the desired length. You can adjust the length according to your preference. Knit in the rib pattern for about 2-3 inches for a standard length.
Next, you will start working the thumb gusset. On the next round, you will increase 1 stitch at the beginning of the round and 1 stitch at the end of the round. This can be done by knitting into the front and back of the first and last stitches, or any other method you prefer for increasing stitches evenly. This will create a small gusset for the thumb.
Continue working in the rib pattern for the remaining rounds, making increases for the thumb gusset as needed. You will need to adjust the number of increases based on the size of your thumb. The thumb gusset should be wide enough to comfortably fit your thumb through, but not too loose.
Once you have reached the desired length for the body of the gloves and the thumb gusset is wide enough, you can start working the thumb. On the next round, you will put the stitches for the thumb onto a stitch holder or a piece of waste yarn. This will allow you to come back to the thumb later and finish it separately.
Finally, you will continue working the remaining stitches in the round for the body of the gloves. Continue knitting in the rib pattern for the desired length, approximately 2-3 inches for a standard length. You can try on the gloves as you go to ensure the proper fit. Once you have reached the desired length, you can finish off the knitting, weave in any loose ends, and your fingerless gloves are complete!
Shaping the Thumb Hole
The thumb hole is an essential aspect of fingerless gloves that allows for flexibility and ease of movement. Shaping the thumb hole requires some attention to detail, but it can be achieved with relative ease. Here are some steps to help you shape the thumb hole in your fingerless gloves.
1. Determine the thumb placement
Start by determining where you want the thumb hole to be located on your glove. Measure approximately 1 inch from the side edge of the glove, and mark this spot as the center of the thumb hole.
2. Create a provisional cast on
To begin shaping the thumb hole, create a provisional cast on at the marked center of the thumb hole. This will allow you to easily pick up stitches later and create a seamless thumb hole.
3. Decrease stitches
Next, you will decrease stitches on either side of the thumb hole center to create a gradual curve. Follow the knitting pattern instructions to determine the number of stitches to decrease and the specific decrease method to use.
4. Knit across the thumb hole center
After decreasing the required number of stitches, continue knitting across the thumb hole center. This will maintain the stitches in this area and keep the thumb hole open.
5. Pick up stitches
Once you have completed knitting the main section of the fingerless glove, it’s time to pick up the provisional cast on stitches. Carefully remove the provisional cast on, and use a crochet hook or knitting needle to pick up the stitches along the edge of the thumb hole.
6. Knit the thumb
Finally, knit the picked up stitches to create the thumb. You can follow the knitting pattern instructions to determine the desired length and shaping for the thumb. Remember to bind off the stitches at the end to secure the thumb section.
Shaping the thumb hole in fingerless gloves is a crucial step in creating a comfortable and functional accessory. By following these steps and using the knitting pattern instructions, you can easily shape the thumb hole and complete your fingerless gloves.
Knitting the Thumb
Once you have completed the hand portion of the fingerless gloves, it’s time to move on to knitting the thumb. The thumb is an important feature of fingerless gloves as it allows for greater dexterity and flexibility while keeping your hands warm. Knitting the thumb is relatively simple and can be done using the same set of knitting needles as the rest of the glove.
To begin knitting the thumb, you will need to pick up stitches along the edge of the thumb opening. This can be done by inserting your knitting needle into the edge of the thumb opening and pulling the yarn through to create a new stitch. The number of stitches you pick up will depend on the size of your thumb and the desired fit of the glove.
Once you have picked up the stitches, you can begin knitting the thumb in the desired stitch pattern. This can be the same stitch pattern used for the rest of the glove or a different one for a contrasting look. You will continue knitting in the round until the thumb reaches the desired length.
If you want to create a more snug fit for the thumb, you can decrease the number of stitches as you knit. This can be done by knitting two stitches together at regular intervals or by using a different decrease method such as slip, slip, knit. Experiment with different decrease techniques to find the one that works best for your thumb.
Once the thumb is the desired length and the stitches have been decreased if necessary, you can finish off the thumb by binding off the stitches. Cut the yarn, leaving a tail long enough to weave in later, and pull it through the last stitch to secure it. Weave in any loose ends and your fingerless gloves with a thumb are complete!
Finishing the Fingerless Gloves
Once you have completed knitting both fingerless gloves, it’s time to finish them off and make them ready to wear. Here are the final steps to complete your gloves:
- Thread a needle with a matching yarn color. You can use the tail from your cast-on or bind-off edge.
- With the wrong side of the glove facing up, begin by sewing the side seam of the glove. Use a whip stitch or mattress stitch to join the two edges together. Repeat the same process for the other glove.
- Next, fold the top edge of the glove about 1 inch toward the wrong side and sew it in place using the same stitching technique. This will create a neat and finished edge for the top of the glove.
- If desired, you can also add a decorative touch by sewing on buttons, beads, or other embellishments to the gloves. Be creative and make them your own!
Congratulations! Your fingerless gloves are now finished and ready to keep your hands warm and stylish. Enjoy wearing them or share them as thoughtful handmade gifts for your loved ones. Happy knitting!