
Looking for a fun and adorable knitting project? Look no further! This free toy cow knitting pattern is perfect for both beginner and experienced knitters alike. Whether you’re making it as a gift or as a cute decoration for your home, this pattern is sure to bring a smile to your face.
The toy cow is knitted in the round, making it seamless and easy to work up. The pattern includes clear and detailed instructions, along with step-by-step photos to guide you through each stage of the project. Even if you’ve never knitted before, you’ll be able to create your very own cuddly cow in no time.
Not only is this toy cow a joy to make, but it’s also a wonderful way to use up any leftover yarn you may have. You can choose to make it in traditional black and white, or get creative and use different colors to make a rainbow cow. The possibilities are endless!
Choose the right yarn
When knitting a toy cow, it is important to choose the right yarn to ensure the best results. The yarn you choose will affect the texture, durability, and overall appearance of the finished toy. It’s important to consider several factors when selecting yarn for your project.
Type of yarn: There are several types of yarn available, including acrylic, wool, cotton, and blends. Acrylic yarn is often a popular choice for toys because it is affordable, machine-washable, and comes in a wide range of colors. Wool yarn provides a soft and warm texture, ideal for cuddly toys like a cow. Cotton yarn is durable and breathable, making it a great choice for toys that may be used outdoors. Consider the qualities you want in your toy and choose the yarn accordingly.
Weight of yarn: Yarn comes in different weights, ranging from lace weight to super bulky. For a toy cow, it is best to choose a medium weight yarn, also known as worsted weight or aran weight. This weight is commonly used for toys as it provides a good balance between being sturdy and not too bulky. It will also make it easier to achieve the intended size and shape of the cow.
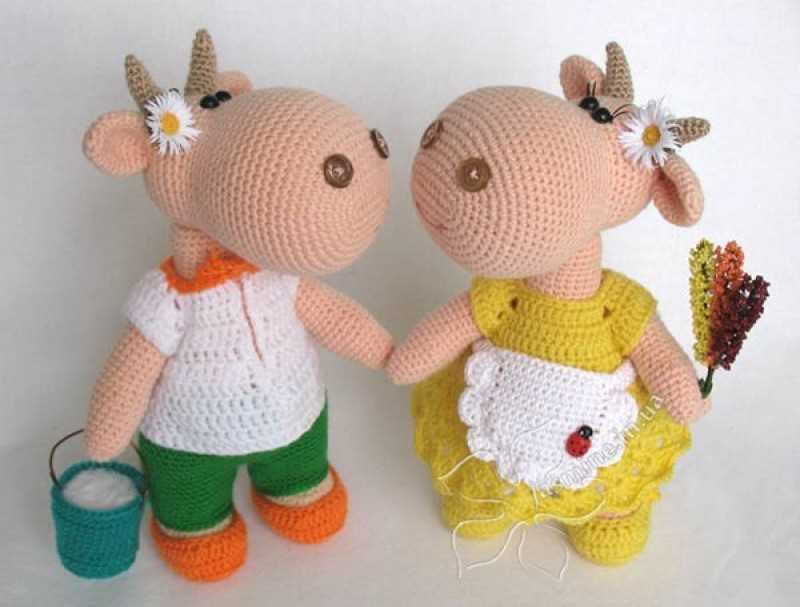
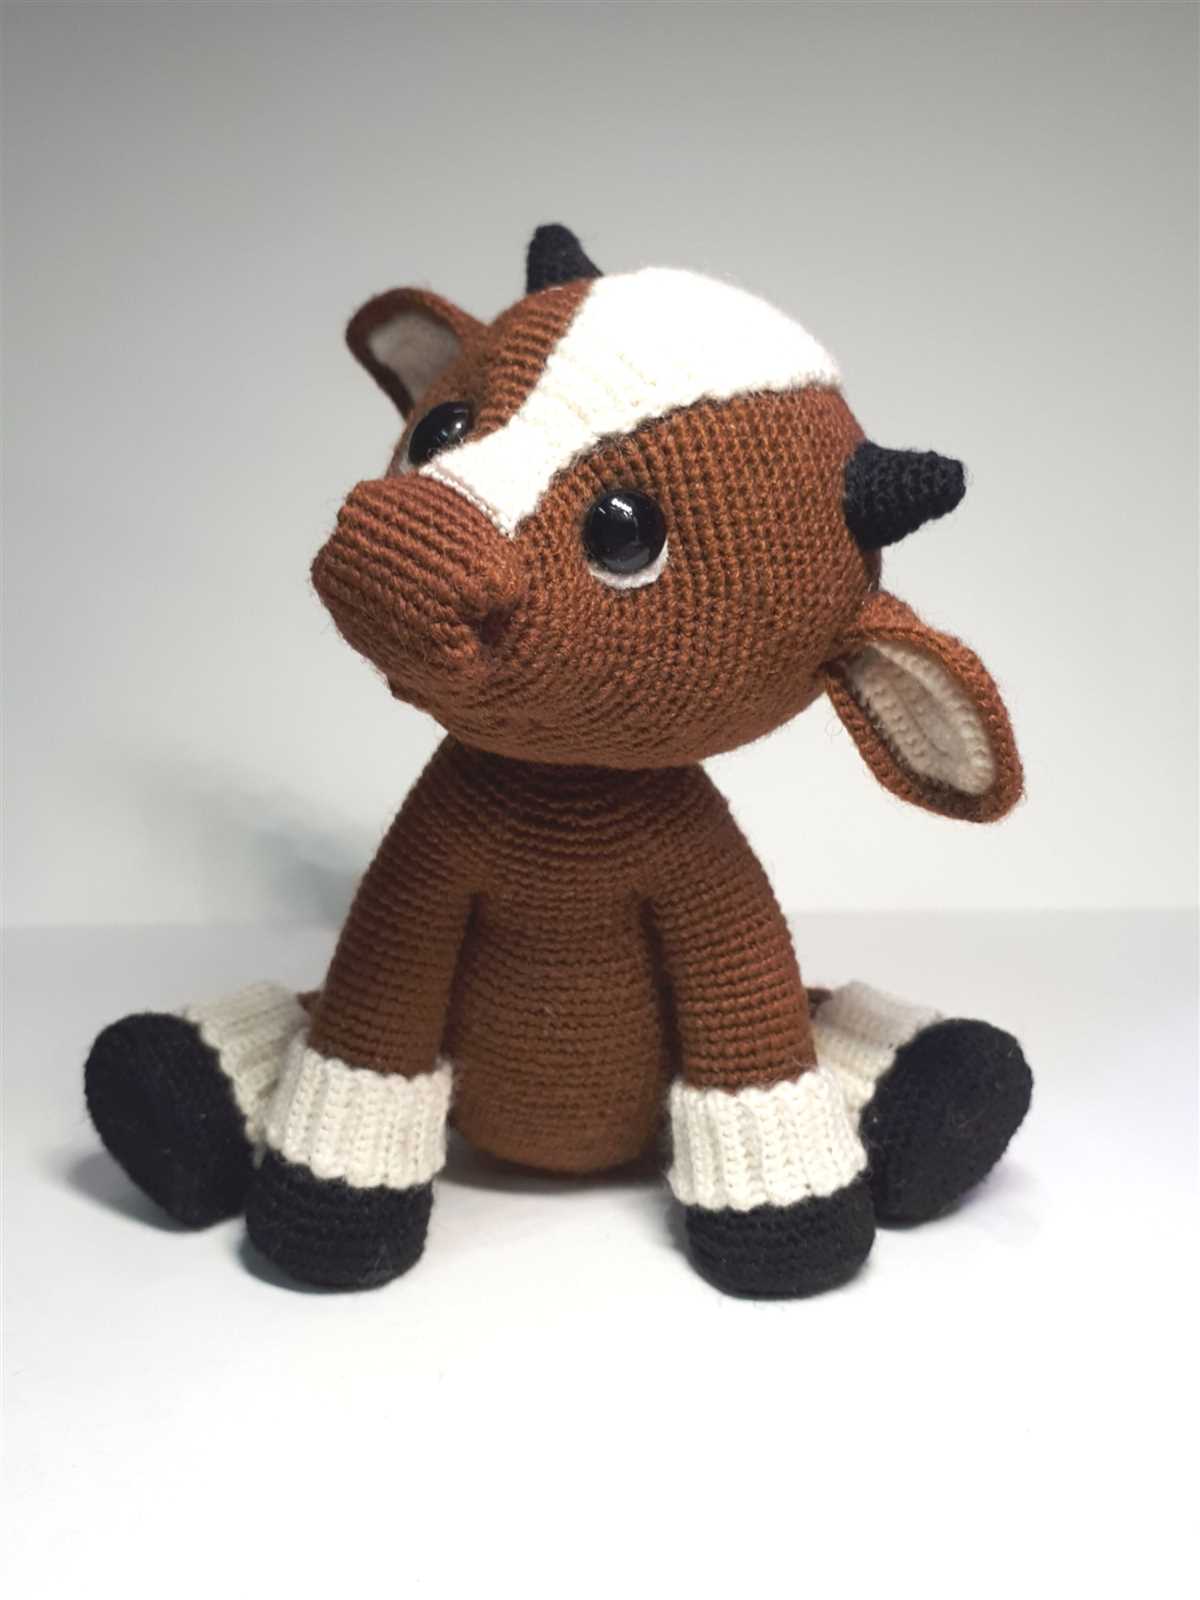
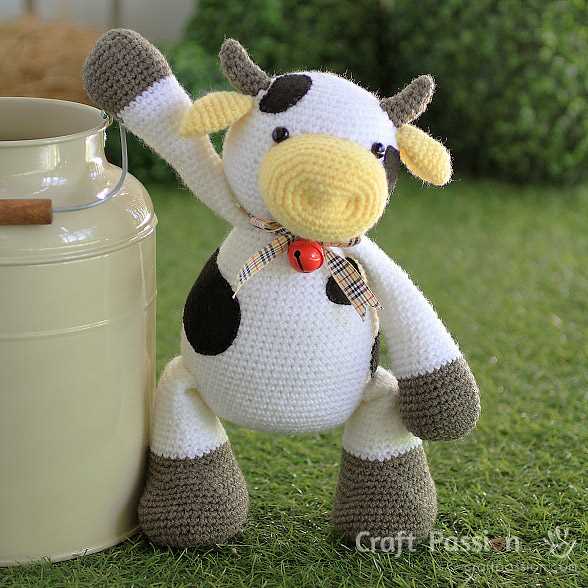
Color: The color of the yarn is another important consideration. Think about the look you want to achieve for your toy cow. Traditional black and white or brown and white color combinations are often chosen for a realistic cow appearance. However, you can also get creative and choose vibrant or pastel shades for a more whimsical look. Consider the recipient’s preferences and the intended purpose of the toy when selecting the yarn color.
Quantity: Depending on the pattern and size of your toy cow, you will need a specific quantity of yarn. Make sure to check the pattern or calculate the yardage required before purchasing the yarn. It’s always a good idea to buy an extra skein or two to ensure you have enough yarn to complete your project, as it can be difficult to match dye lots and colors later on if you run out.
By considering these factors and carefully choosing the right yarn, you can ensure that your knitted toy cow turns out beautifully, with the desired texture, durability, and appearance.
Get the necessary knitting tools
If you’re planning to knit a toy cow using the free knitting pattern, you’ll need to gather the necessary tools and supplies. Having the right tools will make the knitting process easier and more enjoyable. Here are the essential tools you’ll need:
- Knitting Needles: You’ll need a pair of knitting needles suitable for the yarn you’ll be using. The pattern may specify the size needed, so be sure to check that before starting.
- Yarn: Choose a soft and durable yarn in the colors specified in the pattern. You can find a variety of yarn options at your local craft store or online.
- Stitch Markers: Stitch markers are helpful for keeping track of specific sections or stitches in your knitting. They can be purchased or improvised using a safety pin or small loop of yarn.
- Tapestry Needle: A tapestry needle with a large eye is necessary for weaving in loose ends and sewing the toy together.
- Scissors: A pair of sharp scissors will be needed for cutting the yarn and trimming any excess ends.
- Stuffing: To give your toy cow its shape, you’ll need some stuffing material. Polyester fiberfill is a popular choice and can be found at craft stores.
- Pattern: Finally, make sure to have the free toy cow knitting pattern printed out or accessible on your device.
Having these tools on hand will set you up for a successful knitting project. Once you’ve gathered everything, you’ll be ready to start knitting your adorable toy cow!
Gauge swatch preparation
Before beginning your toy cow knitting project, it’s important to prepare a gauge swatch. A gauge swatch is a small sample of knitting that allows you to determine the correct tension and stitch count for your project. This is crucial in ensuring that your toy cow turns out the correct size and shape.
To create a gauge swatch, start by selecting the yarn and knitting needles you plan to use for your project. It’s important to note that different yarns and needles can produce different gauge results, so make sure to use the same materials as your project calls for.
Step 1: Begin by casting on a few stitches using the specified needle size. The pattern should indicate how many stitches to cast on for your gauge swatch.
Step 2: Knit several rows in the specified stitch pattern, making sure to keep your tension consistent. For example, if the pattern calls for stockinette stitch, alternate between knitting one row and purling the next.
Step 3: Once you have knitted a sufficient number of rows, bind off your stitches and carefully measure the dimensions of your swatch. Use a ruler or measuring tape to determine the number of stitches and rows per inch.
Step 4: Compare your swatch measurements to the gauge specified in the pattern. If your swatch does not match the required gauge, you may need to adjust your needle size. If your stitches are too loose, try using a smaller needle size, and if they are too tight, try using a larger needle size.
Step 5: Once you have achieved the correct gauge, you are ready to start your toy cow knitting project. Remember to measure your gauge swatch periodically throughout your project to ensure that your tension remains consistent.
By taking the time to prepare a gauge swatch, you can ensure that your toy cow turns out the way you want it to. It may seem like an extra step, but it can save you a lot of frustration and disappointment in the end.
Start with the body
When knitting a toy cow, it’s important to start with the body. The body is the foundation of the toy and will determine its size and shape. To begin, you will need to gather your materials, which typically include yarn, knitting needles, stuffing, and any embellishments you want to add to the finished cow. Once you have everything you need, you can start casting on stitches to create the body.
The first step is to cast on the required number of stitches for the body. This will depend on the size of the toy cow you want to create, as well as the thickness of your yarn and the size of your knitting needles. You can refer to the knitting pattern you are following for specific instructions on the number of stitches to cast on.
After casting on, you will then begin the knitting process. You will typically use a combination of knitting and purling stitches to create the body of the toy cow. The specific stitch pattern will depend on the pattern you are following. Make sure to read the pattern carefully and follow the instructions given.
As you continue knitting, you will gradually shape the body of the toy cow. This may involve increasing or decreasing stitches to create curves and contours. It’s important to pay attention to the pattern and follow any shaping instructions provided.
Once you have completed the body of the toy cow, you will need to finish it off by binding off the stitches. This will secure the stitches and prevent them from unraveling. You can then stuff the body with stuffing to give it a soft, plush feel. Finally, you can add any embellishments, such as eyes, a nose, or a tail, to bring your toy cow to life.
Create the head

Starting with the head, this adorable toy cow knitting pattern is perfect for all skill levels. Whether you’re a beginner or an experienced knitter, you’ll enjoy making this cute little cow.
To create the head, you will need white, black, and pink yarn. Begin by casting on 20 stitches with the white yarn. Knit 5 rows in garter stitch, working every row in knit stitches. This will form the base of the head.
Next, switch to the black yarn and knit 3 rows in stocking stitch. This means you will knit 1 row, purl 1 row, and knit 1 row again. This will create the black snout of the cow’s face.
After the black rows, switch back to the white yarn and knit 8 rows in stocking stitch. This will form the top of the head. Switch to the black yarn again and knit 3 rows in stocking stitch.
Finally, switch back to the white yarn and knit 5 rows in garter stitch to finish off the head. Bind off all stitches and cut the yarn, leaving a long tail for sewing.
Now that you have completed the head, you can move on to creating the body and legs of the toy cow. Stay tuned for the next part of this free toy cow knitting pattern!
Knit the legs
Now that you have finished knitting the body of the toy cow, it’s time to move on to knitting the legs. Follow the steps below to create the adorable legs for your toy.
Step 1: Using your chosen yarn color, cast on the required number of stitches for each leg. The pattern should specify the number of stitches you need to cast on.
Step 2: Knit each leg in the round using double-pointed needles or a small circular needle. This will help create a seamless and smooth finish for the legs.
Step 3: Pay close attention to the pattern instructions for knitting the legs. It may involve various knitting techniques such as increases, decreases, or shaping to give the legs their proper shape.
Step 4: Continue knitting the legs according to the pattern’s instructions until you reach the desired length. Make sure to knit both legs in the same way to ensure symmetry.
Step 5: Once you have finished knitting the legs, securely bind off the stitches and weave in any loose ends. You can also stuff the legs lightly with toy stuffing to give them a plump and three-dimensional look.
Step 6: Repeat the process above to knit the remaining legs. Depending on the pattern, the toy cow may have two or four legs.
By following these steps, you will be able to knit the legs of your toy cow and bring it closer to completion. Take your time and enjoy the process of creating something unique and charming.
Make the tail
The tail is an important part of the knitted cow toy. It adds charm and character to the finished project. To make the tail, you will need some yarn of your choice and a pair of knitting needles.
Start by casting on a small number of stitches, about 8-10. This will depend on how thick you want the tail to be. You can use whichever knitting stitch you prefer, such as garter stitch or stockinette stitch.
- Row 1: Knit all stitches.
- Row 2: Purl all stitches.
- Repeat rows 1 and 2 until the tail reaches your desired length. You can make it as long or as short as you like.
Once you are happy with the length of the tail, bind off all the stitches. Cut the yarn, leaving a long tail for sewing. Fold the tail in half and sew it securely to the back of the cow toy, near the hind legs.
Assemble the body parts
Now that you have completed knitting all the body parts for your toy cow, it’s time to assemble them together to create the final product. Make sure you have all the necessary parts ready, including the head, body, legs, and tail.
Begin by carefully attaching the head to the body using a tapestry needle and matching yarn color. Start at the top of the body and make small stitches along the bottom edge of the head, securing it firmly in place. You may want to use pins to hold the head in position before stitching.
Next, attach the legs to the underside of the body in the desired position. Again, use a tapestry needle and matching yarn color to carefully stitch the legs securely. Take your time to ensure they are attached evenly and firmly. You can choose to have all the legs facing forward or create a more dynamic pose by having some legs facing forward and others backward.
Once the head and legs are attached, it’s time to add the tail. Thread a tapestry needle with the matching yarn color and insert it through the body where you want the tail to start. Pull the yarn through, leaving a tail that matches the length of the desired tail. Then, using a crochet hook, create a small chain stitch, securing the tail in place. Trim any excess yarn.
Finally, give your toy cow a good shake to fluff up the yarn and bring your creation to life. You can also add any finishing touches, such as embroidery for the eyes and nostrils, to give your toy cow extra personality. Your adorable knitted toy cow is now ready to be enjoyed and cherished!
Add details such as eyes and ears
Adding details to your knitted toy cow will bring it to life and give it personality. One important detail to add is the eyes. You can use small black buttons or plastic safety eyes to give your cow a cute and playful look. Sew them onto the face of the cow using a sturdy thread that matches the color of the cow’s fur. Make sure to securely attach the eyes so that they don’t come off easily.
Another important detail to add is the ears. Knit two triangular ear shapes using the same yarn as the cow’s body. Attach them to the top sides of the cow’s head, slightly angled forward. The ears should be positioned symmetrically and securely sewn in place. You can also add some extra details to the ears, such as a few stitches in a contrasting color to simulate the cow’s inner ear.
To make your toy cow even more realistic, you can also add a nose and a mouth. Embroider a small triangle shape for the nose, using black yarn or embroidery floss. Sew it onto the cow’s face, just below the eyes. For the mouth, you can use either a simple straight stitch or a small curved line, depending on the expression you want to give your cow. Experiment with different shapes and sizes to find the perfect look for your knitted cow.
Remember to always take your time when adding the details, and make sure everything is securely attached for safety. With the eyes, ears, nose, and mouth, your knitted toy cow will be transformed from a plain piece of knitting into a charming and adorable companion for both children and adults alike.
Finishing touches
Once you have finished knitting your toy cow, it’s time to add the final touches to bring it to life. Here are some suggestions on how to make your toy cow look even more adorable.
1. Embroider the facial features
Using black embroidery thread, carefully add the eyes and nose to your toy cow. This will give it a cute and expressive look. You can use small stitches to create the eyes and a triangular shape for the nose.
2. Add details with colored yarn
To make your toy cow more colorful, you can use different shades of yarn to add spots or patches to its body. Cut small strands of yarn in the desired colors and sew them onto your toy cow using a tapestry needle. This will give your cow a playful and unique appearance.
3. Attach a tail
Using the same yarn you used for the body, create a small tail for your toy cow. You can either knit it separately and sew it onto the back of the cow, or you can directly knit it onto the body as you finish knitting the last rows. Make sure to secure the tail tightly to prevent it from unraveling.
4. Stuff and shape the body
Before closing up the last opening on your toy cow, stuff the body firmly with fiberfill or any other stuffing material of your choice. This will give your cow a soft and cuddly feel. Additionally, you can shape the legs, body, and head as desired by gently molding them with your hands.
With these finishing touches, your toy cow will be ready to be loved and played with. Don’t forget to give your cow a name and enjoy the satisfaction of completing a beautiful knitting project!
Get creative with colors and patterns
When knitting a toy cow, you have the opportunity to let your creativity shine through by using various colors and patterns. Whether you want to create a realistic-looking cow or a whimsical, colorful version, the choice is entirely up to you.
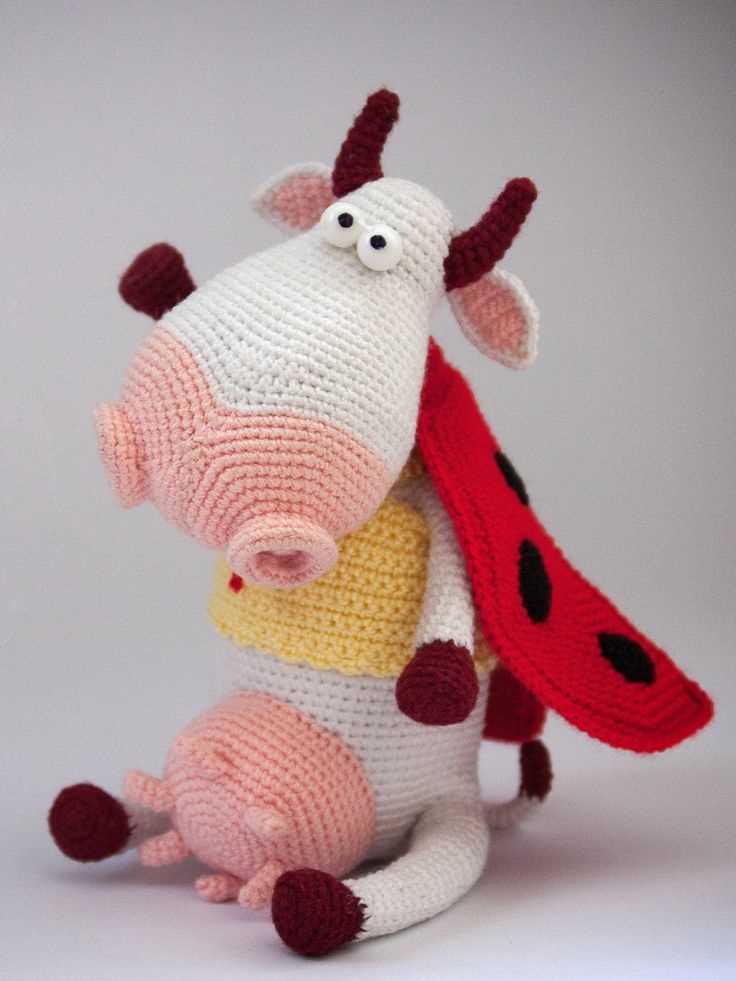
Colors: Traditional cows are predominantly black and white, but that doesn’t mean you have to stick to the norm. Experiment with different shades of brown, gray, or even vibrant colors like pink or purple. You can create a unique and eye-catching toy cow that will stand out from the rest.
Patterns: While a simple garter stitch or stockinette stitch can be used to create the body of the cow, you can incorporate various patterns and textures to make it more interesting. Consider using seed stitch for the spots or a cable pattern for the tail. You can also add playful details like bows, ribbons, or buttons to give your toy cow some extra charm.
By mixing and matching colors and patterns, you can create a toy cow that reflects your personal style and preferences. Whether you opt for a classic black and white cow or a rainbow-colored one, the end result will be a unique and one-of-a-kind creation that you can cherish or gift to someone special.
Share your toy cow masterpiece
Now that you have completed your toy cow knitting project using our free knitting pattern, it’s time to show off your masterpiece! We would love to see all the different versions and variations of the toy cow that our readers have created.
If you are proud of your toy cow and want to share it with us and the knitting community, please send us a photo of your creation. We will feature the best submissions on our website and social media channels, so everyone can marvel at your knitting skills!
Whether you chose to stick to the traditional colors or put your own creative spin on the design, we are excited to see what you have come up with. Don’t forget to include a brief description or story about your toy cow, and feel free to share any tips or tricks you may have discovered during the knitting process.
Submit Your Toy Cow
If you’re ready to share your toy cow masterpiece, please email your photo and accompanying information to [email protected]. We can’t wait to see your creations and share them with our knitting community!
Thank you for choosing our free toy cow knitting pattern, and we hope you had a great time knitting your new cuddly friend. Happy knitting!
Q&A:
Where can I find a free toy cow knitting pattern?
You can find free toy cow knitting patterns on various websites, such as Ravelry, LoveKnitting, and AllFreeKnitting. These websites offer a wide range of knitting patterns, including ones for toy cows.
Are there any specific materials required for knitting a toy cow?
Most toy cow knitting patterns typically require basic knitting materials, including yarn, knitting needles, stuffing, and safety eyes. The specific materials and sizes may vary depending on the pattern you choose.
How difficult is it to knit a toy cow?
The difficulty level of knitting a toy cow can vary depending on the pattern you choose. Some patterns may be more suitable for beginners, while others may require more advanced knitting skills. It’s always a good idea to read through the pattern before starting to ensure it matches your skill level.
Can I resize the toy cow knitting pattern?
Yes, it is possible to resize a toy cow knitting pattern. However, resizing a pattern may require adjusting the number of stitches, changing the size of the knitting needles, and/or using a different weight of yarn. Make sure to carefully read the instructions and consider your desired size before making any modifications.
Can I sell the toy cows I make using a free knitting pattern?
The legality of selling items made from a free knitting pattern can vary depending on the specific pattern and its terms of use. Some patterns may allow you to sell the finished toys, while others may restrict their use to personal, non-commercial use. It’s important to read the terms of use provided with the pattern to determine if selling the finished toys is allowed.
Where can I find a free toy cow knitting pattern?
You can find a free toy cow knitting pattern on websites such as Ravelry, LoveCrafts, and Pinterest. There are also many blogs and knitting pattern databases that offer free toy cow knitting patterns.