
Are you a proud Slytherin and want to show off your house pride? Look no further than this Slytherin Scarf knitting pattern! Perfect for fans of the Harry Potter series, this scarf is sure to keep you warm while representing your favorite Hogwarts house.
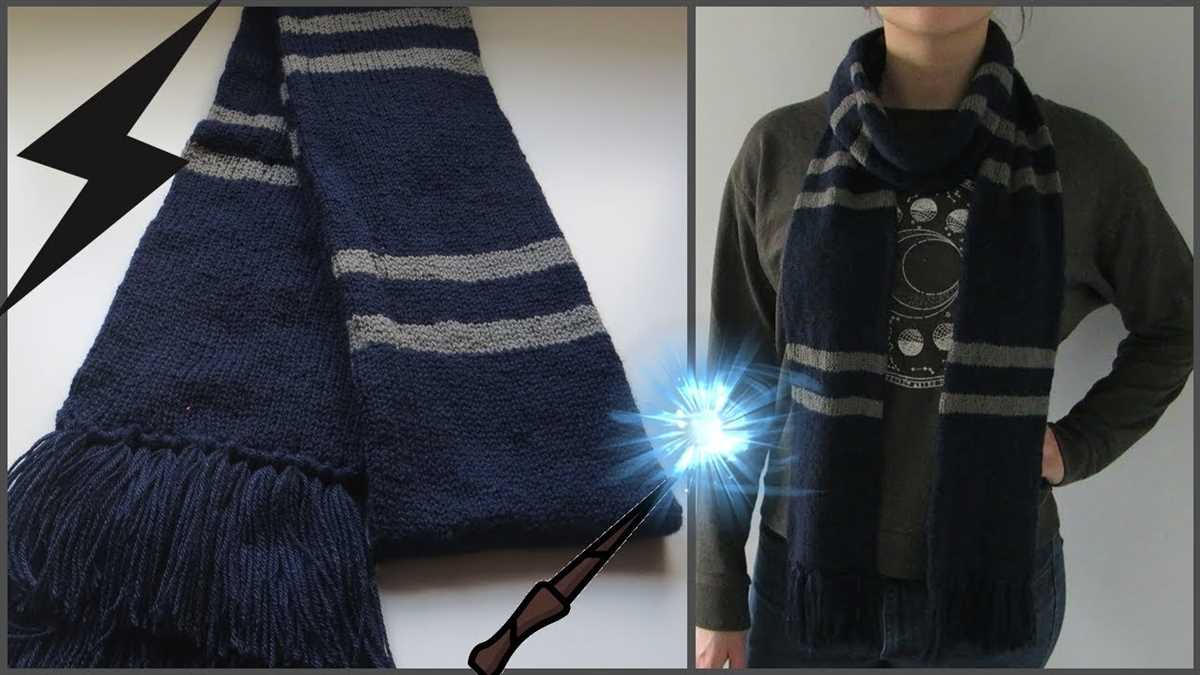
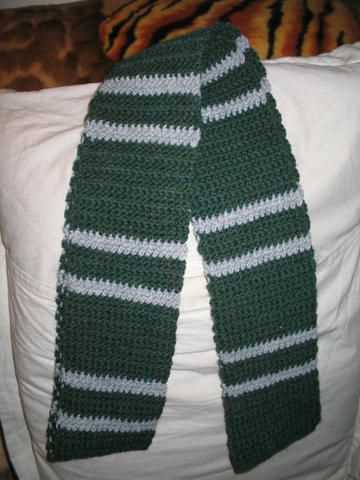
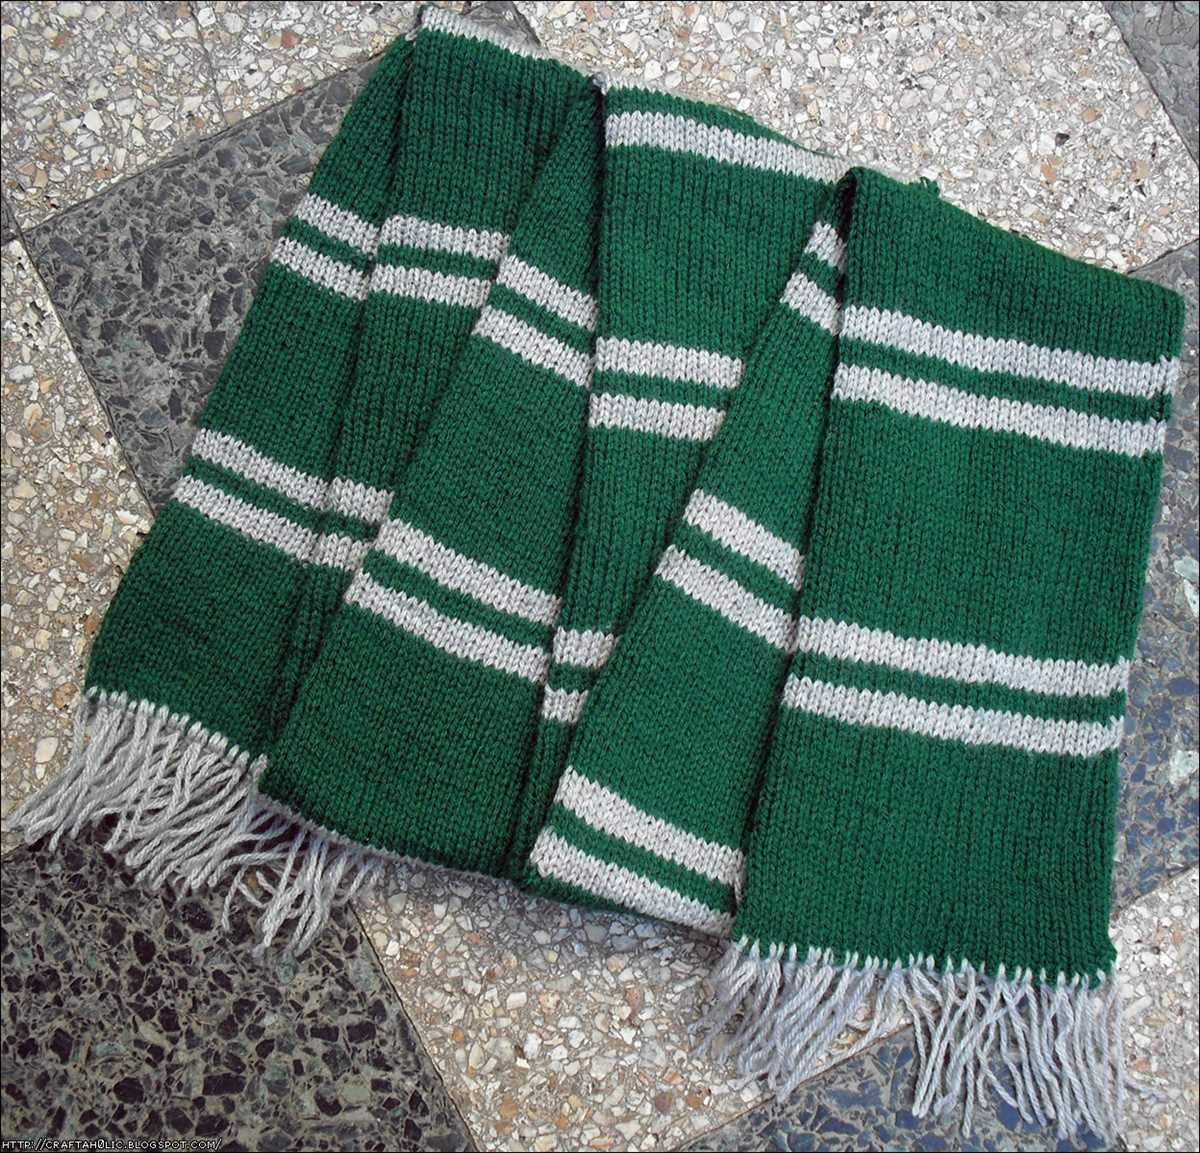
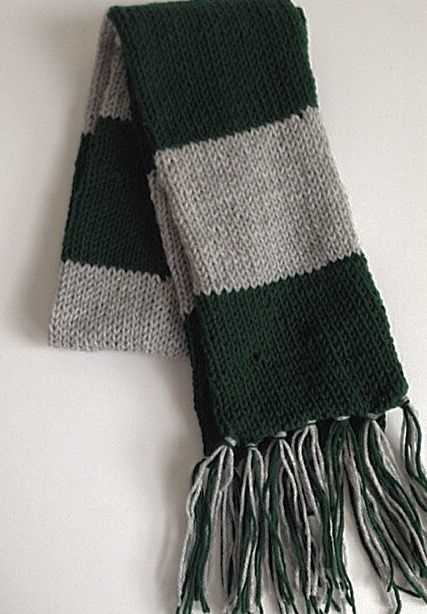
The pattern features the iconic green and silver colors of Slytherin, with alternating stripes and a sleek design. The scarf is knit in a ribbed pattern, which gives it a nice stretch and texture. Whether you’re attending a costume party, going to a Harry Potter themed event, or simply want to add a touch of magic to your everyday wardrobe, this scarf is a must-have accessory for any Slytherin.
This knitting pattern is suitable for beginners and includes step-by-step instructions, as well as a list of materials needed. Even if you’re new to knitting, you’ll be able to make this scarf with ease. Whether you prefer to knit in the comfort of your own home or while you’re on the go, this project is easily portable and can be worked on whenever you have a few spare moments.
Slytherin Scarf Knitting Pattern
If you are a fan of the Harry Potter series and the Slytherin house, you may want to show off your house pride by knitting yourself a Slytherin scarf. This iconic scarf features the house colors of green and silver in a classic striped design. By following this knitting pattern, you can create your very own Slytherin scarf to keep you warm and stylish.
Materials:
- Size 7 knitting needles
- Worsted weight yarn in green and silver
- Tapestry needle
- Scissors
Instructions:
- Cast on 40 stitches using green yarn.
- Knit 2 rows in green.
- Switch to silver yarn and knit 2 rows.
- Continue alternating between green and silver yarn, knitting 2 rows in each color, until the scarf reaches your desired length.
- Bind off all stitches and weave in any loose ends using a tapestry needle.
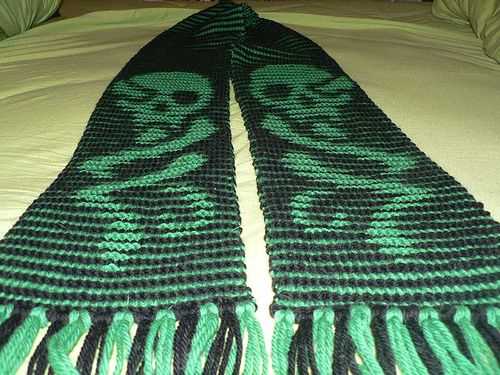
This pattern creates a basic Slytherin scarf with a simple striped design. If you want to add more detail, you can consider adding a Slytherin house crest patch or embroidery at one end of the scarf. You can also customize the length and width of the scarf to your preference.
Whether you are attending a Harry Potter-themed event or just want to show off your Slytherin pride, knitting your own Slytherin scarf is a fun and creative way to represent your favorite house. So grab your needles and yarn, and start creating your very own Slytherin scarf!
History of Slytherin House
Welcome to the fascinating history of Slytherin House, one of the four noble houses of Hogwarts School of Witchcraft and Wizardry. Founded by Salazar Slytherin himself, this house has a rich and controversial history that has shaped the lives of many talented wizards and witches.
Founding of Slytherin House: Salazar Slytherin, along with Godric Gryffindor, Helga Hufflepuff, and Rowena Ravenclaw, founded Hogwarts in the 10th century. Slytherin, known for his cunning and ambition, believed that only pure-blooded wizards and witches should be admitted to the school. This led to a falling out between him and the other founders, and Slytherin left behind a series of hidden chambers and secrets within the school.
Great Wizards and Witches from Slytherin:
- Merlin: One of the most famous wizards in history, Merlin is believed to have been a Slytherin. His remarkable magical abilities and wise counsel continue to inspire generations of witches and wizards.
- Tom Riddle (Lord Voldemort): Although his name strikes fear into the hearts of many, Tom Riddle was undeniably one of the most powerful wizards of his time. He was a Slytherin and later became the dark wizard known as Lord Voldemort.
- Horace Slughorn: Known for his expertise in Potion-making, Horace Slughorn was a prominent member of the Slytherin House. He served as the Potions professor at Hogwarts and mentored many talented students.
Please note that not all Slytherins are evil or associated with dark magic. While the house is known for producing individuals with ambitious and cunning traits, there have been many honorable and successful wizards and witches who have come from Slytherin throughout history.
House Traits and Values: Slytherin House is known for fostering ambition, resourcefulness, and strong leadership qualities in its members. Those who are sorted into Slytherin are often determined and have a desire for success, which can be a positive attribute when channeled in the right direction.
Why Knit a Slytherin Scarf?
If you or someone you know is a fan of the Harry Potter series, knitting a Slytherin scarf can be a great way to show your house pride. The Slytherin house, known for its cunning and ambition, has become a symbol of loyalty and determination. By knitting a scarf in the colors of Slytherin, you can proudly display your love for the series and your connection to this iconic house.
Knitting a Slytherin scarf can also be a fun and rewarding project. The process of knitting allows you to be creative and express yourself, while also providing a sense of relaxation and accomplishment. Whether you’re an experienced knitter or just starting out, knitting a scarf can be a great way to improve your skills and create something beautiful.
The Slytherin scarf is distinctive with its deep green and silver colors, representing the house’s serpent mascot and traditional colors. By knitting a Slytherin scarf, you can bring a touch of magic and style to your winter wardrobe, and stand out from the crowd with a unique and eye-catching accessory. Whether you wear it to a Harry Potter-themed event or simply as a fashion statement, the Slytherin scarf is sure to turn heads and spark conversations.
Additionally, knitting a Slytherin scarf can be a thoughtful gift for a fellow Harry Potter fan. Whether it’s for a friend, family member, or even yourself, a handmade scarf shows that you’ve put time and effort into creating something special. It can be a meaningful and personal gift that will be treasured for years to come.
In conclusion, knitting a Slytherin scarf is a way to celebrate your love for the Harry Potter series, showcase your creativity, and add a touch of magic to your wardrobe. Whether you’re a die-hard Slytherin supporter or simply appreciate the unique style of the house, knitting a Slytherin scarf can be a fun and rewarding project that allows you to express yourself and create something truly special.
Materials Needed for the Scarf
In order to knit a Slytherin scarf, you will need a few key materials. These materials will help you create a high-quality scarf that perfectly represents the house of Slytherin. Whether you are a die-hard Harry Potter fan or simply appreciate the iconic design, this knitting project is sure to be a hit.
1. Yarn
The first thing you will need is the right yarn. To create an authentic Slytherin scarf, you will need two different shades of green. The primary color should be a dark forest green, while the secondary color should be a lighter, more vibrant shade. Choose yarn that is soft, warm, and durable to ensure that your scarf stands the test of time.
2. Knitting Needles
Next, you will need a pair of knitting needles. The exact size will depend on your personal gauge and the thickness of your chosen yarn. Generally, a pair of US size 7 (4.5 mm) needles should work well for most knitters. However, if you prefer a tighter or looser stitch, feel free to adjust the needle size accordingly.
3. Tapestry Needle
In addition to knitting needles, you will also need a tapestry needle. This needle is used for weaving in loose ends and seaming the scarf together. Choose a tapestry needle with a large eye and a blunt tip to make it easier to work with your yarn.
4. Measuring Tape
A measuring tape is an essential tool for ensuring that your scarf is the correct length and width. Use a flexible measuring tape to accurately measure your progress as you knit. This will help you maintain consistent sizing throughout the project.
5. Stitch Markers
Stitch markers can be helpful for keeping track of stitch pattern repeats or marking specific sections of the scarf. You can use commercial stitch markers or make your own out of scrap yarn or safety pins.
- Fabric Measuring Tape
- Tapestry Needle
- Scissors
- Stitch Markers
- Yarn Needle
Choosing the Right Yarn for the Scarf
When knitting a Slytherin scarf, it is important to choose the right yarn to achieve the desired look and feel. The color choices for a Slytherin scarf are usually green and silver, so finding yarn in these colors is a good starting point. However, there are other factors to consider when selecting the perfect yarn for your project.
Weight: The weight of the yarn determines the thickness and warmth of the scarf. The Slytherin scarf is typically worn as a winter accessory, so a medium or bulky weight yarn would be a suitable choice to provide the necessary warmth and coziness.
- Fiber Content: The fiber content of the yarn affects both the appearance and the comfort of the scarf. To achieve a traditional look, choose a yarn made from natural fibers such as wool or alpaca. These fibers will add warmth and durability to the scarf. For a more budget-friendly option, acrylic yarn can also be used.
- Texture: The texture of the yarn can add visual interest and dimension to the scarf. Look for yarn with a smooth texture for a classic look or opt for a textured yarn such as tweed or boucle to add some character to the scarf.
- Care Instructions: Consider the care instructions for the yarn. Some yarns require special care such as hand-washing or dry-cleaning, while others can be machine-washed. Choose a yarn that aligns with your preferred care routine to ensure the longevity of the scarf.
By considering these factors and selecting the right yarn, you’ll be able to create a Slytherin scarf that not only looks great but also provides warmth and comfort during the colder months.
Slytherin Scarf Pattern Overview
If you’re a fan of the Harry Potter series and the Slytherin house, you might be interested in knitting your own Slytherin scarf. With its distinctive color scheme of green and silver, a Slytherin scarf is a great way to show off your house pride. Whether you’re a beginner or an experienced knitter, this pattern provides a detailed guide to knitting your own Slytherin scarf.
Materials
To knit your own Slytherin scarf, you will need the following materials:
- 2 skeins of green worsted weight yarn
- 1 skein of silver worsted weight yarn
- A pair of size 7 knitting needles
- A yarn needle
Pattern
The Slytherin scarf pattern is worked using a simple rib stitch pattern. To begin, cast on 60 stitches using the green yarn. Then, work in a 2×2 rib stitch pattern (knit 2, purl 2) for the entire length of the scarf. Alternate between the green and silver yarns every 12 rows to create the striped design.
Continue knitting in the rib stitch pattern, alternating colors every 12 rows, until the scarf reaches your desired length. Finally, bind off all stitches and weave in any loose ends with the yarn needle. Your Slytherin scarf is now complete and ready to wear with pride!
Cast On Stitches
The first step in knitting a Slytherin scarf is to cast on stitches. Casting on is the process of creating the initial loops on the needle, which will eventually form the foundation of the scarf. There are different methods for casting on, but for this pattern, we will be using the long tail cast on.
To start, you will need a pair of knitting needles and your chosen yarn. Begin by making a slipknot at the end of the yarn, leaving a long tail of approximately 6 inches. Hold the slipknot between your thumb and index finger, with the tail end hanging down.
Step 1: Place your needle under the first loop of the slipknot, going from right to left.
Step 2: With your other hand, bring the yarn over the top of the needle, creating a yarn loop.
Step 3: Insert the needle into the yarn loop, going from left to right, and pull the loop through. This is your first cast on stitch.
Step 4: Repeat steps 2 and 3 to create additional cast on stitches, following the pattern’s required number of stitches. Make sure to keep the tension of the stitches even, neither too tight nor too loose.
Once you have cast on the required number of stitches, you can continue with the next step in the pattern, such as knitting the first row. Remember to refer to the pattern for any specific instructions or stitch counts. Happy knitting!
Knitting the Scarf’s Main Body
Once you have cast on the desired number of stitches for your Slytherin scarf, it is time to begin knitting the main body of the scarf. The main body consists of simple rows of knit and purl stitches, creating the distinctive ribbed pattern that is characteristic of the Slytherin scarf.
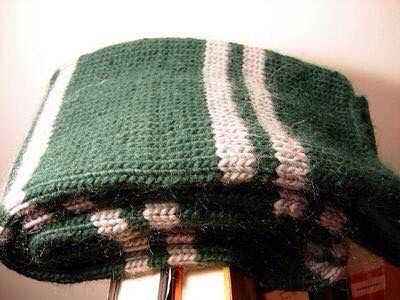
To start, alternate between knitting and purling each row. This creates the ribbed texture of the scarf, with the knitted stitches appearing as raised ridges and the purled stitches creating recessed valleys. Make sure to keep track of your knitted and purled stitches to maintain the consistency of the ribbed pattern.
Continue knitting in this ribbed pattern until you have reached the desired length for your scarf. This can be determined by measuring the scarf against yourself or using a tape measure. Remember to keep in mind that some length will be added from the fringe at the ends of the scarf, so adjust accordingly.
If you prefer a wider scarf, you can increase the number of stitches cast on. Conversely, if you prefer a narrower scarf, you can decrease the number of stitches. Just make sure to adjust the pattern accordingly so that you maintain the ribbed texture.
As you knit, periodically check for any mistakes or dropped stitches. Fix them as you go to avoid any major issues later on. It is also a good idea to periodically measure your scarf to ensure that you are on track with the desired length.
Once you have reached the desired length, you can move on to adding the fringe to the ends of the scarf. This will give your Slytherin scarf a finished and polished look, completing the authentic Hogwarts aesthetic.
Adding the Stripes
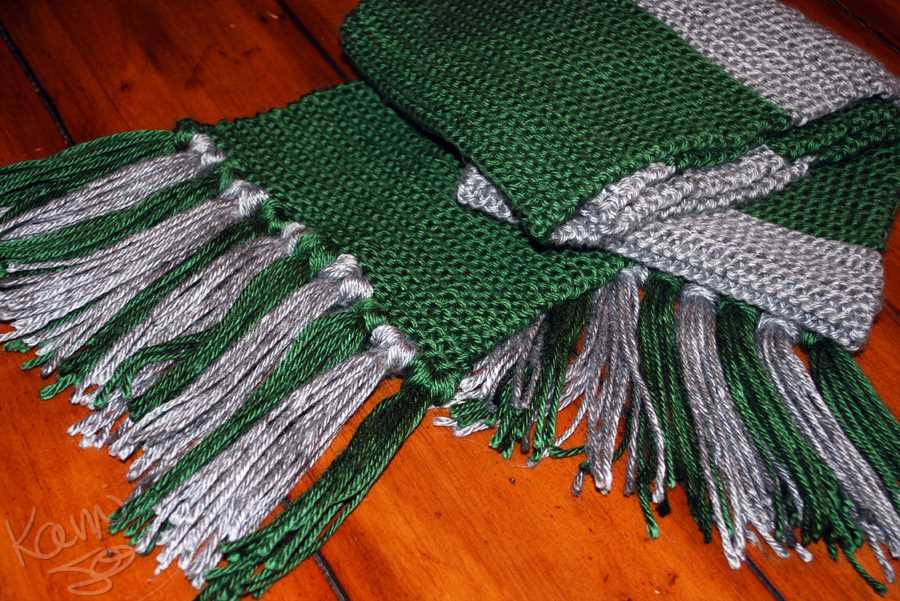
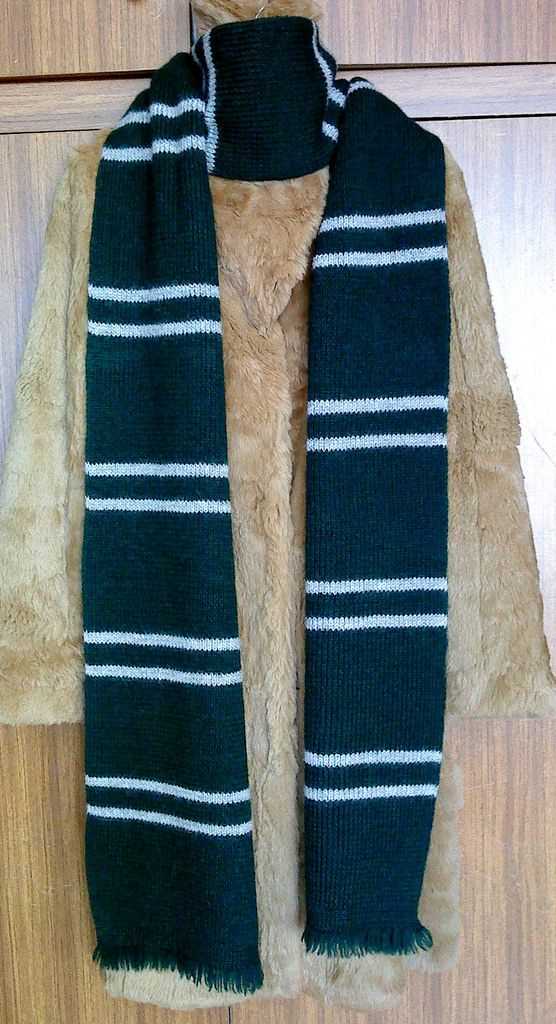
Once you have finished knitting the base of the Slytherin scarf, it’s time to add the iconic green and silver stripes. The pattern calls for two green stripes and one silver stripe, alternating throughout the scarf.
To begin, you will need to gather your materials. You will need two skeins of green yarn and one skein of silver yarn. Make sure to choose yarns that match the colors of the Slytherin house. You will also need your knitting needles and a pair of scissors.
Start by attaching the green yarn at one end of the scarf. Use a slipknot to secure the yarn to the needle, then start knitting with the green yarn, following the pattern. After knitting the desired number of rows for the green stripe, cut the yarn, leaving a tail to weave in later.
Next, attach the silver yarn in the same manner as the green yarn, just below the green stripe. Knit the desired number of rows for the silver stripe, then cut the yarn and weave in the tail. Repeat this process, alternating between the green and silver yarns, until you reach the end of the scarf.
When weaving in the tails, make sure to secure them tightly so they don’t come loose with wear. Once you have finished adding the stripes, you can block the scarf to give it a polished and finished look.
Now you have a Slytherin scarf with the iconic green and silver stripes, ready to show off your house pride!
Changing Yarn Colors
When knitting a project with multiple colors, changing yarn colors can add depth and visual interest to your work. There are a few different ways to change colors, depending on the effect you want to achieve and the type of project you are working on.
1. Intarsia: Intarsia is a colorwork technique where different sections of color are worked with separate balls of yarn. To change colors in intarsia, simply drop the old color and pick up the new color, making sure to twist the yarns together at the back of the work. This technique is often used for large color blocks or intricate designs.
2. Stranded knitting: Stranded knitting, also known as Fair Isle knitting, involves carrying two or more colors across the row and working with them as needed. To change colors in stranded knitting, simply drop the old color and start knitting with the new color, being careful not to pull the floats too tight. This technique is commonly used in traditional Norwegian and Scandinavian knitting patterns.
Whichever method you choose, it’s important to secure your yarn tails when changing colors to prevent unraveling or loose ends. You can do this by weaving the yarn tails into the back of your work or by using a technique called “spit splicing” to join the tails of the old and new yarn together.
Experiment with different color combinations and techniques to create unique and personalized projects. Changing yarn colors can bring your knitting to life and add a touch of creativity and artistry to your work.
Shaping the Scarf’s Ends
When knitting a Slytherin scarf, one of the key elements to consider is shaping the ends of the scarf. The ends of the scarf can be shaped in various ways to create a more finished and polished look.
One method to shape the ends of the scarf is to create a tapered edge. This can be achieved by gradually decreasing the number of stitches in each row as you approach the end of the scarf. This creates a pointed edge that gives the scarf a more elegant and refined appearance. It is important to carefully follow the pattern instructions for decreasing stitches to ensure a clean and symmetrical taper.
Another technique to shape the ends of the scarf is by adding fringe. Fringe can add a touch of texture and movement to the scarf, and it can also help to prevent the ends of the scarf from curling. To add fringe, simply cut several strands of yarn to the desired length and attach them to the ends of the scarf. The number and length of the fringe strands can be customized to fit individual preferences.
Additionally, some knitters may choose to add a decorative border to the ends of the scarf. This can be done by incorporating a different stitch pattern or colorwork into the last few rows of the scarf. This adds an extra visual element to the scarf and can make it stand out even more. It is important to plan the border design in advance and ensure that the stitch count and tension are consistent with the rest of the scarf.
Finishing and Blocking the Scarf
In order to complete your Slytherin scarf, you will need to finish it off and block it to give it a polished look. Finishing the scarf involves sewing in any loose ends and hiding them within the knitting. Blocking the scarf helps to even out the stitches and give the finished piece a professional appearance.
Finishing the Scarf

Start by checking the entire scarf for any loose ends or threads that need to be secured. Using a yarn needle, carefully weave the loose ends into the fabric of the scarf, making sure to go in different directions to secure them well. Try to hide the ends within the knitting so that they are not visible.
Next, you may want to consider adding fringe to the ends of the scarf for an extra touch. Cut pieces of yarn to the desired length and attach them to the end of the scarf using a crochet hook. Make sure the fringe is evenly spaced and trim any excess yarn to create a neat and clean finish.
Blocking the Scarf
To block the scarf, you will need to wet it and shape it into the desired dimensions. Fill a basin or sink with cool water and submerge the scarf, gently squeezing out any air bubbles. Allow the scarf to soak for about 10 minutes.
After soaking, remove the scarf from the water, being careful not to wring or twist it. Lay the scarf flat on a clean towel and gently roll it up, pressing to remove excess water. Unroll the towel and carefully reshape the scarf to the desired dimensions, gently pulling and smoothing the fabric.
Once the scarf is shaped, lay it flat on a clean, dry towel or blocking mat. Allow it to air dry completely, making sure it is in the desired shape. This may take a day or two, depending on the thickness of the scarf and the humidity of the environment.
Once the scarf is fully dry, it should be beautifully blocked and ready to wear or gift. The blocking process helps to even out the stitches and give the scarf a polished and professional appearance. Enjoy your Slytherin scarf and show off your love for the Harry Potter series!
Tips for Caring for Your Slytherin Scarf
Now that you have your Slytherin scarf, it’s important to take proper care of it to ensure it stays in great condition. Here are some tips to help you care for your scarf:
1. Hand wash or gentle machine wash: To avoid damaging the delicate knit of your scarf, it’s best to hand wash it using mild detergent and cold water. If you prefer to use a washing machine, make sure to select the gentle cycle and place your scarf in a mesh laundry bag for added protection.
2. Avoid using harsh chemicals: Harsh chemicals, such as bleach or strong detergents, can cause damage to the colors and knit of your scarf. Stick to mild detergents specifically designed for delicate knits to preserve the vibrant green and silver colors of your Slytherin scarf.
3. Air dry: After washing, gently squeeze out excess water from your scarf and lay it flat on a clean towel to air dry. Avoid using a dryer or hanging your scarf as it can stretch or distort the knit pattern.
4. Store properly: When not in use, store your Slytherin scarf in a clean, dry place. Avoid hanging it where it can get snagged on other items, and fold it gently to prevent stretching or creasing.
5. Repair any damages promptly: If you notice any loose threads or small holes in your scarf, it’s important to repair them promptly to prevent further damage. Use a needle and thread to carefully stitch up any loose threads or small holes.
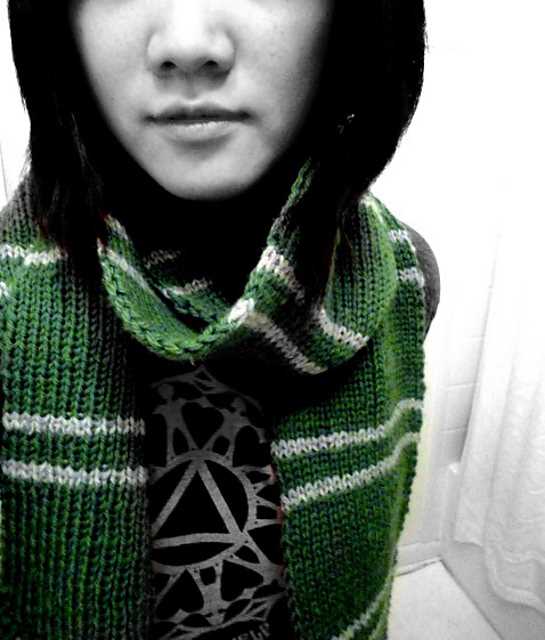
6. Show off your Slytherin pride: Wear your Slytherin scarf proudly and show off your love for the Harry Potter series and your house. But remember, a scarf is not just a fashion accessory, but also a symbol of your house pride. Treat it with care and respect.
By following these tips, you can ensure that your Slytherin scarf remains in excellent condition, allowing you to represent your house with pride for years to come.
Q&A:
What is a Slytherin scarf?
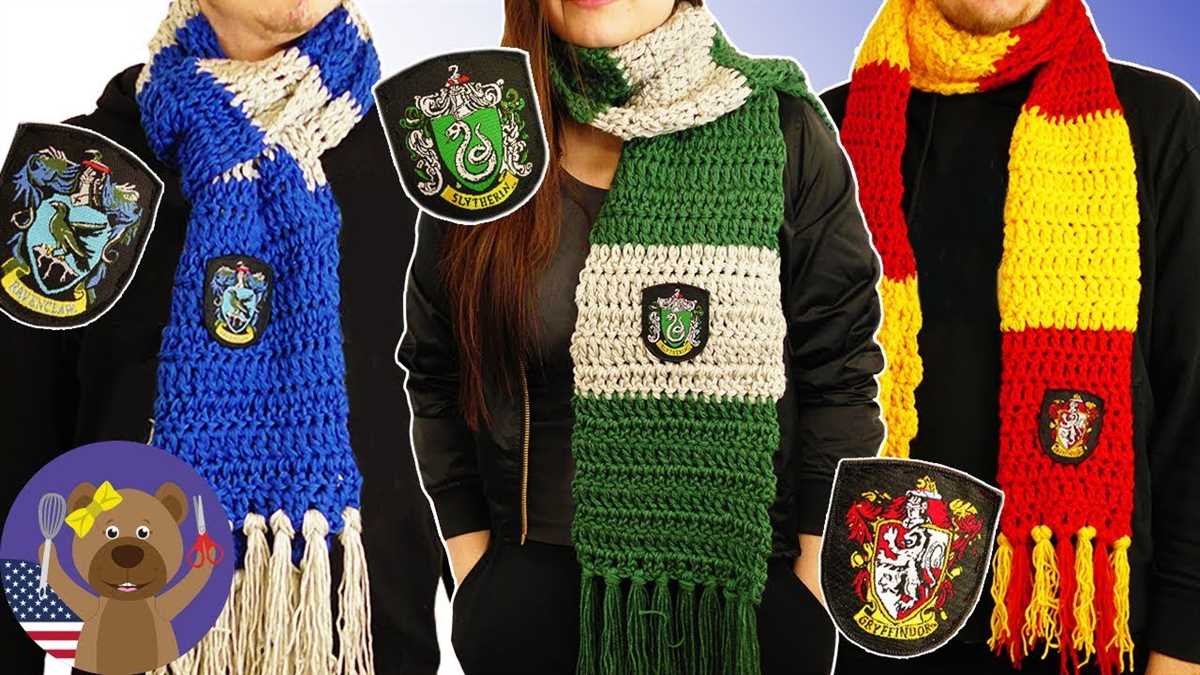
A Slytherin scarf is a knitted or crocheted scarf that is designed to resemble the scarves worn by students of the Slytherin house in the Harry Potter series.
What are the colors of a Slytherin scarf?
The colors of a Slytherin scarf are green and silver. The majority of the scarf is green, with thin silver stripes or accents.
Is there a specific knitting pattern for a Slytherin scarf?
There is no specific knitting pattern for the Slytherin scarf, but there are many different patterns available online that replicate the look of the scarf. Some patterns use simple stripes, while others incorporate more intricate designs.
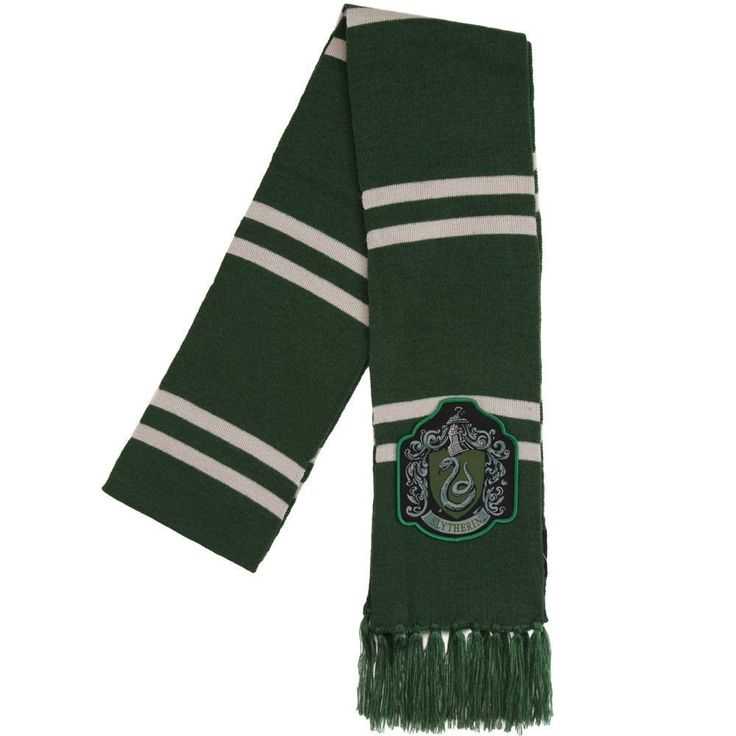
Can I buy a ready-made Slytherin scarf?
Yes, you can buy ready-made Slytherin scarves from various online retailers and specialty stores. These scarves are often officially licensed merchandise and replicate the design seen in the Harry Potter films.