
If you’re looking for a stylish and unique accessory to keep you warm during the colder months, a skull hat might be just what you need. And the best part is, you can knit one yourself for free! With this skull hat knitting pattern, you’ll be able to create a fun and trendy hat that showcases your knitting skills.
This pattern is perfect for knitters of all skill levels, and it’s a great way to use up leftover yarn from previous projects. The skull design adds a touch of edginess to the hat, making it a standout piece in any winter wardrobe.
To get started, you’ll need a set of double-pointed knitting needles and some worsted weight yarn. The pattern uses basic knitting stitches like knit and purl, so even if you’re a beginner, you’ll be able to follow along.
Skull Hat Knitting Pattern Free
Are you looking for a fun and unique knitting project? Look no further than a skull hat knitting pattern. This pattern is perfect for those who want to add a touch of edginess to their winter wardrobe. Plus, with a free pattern available, you can get started right away!
Whether you’re a seasoned knitter or just starting out, this pattern is suitable for all skill levels. The design features a skull motif, making it a great accessory for Halloween or any day you want to add a bit of an alternative vibe to your outfit. And with the pattern being free, you can make multiple hats to gift to friends and family.
Materials Needed:
- Worsted weight yarn in the color of your choice
- Size 8 (5mm) knitting needles
- Tapestry needle
- Stitch markers
Instructions:

- Cast on 96 stitches.
- Knit 2, purl 2 ribbing for 2 inches.
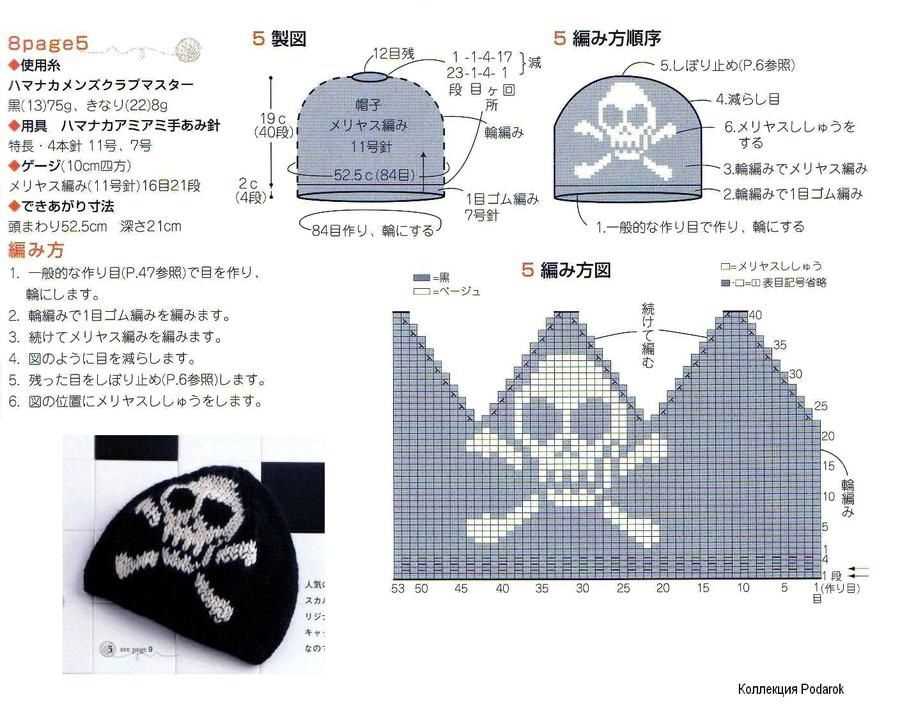
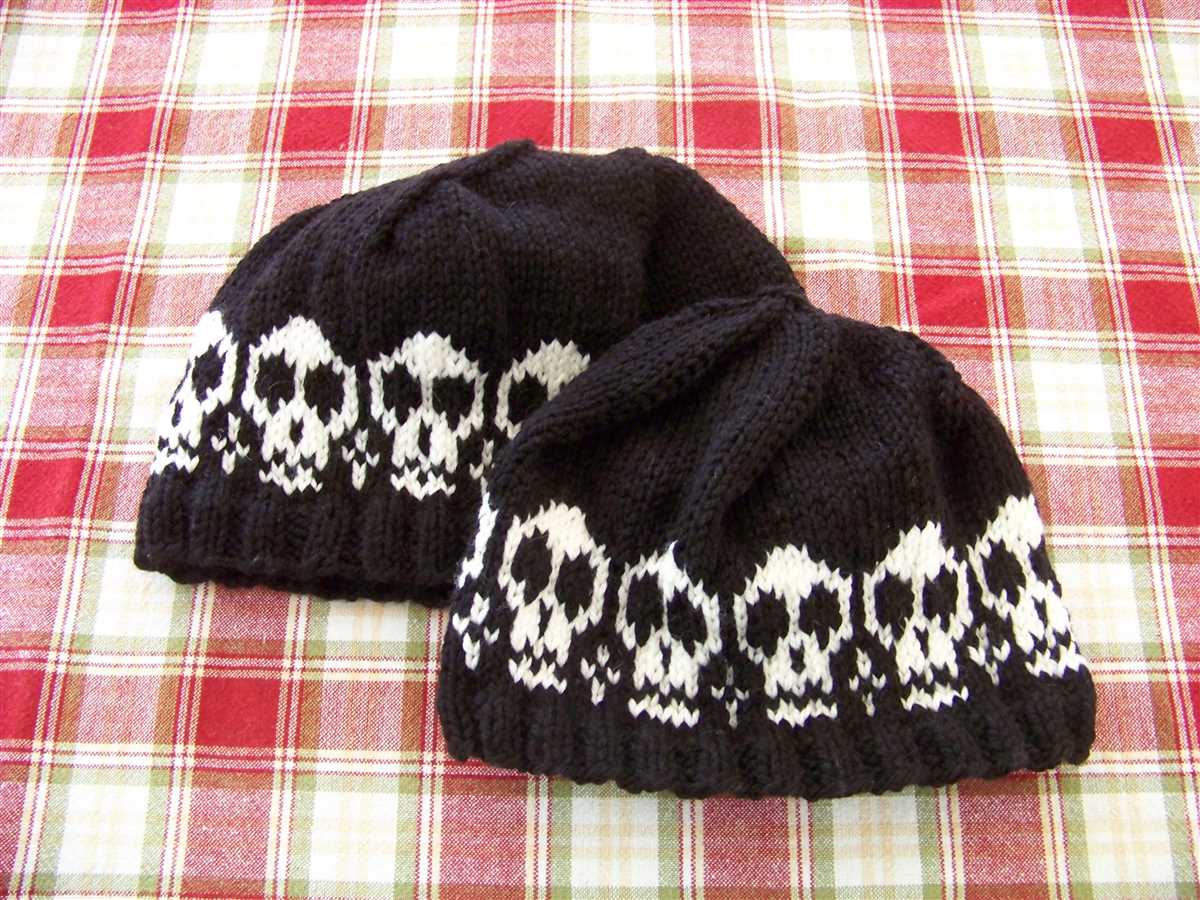
- Begin the skull motif by following the chart provided. Use different colors to create a contrast if desired.
- Continue knitting in the skull motif until the hat measures approximately 8 inches from the cast-on edge.
- Switch to stockinette stitch and knit every row for 2 inches.
- Decrease rows as follows: knit 8, knit 2 together, repeat until end of row. Continue decreasing in this manner every other row until there are 8 stitches remaining.
- Cut the yarn, leaving a long tail. Thread the tail through the tapestry needle and slip the needle through the remaining stitches, pulling tight to close up the top of the hat.
- Weave in any loose ends and your skull hat is complete!
With this free knitting pattern, you’ll be able to create a unique and eye-catching skull hat. Have fun experimenting with different color combinations and make a statement with your handmade accessory. Happy knitting!
How to Choose the Perfect Yarn for Your Skull Hat

When it comes to knitting a skull hat, one of the most important decisions you’ll need to make is choosing the right yarn. The yarn you choose can greatly impact the look, feel, and warmth of your finished hat. Here are some factors to consider when selecting the perfect yarn for your skull hat:
1. Fiber Content

The fiber content of the yarn will determine its characteristics and suitability for different types of projects. For a skull hat, you’ll want a yarn that is soft and comfortable to wear. Natural fibers such as wool, alpaca, or cashmere are excellent choices as they provide warmth and breathability. Acrylic yarns can also be a good option, as they are often soft and affordable.
2. Weight
The weight of the yarn refers to its thickness. Skull hats are typically knit using medium-weight or worsted-weight yarns, as these provide a good balance of warmth and structure. However, you can also experiment with other weights depending on the desired look and feel of your hat. Keep in mind that using a different weight of yarn may require adjustments to the pattern.
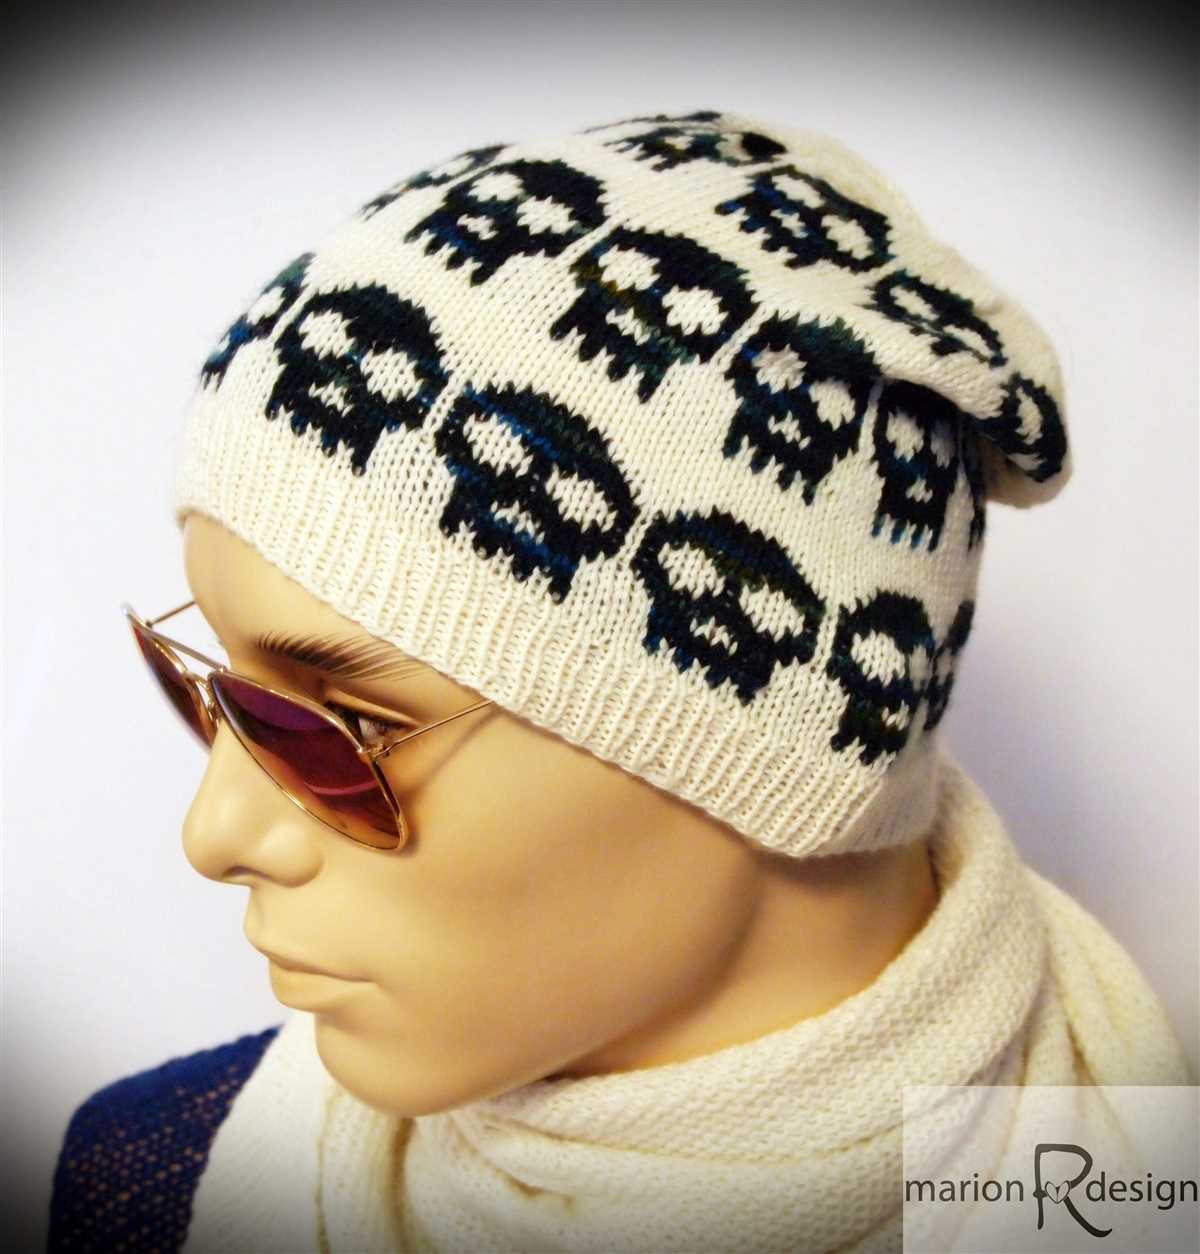
3. Color
The color of the yarn is a personal preference and can greatly impact the final look of your skull hat. If you want a classic and versatile hat, neutral colors such as black, gray, or brown are excellent choices. On the other hand, if you want a more vibrant and eye-catching hat, you can opt for bold or variegated yarns.
4. Durability
Since skull hats are often worn in colder weather, it’s important to choose a yarn that is durable and long-lasting. Look for yarns that are known for their strength and resistance to pilling, as this will ensure that your hat stays in good condition even with frequent use.
By considering these factors, you’ll be able to choose the perfect yarn for your skull hat. Whether you’re a beginner or an experienced knitter, finding the right yarn will bring your project to life and result in a hat that is both stylish and functional.
Essential Tools for Knitting a Skull Hat
If you’re looking to knit a skull hat, there are a few essential tools that you’ll need to have on hand. These tools will help you create a beautiful and well-fitting hat that you’ll be proud to show off.
Knitting Needles:
The first and most important tool you’ll need is a set of knitting needles. Skull hats are often knit in the round, so you’ll want to use either double-pointed needles or a circular needle, depending on your personal preference. Make sure to choose needles that are the correct size for your yarn, as this will ensure your hat turns out the right size.
Yarn:
Next, you’ll need yarn to knit your skull hat. Choose a yarn that is soft and warm, and that will be comfortable to wear on your head. Worsted weight yarn is a popular choice for skull hats, as it is versatile and easy to work with. Be sure to choose a color that you love and that will complement your style.
Tape Measure:
A tape measure is an essential tool for knitting any project, and a skull hat is no exception. You’ll want to measure your head to ensure the hat fits properly. Measure around your head at the widest part, just above your ears. This measurement will help you determine the size of the hat and ensure a snug fit.
Stitch Markers:
When knitting a skull hat, stitch markers can be incredibly helpful. They can be used to mark the beginning of a round, or to mark specific stitch patterns or decreases. Using stitch markers will help you keep track of your progress and ensure that your hat turns out just the way you want it.
Tapestry Needle:
Finally, you’ll need a tapestry needle to weave in your ends and finish your skull hat. A tapestry needle has a large eye and a blunt tip, making it easy to thread your yarn through and sew in your loose ends. This tool is essential for giving your hat a polished and professional-looking finish.
With these essential tools at your disposal, you’ll be well-equipped to knit a skull hat that is stylish, cozy, and perfect for any occasion. So gather your supplies and get ready to start knitting!
Understanding the Basic Knitting Stitches for the Skull Hat Pattern
When it comes to knitting a skull hat, it’s important to have a good understanding of the basic knitting stitches that will be used in the pattern. These stitches form the foundation of the hat and knowing how to execute them correctly will ensure that your finished hat looks great.
One of the most commonly used stitches in knitting is the knit stitch. This stitch is created by inserting the needle into the front of the stitch on the left-hand needle, wrapping the yarn around the right-hand needle, and pulling the yarn through the stitch to create a new loop on the right-hand needle. The knit stitch creates a smooth, V-shaped pattern on the right side of the fabric.
Another important stitch in the skull hat pattern is the purl stitch. This stitch is created by inserting the needle into the front of the stitch on the left-hand needle, wrapping the yarn around the needle in the opposite direction than the knit stitch, and pulling the yarn through the stitch to create a new loop on the right-hand needle. The purl stitch creates a bump or ridge on the right side of the fabric, which adds texture to the hat.
In addition to the knit and purl stitches, the skull hat pattern may also include other stitches such as yarn overs, decreases, and cables. Yarn overs create small holes in the fabric and are often used for decorative purposes. Decreases are used to shape the hat, and can be done in a variety of ways, such as knitting two stitches together or slipping stitches over each other. Cables create a twisted, braided pattern in the fabric and add an extra level of complexity to the hat design.
By understanding and practicing these basic knitting stitches, you’ll be well-equipped to tackle the skull hat pattern and create a stylish and cozy accessory for yourself or a loved one. Remember to take your time and follow the instructions carefully, and soon you’ll have a beautiful skull hat to show off!
Step-by-Step Instructions for Knitting the Skull Hat
Knitting a skull hat can be a fun and rewarding project for knitters of all skill levels. With this step-by-step guide, you’ll be able to create your own stylish and cozy skull hat in no time. Grab your knitting needles and let’s get started!
Materials Needed:
- Size US 8 (5mm) circular knitting needles
- Size US 8 (5mm) double-pointed knitting needles
- Worsted weight yarn in your desired colors
- Tapestry needle for weaving in ends
- Stitch marker
- Scissors
Instructions:
- Using your circular needles, cast on 88 stitches with your main color yarn. Place a stitch marker to mark the beginning of your round.
- Join your work in the round, being careful not to twist your stitches. Knit every round until your work measures approximately 2 inches from the cast on edge.
- Switch to your contrasting color yarn. Knit one round, then purl one round. Repeat this ribbing pattern until the ribbing measures approximately 2 inches.
- Continue knitting in stockinette stitch (knit every round) with your main color yarn until your work measures approximately 6 inches from the cast on edge.
- Begin decreasing: Knit 6 stitches, then knit 2 together. Repeat this decrease pattern until the end of the round. Your stitch count should now be 77.
- Knit every round without decreasing until your work measures approximately 8 inches.
- Next, begin decreasing again: Knit 5 stitches, then knit 2 together. Repeat this decrease pattern until the end of the round. Your stitch count should now be 66.
- Continue this process, decreasing by 1 stitch before the knit 2 together on each round, until you have 11 stitches remaining.
- Switch to your double-pointed needles when there are too few stitches to fit comfortably on your circular needles. Divide your stitches evenly onto 3 double-pointed needles, and knit every stitch for a few rounds. This will create the crown of the hat.
- When you have just a few stitches left, use your tapestry needle to thread the yarn through the remaining stitches, closing up the top of the hat. Weave in any loose ends.
Congratulations, you have successfully knitted your own skull hat! Now you can enjoy the warmth and style of your new accessory or make more hats to give as gifts to family and friends.
Tips and Tricks for Perfecting Your Skull Hat
Knitting a skull hat can be a fun and rewarding project, but it can also present some challenges along the way. Whether you’re a beginner or experienced knitter, here are some tips and tricks to help you create the perfect skull hat.
1. Choose the Right Yarn and Needles
When selecting yarn for your skull hat, think about the desired look and feel of the finished product. For a warmer hat, choose a thicker yarn, while a finer yarn will create a more lightweight hat. Additionally, consider the stitch pattern you want to use and select a needle size that complements the yarn weight.
2. Gauge Matters
Before you start knitting, make sure to check your gauge. This involves knitting a swatch of fabric using your chosen yarn and needles and measuring how many stitches and rows fit within a certain measurement. By matching the gauge specified in the pattern, you can ensure that your hat will turn out the correct size.
3. Use Stitch Markers
When working on a skull hat pattern, it’s helpful to use stitch markers to keep track of important points in the pattern. This could include marking the beginning of each round, or indicating where pattern repeats start and end. Stitch markers can help prevent mistakes and make it easier to follow the pattern instructions.
4. Pay Attention to Tension
Consistent tension is key to creating an even and beautiful skull hat. Be mindful of how tightly or loosely you’re knitting, and try to maintain a consistent tension throughout your project. This will prevent any unwanted variations in stitch size and ensure a polished finished product.
5. Don’t Forget Blocking
Blocking is the process of shaping and finishing your knitted item. For a skull hat, blocking can help even out any uneven stitches, relax the fabric, and give the hat its final shape. Depending on the yarn used, blocking can involve wet blocking or simply steaming the hat with an iron. Be sure to follow the yarn manufacturer’s recommendations for blocking.
By keeping these tips and tricks in mind, you’ll be well-equipped to knit the perfect skull hat. Remember to have fun and experiment with different patterns and yarns to create a hat that reflects your personal style.
Adding Personalization to Your Skull Hat
Skull hats are a popular accessory for keeping warm in cold weather, and knitting your own skull hat allows you to create a personalized and unique piece. One way to add personalization to your skull hat is by incorporating initials or a monogram into the design.
Knitting patterns that include alphabets or letter charts make it easy to customize your skull hat. You can choose your favorite font or style, and follow the chart to knit your initials or monogram directly into the fabric. This adds a personal touch and can make your hat stand out from the rest.
In addition to initials or a monogram, you can experiment with different color combinations to personalize your skull hat even further. Mixing and matching colors that reflect your personality or favorite sports team can create a hat that truly represents you. You can use a multiple-color knitting technique like fair isle or stranded knitting to incorporate different colors seamlessly into your design.
Another way to add personalization is by including unique embellishments or decorations on your skull hat. You can sew on buttons, beads, or even small patches to make your hat more visually interesting and reflective of your personal style.
If you’re knitting a skull hat as a gift for someone else, incorporating their favorite colors, initials, or a design that represents their interests can make the gift even more special and meaningful.
- To summarize, personalizing your skull hat can be done through various methods such as knitting initials or a monogram, experimenting with different color combinations, incorporating unique embellishments, or designing with someone else’s preferences in mind. The possibilities are endless when it comes to making your skull hat truly one-of-a-kind.
Adjusting the Size of the Skull Hat Pattern

If you’re looking to knit a skull hat but need to adjust the size of the pattern, don’t worry! With a few simple modifications, you can easily customize the hat to fit your desired measurements.
1. Gauge: The first step in adjusting the size of any knitting pattern is to check your gauge. Follow the instructions provided in the pattern to create a gauge swatch using the recommended yarn and needle size. Measure the number of stitches and rows per inch and compare it to the gauge specified in the pattern. If your gauge is different, you will need to make adjustments accordingly.
2. Changing the stitch count: To make the hat larger or smaller, you will need to modify the number of stitches cast on. Start by calculating the number of stitches per inch based on your gauge. Multiply this number by the circumference you want for the hat and round it to the nearest whole number. This will give you the new stitch count for casting on.
3. Adjusting the length: If you need to change the length of the hat, simply add or subtract rows as needed. Keep in mind that the pattern may include specific instructions for decreases or shaping at the crown, so be sure to adjust these sections accordingly to maintain the overall look of the hat.
4. Considering the yarn weight: If you decide to use a different yarn weight than the one specified in the pattern, it may also affect the size of the hat. Heavier yarn will create a larger-sized hat, while lighter yarn will result in a smaller hat. Make sure to choose a yarn that matches your desired finished size and adjust your stitch count and gauge accordingly.
By following these simple steps, you can easily adjust the size of your skull hat pattern to create a perfect fit. Remember to always make a gauge swatch and take accurate measurements to ensure your hat turns out just the way you want it. Happy knitting!
Styling and Wearing Your Skull Hat
Once you have finished knitting your skull hat using the free pattern, it’s time to start styling and wearing it! The great thing about skull hats is that they can be worn in so many different ways to suit your personal style and the occasion. Whether you prefer a casual or edgy look, there are plenty of options to choose from.
1. Classic Fit: For a classic fit, simply pull the skull hat down over your ears and let it hug your head. This look is perfect for colder weather and will keep you warm while adding a touch of style to your outfit. You can wear it with the brim folded up for a clean, polished look or let it slouch for a more relaxed vibe.
2. Sporty Style: If you’re going for a sporty look, wear your skull hat with the brim facing forward, like a beanie. This style is popular among athletes and adds a cool, athleisure touch to any outfit. Pair it with a casual hoodie, joggers, and sneakers for a relaxed and sporty ensemble.
3. Chic and Fashionable: To achieve a chic and fashionable look, wear your skull hat slightly tilted to the side. This asymmetrical styling adds a trendy and edgy twist to your outfit. Pair it with a leather jacket, jeans, and boots for a stylish and fashion-forward ensemble that will turn heads.
4. Accessorize: To further enhance your skull hat, consider adding accessories like pins, patches, or buttons. This allows you to personalize your hat and make it unique to your style. You can attach your favorite pins or patches to the brim or sides of the hat for an extra touch of personalization.
5. Layering: Skull hats also work well when layered with other accessories like scarves or headbands. You can wear a scarf around your neck and pull your skull hat over it for added warmth and style. Alternatively, you can pair your hat with a headband that matches or complements the color of your hat for a coordinated and stylish look.
In conclusion, the skull hat is a versatile and trendy accessory that can be styled in various ways to suit your personal taste and the occasion. Whether you prefer a classic fit, a sporty style, a chic and fashionable look, or want to accessorize or layer your hat, there are countless options to choose from. Get creative and experiment with different styles to find the one that best represents your unique personality. Happy styling!
Other Variations of Skull Hat Knitting Patterns
If you’re looking to try something different or want to explore more skull hat knitting patterns, here are some other variations you can consider:
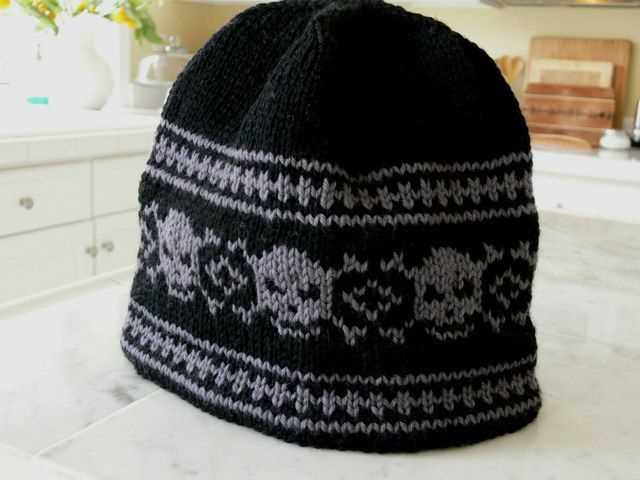
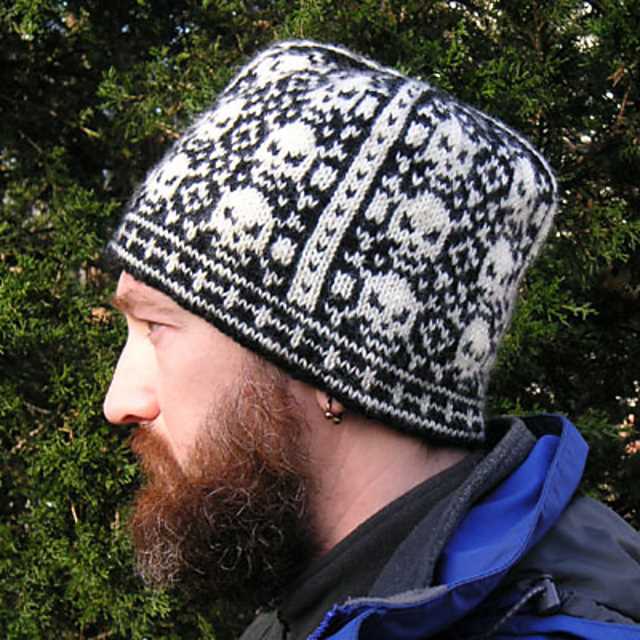
1. Fair Isle Skull Hat

The Fair Isle knitting technique involves using multiple colors in a row to create intricate patterns. Try incorporating skull motifs into a Fair Isle design for a unique and eye-catching skull hat.
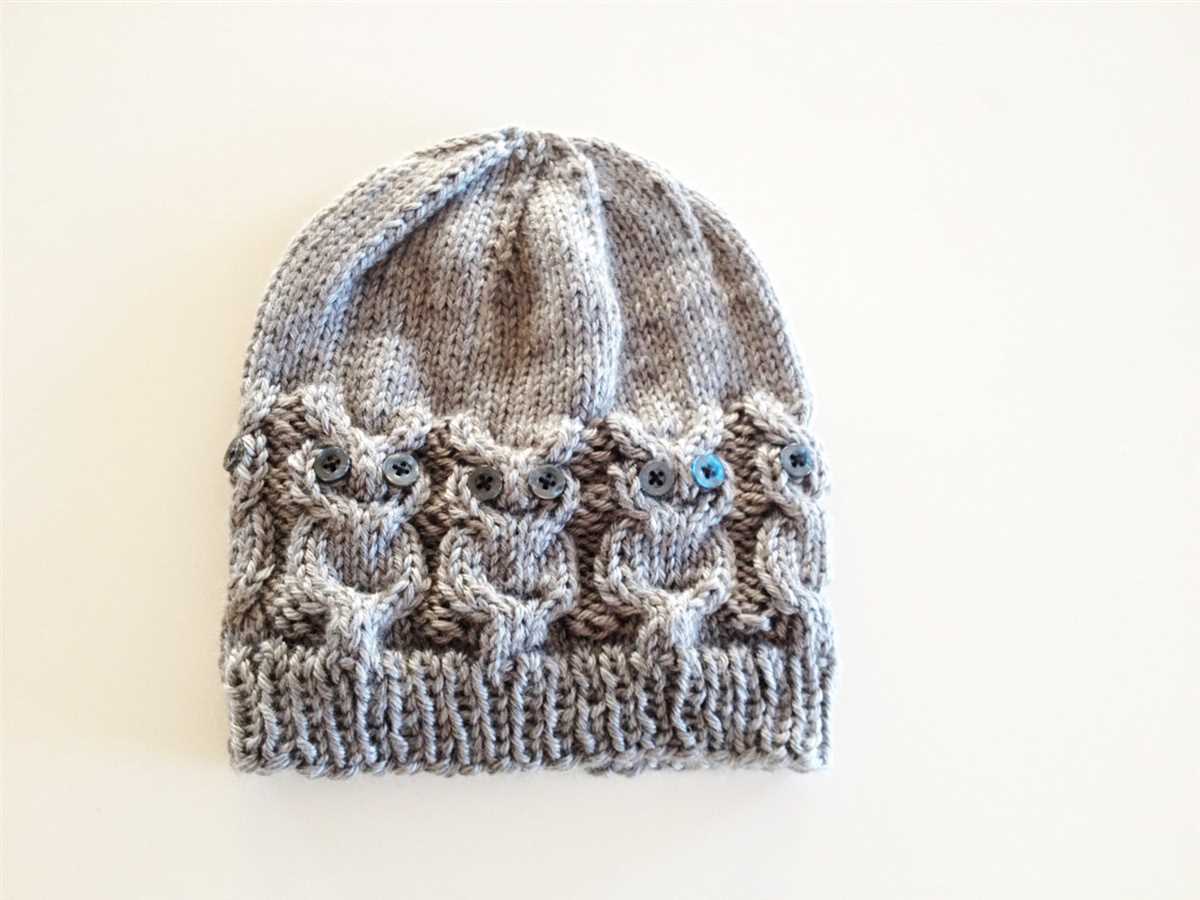
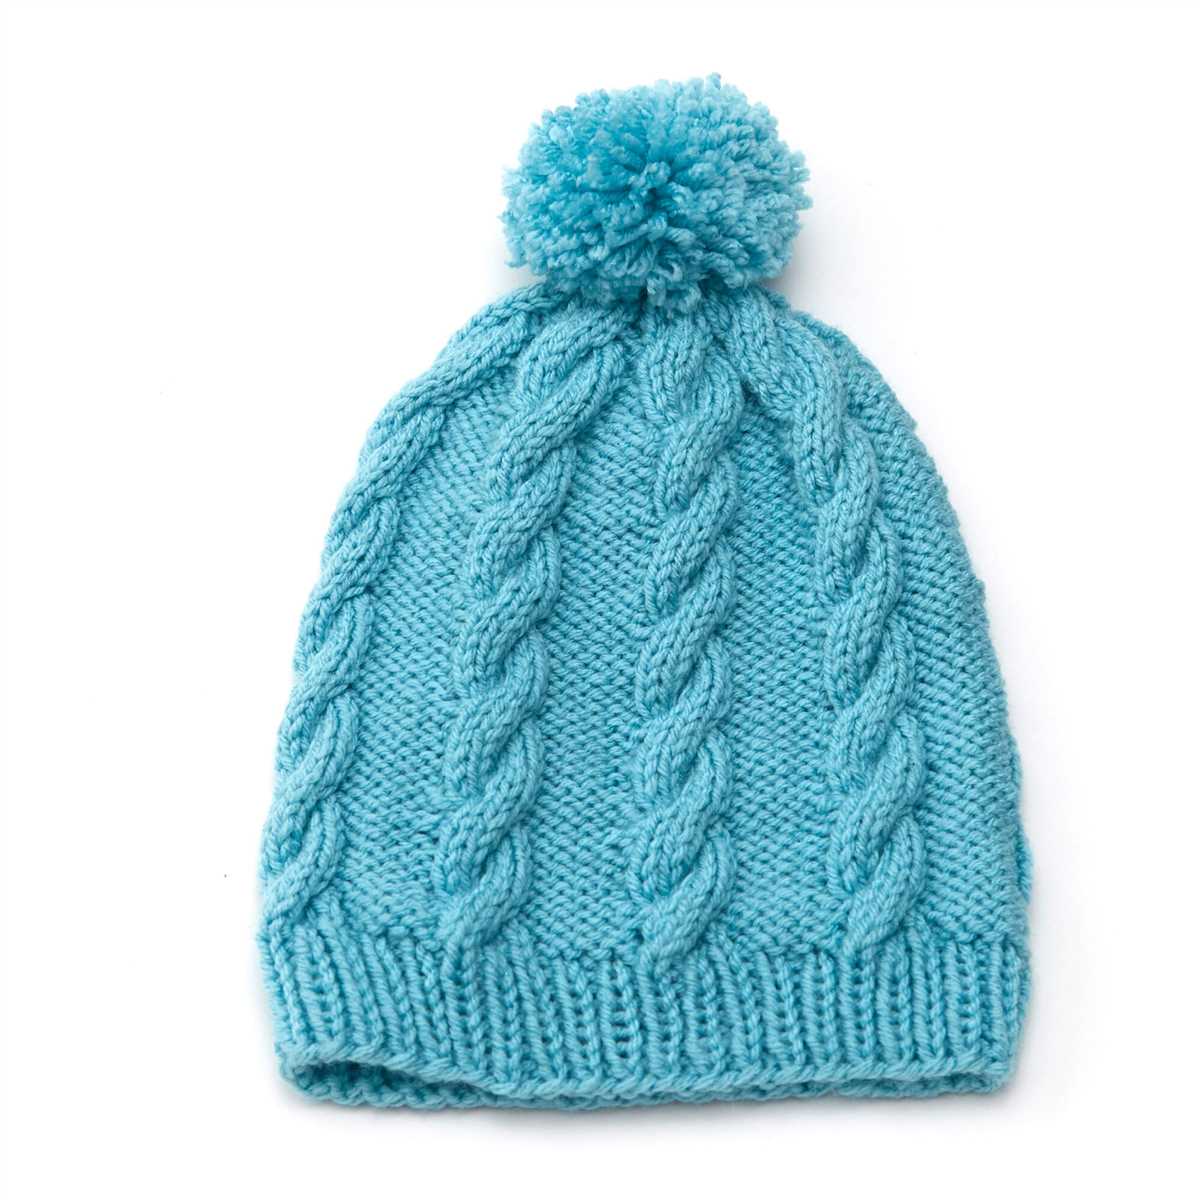
2. Cable Knit Skull Hat
Cable knitting creates raised stitch patterns that resemble twisted ropes or cables. Add skull motifs within the cables to create a textured and visually interesting skull hat.
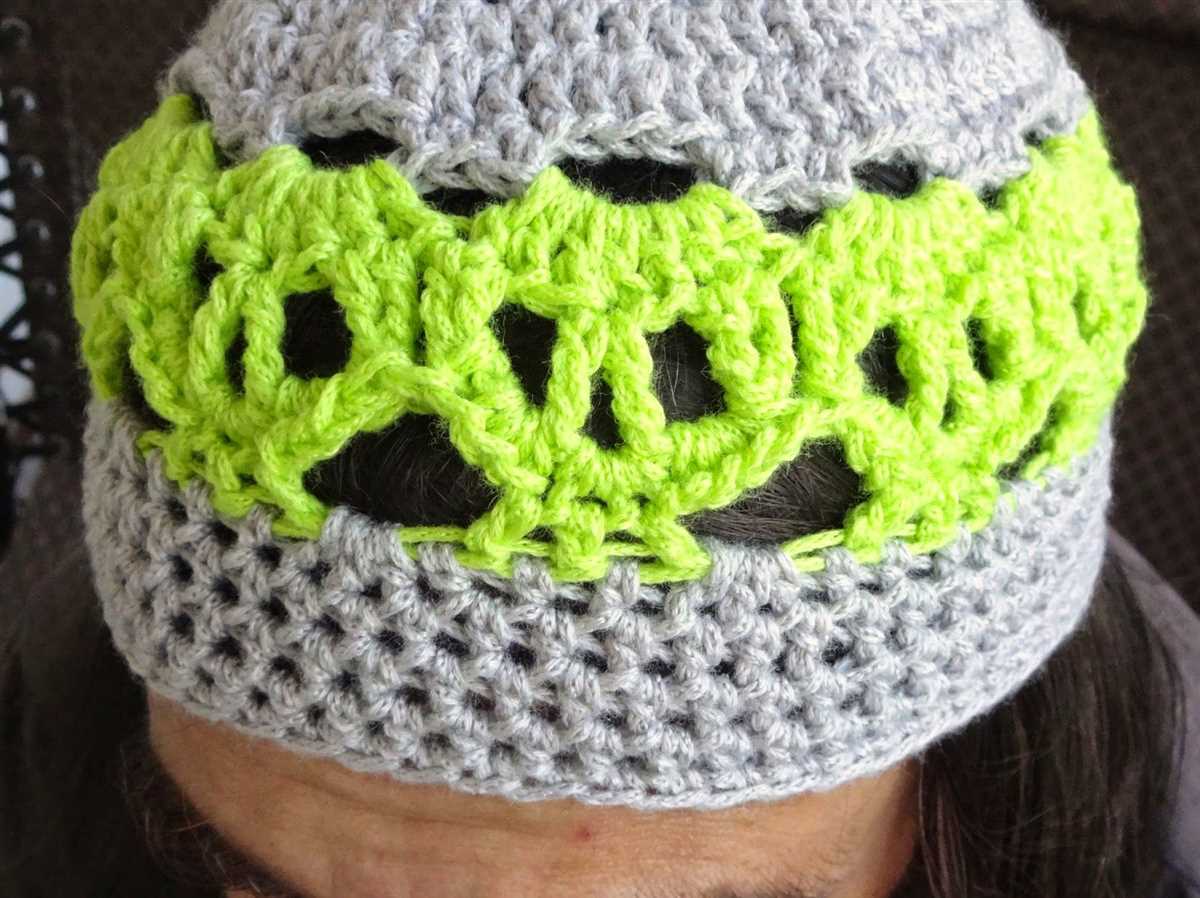
3. Lace Skull Hat
If you prefer delicate and intricate designs, consider knitting a lace skull hat. Lace knitting involves creating holes and decorative patterns using yarn overs and decreases. Incorporate skull motifs into the lace pattern for a feminine and elegant skull hat.
4. Mohawk Skull Hat
Add some punk rock flair to your skull hat by incorporating a mohawk. Knit a basic skull hat and attach a mohawk strip made of brightly colored yarn or faux fur to the top. This variation is sure to make a statement.
With so many variations available, you can easily find a skull hat knitting pattern that suits your personal style and preferences. Whether you’re a beginner or an experienced knitter, these patterns offer a fun and creative way to create unique accessories for yourself or as gifts for your loved ones.