
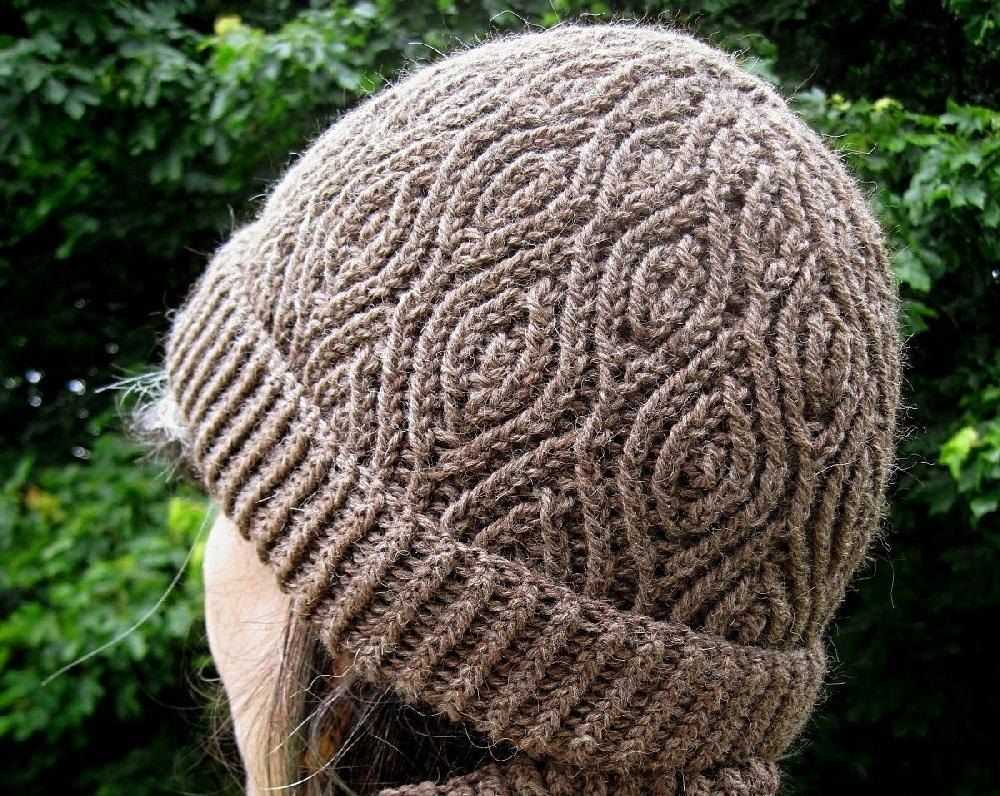
A rectangle hat is a simple and versatile knitting pattern that can be made by beginners and experienced knitters alike. The pattern gets its name from the fact that it is essentially a rectangle that is folded and sewn together to create a hat shape. This makes it a great option for those who are new to knitting or don’t have a lot of time to invest in a more complicated project.
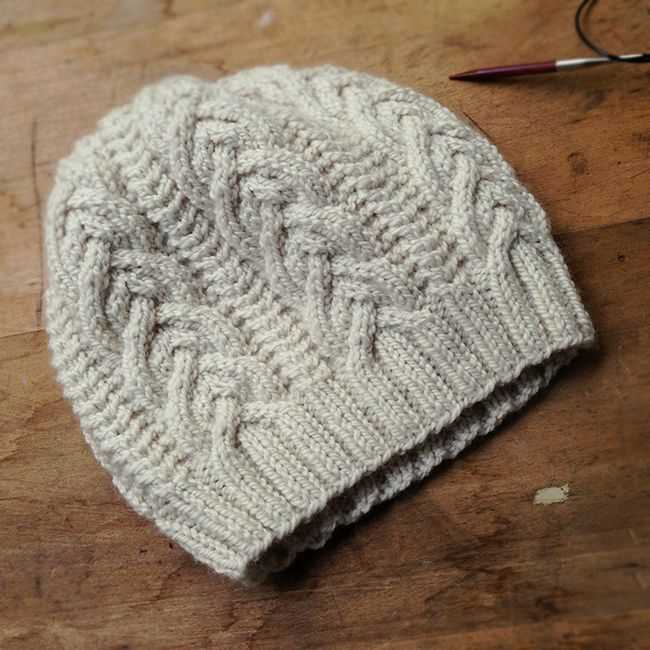
One of the advantages of the rectangle hat pattern is that it can be easily customized to fit any size or style preference. By adjusting the length and width of the rectangle, you can create a hat that will fit children, adults, or anyone in between. Additionally, the stitch pattern used can be modified to create different textures and designs, giving you endless possibilities for creating unique hats.
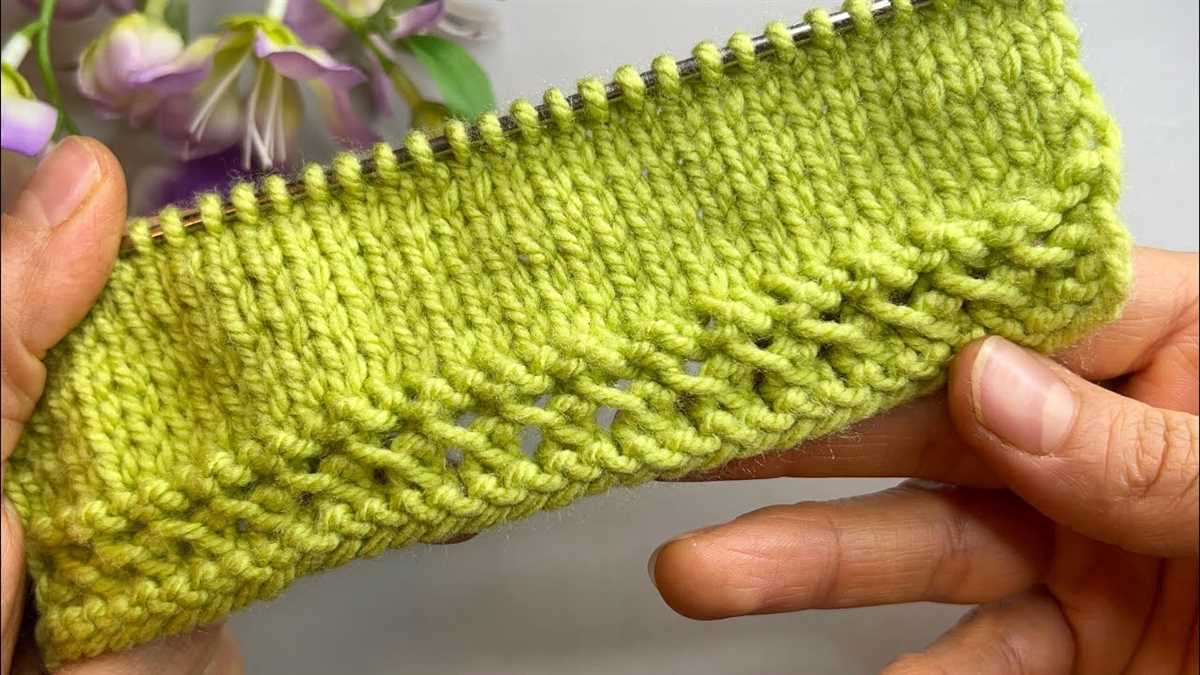
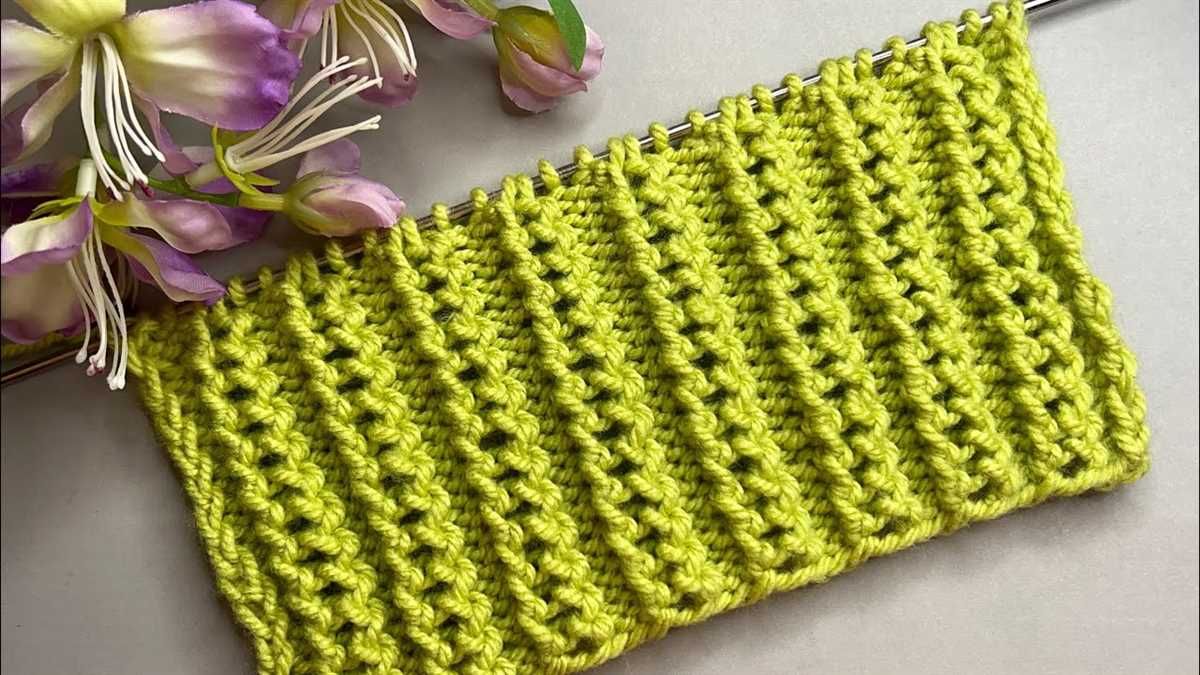
To knit a rectangle hat, you will need basic knitting skills such as casting on, knitting, purling, and binding off. The pattern typically calls for a medium-weight yarn and knitting needles of an appropriate size. The hat can be worked in a simple stocking stitch (knit one row, purl one row) or you can experiment with different stitch patterns to create a more intricate design. Once the rectangle is complete, it is folded in half and the sides are sewn together to form the hat shape.
Rectangle Hat Knitting Pattern
Are you looking for a simple and stylish knitting pattern for a hat? The Rectangle Hat Knitting Pattern is just what you need! This pattern is perfect for beginners and experienced knitters alike, and it creates a trendy and versatile hat that can be worn in any season.
To get started, you’ll need a basic knowledge of knitting stitches such as knit and purl. You’ll also need some worsted weight yarn and a pair of size 8 knitting needles. Once you have your materials ready, you can begin casting on the desired number of stitches. The hat is knit using a rectangular shape, which makes it easy to customize the size to fit your head perfectly.
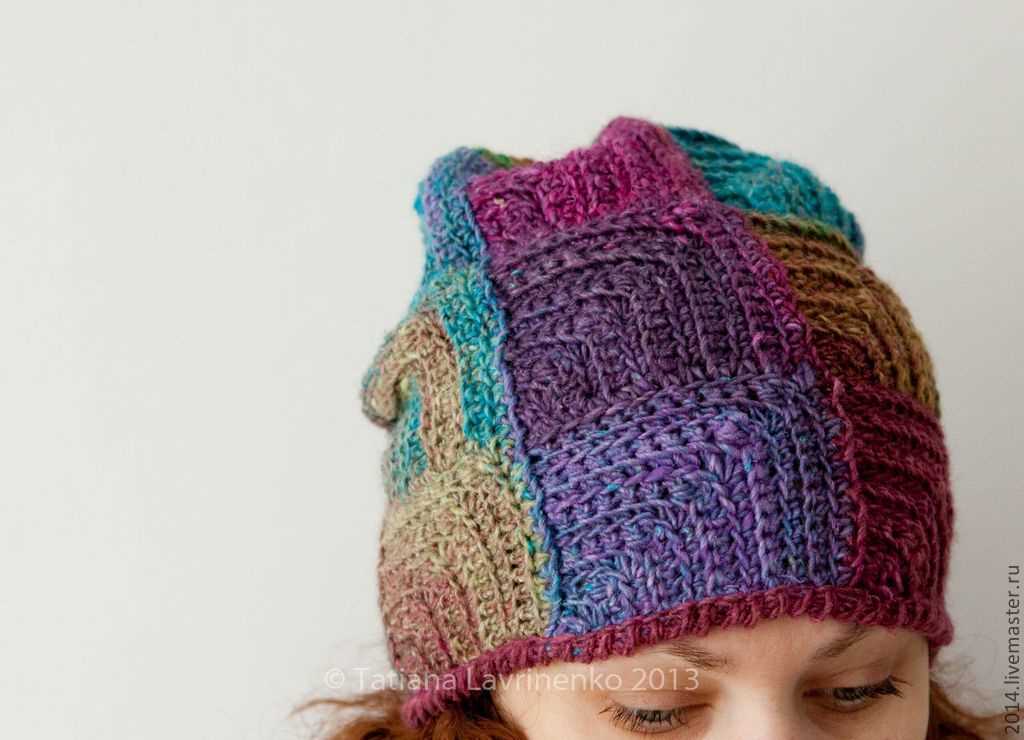
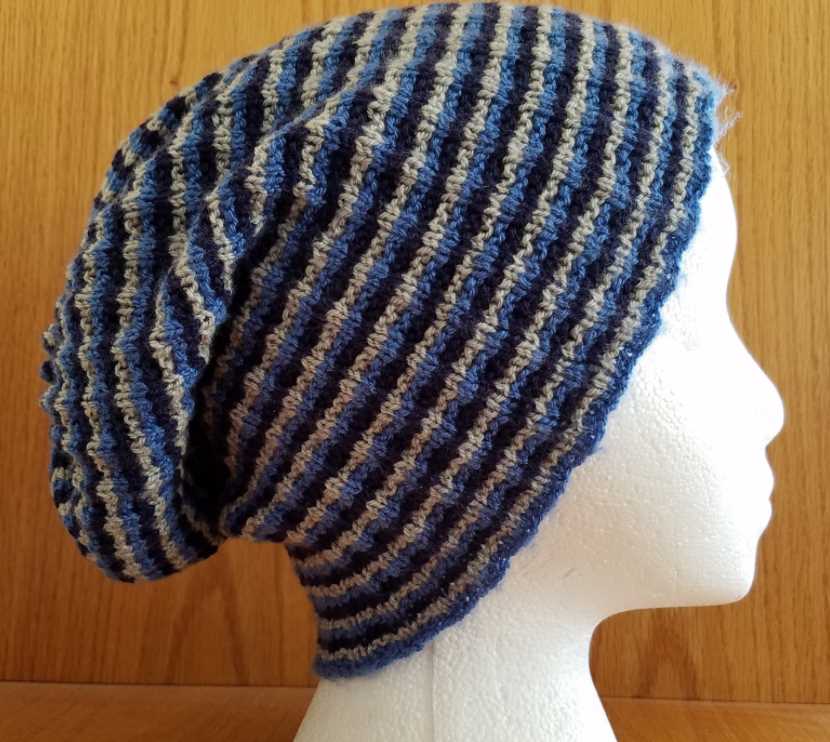
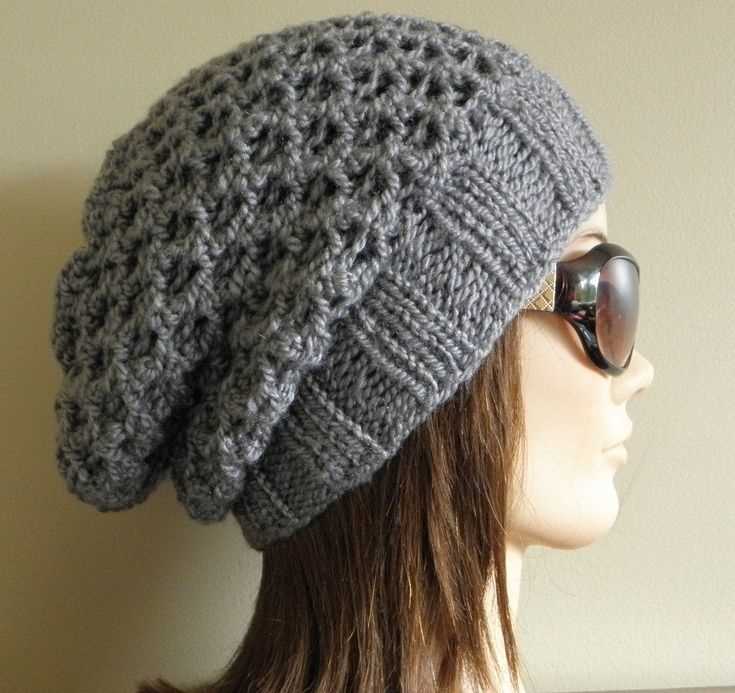
One of the best things about this pattern is that it is incredibly versatile. You can choose to knit the hat in a solid color for a classic look, or you can mix and match different colors for a more unique and playful design. The simplicity of the pattern also allows for endless customization options. You can add stripes, color blocks, or even incorporate different stitch patterns to make the hat truly your own.
To finish off the hat, simply seam the two shorter edges together to create a tube shape. Then, cinch the top closed using a drawstring or by gathering the stitches with a yarn needle. And that’s it! You now have a stylish and cozy hat that you can wear with any outfit.
Materials:
- Worsted weight yarn
- Size 8 knitting needles
- Yarn needle
Instructions:
- Cast on the desired number of stitches, using the long tail cast-on method.
- Rows 1-4: Knit every stitch.
- Rows 5-8: Purl every stitch.
- Repeat rows 1-8 until the desired length is reached.
- Bind off all stitches.
- Seam the two shorter edges together to create a tube shape.
- Cinch the top closed using a drawstring or by gathering the stitches with a yarn needle.
And there you have it – a stylish and versatile hat that you can knit in no time! Whether you’re a knitting pro or just starting out, the Rectangle Hat Knitting Pattern is a great project to try. Get creative with your color choices and customize the pattern to make it uniquely yours. Happy knitting!
Materials Needed
In order to knit the rectangle hat, you will need the following materials:
- Yarn: Choose a soft and warm yarn that is suitable for knitting hats. You will need approximately 200 yards of yarn.
- Knitting Needles: Use size 8 (5mm) circular knitting needles with a 16-inch cable length.
- Stitch Markers: It is recommended to use stitch markers to help keep track of your stitches.
- Tapestry Needle: A tapestry needle will be needed for weaving in the ends of the yarn.
- Scissors: Have a pair of scissors handy to cut the yarn when necessary.
These are the basic materials that you will need to knit a rectangle hat. Make sure to have all the necessary items before you start the project to avoid any interruptions. Once you have gathered all the materials, you will be ready to begin knitting your rectangle hat.
Choosing the Right Yarn
When knitting a rectangle hat, choosing the right yarn is an important decision that can greatly impact the final result of your project. The type of yarn selected will determine the hat’s comfort, warmth, and overall appearance.
Fiber Content: One of the first things to consider when choosing yarn for your rectangle hat is the fiber content. Common options include wool, acrylic, cotton, and blends. Each fiber has its own unique characteristics, such as warmth, softness, and breathability. Consider the weather conditions and the intended use of the hat when selecting the fiber content.
- Wool: Wool is an excellent choice for colder climates as it provides excellent insulation and warmth.
- Acrylic: Acrylic yarn is a budget-friendly option that offers durability and easy care. It is also a good choice for individuals with wool allergies.
- Cotton: Cotton yarn is lightweight and breathable, making it suitable for warmer weather and sensitive skin.
- Blends: Blended yarns, such as wool and acrylic blends, offer the best of both worlds, combining the benefits of different fibers.
Weight: The weight of the yarn also plays a crucial role in the outcome of your rectangle hat. The weight refers to the thickness of the yarn and is categorized into different categories, such as lace, fingering, sport, worsted, and bulky. Each weight category has its own recommended needle size and creates a different stitch density. Choose the weight that suits your pattern and desired look for the hat.
Color and Texture: The color and texture of the yarn can enhance the overall aesthetic of your rectangle hat. Consider the color palette that you prefer and the pattern’s design when selecting the yarn color. Additionally, explore different yarn textures, such as smooth, fuzzy, or textured, to add visual interest to your hat.
By carefully considering the fiber content, weight, color, and texture, you can choose the perfect yarn for your rectangle hat knitting project. Remember to also take into account your own personal preferences and the intended use of the hat to ensure the best results.
Choosing the Right Needles
If you are planning to knit a rectangle hat, it is important to choose the right needles for your project. The size and material of the needles can greatly impact the outcome of your knitting.
Size: The size of the needles refers to the diameter of the needle shaft, and it is measured in millimeters. For a rectangle hat, it is generally recommended to use medium-sized needles, around 5-6mm in diameter. This size allows for a balanced tension and helps create a hat with the desired stitch gauge.
Material: Needles can be made from various materials, including metal, bamboo, and plastic. Each material has its own unique characteristics and advantages. Metal needles are known for their durability and smoothness, which can make knitting easier and faster. Bamboo needles, on the other hand, are lightweight and have a natural grip, which can be beneficial for those who prefer a slower pace or have hand pain. Plastic needles are affordable and lightweight, making them a good option for beginners.
Personal Preference: Ultimately, the choice of needles comes down to personal preference. Some knitters prefer the feel of metal needles, while others enjoy the warmth and flexibility of bamboo. It is important to try out different types of needles to find what works best for you and your knitting style.
In conclusion, choosing the right needles for your rectangle hat knitting project is crucial for achieving the desired outcome. Consider the size and material of the needles, as well as your personal preference, to ensure a successful and enjoyable knitting experience.
Knitting Gauge
Knitting gauge is a measurement that determines the number of stitches and rows that can be achieved within a specific measurement. It is an important factor in knitting, as it allows the knitter to ensure that the finished item will be the correct size and fit.
The gauge is influenced by several factors, including the yarn used, the knitting needle size, and the tension applied by the knitter. By following the recommended gauge provided in the knitting pattern, the knitter can create a finished item that matches the intended measurements.
A knitting gauge can be determined by creating a swatch of the pattern using the recommended yarn and needles. The swatch is then measured to determine how many stitches and rows are achieved within a specific measurement, usually 4 inches or 10 centimeters. If the gauge does not match the recommended gauge, the knitter can adjust the needle size or tension to achieve the correct gauge.
It is important to note that different knitters may achieve slightly different gauges even when using the same yarn and needle size. This is due to differences in tension and knitting technique. Therefore, it is recommended for each knitter to create a gauge swatch before starting a project, even if the same yarn and needle size are being used.
Pattern Instructions
When knitting a rectangle hat, it is important to follow the pattern instructions carefully to ensure a successful outcome. Below are detailed instructions on how to knit a rectangle hat.
Materials
- Yarn: Choose a soft and warm yarn in the color of your choice. Make sure you have enough yarn to complete the project.
- Knitting needles: Use the appropriate size of knitting needles to achieve the desired gauge.
- Tapestry needle: This will be used to weave in the loose ends of yarn.
Pattern
Step 1: Cast on the desired number of stitches. This will depend on the size of the hat you want to make. If you are unsure, a typical number of stitches for an adult hat is around 80-100 stitches.
Step 2: Begin knitting in the chosen stitch pattern. This could be simple garter stitch, stockinette stitch, or any other pattern of your choice. Knit every row for garter stitch or alternate between knit and purl rows for stockinette stitch.
Step 3: Continue knitting in the chosen stitch pattern until the hat reaches the desired length. To determine the length, measure from the bottom edge of the hat to the top of the crown.
Step 4: Bind off all stitches to finish the knitting. Cut the yarn, leaving a tail for sewing.
Finishing
Step 5: Use a tapestry needle to weave in any loose ends of yarn, ensuring that they are secure and hidden within the stitches.
Step 6: Block the hat if desired, to give it a neater and more even appearance. This can be done by wetting the hat and shaping it to the desired dimensions, then allowing it to dry completely.
Step 7: Your rectangle hat is now complete and ready to be worn or gifted! Enjoy the warmth and style it brings to your winter wardrobe.
Step-by-Step Guide
Creating a rectangle hat through knitting is a fun and satisfying project that allows you to showcase your creativity while keeping yourself warm. Here is a step-by-step guide to help you create your very own rectangle hat.
Materials Needed:
- Yarn of your choice
- Knitting needles (appropriate size for your yarn)
- Tape measure
- Scissors
- Yarn needle
- Pom pom maker (optional)
Step 1: Measure Your Head
Start by measuring the circumference of your head using the tape measure. This will help determine the width of your hat. Make sure to measure it snugly but not too tight to ensure a comfortable fit.
Step 2: Cast on Stitches
Using the knitting needles, cast on the desired number of stitches based on the width of your head. The number of stitches will vary depending on the yarn and needle size you are using. It’s a good idea to start with a small number of stitches and adjust as necessary.
Step 3: Knit in Garter Stitch
Continue knitting every row in garter stitch (knit every stitch) until the piece measures the desired length. This will be the height of your hat. You can use the tape measure to check the length as you go.
Step 4: Bind off Stitches
Once the hat has reached the desired length, it’s time to bind off the stitches. This will create a finished edge. Follow your preferred method of binding off, such as knit two stitches, then pass the first stitch over the second stitch, and repeat until all stitches are bound off.
Step 5: Seam the Sides
Using the yarn needle, seam the sides of the rectangular piece together to form a tube. This will be the main body of your hat. Make sure to align the stitches evenly and securely sew them together.
Step 6: Add a Pom Pom (Optional)
If you want to add a fun and playful touch to your hat, you can make a pom pom using a pom pom maker. Attach the pom pom to the top of your hat by sewing it securely in place.
And there you have it! Your very own rectangle hat is now complete. Enjoy wearing your unique creation and stay warm during the chilly days.
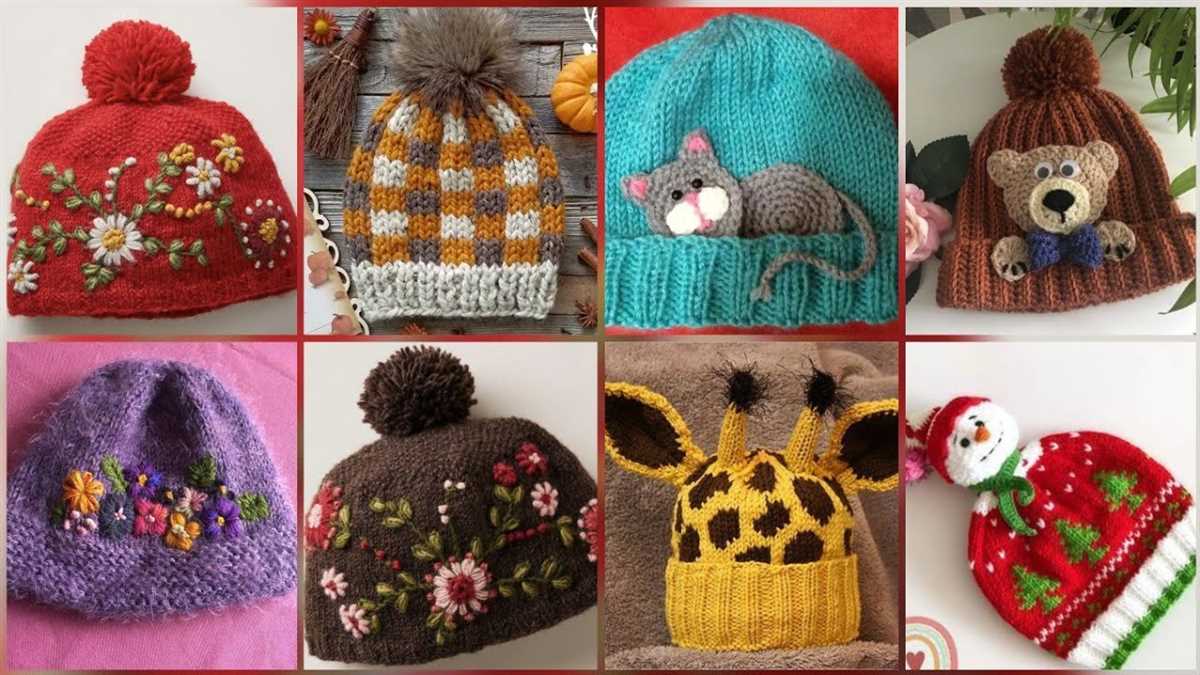
Adding Embellishments
Adding embellishments is a great way to personalize your rectangle hat and make it unique. There are various options to choose from, depending on your preferences and skills. Here are some ideas to get you started!
1. Pom-poms
Adding pom-poms to the top of your hat can give it a playful and fun look. You can easily make pom-poms using yarn and a pom-pom maker or even by using a fork. Attach the pom-pom securely to the top of your hat, and you’ll have a stylish accessory in no time.
2. Ribbons and bows
For a more feminine touch, you can attach ribbons or bows to your hat. Choose a ribbon that complements the color of your hat or opt for a contrasting one for a bold statement. Tie the ribbon into a bow or create a decorative knot and secure it to the side or back of your hat. This simple addition can instantly elevate the look of your hat.
3. Buttons
Buttons can be a great addition to your rectangle hat, adding both functionality and style. Sew on a few decorative buttons along the brim or create a row of buttons on one side of the hat. You can even use buttons of different sizes and colors for an eclectic look. Just make sure to secure them tightly so they don’t come loose.
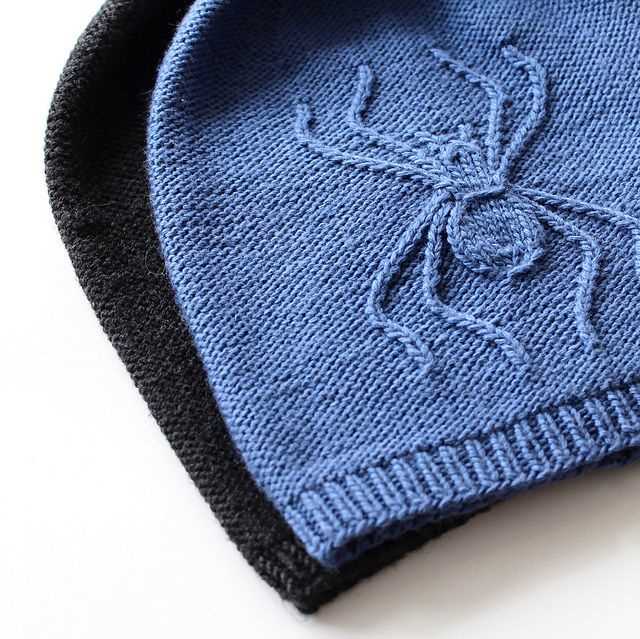
4. Embroidery
If you have embroidery skills, you can add intricate designs to your hat using colorful yarn. Embroider flowers, geometric patterns, or personalized initials to give your hat a one-of-a-kind look. Plan your design in advance and carefully stitch the embroidery onto the hat, ensuring that the stitches are secure and won’t unravel.
These are just a few ideas to spark your creativity when it comes to adding embellishments to your rectangle hat. Don’t be afraid to experiment and try different techniques to make your hat truly unique and special.
Finishing Touches
Once you have completed knitting your rectangular hat, it’s time to add the finishing touches to make it truly unique and special. The final steps in the knitting process involve adding any desired embellishments and ensuring that all loose ends are secured.
Embellishments: For a stylish touch, consider adding decorative elements such as buttons, beads, or embroidery. You can sew these onto the hat using a needle and thread, or use fabric glue for a quicker option. Choose embellishments that match the color scheme and overall aesthetic of your hat to create a cohesive look.
Securing Loose Ends: It’s essential to ensure that all loose ends of yarn are securely fastened to prevent unraveling. Take the time to weave in any loose ends using a tapestry needle, following the stitches of the hat to hide the yarn tails. This step not only ensures the durability of your hat but also adds a professional and polished finish.
Blocking: To achieve the desired shape and size of your hat, blocking is an important final step. Wet the knitted fabric with lukewarm water and gently squeeze out the excess moisture. Carefully stretch the hat to the desired dimensions and shape, and allow it to dry completely. This process helps smooth out any uneven stitches and gives your hat a more polished look.
Care Instructions: Finally, once your hat is complete, it’s important to provide care instructions to the recipient. Include information on how to wash the hat, whether by hand or machine, and at what temperature. Recommend air-drying to preserve the shape and integrity of the knitted fabric. Providing care instructions ensures that the hat will last for years to come.