
Knitting patterns are a great way to bring your creative ideas to life. They offer a blueprint for turning yarn into beautiful garments, accessories, and home decor. But what if you could take a photo, any photo, and turn it into a knitting pattern? Imagine being able to recreate your favorite landscapes, portraits, or even intricate designs in stitches.
This is where the concept of “photo to knitting pattern” comes in. With advancements in technology, it is now possible to convert any image into a knitting pattern. Whether you’re an experienced knitter or just starting out, this opens up a whole new world of possibilities. Instead of relying on pre-designed patterns, you can create truly unique pieces that are a reflection of your own personal style.
How does it work? Using special software or online services, you can upload a photo and choose the desired size and level of detail for your knitting pattern. The program will then analyze the image and convert it into a pattern that you can follow stitch by stitch. You can even customize the colors to match your yarn stash or create a color chart for cross-stitch or crochet projects.
Not only does this allow you to bring your favorite images to life in a new and creative way, but it also offers endless possibilities for creating one-of-a-kind gifts. You can knit a portrait of a loved one, a favorite pet, or a memorable vacation spot. The possibilities are truly limitless.
Photo to Knitting Pattern
Do you have a favorite photo that you would love to turn into a knitted masterpiece? With the help of modern technology, it is now possible to transform any photo into a custom knitting pattern. Whether it’s a picture of a loved one, a beautiful landscape, or a cute pet, you can bring it to life with your knitting needles.
Creating a knitting pattern from a photo is a multi-step process that requires both creativity and technical skills. The first step is to choose a high-quality photo with clear details and good contrast. This will ensure that the knitting pattern captures all the nuances and intricacies of the original image.
Once you have selected the photo, you can use specialized software or online tools to convert it into a knitting pattern. These tools analyze the photo and generate a pattern based on the colors and shapes present in the image. The pattern typically includes a color chart, stitch instructions, and a chart or written instructions for the final design.
Depending on the complexity of the photo and the desired outcome, adjusting the pattern may be necessary. Some elements may need to be simplified or modified to make them suitable for knitting. It’s also important to choose the right yarn and needle size to achieve the desired results.
Knitting a photo pattern requires patience and attention to detail, but the end result is truly rewarding. The finished piece can be used as a unique wall hanging, a cozy blanket, or even a one-of-a-kind sweater. Whether you’re an experienced knitter or just starting out, turning a photo into a knitting pattern can be a fun and satisfying project.
The Importance of Patterns in Knitting
Patterns play a crucial role in knitting, as they guide the knitter in creating beautiful and intricate designs. Whether you’re an experienced knitter or just starting out, using a knitting pattern can help you create a finished product that matches your vision and ensures consistency in your work.
Clear Instructions: Knitting patterns provide step-by-step instructions on how to create various stitches and patterns. They outline the necessary materials, gauge, and stitch count, allowing you to follow along easily and make adjustments if needed. Without a pattern, it can be challenging to get the desired outcome and maintain consistency throughout your knitting project.
Design Inspiration: Knitting patterns also serve as a source of inspiration for creativity. They offer a wide range of designs, from classic to trendy, and allow you to experiment with different stitches and color combinations. By following a pattern, you can explore new knitting techniques and learn how to incorporate them into your own projects.
Reproducibility: With a knitting pattern, you can reproduce the same design multiple times. Whether you want to create matching items for family and friends or start a small knitting business, having a pattern ensures that each piece you make will have the same dimensions, stitches, and overall look. This consistency is important, especially when knitting clothing or accessories that need to fit correctly.
Efficiency: Knitting patterns also help improve efficiency when working on a project. By following a set plan, you can minimize mistakes and know exactly what needs to be done next. This can save time in the long run and make the knitting process more enjoyable and less frustrating.
Community and Sharing: Knitting patterns are often shared within knitting communities, allowing knitters to learn from and inspire each other. Joining knitting groups or online communities that share patterns can provide a supportive environment for improving your skills, getting feedback on your work, and exchanging ideas with fellow knitters.
- Knitting patterns are essential for providing clear instructions and ensuring consistency in your work.
- They serve as a source of design inspiration and allow you to explore new techniques.
- A pattern helps in reproducing the same design multiple times, making it ideal for creating matching items or starting a knitting business.
- By following a pattern, you can improve efficiency and minimize mistakes.
- Knitting patterns foster a sense of community and provide opportunities for sharing and learning among knitters.
Converting a Photo to a Knitting Pattern
Turning a photo into a knitting pattern can be a creative and satisfying project for knitting enthusiasts. With the help of modern technology and software, it is now possible to translate an image into a pattern that can be used to create a unique knitted item.
One of the first steps in converting a photo to a knitting pattern is selecting the right software. There are many different programs available that can assist with this process, some of which are specifically designed for knitting pattern creation. These software options typically allow users to upload a photo and then convert it into a pattern by analyzing the different colors and shading in the image.
Once the software has analyzed the photo, it will generate a pattern that can be used to recreate the image in knitted form. The pattern will typically include information on the type of yarn to use, the recommended needle size, and the stitch and row count for each section of the image. It may also include additional instructions or charts to help guide the knitter through the process.
When working with a photo-based knitting pattern, it is important to keep in mind that some details may be lost or simplified in the translation. Fine details, such as small intricate patterns or subtle shading, may not translate well into a knitted item. It is also important to choose the right colors of yarn to accurately represent the image. Experimenting with different yarns and swatching before starting the project can help ensure the final product matches the desired outcome.
Converting a photo to a knitting pattern can be a fun and challenging way to create unique and personalized knitted items. It allows knitters the opportunity to express their creativity and bring their favorite images to life through the art of knitting.
Choosing the Right Photo
When it comes to creating a knitting pattern from a photo, choosing the right photo is essential. The quality and clarity of the photo will greatly affect the accuracy and detail of the resulting knitting pattern. It is important to select a photo that is well-lit, in focus, and has a clear subject.
Consider the subject matter – The photo you choose should have a subject that is suitable for a knitting pattern. It can be a person, an animal, an object, or a landscape. Keep in mind that some photos may be more challenging to convert into knitting patterns than others.
Pay attention to colors and contrast – The colors and contrast in the photo will determine the colors and shades of yarn you will need for your knitting project. If the photo has a wide range of colors and high contrast, you may need to carefully choose yarns that can accurately replicate the colors and tones.
Look for clear details and textures – The photo should have clear details and textures that can be easily translated into knitting stitches. These details can be the lines on a face, the fur of an animal, or the patterns on a piece of clothing. It is important to choose a photo that allows for these details to be visible and distinguishable.
Consider the size and dimensions – The size and dimensions of the photo you choose will determine the size of the knitting pattern. If you prefer a larger knitting project, choose a photo with more details and a higher resolution. For smaller knitting projects, choose a photo with simpler elements and a lower resolution.
Overall, choose a photo that inspires you – The most important factor in selecting a photo for a knitting pattern is to choose one that inspires you. It could be a photo of a loved one, a favorite landscape, or an object that holds sentimental value. When you are passionate about the subject of the photo, it will motivate you to create a knitting pattern that captures its essence and beauty.
Preparing the Photo for Conversion
Before converting a photo into a knitting pattern, it is important to ensure that the photo is well-prepared. This involves a few steps to optimize the image and make it suitable for the conversion process.
Select a High-Quality Photo: Start by choosing a high-resolution photo that is clear and detailed. This will help in capturing the finer details of the image and ensure a more accurate representation in the knitting pattern.
Crop and Resize the Photo: Use photo editing software to crop the photo and remove any unnecessary background or unwanted elements. Consider the final size of the knitted item and resize the photo accordingly to ensure it fits within the desired dimensions.
Enhance Contrast and Brightness: Adjust the contrast and brightness of the photo to bring out the details and make them more visible. This can help in creating a more defined knitting pattern and make it easier to follow when knitting.
Remove Colors: If you prefer a black and white knitting pattern, convert the photo to grayscale. This will remove all colors and simplify the image, making it easier to translate into stitches.
Examine the Photo for Complex Patterns: Analyze the photo for any complex patterns or textures that may be difficult to replicate in knitting. Consider simplifying or adapting these areas to make them more suitable for the knitting pattern.
Selecting the Knitting Charting Software
When it comes to creating knitting patterns from photos, selecting the right knitting charting software is essential. There are several factors to consider when choosing the software that suits your needs.
Functionality: One of the most important aspects to consider is the functionality of the software. It should allow you to easily import photos and convert them into knitting patterns. Look for software that offers options for customizing stitch sizes, colors, and stitch types. Additionally, ensure that the software allows you to easily edit and adjust the knitting chart as needed.
User-Friendliness: Another important aspect to consider is the user-friendliness of the software. It should have an intuitive interface that is easy to navigate and understand. Look for software that offers clear instructions and tutorials to help you get started. Additionally, consider the level of technical skills required to use the software. If you are a beginner, opting for software that is designed for beginners or offers a simplified user interface might be a good choice.
Compatibility: It’s also crucial to consider the compatibility of the software with your computer system. Check the system requirements of the software to ensure that it can run smoothly on your operating system. Additionally, consider whether the software allows you to easily export the knitting patterns in a format that is compatible with your knitting machine or other tools you plan to use.
Price: The price of the software is another important factor to consider. Take into account your budget and compare the prices of different software options. Keep in mind that more expensive software doesn’t always mean better quality, so it’s essential to do thorough research and read reviews from other users before making a decision.
Support and Updates: Lastly, consider the level of support and updates offered by the software provider. It’s important to choose software that offers reliable customer support in case you encounter any issues or have questions. Additionally, check whether the software provider regularly releases updates to improve functionality and fix bugs.
By considering the functionality, user-friendliness, compatibility, price, and support of the knitting charting software, you can select the one that best suits your needs and allows you to easily create knitting patterns from photos.
Uploading the Photo and Adjusting Settings
Once you have selected the photo you want to convert into a knitting pattern, the first step is to upload it to the application. You can simply click on the “Upload” button and browse through your computer’s files to locate the photo. Alternatively, you can drag and drop the photo directly into the designated area of the application.
After the photo is successfully uploaded, you will be prompted to adjust the settings according to your preferences and the desired outcome of the knitting pattern. This step is crucial as it determines the level of detail and complexity of the pattern. You may need to experiment with different settings to achieve the desired result.
- Resolution: Depending on the quality of the photo and the desired size of the knitting pattern, you can choose the resolution. Higher resolutions result in more detailed patterns, but may also require more time and resources to complete.
- Color Palette: The application may provide options to choose a specific color palette for your knitting pattern. This can be useful if you want to match the pattern with existing knitting projects or if you have a specific color scheme in mind.
- Pattern Size: You can also adjust the size of the knitting pattern, both in terms of width and height. This allows you to create patterns of different dimensions, suitable for various knitting projects.
Once you have adjusted the settings, you can proceed to the next step, where the application will process the photo and generate a knitting pattern based on the uploaded image and your selected settings. It is important to carefully review the final pattern before starting your knitting project, as any errors or discrepancies in the pattern can affect the outcome of your knitted piece.
Generating the Knitting Pattern
Converting a photo into a knitting pattern may seem like a complex task, but with the right tools and techniques, it can be a fun and rewarding process. There are several steps involved in generating a knitting pattern from a photo.
1. Image Processing
The first step in generating a knitting pattern is to process the image and transform it into a format suitable for knitting. This involves converting the photo into a pixelated representation, where each pixel represents a stitch in the knitting pattern. Software programs are available that can automate this process, allowing you to adjust settings such as stitch size and color palette.
2. Pattern Design
Once the image has been processed, the next step is to design the actual knitting pattern. This involves translating the pixelated representation into a set of instructions that knitters can follow. The pattern design may include details such as stitch type, stitch count, and color changes. It is important to consider the complexity of the design and the skill level required for knitting.
3. Chart Creation
After the knitting pattern has been designed, it is often useful to create a chart or diagram that visually represents the pattern. This can be done using specialized software or by hand. The chart allows knitters to easily visualize the pattern and keep track of their progress as they work. It can also be a helpful reference when following the instructions.
4. Testing and Refinement
Before finalizing the knitting pattern, it is important to test it and make any necessary refinements. This involves actually knitting the pattern to ensure that it produces the desired result. During this testing phase, it is common to discover areas where the pattern may need to be adjusted or clarified. Feedback from other knitters can also be valuable in improving the pattern.
By following these steps, you can generate a knitting pattern from a photo and bring your favorite images to life in the form of a knitted creation. Whether you are a beginner or an experienced knitter, this process can be a creative and enjoyable way to express your passion for both photography and knitting.
Understanding the Knitting Pattern
When it comes to knitting, understanding the knitting pattern is essential to creating a successful and well-fitting garment or accessory. A knitting pattern serves as a guide, providing instructions on how to create each stitch and how to assemble the pieces. It is like a roadmap that helps knitters navigate through the project and achieve the desired result.
Decoding the Abbreviations
Knitting patterns often use abbreviations, which can be confusing for beginners. However, once you understand the meaning behind these abbreviations, following the instructions becomes much easier. Some common abbreviations include “k” for knit, “p” for purl, “inc” for increase, and “dec” for decrease. It is important to familiarize yourself with these abbreviations before starting a project to avoid any confusion or mistakes.
Checking the Gauge
Another key aspect of understanding a knitting pattern is checking the gauge. Gauge refers to the number of stitches and rows per inch that you need to achieve in order for your finished product to match the measurements provided in the pattern. It is crucial to knit a swatch and measure it using a gauge ruler or tape measure. If your gauge is off, it could result in an ill-fitting garment. Adjusting your needle size or tension may be necessary to obtain the correct gauge.
Following the Instructions
A knitting pattern typically includes a set of instructions that guide you through each step of the project. These instructions may include information on the types of stitches to use, stitch counts, and shaping techniques. It is important to read through the instructions carefully and visualize the steps before you begin knitting. This will help you understand the overall construction of the project and prevent any mistakes or confusion along the way.
Troubleshooting and Problem-Solving
Even with careful reading and attention to detail, knitters may encounter challenges while following a pattern. It is important to be patient and willing to troubleshoot and problem-solve. If you come across a confusing or unclear instruction, do some research, consult knitting resources, or reach out to experienced knitters for help. Sometimes, a simple adjustment to your technique or a different interpretation of the pattern can make a big difference in achieving the desired outcome.
In conclusion, understanding the knitting pattern is crucial for the success of your knitting projects. By familiarizing yourself with abbreviations, checking the gauge, following the instructions, and troubleshooting when needed, you will be able to confidently create beautiful and well-fitting knitted items.
Translating the Pattern to Knitting Stitches
When translating a photo into a knitting pattern, it’s important to understand how the different elements of the image will translate into knitting stitches. This process involves analyzing the photo and breaking it down into individual shapes, textures, and color changes. Each element will need to be translated into a corresponding knitting stitch or technique.
Shapes: Start by identifying the basic shapes in the photo, such as circles, squares, triangles, or rectangles. These shapes can be represented in knitting using techniques like increases and decreases to create the desired shape. For example, a circle can be knit using a combination of knit and purl stitches in a round or oval shape.
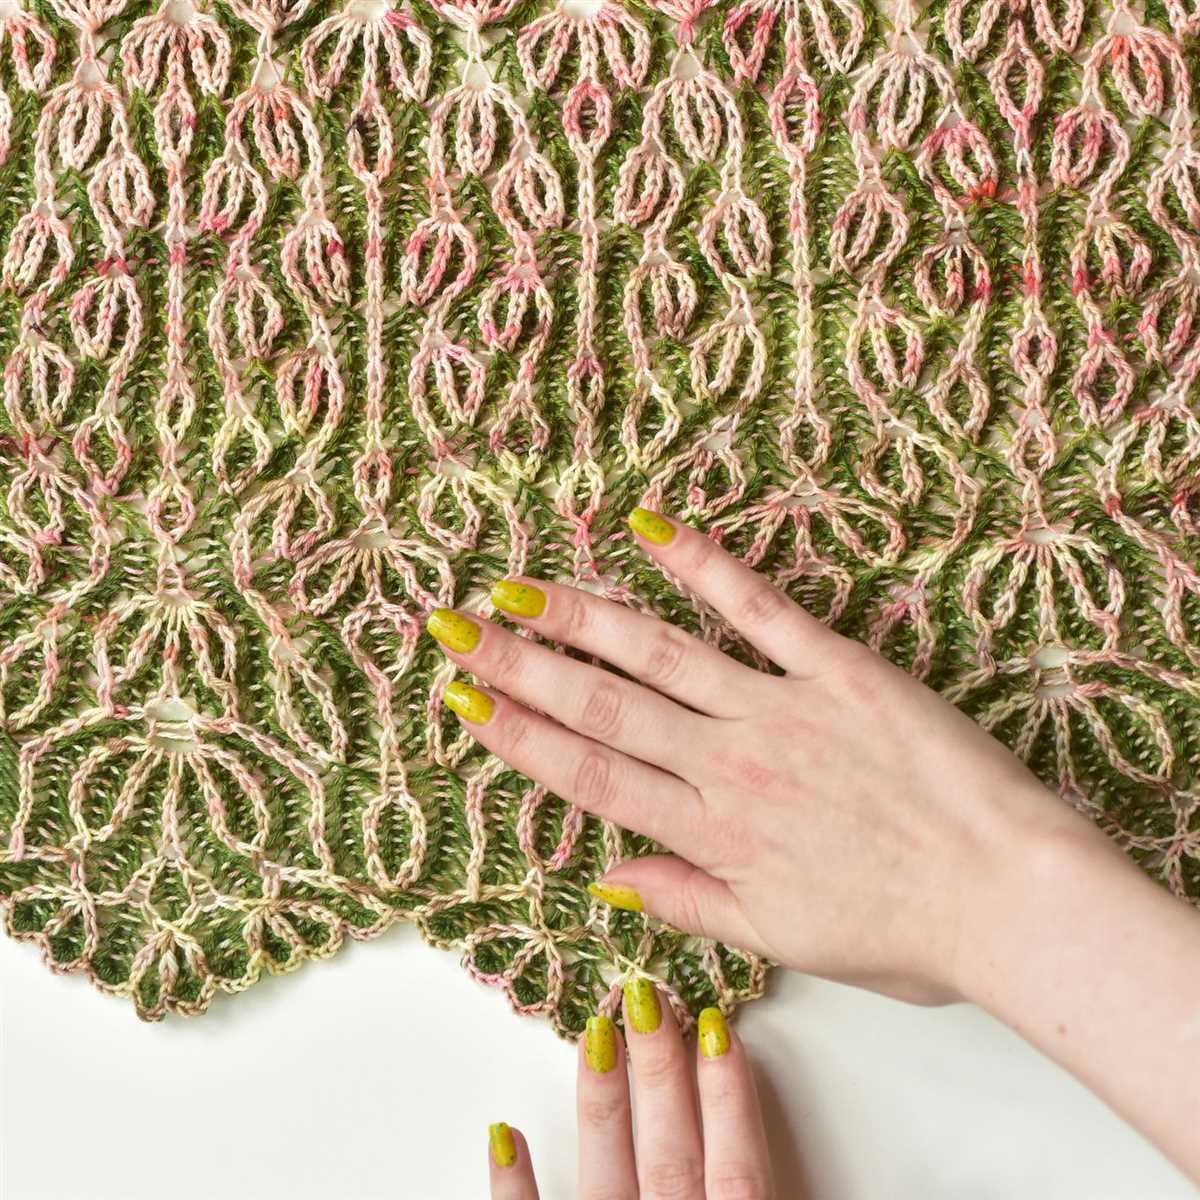
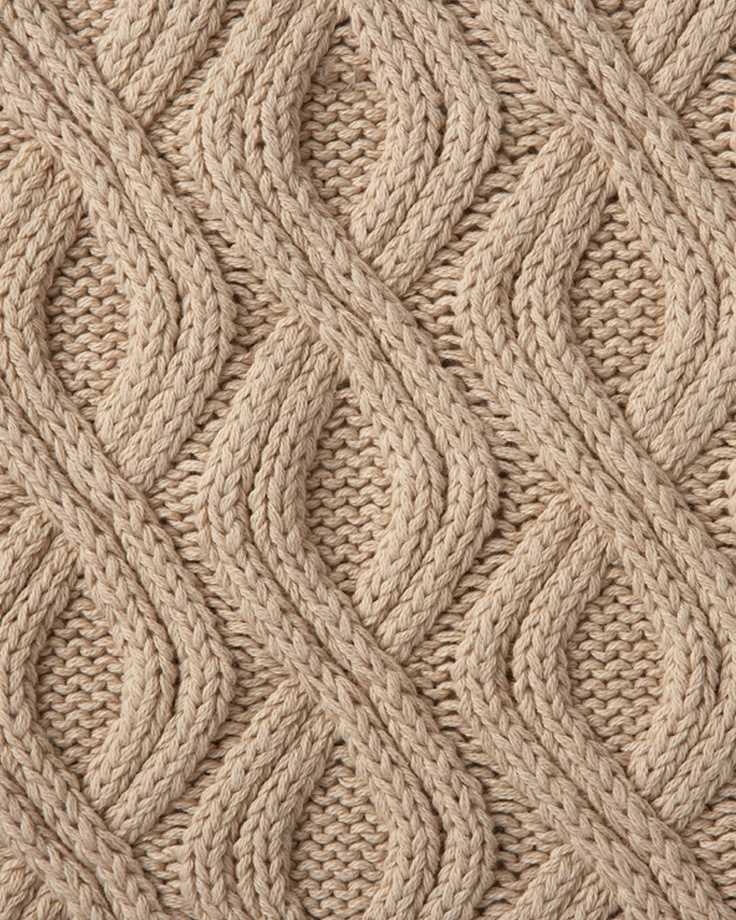
Textures: Look for any textures or patterns in the photo, such as cables, lace, or ribbing. These can be replicated in knitting by following specific stitch patterns or stitch combinations. For instance, a cable texture can be achieved by crossing stitches over each other while knitting.
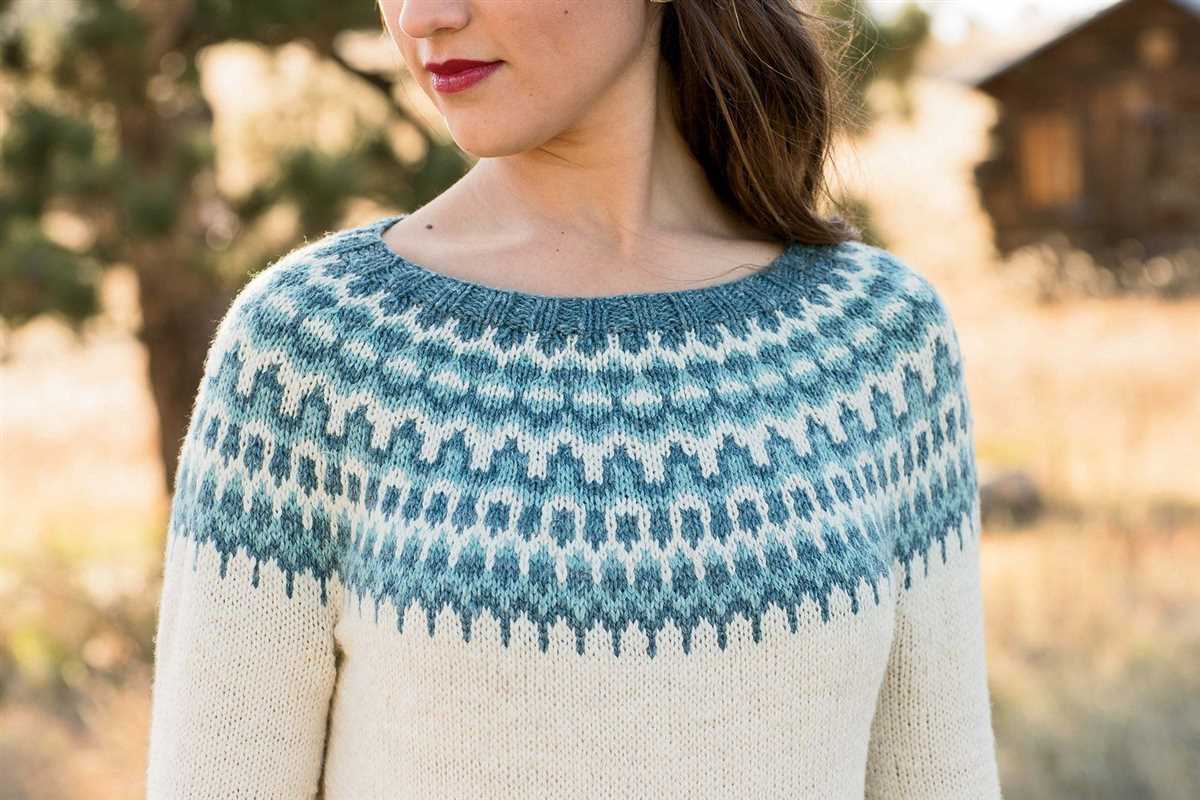
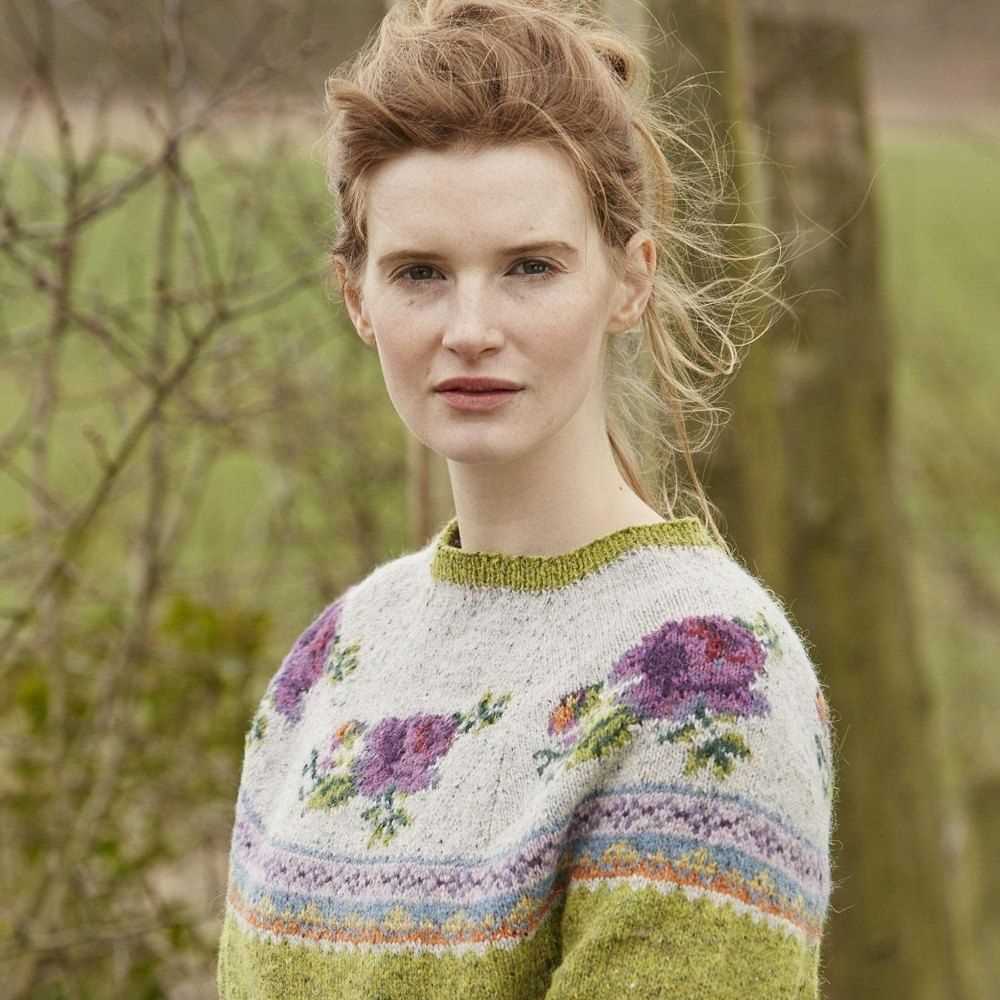
Color Changes: If there are multiple colors in the photo, you’ll need to determine how to incorporate these color changes into the knitting pattern. This can be done using techniques like stranded colorwork, intarsia, or duplicate stitch. Each color change can be represented by a different yarn and worked into the knitting pattern accordingly.
By carefully analyzing the photo and understanding how different elements can be translated into knitting stitches, you can create a pattern that accurately captures the essence of the original image. This process requires attention to detail and a good understanding of knitting techniques, but the end result can be a unique and personalized knitting project.
Tips for Success
When converting a photo into a knitting pattern, it’s important to keep in mind several tips to ensure the best possible result. Here are some key points to consider:
- Choose the right photo: Select a high-resolution photo with clear details. This will make it easier to identify the different colors and stitch patterns.
- Adjust the image: Use image editing software to enhance the photo’s contrast and brightness. This will help differentiate between adjacent colors and make the knitting pattern more accurate.
- Simplify the pattern: If the original photo has too many details, simplify the image by reducing the number of colors or removing unnecessary elements. This will make it easier to follow the knitting pattern.
- Create a color chart: Convert the photo into a color chart with each color represented by a symbol or number. This will help you keep track of the different yarn colors and their placement in the pattern.
- Choose the right yarn and needles: Select yarn and needles that match the desired outcome of the pattern. Consider the stitch pattern, yarn weight, and gauge when choosing the materials.
- Start with a small project: If you’re new to converting photos into knitting patterns, start with a small and simple project to practice. This will allow you to familiarize yourself with the process before tackling larger and more complex designs.
- Test and adjust: Always knit a swatch before starting the full project. This will help you determine if any adjustments need to be made to the pattern, such as changing the stitch count or color placement.
- Be patient: Converting a photo into a knitting pattern requires time and patience. Don’t rush the process and take breaks if needed. It’s important to enjoy the journey rather than solely focus on the end result.
By following these tips, you’ll be well-equipped to successfully convert a photo into a knitting pattern. Remember to have fun and embrace the creative possibilities that this unique process offers!