
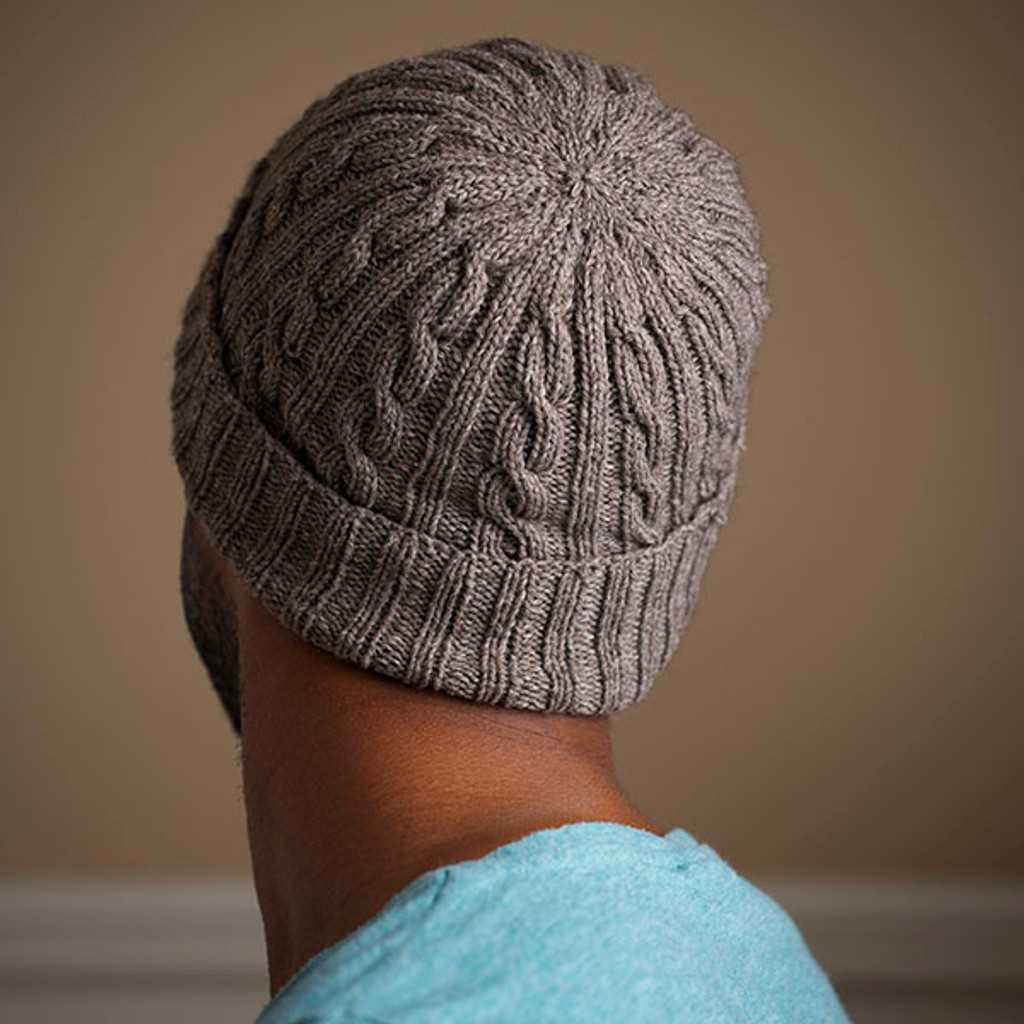
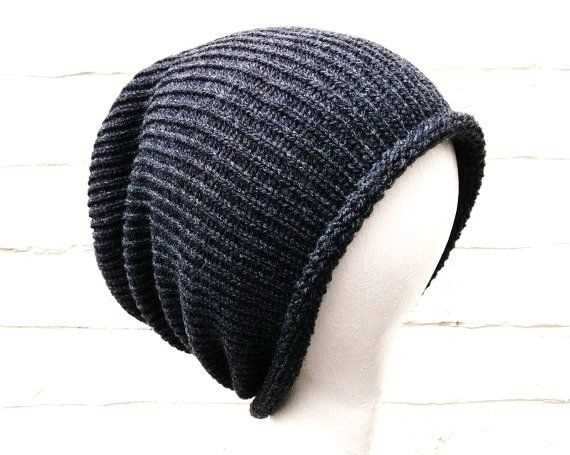
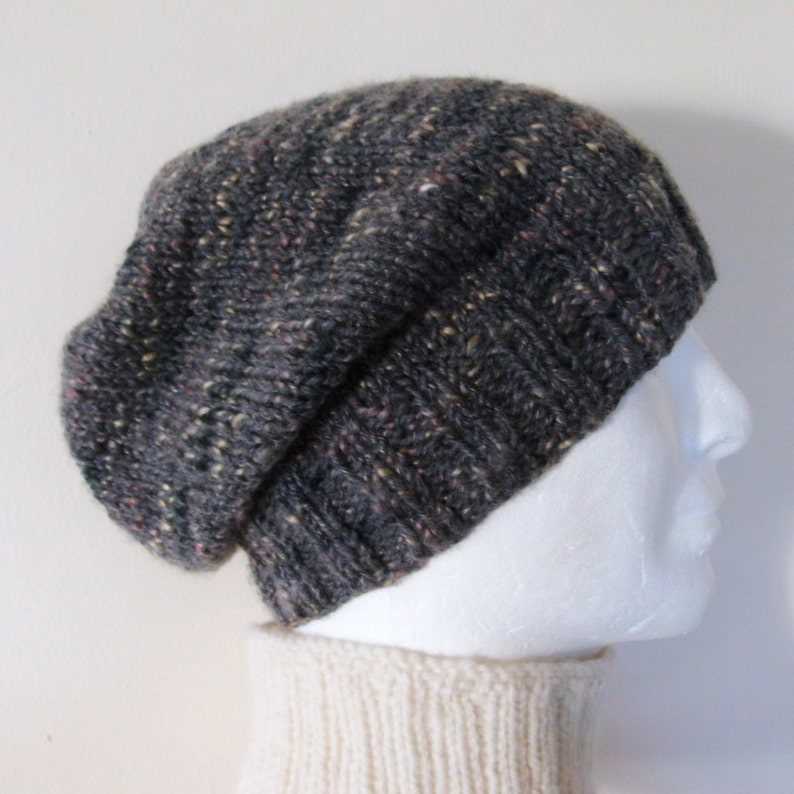
Are you looking for a cozy and stylish accessory to add to your winter wardrobe? Look no further than a men’s slouchy beanie! This trendy hat is not only practical for keeping your head warm in cold weather, but it also adds a touch of fashion to any outfit.
If you’re a knitting enthusiast or looking to try your hand at a new project, we’ve got you covered with a free knitting pattern for a men’s slouchy beanie. This pattern is perfect for beginners and experienced knitters alike, with clear instructions and step-by-step photos to guide you through the process.
With this pattern, you’ll be able to create a comfortable and stylish hat that can be customized to your desired fit and style. Whether you prefer a classic solid color or a bold and vibrant pattern, the choice is yours. The slouchy design adds a relaxed and casual vibe, making it a versatile accessory for any occasion.
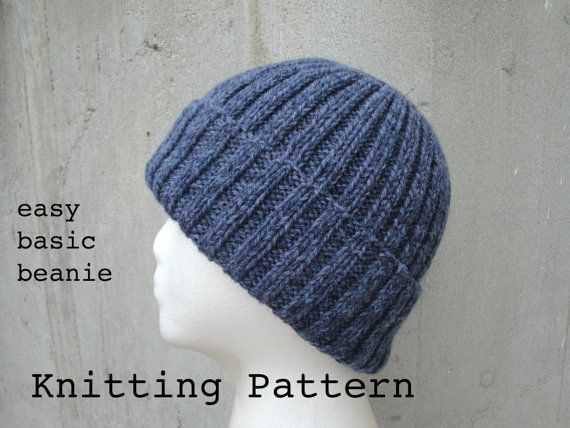
Men’s Slouchy Beanie Knitting Pattern Free

Are you looking for a stylish and comfortable beanie pattern to knit for the men in your life? Look no further! We have a free knitting pattern for a men’s slouchy beanie that is sure to impress. Whether you’re an experienced knitter or just starting out, this pattern is suitable for all skill levels.
To get started, you’ll need a set of circular knitting needles in the appropriate size for your desired gauge. You’ll also need a stitch marker, a yarn needle for weaving in ends, and approximately 200-250 yards of worsted weight yarn. Choose a color that you know the recipient will love, or opt for a neutral shade that will match any outfit.
Pattern:
- Cast on 88 stitches using your preferred cast-on method.
- Join in the round, being careful not to twist the stitches.
- Place a stitch marker to indicate the beginning of the round.
- Work in a *k2, p2* ribbing pattern for 2 inches.
- Switch to stockinette stitch (knit every round) and continue until the hat measures approximately 8 inches from the cast-on edge.
- Begin decreasing as follows:
| Round | Decrease |
|---|---|
| 1 | *K6, k2tog* |
| 2 | Knit all stitches |
| 3 | *K5, k2tog* |
| 4 | Knit all stitches |
Repeat rounds 3 and 4 until you have 8 stitches remaining. Cut the yarn, leaving a long tail. Thread the yarn through a yarn needle, slip the remaining stitches onto the needle, and pull tight to close the top of the hat. Weave in all ends and you’re done!
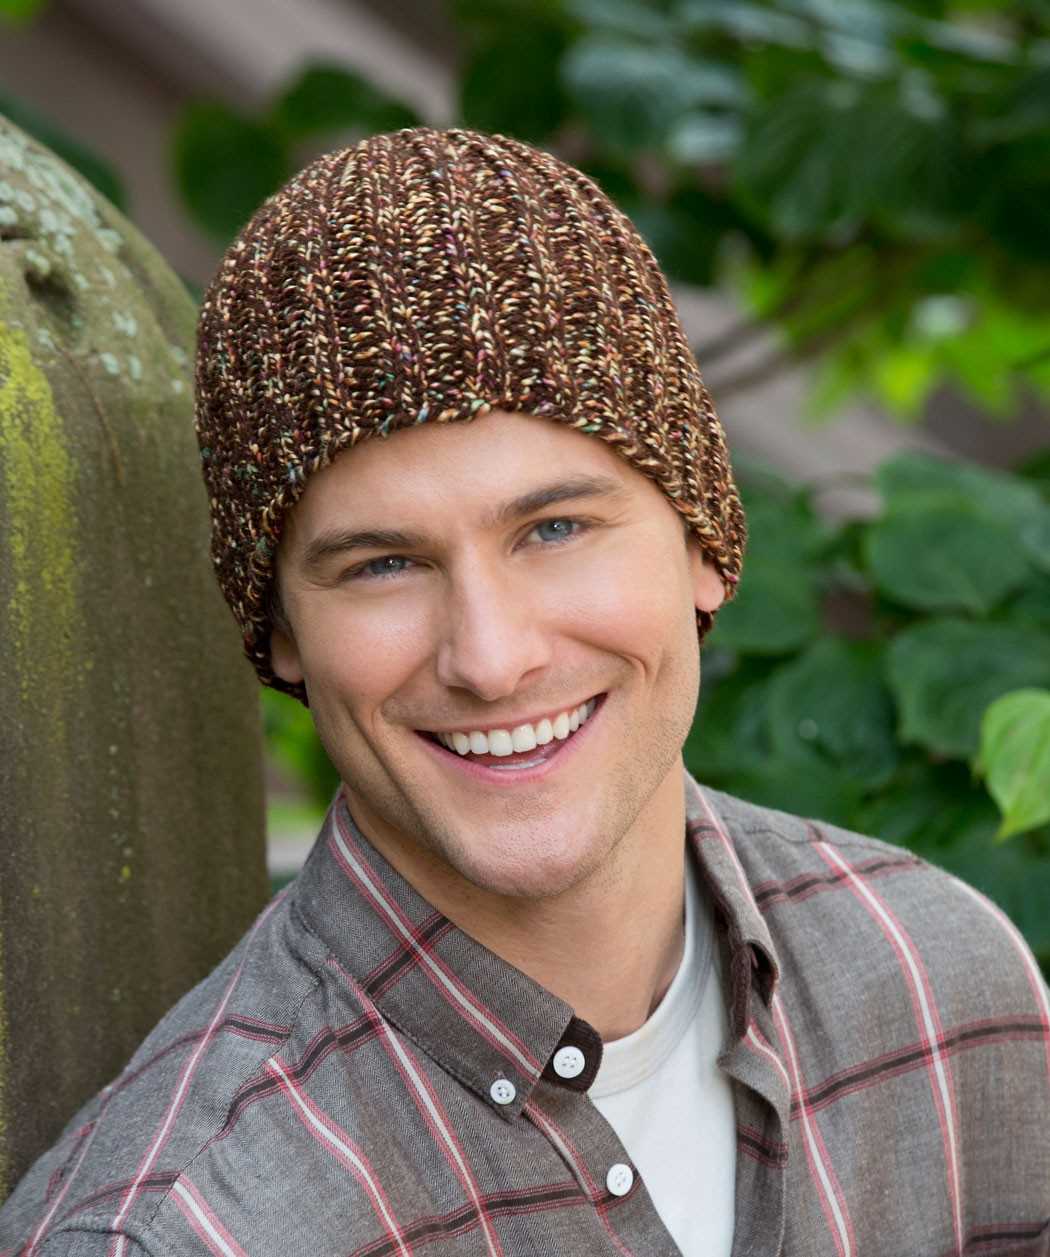
This men’s slouchy beanie is the perfect accessory for those chilly days and makes a great gift. Customize the pattern by adding stripes, colorwork, or a pom pom on top. The possibilities are endless, and the result will be a stylish and cozy hat that any man will love to wear.
Choosing the Right Yarn and Needles
When knitting a slouchy beanie for men, it is essential to choose the right yarn and needles to ensure the desired outcome and fit. The yarn and needle selection will determine the size, drape, and overall look of the knitted beanie.
Yarn: To achieve a slouchy look, it is recommended to use a lightweight yarn with good drape. A blend of wool and acrylic or wool and cotton can provide both warmth and flexibility. The yarn should have a soft texture and be easy to work with. It is also important to consider the color of the yarn and choose a shade that complements the wearer’s style.
Needles: The size of the needles will depend on the thickness of the yarn chosen. It is recommended to use circular needles of appropriate length to accommodate the number of stitches required for the beanie. Circular needles allow for ease of knitting in the round and avoid the need for seaming. The needle size should be chosen to achieve the desired gauge mentioned in the knitting pattern.
When selecting the yarn and needles, it is advisable to swatch and gauge the knitting pattern before starting the actual project. This will ensure that the yarn and needle combination will produce the correct tension and fit. Remember to consider personal preferences, such as the desired slouchiness and texture of the beanie, when making the yarn and needle choices.
Gauge and Measurements
Before starting your men’s slouchy beanie knitting project, it is important to understand the concept of gauge and take accurate measurements. Gauge refers to the number of stitches and rows in a given measurement of the knitted fabric. It is essential to achieve the correct gauge in order for the finished beanie to fit properly.
To determine the gauge, you can follow the pattern’s instructions for the recommended yarn and needle size. The pattern usually specifies the number of stitches and rows that should be worked in a 4-inch square using the recommended yarn and needle size. This will give you an idea of how your knitting tension compares to the pattern’s gauge. If your gauge doesn’t match, you may need to adjust your needle size or tension to achieve the correct gauge.
Measurements:
- To ensure a proper fit, it is important to measure the head circumference of the person you are knitting the beanie for. Use a measuring tape and wrap it around the widest part of the head, typically around the forehead and ears.
- Record the measurement in inches or centimeters, depending on your preference.
- Additionally, you may want to measure the desired length of the beanie. Decide whether you want a slouchy or snug fit, and determine the length accordingly.
- Keep in mind that different yarns and stitch patterns can affect the final measurements, so it is advisable to check the finished measurements provided in the pattern.
By understanding gauge and taking accurate measurements, you can ensure that your men’s slouchy beanie will fit perfectly and be an enjoyable and rewarding knitting project.
Cast On and Ribbing
When starting the knitting pattern for a men’s slouchy beanie, the first step is to cast on the required number of stitches. The cast on method used will depend on personal preference, but a commonly used method for ribbing is the long-tail cast on. This method provides a neat and elastic edge, which is ideal for the ribbed brim of the beanie.
To begin the long-tail cast on, hold the knitting needle in your right hand and leave a tail of yarn that is approximately three times the width of your knitting project. Make a slipknot and place it on the needle. Insert the needle into the slipknot and tighten it by pulling on the working yarn.
Next, wrap the working yarn around your thumb and hold it against the base of the slipknot, creating a loop. Then, bring the needle under the loop, over the yarn in front of your thumb, and back through the loop. After that, pull the loop snugly onto the needle, ensuring the working yarn is behind the needle.
Continue the long-tail cast on by repeating these steps until you have cast on the desired number of stitches for your beanie. Once the stitches are cast on, start the ribbing by working in a rib stitch pattern, such as knit 2, purl 2, repeat to the end of the row. This will create the stretchy and textured brim of the slouchy beanie.
Remember to check the knitting pattern instructions for any specific cast-on or ribbing requirements, as different patterns may have variations on these techniques.
Working the Body

Once you have completed the ribbing section, it’s time to move on to working the body of the slouchy beanie. This part of the pattern will create the bulk and the slouchiness of the hat.
Row 1: Knit all stitches. This row will create the foundation for the body of the beanie.
Row 2: Purl all stitches. This row will create the texture and add depth to the beanie.
Repeat Rows 1 and 2: Continue alternating between knitting all stitches and purling all stitches until you reach your desired length for the body of the beanie. The number of rows you knit will depend on how slouchy you want the finished hat to be.
It’s important to note that the length of the body should be slightly shorter than the desired total length of the finished beanie. This is because the ribbing at the bottom of the hat will naturally pull it in, creating a snug fit on the head.
For added customization, you can incorporate different stitch patterns or color changes into the body section of the beanie. This will create unique and eye-catching designs. Experiment with different stitch patterns such as cables, chevrons, or stripes to make your slouchy beanie truly one-of-a-kind.
Decreasing for the Crown
Once the slouchy beanie has reached the desired length, it’s time to start decreasing for the crown. This is where the beanie will start to taper towards the top and create a fitted shape. Follow these steps to decrease correctly:
1. Divide the stitches: Begin by dividing the total number of stitches in half. This will give you the number of stitches to work with for the first half of the decrease rounds. For example, if you have 80 stitches, you will have 40 stitches for the first half.
2. Decrease round: On the first decrease round, work the first stitch as usual and then knit the next two stitches together. Repeat this pattern of knitting two stitches together until you have reached the end of the round. This will decrease the number of stitches by half and create a tighter knit.
3. Repeat decrease rounds: Continue to work decrease rounds in this manner, knitting two stitches together until the end of the round. Each decrease round will decrease the number of stitches by half, gradually tapering the beanie towards the crown.
4. Final decrease rounds: Once you have a smaller number of stitches remaining (usually around 8-10 stitches), switch to double-pointed needles or a smaller circular needle to continue decreasing. Follow the same pattern of knitting two stitches together until you have just a few stitches left.
5. Finishing off: Cut the yarn, leaving a long tail. Thread the yarn through the remaining stitches and pull tight to close the crown of the beanie. Weave in any loose ends and your slouchy beanie with a fitted crown is complete!
Finishing the Beanie
Once you have finished knitting the slouchy beanie, it’s time to finish it off and make it ready to wear. Here are the steps to follow for a polished and professional finish:
Weaving in the ends
Start by weaving in any loose ends that you may have from changing colors or joining yarn. Use a tapestry needle to thread the ends through the stitches on the wrong side of the beanie. Make sure to weave the ends in securely, so they won’t come loose during wear.
Blocking
Next, you may choose to block your beanie to give it a neater appearance and help it maintain its shape. To block the beanie, soak it in lukewarm water and gently squeeze out the excess moisture. Lay the beanie flat on a towel, shaping it into the desired slouchy shape. Allow it to air dry completely.
Attaching a pom-pom (optional)
If you want to add a playful touch to your slouchy beanie, you can attach a pom-pom to the top. You can either make your own pom-pom using yarn and a pom-pom maker or purchase a pre-made one. Attach the pom-pom securely to the top of the beanie using a tapestry needle and the same yarn used for knitting.
Final touches
Once the beanie is dry and any optional pom-pom is attached, give it a final inspection. Check for any loose ends or imperfections and fix them if necessary. Your slouchy beanie is now ready to be worn and enjoyed!
Remember, the finishing touches can make a big difference in the overall look and quality of your knitted beanie. Take your time and pay attention to detail to ensure a professional and polished finish.
Adding a Pom-Pom (Optional)
If you want to take your men’s slouchy beanie to the next level, you can add a pom-pom on top. It adds a playful and stylish touch to the beanie, giving it a bit of personality.
To make a pom-pom, you will need some yarn in a complementary color to your beanie. You can use the same yarn as the one you used to knit the beanie, or you can choose a contrasting color for a bold look.
Here’s how you can make a pom-pom:
- Start by cutting a piece of yarn that is about 8 inches long.
- Take a small ball of yarn (about the size of a golf ball) and wrap the yarn around your fingers or a pom-pom maker, depending on your preference. The more times you wrap the yarn, the fuller the pom-pom will be.
- Thread the short piece of yarn through the center of the wrapped yarn and tie it tightly. Make sure the knot is secure.
- Carefully remove the yarn from your fingers or the pom-pom maker and cut the loops. You can also trim the pom-pom to shape it and make it more even.
- Sew the pom-pom onto the top of your beanie. Make sure to attach it securely, so it doesn’t come off when you wear the beanie.
And voila! You now have a stylish and cozy men’s slouchy beanie with a pom-pom. It’s a great accessory for the winter months and adds a fun element to any outfit. Enjoy wearing your handmade creation!
Styling Tips
When it comes to styling a men’s slouchy beanie, there are a few key tips to keep in mind to achieve the perfect laid-back look.
1. Pair with Casual Outfits
The slouchy beanie is a great accessory for casual outfits. It adds a touch of relaxed style to any look and can be paired with jeans, t-shirts, and sweaters. For a rugged, outdoorsy look, try wearing the beanie with a flannel shirt and boots.
2. Choose the Right Fit
When selecting a slouchy beanie, it’s important to choose the right fit. The beanie should sit comfortably on the head without being too loose or too tight. Look for a beanie that has a bit of stretch to it, so it can easily accommodate different head sizes.
3. Experiment with Colors
Don’t be afraid to experiment with different colors when it comes to a men’s slouchy beanie. While neutral colors such as black, gray, and navy are versatile options, don’t hesitate to try bold colors like burgundy or mustard to add a pop of color to your outfit.
4. Fold or Leave Slouched
One of the great things about a slouchy beanie is that it can be styled in different ways. You can fold the brim up for a more fitted look or leave it slouched for a more relaxed vibe. Play around with different styles to find the one that suits you best.
5. Layer with Scarves
To add some extra warmth and style to your outfit, consider layering your slouchy beanie with a scarf. This combination not only keeps you cozy on colder days but also adds visual interest to your overall look. Try matching the colors or patterns of your beanie and scarf for a cohesive and put-together appearance.
By following these styling tips, you’ll be able to rock a men’s slouchy beanie with confidence and effortlessly elevate your casual outfits. Have fun experimenting with different looks and find the style that works best for you!
Variations and Customizations
If you’re looking for a unique twist on the classic men’s slouchy beanie, there are plenty of variations and customizations you can make to personalize your knitting project. Whether you’re an experienced knitter or just starting out, here are a few ideas to inspire your creativity:
Color Combinations:
One of the easiest ways to customize your beanie is by experimenting with different color combinations. You can choose to knit in a single color for a sleek and minimalist look, or mix and match different shades to create a bold and vibrant design. Consider using contrasting colors for the ribbing and body of the beanie, or create a gradient effect by transitioning between different hues.
Texture and Stitch Patterns:
Adding texture and stitch patterns can take your beanie to the next level. You can incorporate cables, ribbing, or bobbles for a more intricate and detailed look. Alternatively, you can opt for simple stitch patterns like seed stitch or moss stitch to create a subtle texture. Experimenting with different stitch patterns can add visual interest and make your beanie truly one-of-a-kind.
Pom-pom or No Pom-pom:
The addition of a pom-pom is a popular customization option for beanies. You can choose to add a faux fur pom-pom or create your own using yarn. Pom-poms can add a playful and whimsical touch to your beanie. If you prefer a more streamlined look, you can choose to skip the pom-pom altogether and focus on the design and fit of the beanie itself.
Stripes and Patterns:
Stripes and patterns can add visual interest to your slouchy beanie. You can experiment with different stripe widths and colors to create a bold and eye-catching design. Additionally, you can incorporate patterns such as chevron, fair isle, or herringbone to add complexity and depth to your beanie. Don’t be afraid to mix and match different colors and patterns to achieve the desired effect.
Embroidery and Embellishments:
If you’re skilled in embroidery, you can add personalized designs or initials to your beanie. Whether it’s a simple monogram or a more elaborate motif, embroidery can elevate the look of your beanie and make it truly unique. Additionally, you can add buttons, patches, or other embellishments to further customize your project and make it stand out.
When it comes to customization, the possibilities are endless. Don’t be afraid to experiment and make the pattern your own. Whether you’re knitting for yourself or as a gift, a customized men’s slouchy beanie is sure to be a hit.
Common Mistakes to Avoid
When knitting a men’s slouchy beanie, it’s important to avoid certain common mistakes in order to achieve the best results. Here are some of the common mistakes that you should try to avoid:
1. Incorrect Gauge
Mistake: Not achieving the correct gauge can result in a beanie that is either too tight or too loose.
Solution: Always swatch and check your gauge before starting the project. Adjust your knitting needle size if needed to match the recommended gauge.
2. Inconsistent Tension
Mistake: Uneven tension can lead to a beanie with visible variations in stitch size and appearance.
Solution: Practice maintaining a consistent tension while knitting. Take regular breaks to ensure that your hands and fingers are not getting tired, which can result in tension variations.
3. Misreading the Pattern
Mistake: Misinterpreting or misreading the pattern can lead to mistakes and confusion during the knitting process.
Solution: Read the pattern carefully before starting and make sure you understand all the instructions. Highlight important sections or use stitch markers to help keep track of your progress.
4. Wrong Yarn Choice
Mistake: Using the wrong type or weight of yarn can affect the overall look and fit of the beanie.
Solution: Choose a yarn that is recommended in the pattern or one that is similar in weight and fiber content. Consider the drape and elasticity of the yarn to ensure it is suitable for the style of the beanie.
5. Skipping Blocking
Mistake: Skipping the blocking process can result in a beanie that doesn’t hold its shape well and may not fit properly.
Solution: Block your finished beanie according to the instructions provided in the pattern. This will help even out the stitches, improve the overall appearance, and ensure the correct fit.
In conclusion, paying attention to details like gauge, tension, pattern reading, yarn choice, and blocking can make a significant difference in the final outcome of your men’s slouchy beanie. By avoiding these common mistakes, you can create a well-fitting and stylish accessory that will keep you warm and fashionable.