
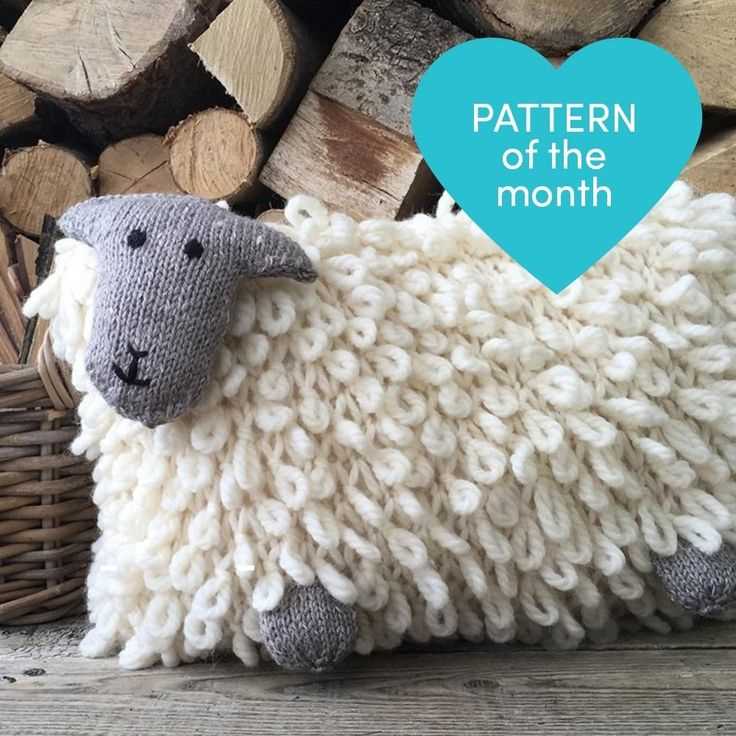
Looking for a fun and adorable knitting project? Look no further than this loopy sheep knitting pattern! With its fluffy, textured body and cute little face, this pattern is perfect for knitters of all skill levels. Best of all, it’s completely free!
Whether you’re a seasoned knitter or just starting out, this pattern is easy to follow and will result in a charming finished product. The loopy texture is created using a simple combination of knit and purl stitches, making it a great project for beginners looking to explore different stitch techniques.
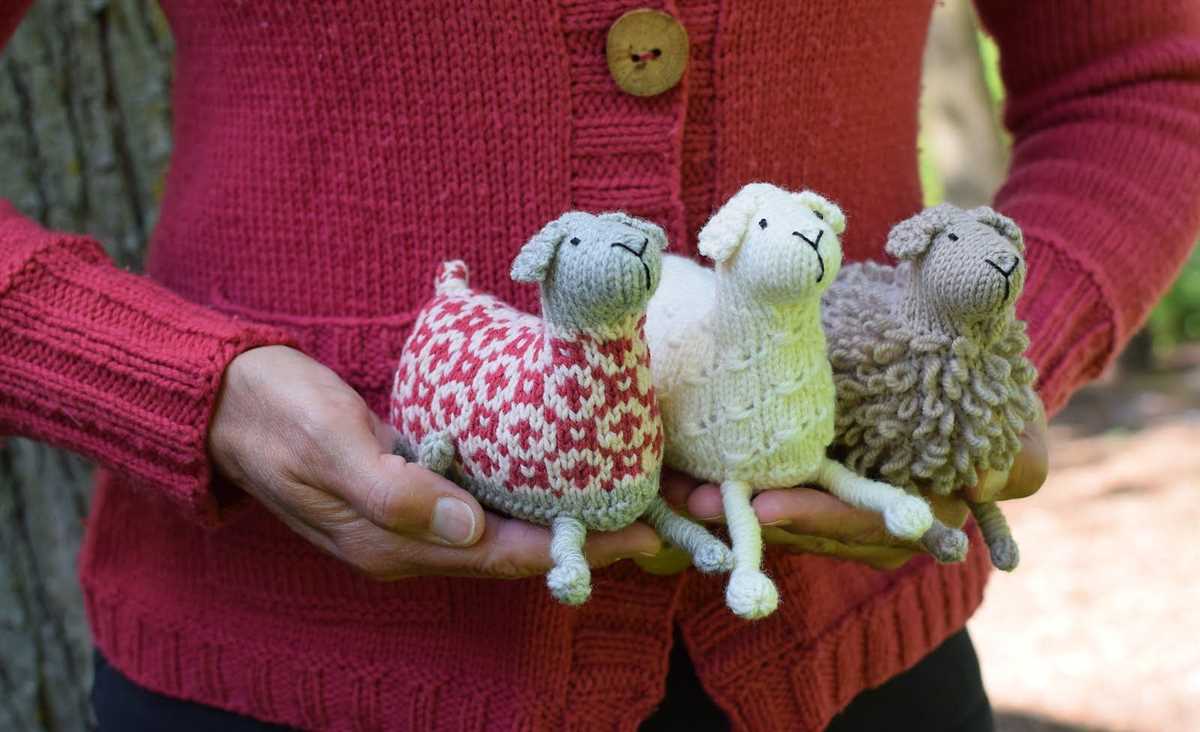
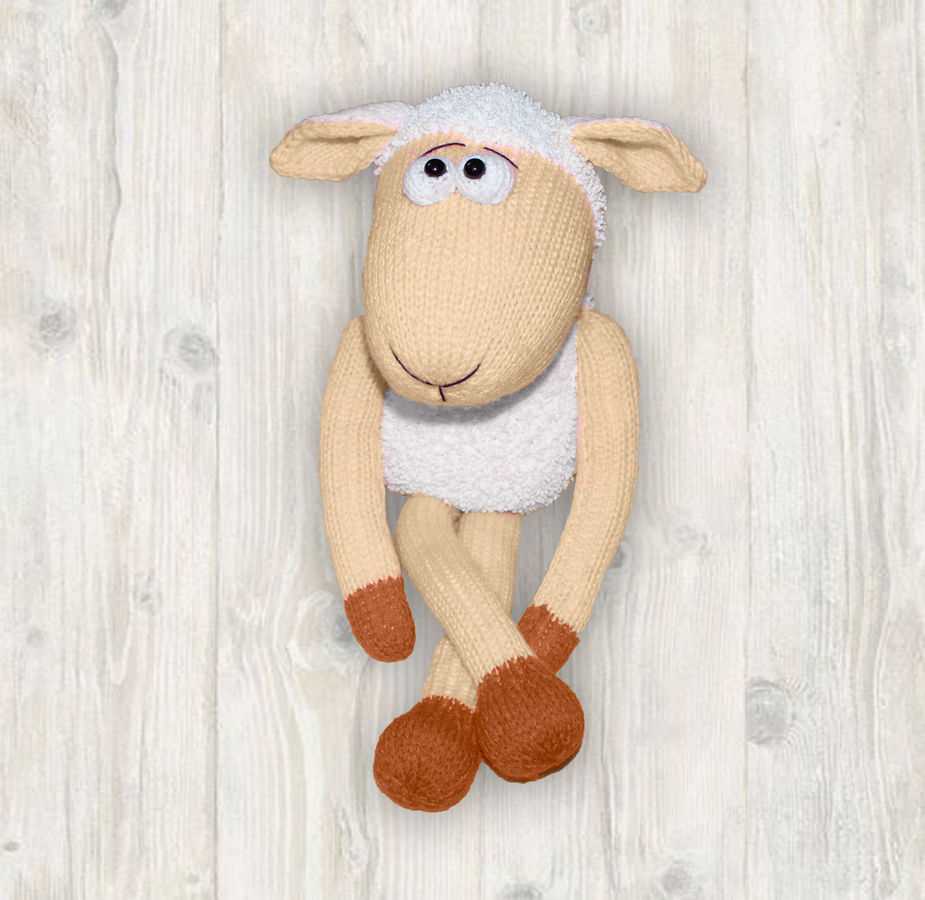
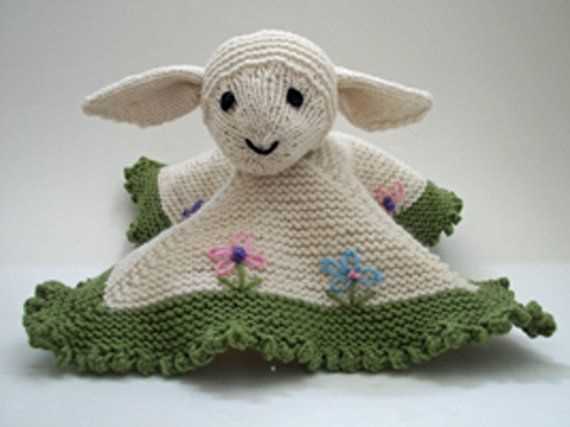
Not only is this pattern fun to knit, but it also makes for a wonderful gift or decoration. The loopy sheep can be used as a cuddly toy for children or as a cute accent piece for your home. The possibilities are endless! So grab your knitting needles and get ready to create something truly special with this loopy sheep knitting pattern.
Loopy Sheep Knitting Pattern Free
Are you looking for a fun and adorable knitting project? Look no further! The loopy sheep knitting pattern is the perfect project for all knitting enthusiasts. Best of all, this pattern is available for free! So grab your knitting needles and let’s get started!
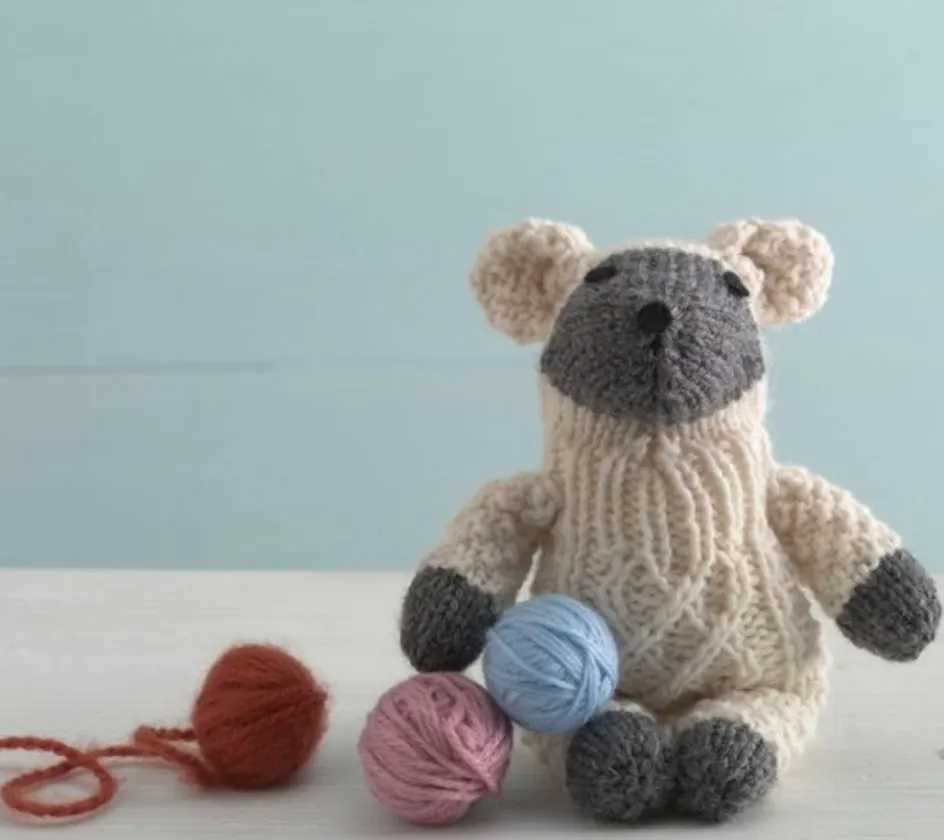
The loopy sheep knitting pattern is a great way to create a cute and cuddly sheep toy. The pattern uses basic knitting techniques such as casting on, knitting, purling, and binding off. It also incorporates a special loop stitch to create the fluffy texture of the sheep’s wool. Don’t worry if you’re not familiar with the loop stitch, the pattern provides step-by-step instructions to guide you through the process. Before you know it, you’ll have an adorable sheep toy ready to be loved and cherished.
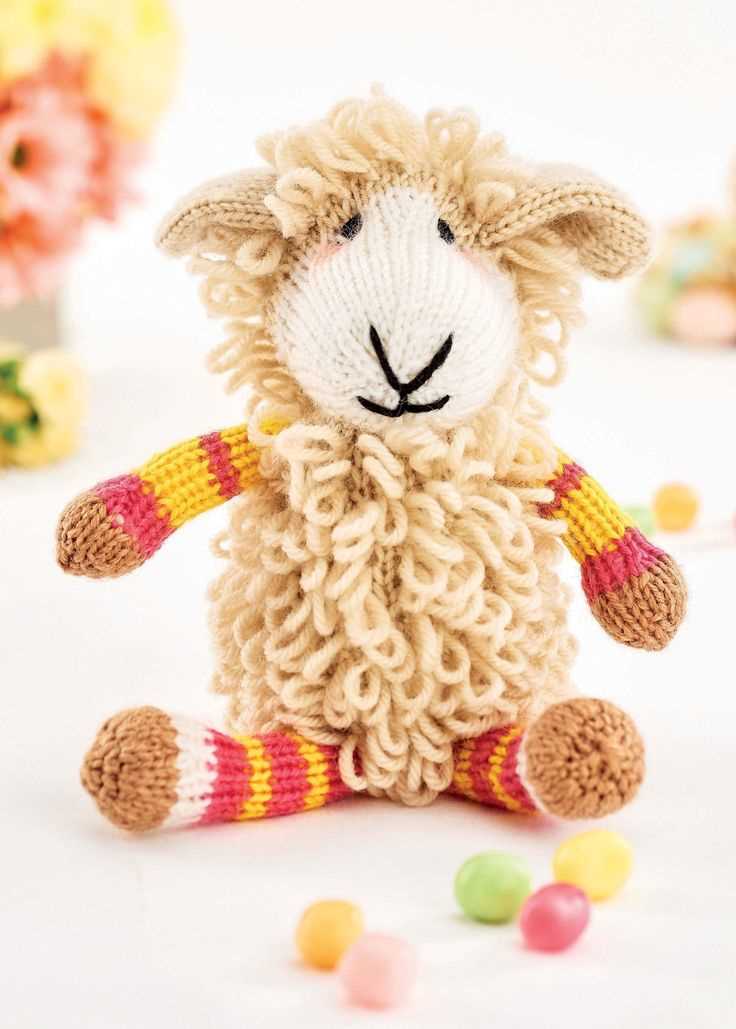
To make the loopy sheep knitting pattern even more fun, you can customize it to your liking. Experiment with different colors of yarn to create a unique sheep toy. You can also add embellishments such as buttons or ribbons to give your sheep some personality. The beauty of knitting is that you can let your creativity run wild and create something truly one-of-a-kind.
The loopy sheep knitting pattern is suitable for both beginners and experienced knitters. If you’re new to knitting, this project is a great way to practice and develop your skills. The pattern provides clear instructions and helpful tips, making it easy for beginners to follow along. For experienced knitters, this pattern offers a fun and relaxing project that can be completed in just a few hours.
So why wait? Download the loopy sheep knitting pattern for free and start stitching your very own cuddly sheep toy. Whether you’re an avid knitter or just looking for a new hobby, this pattern is sure to bring you joy and satisfaction. Happy knitting!
Benefits of Using a Free Knitting Pattern
Knitting is a popular hobby that allows individuals to create beautiful and functional items using just two needles and some yarn. One of the advantages of knitting is that it offers a variety of patterns to choose from, including free knitting patterns. These patterns are readily available online and can be downloaded and used without any cost. There are several benefits to using a free knitting pattern.
1. Cost-effective
As the name suggests, free knitting patterns do not require any monetary investment. This makes them an excellent choice for knitters who are on a budget or want to save money. By utilizing free patterns, knitters can create unique and stylish items without spending a fortune on purchasing patterns. This allows individuals to indulge in their knitting hobby without worrying about breaking the bank.
2. Wide Selection
Free knitting patterns come in a wide range of styles, designs, and difficulty levels. Whether you’re a beginner or an experienced knitter, you can find patterns that suit your skill level and preferences. These patterns include everything from simple scarves and hats to intricate lace shawls and cable sweaters. The abundance of free patterns ensures that there is something for everyone, regardless of their knitting experience or project preferences.
3. Creativity and Inspiration
Using free knitting patterns can inspire creativity and spark new ideas. Knitters can modify and customize the patterns according to their personal preferences, adding their unique touch to the final piece. This freedom to experiment allows knitters to explore different techniques, stitch patterns, and color combinations. It also encourages them to take on new challenges and expand their knitting skills.
4. Community and Support
By using free knitting patterns, knitters become part of a vibrant and supportive community. Online platforms and forums dedicated to knitting provide a space for knitters to connect, share their projects, and seek advice. Many pattern creators offer support and guidance to knitters who are using their free patterns, ensuring that they can easily follow along and overcome any challenges that may arise.
Overall, utilizing free knitting patterns offers numerous advantages, including cost savings, a wide selection of patterns, opportunities for creativity, and access to a supportive community. Knitters of all skill levels can benefit from these patterns and enjoy the process of creating beautiful and unique knitted items.
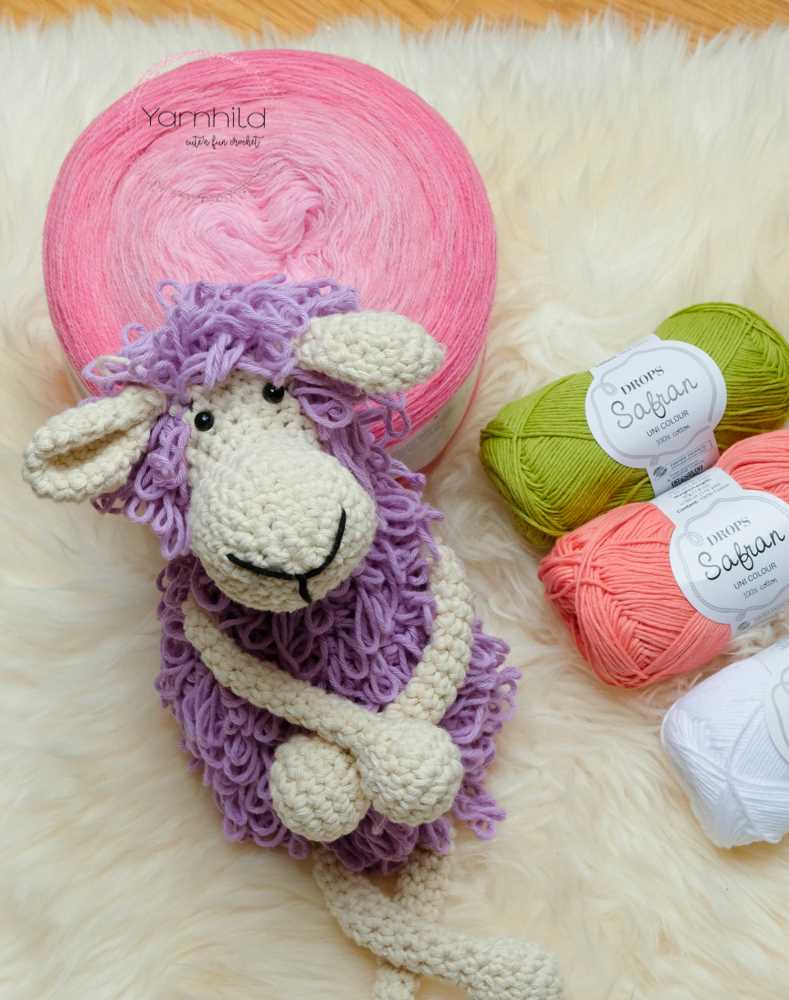
Choosing the Right Yarn for Your Loopy Sheep
When it comes to knitting your loopy sheep, choosing the right yarn is key to achieving the desired texture and appearance. There are several factors to consider when selecting the perfect yarn for your project.
Fiber content: The fiber content of the yarn will greatly impact the final result of your loopy sheep. While you can use any type of yarn, it is generally recommended to use a wool or acrylic blend. Wool provides a soft and fluffy texture, while acrylic offers durability and easy care. A blend of both fibers can offer the best of both worlds.
Weight: The weight of the yarn will determine the size and density of your loopy sheep. For a larger and bulkier sheep, opt for a bulky weight yarn. For a smaller and more delicate sheep, choose a lighter weight yarn. It’s important to note that different yarn weights will require different needle sizes, so make sure to check the pattern for the recommended gauge.
Note: The pattern you are following may have specific recommendations for yarn type and weight. Make sure to read the pattern carefully before making your yarn selection.
Aside from fiber content and weight, you may also want to consider other factors such as color and texture. The color of the yarn will determine the overall appearance of your loopy sheep, so choose a color that complements your desired aesthetic. In terms of texture, you may want to choose a yarn with a slight halo or fuzziness to enhance the fluffy look of your sheep.
Ultimately, the right yarn for your loopy sheep will depend on your personal preferences and the specific look you are aiming for. Experiment with different yarns and have fun creating your own unique flock of loopy sheep.
Essential Knitting Techniques for the Loopy Sheep Pattern
If you’re a fan of adorable animal-themed knitting projects, then the Loopy Sheep pattern is perfect for you. This free pattern allows you to create a cute little sheep with a looped texture that is sure to delight both children and adults alike. To successfully complete this project, there are a few essential knitting techniques you’ll need to master.
Casting On
Before you can start knitting the Loopy Sheep, you’ll need to cast on your stitches. The pattern will specify the number of stitches you need to cast on, but typically, it’s around 20-30 stitches. To cast on, hold your knitting needle in your right hand and make a slipknot with your yarn. Insert your needle into the slipknot and tighten it. Then, using your right hand, wrap the yarn around your left thumb and insert your needle into the loop. Repeat this process until you have the desired number of stitches.
Knit Stitch
The knit stitch is a basic knitting stitch that you’ll use throughout the Loopy Sheep pattern. To knit, insert your right-hand needle into the first stitch on your left-hand needle from left to right. Wrap your working yarn around the right-hand needle counterclockwise and pull it through the stitch, sliding the stitch off the left-hand needle. Repeat this process for each stitch until you’ve completed a row.
Loop Stitch
The loop stitch creates the textured loops that give the Loopy Sheep its unique look. To create a loop stitch, insert your right-hand needle into the next stitch as if to knit. Instead of wrapping the yarn around the needle and pulling it through, bring the yarn forward and wrap it around your left index finger. Insert the needle into the same stitch again from left to right, then wrap the yarn around the needle counterclockwise and pull it through both loops. Repeat this process for each stitch that requires a loop.
Finishing Techniques
Once you’ve completed knitting your Loopy Sheep, you’ll need to finish off your project. To do this, cut your working yarn, leaving a long tail. Thread the tail through a yarn needle and weave it through the remaining stitches, removing them from the knitting needle. Pull the tail tight to close up the top of the sheep’s head. Then, use the yarn needle to sew up any remaining open seams. Finally, attach any additional embellishments, such as eyes or a mouth, as desired.
With these essential knitting techniques in your repertoire, you’ll be well-prepared to tackle the Loopy Sheep pattern and create an adorable knitted sheep that will be cherished for years to come.
Step-by-Step Instructions for Knitting the Body of the Sheep
To begin knitting the body of the sheep, you will need to cast on the required number of stitches. The pattern will specify the exact number, but typically it is around 30-40 stitches. You can use any type of knitting needle that you prefer, but make sure it is the appropriate size for your yarn.
After casting on, start knitting in the round. This means that you will be knitting continuously without turning your work. You can use either circular knitting needles or double-pointed needles for this step. Knit every stitch in every round until you reach the desired length for the sheep’s body.
Tip: To ensure that your sheep’s body has a consistent texture, it is important to maintain an even tension as you knit. Take care not to pull your yarn too tightly or leave it too loose.
For a loopy texture, you can introduce a special stitch called the loop stitch. To do this, follow these steps:
- Knit to the stitch where you want to create a loop.
- Insert your right-hand needle into the stitch as if to purl.
- Wrap the yarn around the needle once and pull it through the stitch.
- Slide the stitch off the left-hand needle and let it “hang” in front of your work.
- Knit the next stitch as usual, holding the loop stitch in front of your work.
- Repeat these steps for each loop stitch, spacing them evenly across the rows or as specified in the pattern.
Tip: If you are new to loop stitch knitting, it may take a few tries to get the hang of it. Practice on a swatch of spare yarn before attempting it on your sheep’s body.
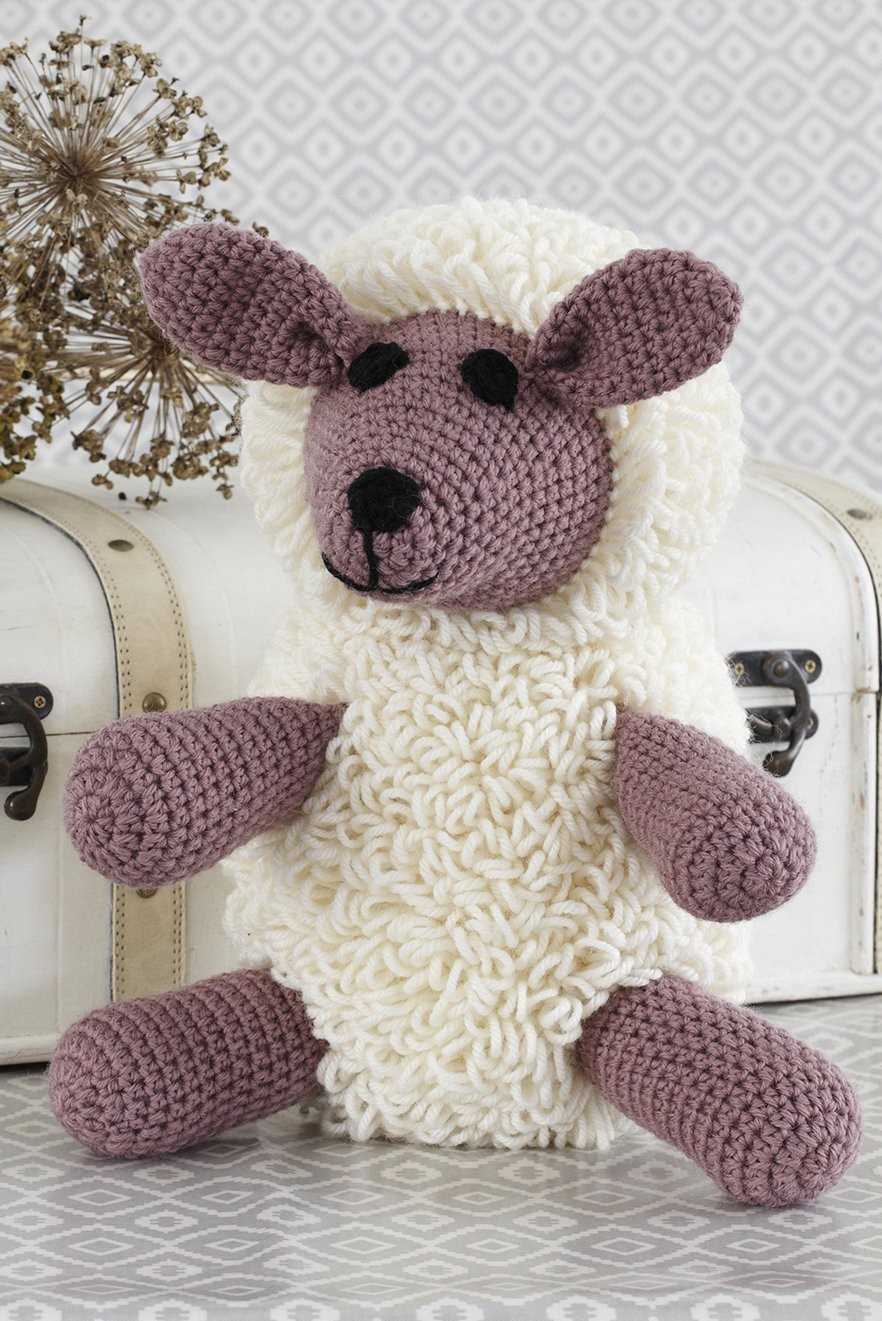
Adding Personality to Your Loopy Sheep with Facial Features
When creating a loopy sheep using a knitting pattern, one way to add personality and make your sheep truly unique is by adding facial features. Adding eyes, a nose, and a mouth can give your sheep a distinct look and make it come to life.
Eyes: The eyes are an important feature when it comes to giving your loopy sheep personality. You can use safety eyes, buttons, or even embroider the eyes using yarn. Experiment with different sizes and colors to create different expressions. For a playful look, position the eyes slightly askew. For a more innocent or sweet expression, position the eyes closer together. The choice is yours!
Nose: Adding a nose is another way to give your loopy sheep character. You can use small black buttons, beads, or even embroider a simple triangle shape using black yarn. Position the nose slightly below the eyes to create a cute and endearing look.
Mouth: The mouth is where you can really get creative and have fun. You can create a simple smile using black yarn and embroidery, or you can use a small piece of felt or fabric to create a more detailed mouth. Experiment with different shapes and sizes to give your sheep a cheerful or mischievous expression.
Remember to securely attach the facial features to your loopy sheep. If using buttons or beads, make sure they are sewn on tightly. If embroidering, make sure your stitches are secure. Adding facial features is a great way to add personality and bring your loopy sheep to life. Get creative and have fun with it!
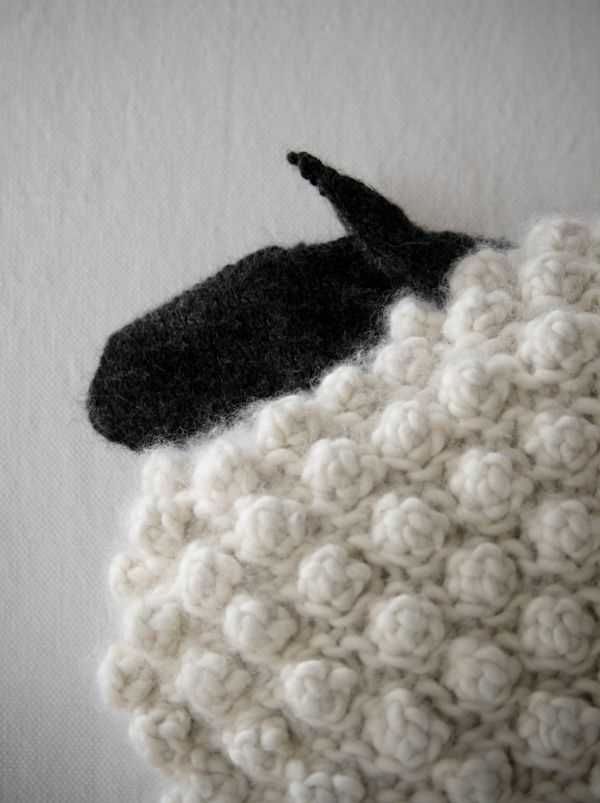
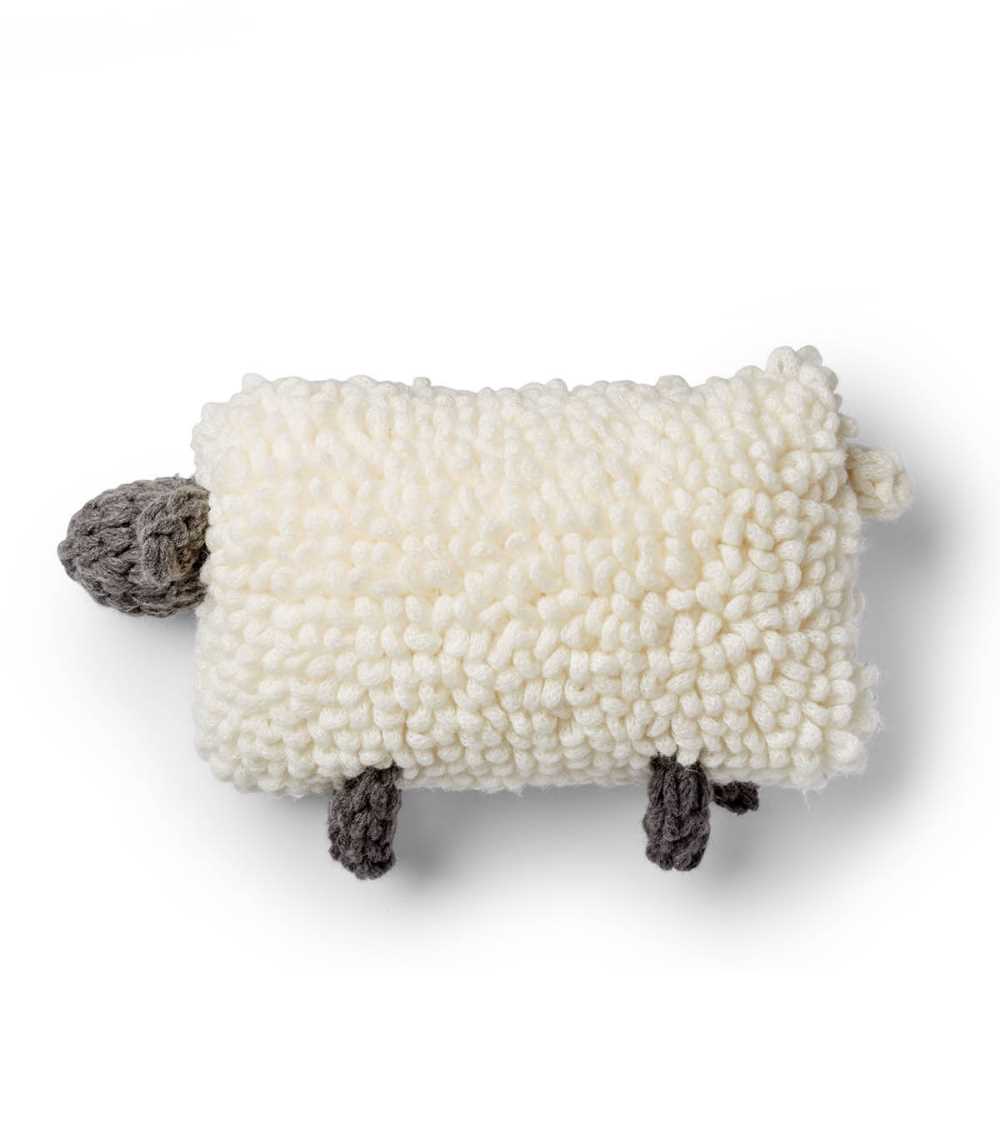
Creating the Loopy Texture for the Sheep’s Wool
In order to create the adorable loopy texture for the sheep’s wool in your knitting project, there are a few techniques you can use. One option is to use a technique called loop stitch, where you deliberately create loops in your knitting by wrapping the yarn around your needle multiple times before pulling it through. This can be a bit tricky to master at first, but with a bit of practice, you’ll be able to create those cute loops in no time.
Another technique you can try is using a yarn with a loopy texture already built in. There are many specialty yarns available that have loops or curls spun right into the fiber. These yarns can give your sheep’s wool a fun and whimsical look without the need for any extra stitching or techniques.
If you prefer a more customizable option, you can also create loops by using a crochet hook to pull loops of yarn through your knitting. This technique allows you to control the size and placement of the loops, giving you more flexibility in designing your sheep’s wool texture. Just be sure to keep track of your stitches and rows, as incorporating crochet into your knitting may require some adjustments to your pattern.
Whichever technique you choose, adding a loopy texture to your sheep’s wool can bring your knitting project to life. The fluffy, bouncy texture will make your sheep look extra cuddly and adorable. So grab your needles, some yarn, and get ready to create some loopy magic!
Finishing and Assembling Your Loopy Sheep
Once you have finished knitting all the pieces for your loopy sheep, it’s time to start assembling them. Here are the steps to follow:
1. Blocking
Before you start assembling, it’s important to block your knitted pieces. This will help to even out the tension and make it easier to sew everything together. To block, soak your pieces in lukewarm water and lay them flat on a towel, gently stretching them into the desired shape. Allow them to dry completely before moving on to the next step.
2. Sewing the Body
Start by sewing the body pieces together. Lay the two body pieces flat with the wrong sides facing each other. Use a whip stitch to sew the edges together, leaving a small opening for stuffing. Once you have sewn around the edges, turn the body right side out and stuff it firmly with polyester fiberfill. Close the opening by sewing it shut.
3. Attaching the Legs and Head
Next, attach the legs to the body. Position them evenly on either side of the body and use a whip stitch to sew them in place. Make sure they are securely attached. Then, attach the head to the body in the same manner, making sure it is centered and secure.
4. Adding the Details
Finally, it’s time to add the loopy details to your sheep. Cut several lengths of yarn in your desired colors and loop them around the body, legs, and head. Use a crochet hook or your fingers to pull the ends through the loops to secure them. Trim any excess yarn to make the loops even. You can also add eyes, a nose, and a mouth using embroidery thread or felt.
Once you have finished attaching all the details, your loopy sheep is complete! Give it a gentle shake to fluff up the loops and admire your adorable creation. Your loopy sheep will make a charming addition to your home or a delightful gift for someone special.
When it comes to creating the perfect loopy sheep knitting pattern, there are a few tips and tricks that can help you achieve the best results. Whether you are an experienced knitter or just starting out, these techniques can make the process easier and more enjoyable.
Choose the Right Yarn
One of the most important factors in creating a successful loopy sheep knitting pattern is choosing the right yarn. Opt for a soft, fluffy yarn that will create the desired texture for your sheep’s wool. Mohair or angora blends are great options as they lend themselves well to the loopy effect. Additionally, consider the weight and thickness of the yarn to ensure that it will work well with your chosen needle size.
Experiment with Stitch Patterns
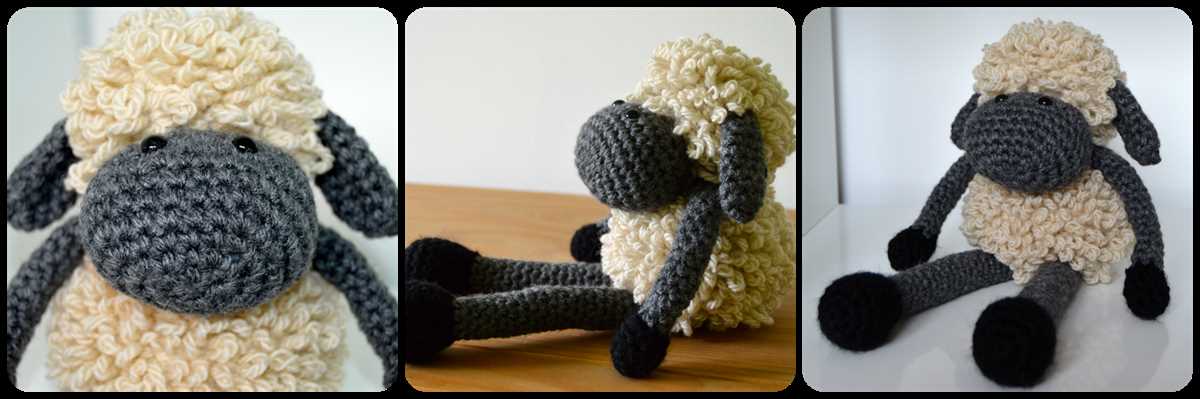
When knitting your loopy sheep, don’t be afraid to experiment with different stitch patterns to create different textures. For the body, you might opt for a simple stockinette stitch to showcase the loopy wool, while using a bobbly stitch pattern for the head and legs can add extra dimension to your sheep. Play around with different combinations and see what works best for the loopy effect you are trying to achieve.
Keep Tension Consistent
Consistency in tension is key when knitting a loopy sheep pattern. As you work, make sure to keep your tension even throughout to ensure that your loops are uniform in size and appearance. Using stitch markers can help you stay on track and maintain a consistent tension. Additionally, blocking your finished project can also help even out any uneven areas and enhance the overall appearance of the loopy texture.
Add Extra Details
To add even more personality to your loopy sheep, consider adding some extra details. This could involve embroidering the facial features using contrasting yarn or using buttons for the eyes. You could also experiment with different colors for the sheep’s body and accessories, such as a colorful scarf or hat. These extra touches can really make your loopy sheep stand out and add an extra layer of charm to your finished project.
Overall, perfecting your loopy sheep knitting pattern requires attention to detail and some experimentation. By choosing the right yarn, playing around with stitch patterns, maintaining consistent tension, and adding extra details, you can create a loopy sheep that is sure to impress. So grab your knitting needles and get started on your next woolly creation!
Explore Variations and Customizations for Your Loopy Sheep
If you’ve mastered the basic loopy sheep knitting pattern, it’s time to unleash your creativity and make it your own! There are plenty of ways to customize and add variations to your loopy sheep, making each one unique and special. Here are some ideas to get you started:
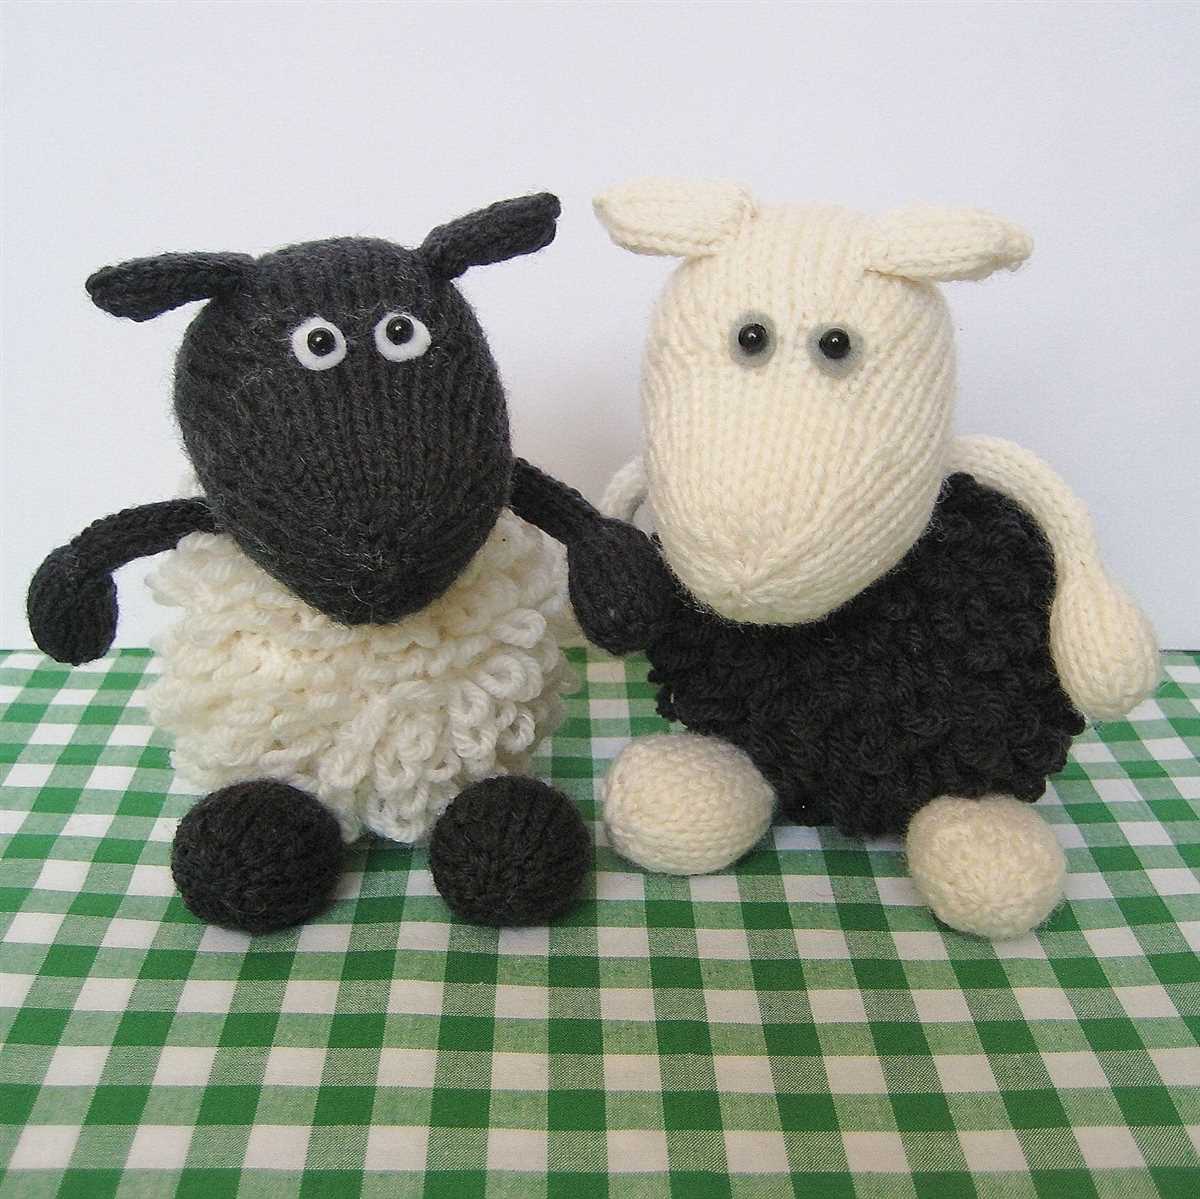
1. Experiment with different yarns:
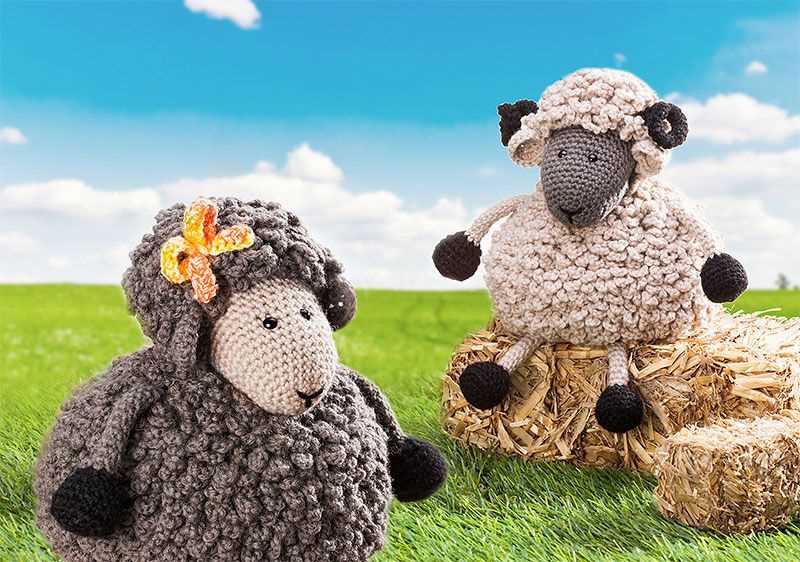
While the classic loopy sheep is usually knit with fluffy white yarn, don’t be afraid to mix it up and try out different colors and textures. You can create a flock of colorful sheep by using yarns in various shades or add some character by using yarns with different textures.
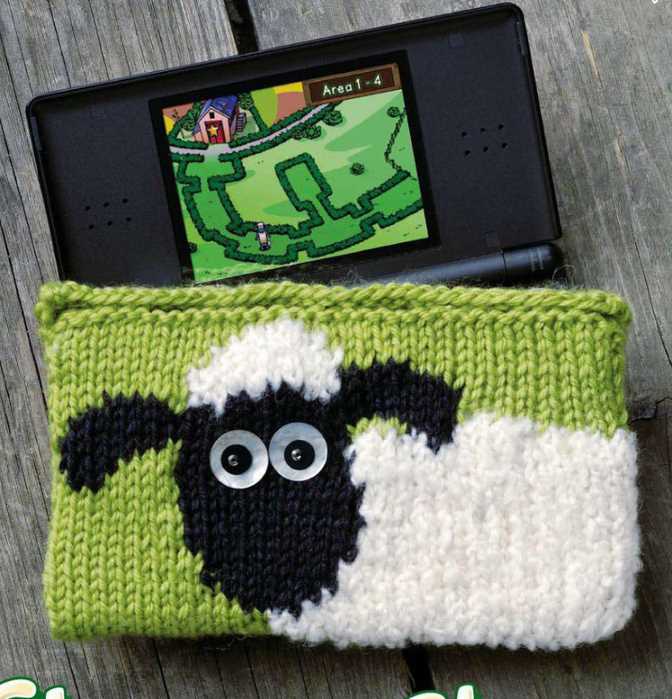
2. Add accessories and embellishments:
Give your loopy sheep some personality by adding accessories and embellishments. You can knit a tiny scarf or hat, attach a tiny bell or bow, or even sew on some buttons for eyes. Let your imagination run wild and have fun with it!
3. Make different sizes:
Why stick to just one size? Experiment with different needle sizes and yarn weights to create sheep in various sizes. From tiny sheep that fit in the palm of your hand to larger ones that make a statement, the possibilities are endless.
4. Create different facial expressions:
Giving your loopy sheep different facial expressions can completely change its personality. Experiment with different stitch patterns and techniques to create different expressions like a smiling sheep, a sheep with a surprised expression, or even one with a mischievous wink.
5. Explore different knitting techniques:
If you’re feeling adventurous, why not try incorporating different knitting techniques into your loopy sheep? You can experiment with colorwork by knitting the body in different colors or try out different stitch patterns for the body or limbs.
No matter how you choose to customize your loopy sheep, remember to have fun and enjoy the process. Each unique sheep will bring a smile to your face and make a fantastic addition to your knitting collection!