
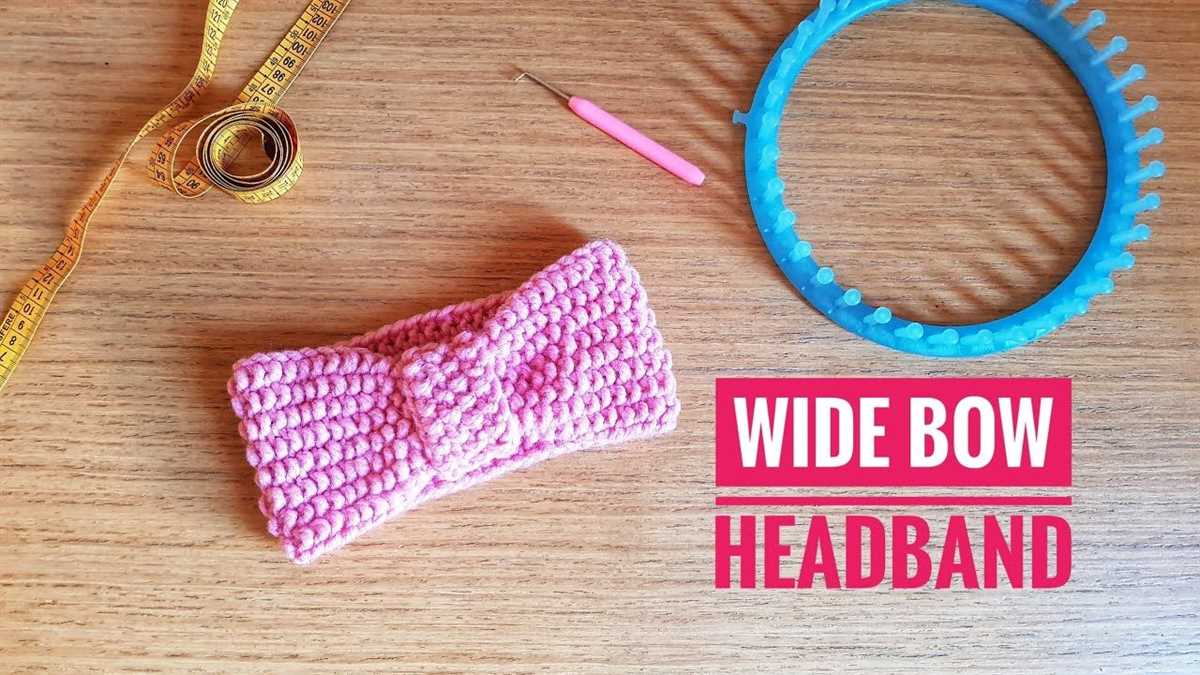
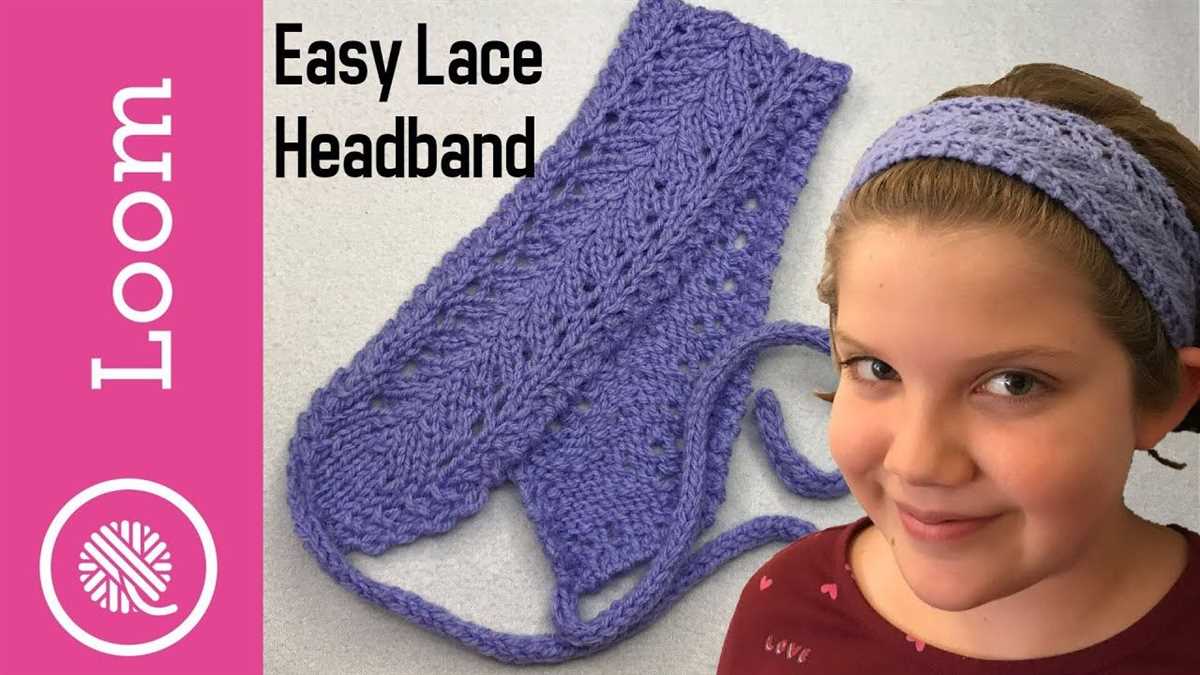
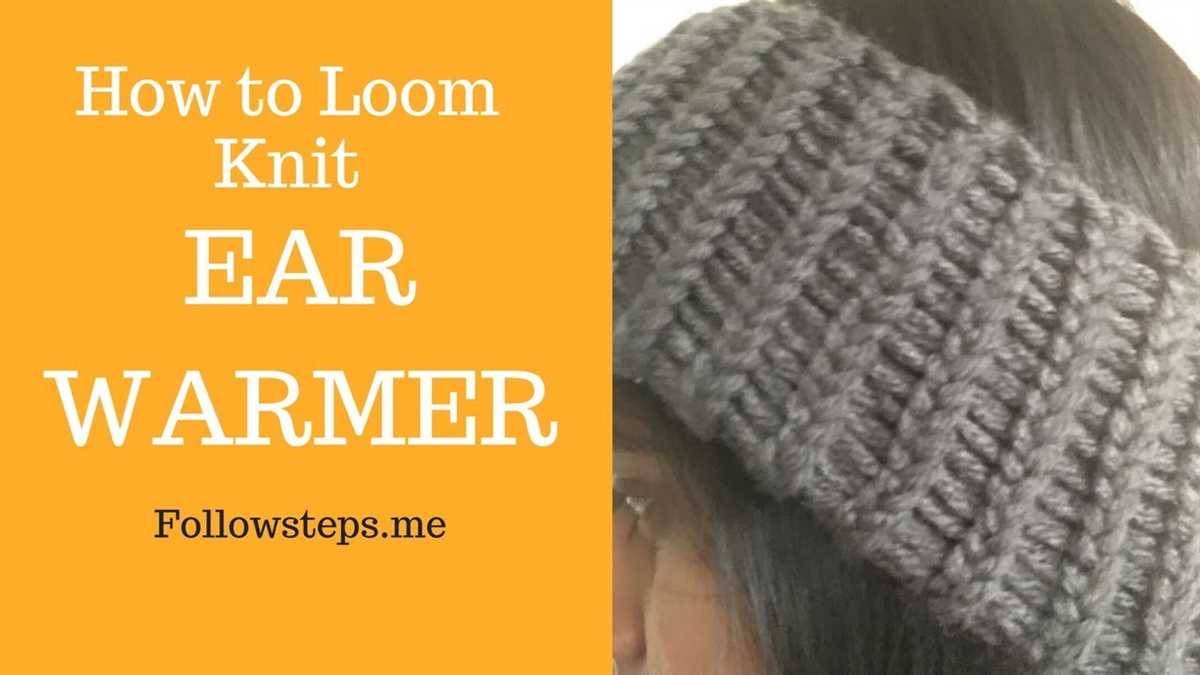
If you’re looking for a cozy and stylish accessory to keep your ears warm during the colder months, look no further than a loom knit ear warmer headband. This pattern is perfect for those who are new to loom knitting or those who are experienced and looking for a quick and easy project.
Using a loom, you can create a beautifully textured headband that is both functional and fashionable. The headband is designed to be wide enough to cover your ears and keep them nice and toasty, while also being snug enough to stay in place throughout the day.
With this pattern, you’ll learn how to cast on with your loom, create a ribbed texture using a combination of knit and purl stitches, and cast off to finish your headband. It’s a simple pattern that produces stunning results, and it’s a fantastic way to practice your loom knitting skills.
Whether you’re making this headband for yourself or as a gift for a loved one, the loom knit ear warmer headband pattern is sure to be a hit. So grab your loom, some cozy yarn, and get ready to create a stylish and practical accessory to keep you warm all winter long.
Loom Knit Ear Warmer Headband Pattern
If you’re looking for a stylish and cozy accessory to keep your ears warm during the colder months, a loom knit ear warmer headband is the perfect choice. With its simple yet elegant design, this headband can be easily made using a loom knitting technique.
To create your own loom knit ear warmer headband, you will need a round knitting loom, a loom hook, and some medium weight yarn. Begin by casting on the desired number of stitches on the loom, depending on your head circumference. This pattern typically requires around 80-100 stitches.
Once you have cast on, begin loom knitting in a flat panel using the e-wrap stitch. Continue knitting until the panel measures around 3-4 inches in width, or until you reach your desired length for the headband. You can customize the length to fit comfortably around your head.
When you’re ready to finish off the headband, cut the yarn, leaving a long tail. Thread the tail through a yarn needle and carefully thread it through the remaining stitches on the loom. Remove the stitches from the loom, pulling the tail tight to cinch the headband together. Secure the end of the tail by weaving it through the stitches, and your loom knit ear warmer headband is complete.
- Materials needed:
- Round knitting loom
- Loom hook
- Medium weight yarn
- Instructions:
- Cast on desired number of stitches on the loom.
- Begin loom knitting in a flat panel using the e-wrap stitch.
- Continue knitting until the panel measures around 3-4 inches in width.
- Cut the yarn, leaving a long tail.
- Thread the tail through a yarn needle and carefully thread it through the remaining stitches on the loom.
- Remove the stitches from the loom, pulling the tail tight to cinch the headband together.
- Secure the end of the tail by weaving it through the stitches.
Now you have your very own loom knit ear warmer headband. This versatile accessory can be worn during outdoor activities, workouts, or simply as a stylish addition to your everyday outfit. Experiment with different colors and yarn types to create a headband that matches your personal style. Happy loom knitting!
Materials Needed:
To create your own loom knit ear warmer headband, you will need the following materials:
- Loom knitting set: You will need a loom knitting set, which typically includes different sizes of looms, a knitting hook, and a yarn needle. These can be found at most craft stores or online.
- Super bulky yarn: Choose a super bulky yarn in your preferred color. This type of yarn will create a thick and warm headband. You will need approximately 100 yards of yarn.
- Crochet hook: A crochet hook will be used to cast on and bind off stitches. Choose a crochet hook that is compatible with your loom set.
- Tape measure: A tape measure will be used to measure the circumference of your head in order to create a headband that fits properly.
- Scissors: Scissors will be used to cut the yarn and trim any excess.
- Buttons or embellishments: If desired, you can add buttons or other embellishments to your headband for decorative purposes.
Once you have gathered all of these materials, you will be ready to start loom knitting your ear warmer headband.
Choosing the Right Loom
When it comes to loom knitting ear warmer headbands, choosing the right loom is an essential step in ensuring success with your project. There are different types and sizes of looms available, so it’s important to consider your specific needs and preferences.
Type of Loom: The first decision you’ll need to make is whether you want to use a round loom or a rectangular loom. Round looms are great for creating seamless items like headbands, while rectangular looms are more versatile and can be used for a variety of projects.
Size of Loom: The size of the loom will determine the finished width of your ear warmer headband. Consider the size of the headband you want to create and choose a loom that matches those dimensions. Keep in mind that different loom brands may have slightly different measurements for the same size loom, so it’s always a good idea to check the actual measurements provided by the manufacturer.
Number of Pegs: The number of pegs on the loom will also affect the width of your headband. Looms with more pegs will create wider headbands, while looms with fewer pegs will create narrower headbands. Consider the desired width of your headband and choose a loom with an appropriate number of pegs.
Material: Looms can be made from different materials, such as plastic or wood. Plastic looms are usually more affordable and lightweight, making them great for beginners. Wood looms, on the other hand, are more durable and may provide a smoother knitting experience. Consider your personal preferences and budget when choosing the material of your loom.
By considering these factors, you can choose the right loom for your loom knitting ear warmer headband pattern. With the right loom, you’ll be able to create beautiful and comfortable headbands that will keep you warm and stylish during the colder months.
Casting on Stitches
Casting on stitches is the first step in starting your loom knit ear warmer headband. It’s important to cast on the correct number of stitches to ensure the right size and fit for your headband. There are several different methods you can use to cast on stitches, but one of the most common methods is the e-wrap cast on.
To begin the e-wrap cast on, start by placing your working yarn on the inside of the loom, and then wrap it around the first peg in a clockwise direction. After wrapping the first peg, continue wrapping each consecutive peg in the same way, creating a loop around each peg. Once you have wrapped all the pegs, go back to the first peg and repeat the process, wrapping each peg again in a clockwise direction.
This double wrapping technique is what gives the e-wrap cast on its elasticity and stretch. It’s important to keep the tension on the yarn consistent as you wrap each peg to ensure an even and neat cast on. Once you have completed the cast on, you can begin knitting your headband using the desired stitch pattern.
Other Casting on Methods
While the e-wrap cast on is a popular choice, there are other methods you can use to cast on stitches for your loom knit ear warmer headband. Some other commonly used casting on methods include the figure 8 cast on, the long tail cast on, and the crochet cast on.
The figure 8 cast on involves creating a figure 8 shape with the working yarn around each peg, while the long tail cast on uses a long strand of yarn to create a foundation row of stitches. The crochet cast on combines knitting and crochet techniques to create a neat and secure cast on edge.
Each casting on method has its own advantages and may be better suited for different projects or personal preferences. It’s a good idea to experiment with different methods to find the one that works best for you and your loom knit projects.
Knitting the Rows
Once you have cast on your stitches on the loom, you are ready to start knitting the rows to create your ear warmer headband. Here is a step-by-step guide on how to knit the rows:
1. Knit Stitch

To create the ear warmer headband, you will be using the knit stitch. To do this, take the working yarn and bring it behind the first peg on the loom. Then, using the knitting tool, lift the existing loop over the yarn and off the peg. Repeat this process for each peg on the loom.
2. Repeat the Knit Stitch
Continue repeating the knit stitch for each row until you reach your desired length for the ear warmer headband. Make sure to keep the tension consistent to ensure an even and neat stitching.
3. Changing Colors
If you want to add some color to your ear warmer headband, you can easily change colors by simply joining a new yarn. To do this, leave a long tail of the old yarn and start knitting with the new color. Once you have completed a few rows with the new color, you can trim the excess yarn tails and weave them in later.
4. Binding Off
When you have reached the desired length for your ear warmer headband, it’s time to bind off. To do this, knit the first two stitches as usual, then use the knitting tool to lift the first loop over the second loop and off the peg. Repeat this process for each peg on the loom until you are left with just one loop. Cut the working yarn, leaving a long tail, and pull it through the last loop to secure.
By following these steps, you will be able to knit the rows of your loom knit ear warmer headband pattern and create a cozy and stylish accessory for the colder months.
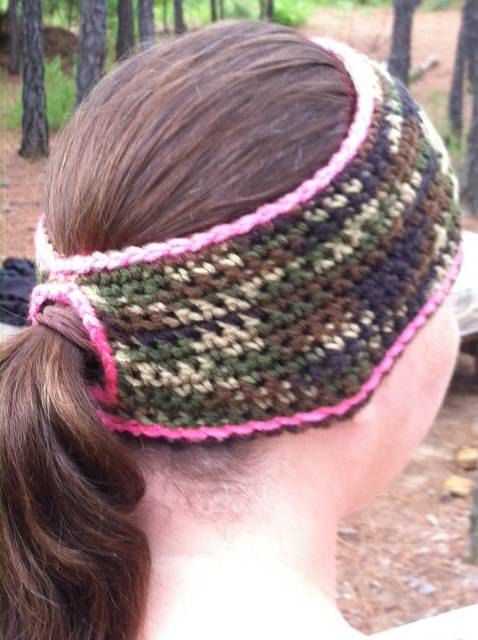
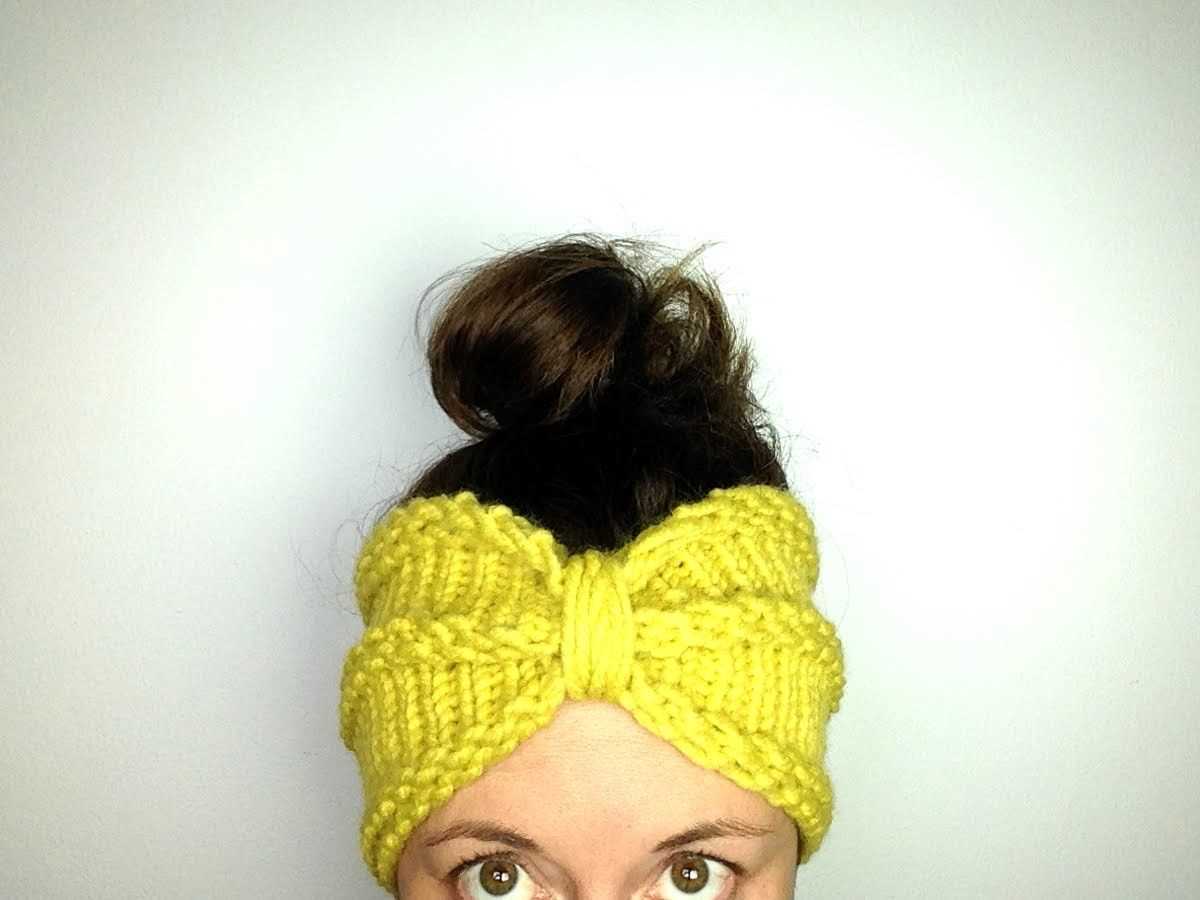
A twisted pattern adds a unique and stylish touch to any knitted project, and a loom knit ear warmer headband is no exception. By creating a twist pattern, you can elevate the look of a simple headband and make it more visually interesting.
To create the twist pattern, you will need a knitting loom and a medium weight yarn in your desired color. Start by casting on the desired number of stitches on your loom, making sure to leave a long tail of yarn for finishing later. The number of stitches will depend on the width of the headband you want to create.
Step 1: Twisted Stitch
To create the twisted stitch, simply knit the stitches in a different order than usual. Instead of working from left to right, you will work from right to left. Insert your loom hook into the loop on the far right, and pull it through to create a new loop. Then, repeat the process with the next loop on the loom, working your way towards the left. This will create a twisted effect in the stitches.
Step 2: Repeat the Twisted Stitch

Continue working the twisted stitch pattern for the desired length of the headband. You can experiment with different variations, such as alternating between twisted stitches and regular knit stitches, or creating a more intricate twisted pattern.
Step 3: Finishing

Once you’ve reached the desired length, cut the yarn, leaving a long tail for finishing. Thread the tail through the loops on the loom, removing the stitches from the loom as you go. Gently pull the tail tight to secure the stitches, and then tie a knot to secure the end. Trim any excess yarn.
With the twist pattern complete, your loom knit ear warmer headband will have a unique and eye-catching design. Wear it with pride and enjoy the warmth and style it brings to your winter wardrobe.
Adjusting the Size
When it comes to making a loom knit ear warmer headband, it’s important to get the right size for a comfortable fit. Luckily, adjusting the size is easy with a few simple modifications.
1. Adding or Removing Stitches: If you find that the headband is too loose or too tight, you can easily adjust the size by adding or removing stitches. To make the headband larger, simply add more stitches to the initial cast-on row. Conversely, if you need a smaller size, remove stitches from the cast-on row. Just make sure to maintain the stitch pattern and keep the number of stitches divisible by the pattern repeat.
2. Changing the Yarn Weight: Another way to adjust the size is by changing the yarn weight. If you find that the headband is too wide, switch to a lighter weight yarn. This will result in a narrower headband. On the other hand, if the headband is too narrow, switch to a heavier weight yarn to create a wider band. Keep in mind that changing the yarn weight may also affect the overall texture and drape of the headband.
3. Adjusting the Gauge: If you’re comfortable with altering the stitch pattern, you can also adjust the size by changing the gauge. By using a larger loom or hook and working with a looser tension, you can create a larger headband. Conversely, if you want a smaller size, use a smaller loom or hook and work with a tighter tension.
Overall, adjusting the size of a loom knit ear warmer headband is a simple process that can ensure a perfect fit. Whether it’s adding or removing stitches, changing the yarn weight, or adjusting the gauge, there are plenty of options to meet your sizing needs.
Switching Colors
In the process of creating a loom knit ear warmer headband, switching colors can add an interesting and visually appealing element to the design. It allows you to incorporate different hues and create patterns or stripes in your headband. Here are some tips and techniques for effectively switching colors in your loom knitting project:
1. Intarsia Method
The intarsia method is commonly used for switching colors in loom knitting. In this technique, you use separate balls of yarn for each color section. To switch colors, you simply drop one color and start knitting with the new color. When switching back to the previous color, you pick it up again.
- Start by casting on with the main color. Knit the desired number of rows or stitches.
- When you reach the point where you want to switch colors, drop the current yarn and pick up the new color.
- Continue knitting with the new color, making sure to leave a long enough tail to weave in later.
- To switch back to the previous color, drop the current yarn and pick up the previous color. Again, leave a long enough tail to weave in later.
2. Slip Stitch Method
The slip stitch method is another technique for switching colors in loom knitting. With this method, you carry the unused yarn along the back of your work, creating floats on the wrong side of the fabric.
- Start by casting on with the main color. Knit the desired number of rows or stitches.
- When you reach the point where you want to switch colors, bring the new color from the back to the front of the work.
- Slip the next stitch purlwise with the new color, effectively carrying the unused yarn along the back.
- Continue knitting with the new color, slipping the first stitch of each row until you reach the desired length or pattern.
By using these techniques for switching colors in your loom knit ear warmer headband, you can create unique and eye-catching designs. Whether you choose the intarsia method or the slip stitch method, experimentation with different color combinations will allow you to personalize your headband and make it truly your own.
Finishing off the Headband

Once you have completed all the rows of your loom knit ear warmer headband, it’s time to finish it off. This final step will give your headband a clean and professional look.
To finish off the headband, you will need to bind off. To do this, start by knitting two stitches onto the peg nearest to your working yarn. Then, take the bottom loop of the first stitch and lift it over the top loop. Continue this process of knitting two stitches and then lifting the bottom loop over the top loop until you have one loop left on your loom.
Next, cut your working yarn, leaving a long tail for sewing. Thread this tail through the last loop on your loom and gently pull to tighten. This will secure your stitches and close off the headband. Be careful not to pull too tightly, as you want your headband to be stretchy and comfortable to wear.
In order to create a seamless finish, stitch the two ends of the headband together. Fold the headband in half, with the seam on the inside. Using your long tail of yarn and a yarn needle, sew the two ends together using a whip stitch. Make sure to sew securely and neatly, so that the seam is not visible when the headband is worn.
Once you have finished sewing the headband together, weave in any loose ends of yarn. Use your yarn needle to thread the ends through the stitches, going back and forth to secure them. Trim any excess yarn, being careful not to cut too close to the stitches.
Now your loom knit ear warmer headband is complete! You can proudly wear it to keep your ears warm and stylish all winter long.
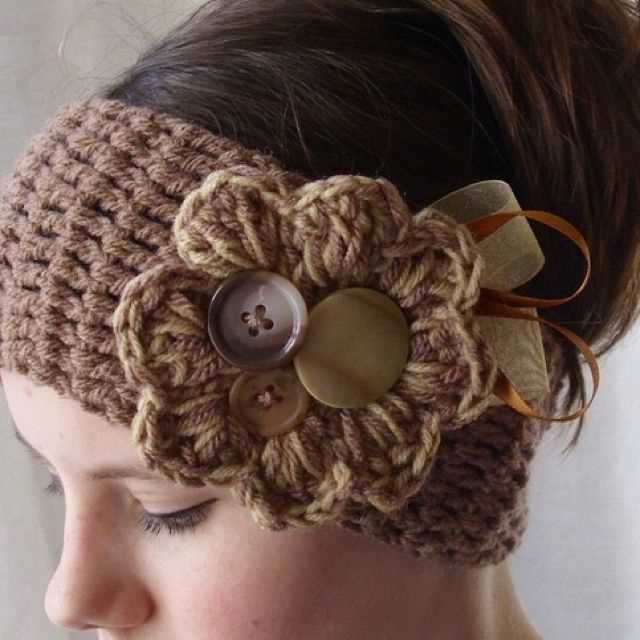
Adding Embellishments

Once you have completed your loom knit ear warmer headband, you can add embellishments to give it a unique and personalized touch. There are many different ways to do this, depending on your style and preferences.
1. Ribbons and bows: Attach a ribbon or bow to the front or side of the headband using a needle and thread. This adds a feminine and stylish touch to the headband.
2. Buttons: Sew buttons onto the headband to create a decorative element. You can choose buttons in coordinating colors or contrasting colors for a pop of color.
3. Flowers: Use a loom knit flower pattern to create small flowers that can be attached to the headband. You can make multiple flowers in different colors and sizes and arrange them in a cluster or in a row.
4. Beads: String beads onto a thin wire or thread and attach them to the headband. This adds a touch of sparkle and elegance to the headband.
5. Embroidery: Use embroidery thread to add intricate designs or patterns to the headband. You can embroider flowers, leaves, or other motifs to create a unique and personalized look.
6. Pom-poms: Attach small pom-poms to the headband using a needle and thread. This adds a playful and fun element to the headband.
- Choose one or more of these embellishment ideas to enhance your loom knit ear warmer headband.
- Remember to consider the color scheme and style of your headband when selecting embellishments.
- Have fun experimenting with different embellishment techniques to create a headband that reflects your personal style.
Washing and Care Instructions
Maintaining the quality and lifespan of your loom knit ear warmer headband is easy with the proper care. Follow these washing and care instructions to keep your headband looking its best:
- Hand Wash: It is recommended to hand wash your ear warmer headband to avoid any damage that may be caused by machine washing. Fill a basin or sink with lukewarm water and a gentle detergent.
- Gently Soak: Place the headband in the water and gently press it down to ensure that it is fully submerged. Allow it to soak for about 5-10 minutes.
- Rinse: After soaking, remove the headband from the water and gently squeeze out any excess moisture. Rinse it thoroughly under cool running water until the water runs clear.
- Blot Dry: Lay a clean, absorbent towel flat on a surface and place the headband on top. Roll the towel and headband together to gently press out any remaining water. Avoid wringing or twisting the headband, as this can distort its shape.
- Reshape and Air Dry: After blotting, reshape the ear warmer headband to its original size and shape. Lay it flat on a clean, dry towel or on a drying rack, away from direct sunlight or heat sources. Allow it to air dry completely before wearing or storing.
Note: Avoid using bleach or harsh chemicals when washing your headband, as this can weaken the fibers and cause damage. Additionally, do not tumble dry or iron the headband, as this can also lead to deformation.
By following these washing and care instructions, you can ensure that your loom knit ear warmer headband remains in great condition for many seasons to come. Enjoy the warmth and style it provides while keeping it clean and well-maintained.
Variations on the Pattern

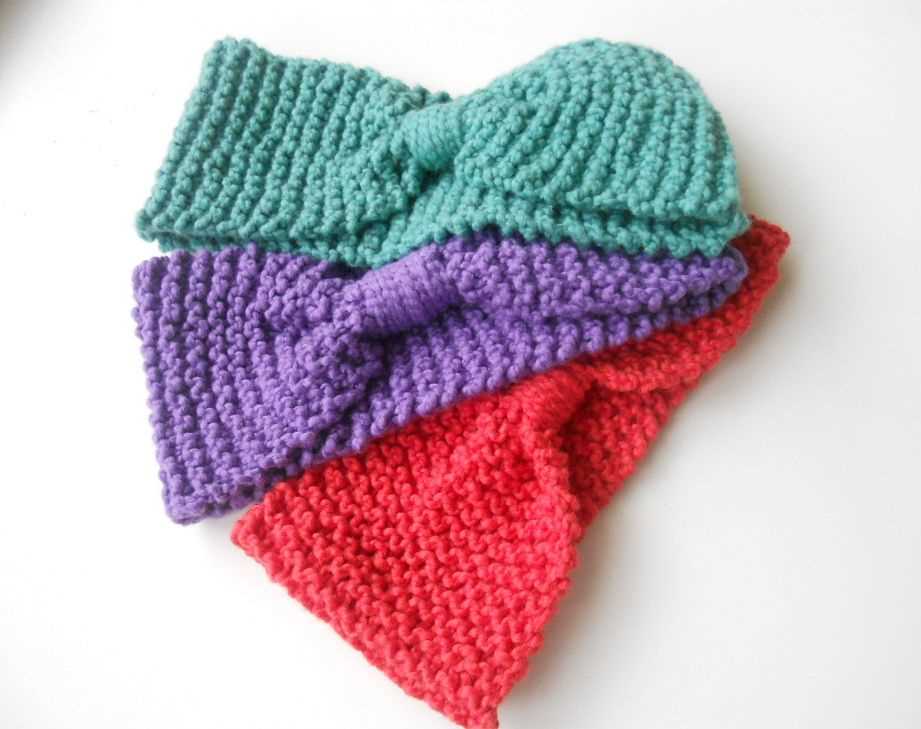
If you want to add a little extra flair to your loom knit ear warmer headband, there are several variations you can try. One option is to use different colored yarns to create stripes or patterns. You can alternate two or more colors to add an eye-catching design to your headband. Alternatively, you can use variegated yarn that already has multiple colors throughout. This can create a unique and colorful look without having to change yarns.
Another variation you can try is to add embellishments to your headband. This could include attaching buttons, beads, or other decorative elements. You can sew these onto the center of your headband or along the edges for added visual interest. You can also experiment with different stitch patterns or textures. For example, you could try using a rib stitch for a stretchy and textured look, or use a seed stitch for a more subtle texture.
Here are a few ideas to get you started:
- Try using metallic or sparkly yarn for a more glamorous or festive look.
- Add a bow or flower embellishment to the side of your headband for a feminine touch.
- Experiment with different stitch patterns, such as a cable or lace pattern, for added texture.
- Use a variegated or self-striping yarn to create a unique and colorful design without having to change yarns.
- Consider adding a button closure to the back of your headband for added convenience and adjustability.
Remember, the possibilities are endless when it comes to loom knit ear warmer headbands. Feel free to get creative and make the pattern your own!
Ways to Wear the Headband

After knitting your lovely ear warmer headband, you might be wondering how to wear it in different styles to complement your looks. The good news is that the possibilities are endless! Here are some ideas to inspire you:
- Traditional Style: Wrap the headband around your head, covering your ears, for a classic and practical look.
- Boho Style: Position the headband on top of your head, allowing your hair to flow freely. This style adds a touch of bohemian chic to your outfit.
- Twisted Edge Style: Twist the headband on one side before placing it on your head. This creates a stylish and unique twist effect.
- Bow Style: Simply tie the headband into a bow on the top or side of your head for a cute and feminine touch.
- Half-Up Hairstyle: Pull the upper half of your hair back and secure it with bobby pins. Then, place the headband on top for a stylish and effortless look.
Experiment with different hairstyles and headband placements to find the style that suits you best. You can also coordinate the color of your headband with your outfit to create a cohesive and fashionable look. Whether you’re going for a casual or a more dressed-up vibe, the ear warmer headband is a versatile accessory that will keep you warm and stylish throughout the seasons.
Q&A:
What is a loom knit ear warmer headband?
A loom knit ear warmer headband is a type of headband that is knitted using a loom knitting technique. It is designed to cover the ears and keep them warm in cold weather.
How do you make a loom knit ear warmer headband?
To make a loom knit ear warmer headband, you will need a loom knitting tool, yarn, and a loom knitting pattern. Start by casting on the required number of stitches on the loom. Then, follow the pattern instructions to knit the headband using the loom knitting technique. Finally, finish off the headband by binding off the stitches and sewing the ends together to create a loop.
What materials do I need to make a loom knit ear warmer headband?
To make a loom knit ear warmer headband, you will need a loom knitting tool, yarn (preferably a bulky or chunky weight yarn), a loom knitting pattern, scissors, and a yarn needle for finishing touches.
Can I customize the size of a loom knit ear warmer headband?
Yes, you can customize the size of a loom knit ear warmer headband by using a loom with a different number of pegs or by adjusting the number of stitches you cast on. You can also make the headband wider or narrower by adding or subtracting stitches.
Where can I find loom knit ear warmer headband patterns?
You can find loom knit ear warmer headband patterns online on websites, blogs, and knitting forums. There are also books and magazines dedicated to loom knitting that may have patterns for ear warmer headbands.
What is a loom knit ear warmer headband pattern?
A loom knit ear warmer headband pattern is a set of instructions or steps that guide you through the process of creating a headband using a knitting loom. It provides information on the materials needed, the stitches to be used, and the techniques required to complete the project.