
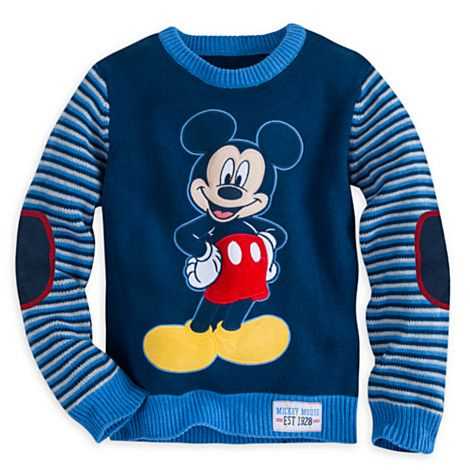
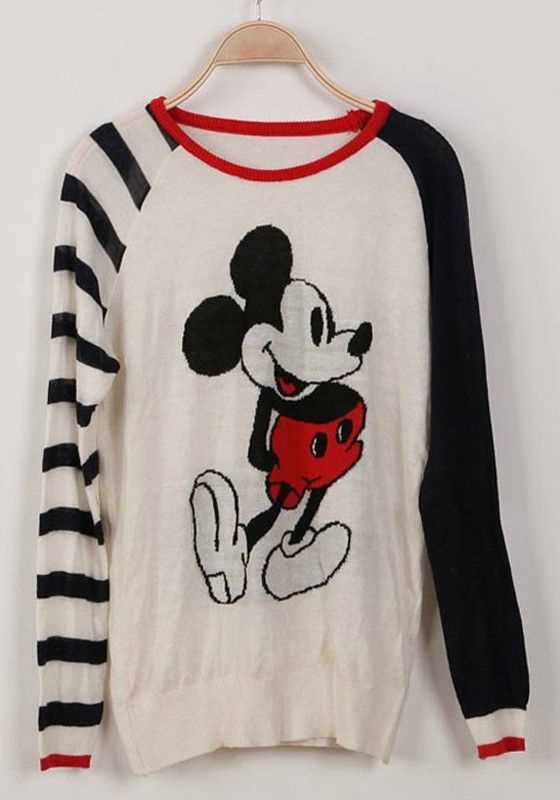
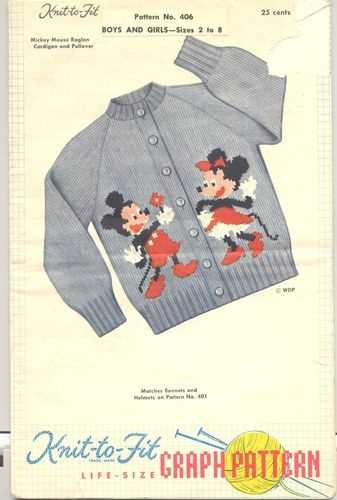
If you’re a fan of Disney’s beloved character Mickey Mouse, why not express your love for him by knitting a cute and cozy Mickey Mouse sweater? This knitting pattern is perfect for anyone with intermediate knitting skills who wants to create a unique and charming garment.
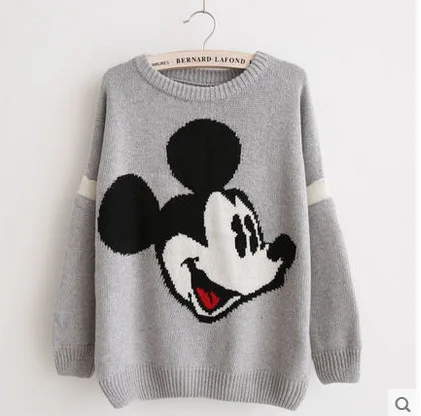
The Mickey Mouse sweater features a classic design with Mickey’s iconic face on the front. The pattern includes detailed instructions for each step, from casting on to shaping the neckline. With a combination of basic knitting techniques, such as knitting and purling, you can create a sweater that showcases your favorite Disney character.
Whether you’re knitting this sweater for yourself or as a gift for a Disney enthusiast, it’s sure to become a cherished item in any wardrobe. The pattern allows for customization, so you can choose your favorite colors to bring Mickey Mouse to life on the sweater. The sweater is not only adorable but also practical, making it a great choice for colder weather.
Knitting Pattern: Mickey Mouse Sweater
If you’re a fan of Mickey Mouse and love to knit, then this knitting pattern for a Mickey Mouse sweater is perfect for you! Whether you want to create a cozy sweater for yourself or a cute gift for a Disney-loving friend, this pattern will guide you through the process step by step.
Materials:
- Size 6 knitting needles
- Worsted weight yarn in black, red, and white
- Tapestry needle
- Scissors
Instructions:
1. Front panel: Cast on 100 stitches using black yarn. Knit in stockinette stitch (knit one row, purl one row) for 15 inches. This will be the Mickey Mouse face.
2. Back panel: Cast on 100 stitches using black yarn. Knit in stockinette stitch for 15 inches. This will be the back of the sweater.
3. Sleeves: Cast on 40 stitches using black yarn. Knit in stockinette stitch for 10 inches. Repeat for the second sleeve.
4. Assembly: Use the tapestry needle and black yarn to sew the front and back panels together at the shoulders, leaving spaces for the head and arms. Sew the sleeves onto the body of the sweater.
5. Collar: Using red yarn, pick up stitches along the neckline and knit in rib stitch (knit one stitch, purl one stitch) for 1 inch.
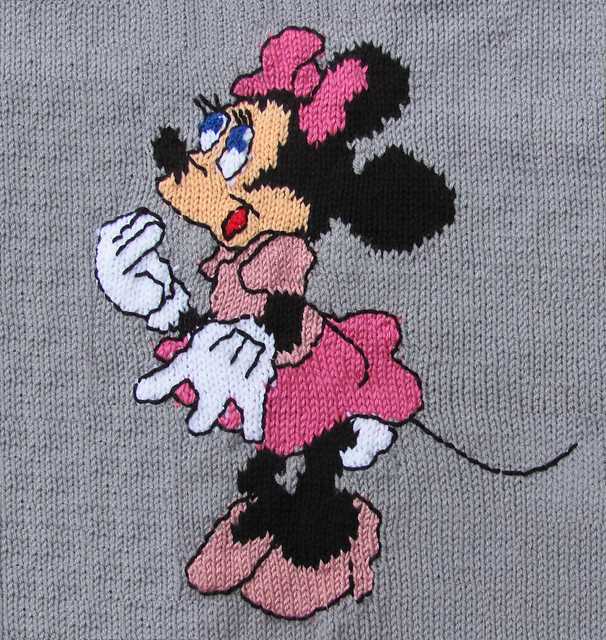
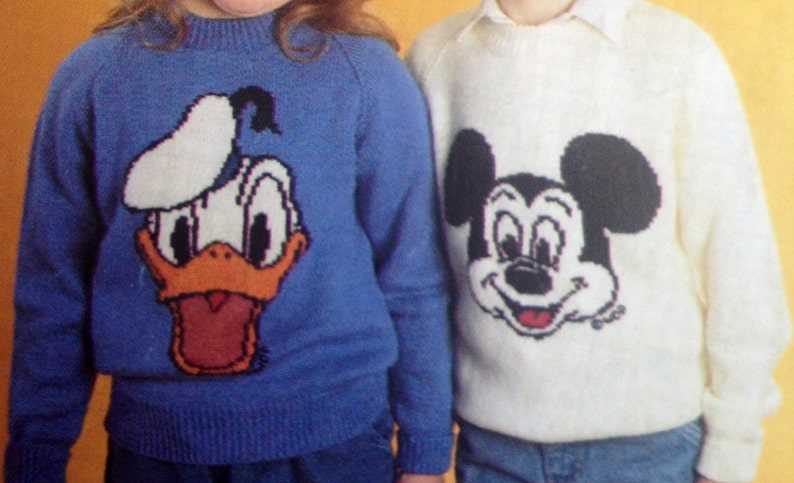
6. Mickey Mouse details: Use the tapestry needle and red and white yarn to embroider Mickey Mouse’s face onto the front panel. You can use this image as a reference.
7. Finishing: Weave in any loose ends and trim excess yarn. Your Mickey Mouse sweater is now ready to be worn or gifted!
Materials Needed
In order to knit the Mickey Mouse sweater, you will need the following materials:
Main Yarn
- Color: Choose a black yarn for the body of the sweater. You will need approximately 4 skeins of worsted weight yarn.
- Yardage: Make sure each skein of yarn has approximately 200-220 yards.
- Material: Opt for a soft and cozy yarn that is easy to work with and suitable for knitting.
Contrasting Yarn
- Color: Choose a red yarn for the Mickey Mouse design on the front of the sweater. You will need a small amount of yarn, less than a skein.
- Yardage: Make sure you have enough yarn to complete the Mickey Mouse design, approximately 50-100 yards.
- Material: The contrasting yarn should be of a similar weight and quality to the main yarn.
Knitting Needles
- Size: Use size 6 (4mm) knitting needles, or the size needed to obtain gauge.
- Type: Straight or circular needles can be used, depending on your preference.
Other Supplies
- Tapestry Needle: This will be used for weaving in ends and sewing the sweater together.
- Stitch Markers: These will help you keep track of your stitches and pattern repeats.
- Scissors: You will need scissors to cut the yarn at the end of each row.
- Measuring Tape: A measuring tape will be useful for checking your gauge and measuring the finished sweater.
Gauge
Gauge is an essential concept in knitting, especially when following a knitting pattern. It refers to the number of stitches and rows per inch of knitted fabric. Achieving the correct gauge ensures that the finished garment will have the intended size and fit.
When working on a knitting project, it is crucial to match the gauge specified in the pattern. To determine your gauge, you need to knit a swatch using the recommended yarn and needle size. The swatch should be at least 4 x 4 inches in size. Measure the number of stitches and rows within this sample area and compare it to the gauge specified in the pattern.
Why is gauge important?
Gauge is important because everyone knits differently. Some people may knit more tightly, resulting in fewer stitches per inch, while others may knit more loosely, resulting in more stitches per inch. Without achieving the correct gauge, the measurements of the finished garment can be significantly different from what is intended in the pattern.
How to adjust gauge?
If your gauge does not match the pattern’s gauge, you may need to adjust your knitting technique or change your needle size. If your gauge has fewer stitches per inch, try using a smaller needle size. Conversely, if your gauge has more stitches per inch, switch to a larger needle size. It may require some trial and error to find the right needle size to achieve the correct gauge.
Remember, investing time in obtaining the correct gauge before starting your project is crucial for the final outcome. It ensures that your sweater will fit perfectly and look just like the pattern picture!
Size
When making the Mickey Mouse sweater, it’s important to choose the right size to ensure a comfortable fit. The pattern provides instructions for making the sweater in different sizes, so you can customize it for your needs.
Sizing Options:
- Infant: The pattern includes sizes for infants, typically ranging from newborn to 18 months. These sizes are designed to fit snugly and provide room for growth.
- Toddler: For toddlers, the pattern offers sizes from 2T to 5T. These sizes are slightly larger than the infant sizes to accommodate the growing child.
- Child: The child sizes in the pattern range from 6 to 12 years. These sizes are designed to fit comfortably and provide room for movement.
- Adult: If you want to make a Mickey Mouse sweater for yourself or an adult, the pattern also includes sizes for adults. These sizes are available in small, medium, and large.
Note: It’s important to take accurate measurements before starting the project to ensure the correct size. The pattern provides a sizing chart with detailed measurements for each size.
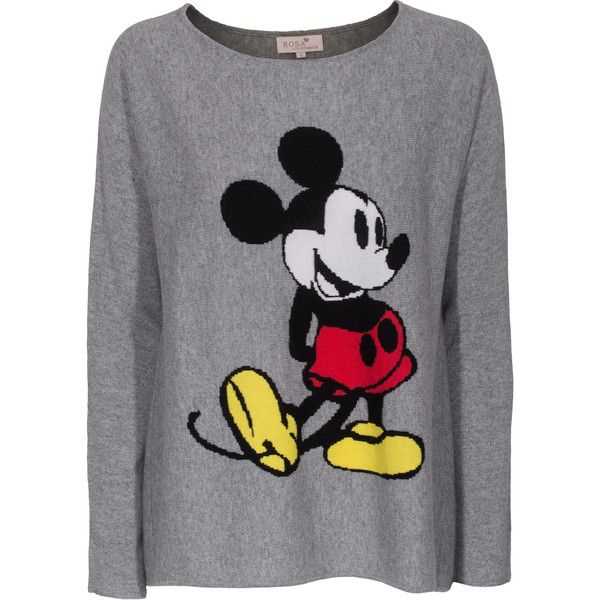
Front Panel
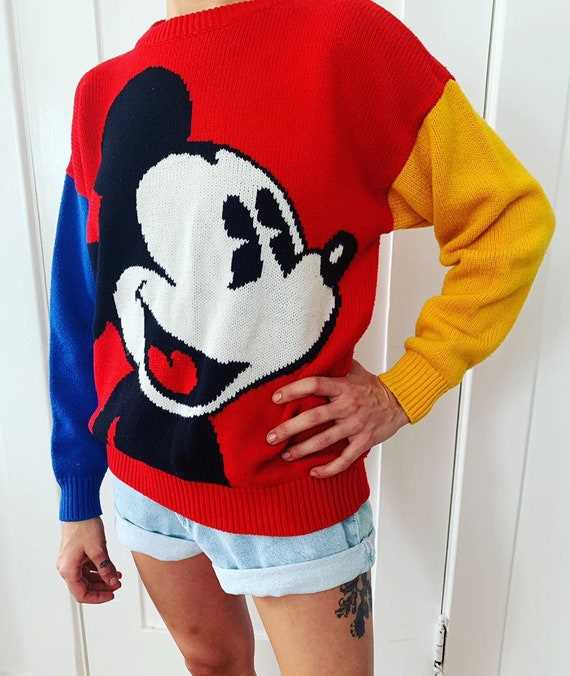
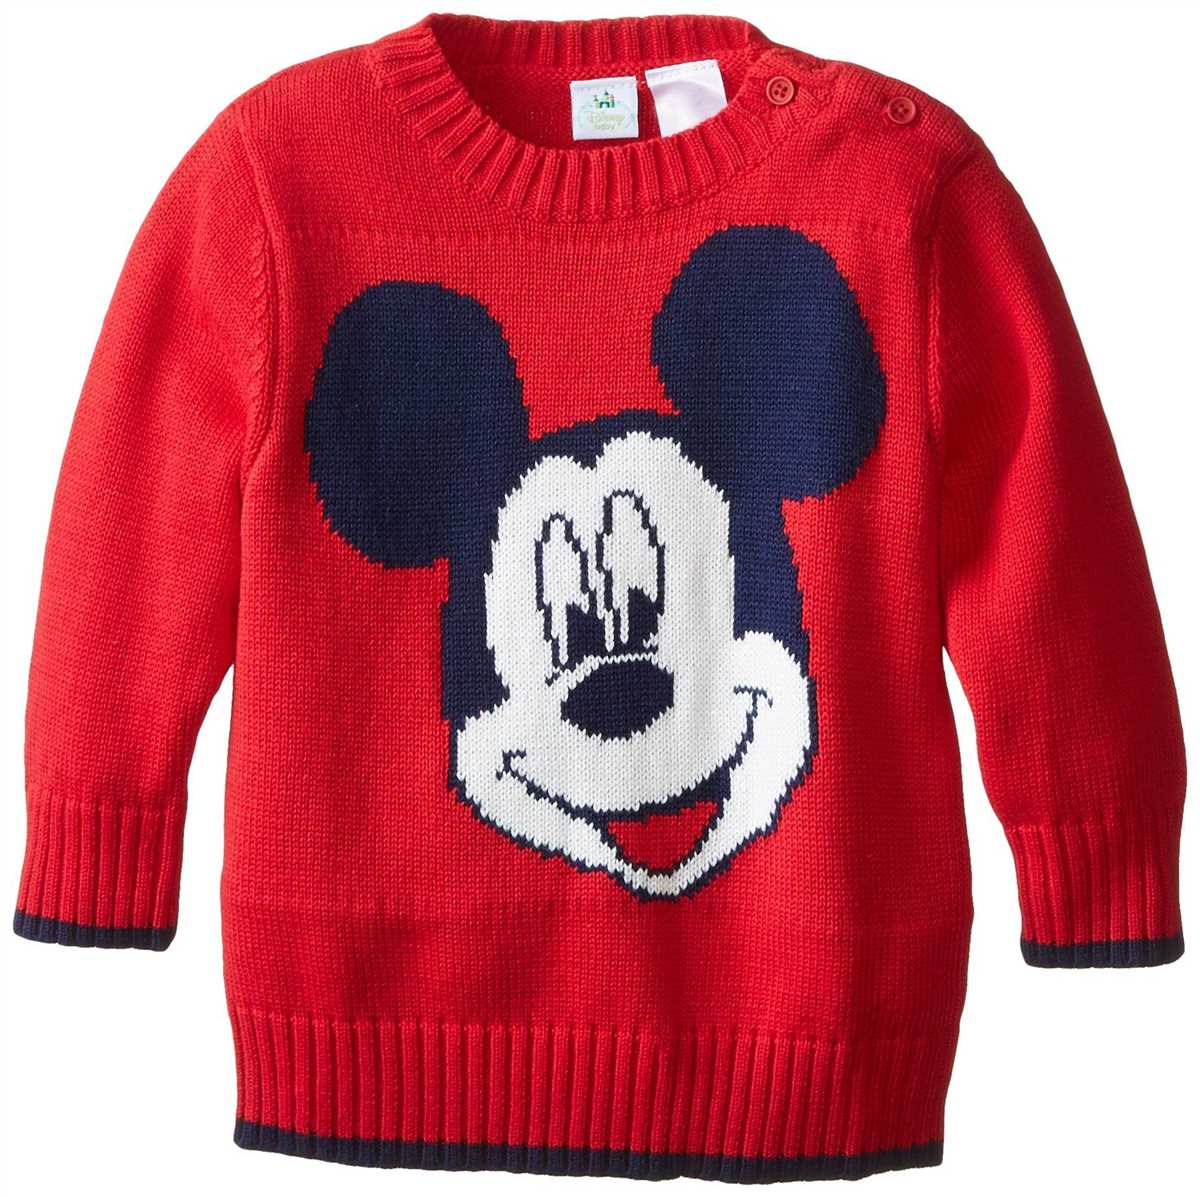
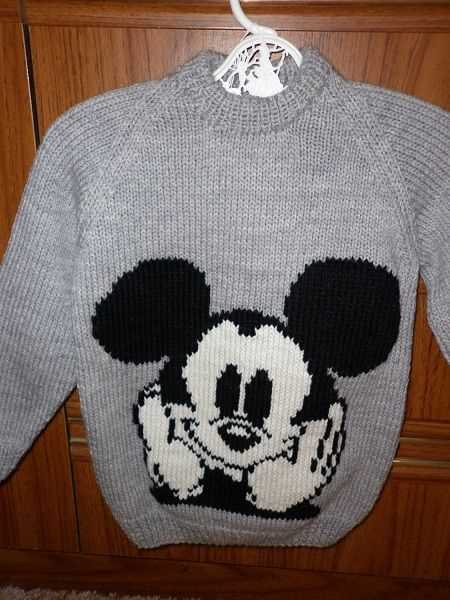
The front panel of the Mickey Mouse sweater is the main focal point of the design. It features a large image of Mickey Mouse, centered in the middle of the sweater. The image is created using intarsia knitting technique, which involves knitting with multiple colors to create a picture or pattern. The Mickey Mouse image is knit using black, white, red, and yellow yarns, and the details of his face and features are achieved through careful placement of the yarns.
To start the front panel, cast on the required number of stitches according to the pattern instructions. The pattern will usually specify the size of the sweater and the gauge needed to achieve the correct measurements. Once the stitches are cast on, work in ribbing stitch for a few rows to create a neat and stretchy border for the bottom of the sweater. This ribbing can be done in a contrasting color to add visual interest to the design.
Creating the Mickey Mouse Image
After the ribbing is complete, follow the pattern instructions to begin the intarsia portion of the front panel. This will involve working with the different colors of yarn to create the Mickey Mouse image. The pattern will usually provide a color chart or graph to guide you in placing each color of yarn in the correct spot.
To create the image, knit with the main color (usually black) until you reach the point where a different color is needed. At this point, drop the main color yarn and pick up the new color yarn. Twist the old and new colors around each other at the back of the work to prevent holes from forming. Continue knitting with the new color according to the chart or graph, following the pattern instructions for any color changes.
Repeat this process for each color change in the image, being careful to maintain an even tension and to twist the yarns at the back of the work to prevent holes. As you progress through the pattern, the Mickey Mouse image will slowly come to life on the front panel of the sweater. Once the image is complete, continue knitting in the main color until you reach the desired length for the front panel.
Back Panel
The back panel of the Mickey Mouse sweater is worked in a simple stockinette stitch, creating a smooth and even surface. To start, cast on the desired number of stitches, depending on the size of the sweater. It is recommended to use circular needles for ease of knitting and to accommodate the larger stitches.
- Row 1: Knit all stitches across the row.
- Row 2: Purl all stitches across the row.
Continue alternating between knitting and purling rows until the back panel reaches the desired length, ensuring that you end with a purl row. This will create a ribbed edging at the bottom of the sweater.
Once the back panel is complete, you can now move on to the next section of the knitting pattern to continue creating the Mickey Mouse sweater.
Sleeves
The sleeves of the Mickey Mouse sweater are an important part of the design. They add an extra touch of charm and playfulness to the overall look. The pattern calls for knitting the sleeves in the round, which means you’ll be using double-pointed needles or a circular needle with the magic loop method.
Instructions:
- Cast on the required number of stitches for the sleeves using the same yarn and needle size as the body of the sweater.
- Join in the round and work in the specified stitch pattern until the sleeve measures the desired length.
- Decrease as instructed to shape the sleeve, ensuring a comfortable fit.
- Continue working the pattern until the sleeve reaches the cuff length.
- Bind off the stitches and weave in any loose ends.
To add a fun detail to the sleeves, you can incorporate a Mickey Mouse motif or a simple colorwork pattern. This could be achieved by knitting or embroidering the desired design onto the sleeve. Another option is to use different colors for the sleeves, creating a contrast with the body of the sweater.
Note: Make sure to consider the size and gauge of the sweater when knitting the sleeves. Adjust the number of stitches and rows accordingly to achieve the desired fit.
Neckband
The neckband is an essential component of the Mickey Mouse sweater knitting pattern. It provides a finished and polished look to the neckline of the garment, ensuring a comfortable fit for the wearer. The neckband is typically made using a smaller needle size than the main body of the sweater to achieve a tighter and more durable fabric.
To begin the neckband, cast on the required number of stitches using the smaller needle size. This can vary depending on the size of the sweater and the desired width of the neckband. It is important to ensure an even number of stitches to maintain symmetry in the ribbing pattern.
Once the stitches are cast on, work the neckband in a ribbing pattern. This can be done using knit and purl stitches or any other ribbing pattern of your choice. The ribbing pattern helps create a stretchy fabric that will allow the sweater to fit comfortably over the head. It also adds visual interest to the neckline.
Example of a simple ribbing pattern:
- Row 1: *K1, P1* repeat to the end of the row
- Row 2: *P1, K1* repeat to the end of the row
- Repeat Rows 1 and 2 until the neckband reaches the desired width or as specified in the knitting pattern.
Once the neckband is complete, bind off the stitches using your preferred method. This could be a regular bind off or a stretchy bind off, depending on the desired finish. Make sure to block the neckband to ensure it lays flat and matches the measurements given in the pattern.
The neckband is an important finishing touch to the Mickey Mouse sweater, adding both functionality and style to the garment. It is worth taking the time to carefully knit and shape the neckband to achieve a professional and polished look.
Buttonholes

When knitting a Mickey Mouse sweater, one important element to consider is the placement and construction of the buttonholes. Buttonholes are necessary for attaching buttons to the sweater and allow for easy fastening and unfastening. There are several methods for creating buttonholes in knitting, each with its own advantages and disadvantages.
One common method for creating buttonholes is the yarn over method. This involves simply wrapping the yarn around the needle to create an extra stitch, which will later become the buttonhole. The advantage of this method is that it is relatively simple and creates a small, discreet buttonhole. However, it can be difficult to control the size and tension of the buttonhole using this method.
Another method for creating buttonholes is the eyelet method. This involves knitting or purling two stitches together, followed by a yarn over. This creates a larger, more decorative buttonhole. The advantage of this method is that it allows for more control over the size and tension of the buttonhole. However, it can be more complex and time-consuming to execute.
- Horizontal buttonholes: Horizontal buttonholes are created by knitting a few stitches, binding off a few stitches, and then continuing to knit the remaining stitches. This creates a small gap in the knitting, through which the button can be inserted.
- Vertical buttonholes: Vertical buttonholes are created by knitting a few rows, binding off a few stitches, and then continuing to knit the remaining rows. This creates a column of bound off stitches, through which the button can be inserted.
In conclusion, when knitting a Mickey Mouse sweater, carefully consider the placement and construction of the buttonholes. Choose a method that suits your preferences and skill level, and ensure that the buttonholes are functional and secure. Remember to consider the size and style of the buttons you plan to use, as well as the overall design of the sweater. With proper attention to detail, your Mickey Mouse sweater will be completed with perfectly spaced and constructed buttonholes.
Finishing
Once you have completed knitting the Mickey Mouse sweater, it’s time to finish it off and give it a polished look. Here are the final steps:
1. Blocking the sweater

Before you start the finishing process, it’s essential to block the sweater. Blocking helps even out any uneven stitches and gives the sweater its final shape. Lay the sweater flat on a blocking mat or towel, gently stretching it to the desired measurements. Pin it in place and let it dry completely.
2. Weaving in ends
Next, take a yarn needle and weave in all the loose ends of yarn. Start at the beginning of the yarn and thread it through the stitches of the sweater, going back and forth until the end is secure. Trim any excess yarn, ensuring that the ends are neatly tucked away and not visible.
3. Sewing on buttons and embellishments
If your Mickey Mouse sweater includes buttons or other embellishments, now is the time to sew them on. Use a needle and thread that matches the color of the sweater, and carefully sew each button in its designated place. Make sure they are secure and won’t come loose with wear.
4. Finishing touches
Finally, inspect the sweater for any loose stitches or imperfections. Use a crochet hook or knitting needle to fix any dropped stitches, and if needed, use a tapestry needle to sew up any small holes or tears. Give the sweater a final once-over to ensure it’s in perfect condition.
Following these finishing steps will result in a beautifully completed Mickey Mouse sweater that is ready to be worn and enjoyed. Remember to always take your time and pay attention to the details for the best results.
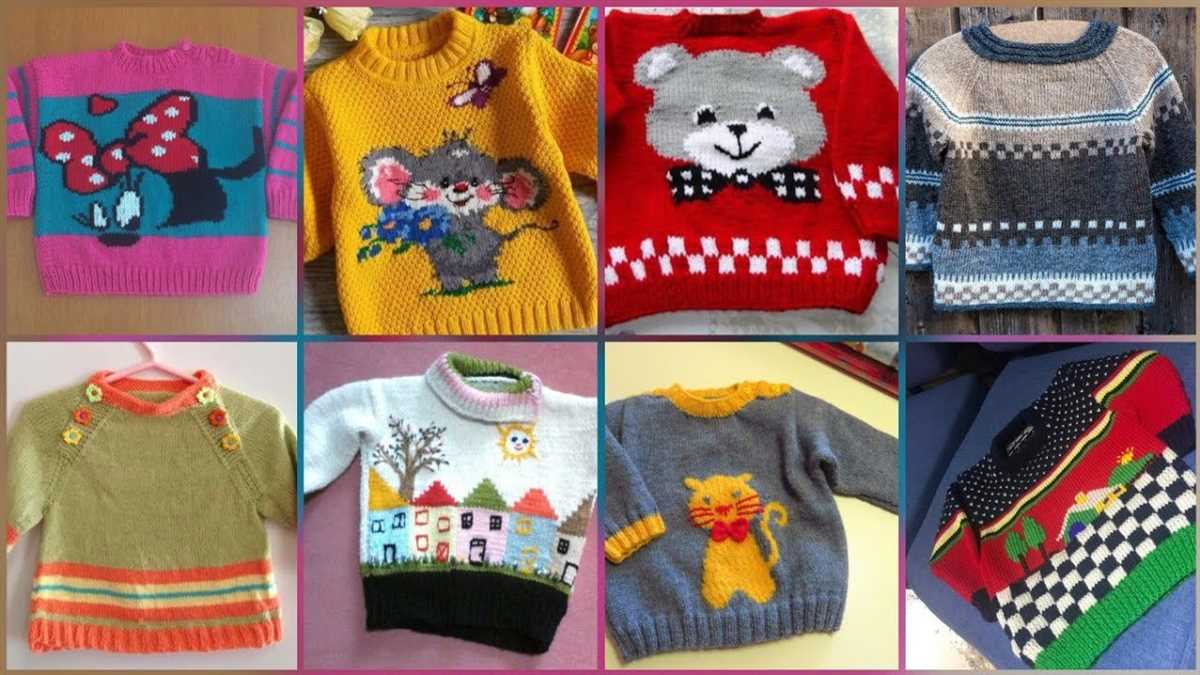
Variations
Looking to add your own personal touch to the Mickey Mouse sweater knitting pattern? There are several ways you can customize this adorable design to make it your own!
Color Options:
- Instead of the traditional red, black, and white color scheme, you can choose any color combination you like. Experiment with different shades to match your style or the intended recipient’s preferences.
- Add contrasting colors for the sleeves or collar to make them stand out.
Embroidery and Appliques:
- To make Mickey’s face pop, you can use embroidery techniques to add extra details, such as his eyes, smile, or nose. This can make the sweater look more realistic or add a touch of whimsy.
- If you’re skilled at applique work, you can sew on small fabric or felt pieces to enhance the design. Consider adding Mickey’s iconic yellow shoes, or even his gloves!
Stitch Variations:
- While the pattern calls for basic knitting stitches, you can experiment with different stitch patterns to give your sweater a unique texture. Consider a cable knit for a more intricate look or try a lace stitch for an elegant touch.
- You can also incorporate colorwork techniques, such as fair isle or intarsia, to create patterns and motifs within the Mickey Mouse design.
Size Adjustments:
- If you want to make the sweater larger or smaller, you can adjust the number of stitches and rows accordingly. This allows you to create a perfect fit for adults, children, or even pets!
- Remember to check your gauge before making any adjustments, as it will ensure that the final measurements match your desired size.
With these variations, you can put your own spin on the Mickey Mouse sweater knitting pattern and create a truly one-of-a-kind piece. Let your creativity shine and enjoy the process of making a unique sweater that celebrates everyone’s favorite cartoon mouse.
Additional Tips
If you’re new to knitting, don’t be discouraged by the complexity of this pattern. Take it step by step and don’t rush yourself. Practice the basic knitting stitches before attempting this sweater.
Here are a few additional tips to help you complete your Mickey Mouse sweater:
- Read through the entire pattern before you start. This will give you a better understanding of the techniques used and help you avoid mistakes.
- Use stitch markers to keep track of your stitches. This will help you stay organized and ensure that you are following the pattern correctly.
- Check your gauge before you begin. Every knitter’s tension is different, so make sure your gauge matches the one specified in the pattern. Adjust your needle size if necessary.
- Take breaks when needed. Knitting can be time-consuming, so don’t forget to give your hands and eyes a rest. This will help prevent fatigue and improve the quality of your work.
- Don’t be afraid to ask for help. If you’re having trouble with a particular technique or section of the pattern, reach out to other knitters or online knitting communities for guidance. There’s always someone willing to lend a helping hand.
- Finally, have fun with your knitting! This Mickey Mouse sweater is a unique and playful project that will bring joy to both the knitter and the wearer. Enjoy the process and be proud of your finished creation.
Now that you have all the information and tips you need, it’s time to pick up your needles and start knitting your own Mickey Mouse sweater. Happy knitting!