
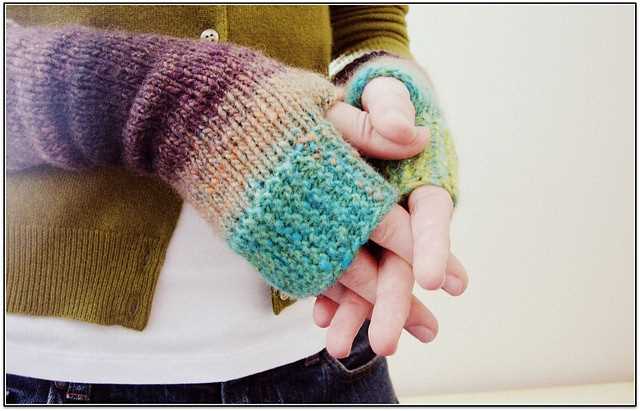
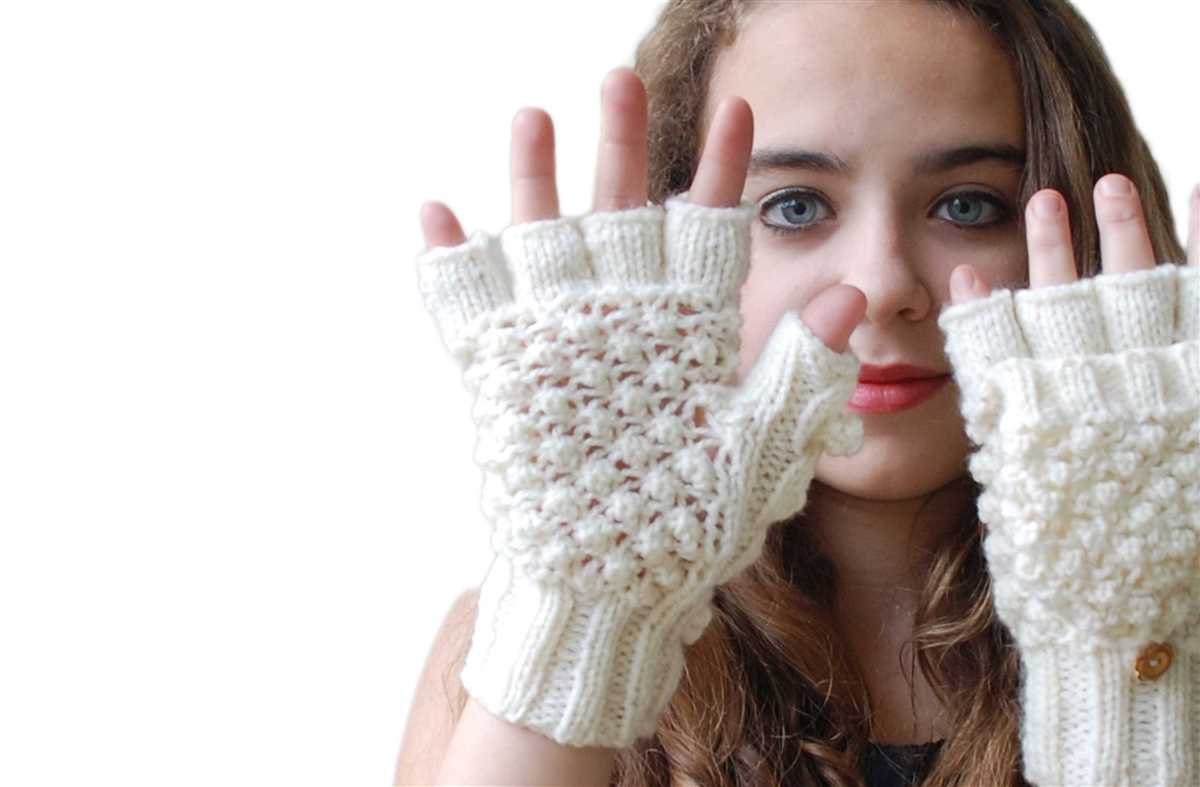
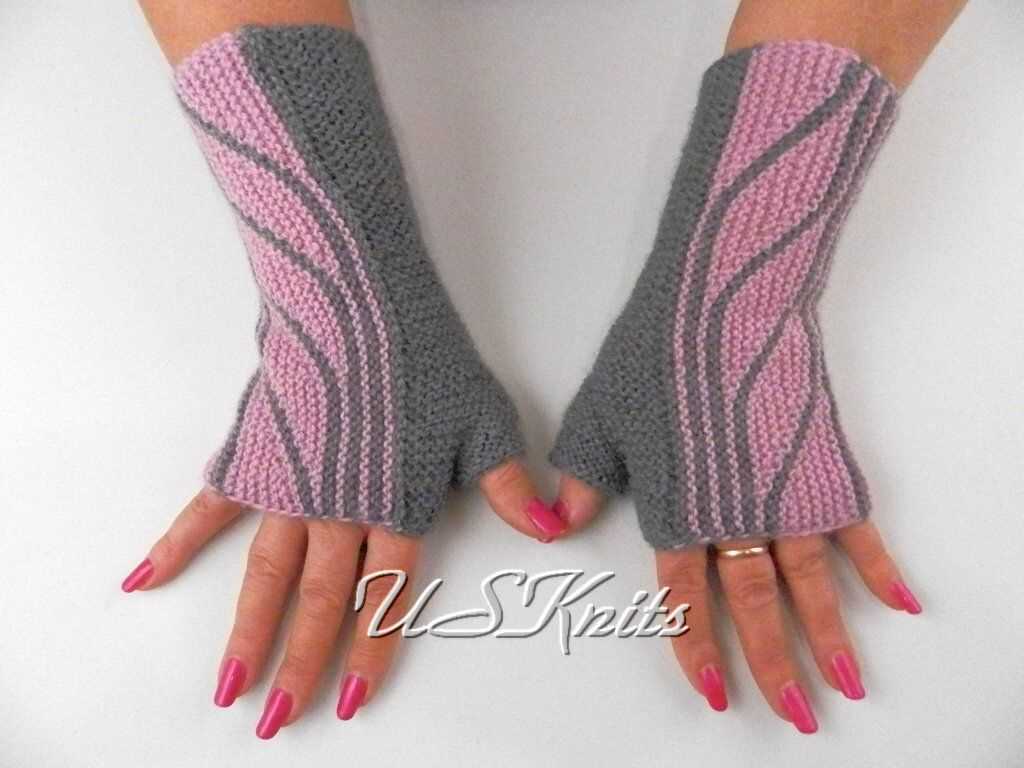
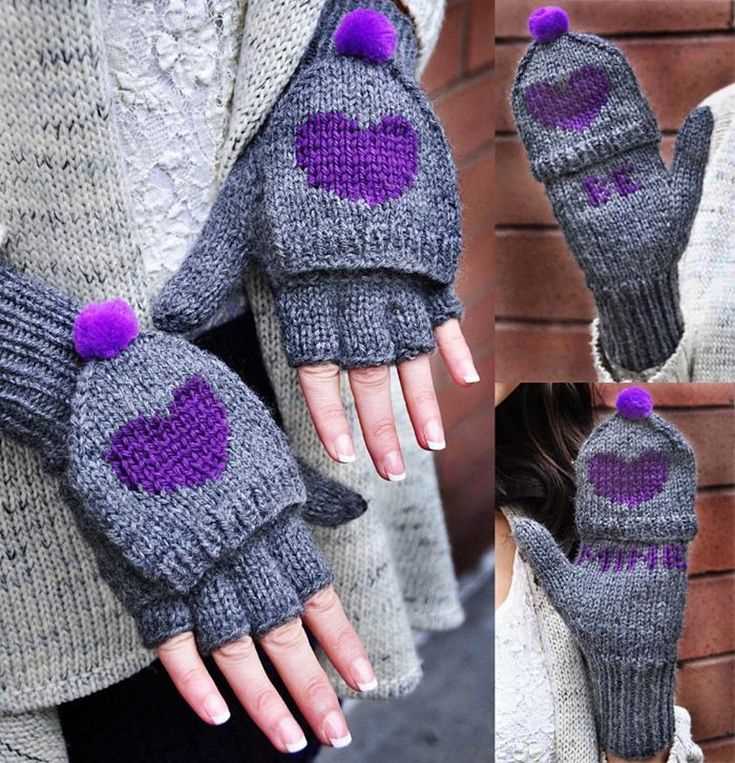
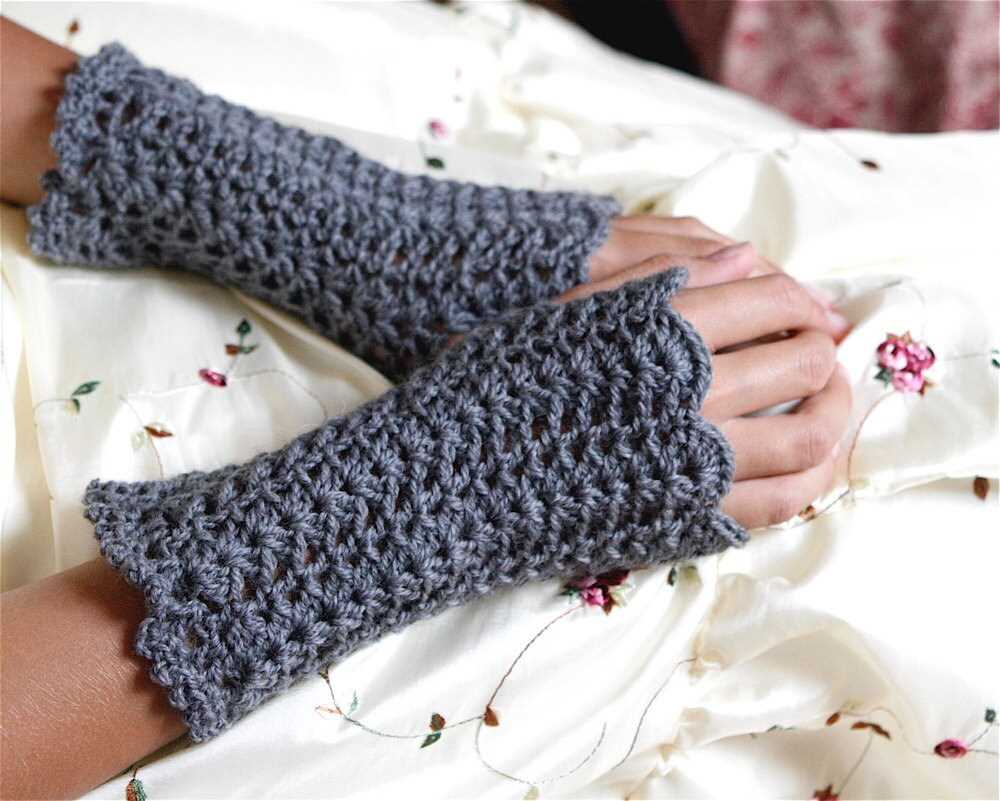
Fingerless gloves with a thumb opening are a great accessory for both style and function. They keep your hands warm while still allowing you to have full dexterity and use your fingertips. Whether you’re knitting gloves for yourself or as a gift, this knitting pattern will guide you through the process step by step.
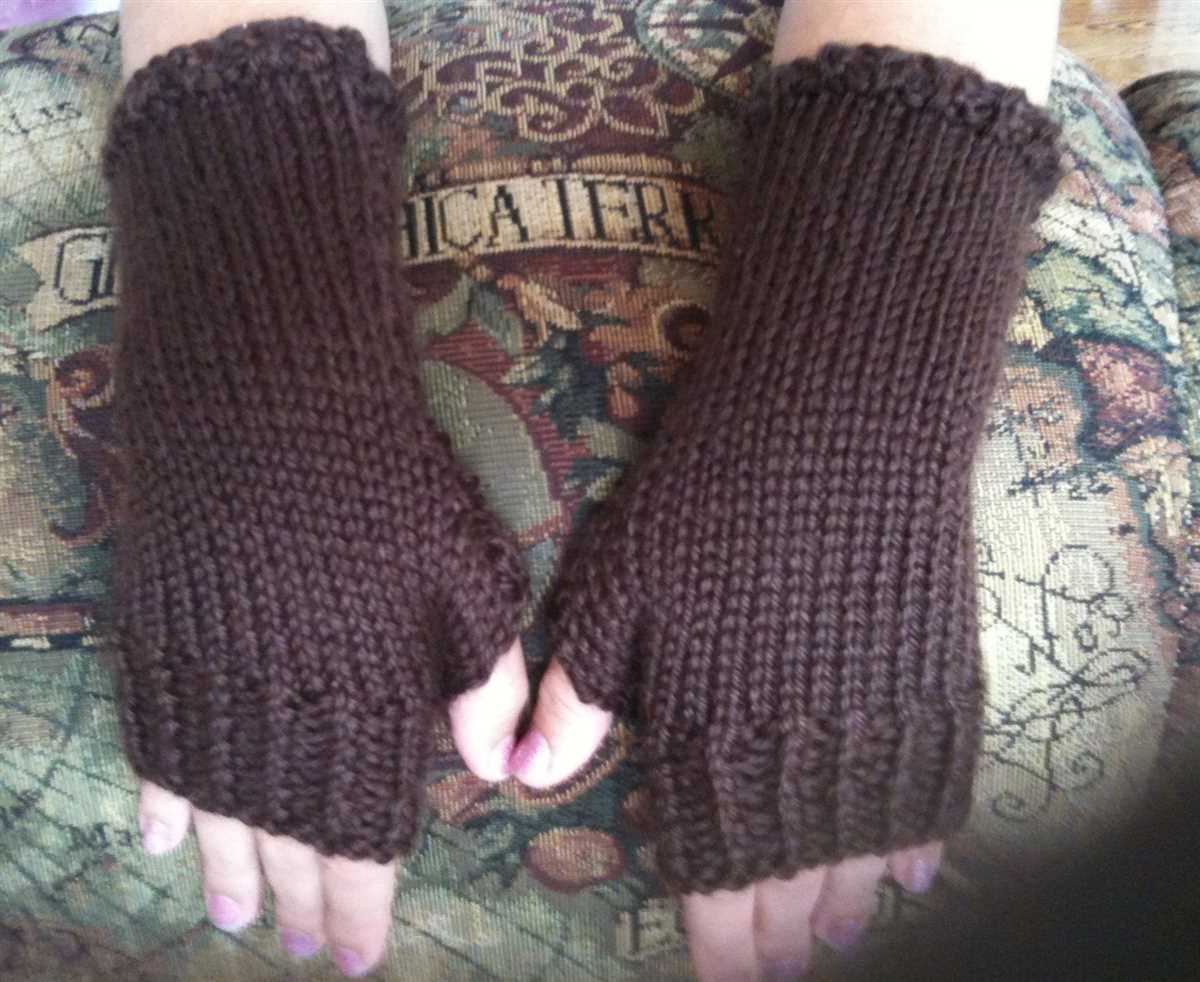
This knitting pattern is suitable for beginners and features a simple and classic design. The fingerless gloves are knitted in the round using double-pointed needles, making them seamless and comfortable to wear. The gloves have a ribbed cuff for a snug fit and a thumb opening for added flexibility. The pattern includes instructions for two sizes, so you can easily customize the fit to suit your needs.
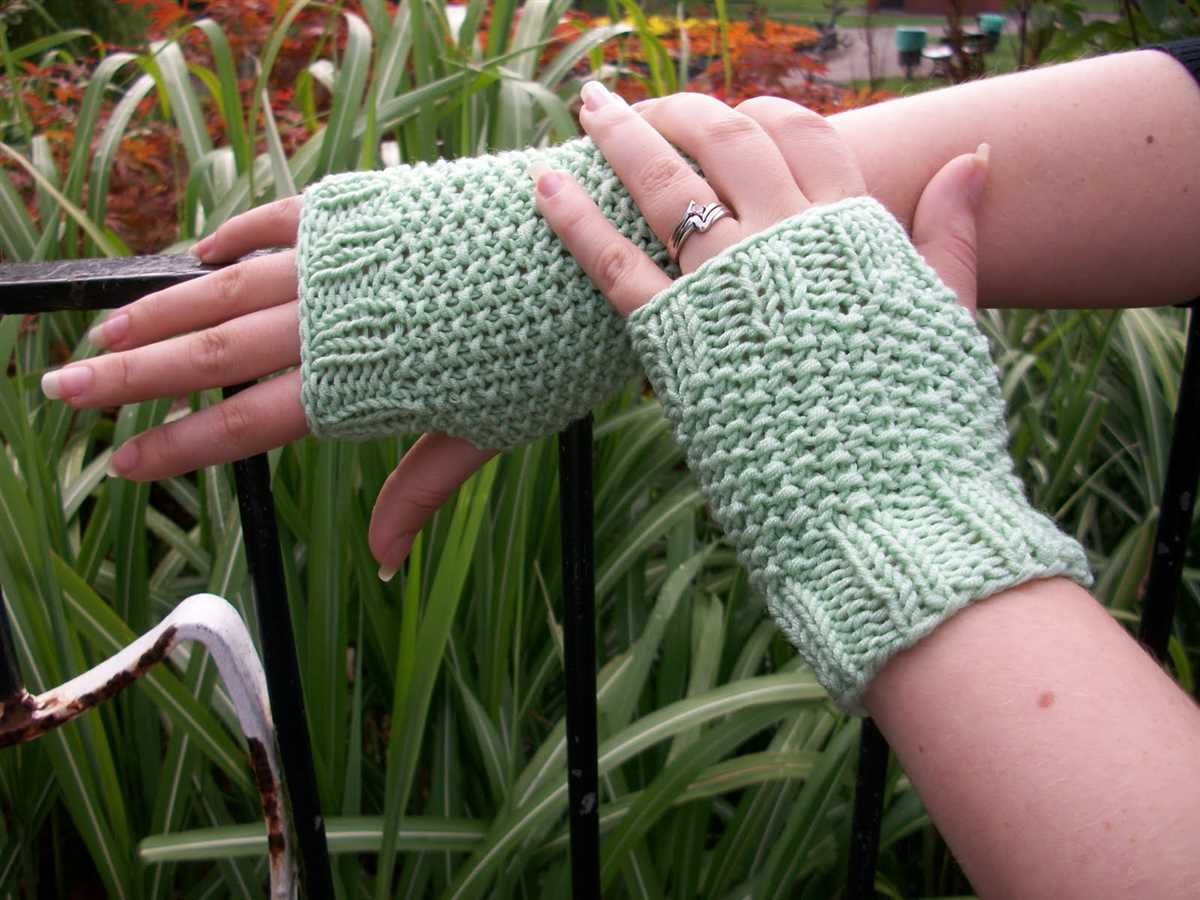
With this knitting pattern, you’ll be able to create a pair of fingerless gloves that are both stylish and practical. The simple design makes them versatile and easy to pair with any outfit. Whether you’re wearing them for a chilly day out or for added warmth while working on your computer, these fingerless gloves will quickly become a staple in your winter wardrobe.
Knitting Pattern for Fingerless Gloves with Thumb
Are you looking for a knitting pattern to make fingerless gloves with a thumb? Look no further! This pattern is perfect for anyone who wants to keep their hands warm while still having full use of their fingers. Whether you’re knitting for yourself or as a gift for someone else, these fingerless gloves are a stylish and practical choice.
To begin, gather your materials. You will need a set of double-pointed knitting needles in the appropriate size for your chosen yarn, as well as a stitch marker and a tapestry needle for finishing. Choose a yarn that is soft and warm, such as a wool or wool-blend, for the best results.
Next, cast on the desired number of stitches for your gloves. You will need to work in the round, so divide the stitches evenly onto three or four needles. Place a stitch marker to mark the beginning of the round.
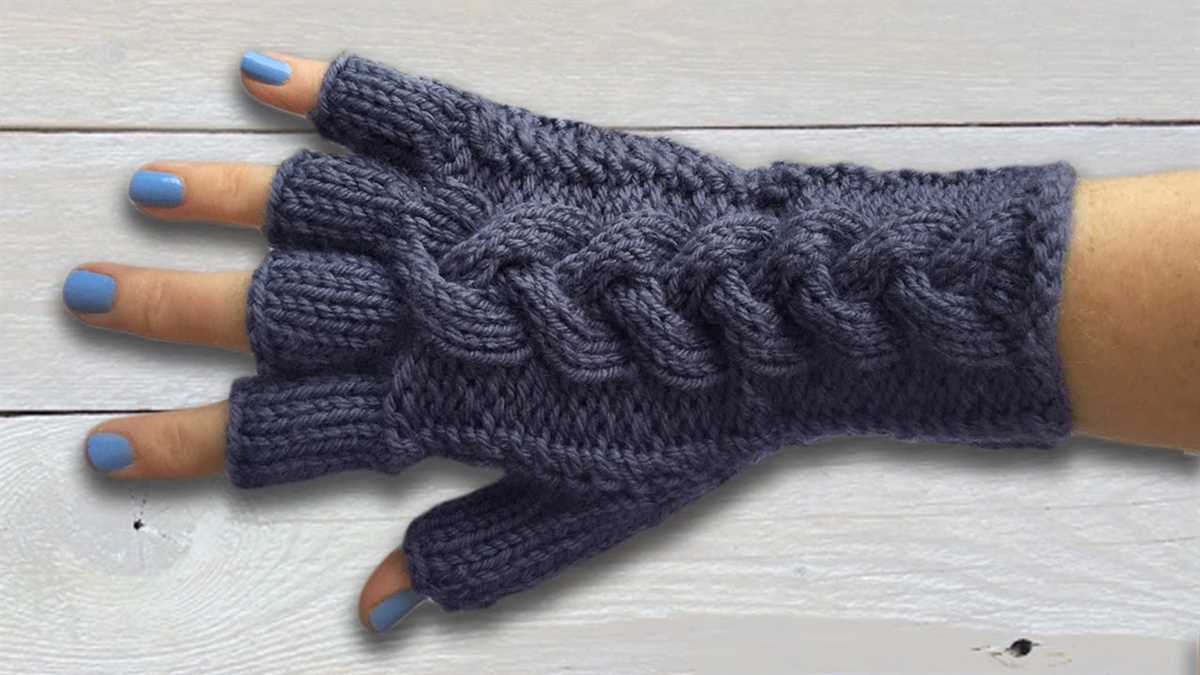
Now it’s time to begin the main body of the gloves. Work in a rib stitch pattern for a few rounds to create a snug and stretchy cuff. Then, switch to stockinette stitch for the hand portion of the gloves. You can continue in stockinette stitch for the entire glove, or add a simple lace or cable pattern for more visual interest.
When you reach the desired length for your gloves, it’s time to create the thumb opening. Place a few stitches on a scrap piece of yarn or a stitch holder, leaving a small gap in the knitting. This will be the thumb opening. Continue working in the round to complete the hand portion of the gloves.
Once you have finished knitting the main body of the gloves, it’s time to add the thumb. Transfer the stitches from the scrap yarn or stitch holder back onto your needles. Pick up a few stitches along the sides of the thumb opening to fill in any gaps. Knit the thumb in the same stitch pattern as the hand portion of the gloves, or use a contrasting stitch pattern for added flair.
Finally, finish off your gloves by binding off all stitches and weaving in any loose ends. Try on the gloves to ensure a proper fit, and make any necessary adjustments. With this pattern, you’ll have a beautiful pair of fingerless gloves with thumb that will keep your hands warm and stylish all winter long!
Materials
Fingerless gloves with a thumb require a few specific materials to create a comfortable and functional accessory. Here is a list of the materials you will need:
Yarn:
- Fingering weight yarn: This type of yarn is perfect for fingerless gloves as it is lightweight and provides good drape. Choose a color that matches your style and preferences.
- Approximately 150 yards (137 meters) of yarn: This should be enough to complete a pair of fingerless gloves.
Needles:
- Double-pointed needles (DPN): You will need a set of DPNs in the appropriate size for your yarn. The size will depend on your gauge and the desired fit of the gloves. You may need to experiment with different sizes to achieve the desired results.
Notions:
- Tapestry needle: This will be used for weaving in loose ends and finishing touches.
- Stitch markers: These will help you keep track of your stitches and any pattern repeats.
- Scissors: You will need a pair of scissors for cutting the yarn.
- Measuring tape: This will come in handy for measuring your gauge and ensuring the right fit.
With these materials in hand, you will be well-equipped to start knitting your fingerless gloves with a thumb. Make sure to gather all the necessary supplies before you begin to ensure a smooth and enjoyable knitting experience.
Gauge
When it comes to knitting patterns, gauge is an important factor to consider. Gauge refers to the number of stitches and rows per inch in a knitted fabric. It determines the size and fit of the finished project, so it’s crucial to get it right.
To achieve the correct gauge, it’s recommended to use the same yarn and needles as specified in the pattern. However, everyone knits differently, so it’s important to swatch and measure your gauge before starting the project. A small swatch can help you determine if you need to adjust your needle size or knitting tension.
How to measure gauge:
- Using the specified needles, cast on a few more stitches than the recommended gauge (e.g., if the gauge is 20 stitches per 4 inches, cast on around 25 stitches).
- Knit a few rows in the specified stitch pattern.
- Measure a 4-inch section in the middle of your swatch.
- Count the number of stitches and rows within that 4-inch section.
- If your stitch and row count match the recommended gauge, then you’re ready to start the project. If not, you may need to adjust your needle size or tension and try again.
Remember, getting the correct gauge is essential for the fit and size of your fingerless gloves with thumb. Taking the time to swatch and measure your gauge will ensure that your finished gloves will be the perfect fit.
Size
When it comes to knitting fingerless gloves with a thumb, size is an important factor to consider. Everyone’s hand size varies, so it’s crucial to choose the right size for a comfortable fit. To determine the correct size, you’ll need to measure the circumference of your hand at its widest point, excluding the thumb.
The knitting pattern for fingerless gloves with a thumb typically provides instructions for multiple sizes, allowing you to customize the gloves to fit your hand perfectly. It’s important to follow the sizing chart provided in the pattern and select the size that corresponds to your hand measurement. This ensures that the gloves will fit snugly but not be too tight.
Small: A small size is usually suitable for people with a hand circumference of 6-7 inches.
Medium: The medium size is generally designed for hand circumferences of 7-8 inches.
Large: For individuals with a hand circumference of 8-9 inches, the large size is the best option.
X-Large: An X-Large size is typically designed for hand circumferences of 9-10 inches.
Be sure to adjust the pattern accordingly if your hand measurement falls outside the provided size range. You can easily modify the pattern by increasing or decreasing the number of stitches cast on and adjusting the length of the thumb section.
Abbreviations
When following a knitting pattern for fingerless gloves with thumb, it’s important to understand the abbreviations used. These abbreviations are shorthand notations for different knitting techniques and stitches, making it easier to read and follow the pattern. Here are some common abbreviations you may come across:
- K: Knit
- P: Purl
- YO: Yarn over
- SSK: Slip, slip, knit
- K2Tog: Knit two stitches together
- P2Tog: Purl two stitches together
- PM: Place marker
- SM: Slip marker
These abbreviations are commonly used in knitting patterns and are usually accompanied by a brief explanation or reference to the specific technique or stitch. It’s important to familiarize yourself with these abbreviations before starting the pattern to ensure a smooth and successful knitting process.
Instructions
In order to knit fingerless gloves with thumb, follow the step-by-step instructions provided below:
Materials Needed:

- One pair of size 5mm knitting needles
- Approximately 100g of worsted weight yarn
- Tapestry needle
- Stitch markers
Step 1: Cast On
Using the long-tail cast on method, cast on 40 stitches onto one of your knitting needles.
Step 2: Ribbing
Knit in a K1, P1 ribbing pattern for the first 2 inches. This will create a stretchy cuff for the gloves.
Step 3: Main Body
Continue knitting in stockinette stitch (knit one row, purl one row) until the main body of the gloves measures approximately 5 inches from the cast on edge.
Step 4: Thumb Hole
For the thumb hole, transfer 8 stitches onto a separate stitch holder or a scrap piece of yarn. This will create a gap in your knitting where the thumb will go.
Step 5: Thumb
On the next row, cast on 4 stitches over the gap created for the thumb hole. This will be the base for the thumb.
Continue knitting in stockinette stitch for the thumb until it measures approximately 2 inches in length.
Step 6: Binding Off
Once the thumb is the desired length, bind off all the stitches for both the main body and the thumb.
Weave in any loose ends with a tapestry needle and trim excess yarn.
Your fingerless gloves with thumb are now ready to wear! Repeat the entire process to create a matching glove.
Cuff
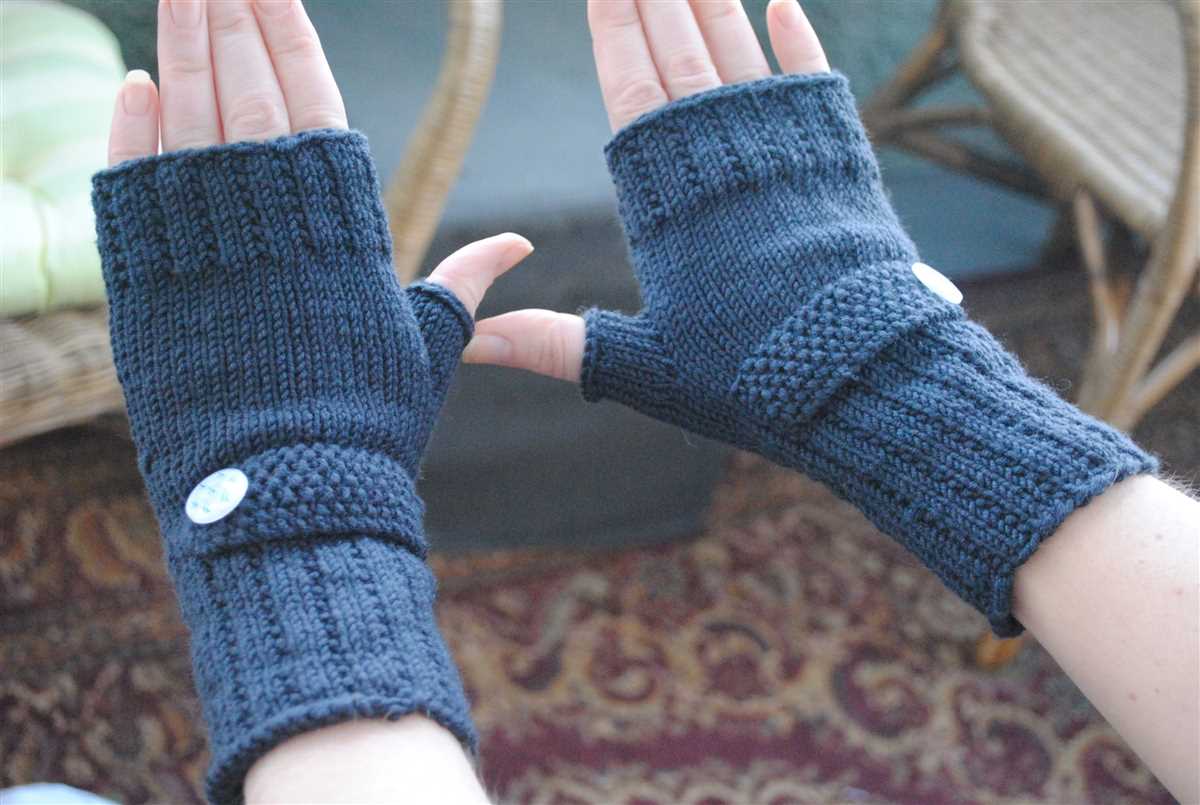
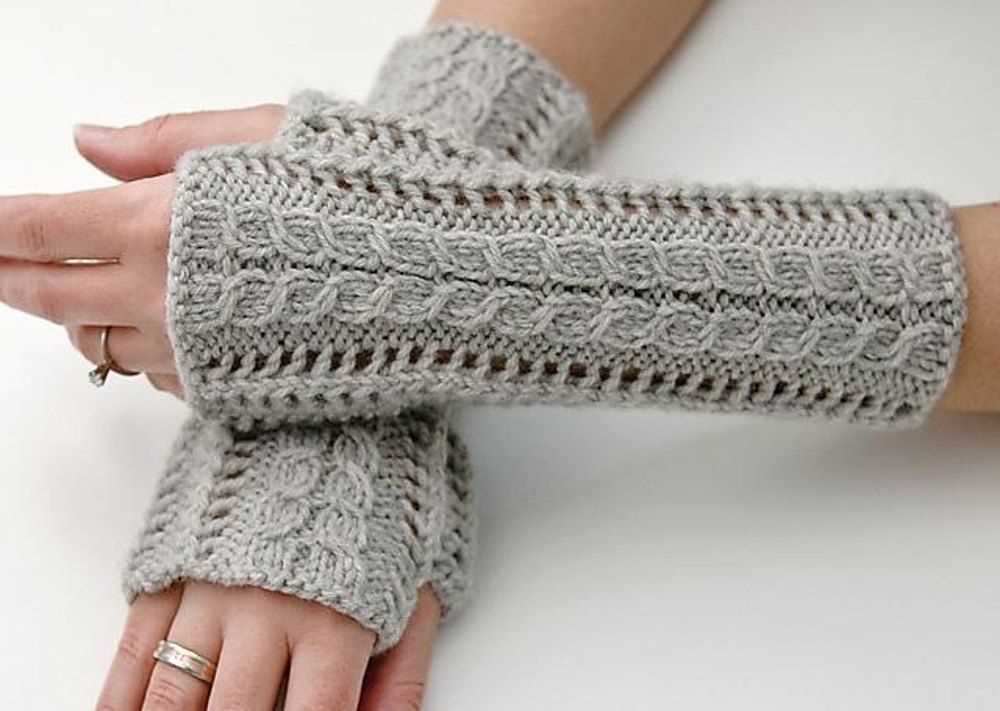
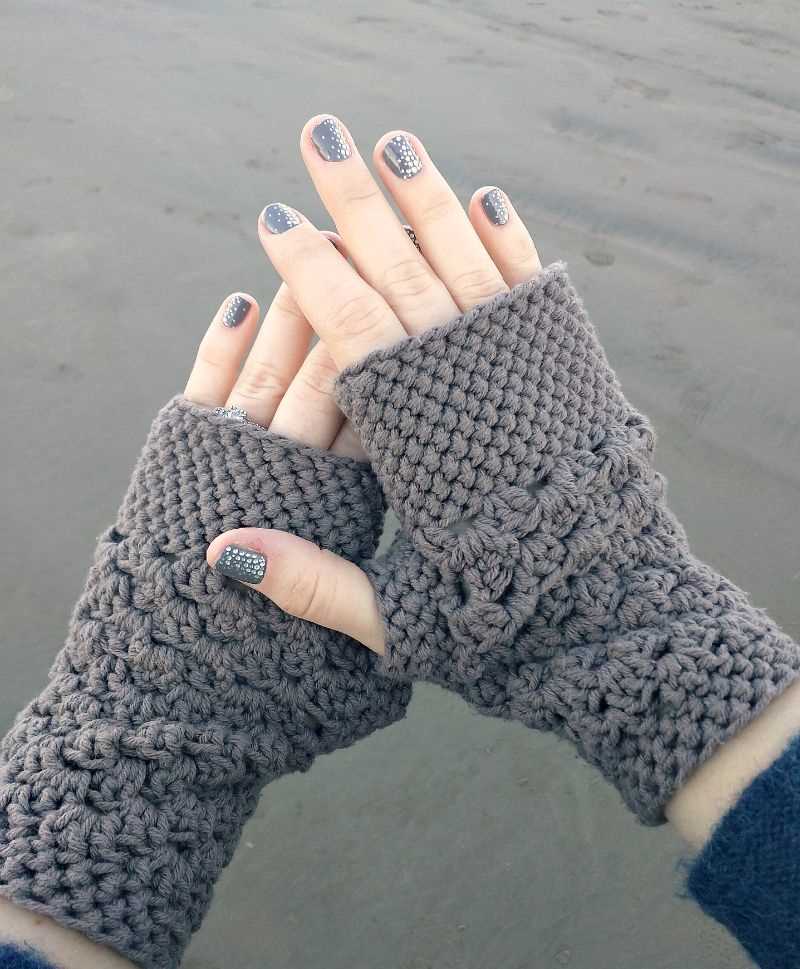
The cuff of these fingerless gloves is an important part of the design, as it helps to keep the gloves in place on your hands and adds a decorative element. The cuff is worked in a ribbed stitch pattern, which gives it stretch and flexibility. This makes it easy to pull the gloves on and off, while still ensuring a snug fit.
To begin the cuff, cast on the desired number of stitches using a smaller needle size. This will help to create a firm and structured cuff. The rib pattern is worked by alternating knit and purl stitches for a specific number of rows. The most common rib pattern used for fingerless gloves is a 2×2 rib, which involves knitting two stitches, then purling two stitches, and repeating this sequence.
By using a rib stitch pattern, the cuff has a nice texture and stretchiness that allows it to fit a range of hand sizes comfortably. It also adds visual interest to the gloves, as the alternating knit and purl stitches create a subtle ribbed effect. The cuff can be made as short or as long as desired, depending on personal preference.
Some knitters may choose to add additional details to the cuff, such as a decorative border or button closure. This allows for customization and personalization of the gloves. Once the cuff is complete, the next step in the knitting pattern is usually to start working on the hand portion of the gloves, where the thumb opening is created.
Hand
Our hands are remarkable tools that allow us to interact with the world around us. They are made up of intricate bones, muscles, tendons, and ligaments that work together to perform a wide range of tasks, from delicate and precise movements to powerful and forceful actions.
The human hand is divided into four main sections: the fingers, the thumb, the palm, and the wrist. Each section has its own unique structure and functions. The fingers are made up of small bones called phalanges, which are connected by joints that allow for flexion and extension. They are responsible for activities such as gripping, grasping, and manipulating objects.
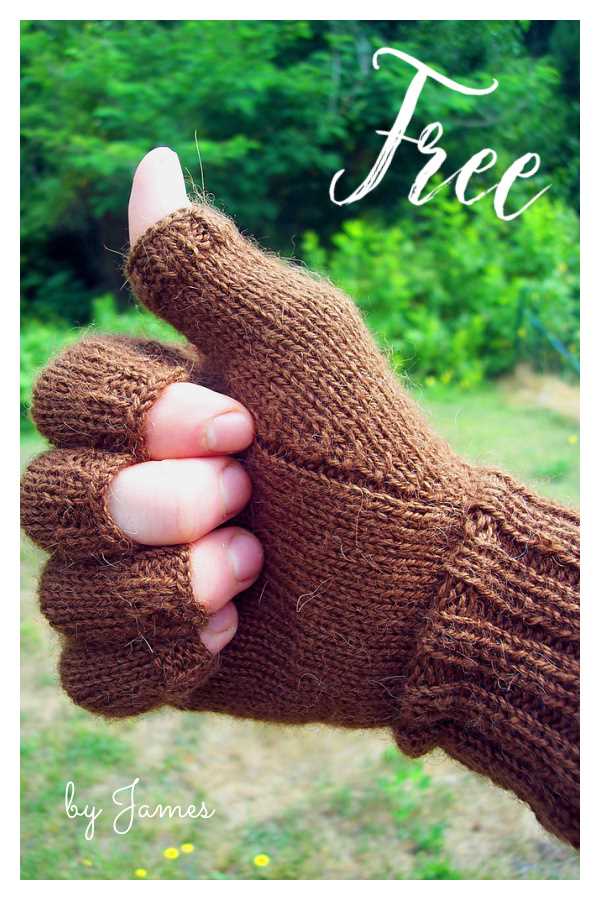
The thumb is the most flexible and opposable digit on the hand, allowing us to perform a variety of tasks that require precision and dexterity. It is the thumb that sets humans apart from other animals, as it plays a crucial role in our ability to use tools effectively.
The palm of the hand contains a network of muscles, tendons, and ligaments that help to provide stability and control during hand movements. It is an essential part of our grip and is responsible for maintaining the position of the fingers and thumb.
In addition to these structures, our hands are also equipped with sensory receptors that allow us to feel and perceive the world through touch. These receptors are concentrated in the fingertips, making them highly sensitive and capable of detecting even the slightest changes in texture, temperature, and pressure.
Overall, our hands are incredibly complex and versatile, enabling us to perform a wide range of tasks with precision and finesse. Whether it is knitting a pair of fingerless gloves, playing a musical instrument, or simply reaching out to touch someone’s hand, our hands are an integral part of our daily lives and our connection to the world.
Thumb
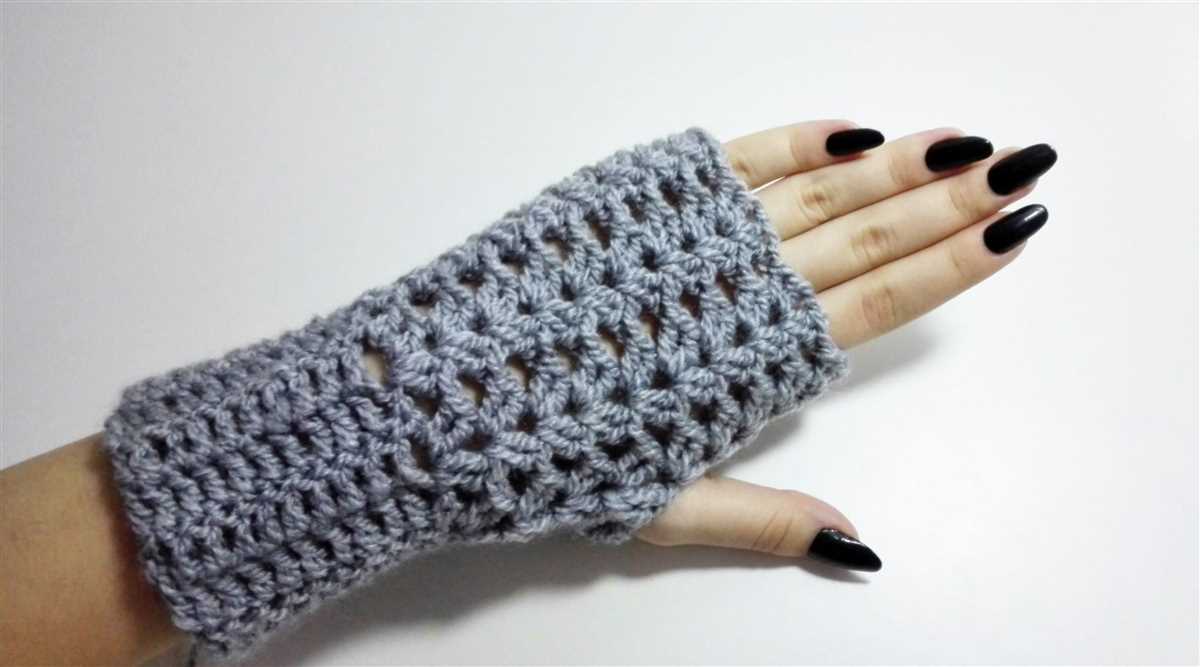
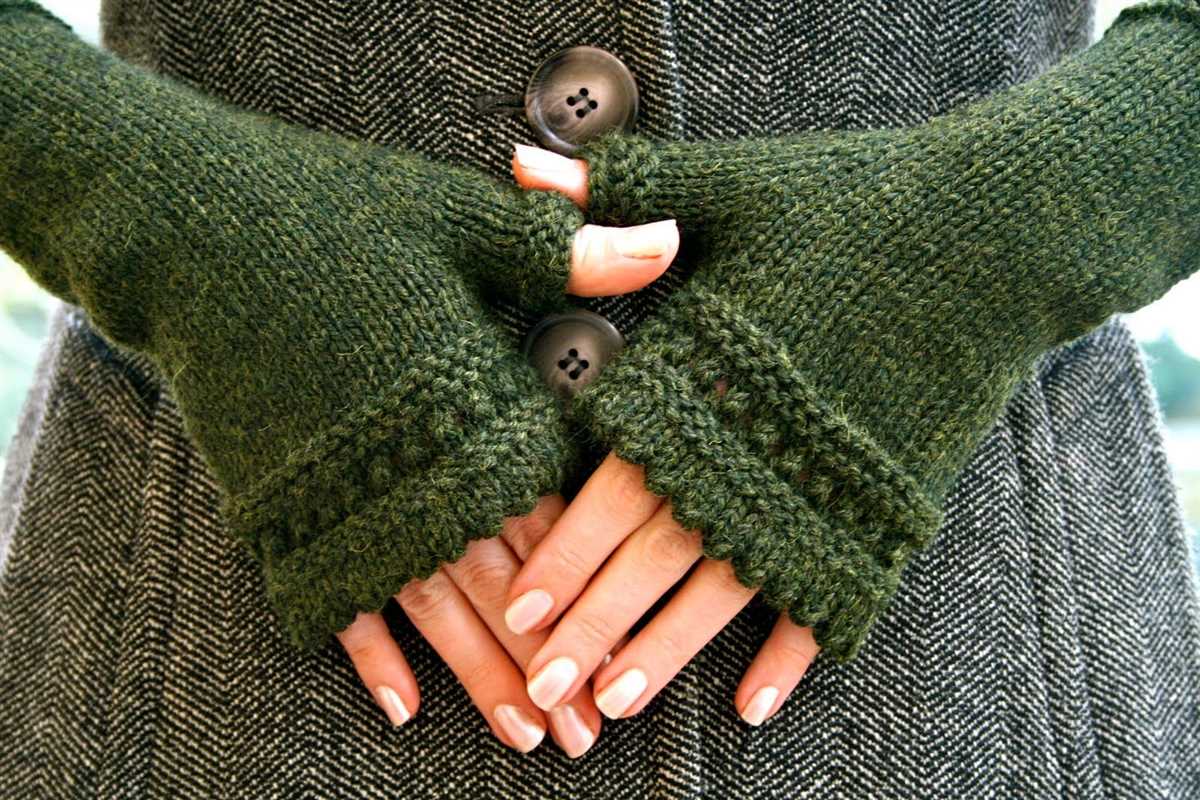
One of the key features of fingerless gloves is the thumb opening, which allows for greater versatility and functionality. The thumb opening in fingerless gloves is designed to provide easy access to the thumb while keeping the rest of the hand warm and protected. It allows for dexterity and mobility, making fingerless gloves ideal for activities that require fine motor skills, such as typing, texting, and knitting.
When creating a knitting pattern for fingerless gloves with a thumb, it is important to carefully shape and position the thumb opening for maximum comfort and functionality. The thumb opening should be positioned on the side of the glove, allowing the thumb to move freely without restriction. It should also be wide enough to comfortably accommodate the thumb, but not too wide as to compromise the warmth and fit of the glove.
Here are some key considerations when knitting the thumb of fingerless gloves:
- Inserting the thumb opening: The thumb opening is typically created by skipping a certain number of stitches on one side of the glove, and then starting a new section of knitting for the thumb. This technique ensures that the thumb opening is positioned correctly and that it seamlessly blends with the rest of the glove.
- Thumb gusset: To ensure a comfortable fit, it is common to incorporate a thumb gusset into the knitting pattern. A thumb gusset involves increasing stitches at the base of the thumb opening to create a wider and more ergonomic shape that conforms to the natural curve of the thumb.
- Thumb placement: The placement of the thumb opening should be customized based on the individual’s hand shape and size. It should be positioned slightly below the joint of the thumb to allow for ease of movement and flexibility.
Overall, the thumb opening in fingerless gloves is a crucial aspect of the design that adds both practicality and comfort. By carefully considering the shaping and positioning of the thumb opening, you can create fingerless gloves that are not only stylish but also highly functional for everyday use.
Thumb Gusset
The thumb gusset is an essential feature of fingerless gloves with thumbs. It is the part of the pattern that creates space for the thumb, allowing for comfortable movement and flexibility.
To create the thumb gusset, you will need to start by increasing stitches in a specific area of the glove. This is typically done by working a set of stitches, then increasing one stitch at the beginning and end of a designated stitch marker. This can be done using various methods, such as knit front and back (kfb) or make one (m1).
The thumb gusset is typically worked over a certain number of rounds or rows, depending on the pattern. The increased stitches gradually create a triangular shape, widening the fabric to accommodate the thumb. Once the desired number of stitches for the thumb gusset has been reached, they are often placed on hold using waste yarn or stitch holders.
After the thumb gusset is completed, the main section of the glove is continued, often with ribbing or a different stitch pattern. Once the glove is complete, the held stitches for the thumb gusset are picked up and worked in order to create the thumb. This is typically done by dividing the held stitches onto double-pointed needles or using the magic loop method.
The thumb gusset is a crucial element of fingerless gloves with thumbs. It ensures a comfortable fit and allows for ease of movement while wearing the gloves. By following the pattern instructions and carefully working the increases for the thumb gusset, you can create a functional and stylish pair of fingerless gloves.
Finishing
Once you have completed knitting the fingerless gloves and have finished binding off, it is time to finish them by weaving in the loose ends and blocking them to achieve the desired shape and fit.
Start by weaving in the loose ends using a tapestry needle. Take each end and thread it through the stitches on the wrong side of the fabric, making sure to secure it tightly so that it won’t come undone. Trim any excess yarn once all the ends are woven in.
After weaving in the ends, you can block the fingerless gloves to ensure they maintain their shape and fit properly. Fill a sink or basin with lukewarm water and add a small amount of mild detergent. Gently submerge the gloves in the water, making sure they are fully saturated. Allow them to soak for about 10-15 minutes.
Remove the gloves from the water and gently squeeze out the excess moisture. Lay them flat on a clean towel and reshape them to their desired shape. Smooth out any wrinkles or uneven areas. If necessary, use rustproof pins to hold the gloves in place while they dry.
Leave the gloves to air dry completely before removing the pins. Once dry, they should be ready to wear. Ensure that the thumb opening is large enough for your thumb to comfortably fit through, and adjust if necessary.
Now that your fingerless gloves are finished, you can enjoy wearing them and staying warm while still being able to use your fingers freely. They make great gifts and can be customized with different yarn colors and stitch patterns to suit your personal style. Happy knitting!
Final Thoughts
Knitting fingerless gloves with a thumb is a rewarding and enjoyable project for both beginners and experienced knitters. The versatility of fingerless gloves makes them a practical and stylish accessory for any season. Whether you’re looking to keep your hands warm while using your phone or adding a fashionable touch to your outfit, fingerless gloves with a thumb are the perfect choice.
With the knitting pattern provided and the step-by-step instructions, you’ll be able to create a pair of fingerless gloves with a thumb that fits perfectly and showcases your knitting skills. Don’t be afraid to experiment with different yarns, colors, and stitch patterns to personalize your gloves and make them uniquely yours.
If you enjoyed knitting fingerless gloves with a thumb, consider exploring other knitting projects to expand your skills and create more beautiful and functional accessories. Knitting is a timeless craft that offers endless possibilities for creativity and self-expression.