
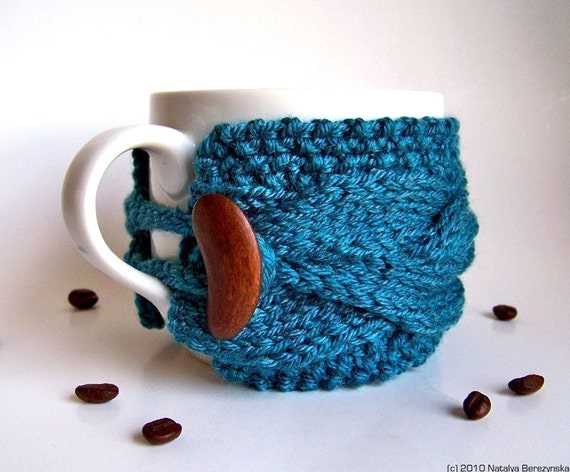
Are you tired of burning your hands on hot coffee mugs? Well, we have the perfect solution for you – a coffee mug cozy! Not only will it protect your hands from the heat, but it will also add a touch of style to your morning routine. In this article, we will provide step-by-step instructions on how to knit your own cozy.
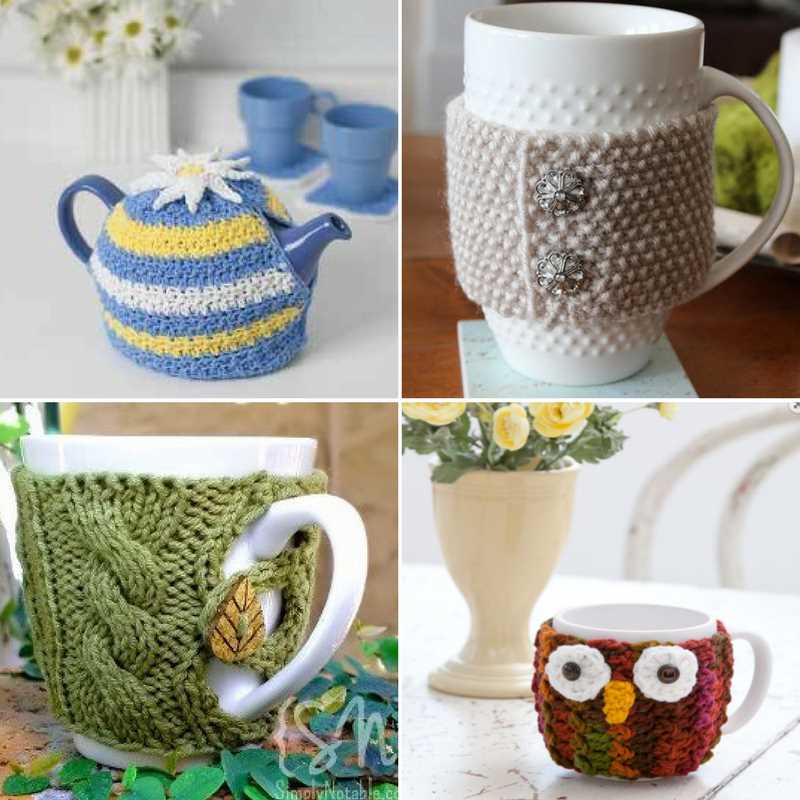
Knitting your own coffee mug cozy is not only a fun and creative project, but it is also a practical one. You can choose any color or pattern that suits your personal style and it makes for a great gift idea for friends and family. Plus, it’s a great way to use up leftover yarn from other projects.
To get started, you will need a few materials: some yarn in your chosen color, knitting needles (size will depend on the weight of your yarn), a tape measure, and a yarn needle for weaving in ends. Once you have gathered your materials, you’re ready to begin.
Materials

To create a cozy for your coffee mug, you will need the following materials:
- Yarn: Choose a soft and cozy yarn in a color of your choice. You will need approximately 50-100 yards of yarn, depending on the size of your mug and the desired thickness of the cozy.
- Knitting Needles: Use knitting needles in the appropriate size for your yarn. Most cozy patterns recommend using a US size 7 or 8 needle.
- Tapestry Needle: A tapestry needle with a large eye will be needed for weaving in ends and sewing up any seams.
- Scissors: A pair of sharp scissors will be necessary for cutting the yarn.
- Measuring Tape: A measuring tape or ruler will come in handy for taking measurements and ensuring an accurate fit.
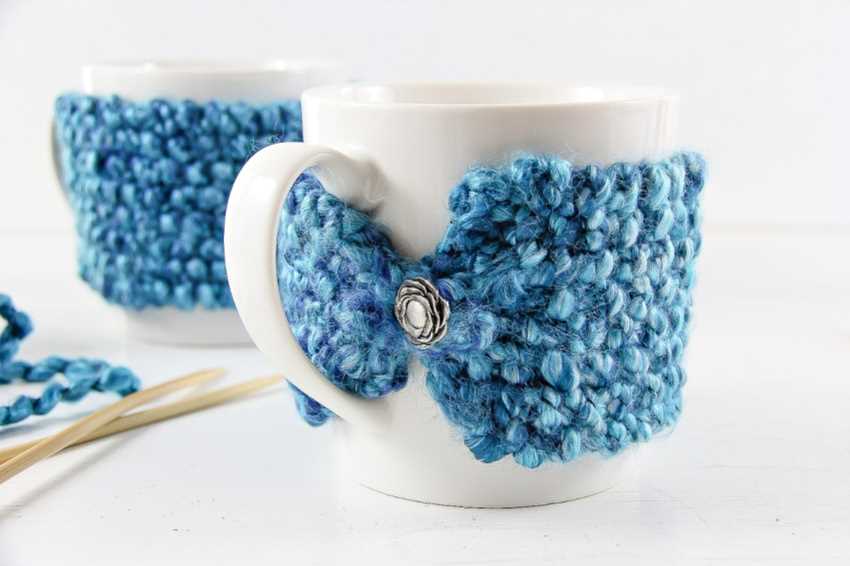
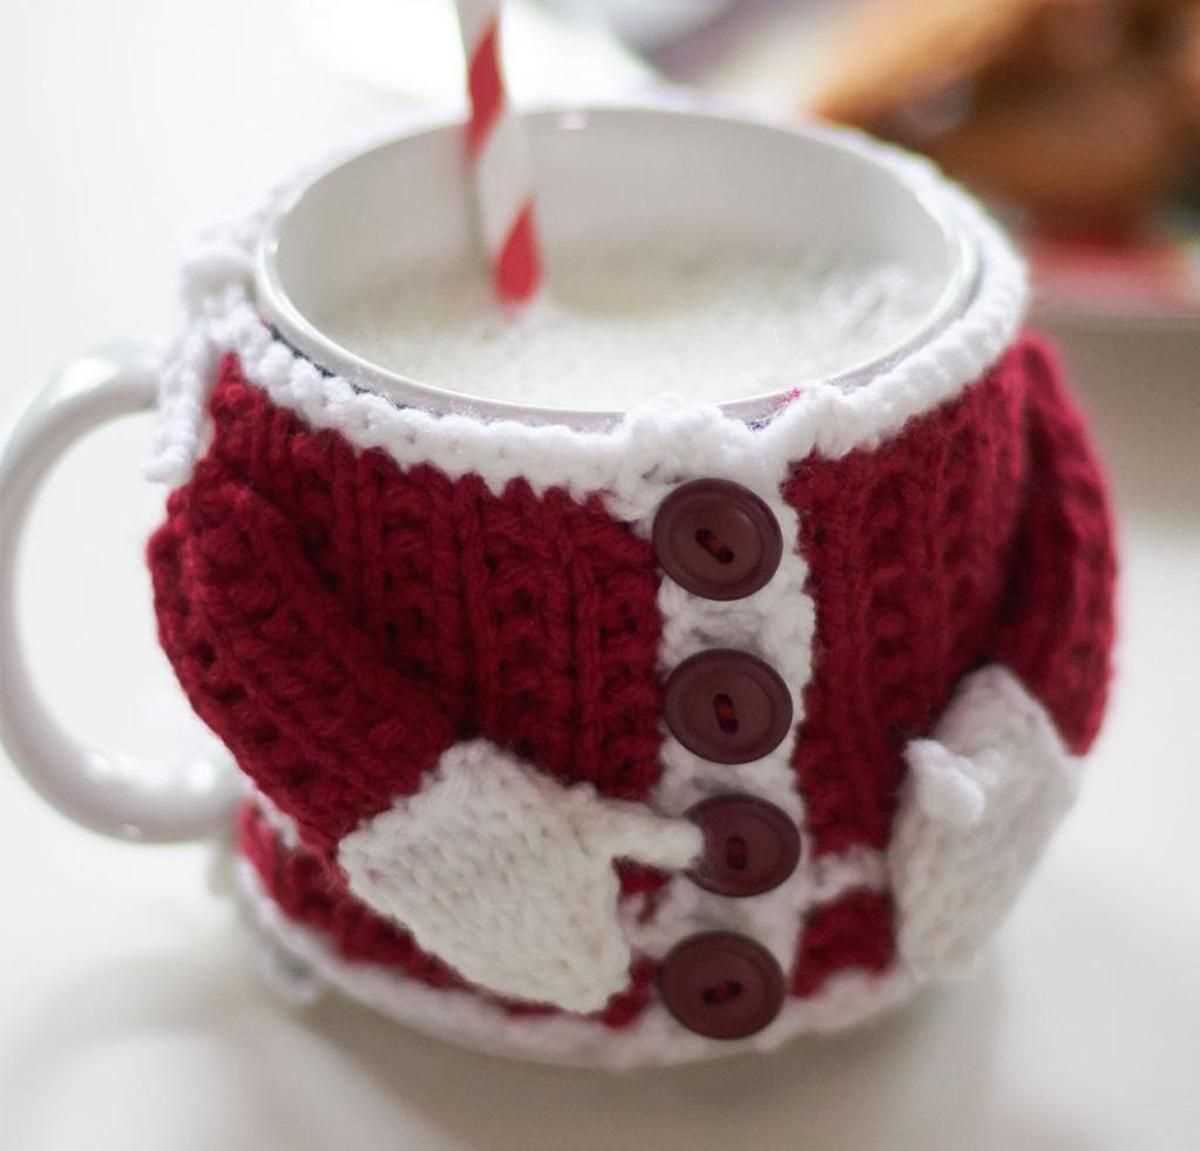
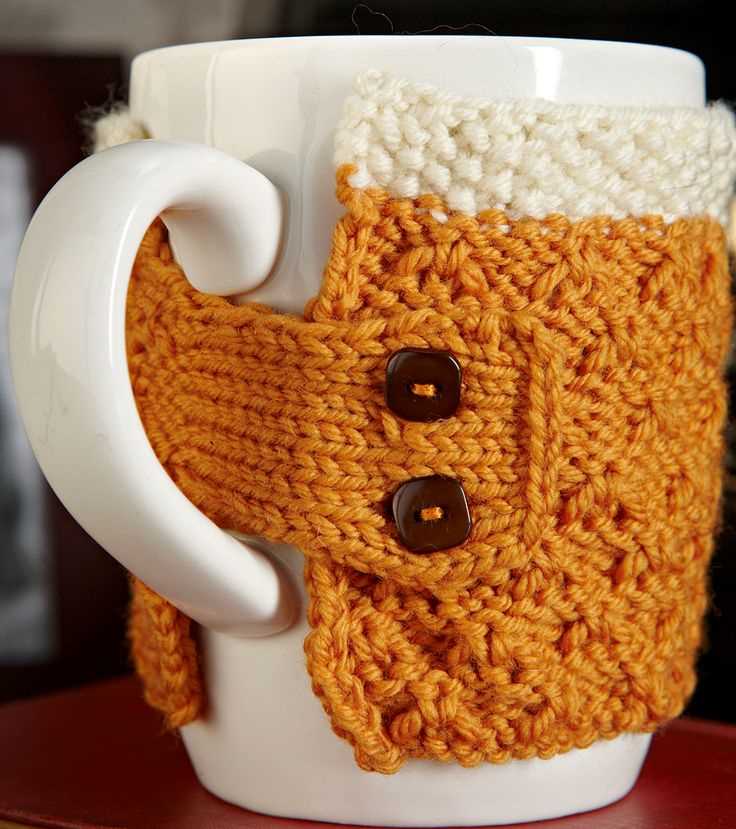
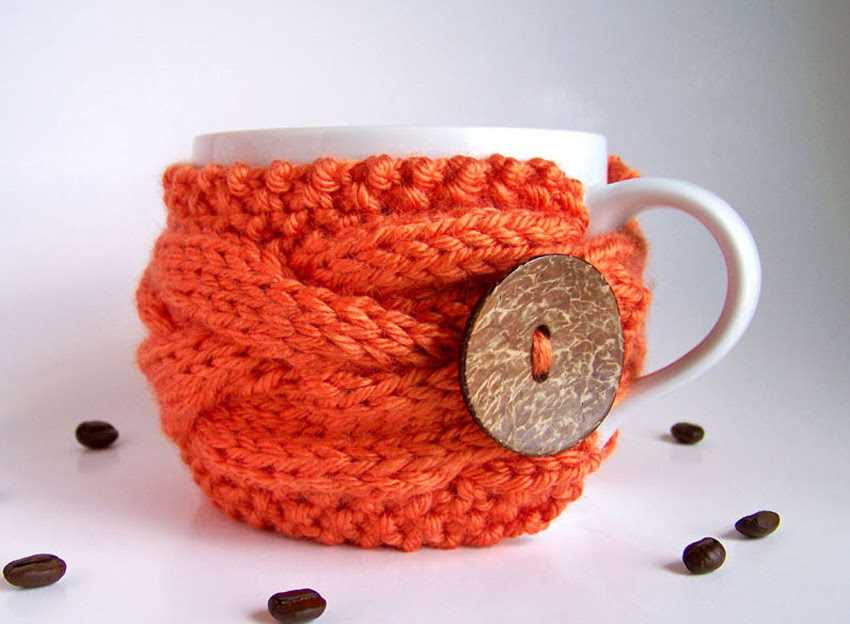
- Buttons or Other Embellishments (optional): If you want to add some extra flair to your coffee mug cozy, consider using decorative buttons, beads, or other embellishments.
Once you have gathered all of these materials, you will be ready to start knitting your cozy!
Gauge
Gauge is an important factor when knitting a coffee mug cozy. It refers to the number of stitches and rows per inch that you achieve with a specific set of knitting needles and yarn. This measurement is crucial for ensuring that your finished cozy fits properly around your coffee mug.
To determine the gauge for your knitting project, start by knitting a swatch using the recommended yarn and needle size. The pattern will usually provide instructions for the gauge, specifying the number of stitches and rows that should be achieved in a 4×4 inch square. Once your swatch is complete, measure the number of stitches and rows within the given area.
It’s important to note that achieving the correct gauge is not only about the number of stitches and rows, but also about the overall tension in your knitting. If your stitches are too tight, your cozy may end up too small. On the other hand, if your stitches are too loose, the cozy may be too large and not fit snugly around the mug.
To adjust your gauge, you may need to change your needle size. If your stitches are too tight, try using larger needles to achieve a looser tension. If your stitches are too loose, switch to smaller needles to create a tighter tension. It may take some trial and error to find the perfect needle size that allows you to achieve the correct gauge.
Once you have determined your gauge, you can confidently proceed with knitting your coffee mug cozy, knowing that it will fit your mug perfectly. Remember to check your gauge periodically throughout the project to ensure that you are still on track. Happy knitting!
Size
When knitting a coffee mug cozy, it is important to consider the size to ensure a snug and secure fit. The size of the cozy will depend on the size of the mug you are knitting for, as well as your preferred level of snugness.
To determine the size of the cozy, measure the circumference of the mug. This can be done by wrapping a tape measure or a piece of string around the widest part of the mug, usually just below the rim. Alternatively, you can use a ruler to measure the diameter of the mug and multiply it by π (pi) to calculate the circumference. Remember to add a little bit of ease for a comfortable fit.
When choosing a knitting pattern for a coffee mug cozy, check if the pattern includes different sizes or if it can easily be adjusted to fit different mug sizes. Some patterns may provide instructions on how to customize the size by adding or removing stitches. If you are using a pattern that only offers one size, you may need to modify it to fit your specific mug.
Additionally, consider the height of the cozy. A taller cozy may cover more of the mug, providing extra insulation, while a shorter cozy may be quicker to knit and allow for more customization options. Some patterns may also include instructions on how to adjust the height of the cozy to fit your preferences.
Remember to make a gauge swatch before starting your project to ensure that your knitting tension matches the pattern’s gauge. This will help you achieve the correct size for your coffee mug cozy.
Pattern
A cozy for your coffee mug is a perfect way to keep your beverage warm and your hands comfortable. This knitting pattern is simple and easy to follow, making it a great project for knitters of all skill levels.
Materials
- Worsted weight yarn
- Size 8 knitting needles
- Stitch markers
- Darning needle
Instructions
- Cast on 40 stitches.
- Row 1: Knit all stitches.
- Row 2: Purl all stitches.
- Repeat rows 1 and 2 until the piece measures 6 inches.
- Next row: Knit 2 stitches together across the row.
- Next row: Purl all stitches.
- Repeat the last 2 rows until 2 stitches remain.
- Bind off.
Note: You can adjust the size of the cozy by adding or subtracting stitches. Just make sure the total number of stitches is divisible by 2.
Finishing
- Thread the darning needle with yarn and sew the edges of the cozy together.
- Weave in any loose ends.
- Slide the cozy onto your coffee mug and enjoy!
This cozy pattern is a quick and fun project that will add a touch of warmth and style to your morning coffee routine. Try experimenting with different yarn colors and stitch patterns to create unique and personalized cozies for yourself or as thoughtful gifts.
Abbreviations
In knitting patterns, abbreviations are commonly used to represent specific knitting stitches or techniques. These abbreviations are used to save space and make the pattern easier to read and understand. It is important to familiarize yourself with these abbreviations before starting a knitting project, as they will be used throughout the pattern.
Some commonly used abbreviations in knitting patterns include:
- k: knit
- p: purl
- yo: yarn over
- ssk: slip slip knit
- psso: pass slipped stitch over
- k2tog: knit two stitches together
- p2tog: purl two stitches together
These abbreviations are often accompanied by numbers, such as “k2,” indicating that the following stitch or stitches should be knitted. Additionally, symbols may be used to represent certain techniques, such as a small circle for yarn overs or a horizontal line for purl stitches.
When reading a knitting pattern, it is important to refer to the pattern’s abbreviations key or legend, which will explain the meaning of each abbreviation used in the pattern. This will ensure that you can follow the instructions correctly and create the desired stitches and patterns.
Instructions

To create a cozy for your coffee mug, follow these simple instructions:
Materials:
- Worsted weight yarn in the color of your choice
- Size 7 knitting needles
- Tapestry needle
- Scissors
Step 1: Cast on 30 stitches using the long-tail cast-on method.
Step 2: Knit every row until your work measures 4 inches in length.
Step 3: Bind off all stitches in pattern.
Step 4: Fold the knitted piece in half lengthwise, with the wrong side facing out.
Step 5: Use the tapestry needle and yarn to sew the side seams together, leaving a small opening for the mug handle.
Step 6: Weave in any loose ends and trim excess yarn.
Step 7: Slip the cozy onto your coffee mug, making sure the handle fits through the opening.
Step 8: Enjoy your cozy mug of coffee or tea!
Row 1

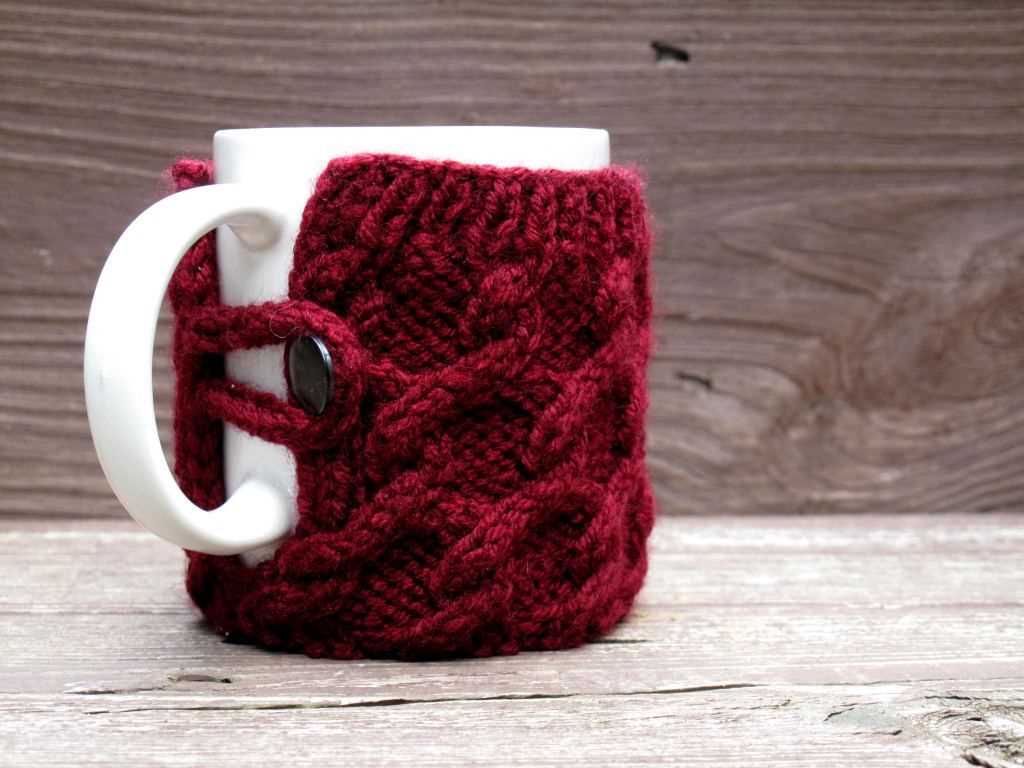
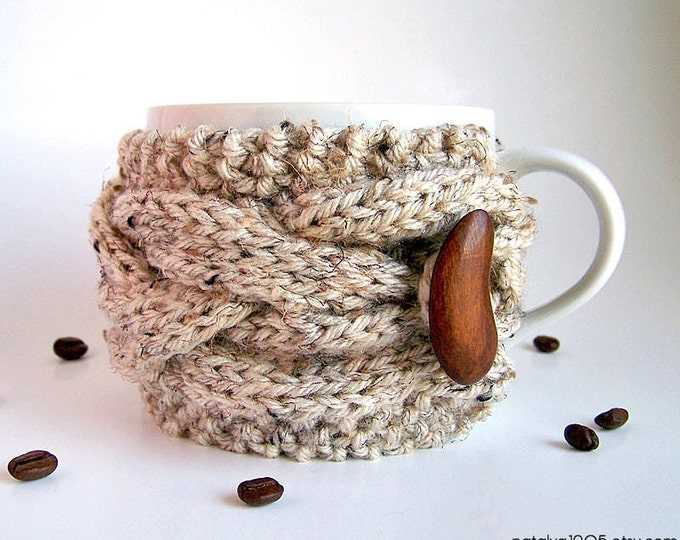
In this row, you will start by casting on the desired number of stitches. The number of stitches will depend on the size of your coffee mug and how snug you want the cozy to fit. It is recommended to cast on an odd number of stitches to make it easier to create the cable pattern later on.
To cast on, hold the knitting needle in your right hand and the yarn in your left hand. Make a slipknot and place it on the needle. Insert the right needle into the slipknot and grab the yarn with the right needle, pulling it through the slipknot to create a new stitch. Continue this process until you have cast on the required number of stitches.
Row 2-5
Continue working in the established stitch pattern for rows 2-5. Remember to maintain the correct tension to ensure that your cozy fits snugly around your coffee mug.
In these rows, you will be repeating the same stitches as in row 1, creating a consistent texture throughout the cozy. Make sure to pay attention to any stitch variations or changes in the pattern as indicated.
Row 2: *Knit 2, purl 2* across the row. Repeat this pattern until the end of the row. This row sets up the ribbing pattern for the cozy, which adds elasticity to ensure a secure fit.
Row 3: Repeat row 2, knitting the knit stitches and purling the purl stitches as they appear. This helps maintain the ribbed texture and continues to build the cozy.
Row 4: Repeat row 3, following the established stitch pattern. Take your time with each stitch to ensure a neat and uniform appearance.
Row 5: Repeat row 3 once again, maintaining the ribbing pattern. This row helps further establish the texture and structure of the cozy. Make sure to keep your tension consistent throughout.
Continue repeating rows 2-5 until you reach the desired length for your coffee mug cozy. Remember to refer back to the pattern instructions, diagrams, or stitch abbreviations as needed to ensure accurate knitting. Happy knitting!
Row 6
For row 6, you will continue knitting in the round. Start by knitting the first stitch, then purl the next stitch. Repeat this knit and purl pattern until the end of the row.
As you work row 6, you may notice that the pattern is starting to take shape. The alternating knit and purl stitches create a textured design that adds interest to your coffee mug cozy. This texture will not only look great but also provide some insulation for your hands as you hold your hot beverage.
To help you keep track of your progress, you may want to use a stitch marker to mark the beginning of each round. This will make it easier to count your stitches and ensure that you are following the pattern correctly.
If you’re a beginner knitter, row 6 may take some practice to get the hang of the knit and purl stitches. Take your time and remember that knitting is a skill that improves with practice. Don’t be discouraged if it takes a few tries to get the pattern just right.
Finishing
Once you have completed knitting the coffee mug cozy, it’s time to finish off the project and make it ready to use. Follow these steps to finish off your cozy:
- Weave in the ends: Use a yarn needle to weave in any loose ends of yarn from your knitting. This will not only give your cozy a neater, more professional finish, but it will also ensure that the ends do not unravel over time.
- Block if desired: Blocking is an optional step that involves wetting your knitting and then gently reshaping it to the desired dimensions. This can help even out any uneven stitches and give your cozy a more polished appearance. To block your cozy, soak it in lukewarm water for a few minutes, then squeeze out the excess water and shape it to the desired size. Leave it to dry completely before removing the pins or weights.
- Attach any embellishments (optional): If you would like to add any embellishments to your cozy, such as buttons or embroidery, now is the time to do so. Use a needle and thread or yarn to securely attach the embellishments to your cozy.
With these finishing steps complete, your coffee mug cozy is ready to be enjoyed! Slip it onto your favorite coffee mug and enjoy a hot beverage without burning your fingers. This cozy also makes a thoughtful gift for friends, family, or coworkers.