
The holiday season is upon us, which means it’s time to start thinking about decorating our homes and spreading some festive cheer. One of the most beloved and classic decorations is the Christmas stocking. Instead of buying a generic stocking from the store, why not try your hand at knitting your own? Not only will you end up with a unique and personalized stocking, but you’ll also get the satisfaction of creating something with your own hands.
Knitting a Christmas stocking can be a fun and rewarding project for both beginners and experienced knitters. Whether you’re creating a stocking for yourself or as a gift for a loved one, there are countless patterns available to suit any style or skill level. From traditional designs featuring reindeer and snowflakes to more modern patterns with bold colors and geometric shapes, the options are endless.
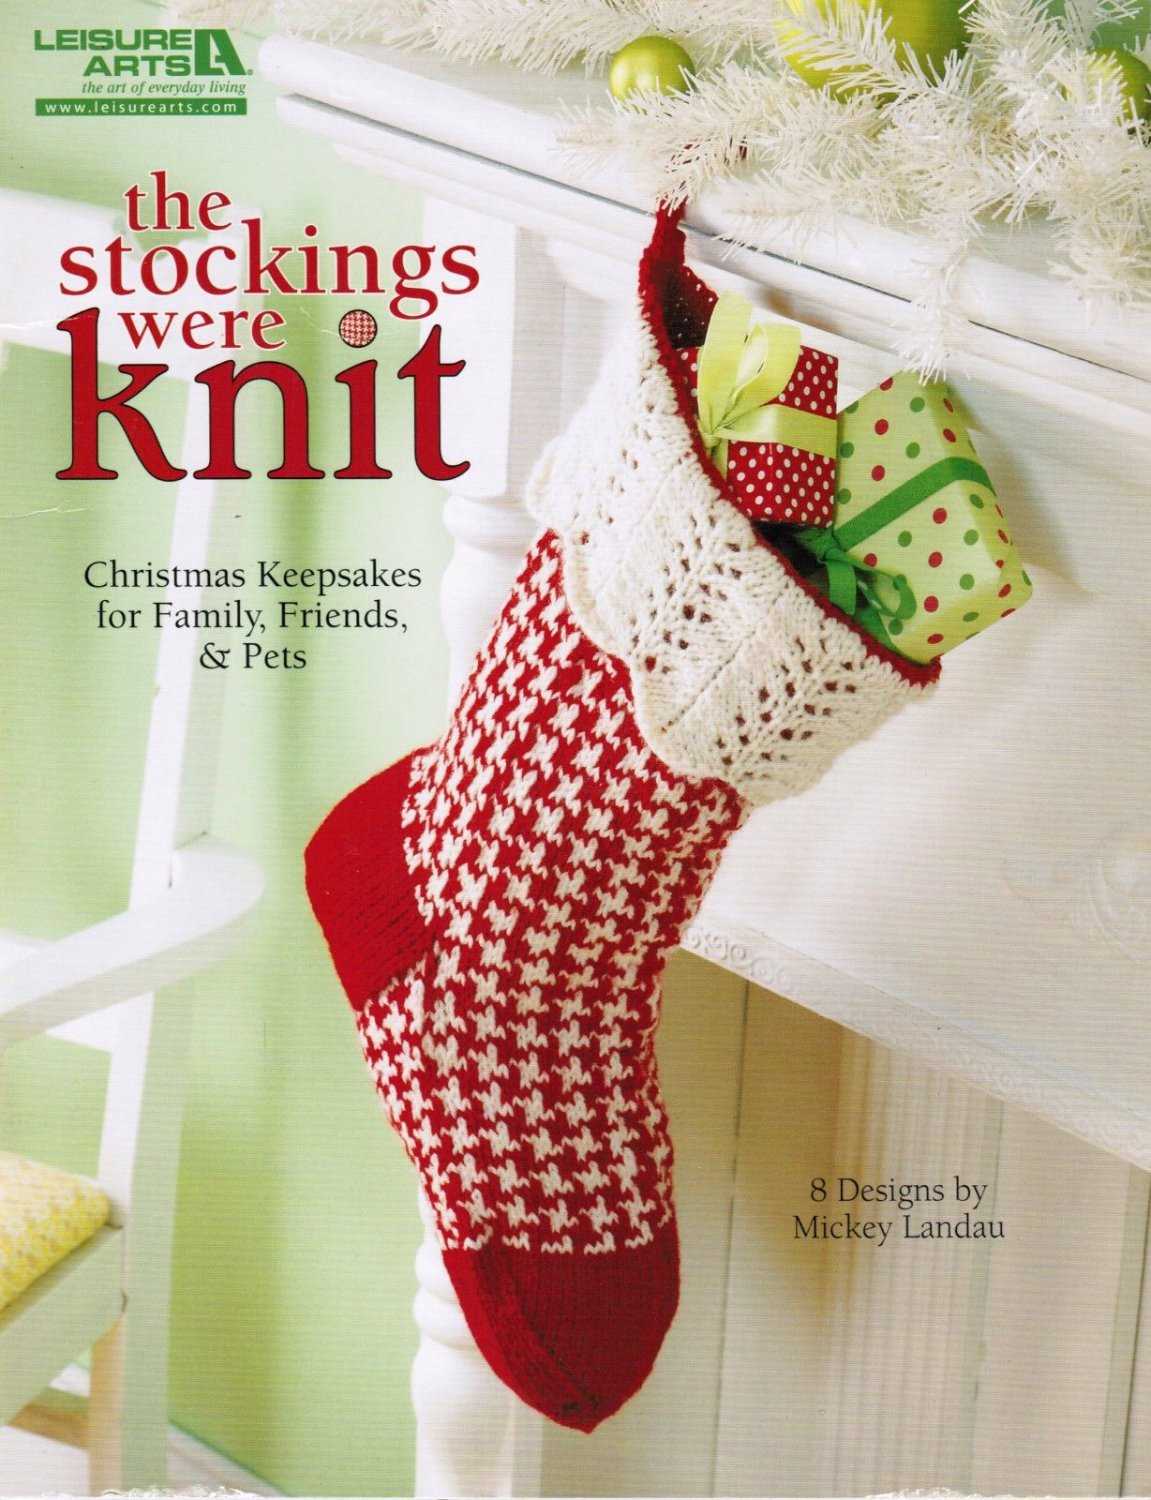
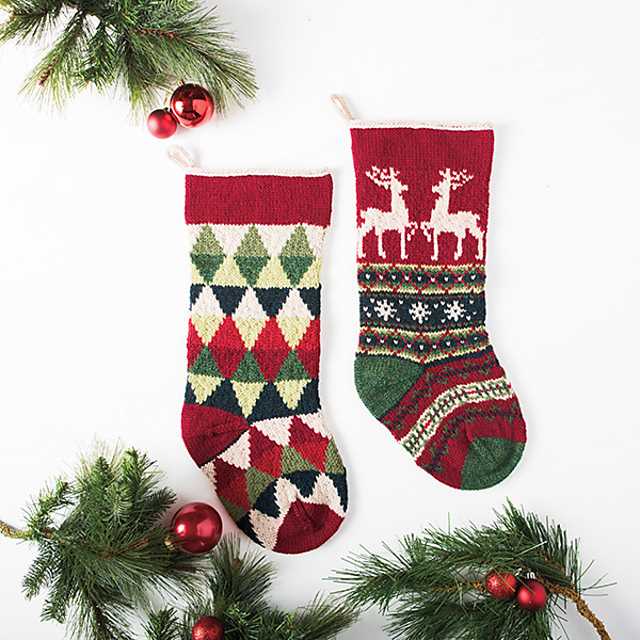
One popular knitting pattern for Christmas stockings is the Fair Isle technique, which involves using multiple colors to create intricate and colorful designs. This technique can be a bit challenging for beginners, but with a bit of practice and patience, the end result is well worth the effort. If you’re new to knitting or prefer a simpler pattern, there are plenty of options available that use basic stitches and techniques.
Knitting your own Christmas stocking not only adds a personal touch to your holiday decor, but it also allows you to create a cherished heirloom that can be passed down through generations. Imagine the joy on the faces of your children or grandchildren when they discover their hand-knit stockings filled with gifts on Christmas morning. So why not pick up your knitting needles and get started on a Christmas stocking that will be treasured for years to come?
Knitting Christmas Stocking Pattern
Knitting Christmas stockings is a festive and enjoyable way to add a homemade touch to your holiday décor. Whether you are an experienced knitter or just starting out, there are countless patterns available to suit your skill level and personal style. From traditional designs with intricate cable knits to modern patterns with fun and quirky motifs, there is something for everyone.
Choosing the right pattern: When selecting a knitting pattern for Christmas stockings, consider the size and shape that you prefer. Some patterns are designed to be large and roomy, perfect for stuffing with treats and small gifts. Others are more petite and decorative, suitable for hanging on a mantel or tree. Additionally, think about the level of detail you are comfortable with. If you enjoy challenging projects, look for patterns that incorporate complex stitches or colorwork. For beginners, simpler patterns with basic techniques like knit and purl stitches may be a better fit.
Gathering materials: After choosing a pattern, gather all the necessary materials. This typically includes yarn in various colors, knitting needles in the recommended size, and any additional embellishments such as buttons or pompoms. Make sure to check the pattern for specific yarn weight and needle size recommendations, as they can vary between patterns. It’s also a good idea to have a tapestry needle on hand for finishing touches like weaving in loose ends or sewing on decorations.
Instructions:
- Start by casting on the required number of stitches, following the pattern’s instructions.
- Work the specified stitches and rows to create the desired shape and design.
- Once the main body of the stocking is complete, finish off any details such as ribbing or a cuff.
- Cut the yarn and weave in any loose ends using a tapestry needle.
Remember to take your time and enjoy the process of knitting your Christmas stocking. It’s a great way to relax and create something special for the holiday season. When finished, you can hang it up with pride and fill it with treats for yourself or loved ones.
Materials needed for knitting a Christmas stocking
Knitting a Christmas stocking can be a fun and rewarding project. To get started, you will need a few essential materials. Here is a list of items you will need to have on hand:
- Yarn: Choose a yarn in festive colors such as red, green, white, or gold. You will need enough yarn to complete the entire stocking.
- Knitting needles: Select the appropriate size of knitting needles for your chosen yarn. Usually, a set of size 7 or 8 needles will work well for a medium-weight yarn.
- Tapestry needle: This needle will be used for weaving in loose ends and sewing seams.
- Scissors: A pair of sharp scissors will come in handy for cutting yarn and trimming loose threads.
- Stitch markers: These small plastic rings or clips are used to mark specific stitches or sections in your knitting.
- Optional decorations: If you want to add extra embellishments to your stocking, consider getting some sequins, beads, or festive buttons.
Having these materials ready before you start knitting will ensure a smooth and enjoyable knitting experience. Once you have everything, you are ready to begin knitting your Christmas stocking!
Choosing the right knitting needles for your Christmas stocking
When it comes to knitting your own Christmas stocking, choosing the right needles can make a big difference in the final result. The type and size of needles you use can affect the size, stitch definition, and overall appearance of your stocking. Here are some factors to consider when selecting knitting needles for your project.
Type of needles
There are several types of knitting needles to choose from, including straight needles, circular needles, and double-pointed needles. Straight needles are the most common and traditional option, but circular needles can be more convenient for larger projects like stockings. Double-pointed needles are useful for small, rounded projects or for working on small sections of a larger stocking.
Consider the overall size and shape of your Christmas stocking when deciding which type of needles to use. If you’re knitting a large, oversized stocking, circular needles may be the best option as they can hold a larger number of stitches and distribute the weight more evenly. For smaller stockings or intricate designs, double-pointed needles may provide more control and precision.
Needle size
The size of the needles will determine the gauge or tension of your knitting. This, in turn, affects the size and drape of your finished stocking. The recommended needle size for your project can usually be found on the knitting pattern or yarn label. It’s important to use the specified needle size to achieve the desired results.
In general, larger needle sizes create looser, more open stitches, while smaller needle sizes create tighter, denser stitches. If you prefer a stocking with a more delicate and intricate texture, smaller needles may be the best choice. On the other hand, if you want a bulkier and more cozy-looking stocking, larger needles can help you achieve that effect.
Ultimately, the choice of knitting needles for your Christmas stocking depends on your personal preference and the specific requirements of your project. By considering the type of needles and the appropriate size, you can create a beautiful and unique stocking that will be cherished for years to come.
Selecting the perfect yarn for your Christmas stocking
When it comes to knitting a Christmas stocking, choosing the right yarn is essential. The yarn you select will determine the overall look and feel of your stocking, as well as its durability and warmth. Here are some factors to consider when choosing the perfect yarn for your project:
1. Fiber content:
The first thing to consider is the fiber content of the yarn. Wool is a popular choice for Christmas stockings as it is warm and has a natural elasticity. It also holds up well to wear and tear. If you prefer a softer and more luxurious stocking, you may opt for yarn made from alpaca or cashmere. Acrylic yarns are also a good option as they are affordable, easy to care for, and come in a wide range of colors.
2. Weight:
The weight of the yarn will determine the thickness and drape of your stocking. For a traditional-looking stocking with a bit of heft, you may want to go with a worsted weight yarn. If you prefer a more delicate and lacy stocking, a fingering or sport weight yarn would be a better choice. Consider the stitch pattern you plan to use and the desired outcome when selecting the weight of your yarn.
3. Color and pattern:
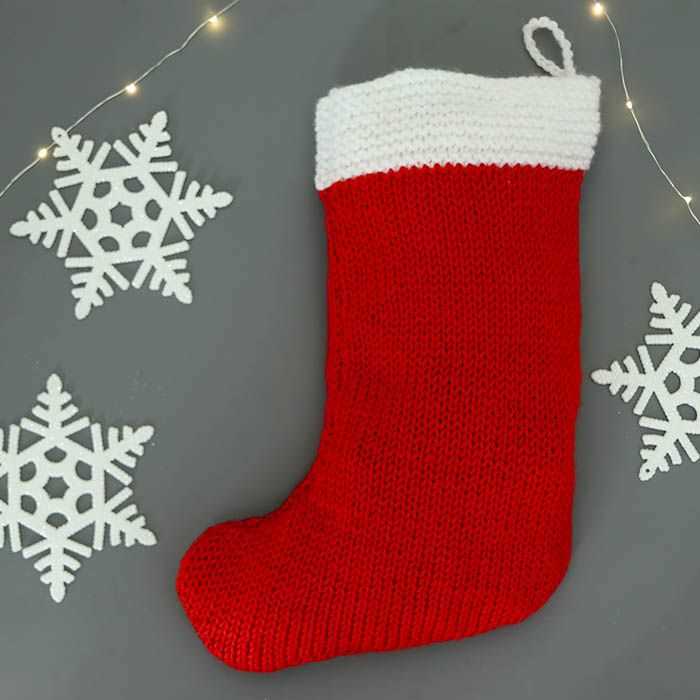
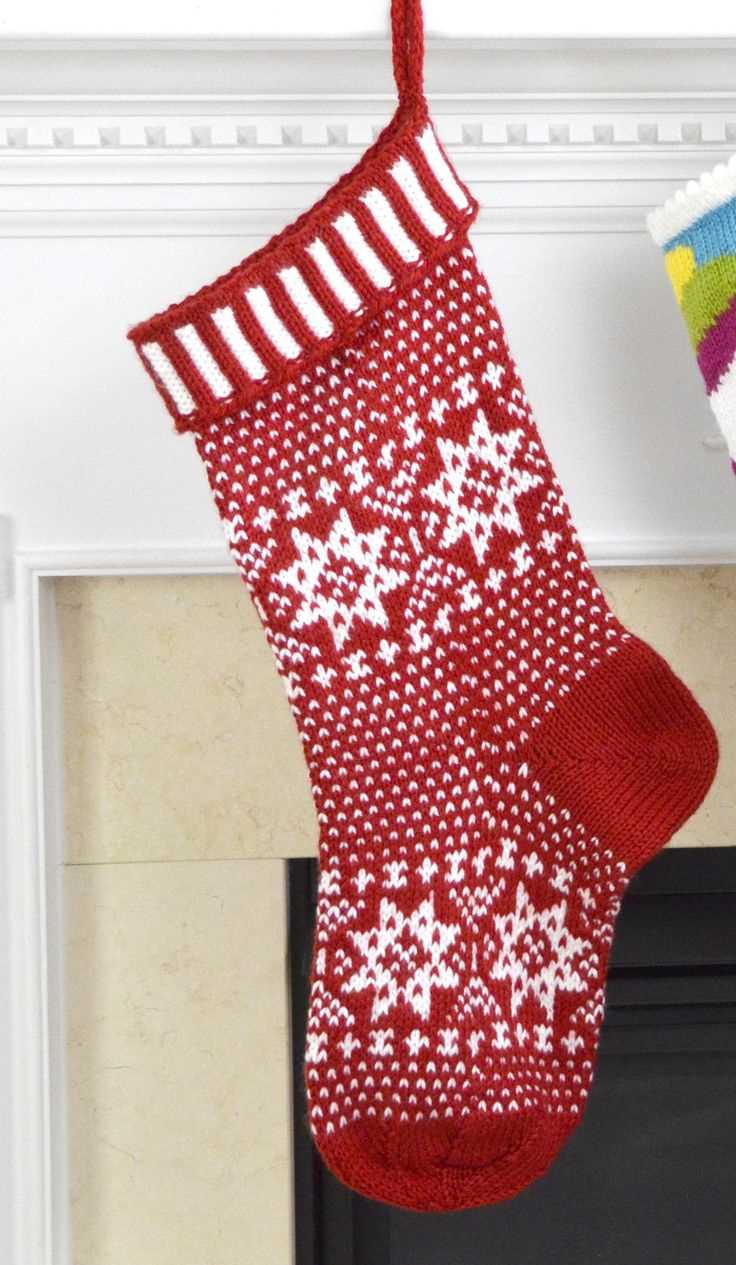
Christmas stockings are often associated with bold, festive colors and patterns. Consider whether you want a traditional red and white stocking or if you prefer to get creative with a different color scheme. Variegated or self-striping yarns can add visual interest to your stocking, while solid colors provide a classic and timeless look. Keep in mind that the color and pattern of your yarn should complement your holiday decor and personal style.
Overall, selecting the perfect yarn for your Christmas stocking is a personal choice. Consider the fiber content, weight, color, and pattern to ensure that your stocking turns out exactly how you envision it. With the right yarn, you can create a beautiful and cherished heirloom that will be enjoyed for many Christmases to come.
Creating a Gauge Swatch for Your Christmas Stocking Pattern
If you’re planning to knit a Christmas stocking for the holiday season, it’s important to create a gauge swatch before getting started. This small sample will help you determine the correct tension and ensure that your finished stocking will have the desired size and fit.
To create a gauge swatch, you’ll need to use the specific yarn and needle size that are recommended in your knitting pattern. Start by casting on a few stitches, typically around 20, to create a square or rectangular swatch. Make sure to use the same knitting technique and tension that you’ll be using for your stocking.
Measure the gauge: Once you have completed a few rows of knitting on your swatch, it’s time to measure the gauge. Lay the swatch flat on a solid surface and use a ruler or measuring tape to determine the number of stitches and rows that fit within a one-inch area.
Compare to pattern: Next, compare your gauge measurement to the one specified in your knitting pattern. The pattern will indicate how many stitches and rows should be present within a specific measurement, typically over a four-inch area. If your gauge matches the pattern, congratulations! You can confidently continue knitting the stocking. However, if your gauge is different, adjustments may be necessary.
If your gauge is too loose and you have more stitches and rows than indicated, try using a smaller needle size. Conversely, if your gauge is too tight and you have fewer stitches and rows, switch to a larger needle size. Repeating this process with different needle sizes will help you achieve the correct gauge for your Christmas stocking.
Troubleshooting Gauge Issues
Swatch size: Remember to make your gauge swatch large enough to accurately measure your tension. A small swatch may not provide an accurate representation of your actual knitting.
Yarn choice: If you’re using a different yarn than specified in the pattern, it’s crucial to create a gauge swatch to ensure that the substitution will still yield the correct size. Yarns with different weights or fibers can greatly impact your gauge.
Blocking: After completing your gauge swatch, it’s helpful to block the swatch before measuring. Blocking involves wetting the swatch, gently stretching it to the correct dimensions, and allowing it to dry flat. This process can help even out any uneven tension in your stitches and provide a more accurate gauge measurement.
By taking the time to create a gauge swatch, you’ll save yourself potential frustration and disappointment. It’s worth the extra effort to ensure that your Christmas stocking turns out just as you envisioned, ready to be filled with holiday cheer.
Casting on and starting the toe of your Christmas stocking
When starting your knitted Christmas stocking, it is important to cast on the appropriate number of stitches for the toe. This will vary depending on the size of your stocking and the thickness of your yarn. You can refer to the pattern instructions for the recommended cast-on number, or make adjustments based on your own preferences. It’s also a good idea to use a smaller needle size for the cast-on row to create a tighter edge.
To begin the toe, you will typically use a circular knitting needle or double-pointed needles to work in the round. This allows you to create a seamless toe that is sturdy and durable. If you are using circular needles, you will join your cast-on stitches in a round and place a stitch marker to mark the beginning of the round. If you are using double-pointed needles, you will distribute your cast-on stitches evenly onto three or four needles and knit using a fourth needle. Whichever method you choose, make sure your stitches are not twisted and are properly aligned.
The first few rounds of the toe are usually worked in a decrease pattern to shape the toe. This will give your Christmas stocking a tapered look. You may need to follow a specific stitch pattern or repeat certain decrease rows to achieve the desired shape. Be sure to read and follow the pattern instructions carefully. As you work these decrease rounds, you will notice the toe of your stocking taking shape.
It is important to keep track of your stitches and rounds as you work the toe. Using stitch markers to indicate the beginning of the round and counting your stitches at regular intervals can help you stay on track. This will ensure that your stocking toe is symmetrical and balanced. Following the pattern instructions and carefully counting your stitches will help you avoid any mistakes or inconsistencies in your work.
Once you have completed the toe shaping, you can continue knitting the main body of your Christmas stocking. This may involve changing stitch patterns, adding colorwork, or incorporating other design elements. Remember to have fun and be creative with your knitting, as the stocking is a festive and personalized item that can be cherished for years to come.
Knitting the foot section of your Christmas stocking
The foot section of your Christmas stocking is where the main body of the stocking begins to take shape. This section is usually worked in the round, starting from the heel and continuing down to the toe. To begin, you will need to follow the pattern instructions for the specific size and style of stocking you are knitting.
Once you have completed the heel and gusset sections, it’s time to move on to the foot section. This is where you will begin knitting in the round, using either double-pointed needles or a circular needle, depending on your preference. It’s important to keep track of your stitch count and any pattern repeats as you work your way down the foot of the stocking.
As you knit the foot section, you can get creative with different stitch patterns or colorwork to add texture and interest to your stocking. Stripes, cables, or even fair isle patterns can make your stocking truly unique. Just make sure to continue following the pattern instructions and taking note of any shaping or decreases that may be required.
As you approach the end of the foot section, you may need to decrease the number of stitches to shape the toe of the stocking. This is usually done using a series of decreases, such as k2tog (knit two stitches together) or ssk (slip, slip, knit). Follow the pattern instructions closely to ensure you achieve the correct shape and size for your stocking.
Once the foot section is complete, you can move on to the final section of the stocking, which is usually the toe. This is where you will finish off any remaining stitches and close up the toe using either a grafting technique or a three-needle bind off. Once the toe is complete, you can weave in any loose ends and admire your finished Christmas stocking!
Adding decorative patterns to your Christmas stocking
When it comes to knitting Christmas stockings, adding decorative patterns can take your creation to the next level. These patterns can make your stocking stand out and add a touch of festive charm to your holiday decorations. Whether you prefer simple and classic designs or intricate and detailed motifs, there are plenty of options to choose from.
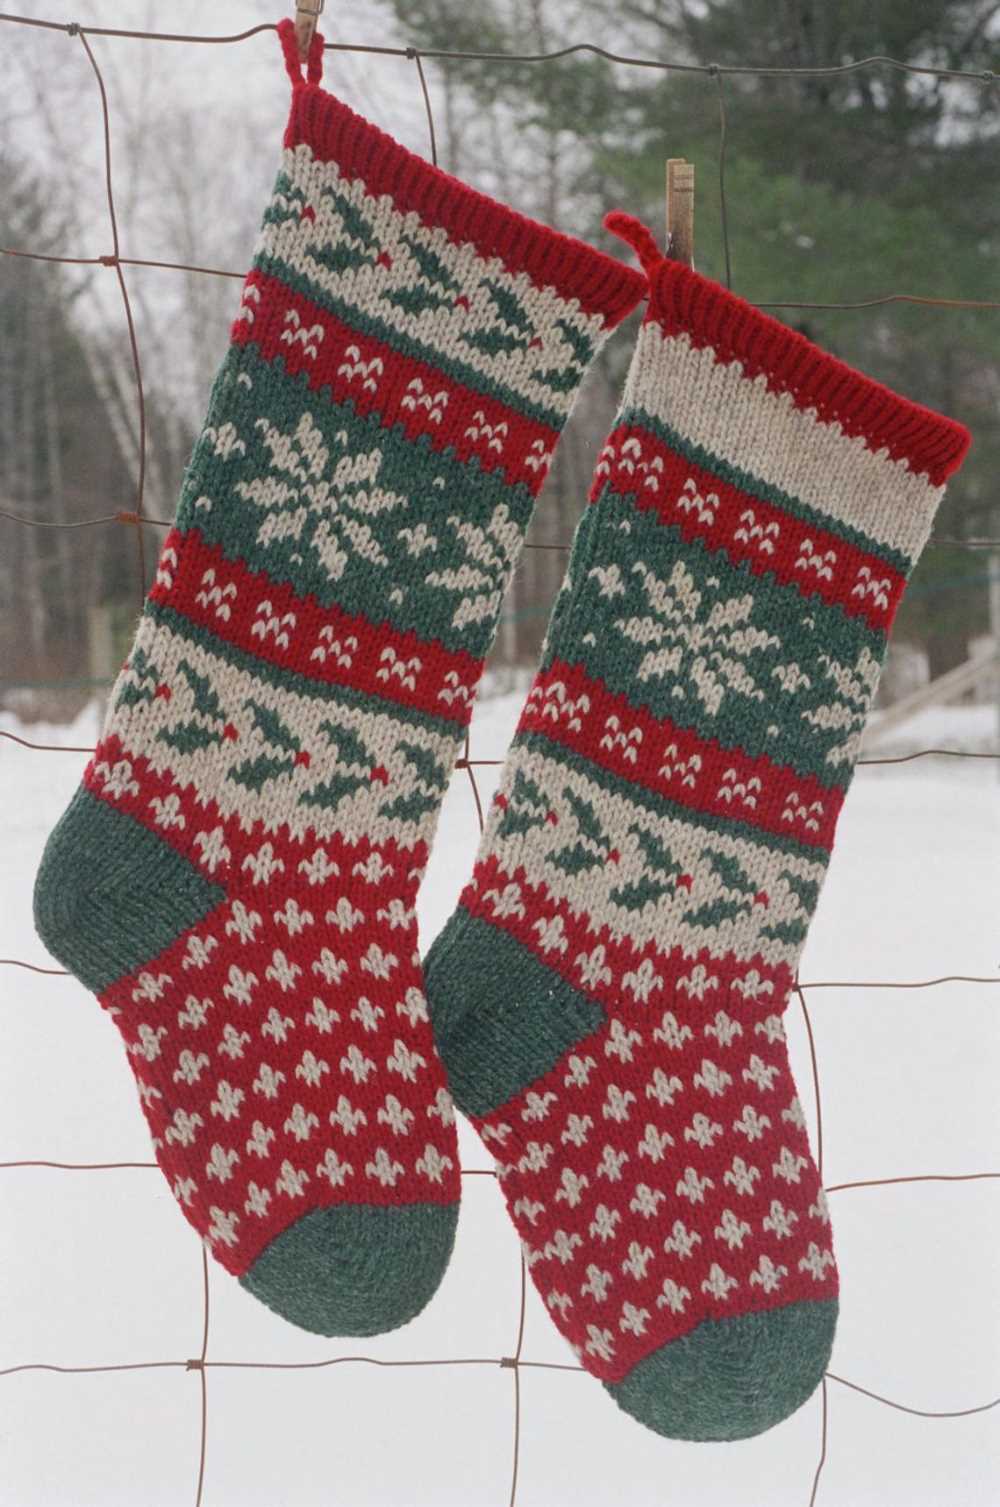
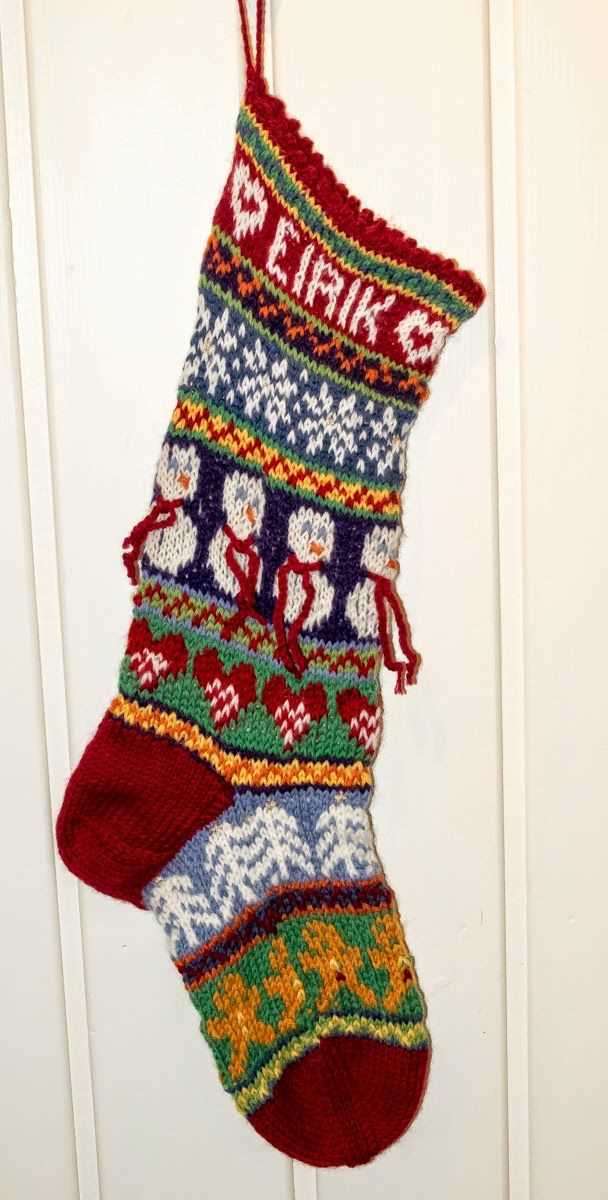
One popular pattern to consider is the Fair Isle technique. This traditional Scottish knitting method involves using two different colored yarns to create beautiful geometric patterns. You can incorporate this pattern into your Christmas stocking by knitting rows of Fair Isle motifs, such as snowflakes, reindeer, or Christmas trees. The contrasting colors will add depth and visual interest to your design.
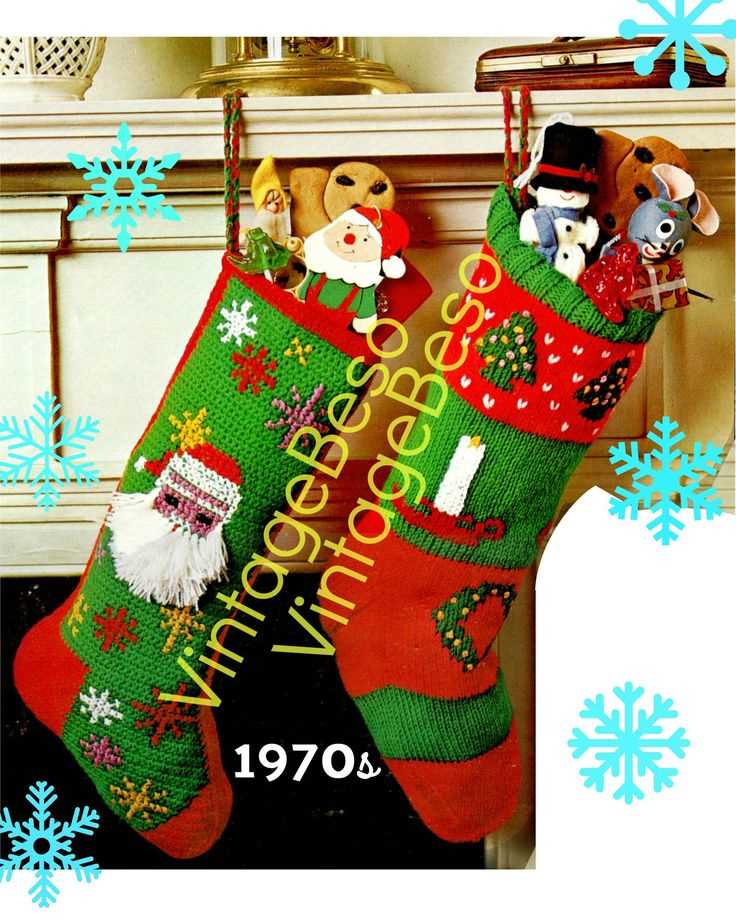
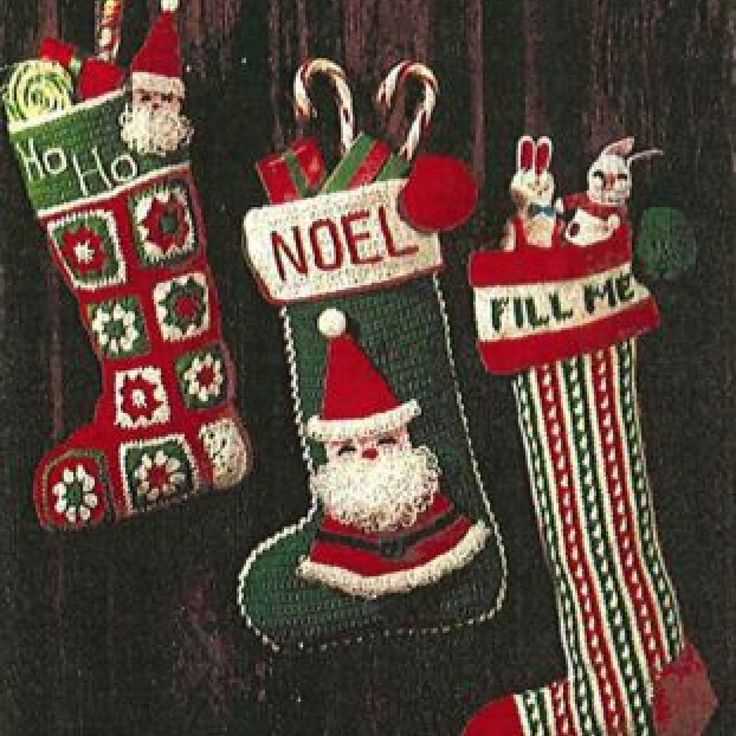
If you’re looking for a more whimsical touch, you can try adding intarsia patterns to your Christmas stocking. Intarsia is a knitting technique that involves working with multiple colors to create picture-like designs. You can create elaborate scenes by knitting various motifs, such as Santa Claus, presents, or snowmen, onto your stocking. This will make your stocking a unique and eye-catching addition to your holiday decor.
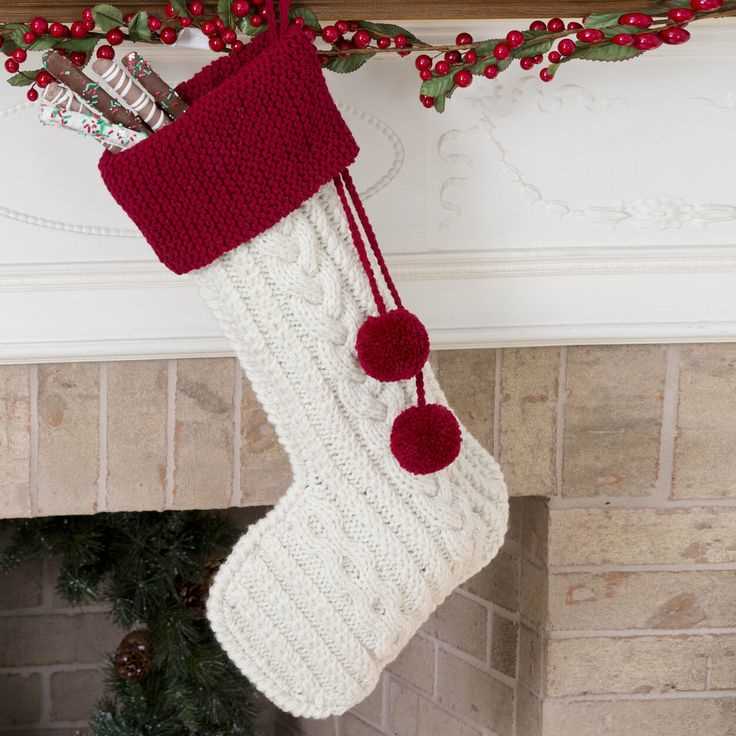
Another option is to incorporate cable patterns into your Christmas stocking. Cable knitting creates intricate patterns by crossing stitches over each other, resulting in a textured and visually appealing design. You can use cable stitches to create patterns like braids, twigs, or ribbons on your stocking. This will add a touch of elegance and sophistication to your holiday decorations.
When choosing a decorative pattern for your Christmas stocking, consider your personal style and the overall theme of your holiday decor. Remember to use high-quality yarn and proper tension to ensure that your pattern stands out and looks its best. With a little creativity and some knitting skills, you can create a beautiful and unique Christmas stocking that will be cherished for years to come.
Shaping the heel of your Christmas stocking
When knitting a Christmas stocking, one of the most important sections to pay attention to is shaping the heel. The heel is an integral part of the stocking and requires careful stitching to ensure it fits properly and looks aesthetically pleasing.
To shape the heel, you will first need to divide the stitches on your knitting needle. This can be done by counting a specific number of stitches from the center of your work and placing a stitch marker. Once the stitches are divided, you can focus on creating the heel flap.
The heel flap is typically worked back and forth in rows, often in a contrasting color to the rest of the stocking. This creates a visually appealing pattern and strengthens the heel area. To shape the heel flap, you will need to work a series of decreases and increases in order to achieve the desired shape and fit.
Once the heel flap is complete, you can move on to shaping the actual heel. This is done by picking up stitches along the sides of the heel flap and decreasing them gradually to create a triangular shape. This triangular shape allows for a snug fit around the back of the foot while still maintaining the width needed for the leg of the stocking.
Shaping the heel of your Christmas stocking requires precision and attention to detail. By following a pattern and carefully executing the necessary decreases and increases, you can create a beautifully shaped and functional heel that will add charm and character to your finished stocking.
Knitting the leg section of your Christmas stocking
After completing the cuff of your Christmas stocking, it’s time to move on to knitting the leg section. This is where the body of the stocking begins to take shape, and you can start to see your pattern come to life.
To begin, you’ll need to continue working in the round with your chosen yarn and needles. Depending on the pattern you’re using, you may need to switch to a larger set of needles to accommodate the larger stitches. Make sure to follow the instructions carefully to achieve the desired size and shape.
Working the leg section involves creating the length of the stocking by knitting in a continuous spiral. This means that there are no seams or edges to sew together later on. You’ll simply knit round after round until you reach the desired length.
One key tip to keep in mind while working the leg section is to regularly check your gauge. Since this is a larger portion of the stocking, it’s important to ensure that your tension remains consistent throughout. Adjusting your needle size or yarn tension as needed will help prevent any unwanted puckering or stretching.
During this section, you’ll also have the opportunity to incorporate any additional pattern details, such as colorwork or lace stitches, that you may want to add to your stocking design. These extra touches can make your stocking truly unique and personalized.
As you near the end of the leg section, it’s important to keep track of your stitch count. This will ensure that the toe section can be worked correctly and evenly. Following the pattern instructions closely will help you maintain the correct number of stitches as you progress.
Once you’ve reached the desired length for your stocking, you can move on to knitting the toe section. This is where the stocking begins to taper off and come to a point, giving it that classic Christmas stocking shape. Stay tuned for the next part of our series on knitting Christmas stockings for more information on completing your project!
Creating a ribbed cuff for your Christmas stocking
The ribbed cuff is an important element of any knitted Christmas stocking. It not only adds a decorative touch, but also provides a stretchy and snug fit to keep your stocking securely in place. Creating a ribbed cuff is relatively simple and can be done using basic knitting stitches.
To start, you will need to determine the number of stitches required for your cuff. This will depend on the size of your stocking and the desired width of the cuff. A common method is to cast on a multiple of stitches, such as 60 stitches, for a standard-sized cuff.
Once you have cast on the desired number of stitches, you can begin working the ribbed pattern. The most common ribbing stitch is the knit 2, purl 2 (K2, P2) rib. This pattern creates alternating columns of knitted and purled stitches, resulting in a ribbed texture. Repeat the K2, P2 pattern until you reach the desired length for your cuff.
When you have finished knitting the ribbed cuff, you can bind off the stitches to secure the edge. This can be done using a basic bind off method, such as the standard bind off or the stretchy bind off. The choice of bind off method will depend on the desired stretchiness of the cuff.
Remember to leave a long tail of yarn for sewing the cuff to the body of the stocking. The ribbed cuff can be attached by seaming or by picking up and knitting stitches along the top edge of the stocking. Once the cuff is securely attached, you can continue knitting the body of the stocking in your desired pattern or stitch.
With a beautifully created ribbed cuff, your Christmas stocking will not only look festive, but also have a professional finish. The ribbed cuff adds an extra touch of elegance and can be customized to match the color scheme and style of your holiday decorations. Enjoy the process of creating your own unique Christmas stocking and let your creativity shine!
Finishing off your knitted Christmas stocking
Once you have completed the knitting portion of your Christmas stocking, it’s time to finish off the project and make it ready for hanging on your fireplace or tree. There are a few steps you can take to ensure your stocking looks polished and professional.
1. Sewing in loose ends: Start by sewing in any loose ends of yarn that may be sticking out from your stocking. Use a yarn needle to carefully weave the loose ends into the back of the knitting, creating a clean and seamless finish.
2. Adding a lining: For an extra touch of luxury and durability, consider adding a lining to your Christmas stocking. Cut a piece of fabric to fit the shape and size of your stocking, then sew it together with a sewing machine or by hand. Insert the lining into your stocking and secure it in place by hand stitching it to the edges. This will help prevent stretching and add structure to your stocking.
3. Adding embellishments: Now it’s time to have some fun and decorate your stocking! Consider adding festive embellishments such as buttons, ribbons, or pom poms. Sew them on securely using a needle and thread or hot glue gun. Get creative and personalize your stocking to match your holiday decor.
4. Attaching a hanging loop: To make sure your stocking is ready for hanging, attach a loop at the top. Cut a piece of ribbon or yarn, fold it in half, and sew or glue the ends together. Attach the loop to the inside back of the stocking, near the top edge, so it remains hidden when the stocking is hung up.
5. Blocking and steaming: If your stocking looks a bit misshapen or uneven, consider blocking and steaming it to help it regain its shape. Wet the stocking with a spray bottle or damp cloth, then gently stretch and reshape it to the desired shape. Allow it to dry completely before hanging it up.
By following these steps, you will have a beautifully finished Christmas stocking that you can proudly display during the holiday season. Whether you gift it to a loved one or hang it for yourself, your knitted stocking will add a cozy and festive touch to your home.
Adding personal touches and embellishments to your Christmas stocking
Once you have perfected the basic knitting pattern for your Christmas stocking, it’s time to add personal touches and embellishments to make it truly unique. Here are some ideas to help you get creative:
- Embroidery: Embroider a name, initial, or design onto your stocking using colorful yarn or embroidery thread. This adds a personal touch and makes the stocking extra special.
- Buttons and beads: Sew on buttons or beads in different shapes and sizes to add texture and visual interest to your stocking. You can create patterns or sew them randomly for a whimsical look.
- Ribbons and bows: Attach ribbons or bows to your stocking to give it a festive and decorative touch. You can choose ribbons in different colors and patterns to complement your overall Christmas decor.
- Charms and trinkets: Attach small charms or trinkets that represent something special to you or the person you are making the stocking for. This could be a favorite hobby, a symbol of luck, or a small souvenir from a memorable event.
- Pom-poms and tassels: Add pom-poms or tassels to the top or bottom of the stocking for a playful and fun look. You can make them using yarn in contrasting colors or even use faux fur for a cozy touch.
Remember, the key is to have fun and get creative with your embellishments. Don’t be afraid to experiment and try new things. Your Christmas stocking will be a one-of-a-kind masterpiece that will be cherished for years to come.
Q&A:
Can you recommend a knitting pattern for a Christmas stocking?
Yes, I can! There are many great patterns available online. Some popular options include the “Classic Christmas Stocking” pattern, the “Fair Isle Christmas Stocking” pattern, and the “Cable Knit Christmas Stocking” pattern. Choose the one that suits your skill level and personal style!
Are there any beginner-friendly knitting patterns for Christmas stockings?
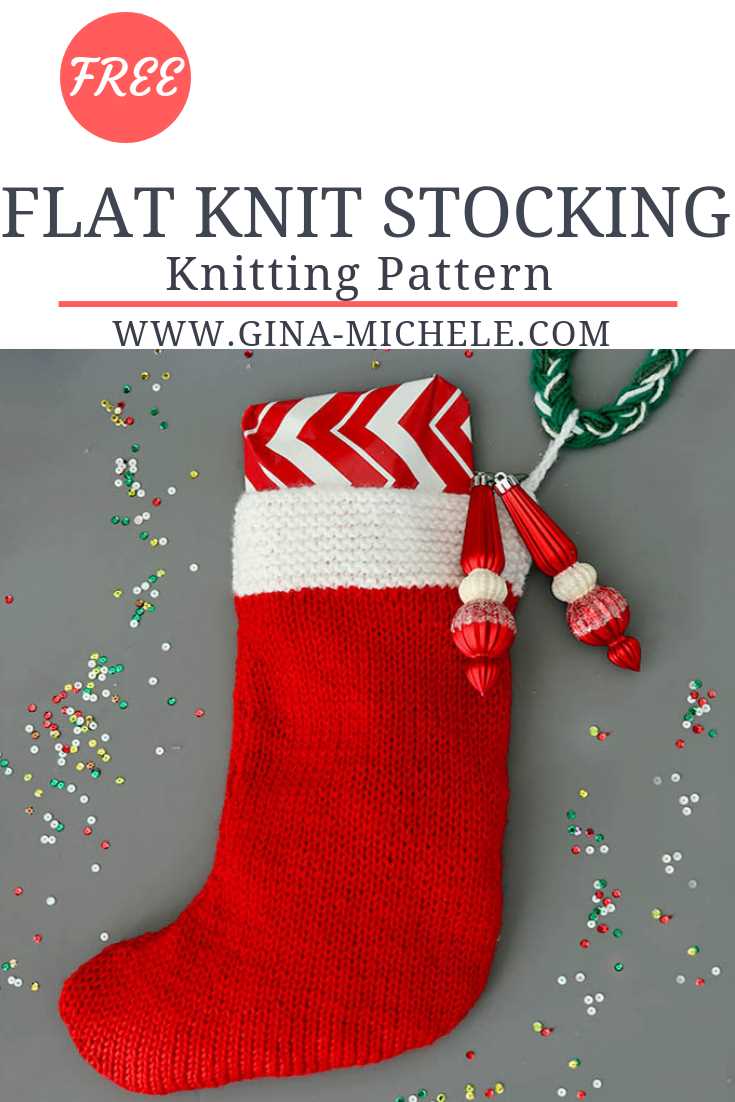
Definitely! If you’re new to knitting, you may want to start with a simpler pattern. The “Easy Christmas Stocking” pattern or the “Basic Knit Christmas Stocking” pattern are both great options for beginners. They usually involve basic stitches and techniques, making them easier to follow.
Where can I find free knitting patterns for Christmas stockings?
There are several websites where you can find free knitting patterns for Christmas stockings. Some popular options include Ravelry, Knitting Pattern Central, and AllFreeKnitting. Simply search for “free Christmas stocking knitting patterns” on these websites, and you’ll find a wide selection of patterns to choose from.
Can I customize a knitting pattern for a Christmas stocking?
Absolutely! Knitting patterns for Christmas stockings can be easily customized to suit your preferences. You can change the colors, add or remove certain design elements, or even modify the size. Feel free to get creative and make the stocking truly unique to you or the person you’re knitting it for.
What materials do I need to knit a Christmas stocking?
To knit a Christmas stocking, you will typically need yarn in various colors, knitting needles (usually in the range of US 7-9), and a tapestry needle to weave in the ends. Some patterns may also require additional materials, such as stitch markers or cable needles. Be sure to check the specific pattern you’re using for any additional requirements.