
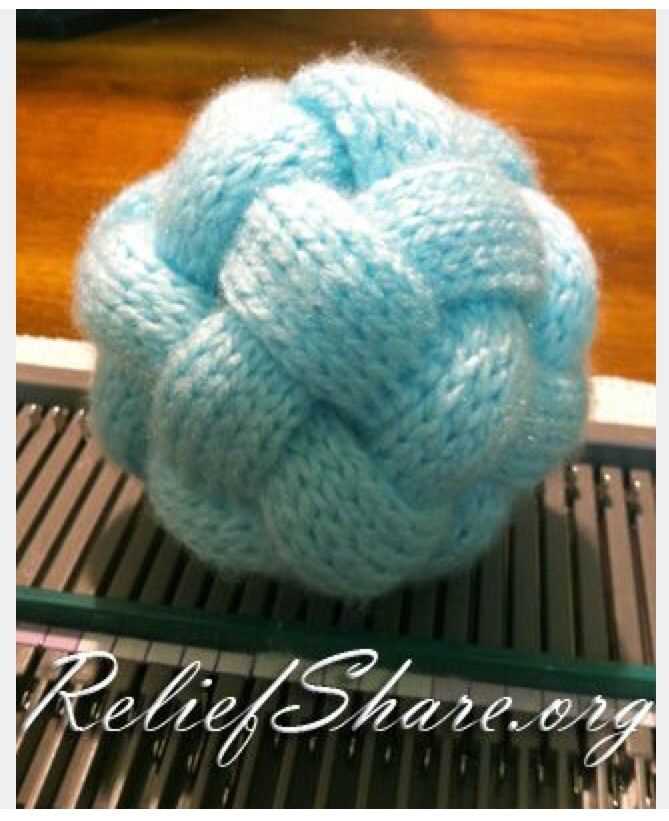
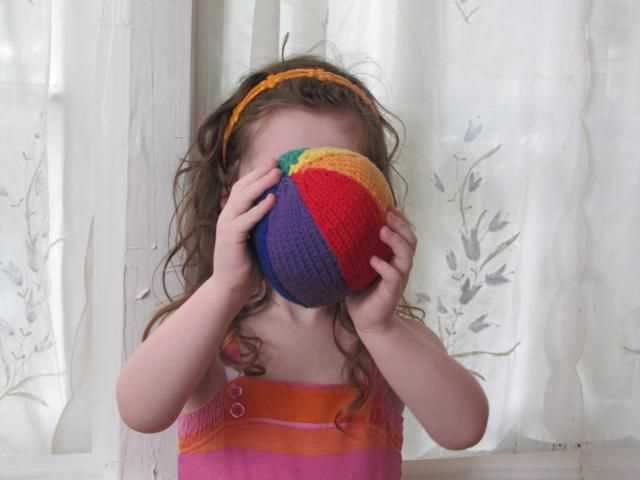
Knitting is a popular hobby that allows you to create beautiful and functional items using just yarn and a pair of needles. From cozy hats to warm blankets, the possibilities are endless. One item that knitters often enjoy making is a ball, which can be used for a variety of purposes, including children’s toys or home decor.
If you’re looking for a free knitting pattern to make a ball, you’re in luck! In this article, we’ll provide you with a step-by-step guide on how to knit a ball using simple techniques that are perfect for beginners. Whether you’re new to knitting or have been knitting for years, this pattern is easy to follow and will result in a beautiful finished product.
Knitting a ball is a great way to practice your knitting skills and learn new techniques. It’s also a fun and relaxing project that can be completed in just a few hours. Plus, the final result is a soft and squishy ball that you can enjoy playing with or display as a decorative item. So, grab your knitting needles and let’s get started on this knitting adventure!
Materials needed for knitting a ball
Knitting a ball requires a few essential materials to get started. These materials include:
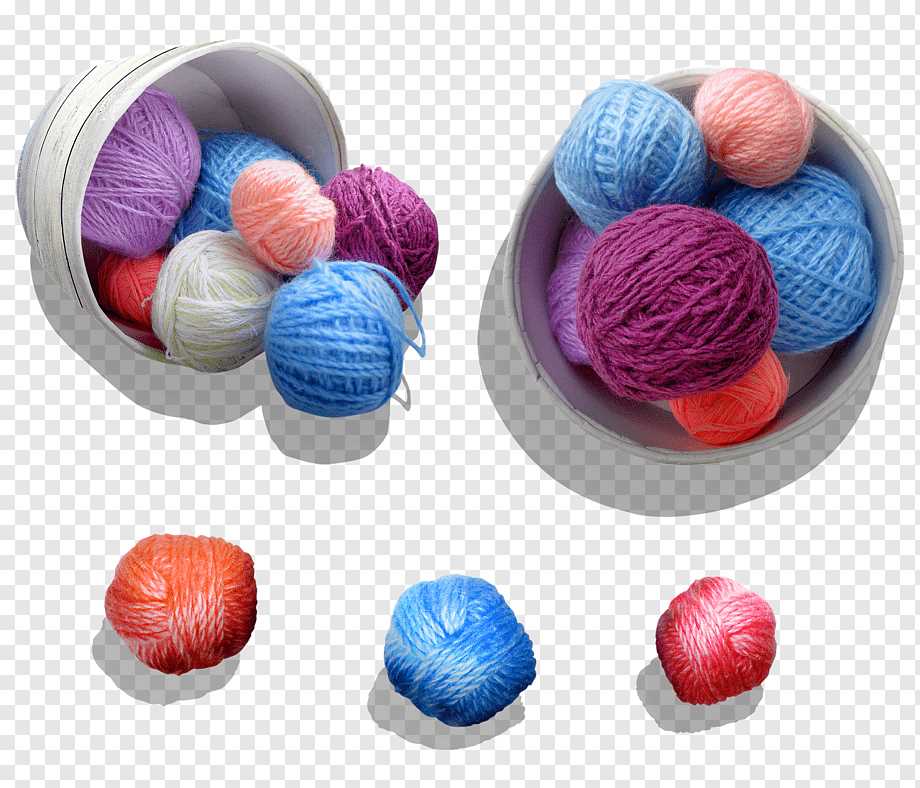
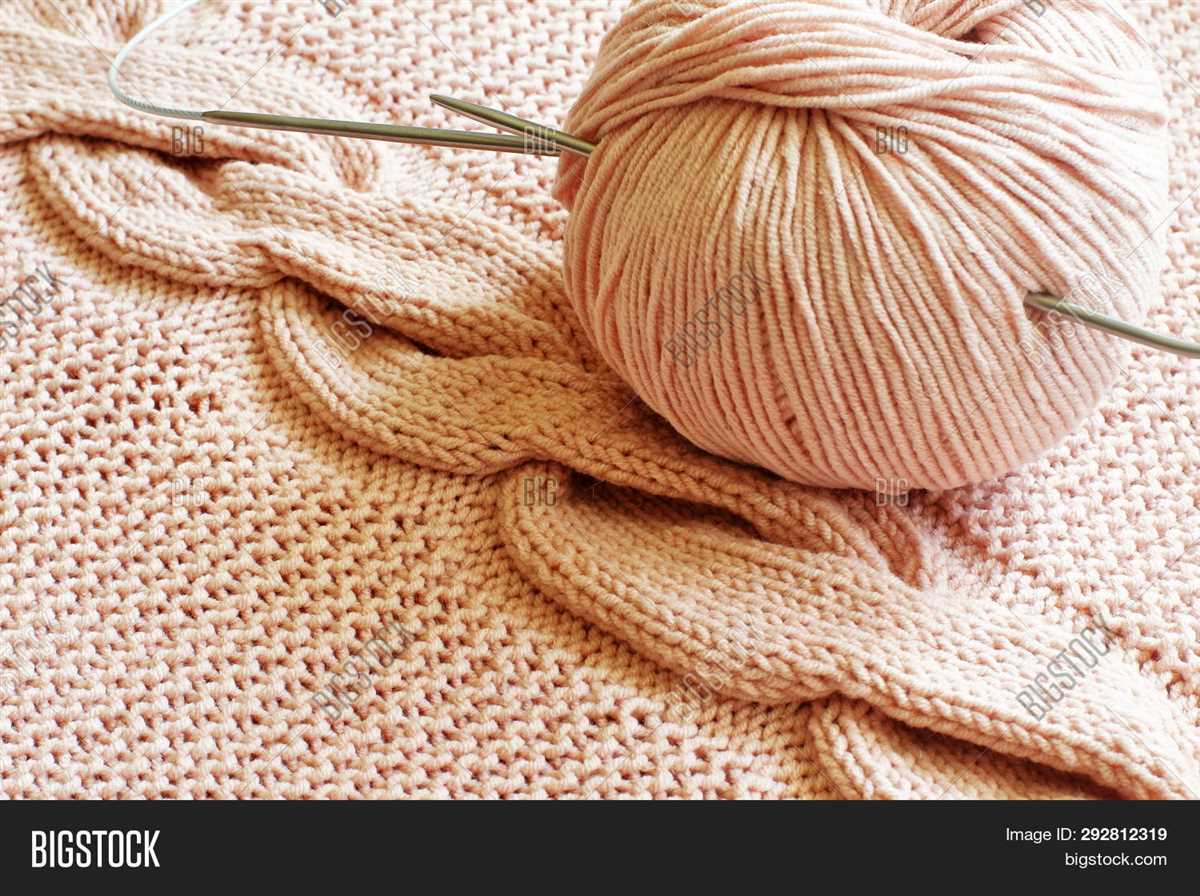
- Yarn: Choose a yarn of your choice in the colors you prefer. Make sure it is suitable for knitting and has enough stretch for shaping the ball.
- Knitting Needles: Select a pair of knitting needles that are appropriate for the weight of the yarn you have chosen. The size will vary depending on your desired tension and the thickness of the yarn.
- Tapestry Needle: This needle is used for sewing up the seams and weaving in any loose ends. Make sure it has a blunt tip to avoid splitting the yarn.
- Scissors: A pair of scissors is necessary for cutting the yarn and trimming any excess.
- Stitch Markers: These small, removable markers are useful for keeping track of stitch counts or marking specific points in your knitting.
Once you have gathered these materials, you will be ready to start knitting your ball. It’s always a good idea to check the pattern for any additional materials or tools that may be required.
If you’re new to knitting, these materials can be easily found at craft stores or online. It’s important to choose high-quality materials, as they can greatly impact the outcome of your knitting project. Investing in good yarn and needles will not only make your knitting experience more enjoyable but also ensure that your finished ball looks and feels great.
Choosing the right yarn for knitting a ball
When it comes to knitting a ball, choosing the right yarn is essential for achieving the desired results. The type of yarn you select will affect the final texture, appearance, and durability of your knitted ball. Therefore, it’s important to consider a few key factors to ensure you have the best yarn for your project.
Fiber content: The first thing to consider is the fiber content of the yarn. Different fibers have different properties, such as warmth, softness, and stretch. For a ball that will be used for playing or decorative purposes, you may want to choose a sturdy and durable fiber like cotton or acrylic. On the other hand, if you’re knitting a ball for a baby or someone with sensitive skin, a soft and hypoallergenic fiber like merino wool or bamboo may be the best choice.
Weight: Another important factor to consider is the weight of the yarn. Yarn weight determines how thick or thin the yarn is, and it can affect the size and structure of your knitted ball. For a larger ball, you may want to use a bulky or chunky weight yarn, while a smaller ball may require a sport or fingering weight yarn. It’s also important to match the weight of the yarn to the recommended needle size for your pattern to ensure proper tension and gauge.
Color and texture: The color and texture of the yarn can also play a role in the appearance of your knitted ball. If you want a ball with a smooth and uniform texture, you may opt for a solid or semi-solid colored yarn. Alternatively, if you want to add visual interest and texture to your ball, you can choose a variegated or self-striping yarn. Additionally, consider the color palette and how it will coordinate with the intended use or aesthetic of your ball.
Price and availability: Lastly, consider the price and availability of the yarn. Some yarns can be quite expensive, especially if they are made from luxury fibers or are hand-dyed. It’s important to consider your budget and availability when choosing yarn for your ball. There are many budget-friendly options available that still provide good quality and are suitable for knitting a ball.
In conclusion, choosing the right yarn for knitting a ball is crucial for achieving the desired texture, appearance, and durability. Consider the fiber content, weight, color and texture, as well as the price and availability of the yarn to ensure a successful knitting project.
Getting started with knitting a ball
Knitting a ball can be a fun and rewarding project for knitters of all skill levels. Whether you’re a beginner or an experienced knitter, following a free pattern can help you create a beautiful and functional ball. Here are some steps to help you get started:
1. Gather your materials
Before you begin knitting your ball, make sure you have all the necessary materials. You will need yarn in the color of your choice, knitting needles appropriate for the yarn weight, a set of double-pointed needles (DPNs), a tapestry needle for sewing seams, and a pair of scissors. Make sure to choose a soft and durable yarn that will hold its shape well.
2. Choose the right pattern
There are many free knitting patterns available online for knitting a ball. Look for a pattern that suits your skill level and desired size of the ball. Some patterns may include instructions for different sizes or variations, so choose one that fits your needs. Read through the pattern thoroughly before you begin to ensure you understand all the steps and techniques involved.
3. Cast on and knit the body
Start by casting on the required number of stitches for your ball. This will vary depending on the size of the ball and the pattern you’re using. Follow the pattern instructions for knitting the body of the ball, which may involve knitting in the round with DPNs or using circular needles. Pay attention to any shaping or color changes specified in the pattern.
4. Stuff and shape the ball
Once you’ve completed the required number of rounds, it’s time to stuff and shape the ball. Fill the ball with fiberfill or stuffing material of your choice, making sure to evenly distribute it for a symmetrical shape. You can adjust the firmness of the ball by adding or removing stuffing. Once you’re satisfied with the shape, close up the ball by sewing the remaining stitches together using the tapestry needle.
5. Finishing touches
With the ball shape complete, you can add any desired embellishments or details. This could include attaching yarn for a hanging loop, sewing on decorative buttons or beads, or embroidering patterns onto the surface. Get creative and personalize your ball to make it truly unique. Once you’re done, trim any excess yarn and weave in any loose ends.
Follow these steps and enjoy the process of knitting your own ball. Whether for a child’s toy or as a decorative item, a knitted ball can bring joy and charm to any home.
Knitting the body of the ball
Once you have cast on the required number of stitches, it’s time to start knitting the body of the ball. Following the pattern, you will need to work in the specified stitch pattern and repeat the established pattern rows for the desired length of the ball. Be sure to carefully read the instructions and double-check your gauge throughout the knitting process to ensure the correct size and shape of your ball.
To create a smooth and even texture, it’s important to maintain consistent tension while knitting. This can be achieved by holding the yarn firmly but not too tightly and ensuring that the stitches are neither too loose nor too tight. Adjusting your tension may be necessary if you find that your stitches are uneven or your fabric is too loose or tight.
If the pattern calls for color changes, make sure to carefully switch between colors on the designated rows. You can secure the yarn tails from the color changes by weaving them in later to avoid loose ends. Additionally, if the pattern includes any shaping or decreases, follow the instructions provided to shape the ball accordingly.
Tips:
- Use stitch markers to help keep track of pattern repeats, especially if the pattern requires a specific stitch count.
- Take breaks and stretch your hands and wrists periodically to prevent fatigue.
- Count your stitches regularly to ensure you are not accidentally adding or dropping stitches.
- Consider using circular knitting needles if you find it more comfortable or convenient.
- Feel free to experiment with different yarn weights and textures to create unique variations of the ball.
Creating the shaping of the ball
In order to create the shaping of the ball, you will need to follow a specific pattern that involves increasing and decreasing stitches. By strategically adding and subtracting stitches, you can achieve the spherical shape of the ball.
Step 1: Cast on stitches
Begin by casting on the desired number of stitches, which will depend on the size of the ball you want to create. You can refer to the knitting pattern to determine the appropriate number of stitches.
Step 2: Increase stitches
Next, you will need to increase stitches in each round to gradually shape the ball. This can be done by knitting into the front and back (KFB) of certain stitches, or by using other increase methods such as yarn overs (YO) or make one (M1) stitches. The pattern will specify the number of increases and the placement.
Step 3: Knit the body
Continue knitting in the round, following the pattern’s instructions for increases, until you reach the desired diameter of the ball. This may involve several rounds of increasing stitches evenly throughout the work. Make sure to keep track of your stitch count and check against the pattern to ensure accuracy.
Step 4: Decrease stitches
Once the ball has reached the desired size, it’s time to start decreasing stitches to close up the top of the ball. This can be done by knitting two stitches together (K2tog) or using other decrease methods like slip, slip, knit (SSK) or slip, knit, pass (SKP). The pattern will provide instructions on the number and placement of the decreases.
Step 5: Finishing touches
After finishing the decreasing rounds, you will have a small opening left at the top of the ball. Cut the yarn, leaving a long tail, and thread it through the remaining stitches using a darning needle. Pull tight to close the opening and secure the yarn. Weave in any loose ends, and your knitted ball is complete!
Finishing touches for the ball
Once you have finished knitting your ball using the free pattern, it’s time to add the finishing touches to make your creation look even more beautiful and professional. Here are some ideas on how to achieve that:
1. Attach a pom-pom
Add some extra flair to your knitted ball by attaching a colorful pom-pom to the top. You can either make the pom-pom yourself using yarn or purchase pre-made pom-poms in various colors and sizes. Simply sew or glue the pom-pom securely onto the ball, and it will instantly become more eye-catching.
2. Embroider details
If you want to add some intricate details to your knitted ball, consider using embroidery techniques. You can use colorful thread to embroider patterns, names, or symbols onto the surface of the ball. This will give your creation a unique and personalized touch.
3. Add decorative buttons
Another way to enhance the appearance of your knitted ball is to attach decorative buttons. You can choose buttons in different shapes, sizes, and colors to complement the overall design of the ball. Sew them onto the surface of the ball in a pattern or randomly for an added touch of elegance.
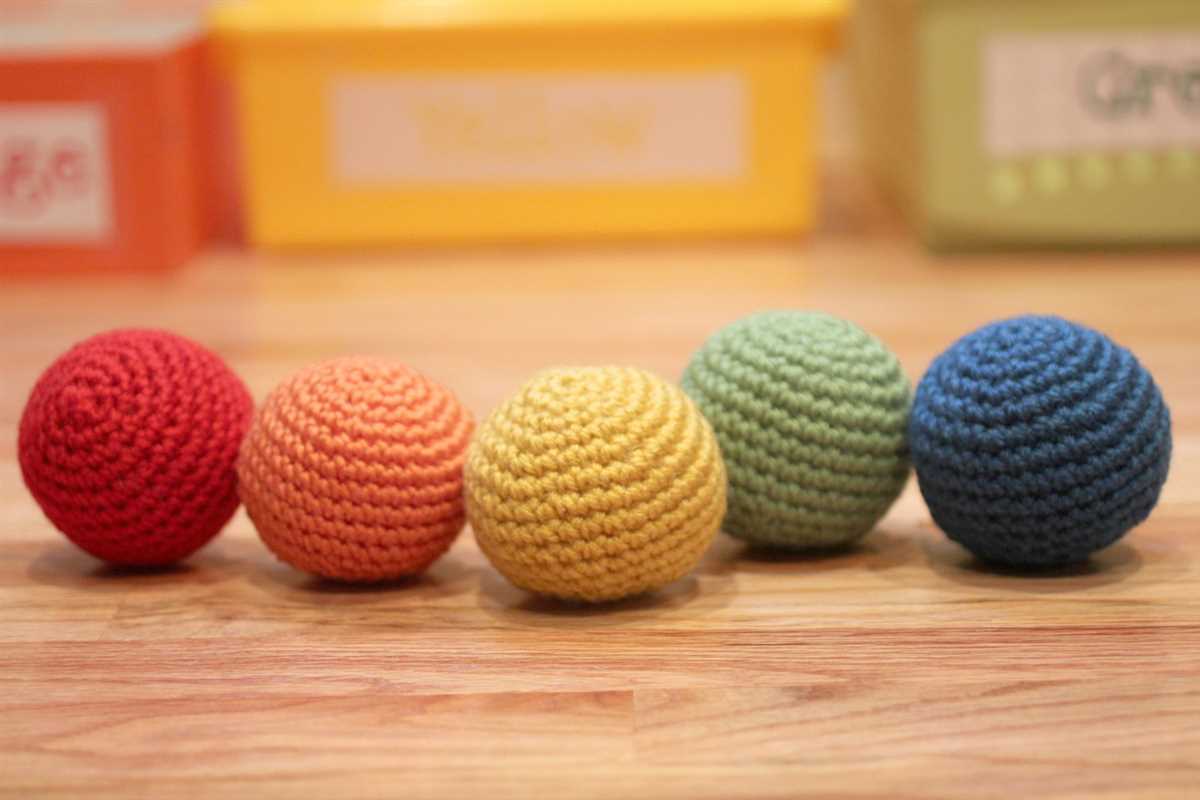
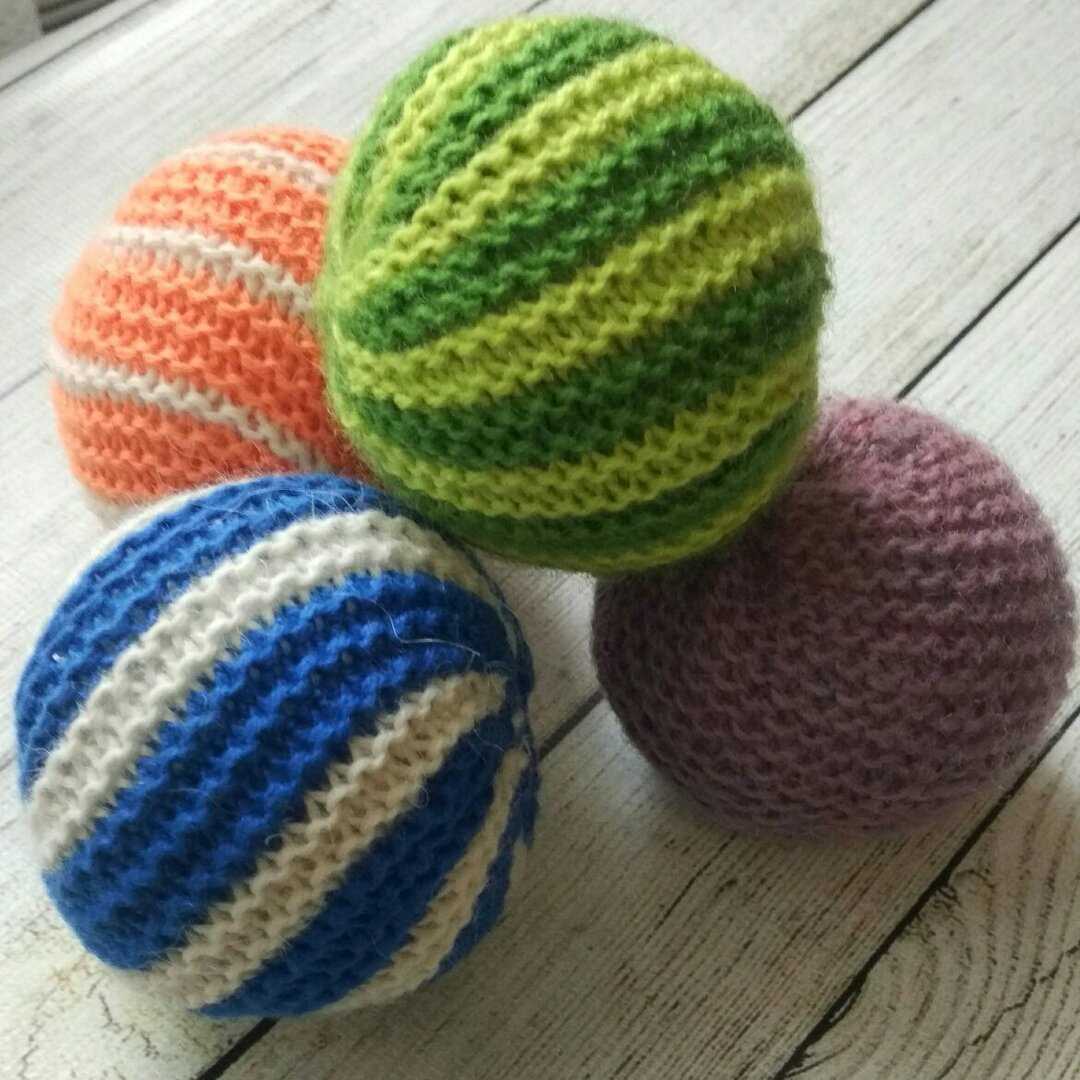
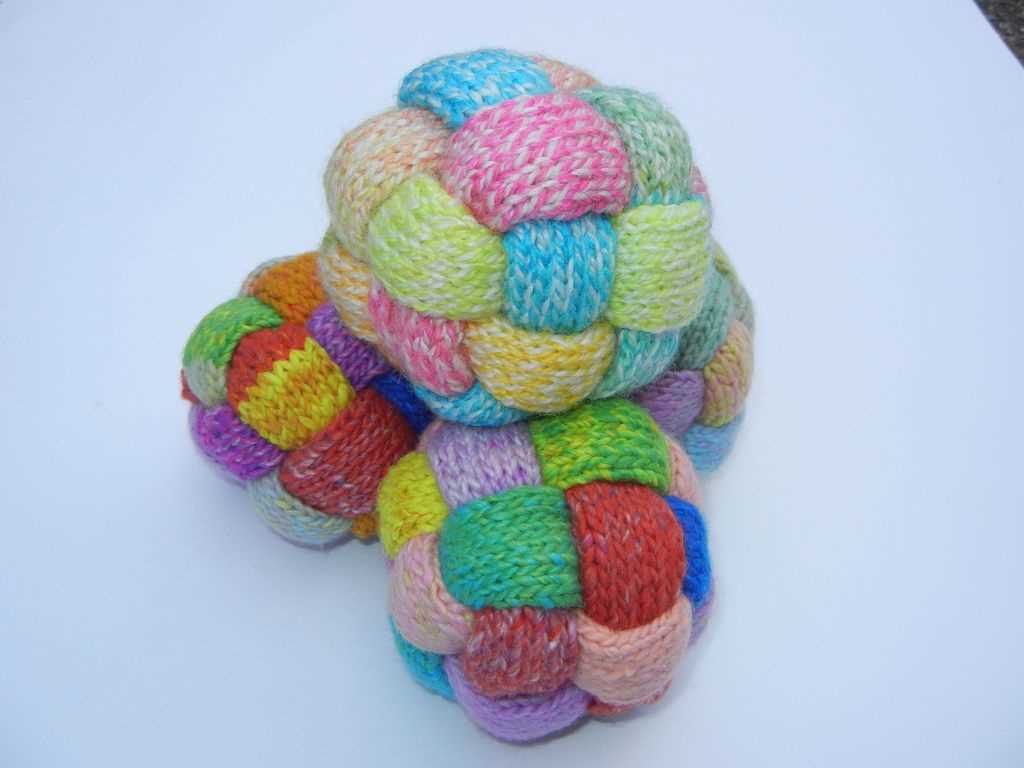
4. Create a striped pattern
If you want to make your knitted ball more visually interesting, you can create a striped pattern using different colored yarns. Simply alternate between the different colors as you knit, and you will end up with a ball that stands out from the rest.
5. Use a contrasting yarn for the seams
For a finishing touch that adds depth and contrast to your knitted ball, consider using a different colored yarn for the seams. This will make the seams more noticeable and can give your ball a more polished look.
- Attach a pom-pom
- Embroider details
- Add decorative buttons
- Create a striped pattern
- Use a contrasting yarn for the seams
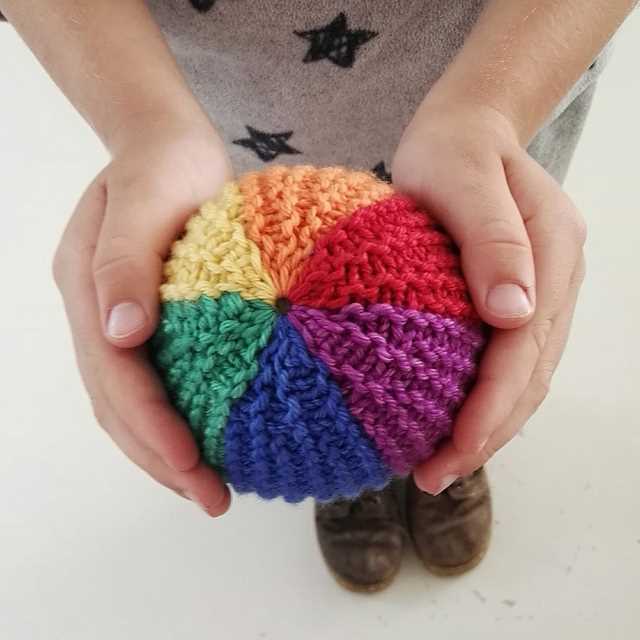
Adding stripes or patterns to the ball
One way to make your knitted ball more interesting is by adding stripes or patterns to it. This can be done by using different colored yarns or by incorporating different knitting techniques.
1. Using different colored yarns: You can create stripes on your ball by switching between different colored yarns after a few rows. Simply knit with one color for a few rows, then switch to another color and continue knitting. This will create a striped effect on your ball. To make the stripes more defined, you can choose contrasting colors that stand out against each other.
2. Incorporating different knitting techniques: Another way to add patterns to your ball is by using different knitting techniques. For example, you can knit sections of the ball in a different stitch pattern, such as ribbing or seed stitch, to create texture and visual interest. You can also incorporate colorwork techniques, such as stranded knitting or intarsia, to create intricate patterns on the ball.
If you’re looking for inspiration, you can search for knitting patterns specifically designed for balls. These patterns often include instructions for adding stripes or patterns to the ball, and can provide guidance on color choices and knitting techniques. Experimenting with different colors and patterns can add a unique touch to your knitted ball and make it stand out.
Alternative techniques for knitting a ball
Knitting a ball can be a fun and rewarding project, but there are alternative techniques that can be used to create unique and interesting designs. Here are a few alternative methods to consider:
1. Modular knitting:
Modular knitting is a technique where individual pieces are knit separately and then joined together to create the final shape. This allows for more intricate patterns and colorwork to be incorporated into the design. By knitting each section separately, you can easily customize the size and shape of your ball. Once all the sections are complete, they can be sewn together, creating a seamless ball.
2. Tunisian crochet:
Another alternative technique for knitting a ball is using Tunisian crochet. Tunisian crochet is a hybrid of knitting and crochet, and it allows for the creation of dense, sturdy fabric. By using Tunisian crochet, you can create a ball with a tight gauge, resulting in a firm and durable shape. The unique texture and stitch patterns that can be achieved with Tunisian crochet can add an interesting element to your ball.
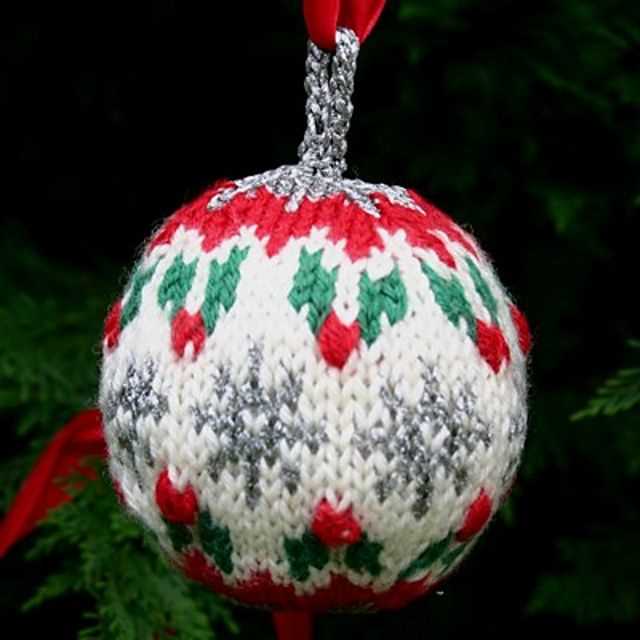
3. Fair Isle knitting:
Fair Isle knitting is a technique that involves working with multiple colors in a single row to create intricate designs. By incorporating Fair Isle knitting into your ball project, you can add beautiful and complex patterns to the surface of the ball. This technique is especially useful for creating decorative balls or ornaments. To achieve the Fair Isle effect, it is important to keep your tension even and use a smaller needle size to create a dense fabric.
These alternative techniques offer endless possibilities for creating unique and customizable knitted balls. Whether you choose modular knitting, Tunisian crochet, or Fair Isle knitting, experimenting with different methods can result in beautiful and one-of-a-kind creations.
Common mistakes to avoid when knitting a ball
Knitting a ball can be a fun and rewarding project, but it’s important to avoid some common mistakes that beginners often make. These mistakes can lead to frustration and a less than perfect finished product. Here are a few mistakes to watch out for when knitting a ball.
1. Not using the correct gauge
One of the most common mistakes made when knitting a ball is not using the correct gauge. Gauge refers to the number of stitches and rows per inch that is specified in the pattern. Failure to achieve the correct gauge can result in a ball that is too large or too small. It’s important to take the time to swatch and measure your gauge before starting the project.
2. Not paying attention to stitch count
Another mistake to avoid when knitting a ball is not paying attention to stitch count. The pattern will specify the number of stitches to cast on and how to increase or decrease stitches to shape the ball. It’s important to carefully follow these instructions to ensure that your ball is knit to the correct size and shape. Failure to do so can result in a misshapen or uneven ball.
3. Skipping or misreading instructions
Skipping or misreading instructions is another common mistake that can lead to problems when knitting a ball. It’s important to carefully read and follow the pattern instructions step by step. This includes paying attention to any special techniques or stitches that may be required. Skipping or misreading instructions can result in a ball that doesn’t turn out as expected and may require you to start over.
4. Forgetting to weave in ends
After completing your ball, it’s important to remember to weave in all the loose ends of yarn. Failing to do so can result in the ends coming undone and the ball unraveling. Take the time to securely weave in all loose ends to ensure that your ball stays intact and withstands use and handling.
By avoiding these common mistakes, you can ensure that your knitted ball turns out beautifully and is a joy to use or give as a gift.
Where to Find More Ball Knitting Patterns
If you’re looking for more ball knitting patterns, there are plenty of resources available online. Here are a few websites where you can find a variety of ball knitting patterns:
- Ravelry: Ravelry is a popular online community for knitters and crocheters. It has a vast collection of knitting patterns, including many ball patterns. You can search for patterns by category, difficulty level, and more.
- Knitting websites and blogs: Many knitting websites and blogs offer free knitting patterns, and some of them have ball patterns as well. Some popular websites to check out include Knitty, LoveKnitting, and AllFreeKnitting.
- Online knitting communities: Joining online knitting communities, such as knitting forums and social media groups, can be a great way to connect with other knitters and find new patterns. Members often share their favorite patterns and resources with each other.
No matter which resource you choose, make sure to read the pattern carefully before starting your project. Pay attention to the materials required, gauge, and any special instructions. Some patterns may also include helpful tips and techniques.
With so many ball knitting patterns available, there’s bound to be something that suits your skill level and preferences. Whether you’re a beginner or an experienced knitter, have fun exploring the world of ball knitting!
Q&A:
What materials do I need for knitting a ball?
You will need yarn in the color of your choice, knitting needles, a tapestry needle for sewing seams, and stuffing material like polyester fiberfill.
Are there any specific knitting techniques I need to know for this pattern?
Basic knitting skills like casting on, knitting, purling, and decreasing stitches will be required for this pattern. If you are a beginner, it may be helpful to practice these skills before starting the pattern.
Can I use a different yarn weight for this pattern?
Yes, you can use a different yarn weight for this pattern, but keep in mind that it will affect the size and appearance of the finished ball. If you choose a heavier weight yarn, the ball will be larger and more tightly knit, while a lighter weight yarn will result in a smaller, looser ball.
How long does it take to knit a ball using this pattern?
The time it takes to knit a ball using this pattern will vary depending on your knitting speed and the complexity of the pattern. On average, it may take a few hours to complete the ball.