
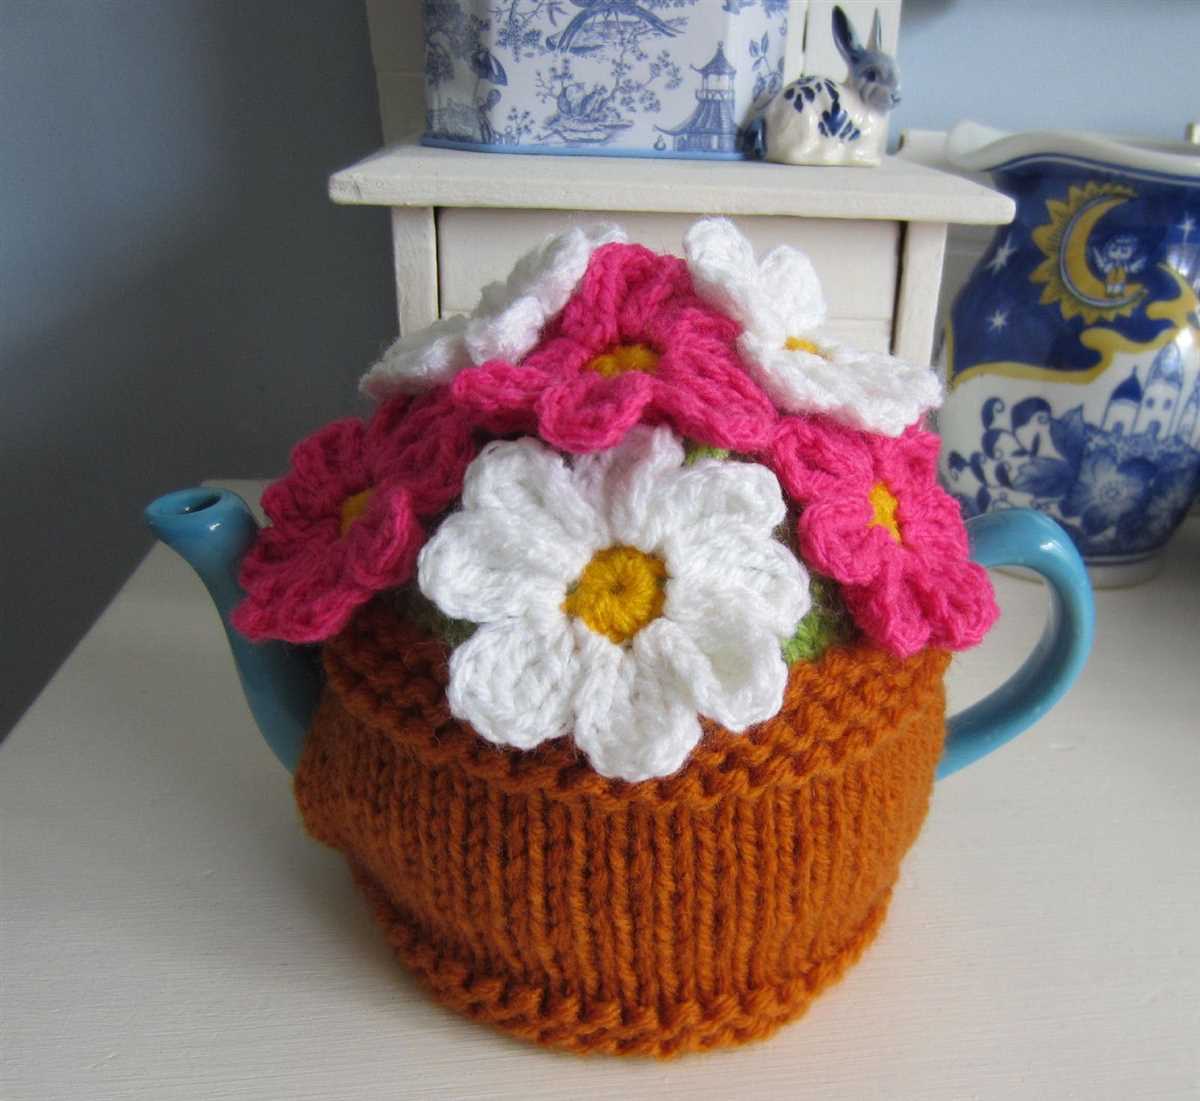
Looking for a new knitting project to brighten up your home? Why not try knitting your own flower pot cozy? A knitted flower pot cozy is a great way to add a touch of color and texture to your plants, while also protecting your surfaces from water spills. Plus, with this free pattern, you can create a unique and personalized cozy for your flower pots.
This knitted flower pot pattern is perfect for beginners and experienced knitters alike. With just a few basic stitches, you can create a cozy that fits any size pot and complements any décor. The pattern uses simple knit and purl stitches, as well as basic increases and decreases to shape the cozy.
Whether you’re a knitter looking to add a new project to your repertoire or a plant lover looking to add a bit of handmade charm to your home, this knitted flower pot pattern is sure to delight. So grab your knitting needles and get ready to create a cozy that will make your plants feel loved and your home feel cozy.
Knitted Flower Pot Pattern Free
If you’re looking for a fun and creative way to display your favorite plants, why not try knitting your own flower pot? With this free pattern, you can create a unique and personalized flower pot that will add a touch of charm to any space. Whether you’re a seasoned knitter or just starting out, this pattern is perfect for all skill levels.
To begin, you’ll need a few basic materials: yarn in your desired color, knitting needles, and a set of double-pointed needles. The pattern uses a simple knit and purl stitch, so it’s a great project for beginners. You’ll start by casting on the desired number of stitches and knitting in the round to create the base of the flower pot.
Once the base is complete, you’ll begin working in the desired pattern or stitch to create the sides of the flower pot. Whether you prefer a classic ribbed pattern, a textured stitch, or a simple garter stitch, the possibilities are endless. You can also experiment with different colors or even add embellishments like buttons or beads to make your flower pot truly unique.
After completing the sides of the flower pot, you’ll finish off the top edge and bind off your stitches. Then, simply weave in any loose ends and your knitted flower pot is ready to use. Just slip your favorite potted plant inside and enjoy the beautiful handmade touch it adds to your home or garden.
With this free knitted flower pot pattern, you can create a one-of-a-kind piece that will impress your friends and family. Whether you’re looking to add a pop of color to your windowsill or create a thoughtful gift for a loved one, this pattern is sure to satisfy your knitting cravings. So gather your materials, pick your favorite yarn, and get ready to create a stunning flower pot that will be the envy of all who see it. Happy knitting!
Choosing the Right Yarn
When it comes to knitting, one of the most important decisions you’ll make is choosing the right yarn for your project. The yarn you choose can greatly impact the overall look and feel of your finished piece, so it’s worth taking the time to consider your options.
Weight: One of the first things to consider when choosing yarn is the weight. Yarns come in a variety of weights, ranging from lace weight to super bulky. The weight of the yarn will determine the size of the stitches and the overall drape of the finished piece. For a flower pot cozy, a medium weight yarn is usually a good choice.
Fiber: Another important factor to consider is the fiber content of the yarn. Different fibers have different properties, which can affect the look, feel, and care requirements of your project. For example, wool yarns are warm and durable, while cotton yarns are breathable and lightweight. Consider the specific needs of your project and choose a fiber that will work best for you.
Texture: The texture of the yarn can also play a role in the final look of your project. Smooth yarns will give a clean and polished appearance, while textured yarns can add depth and interest to your work. Consider the style you want to achieve and choose a yarn with the appropriate texture.
- Color: Lastly, the color of the yarn is an important factor to consider. Think about the overall aesthetic you want to achieve and choose a color that complements your project. Bright and bold colors can make a statement, while neutral tones can create a more understated look.
Recommended Needle Size
When it comes to knitting flower pots, choosing the correct needle size is crucial for achieving the desired outcome. The needle size will determine the tension of your stitches and the overall size of the finished project. It is important to follow the pattern instructions carefully to ensure that the recommended needle size is used for the best results.
The recommended needle size for knitting flower pots can vary depending on the specific pattern and the weight of the yarn being used. Most flower pot patterns will suggest using a needle size that is appropriate for the yarn weight, such as a size US 7-9 (4.5-5.5mm) for worsted weight yarn.
- Lightweight Yarn: If you are using a lightweight yarn, such as fingering or lace weight, a smaller needle size may be recommended, such as a size US 2-4 (2.75-3.5mm).
- Bulky Yarn: For bulky or chunky yarn, a larger needle size may be suggested, such as a size US 10-13 (6-9mm), to create a more open and airy fabric.
It is important to keep in mind that the recommended needle size is just a starting point and it may be necessary to adjust the needle size to achieve the desired gauge. If your stitches are too loose, try using a smaller needle size, and if your stitches are too tight, try using a larger needle size. Swatching is a great way to test different needle sizes and ensure that you are creating the correct tension for your flower pot knitting project.
Casting On
When starting a knitting project, the first step is to cast on stitches onto the knitting needle. This sets the foundation for the rest of the project and determines the width of the knitted piece. There are several methods for casting on, each with its own unique characteristics and uses.
Long-Tail Cast On: One of the most popular and versatile casting on methods is the long-tail cast on. It creates a tidy and elastic edge, making it ideal for a wide range of projects. To perform this cast on, the yarn is positioned in a way that creates a long tail and a working yarn. The stitches are then created by looping the working yarn around the needle and pulling it through the loop created by the tail.
Knitted Cast On: Another commonly used casting on method is the knitted cast on. This technique creates a firm and decorative edge, making it great for projects where a more structured finish is desired. To perform this cast on, a stitch is first created by inserting the right needle into the first stitch on the left needle knitwise, then knitting it. The new stitch is then transferred back onto the left needle, and the process is repeated until the desired number of stitches is cast on.
These are just a few examples of casting on methods that can be used when starting a knitting project. The choice of cast on method will depend on the desired finish, the type of project, and personal preference. Experimenting with different techniques can help expand your knitting skills and give your projects a unique touch.
Knitting the Base
In order to create a knitted flower pot, you will first need to knit the base. The base will serve as the foundation for the rest of the pot, so it is important to take your time and knit it accurately.
To start, you will need to choose your yarn and knitting needles. It is best to use a yarn that is thick and sturdy, as this will provide a stable base for the pot. You will also need a set of circular knitting needles, as this will allow you to knit in the round.
Once you have your materials ready, you can begin casting on stitches. The number of stitches you cast on will depend on the size of your flower pot. A good rule of thumb is to cast on enough stitches to create a base that is slightly smaller than the diameter of your pot.
After casting on, you will need to join the stitches in the round. This can be done by sliding the stitches onto a second circular needle and then knitting the first stitch from the original needle onto the second needle. This will create a seamless join, allowing you to knit in a continuous circle.
Once your stitches are joined, you can begin knitting the base. This is done by knitting every stitch in each round, working in a spiral motion from the bottom of the pot upwards. To ensure an even and neat base, it is important to keep your tension consistent and avoid any gaps or holes in your knitting.
Continue knitting in this manner until the base of your pot reaches the desired size. You can periodically check the size by placing your pot on top of the base and adjusting the number of stitches if needed. Once the base is the right size, you can then move on to knitting the sides of the flower pot.
Increasing Stitches
When knitting a flower pot, it may be necessary to increase stitches in order to create a larger diameter. Increasing stitches is a technique that allows you to add more stitches to your knitting, expanding the width of your project. There are several methods for increasing stitches, each with its own unique look. Here are some common techniques for increasing stitches:
1. Knit Front and Back (KFB): This method involves knitting into the front and back of the same stitch, creating two stitches out of one. To use this method, insert your right needle into the front of the stitch as if to knit, but instead of pulling the yarn through to complete the stitch, leave the stitch on the left needle. Then, insert the right needle into the back of the same stitch and knit normally. This will create two stitches out of one.
2. Make One (M1): This method involves creating a new stitch by lifting the horizontal strand between two stitches and knitting into it. To make one, insert your left needle from front to back under the horizontal strand between two stitches. Then, knit into this strand as you would knit a normal stitch. This will create a new stitch on your right needle.
- 3. Yarn Over (YO): This method creates an eyelet or hole in your knitting. To do a yarn over, simply bring the yarn forward between the needles and over the right needle, then continue knitting the next stitch. This will create a new stitch and a small hole.
- 4. Lifted Increase: This method involves lifting the bar between two stitches and knitting into the back loop of it. To do a lifted increase, insert your right needle under the bar between two stitches from front to back, then knit into the back loop of this bar. This will create a new stitch.
These are just a few of the many techniques you can use to increase stitches when knitting a flower pot. Experiment with different methods to achieve the desired shape and size for your project. Remember to practice and take your time when using these techniques to ensure accurate and even increases.
Shaping the Sides
To begin shaping the sides of the knitted flower pot, you will need to decrease the number of stitches in each round. This will create the tapering effect that gives the pot its shape. You can use various decrease stitches, such as knit two together (k2tog) or slip, slip, knit (ssk), depending on your preference.
Start by dividing your stitches evenly onto three or four double-pointed needles, depending on the size of your flower pot. This will make it easier to work with the smaller number of stitches. Begin the round by knitting a few stitches, then work the desired decrease stitch across the next two stitches. Repeat this decrease pattern until you reach the end of the round.
Note: It may be helpful to use stitch markers to keep track of your rounds and decreases.
Continue working in rounds, decreasing the number of stitches in each round, until you reach the desired height for your flower pot. Remember to periodically check the fit of your pot on the plant you intend to use it for, as the size may vary depending on the type of plant.
Once you have reached the desired height, finish the knitting by binding off all the stitches. Leave a long tail for seaming the bottom of the pot, if desired.
Creating a Handles
When it comes to knitting a flower pot pattern, adding handles can be a fun and functional detail. Handles not only make it easier to carry the pot, but they also add a decorative touch to the overall design. Here are a few steps to create handles for your knitted flower pot:
1. Determine the placement: Start by deciding where you want the handles to be positioned on your flower pot. Measure the distance between the desired points and make a note of the measurements.
2. Prepare the yarn: Choose a yarn color that complements your flower pot or contrasts with it to create a visual interest. Make sure to select a yarn that is sturdy enough to bear the weight of the pot when it is filled with soil and plants.
Creating a Knitted Handle
- Cast on stitches: To begin creating the handle, cast on the desired number of stitches using the yarn. It’s a good idea to cast on a few extra stitches to ensure the handles are wide enough to comfortably grip.
- Knit in the desired stitch pattern: Continue knitting the handle in the desired stitch pattern for the desired length. You can choose a simple garter stitch or a more intricate cable pattern depending on your preference.
- Bind off: Once the handle has reached the desired length, bind off the stitches to secure the knitting. Make sure to leave a long tail of yarn for sewing the handles onto the flower pot.
- Sew the handles onto the flower pot: Using a yarn needle and the long tail of yarn, sew the handles onto the sides of the flower pot, following the measurements you made earlier. Make sure to secure the handles firmly so that they can withstand the weight of the pot.
By following these steps, you can easily create handles for your knitted flower pot. Don’t be afraid to get creative and experiment with different stitch patterns and yarn colors to personalize your creation. Happy knitting!
Changing Colors
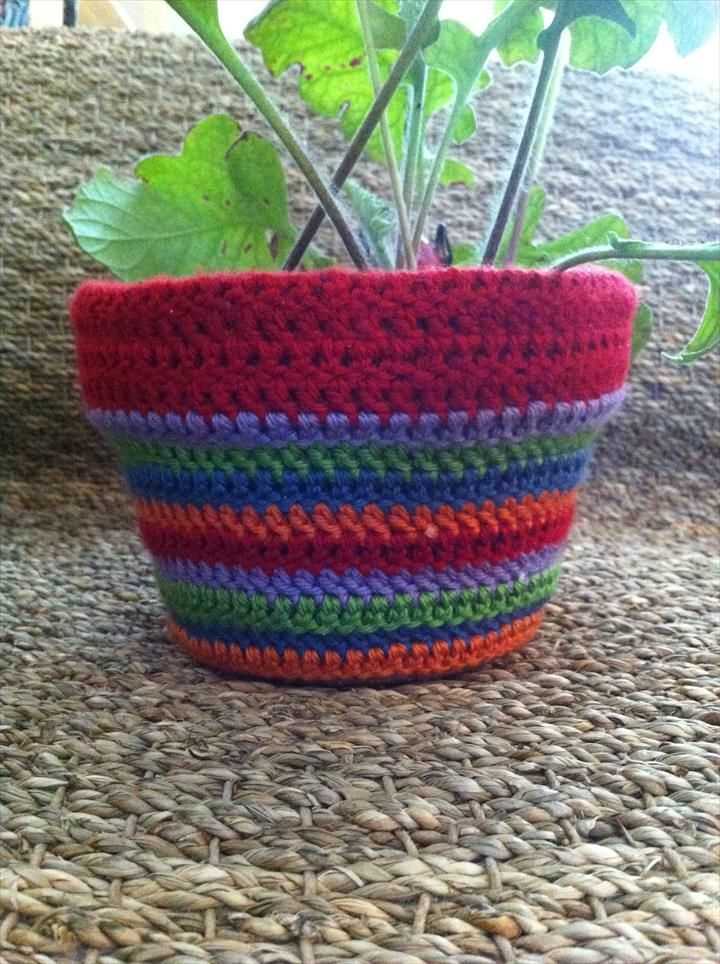
When it comes to knitting flower pots, changing colors can add a whole new dimension to your project. By using different colors, you can create unique patterns and designs that will make your flower pot stand out.
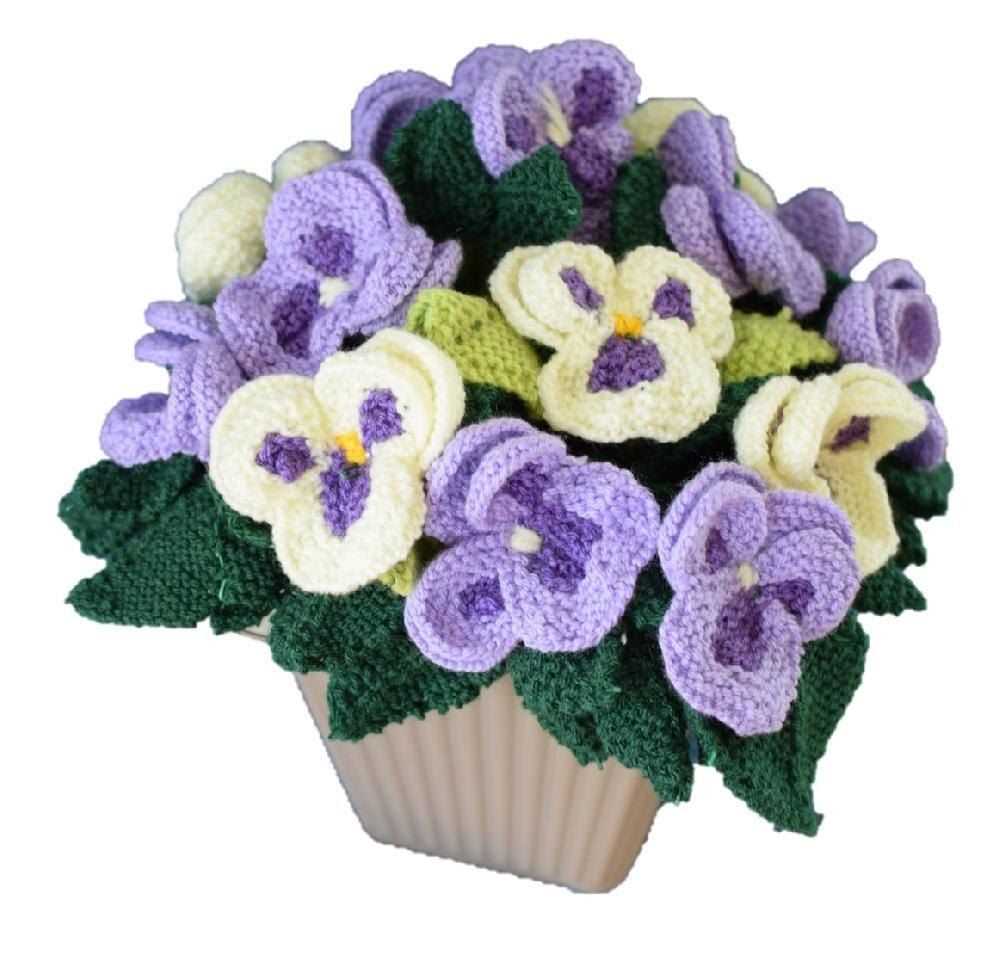
Choosing the right colors
Before you start knitting, it’s important to choose the right colors for your flower pot. Consider the colors of the flowers you plan to put in the pot and choose colors that will complement them. You can also choose colors that match your home decor or add a pop of color to your space.
Creating color patterns
Once you have chosen your colors, it’s time to think about creating color patterns for your flower pot. You can create stripes, polka dots, or even intricate designs like flowers or butterflies. The possibilities are endless! Play around with different color combinations and patterns to find the one that you like best.
Changing colors while knitting
To change colors while knitting your flower pot, simply start with the new color at the beginning of a row or round. Leave a long tail of the old color, and pick up the new color, knitting as normal. When you reach the end of the row or round, twist the two colors together to secure them. Continue knitting with the new color until you are ready to change colors again.
Finishing touches
After you have finished knitting your flower pot, it’s time to add the finishing touches. Weave in any loose ends and trim them to create a neat and tidy finished product. You can also add embellishments like buttons or bows to personalize your flower pot even further.
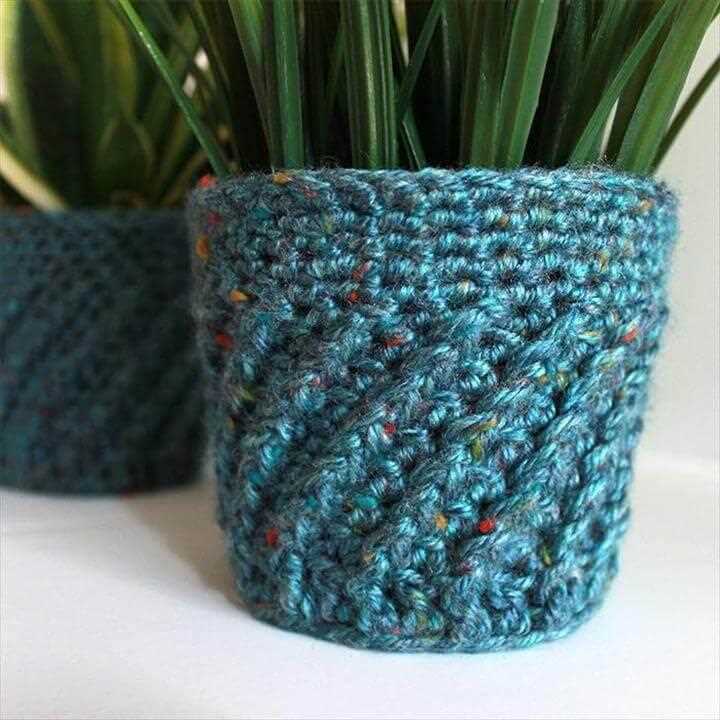
Adding Patterns or Textures
When it comes to knitting flower pots, adding patterns or textures can really elevate the overall design. Whether you’re looking to create a simple striped pattern or a more intricate lace design, there are plenty of options to choose from.
Stripes: One of the easiest ways to add pattern to your knitted flower pot is by incorporating stripes. You can use different colors of yarn to create alternating bands of color. This can be done by simply switching colors every few rows or by using a technique called intarsia to create more complex designs.
Lace: If you’re looking for a more delicate and intricate pattern, lace can be a beautiful option. Lace patterns typically involve creating small holes or “eyelets” in your knitting, which can create a light and airy texture. There are countless lace patterns to choose from, ranging from simple to complex, so you can easily find one that fits your style.
- Bobble Stitch: Another way to add texture to your knitted flower pot is by using the bobble stitch. This stitch creates small, raised bumps that can give your pot a three-dimensional look. The bobble stitch can be a bit more advanced, as it requires knitting multiple stitches together and then increasing them back again, but the result is well worth the effort.
- Cables: Cables are another popular choice for adding texture to knitting. By crossing stitches over each other, you can create beautiful braided or twisted designs that really stand out. Cables can be a bit more advanced and require working with a cable needle, but the end result can be stunning.
Incorporating patterns or textures in your knitted flower pot can add visual interest and make your pot truly unique. Whether you’re a beginner or an experienced knitter, there are plenty of options to choose from, so don’t be afraid to experiment and get creative with your designs.
Finishing Off
Once you have completed knitting your flower pot, it is time to finish it off and give it a polished look. There are a few steps you can follow to ensure your finished flower pot looks perfect.
Weaving in the ends: Start by weaving in any loose ends of yarn from your knitting. Take a yarn needle and thread the end through the stitches on the wrong side of the work, making sure to secure it tightly. Trim any excess yarn.
Blocking: Blocking your flower pot can help to even out the stitches and give it a more professional finish. To block your flower pot, wet it gently with water and then shape it to the desired size and shape. Use pins or weights to hold it in place and allow it to dry completely.
Finishing touches: To add a final touch of elegance to your flower pot, you can add decorative elements such as buttons, beads, or embroidery. Sew these embellishments onto your flower pot using a needle and thread, taking care to place them in a way that complements the design.
Cleaning and maintenance: To keep your flower pot looking its best, it is important to properly clean and maintain it. Follow the care instructions for the type of yarn used and consider hand washing or spot cleaning if necessary. Avoid placing your flower pot in direct sunlight or exposing it to excessive moisture to prevent damage.
Blocking the Flower Pot
Blocking is an important step in finishing your knitted flower pot. It helps to give the pot its final shape and smooth out any wrinkles or uneven stitches. To block your flower pot, you will need a flat surface, such as a blocking board or towel, rustproof pins, and a spray bottle filled with water.
To begin, lay your flower pot flat on the blocking surface and gently stretch it out to the desired size and shape. Use rustproof pins to secure the edges and corners in place. Make sure to pin evenly around the entire pot to prevent any distortion.
Once your pot is pinned in place, lightly mist it with water using the spray bottle. Be careful not to soak the yarn, as this can cause stretching or color bleeding. The water will help to relax the fibers and allow them to set in the desired shape.
Leave your flower pot to dry completely before removing the pins. This can take anywhere from a few hours to overnight, depending on the yarn and climate. Once dry, gently remove the pins and admire your beautifully blocked flower pot. It will now be ready to hold your favorite plant or serve as a decorative piece in your home.
Final Thoughts
In this article, we have explored a beautiful and practical knitting pattern for a flower pot. By following the instructions provided, you can create a unique and charming flower pot cover that adds a touch of coziness to any space.
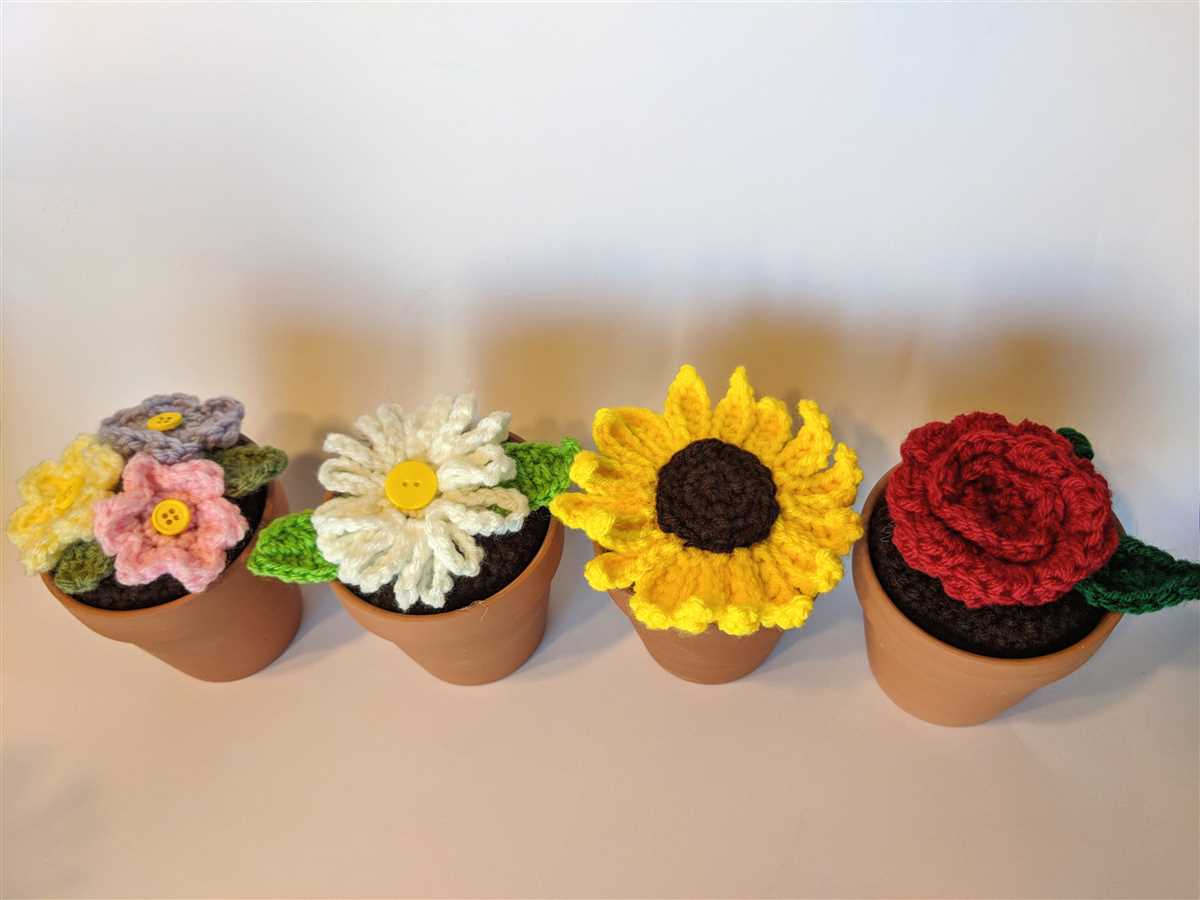
The pattern is beginner-friendly, making it accessible to knitters of all skill levels. The step-by-step instructions, along with the accompanying images, make it easy to understand and follow along.
Knitted flower pot covers make wonderful gifts for friends and loved ones. Not only are they handmade with care, but they also add a personal and thoughtful touch to any home or office. Additionally, they provide a practical solution for dressing up plain flower pots and adding texture and warmth to your decor.
With the freedom to choose your own yarn colors and embellishments, you can customize your flower pot cover to match your personal style and taste. Experiment with different stitch patterns or add buttons, bows, or other decorations to make it truly unique.
So why not give this knitted flower pot cover pattern a try? Whether you are a seasoned knitter or a beginner looking to expand your skills, this project is a fun and rewarding way to create something beautiful. Start knitting today and enjoy the satisfaction of completing a handmade creation that will bring joy and beauty to your space.
Q&A:
How can I find a free knitted flower pot pattern?
You can search for free knitted flower pot patterns on knitting websites, online forums, and pattern-sharing platforms. Many hobbyist knitters also share their patterns for free on blogs and social media.
What materials will I need to knit a flower pot?
To knit a flower pot, you will need a medium-weight yarn, knitting needles in a suitable size for the yarn, a darning needle for sewing, and stitch markers (optional).
Are there any specific knitting techniques I need to know to make a knitted flower pot?
Basic knitting skills like casting on, knit stitch, purl stitch, and binding off will be necessary to make a knitted flower pot. Some patterns may also require increases or decreases, as well as basic sewing skills for finishing.
Can I customize the size of the flower pot using a pattern?
Yes, many knitting patterns include instructions on how to customize the size of the flower pot. You can adjust the number of stitches and rows to make it larger or smaller according to your preferences.
Can I use different colors or yarn types for a knitted flower pot?
Yes, you can use different colors or yarn types to create unique and personalized flower pots. Experimenting with different yarn textures and colors can add variety and interest to your knitting projects.
Where can I find a free knitted flower pot pattern?
You can find free knitted flower pot patterns online on various knitting websites, such as Ravelry, Knitting Pattern Central, and LoveKnitting. These websites offer a wide range of patterns for different skill levels and styles.