
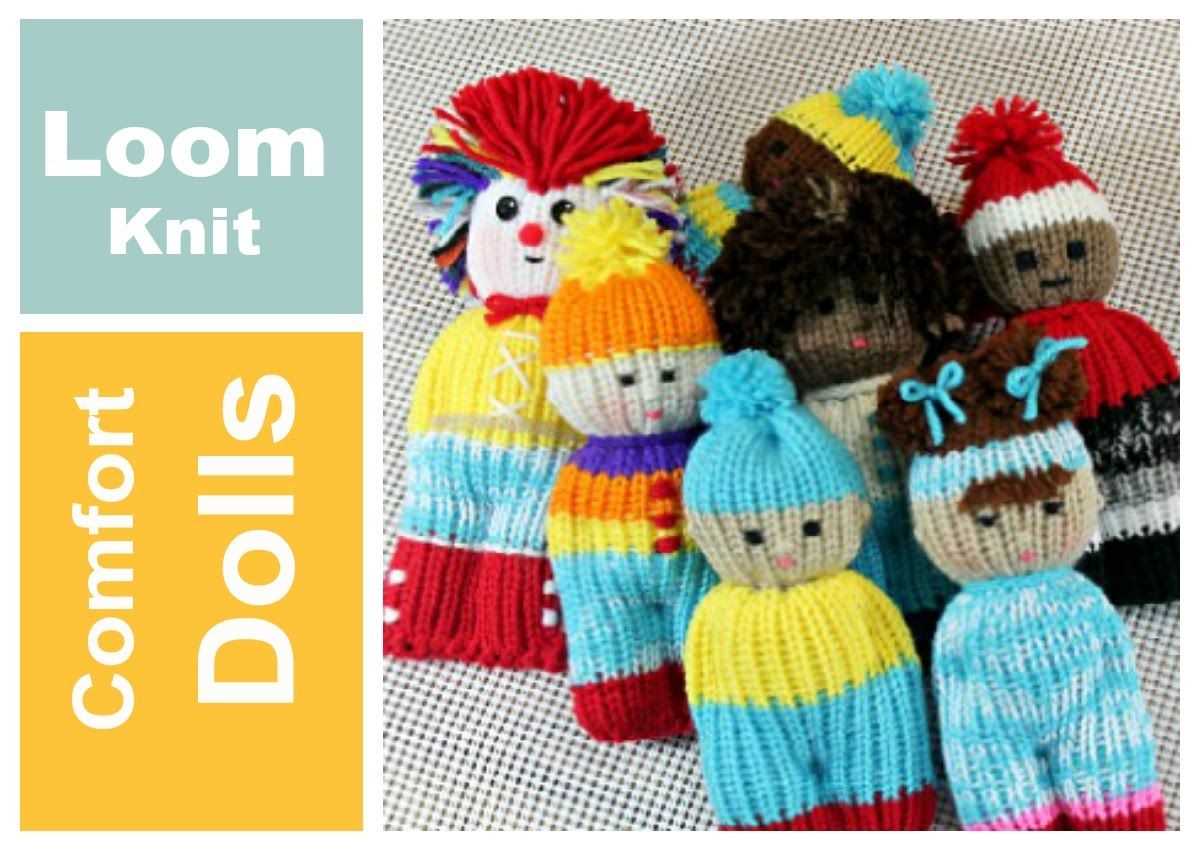
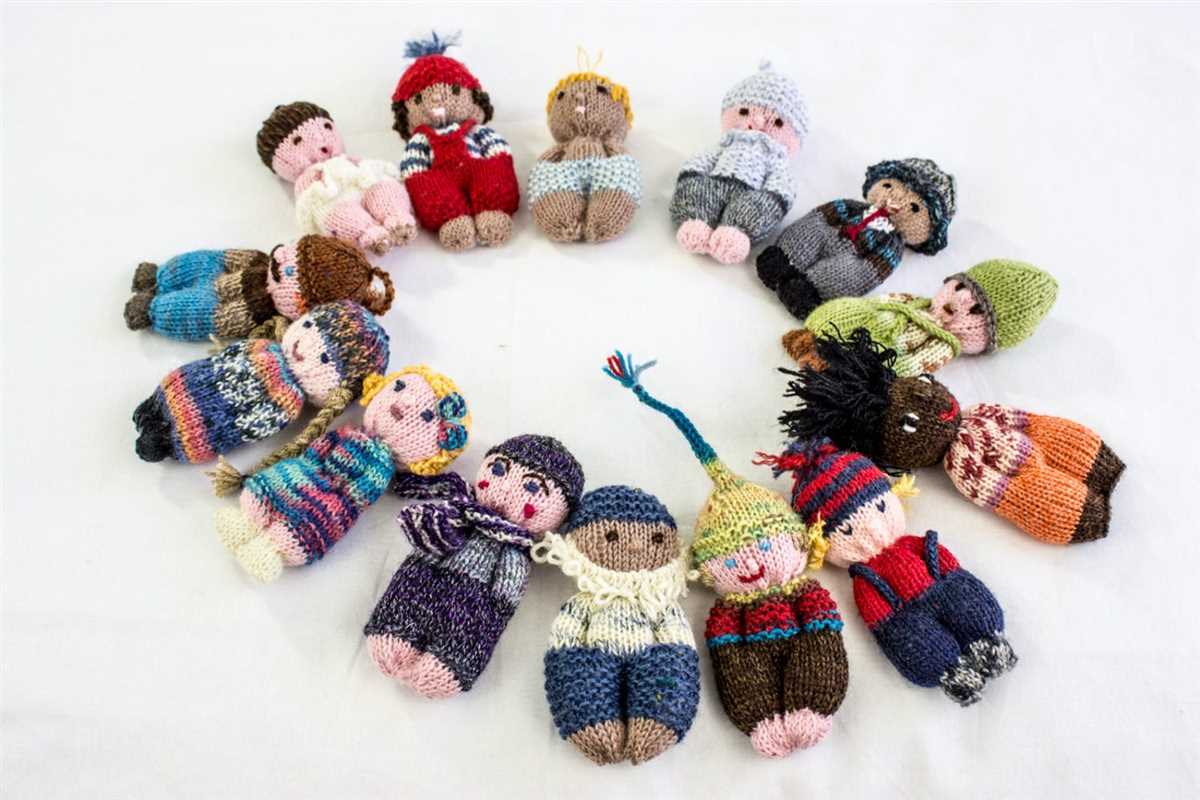
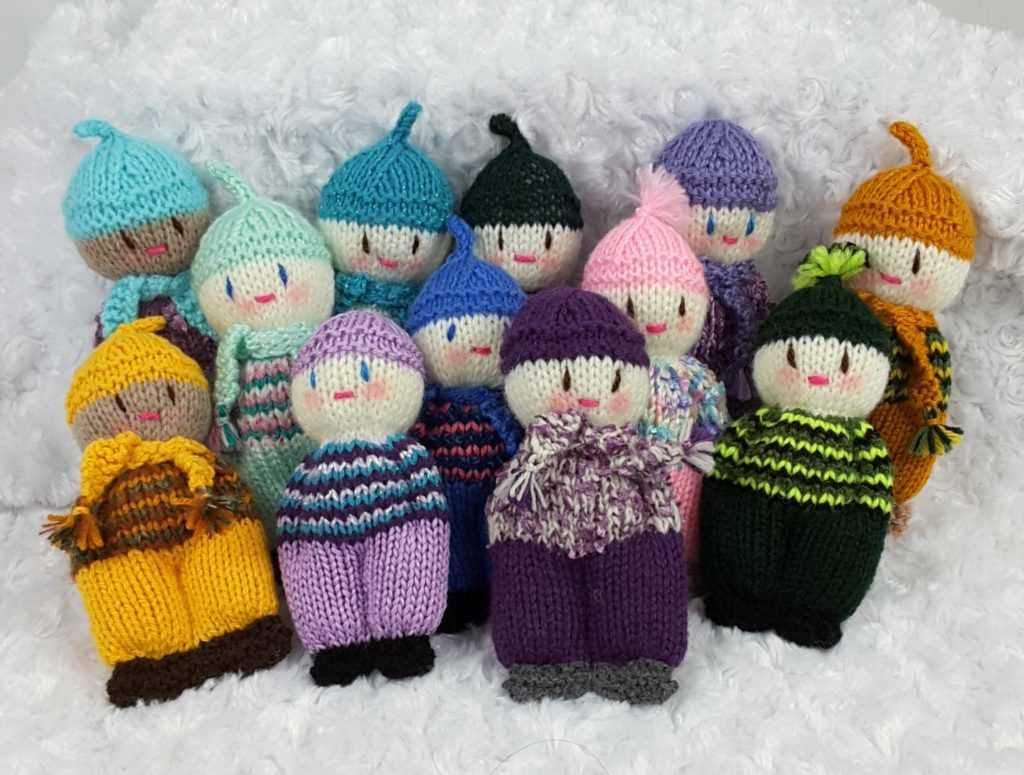
If you’re a fan of knitting and love creating adorable toys, then you’re in for a treat with these knitted doll patterns that are not only easy to make but also available for free! Whether you’re a beginner or an experienced knitter, you’ll find something here to inspire you.
Knitting dolls can be a fun and rewarding project. They make great gifts for kids or even as display pieces. Plus, you have the freedom to customize the dolls and make them your own. With these free patterns, you’ll have a variety of options to choose from – from cute animal dolls to classic rag dolls.
What’s great about these patterns is that they are designed with simplicity in mind. Even if you’re new to knitting, you’ll be able to follow along and create a beautiful doll. The instructions are clear and easy to understand, and there are helpful tips along the way to guide you.
So, grab your knitting needles, gather your yarn, and get ready to embark on a delightful knitting adventure with these knitted doll patterns. Whether you’re looking to add to your collection or create a special gift, these patterns are sure to bring joy and creativity into your life.
Steps to create a knitted doll
Crafting a knitted doll is a fun and rewarding project that allows you to showcase your creativity and knitting skills. Whether you are a beginner or an experienced knitter, follow these steps to create your own knitted doll.
1. Choose a doll pattern
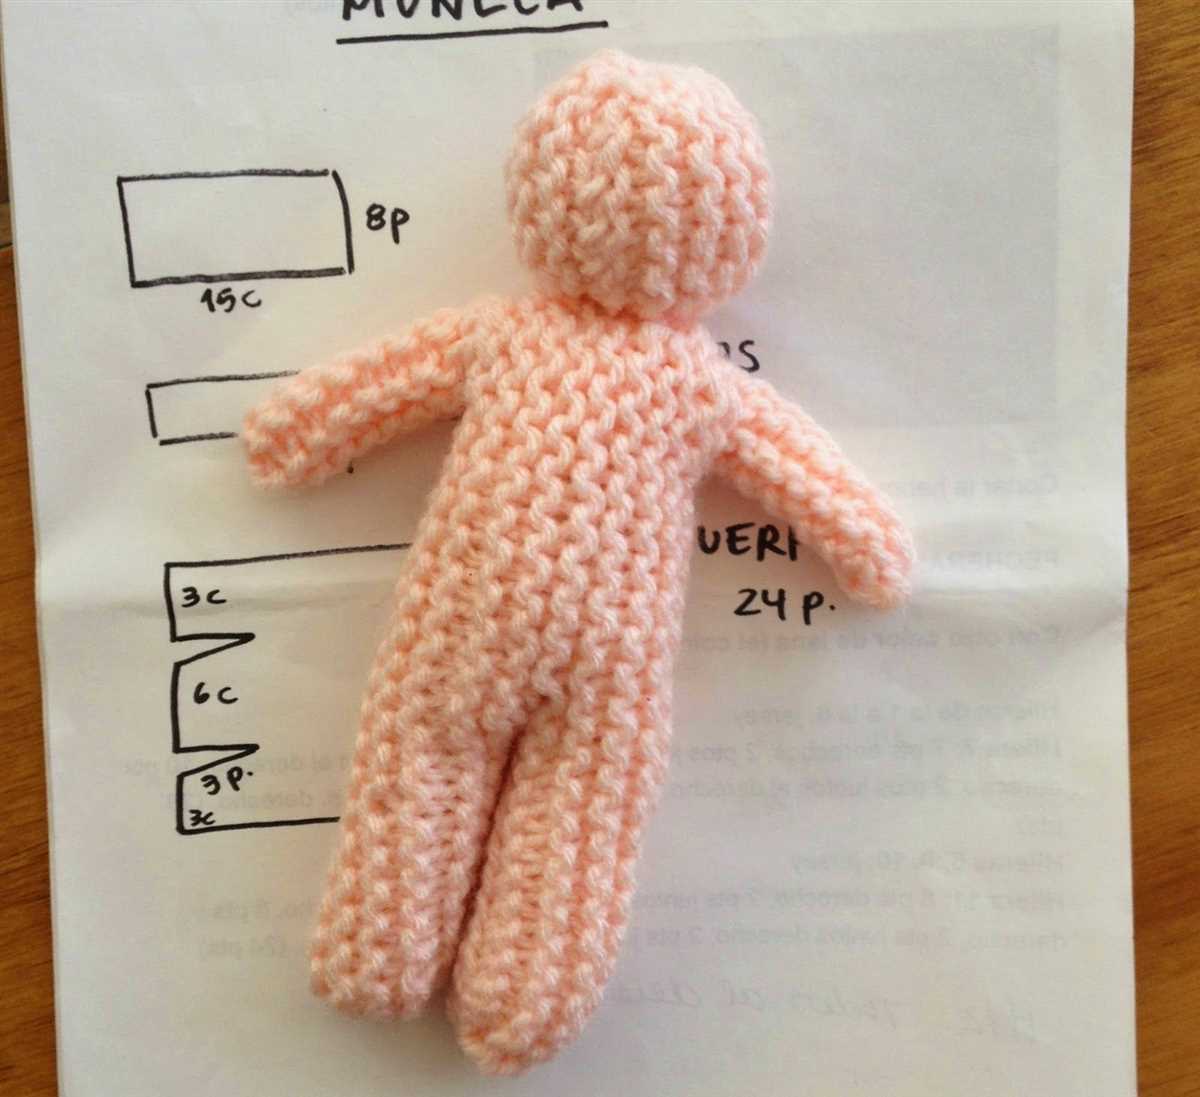
Start by selecting a doll pattern that suits your preferences and skill level. You can find a wide variety of free knitted doll patterns online, ranging from simple and basic designs to more intricate and detailed ones. Consider the size, complexity, and materials required for the pattern before making your choice.
2. Gather your materials
Once you have selected a doll pattern, gather all the necessary materials. This typically includes knitting needles, yarn in the colors specified by the pattern, stuffing, and any additional embellishments or accessories you may want to add to your doll. Make sure to check the pattern for specific recommendations on materials and gauge.
3. Start knitting
Follow the instructions provided in the pattern to begin knitting your doll. Pay attention to the gauge specified in the pattern to ensure that your finished doll will have the correct size and proportions. Take your time and enjoy the process of knitting, being careful to execute each stitch accurately and neatly.
4. Assemble the doll
Once you have finished knitting all the components of your doll, it’s time to assemble them together. Seam the body parts using a yarn needle and mattress stitch, following the pattern’s instructions. Stuff the doll firmly with stuffing material, making sure to distribute it evenly. Add any desired embellishments, such as embroidered features or clothing, to complete the look of your doll.
5. Finishing touches
After assembling your knitted doll, take a moment to inspect it for any loose ends or imperfections. Weave in any yarn tails and secure them well to prevent unraveling. Give your doll a final brush or fluff to make its features stand out. Admire your finished creation and share it proudly with others or display it as a charming addition to your collection.
Choosing the right yarn and needles
When it comes to knitting dolls, choosing the right yarn and needles is crucial for achieving the desired results. The type of yarn you choose will greatly affect the overall look and feel of your finished project. There are several factors to consider when selecting your yarn, such as the doll’s size, texture, and durability.
Firstly, consider the size of the doll you want to create. If you’re making a small doll, you’ll want to choose a lighter weight yarn, such as lace or fingering weight, to achieve the desired proportions. On the other hand, if you’re knitting a larger doll, a thicker yarn, like worsted or chunky weight, will provide better coverage and a fuller look.
Next, think about the texture of the yarn. Smooth, tightly spun yarns will create a polished and refined look, while fluffy or eyelash yarns can add a whimsical touch to your doll. Consider the character and personality you want your doll to have and choose a yarn that suits it. Additionally, consider the care instructions for the yarn you choose. If the doll will be played with or washed frequently, opt for a yarn that is durable and easy to clean.
When it comes to choosing the right needles, consider the tension you want to achieve in your knitting. Smaller needles will create tighter stitches and a firmer fabric, while larger needles will produce looser stitches and a more relaxed fabric. Take into account the yarn weight and texture you have chosen. Thicker yarns may require larger needles to create the desired drape, while lighter yarns may need smaller needles to create a more structured fabric.
In conclusion, selecting the right yarn and needles is essential for knitting dolls. Consider the size, texture, and durability of the yarn, as well as the tension you want to achieve with your needles. With careful consideration and experimentation, you can create beautiful knitted dolls that reflect your unique style and vision.
Tips for beginners
If you are a beginner knitter looking to create your own knitted doll, here are some helpful tips to get you started:
Gather the right materials: Before you begin, make sure you have all the necessary materials. This includes yarn in different colors, knitting needles, scissors, and a tapestry needle. Choose a soft yarn that is easy to work with and appropriate for the size of your doll.
Start with a simple pattern: As a beginner, it’s best to start with an easy and straightforward pattern. Look for free patterns online that are specifically designed for beginners. These patterns typically have clear instructions and minimal shaping, making them easier to follow.
Practice basic knitting stitches: It’s important to familiarize yourself with basic knitting stitches before diving into your doll project. Practice stitches like knit, purl, and increase/decrease to build your skills and confidence. You can find tutorials and instructional videos online to help you learn these stitches.
Take your time: Knitting a doll can be a time-consuming project, especially for beginners. Take your time and don’t rush the process. Remember to relax and enjoy the process of creating something unique with your own hands.
Pay attention to details: When knitting a doll, paying attention to details can make a big difference in the final outcome. Take the time to sew on facial features, embroider details, and add any additional embellishments that will enhance the overall look of your doll. These small details can make your doll truly special and one-of-a-kind.
Don’t be afraid to make mistakes: Mistakes are a natural part of the learning process, so don’t be afraid to make them. If you make a mistake, simply undo the stitches and start again. You can always practice on scrap yarn first to avoid any major mistakes on your actual doll.
Join knitting communities: Joining knitting communities can be a great way to connect with other knitters and learn from their experiences. Online forums, social media groups, and local knitting clubs are all great places to seek advice, share your progress, and get inspiration for your next project.
With these tips in mind, you’ll be well on your way to successfully knitting your own adorable doll!
Basic knitting stitches for doll making
When it comes to making dolls, knitting is a popular choice for creating the body and clothing. There are several basic knitting stitches that are commonly used in doll making, which can be easily learned and mastered.
Garter stitch: The garter stitch is one of the simplest and most basic knitting stitches. It is created by knitting every stitch in every row, resulting in a fabric with ridges. This stitch is often used for doll clothing, as it creates a sturdy and stretchy fabric.
Stockinette stitch: The stockinette stitch is another popular choice for doll making. It is created by knitting one row and purling the next row, resulting in a smooth and flat fabric. This stitch is often used for the body of the doll, as it gives a polished and neat finish.
- Seed stitch: The seed stitch is created by alternating knit and purl stitches within the same row. It creates a bumpy texture and is often used for doll accessories, such as scarves or hats.
- Ribbing: Ribbing is created by alternating knit and purl stitches in a specific pattern, such as 2×2 or 1×1. It creates a stretchy and flexible fabric, which is often used for doll clothing cuffs, collars, and hems.
These basic knitting stitches provide a solid foundation for doll making. By mastering these stitches, you can create a wide variety of doll clothing and accessories, adding personality and charm to your knitted dolls.
Using markers and counting stitches
When knitting a doll, it is important to use markers to keep track of your stitches. Markers are small, colored rings that you can insert into your knitting to indicate a specific point in your pattern. They can be especially helpful when working on complicated stitch patterns or when shaping the doll’s body.
To use markers, simply slip them onto your knitting needle at the designated stitch or point in your pattern. You can use different colored markers to indicate different sections or important points in your pattern. This will make it easier to visually identify where you are in the pattern and prevent any mistakes or confusion.
Counting stitches is also an important skill when knitting a doll. It helps ensure that you have the correct number of stitches and prevents any mistakes. You can count your stitches by visually counting each stitch on your needle or by using a stitch counter, which is a small tool that keeps track of your stitches.
When counting stitches, it is important to be accurate and double-check your count. Mistakes in stitch count can lead to errors in your pattern and affect the overall shape and size of your doll. Regularly counting your stitches throughout your project will help you catch any mistakes early on and make the necessary adjustments.
By using markers and diligently counting stitches, you can successfully knit a doll and create a beautiful finished product. These simple techniques will help you stay organized and ensure accuracy in your knitting, resulting in a doll that is well-shaped and true to your pattern.
How to sew the doll parts together
After knitting all the parts of the doll, it’s time to sew them together to create the final product. Sewing the doll parts together requires some basic sewing skills and attention to detail. Here is a step-by-step guide on how to sew the doll parts together:
1. Prepare the materials
Before starting the sewing process, gather all the necessary materials, including the knitted doll parts, a sewing needle, and matching thread. Make sure the needle is appropriate for the yarn used to knit the doll.
2. Position the parts
Start by positioning the knitted doll parts in the desired arrangement. Take the time to align the edges properly to ensure a neat and symmetrical finish. Use pins if needed to hold the parts in place.
3. Sew the parts
Thread the needle, and starting from one side, sew the doll parts together using a running stitch or whipstitch. Make sure to sew as close to the edges as possible to hide the stitches. Take your time and be careful not to pull the yarn too tightly to avoid distorting the shape of the doll.
4. Secure the threads
After sewing each part together, secure the threads by making a few small stitches on the wrong side of the fabric. This will prevent the stitches from unraveling over time and ensure the durability of the doll.
5. Finish the doll
Continue sewing all the parts together until the doll is fully assembled. Once all the parts are securely attached, weave in any remaining loose ends of yarn to hide them and give the doll a clean finish.
By following these steps and taking your time, you can successfully sew the doll parts together and create a beautiful knitted doll. Remember to be patient and enjoy the process of bringing your knitted creation to life!
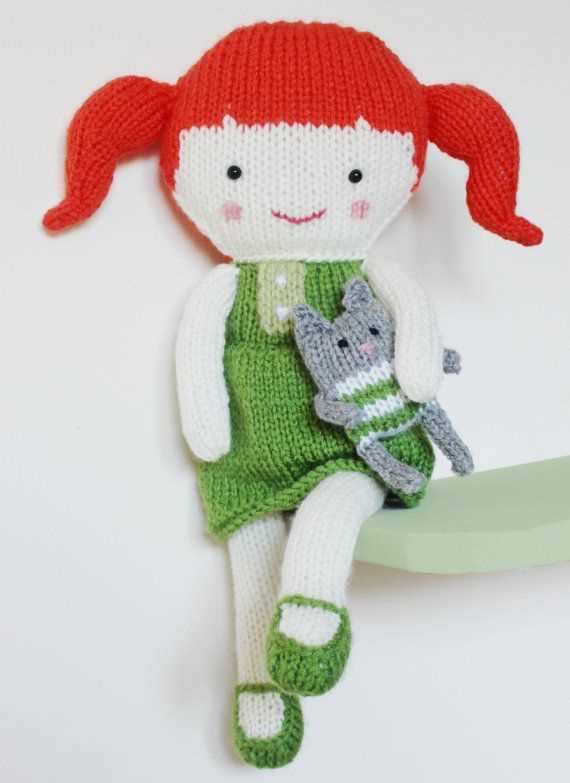
Adding facial features and details
When creating knitted dolls, adding facial features and details is an important step that brings the doll to life. This is where the doll’s personality and character start to shine through. There are several ways to add facial features and details to a knitted doll, depending on the desired look and skill level of the knitter.
Embroidery: One popular method for adding facial features is through embroidery. This involves using a needle and thread to create the desired details, such as eyes, nose, mouth, and eyebrows. Embroidery can range from simple stitches to more intricate designs, depending on the knitter’s skill level and preference.
Buttons and beads: Another option for adding facial features is by using buttons or beads. This method is especially useful for creating eyes, as buttons and beads come in a variety of shapes and sizes. They can be sewn onto the doll’s face to create different expressions and personalities.
Applique: Applique is a technique that involves sewing pieces of fabric onto the doll’s face to create facial features and details. This method can add texture and dimension to the doll’s face, as different fabrics can be used for different features. For example, a soft fabric can be used for the doll’s cheeks, while a shiny fabric can be used for the doll’s eyes.
Painting: For more advanced knitters, painting facial features directly onto the doll’s face can be an option. This technique requires special fabric paint that is safe for use on knitted dolls. The paint can be used to create realistic or stylized features, depending on the desired look.
Overall, adding facial features and details to a knitted doll is an exciting and creative process. Whether using embroidery, buttons and beads, applique, or painting, each method can result in a unique and expressive doll that is full of character and charm.
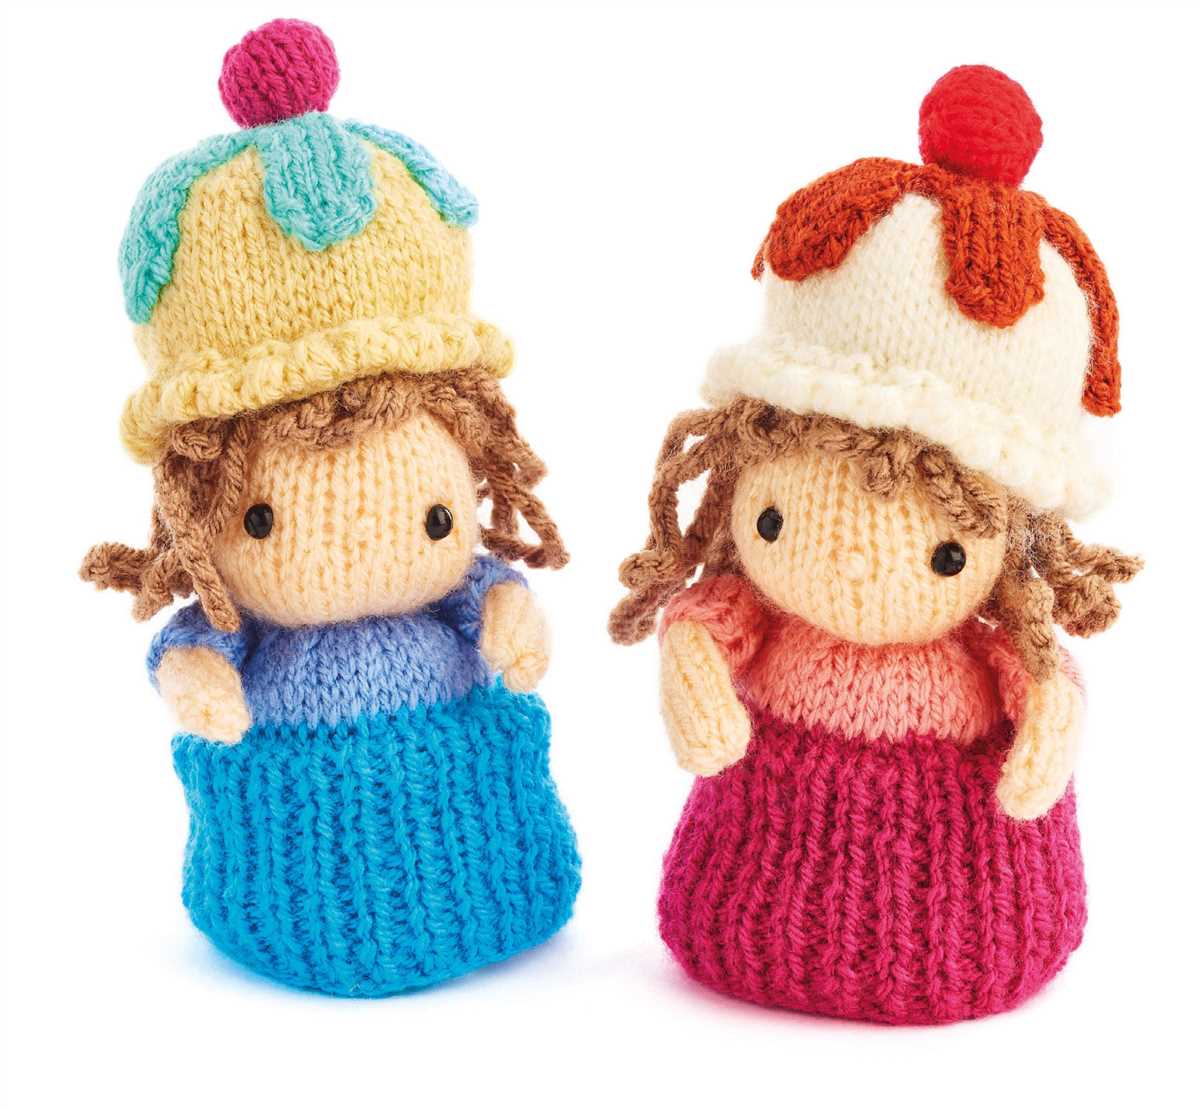
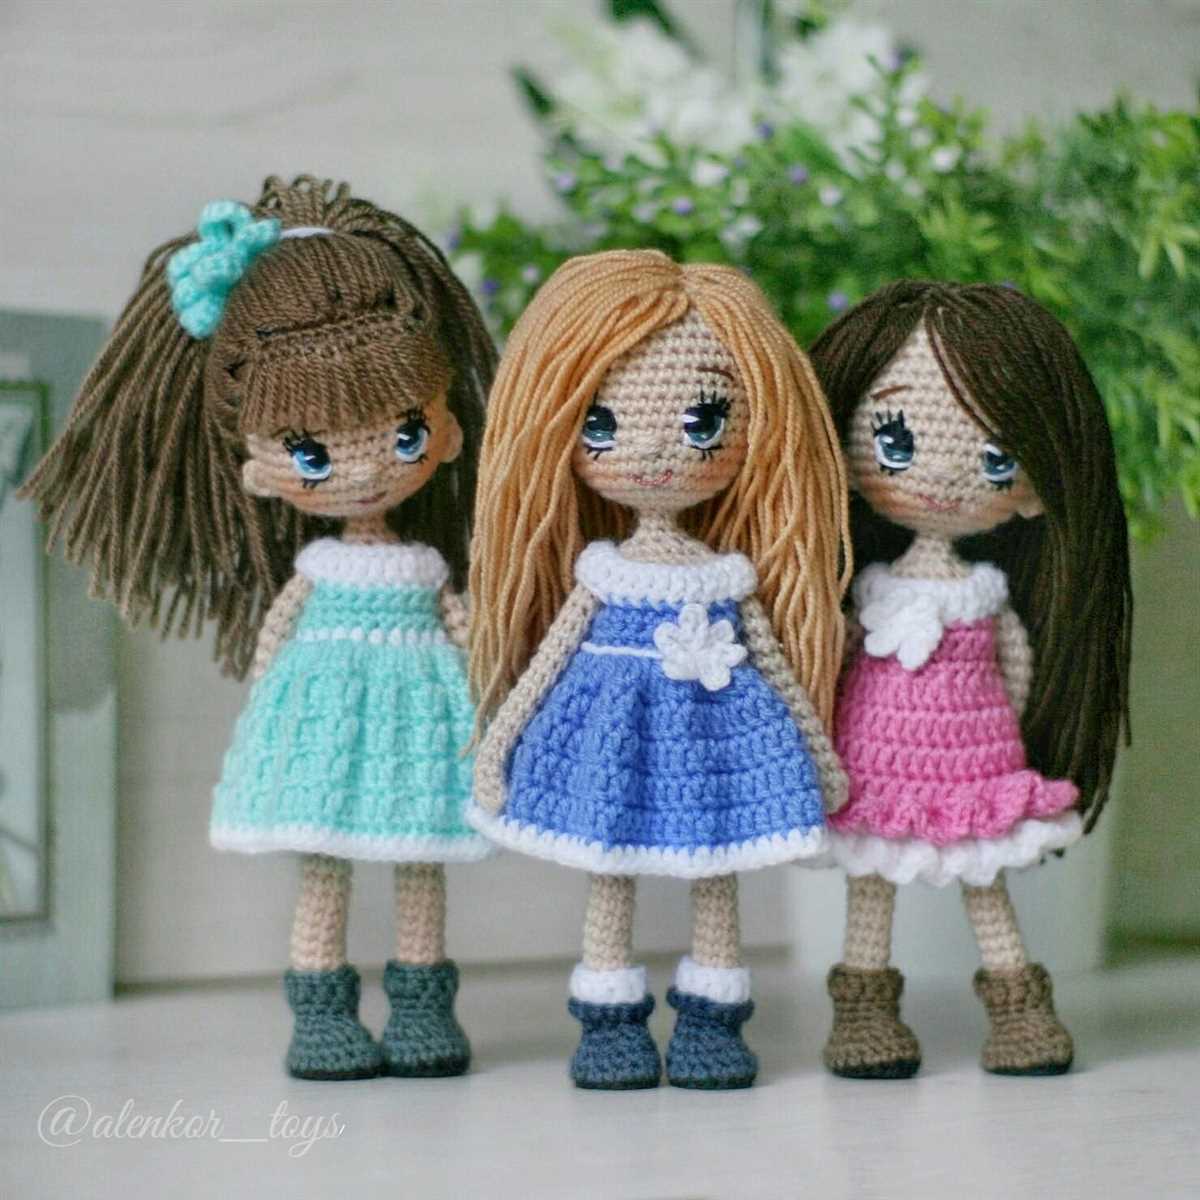
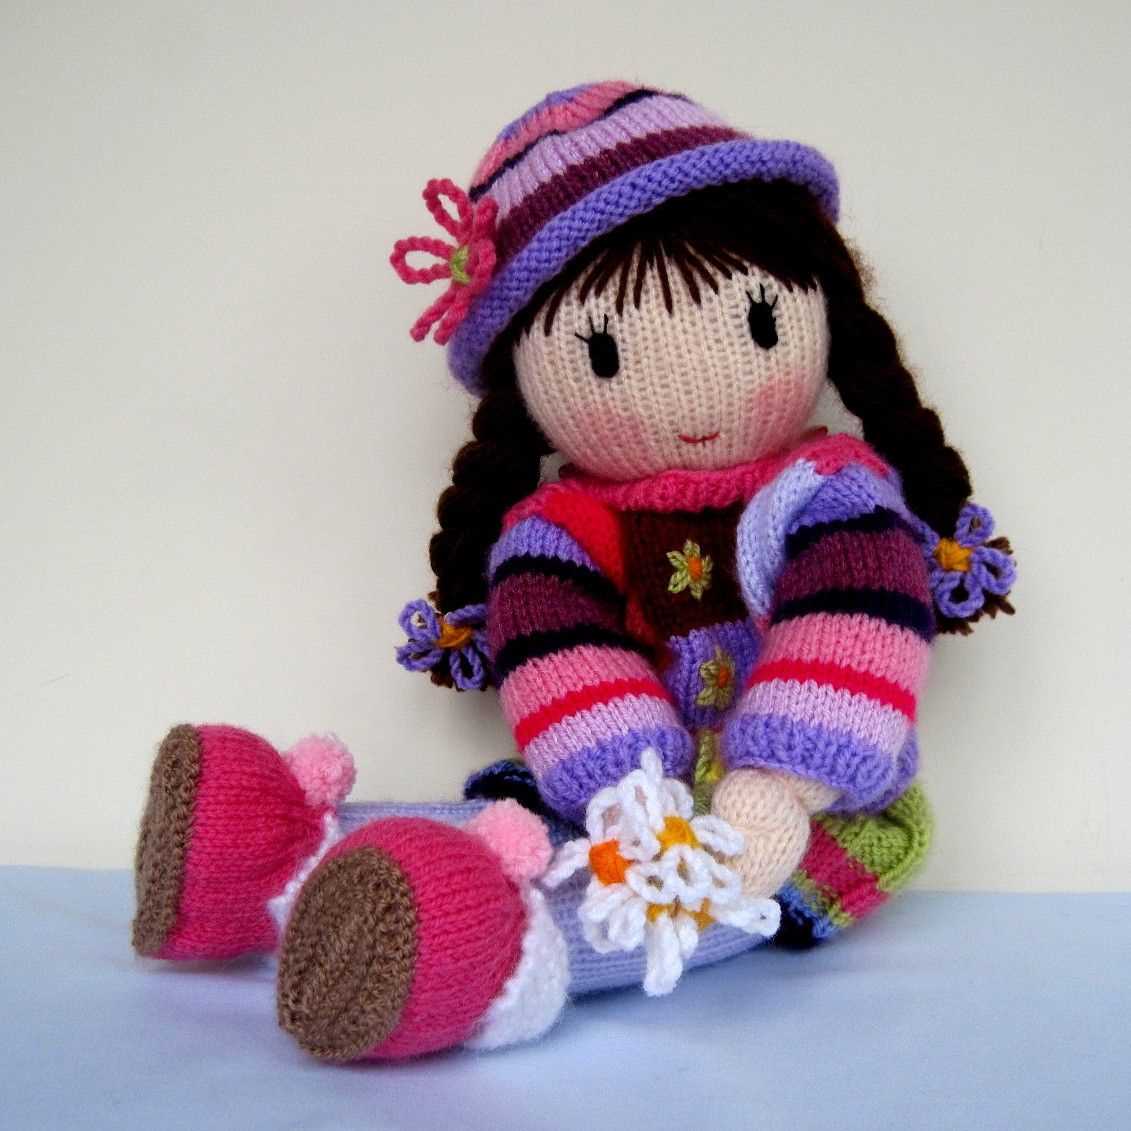
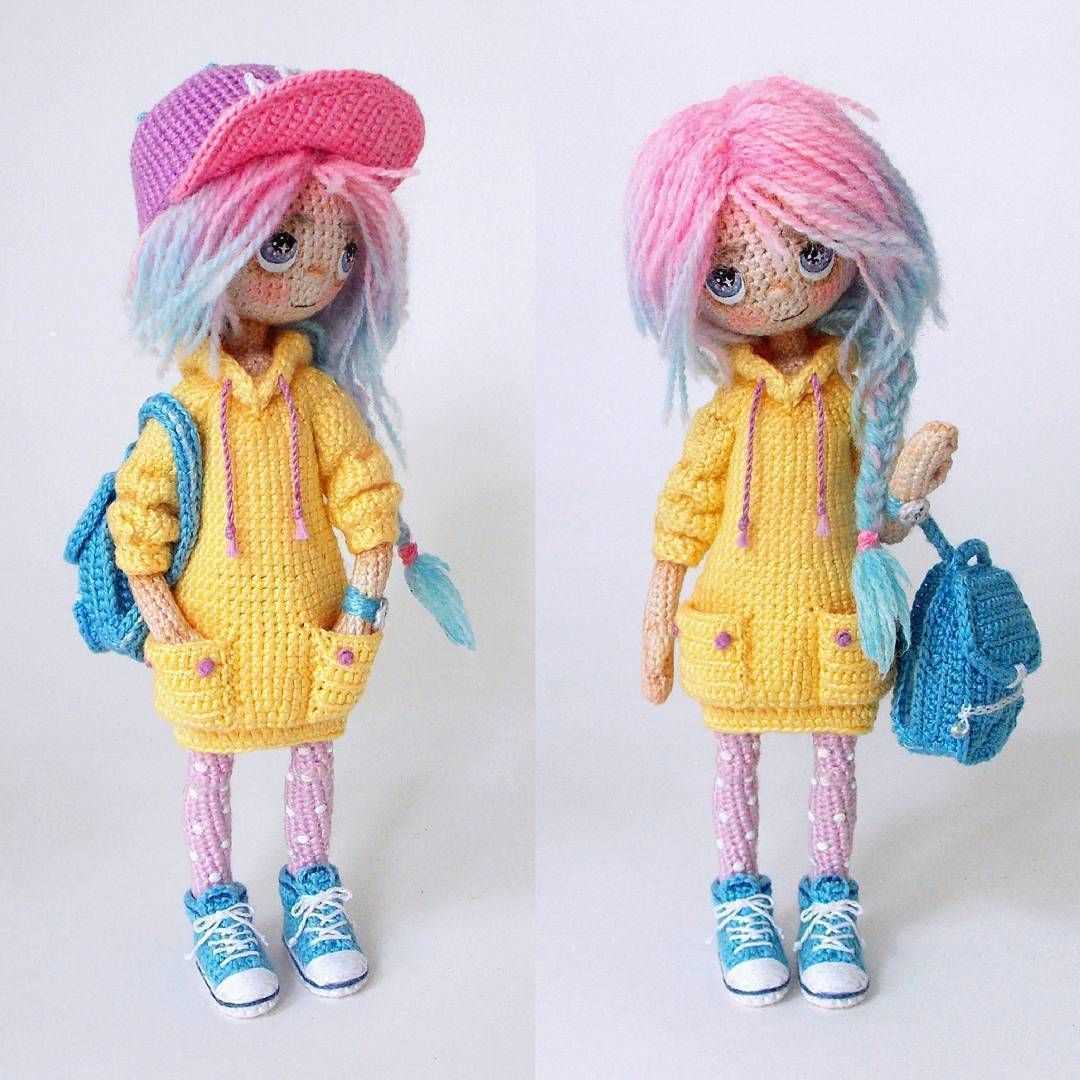
Creating Different Hairstyles for the Doll
When it comes to knitting doll patterns, one of the most fun and creative aspects is creating different hairstyles for the doll. Whether you are making a doll for your child or as a gift, the hairstyle can add personality and uniqueness to your creation. There are several easy and free patterns available that can help you achieve different hairstyles for your knitted doll.
Pigtails: One popular hairstyle for dolls is pigtails. This hairstyle can be easily achieved by knitting two separate pieces for each pigtail and attaching them to the doll’s head. You can create straight pigtails, curly pigtails, or even braided pigtails to add different textures and looks to your doll.
Braids: Another classic hairstyle for dolls is braids. You can create a single braid down the back or two braids on each side. This hairstyle can be achieved by knitting long strips and then braiding them together. You can also experiment with different braid styles, such as fishtail braids or French braids, to add more variety to your doll’s hairstyle.
- Ponytail: A simple yet elegant hairstyle for your knitted doll is a ponytail. You can create a high ponytail or a low ponytail depending on the desired look. This hairstyle can be achieved by knitting a small piece and attaching it to the doll’s head, gathering the doll’s hair at the desired location, and securing it with a small piece of yarn or thread.
- Bob: For a modern and stylish look, you can create a bob hairstyle for your doll. This hairstyle can be achieved by knitting a short piece that falls just below the doll’s ears. You can add bangs or fringe to give the bob hairstyle more character.
- Updo: If you want to create a more sophisticated hairstyle for your knitted doll, an updo is a great option. You can create an updo by knitting a piece that covers the entire doll’s head and then arranging the doll’s hair into an elegant bun or twist. This hairstyle is perfect for special occasions or when you want your doll to look extra stylish.
There are endless possibilities when it comes to creating different hairstyles for your knitted doll. You can let your creativity run wild and experiment with different patterns, techniques, and accessories to achieve the perfect hairstyle for your doll. Whether you prefer simple and classic styles or more elaborate and trendy looks, knitting doll patterns offer a world of possibilities for creating unique and beautiful hairstyles.
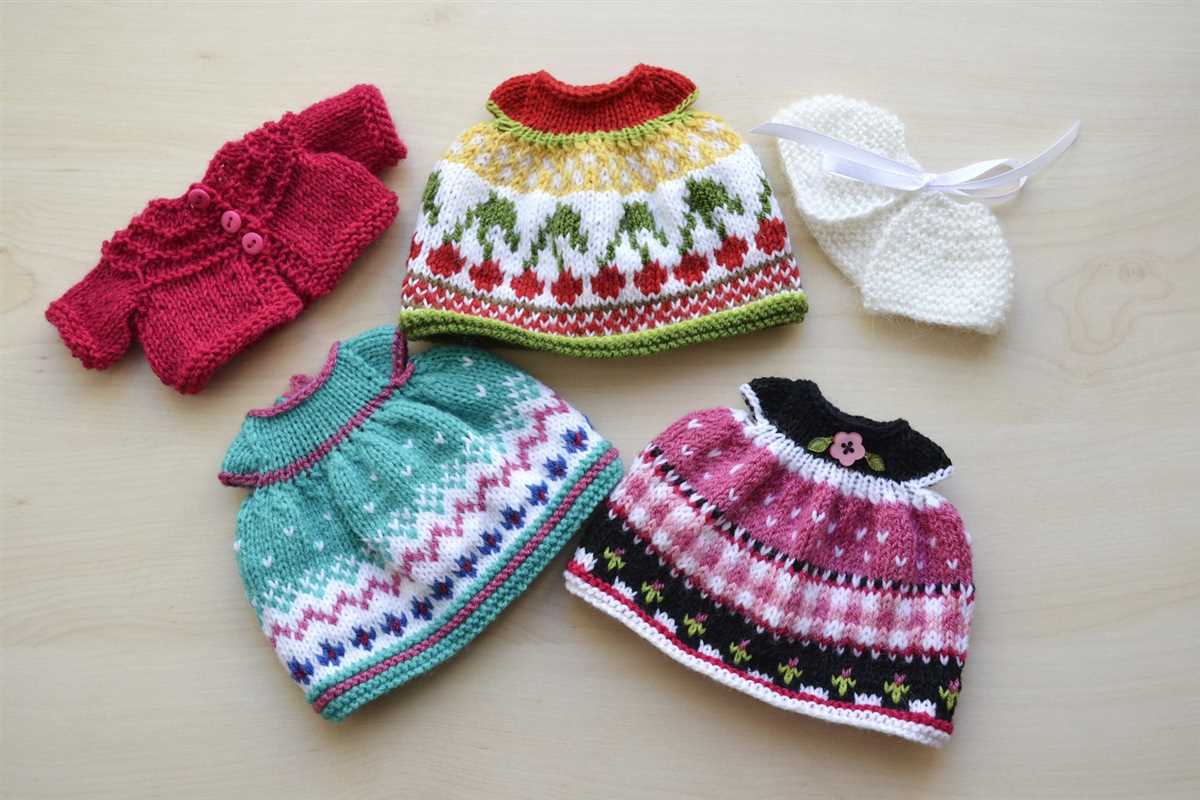
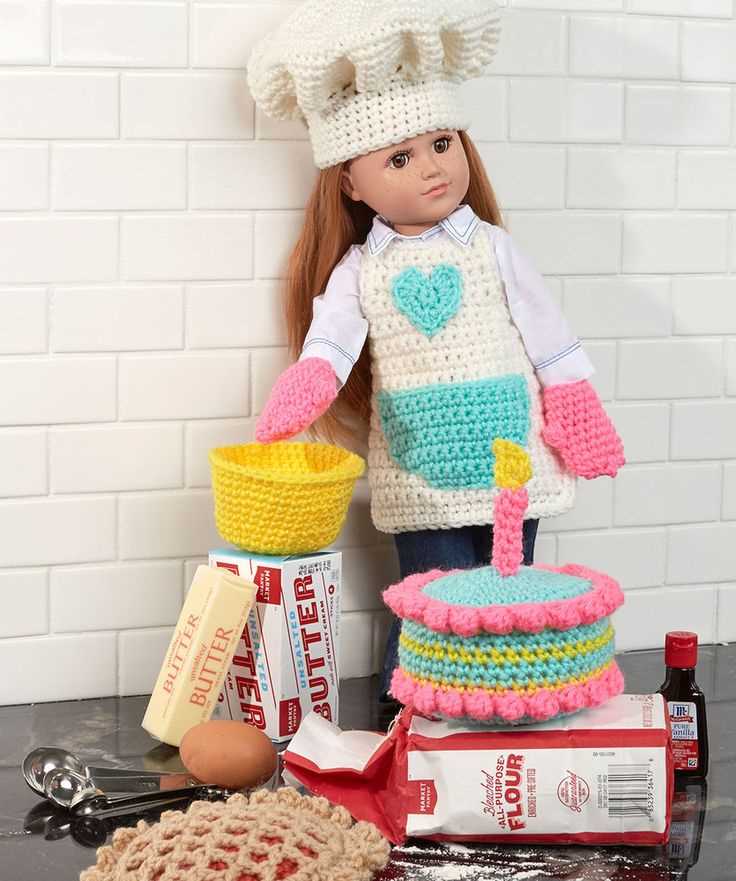
Decorating the doll with accessories
Once you have finished knitting your doll, it’s time to give it some personality and style by adding accessories. There are endless possibilities for how you can decorate your doll, so let your creativity shine!
1. Hats: One of the easiest ways to accessorize your doll is by knitting a cute hat. You can choose from a variety of styles, such as beanies, berets, or even a summer sunhat. Knitting a hat can add a pop of color and make your doll look even more adorable.
2. Scarves: Another popular accessory for dolls is a knitted scarf. You can use different colors and patterns to create a unique and fashionable look. A scarf not only adds warmth but also adds a touch of elegance to your doll’s outfit.
3. Bags: If you want your doll to be stylish and trendy, consider knitting a small bag or purse. You can use sparkly yarn or add some buttons and beads to make it even more eye-catching. Your doll can now carry around its own little accessories or treasures!
4. Shoes: Don’t forget about the feet! Knitting tiny shoes or booties can complete the look of your doll and give it a polished appearance. You can get creative and experiment with different designs and colors, making your doll’s feet stand out.
5. Accessories: In addition to the essential items mentioned above, you can also knit other fun accessories for your doll. Consider making a tiny scarf, a headband, or even a knitted bow tie. These small touches can bring your doll to life and make it truly one-of-a-kind.
Remember, the knitted accessories will not only make your doll look more attractive but also give you the opportunity to practice new knitting techniques and challenge your skills. Have fun with it and let your imagination run wild!
Finishing touches and final touches
After completing the main body of your knitted doll, you can add the finishing touches to give it a more polished and professional look. These final details can elevate your doll from a simple toy to a work of art.
Facial features: The face is one of the most important parts of a doll, as it brings it to life. You can embroider or sew on the doll’s eyes, nose, and mouth using thread or yarn. Be sure to position them symmetrically for a balanced look. You can also add rosy cheeks using a small amount of blush or fabric paint.
Hair: The hair of your doll can be made using yarn or fabric. You can choose to sew or glue the hair onto the doll’s head. If you opt for yarn, you can create different hairstyles by braiding, curling, or tying up the strands. For fabric hair, you can sew on individual pieces or create a wig-like structure.
Clothing and accessories: Dressing up your knitted doll is a fun way to add personality and style. You can knit or sew various outfits, such as dresses, pants, or skirts, depending on your doll’s size. You can also create accessories like hats, scarves, or shoes to complete the look. Experiment with different colors and textures to make your doll’s wardrobe diverse and unique.
Embroidery and embellishments: Adding decorative stitches or embellishments can make your doll stand out. You can embroider patterns or designs onto the doll’s clothing, or sew on buttons, beads, or ribbons as accents. These details can add texture and visual interest to your doll.
Final inspections: Once you have completed all the finishing touches, it’s important to carefully examine your doll to make sure everything is in place and secure. Check for loose threads, weak seams, or any other areas that may need reinforcement. Make any necessary adjustments before presenting your finished knitted doll.
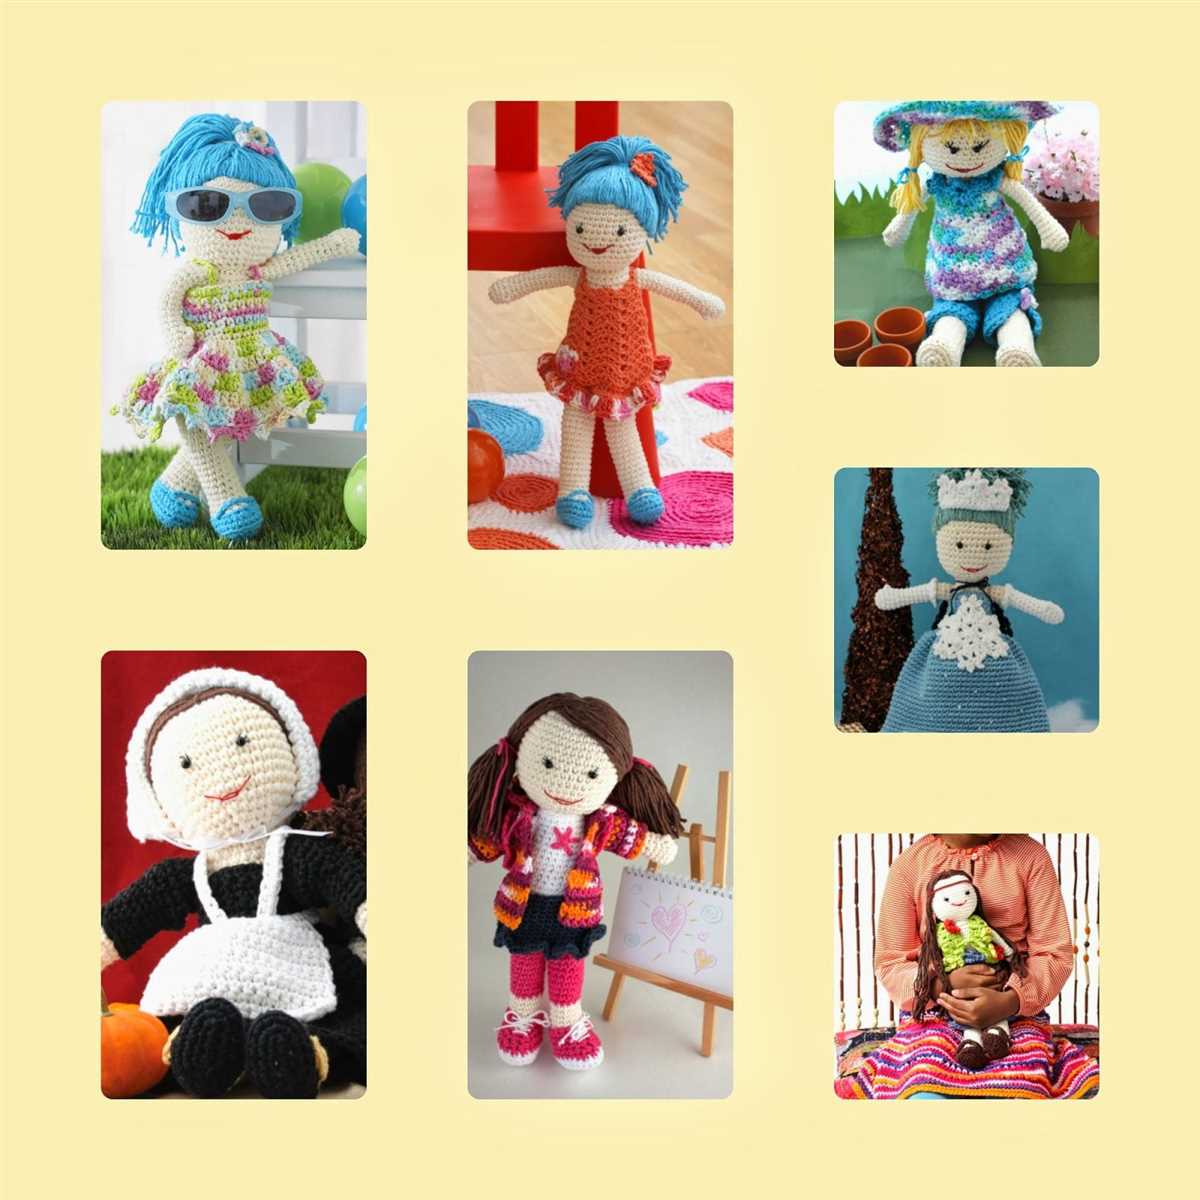
Resources for more free doll patterns
If you’re looking for even more free doll knitting patterns, there are several websites and online platforms where you can find a wide variety of options. Here are some recommended resources:
- Ravelry: Ravelry is a popular online community and database for knitters and crocheters. It has an extensive collection of doll patterns, both free and paid. Simply create a free account and start exploring the vast selection of patterns available.
- Knitting Pattern Central: Knitting Pattern Central is a website that compiles free knitting patterns from various sources. They have a section dedicated to doll knitting patterns, which you can browse through and download for free.
- LoveKnitting: LoveKnitting is an online platform that offers a range of knitting patterns, including doll patterns. They have a free section where you can find some adorable knitted doll patterns.
- AllFreeKnitting: AllFreeKnitting is a website that features a wide selection of free knitting patterns, including doll patterns. They have patterns for all skill levels, so you’re sure to find something suitable for your knitting abilities.
These resources provide a treasure trove of free doll patterns for knitters of all levels. Take your time to explore these websites and find the perfect patterns for your next knitted doll project. Enjoy the process of creating unique and charming dolls with these free knitting patterns!