
Christmas stockings are an essential part of the holiday season, and what better way to add a personal touch to your decorations than by knitting your own? Whether you’re a seasoned knitter or just starting out, a knitted Christmas stocking pattern is a fun and rewarding project that can be enjoyed by all ages.
When it comes to choosing a pattern, there are endless possibilities. From classic designs with traditional motifs to modern and playful patterns, you can find a style that suits your taste and matches your existing Christmas decor. Knitting your own stockings also allows you to experiment with different yarns, colors, and stitches, making each stocking unique and one-of-a-kind.
Knitting a Christmas stocking can be a wonderful way to create lasting memories for your family. Imagine the joy on your loved ones’ faces as they hang their own personalized stocking by the fireplace, filled with little surprises and treats. It’s a tradition that can be passed down from generation to generation, and the handmade nature of the stockings adds an extra special touch that will be cherished for years to come.
Knitted Christmas Stockings Pattern
Christmas stockings are an essential part of holiday decorations, and knitting your own can be a fun and fulfilling project. With a knitted Christmas stockings pattern, you can create unique and personalized stockings for your family and loved ones. Whether you’re an experienced knitter or a beginner looking for a new challenge, there are patterns available for all skill levels.
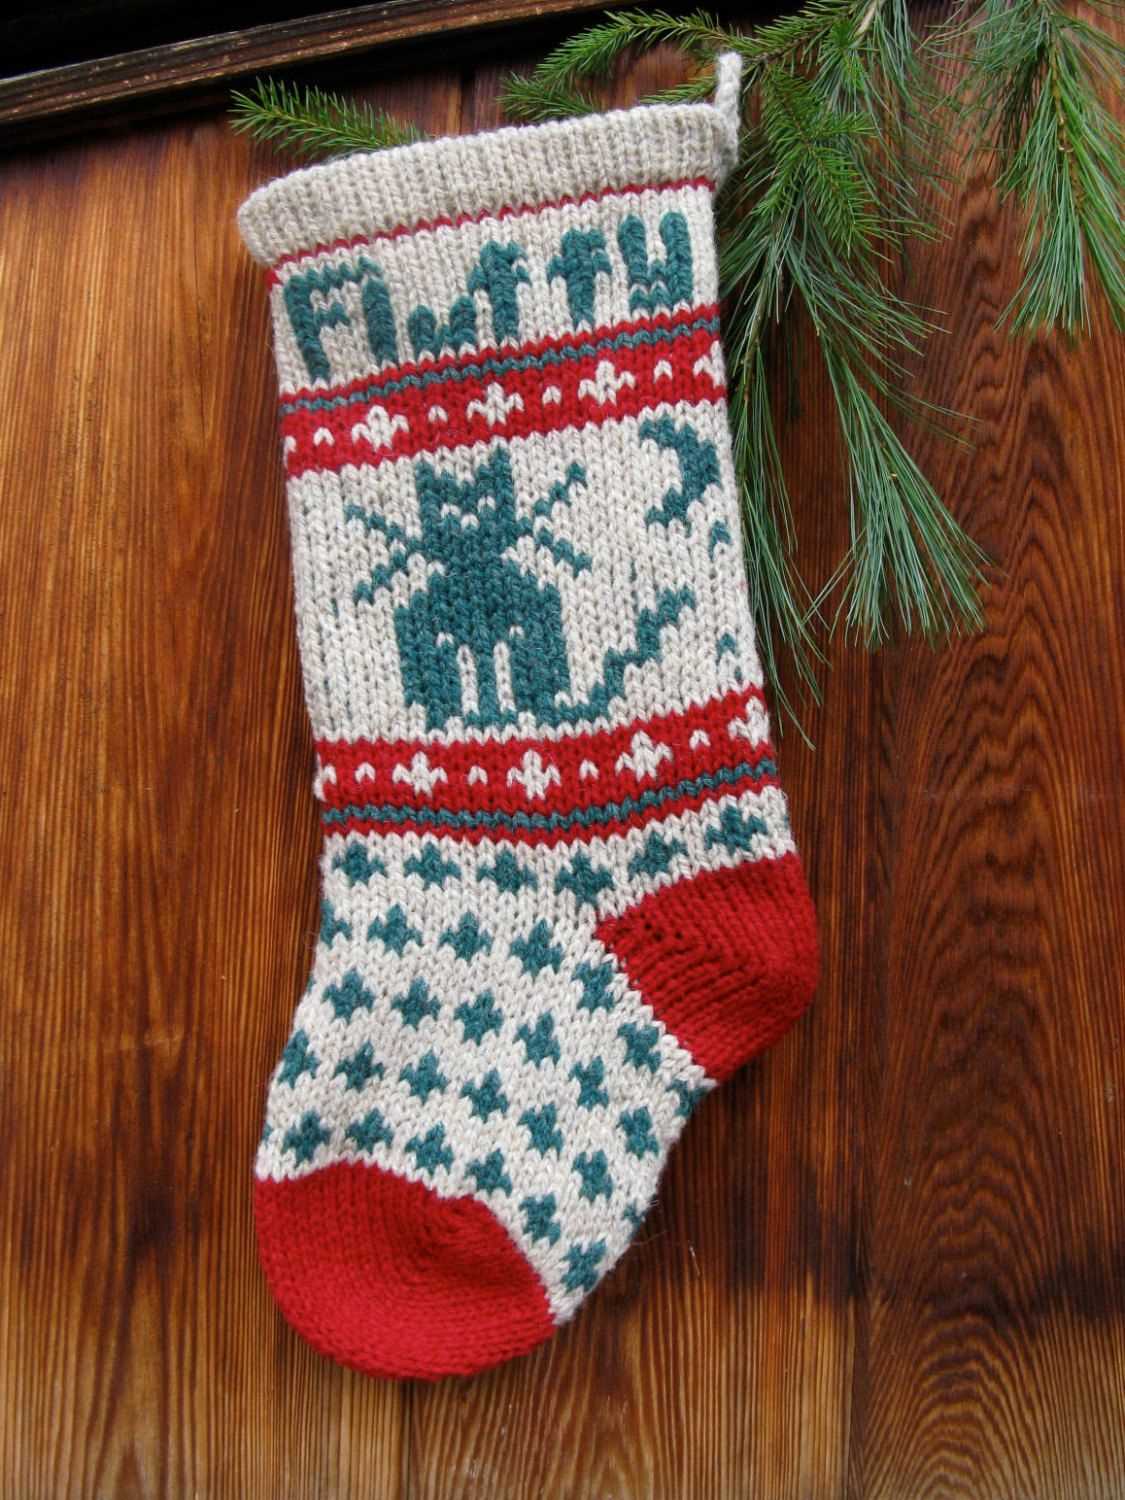
A knitted Christmas stockings pattern typically involves using various stitches and techniques to create intricate designs and textures. You can choose from traditional patterns with classic Christmas motifs like reindeer, snowflakes, and Christmas trees, or opt for more modern and unique designs. The possibilities are endless, and you can let your creativity soar!
Getting Started with Knitting Christmas Stockings
To start knitting your own Christmas stockings, you’ll need a few essential supplies. Firstly, you’ll need knitting needles in the appropriate size for your chosen pattern. You’ll also need yarn in festive colors, such as red, green, or white, depending on the design you’re going for.
Once you have your supplies ready, you can find a knitted Christmas stockings pattern online or in knitting books. Make sure to read through the pattern carefully and understand the instructions before you begin. It’s also a good idea to make a gauge swatch to ensure that your stocking will turn out the correct size.
- Choose a pattern that matches your skill level or challenge yourself with a more advanced design.
- Some patterns may require you to knit in the round using circular needles, while others may be knit flat and seamed together.
- Be patient and take your time when following the pattern instructions, as accuracy is key to achieving the desired result.
- Once you’ve completed your knitted Christmas stocking, you can personalize it with additional embellishments like buttons, ribbons, or even embroidery.
Knitting your own Christmas stockings can be a joyous and rewarding experience. It allows you to add a personal touch to your holiday decorations and create lasting memories for your family. So grab your knitting needles, choose a pattern that inspires you, and get ready to create beautiful knitted Christmas stockings that will be cherished for years to come.
Choose Your Yarn and Needles
When it comes to knitting Christmas stockings, choosing the right yarn and needles is crucial. The yarn you choose will determine the texture and durability of your stockings, while the needles you use will affect the size and tension of your stitches. Here are some tips to help you make the best choices for your project.
Selecting the Yarn
When selecting yarn for your knitted Christmas stockings, it’s important to consider both aesthetics and functionality. Wool yarn is a popular choice due to its warmth and durability, but you can also opt for acrylic or cotton yarns for a softer feel. If you want a festive touch, you can even choose yarns with metallic threads or in holiday-themed colors. Keep in mind that the thickness of the yarn will affect the size and appearance of your stockings, so make sure to choose a weight that suits your desired outcome.
Deciding on the Needles
The type of needles you use will greatly impact your knitting experience. Circular needles are often preferred for knitting Christmas stockings, as they allow for the easy handling of a large number of stitches. However, you can also use double-pointed needles if you’re more comfortable with them. The needle size you choose will depend on the thickness of your yarn and the desired tension of your stitches. Be sure to choose a needle size that matches the recommended gauge of your yarn to ensure that your stockings turn out the right size. Additionally, consider the material of your needles – wooden or bamboo needles may provide more grip, while metal needles may offer more speed.
By carefully choosing the yarn and needles for your knitted Christmas stockings, you can ensure that your project turns out just as you envisioned. Take into account the aesthetic and functional aspects of the yarn, as well as the type and size of needles that will be most comfortable for you. With the right materials in hand, you’ll be ready to create beautiful stockings that will add a festive touch to your holiday decor.
Cast On Stitches
When starting a knitting project, one of the first steps is to cast on stitches. The cast on is the process of creating the foundation row of stitches that will be worked throughout the project. There are several methods for casting on stitches, each with its own unique look and texture.
One common method for casting on stitches is the long-tail cast on. To begin, you will need a long tail of yarn, approximately three times the width of the finished project. This method creates a neat, elastic edge that is great for a variety of projects, including Christmas stockings.
To cast on using the long-tail method, start by making a slipknot at the end of your yarn. Insert one of the knitting needles through the slipknot, with the needle point facing away from you. Hold the needle with the slipknot in your right hand, and use your left hand to hold the yarn tail. With your right hand, wrap the yarn around the thumb and index finger of your left hand, creating a triangle.
Next, insert the knitting needle under the strand of yarn that connects the thumb and index finger, coming from right to left. Bring the needle over the top of the strand, and then bring it through the loop on your thumb, from left to right. Drop the loop off your thumb, and tighten the stitch on the needle. Repeat these steps until you have cast on the desired number of stitches.
Knit the Leg
Once you have completed the cuff of your knitted Christmas stocking, it’s time to move on to knitting the leg. The leg is the main part of the stocking and will determine its overall length.
To begin, continue knitting in your chosen pattern stitch, whether it’s ribbing, cables, or a simple knit and purl design. Make sure to follow the pattern instructions carefully and check your gauge as you go along to ensure the stocking will turn out the correct size.
To create the desired shape of the leg, you may need to increase or decrease stitches. This can be done by adding or removing stitches at the beginning or end of the row. Alternatively, you can also make increases or decreases within the row itself, depending on the pattern. Pay attention to the stitch count and any shaping instructions provided in the pattern.
As you continue knitting the leg, keep in mind the length you want the stocking to be. If you prefer a shorter stocking, you can knit fewer rows. Conversely, if you want a longer stocking, you can knit more rows. Remember to adjust the stitch count accordingly if needed.
Continue working in the pattern stitch until you reach the desired length for the leg of the stocking. Once you’re satisfied with the length, you can proceed to the next step, which is typically knitting the heel and instep. By following the pattern instructions and paying attention to shaping and stitch count, you’ll be able to create a beautifully knitted Christmas stocking leg.
Add a Pattern or Design
If you’re looking to add some creativity and personalization to your knitted Christmas stockings, you can easily incorporate different patterns and designs. Whether you want to create a traditional festive look or a more modern and unique design, there are countless options to choose from.
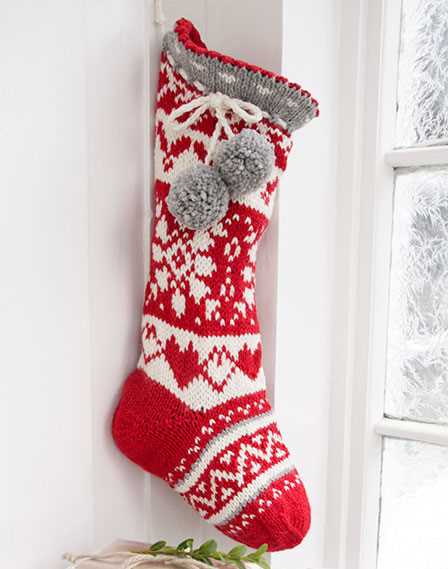
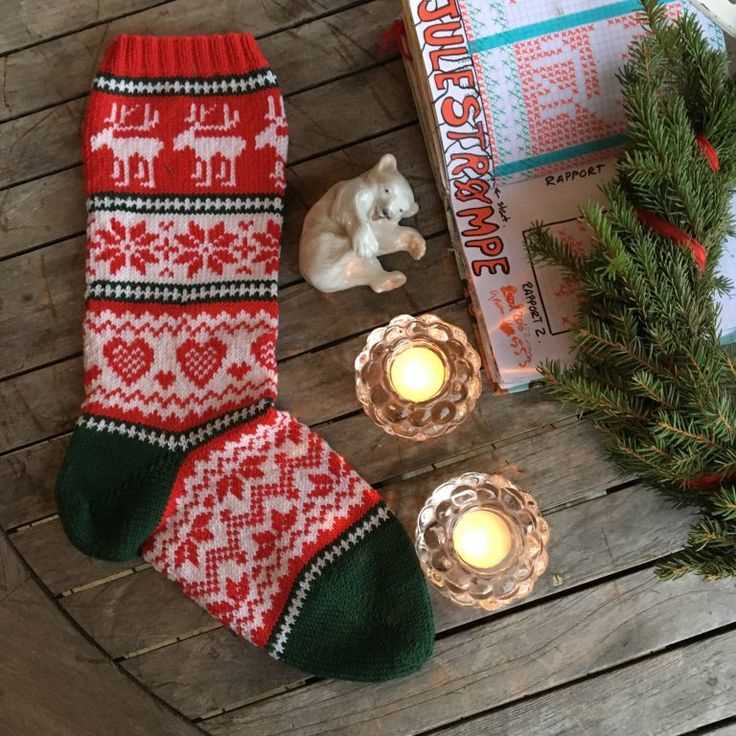
One popular pattern is the classic fair isle design, which features intricate motifs and colorful patterns. This technique involves using multiple colors in your knitting to create a beautiful and eye-catching design. You can choose to incorporate traditional Christmas motifs such as snowflakes, reindeer, or holly berries, or you can get creative and design your own unique pattern.
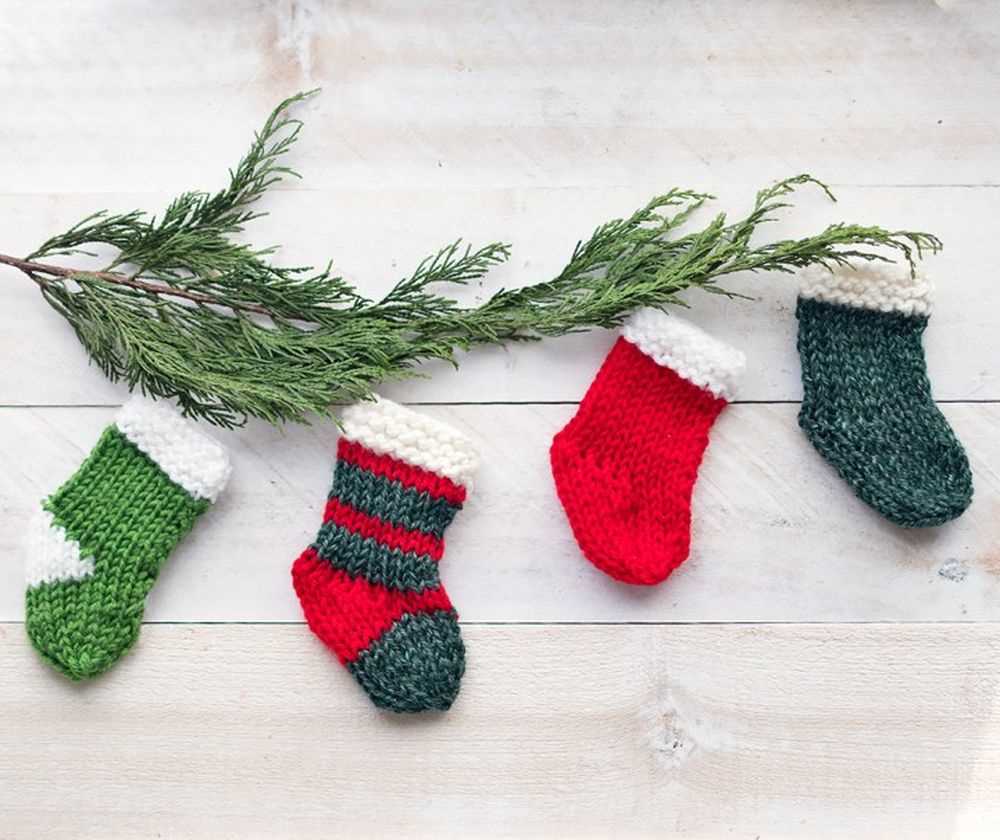
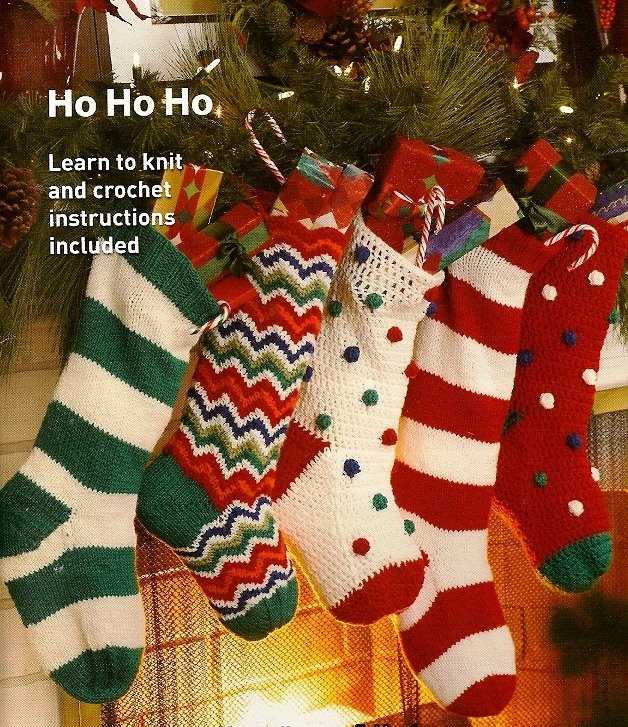
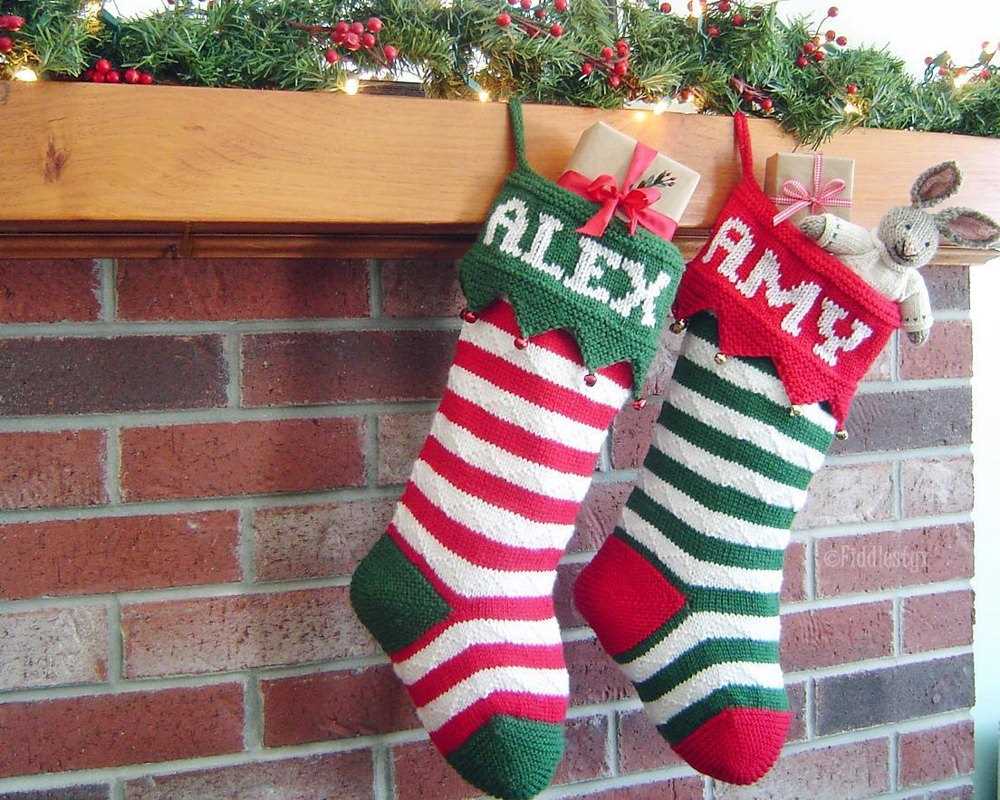
If you prefer a simpler design, you could opt for a striped pattern. This involves knitting alternating rows of different colors to create a striped effect. You can choose to use traditional Christmas colors such as red, green, and white, or you can experiment with different color combinations to match your personal style or home decor.
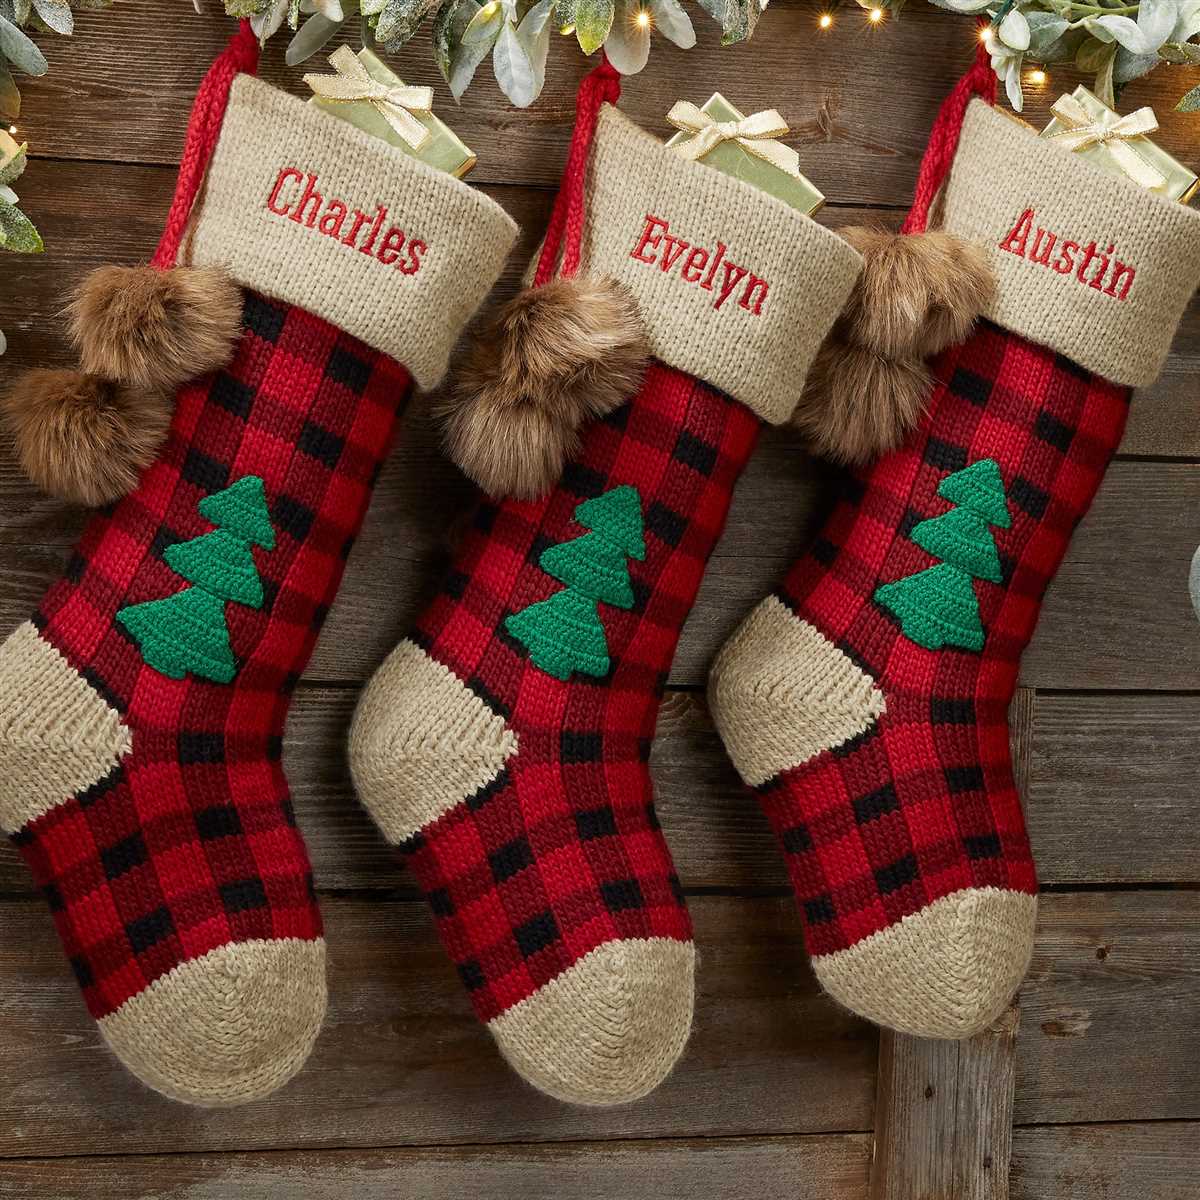
Another option is to add embroidery or appliqué to your stockings. This allows you to add detailed designs or personalized messages to your stockings. You could embroider your family members’ names, add festive images such as snowflakes or Christmas trees, or even create personalized monograms. Appliqué involves sewing fabric onto your knitted stocking to create a design. This can be a great way to add texture and dimension to your stockings.
Finally, if you’re feeling adventurous, you could try adding some texture to your stockings. This can be done through techniques such as cabling or lace knitting. Cabling involves crossing stitches over each other to create intricate patterns, while lace knitting involves creating patterns using a combination of increases and decreases. Adding texture can create a visually interesting design and make your stockings stand out.
Whatever pattern or design you choose, adding your own personal touch to your knitted Christmas stockings can make them even more special and meaningful. Get creative and have fun experimenting with different techniques and styles. Your stockings will become cherished holiday decorations for years to come.
Knit the Heel
Once you have completed the foot portion of your knitted Christmas stocking, it’s time to move on to knitting the heel. The heel is an important part of the stocking as it provides structure and helps to shape the overall design.
To begin knitting the heel, you will first need to divide your stitches. Count the number of stitches on your needle and divide it in half. Place one half of the stitches onto a stitch holder or scrap yarn, and continue working with the remaining stitches on your needle.
Row 1: Knit across all the stitches on the needle.
Row 2: Purl across all the stitches on the needle.
Repeat Rows 1 and 2 for a total of 12-16 rows, or until the heel measures approximately 2 inches. This will ensure that you have enough room for the heel shaping.
Next, you will begin shaping the heel by working short rows. Short rows are partial rows of knitting that create a curve or angle in the fabric. They are achieved by knitting only a portion of the stitches on the needle, then turning the work and working back in the opposite direction.
To begin shaping the heel, work the following short row sequence:
- Knit across the first half of the stitches.
- Turn the work.
- Purl across the first half of the stitches.
- Turn the work.
- Knit across one less stitch than the previous row.
- Turn the work.
- Purl across one less stitch than the previous row.
- Turn the work.
- Continue this sequence, knitting or purling one less stitch each row until you have worked half of the total number of stitches on your needle.
After shaping the heel with the short row sequence, you will continue knitting the rest of the stocking in the desired pattern. The heel will provide a snug fit and add an interesting element to your knitted Christmas stocking.
Shape the Toe
Now that you have completed the foot of your knitted Christmas stocking, it’s time to shape the toe. This will give the stocking its characteristic pointed shape. Follow the pattern carefully to ensure proper shaping.
|
Row 1: |
K1, ssk, knit to the last 3 stitches, k2tog, k1. |
|
Row 2: |
Purl. |
|
Row 3: |
K1, ssk, knit to the last 3 stitches, k2tog, k1. |
Repeat Rows 2 and 3 until there are x number of stitches remaining on your needles. This will depend on the pattern and size of your stocking. You may need to adjust the number of repeats to achieve the desired toe shape.
Once you have reached the desired number of stitches, cut the yarn, leaving a long tail. Thread the tail through a yarn needle and slip the needle through the remaining stitches. Pull tight to close the toe. Weave in the ends to secure.
Knit the Cuff
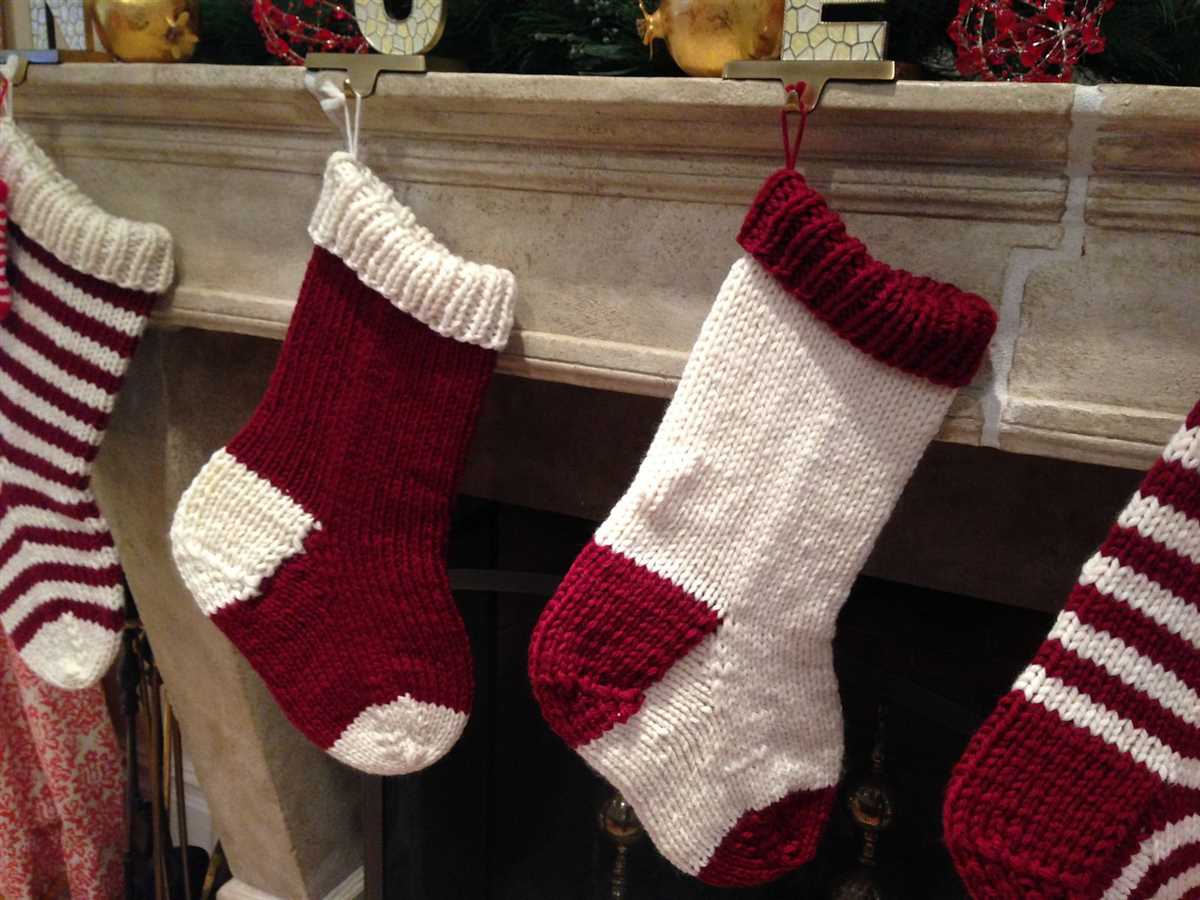
After you have cast on the required number of stitches for your Christmas stocking, it’s time to start knitting the cuff. The cuff is the top portion of the stocking that will fold over, so it’s important to choose a stitch pattern that is both decorative and stretchy.
One popular stitch pattern for the cuff is the ribbing stitch. To create a ribbed cuff, you will alternate between knitting and purling stitches in a specific pattern. This creates a stretchy fabric that will ensure a snug fit around the top of the stocking.
Another option for the cuff is a simple garter stitch. The garter stitch is created by knitting every row, which creates a textured fabric that lays flat and is also stretchy. This stitch pattern is perfect for beginners or for those who prefer a more simplistic design.
Once you have chosen your desired stitch pattern, you will continue to knit the cuff for the desired length. Typically, a cuff will be around 1-2 inches in length, but you can adjust this based on your personal preference. Don’t forget to leave enough room for any additional embellishments or decorations you plan to add to the cuff.
Remember to keep track of your rows as you knit the cuff to ensure that it is uniform in length and appearance. Once the cuff is complete, you can move on to knitting the body of the stocking and adding any additional design elements that you desire.
Add Embellishments

Once you have finished knitting your Christmas stocking, you can add embellishments to make it even more festive and unique. There are many options for embellishing knitted stockings, including buttons, beads, sequins, and embroidery.
Buttons: Sewing on buttons is a simple and effective way to add a touch of charm to your knitted stocking. You can choose buttons in various shapes, sizes, and colors to match your chosen design. Sew them on securely using a needle and thread.
Beads: Stringing beads onto the stocking yarn before knitting can create a beautiful embellishment. You can use beads in different colors and sizes to create patterns or scatter them randomly for a sparkling effect.
Sequins: Adding sequins to your knitted stocking can give it a glamorous and festive look. You can sew them on individually or string them together and attach them in a row. Choose sequins in colors that complement your stocking design.
Embroidery: Embroidering designs or patterns onto your knitted stocking can add a personal touch. You can use embroidery floss or yarn in contrasting colors to create elaborate designs or simple motifs.
Ribbon: Attaching a decorative ribbon to your knitted stocking can add an elegant finishing touch. You can tie it in a bow or create a loop for hanging the stocking. Choose a ribbon that matches the colors and theme of your stocking.
Remember to take into account the overall design and style of your knitted stocking when adding embellishments. Experiment with different options and have fun creating a one-of-a-kind Christmas stocking!
Finishing Touches
When it comes to knitted Christmas stockings, the finishing touches can really make a difference. Whether you’re knitting a stocking for yourself or as a gift, adding special details can elevate it to a cherished holiday keepsake.
Embroidery: One way to add a personal touch to your knitted stocking is through embroidery. You can use colorful threads to stitch names, initials, or festive designs onto the stocking. This not only adds a personalized element but also gives the stocking a beautifully handcrafted look.
Buttons and Baubles: Another way to enhance the look of your knitted stocking is by adding buttons or small decorative baubles. These can be sewn onto the stocking in a pattern or randomly placed for a whimsical touch. Choose buttons and baubles that match the color scheme or theme of your stocking design for a cohesive look.
Ribbons and Bows: Adding ribbons and bows to your knitted stocking can create a festive and elegant look. You can attach a ribbon loop at the top of the stocking for hanging, or tie ribbons around the stocking to create bows. Choose ribbons in complementary colors and patterns to enhance the overall design of the stocking.
Lace and Trim: If you’re looking for a delicate and feminine touch, consider adding lace or trim to your knitted stocking. You can attach lace to the cuff or bottom edge of the stocking, or use trim to create unique patterns or borders. Lace and trim can add a vintage or romantic feel to your stocking design.
Personalized Tags: To truly make your knitted stocking one-of-a-kind, consider adding a personalized tag. You can create a small fabric tag with a name or message, and attach it to the stocking with a ribbon or string. This adds a personal touch and makes the stocking feel even more special.
- Embroidery
- Buttons and Baubles
- Ribbons and Bows
- Lace and Trim
- Personalized Tags
Enjoy Your Knitted Christmas Stocking!
Congratulations on completing your knitted Christmas stocking! You’ve put time and effort into creating a beautiful and personalized stocking that will become a cherished part of your holiday traditions. Now it’s time to enjoy it and make it a central part of your festive decorations.
Here are a few ways you can enjoy your knitted Christmas stocking:
- Hang it on the mantle: Find the perfect spot on your mantle to showcase your knitted stocking. It will add a cozy and festive touch to your living room or fireplace.
- Fill it with goodies: On Christmas Eve, make sure to hang your stocking in a prominent place for Santa Claus to find. Wake up on Christmas morning to find it filled with treats and small gifts.
- Use it as a decoration: Don’t limit your knitted stocking to just hanging it on the mantle. It can also be used as a decorative element on the Christmas tree, staircase, or even as a table centerpiece.
- Pass it down as a family heirloom: Your knitted stocking can become a treasured family heirloom. Pass it down through generations and create a special tradition that brings joy and nostalgia to your loved ones.
No matter how you choose to enjoy your knitted Christmas stocking, remember the love and effort you put into making it. Every time you see it, it will bring back memories of cozy winter evenings spent knitting and the joy of the holidays. So hang it up, fill it with goodies, and embrace the warmth and magic of the holiday season.