
If you’re looking for a warm and stylish accessory to add to your winter wardrobe, a knitted beanie is the perfect choice. A beanie not only keeps your head and ears cozy and protected from the cold, but it also adds a touch of style to any outfit. Whether you’re an experienced knitter or just starting out, this knitted beanie pattern in 8 ply is a great project to take on.
The 8 ply yarn gives the beanie a medium weight, making it ideal for those colder days. The pattern is designed to be simple and easy to follow, making it perfect for knitters of all levels. With just a few basic stitches and techniques, you’ll be able to knit a beanie that not only looks great but also fits comfortably on your head.
With this pattern, you’ll be able to create a beanie that is unique to you. You can choose from a variety of colors and even experiment with different stitch patterns to customize your beanie to suit your style. Whether you’re looking for a neutral beanie that goes with everything or a bold, vibrant one to make a statement, this pattern allows for endless possibilities.
What is a Knitted Beanie?
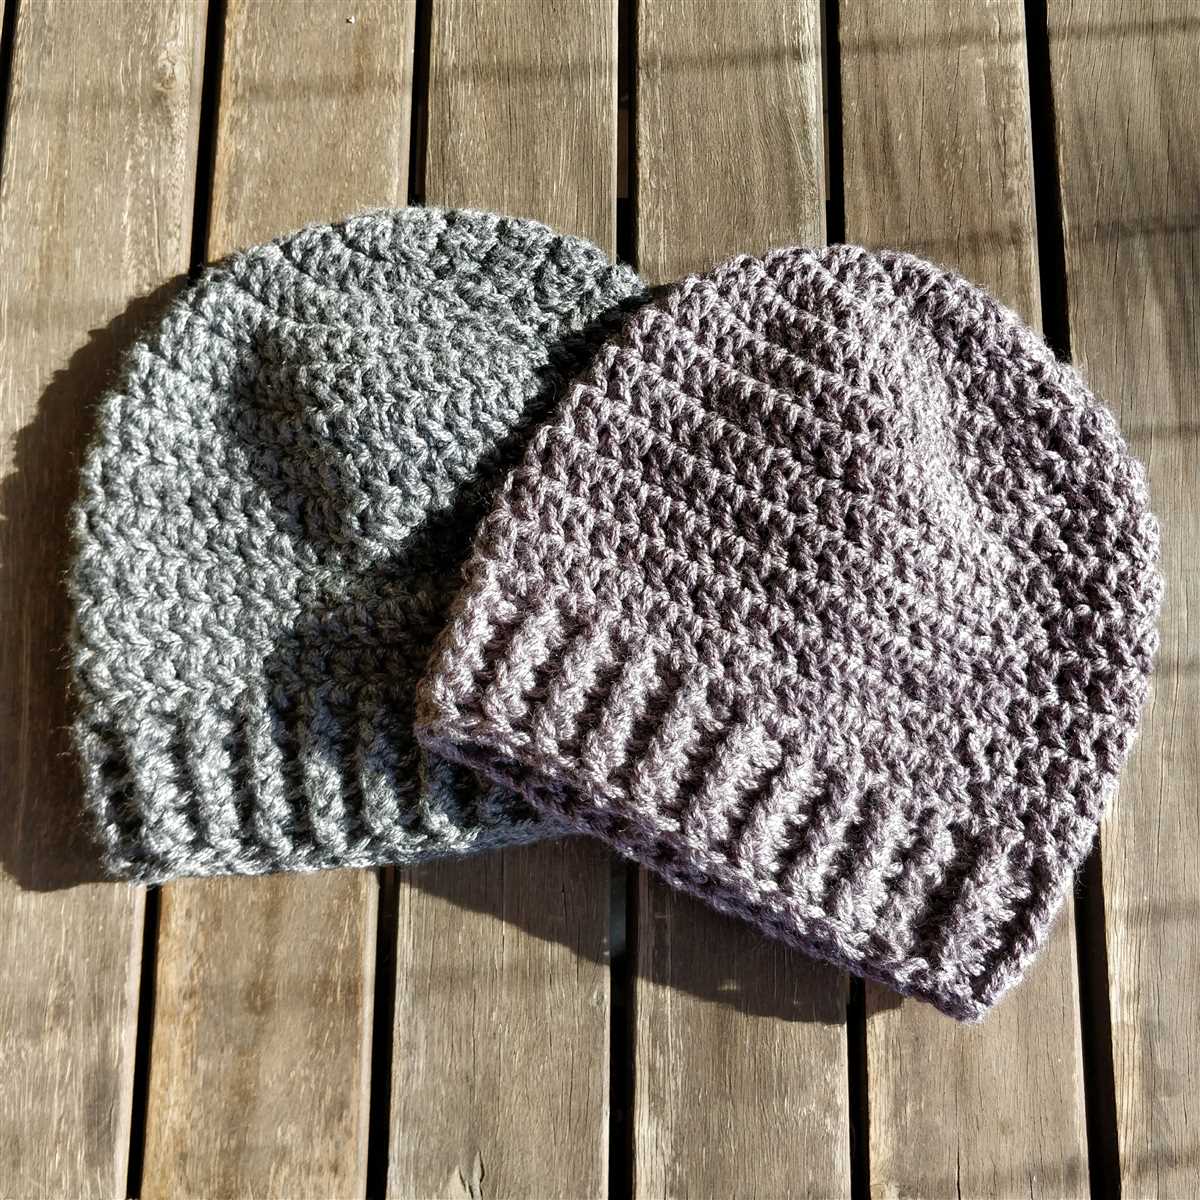
A knitted beanie is a type of hat that is made from soft and warm yarn using knitting needles. It is a versatile accessory that can be worn by both men and women, and is popular in colder climates to provide extra warmth and protection for the head.
The pattern for a knitted beanie typically calls for 8 ply yarn, which is a medium weight yarn that is perfect for creating a cozy and comfortable hat. The beanie is usually knitted in a ribbed or stockinette stitch pattern, which creates a stretchy and snug fit.
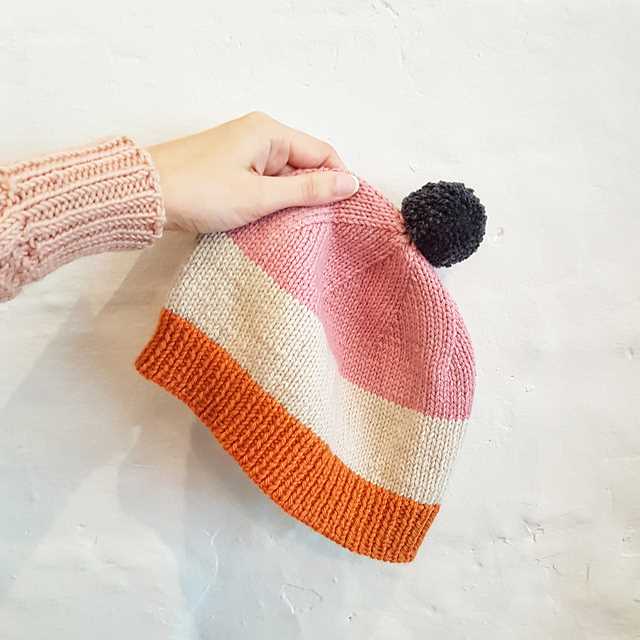
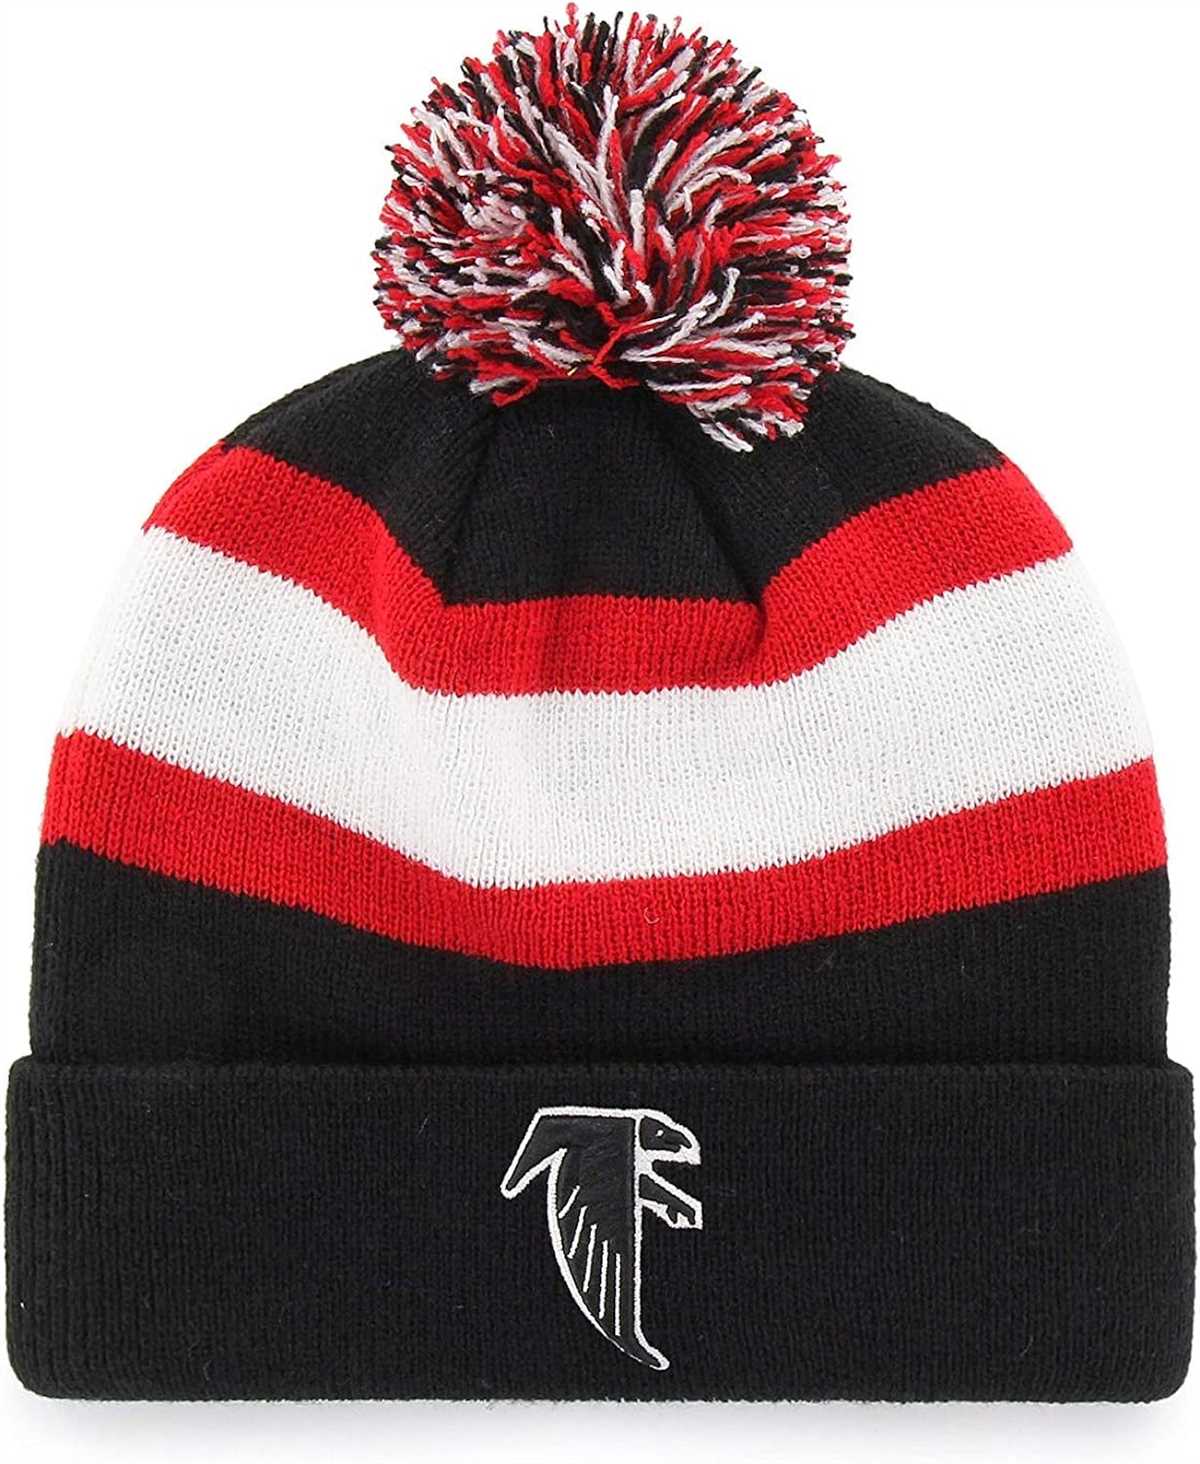
The great thing about a knitted beanie is that it can be customized to suit your style and preference. You can choose from a wide range of colors and yarn types to create a unique and personalized hat. Some people even add fun embellishments such as pom-poms or buttons to make their beanie even more special.
Whether you are an experienced knitter or a beginner, knitting a beanie can be a fun and rewarding project. It allows you to exercise your creativity and create a practical and fashionable accessory. So why not give it a try and make your own knitted beanie?
Why Choose a Knitted Beanie Pattern?
Knitted beanies are not only stylish but also practical accessories that can keep your head warm during the cold winter months. Whether you are an experienced knitter or just starting out, choosing a knitted beanie pattern can be a great option for several reasons.
1. Customization: When you choose a knitted beanie pattern, you have the freedom to customize it to your liking. You can choose the colors, stitch patterns, and even add embellishments to make it unique to your style. This allows you to create a beanie that reflects your personality and fashion sense.
2. Versatility: Knitted beanies can be worn by people of all ages and genders, making them a versatile accessory. Whether you want to make a beanie for yourself, your children, or as a gift for someone else, there are countless pattern options available. You can also choose different yarn weights, such as the 8 ply, to create beanies suitable for different seasons.
3. Skill Development: Knitting a beanie using a pattern can be a great way to develop and improve your knitting skills. Patterns often include different stitch patterns and techniques, allowing you to learn and practice new skills. As you progress, you can challenge yourself with more complex patterns and expand your knitting repertoire.
4. Cost-Effective: Knitting your own beanie using a pattern can be a cost-effective alternative to buying one. While there may be an initial investment in knitting needles and yarn, you can create multiple beanies from a single skein of yarn, making it a budget-friendly option. Plus, handmade beanies often have a higher quality and personalized touch compared to store-bought ones.
5. Relaxation and Stress Relief: Knitting is known for its calming and therapeutic benefits. Following a pattern and seeing your project come to life can be a soothing and enjoyable experience. Knitting a beanie can provide a sense of accomplishment and relaxation, helping to reduce stress and promote mindfulness.
In conclusion, choosing a knitted beanie pattern allows for customization, versatility, skill development, cost-effectiveness, and relaxation. Whether you are an experienced knitter or a beginner, knitting a beanie can be a rewarding and enjoyable project.

How to Choose the Right Knitted Beanie Pattern
When it comes to knitting a beanie, choosing the right pattern is essential. A well-designed pattern can make all the difference in creating a stylish and comfortable hat. Here are some tips to help you choose the perfect knitted beanie pattern.
Consider the Yarn Weight
The first thing to consider when choosing a knitted beanie pattern is the yarn weight. The weight of the yarn will determine the thickness and warmth of the beanie. For a cozy winter hat, you may want to choose an 8 ply yarn. It’s important to match the pattern to the yarn weight to ensure the right fit and look.
Choose a Style and Design
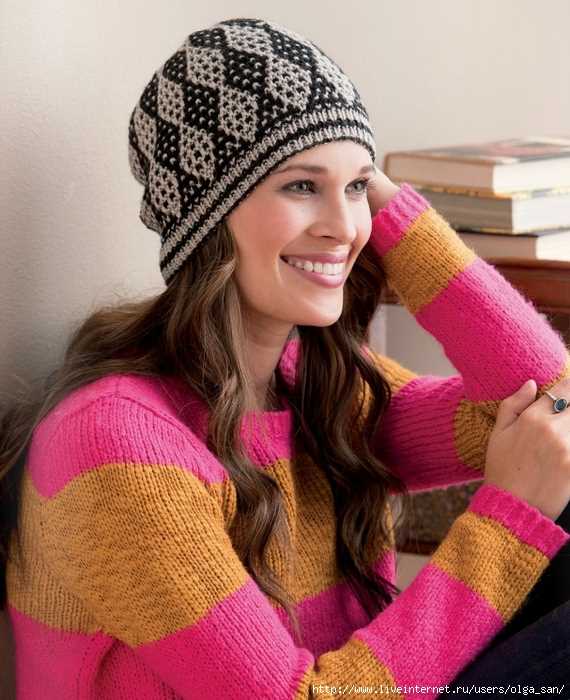
The next step is to choose a style and design that suits your personal taste and style. There are endless options when it comes to knitted beanie patterns. You can opt for a classic ribbed design, a textured stitch pattern, or even a colorwork pattern. Consider your skill level and the time you are willing to invest in the project.
- If you are a beginner, it’s best to start with a simple pattern that uses basic stitches. This will help you to practice your skills and gradually build up to more complex patterns.
- If you are an experienced knitter, you may want to challenge yourself with a more intricate pattern that incorporates advanced techniques.
Take into Account the Hat Size
Before starting your knitting project, it’s important to determine the hat size. This will ensure that the beanie fits well and is comfortable to wear. Most patterns provide instructions for different sizes, so make sure to check the measurements and choose the right size for the recipient.
In conclusion, choosing the right knitted beanie pattern involves considering the yarn weight, selecting a style and design, and taking into account the hat size. By following these tips, you can find the perfect pattern to create a beautiful and functional beanie.
Materials Needed for Knitting a Beanie
Knitting a beanie is a fun and rewarding project that requires a few essential materials. Whether you’re an experienced knitter or just starting out, having the right supplies will ensure a successful outcome. Here are the materials you’ll need:
1. Yarn:
To knit a beanie, you’ll need a ball or skein of yarn. For a standard beanie, choose a yarn that is labeled as 8 ply or double knitting (DK) weight. This weight is ideal for creating a warm and comfortable beanie. Opt for a soft and durable yarn that will feel cozy against the skin and hold its shape well.
2. Knitting Needles:
A pair of knitting needles is essential for any knitting project, including a beanie. For an 8 ply beanie, you’ll need a needle size that corresponds to the gauge recommended on the yarn label. Typically, a set of US size 6 (4 mm) or US size 7 (4.5 mm) knitting needles will work well. Make sure to choose needles that are comfortable for you to hold and work with.
3. Stitch Markers:
Stitch markers are small, removable clips or rings that help you keep track of your stitches and pattern repeats. They are particularly useful when knitting a beanie, as they can help you mark the beginning of rounds or specific stitch patterns. You can use commercial stitch markers or make your own from spare pieces of yarn or safety pins.
4. Darning Needle:
A darning needle, also known as a tapestry needle, is an essential tool for finishing your beanie. It is used to weave in the loose yarn ends, close any gaps or holes, and complete the final touches of your project. Opt for a needle with a rounded, blunt tip to avoid splitting the yarn as you sew.
5. Scissors:
A pair of sharp scissors is necessary for cutting the yarn during your knitting project. Make sure to choose scissors that are dedicated to your knitting supplies and always keep them handy. Having a pair of scissors nearby will save you time and effort when you need to trim the yarn.
6. Measuring Tape:
A flexible measuring tape is essential for checking your gauge and ensuring the correct fit of your beanie. It will help you measure the circumference of your head and determine the length of the beanie. Make sure the measuring tape is easy to use and can be wrapped around your head comfortably.
Having these materials at hand will make knitting a beanie a breeze. So gather your supplies, choose a lovely yarn, and get ready to create a cozy and stylish beanie to keep you warm during the colder seasons!
Getting Started: Casting on Stitches
Before you can start knitting your beanie, you’ll need to cast on the required number of stitches onto your knitting needles. This initial step sets the foundation for your project and determines the size and shape of your beanie.
Choosing the Right Method: There are several methods you can use to cast on stitches, but for this specific pattern, the long tail cast on method is recommended. This method creates a neat and flexible edge, perfect for the ribbing and overall structure of the beanie.
Calculating the Number of Stitches: The pattern you’re following will specify the number of stitches you need to cast on. Ensure that you have the correct yarn weight (8 ply) and needle size to achieve the desired gauge. If you’re unsure, you can always make a gauge swatch before beginning the beanie to confirm the correct needle size.
Casting on Step-by-Step:
- Hold both knitting needles together with your non-dominant hand.
- Make a slipknot and place it on the left-hand needle.
- Hold the slipknot with your thumb and forefinger, leaving a tail of yarn at least three times the width of your desired project.
- With the working yarn behind the needle, insert the right-hand needle from left to right into the slipknot.
- Wrap the working yarn under and over the right-hand needle in a counterclockwise direction.
- Draw the wrapped yarn back through the slipknot, creating a new loop on the right-hand needle. This is your first cast on stitch.
- Repeat steps 4-6 until you have cast on the required number of stitches.
Once you have cast on all the stitches, you’re ready to start knitting the body of your beanie! Remember to follow the pattern instructions carefully and enjoy the process of creating a warm and stylish accessory.
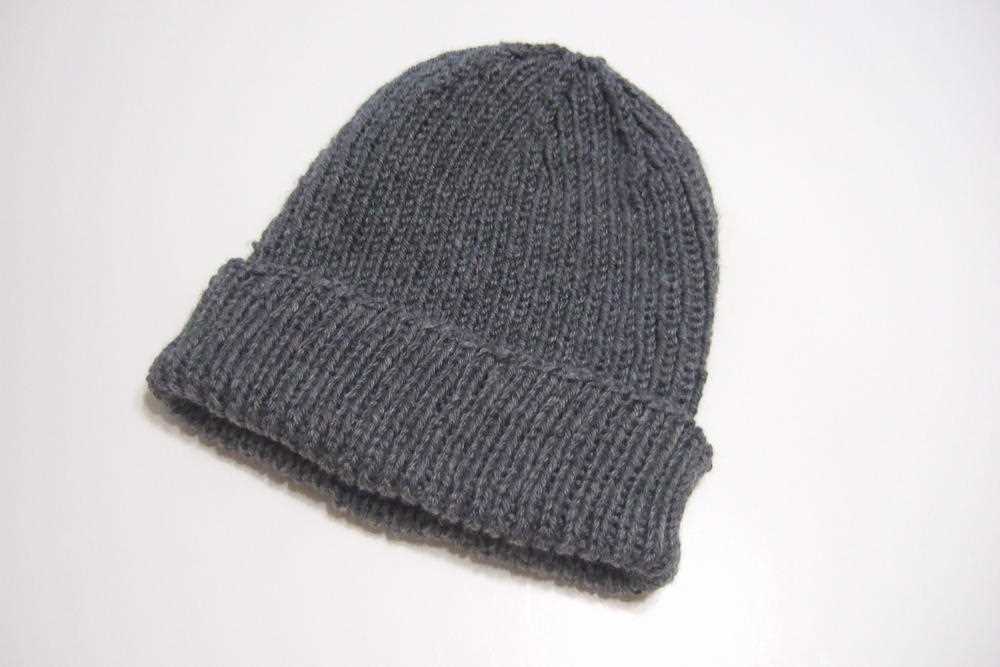
Knitting the Ribbed Brim
When knitting a beanie, the ribbed brim is an important element that adds both style and functionality to the design. The ribbed brim provides stretch and grip, ensuring that the beanie stays in place on the wearer’s head. In addition, the ribbed pattern adds texture and visual interest to the finished product.
To knit the ribbed brim, you will need to use a ribbing stitch pattern. The most common ribbing pattern is the 1×1 rib, which alternates knit stitches and purl stitches. This creates a pattern of raised ribs and recessed valleys. The 1×1 rib is often used for its flexibility and elasticity.
To start knitting the ribbed brim, cast on an even number of stitches. For example, you could cast on 80 stitches for an adult-sized beanie. Then, begin working the 1×1 rib stitch by knitting the first stitch and purling the second stitch. Repeat this pattern across the entire row.
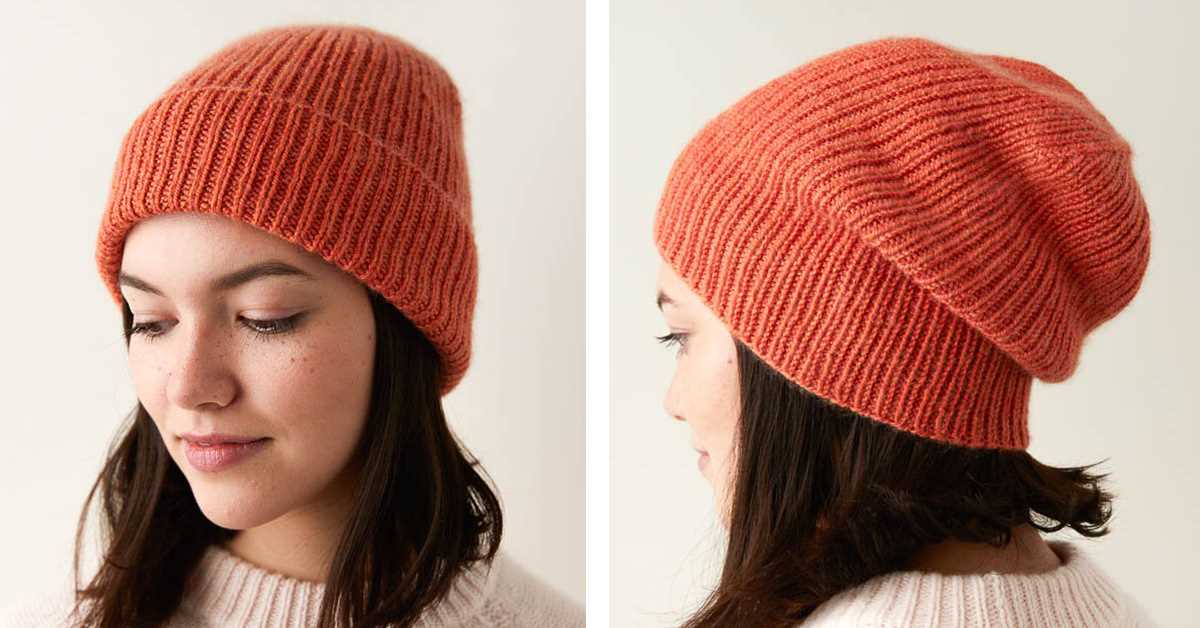
Continue working the 1×1 rib stitch pattern for the desired length of the brim. The length of the brim will depend on personal preference and the style of the beanie. For a snug fit, you may want to knit a shorter brim, while a longer brim can be folded up for a slouchier look.
Once the ribbed brim is complete, you can transition to the main body of the beanie, which is typically worked in a different stitch pattern or color. The ribbed brim creates a smooth transition and frames the face nicely.
Overall, knitting the ribbed brim is an essential step in creating a knitted beanie. It adds both functionality and style to the design, ensuring a comfortable fit and an attractive finished product.
Transitioning to the Body of the Beanie
Once you have completed the ribbing and have the desired length, it’s time to transition to the body of the beanie. This is where you will begin knitting in the round, creating the bulk of the beanie.
To start, you will need to switch to a larger needle size. This will help create a looser gauge and provide a comfortable fit for the beanie.
Begin by knitting the first round in the new needle size. This will help you transition smoothly from the ribbing to the body. Be sure to maintain the stitch pattern as you knit in the round.
As you continue knitting in the round, you can now start working on any pattern or design elements you want to incorporate into the body of the beanie. This could be simple stripes, colorwork, or even a textured stitch pattern.
Remember to regularly check the gauge as you work on the body to ensure that your beanie is turning out the way you want it to. Adjust the tension and needle size if necessary to achieve the desired gauge.
Continue knitting in the round until you reach the desired length for the body of your beanie. This could vary depending on the style and fit you prefer. When you are satisfied with the length, it’s time to move on to shaping the crown of the beanie.
Creating the Shaping of the Beanie
When knitting a beanie, it is important to create the shaping at the crown of the hat to give it a snug fit on the head. This shaping is typically achieved by decreasing stitches in a specific pattern as you get closer to the top of the hat. The number of stitches you decrease and the frequency at which you do so will depend on the specific pattern you are following.
In the “Knitted Beanie Pattern 8 Ply,” the shaping of the beanie is achieved through a combination of knit and purl stitches, as well as various decrease methods. To start the shaping, the pattern instructs you to knit two stitches together, also known as a knit two stitches decrease (K2tog). This decrease method brings two stitches together and creates a single stitch, reducing the total stitch count.
The pattern then continues with a series of knit and purl rows until reaching the next decrease round. This time, the pattern instructs you to purl two stitches together (P2tog). Similar to the K2tog, the P2tog decrease brings two stitches together and reduces the stitch count.
As you continue to follow the pattern, you will notice that the shaping becomes more frequent towards the top of the beanie. This means that you will be decreasing stitches more often to create a tighter fit. The frequency of the decrease rounds will depend on the desired fit of the beanie as well as the gauge of your knitting.
Overall, by following the shaping instructions in the “Knitted Beanie Pattern 8 Ply,” you will be able to create a beanie that fits snugly on the head and provides warmth and comfort. The careful combination of knit and purl stitches, as well as various decrease methods, ensures that the shaping is both aesthetically pleasing and functional.
Adding Detail: Knitting a Decorative Stitch
When knitting a beanie using an 8 ply yarn, adding a decorative stitch can be a great way to add some visual interest and extra texture to the design. There are several different types of decorative stitches that can be used, each creating a unique pattern and look. Whether you prefer a simple ribbed stitch or a more intricate cable or lace pattern, incorporating a decorative stitch can elevate the overall design of your beanie.
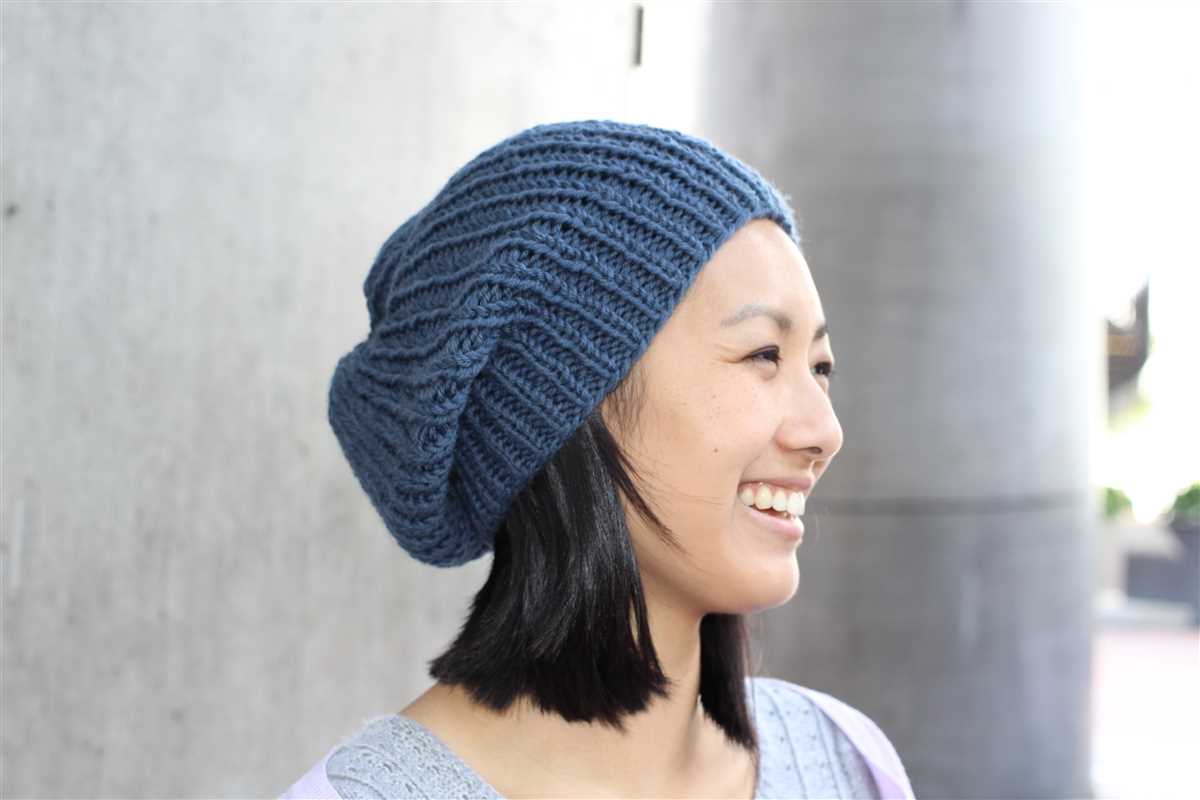
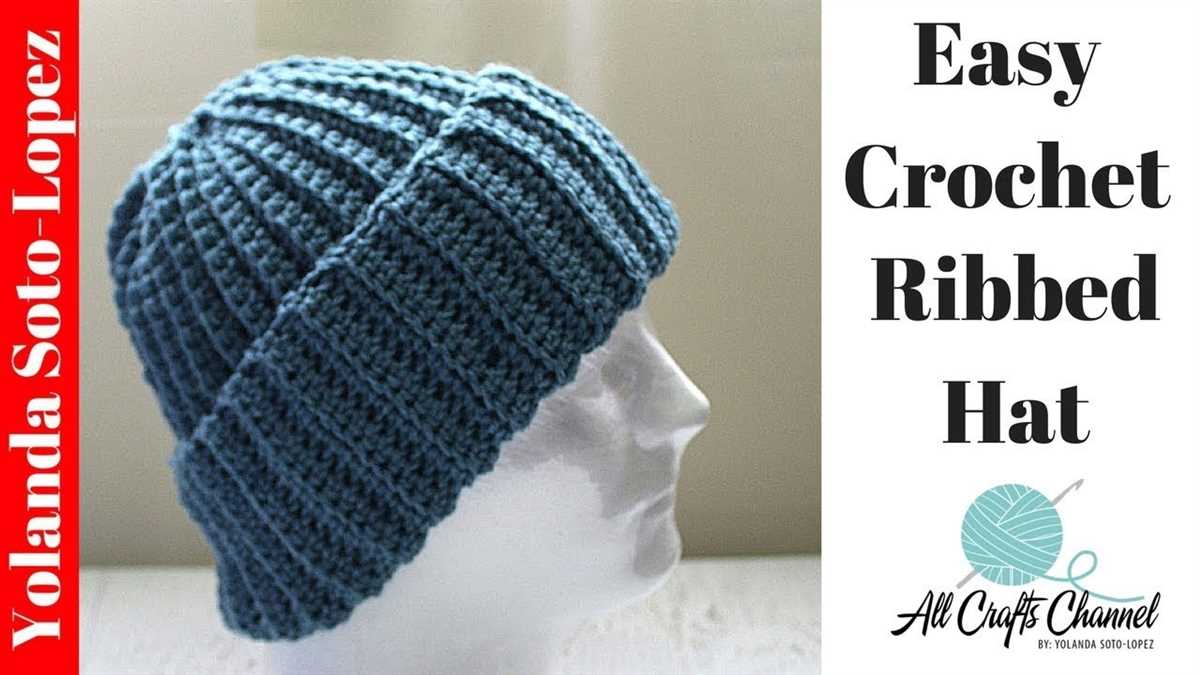
Ribbed Stitch: One of the most common decorative stitches used in knitting is the rib stitch. This stitch creates alternating columns of knit and purl stitches, resulting in a stretchy and textured fabric. By using a rib stitch as the main pattern for your beanie, you can create a visually appealing design that also provides extra elasticity to ensure a snug fit.
Cable Stitch: Another popular decorative stitch for knitting is the cable stitch. This stitch involves crossing stitches over each other to create a twisted cable effect. By using cable stitches in your beanie pattern, you can create intricate and eye-catching designs. Cable stitches are often used in combination with ribbing for added visual interest.
Lace Stitch: For a more delicate and feminine look, incorporating a lace stitch into your beanie pattern can be a great choice. Lace stitches involve creating holes and intricate patterns using yarn overs and decreases. This creates a lightweight and airy fabric ideal for warmer weather. Lace stitches can be used as an all-over pattern or as a border or panel on the beanie.
Overall, adding a decorative stitch to your knitted beanie pattern can make it stand out and add a personal touch. Whether you choose a ribbed stitch for simplicity, a cable stitch for intricate detail, or a lace stitch for a delicate look, incorporating a decorative stitch can take your beanie to the next level.
Finishing Touches: Binding Off Stitches
Once you have completed knitting your beanie pattern using 8 ply yarn, it’s time to finish off your stitches and give your hat a clean and polished look. Binding off your stitches is an essential step in completing any knitting project, as it prevents your work from unraveling and gives your project a neat edge.
To bind off stitches, you will need a pair of knitting needles and scissors. Start by knitting two stitches as usual. Then, using your left needle, lift the first stitch over the second stitch and off the right needle, creating one bound-off stitch. Repeat this process for the remaining stitches until you have bound off all of your stitches.
Once you have bound off all of your stitches, carefully cut the yarn, leaving a tail that is at least 6 inches long. Thread the tail through the last stitch on your needle and pull tight to secure. This creates a knot that will keep your stitches from unraveling.
To give your beanie a professional finish, you can also weave in the loose ends of yarn. Thread the tail of each loose end onto a yarn needle and carefully weave it through the stitches on the wrong side of your beanie. This will hide the loose ends and give your beanie a cleaner look.
Binding off stitches is the final step in completing your knitted beanie pattern. It not only secures your stitches but also adds a professional touch to your finished project. So, take your time and make sure to bind off your stitches neatly to give your beanie that perfect finishing touch.
How to Customize Your Knitted Beanie
Knitting your own beanie allows you to customize it to suit your style and preferences. Whether you want to add your own personal touch or adjust the fit to your head size, customizing your knitted beanie is a fun and creative process. Here are some tips to help you get started.
Choose the right yarn: The yarn you choose will determine the look, feel, and warmth of your beanie. Consider the fiber content, weight, and color of the yarn to achieve the desired effect. For a cozy winter beanie, opt for a soft and warm wool or alpaca yarn. If you prefer a lighter and more breathable beanie, a cotton or bamboo yarn could be a good choice.
Add unique stitch patterns: Experiment with different stitch patterns to add visual interest and texture to your beanie. You can try simple ribbing, cables, lace, or colorwork, depending on your skill level and the look you want to achieve. Look for knitting stitch pattern books or online resources for inspiration and guidance.
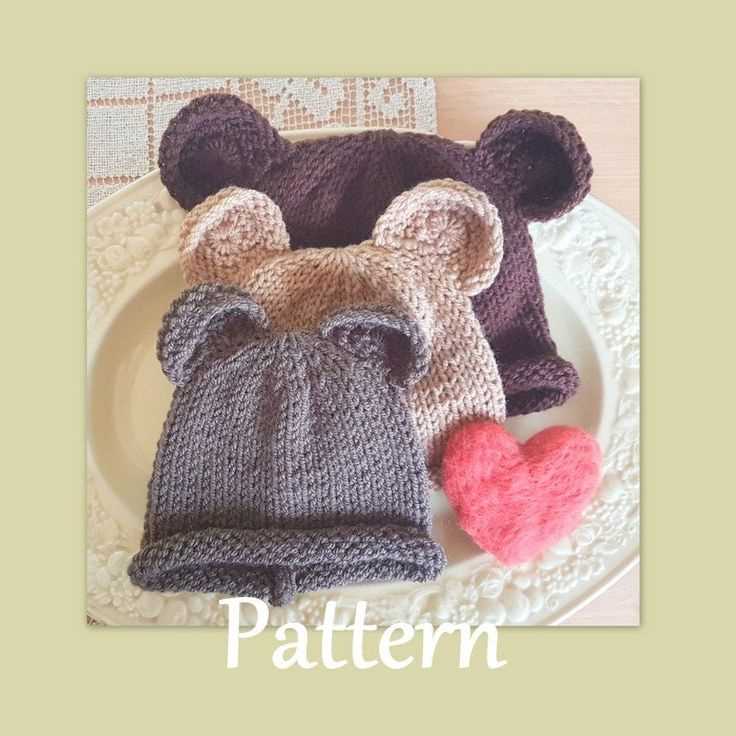
Personalize with embellishments: Give your beanie a personal touch by adding embellishments such as buttons, beads, patches, or embroidery. These small details can make your beanie truly one-of-a-kind and reflect your personal style. Make sure to securely attach the embellishments to prevent them from coming loose.
Adjust the fit: If the pattern you are following does not fit your head perfectly, you can easily customize it to your size. Measure your head circumference and compare it to the gauge specified in the pattern. If your gauge is different, you may need to adjust the number of stitches or rows to achieve the correct size. You can also experiment with different needle sizes to get the desired fit.
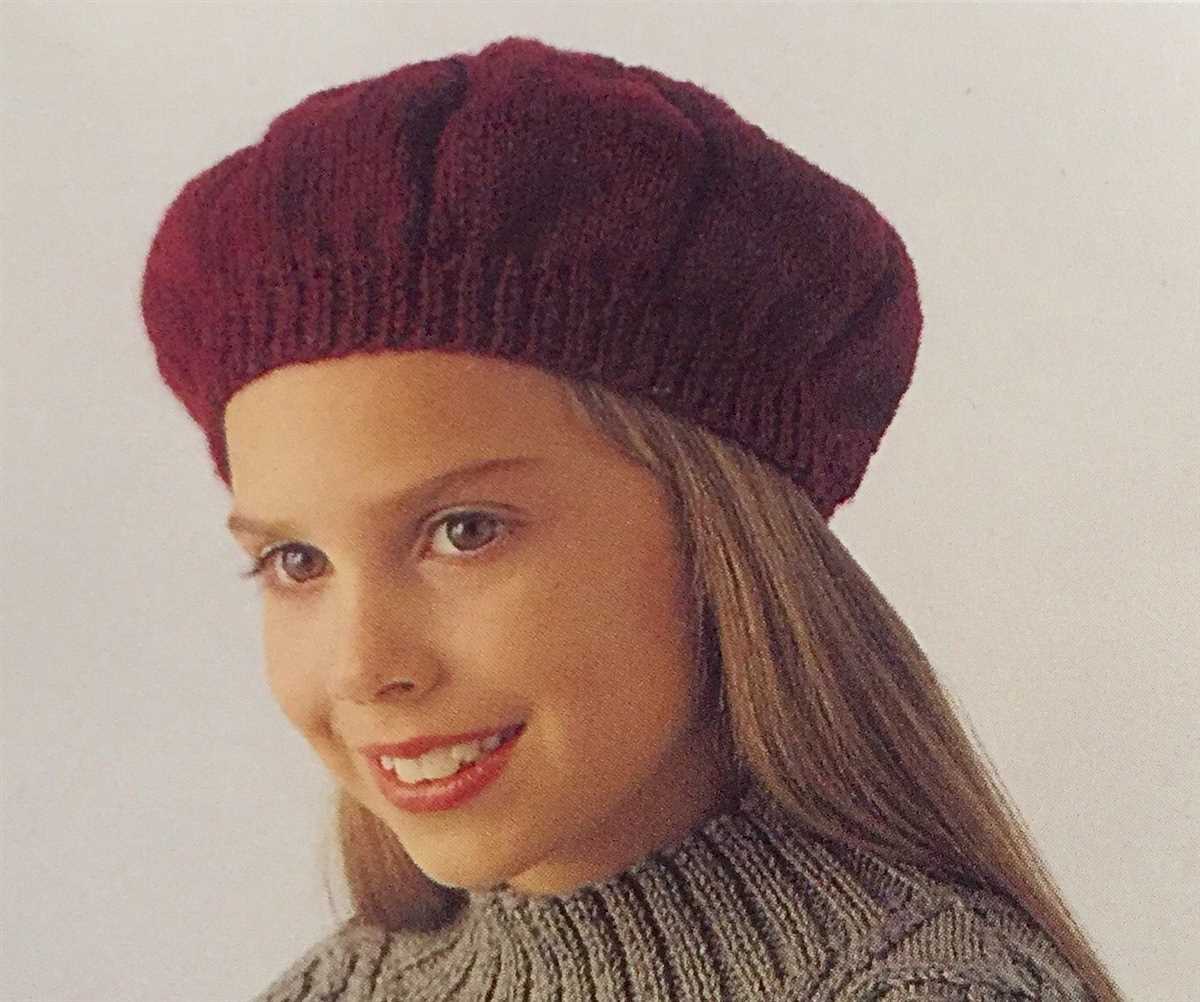
Consider the brim: The brim of a beanie can be customized to suit your style and comfort. You can choose to have a folded ribbed brim for extra warmth and snugness or opt for a rolled brim for a more relaxed and casual look. Play around with different brim lengths and styles to find what works best for you.
Experiment with color: Don’t be afraid to play with color when customizing your knitted beanie. Choose a solid color for a classic and versatile look, or try using multiple colors to create stripes or a color gradient. The color combinations are endless, so have fun and let your creativity shine!
Finalize with blocking: Once you’ve completed your customized beanie, give it a final touch by blocking it. Blocking helps to even out your stitches, relax the fabric, and give your beanie a polished finish. Follow the blocking instructions specific to your yarn to ensure the best results.
With these tips in mind, you can create a knitted beanie that is truly unique and reflects your style. Enjoy the process of customizing and make your beanie a cozy and fashionable accessory for the colder months.
Tips and Tricks for Knitting a Perfect Beanie
Now that you have all the necessary information and a pattern for a knitted beanie, here are some tips and tricks that can help you create a perfect beanie:
1. Use the Right Yarn and Needle Size
Choosing the right yarn and needle size is crucial for achieving the desired gauge and size of your beanie. Make sure to follow the yarn weight and recommended needle size mentioned in the pattern. Using the wrong yarn weight or needle size can result in a beanie that is either too loose or too tight.
2. Sample Gauge Swatch
Before starting your beanie, knit a gauge swatch using the recommended needle size and yarn. This will help you determine if your tension matches the pattern and if any adjustments need to be made. It is better to spend some extra time on a swatch than to end up with a beanie that doesn’t fit properly.
3. Keep an Even Tension
Consistency in tension is essential for a well-knitted beanie. Try to keep an even tension throughout your knitting to ensure consistent stitches and prevent any unevenness in the final fabric.
4. Use Lifelines
Lifelines are a useful technique when knitting complex patterns or lace stitches. They involve threading a contrasting color yarn through a row of stitches to serve as a safety net. If you make a mistake, you can easily rip back to the lifeline without losing any progress.
5. Count Your Stitches
Counting your stitches at regular intervals can help you catch any mistakes early on. It is easier to fix a mistake when you notice it right away rather than later in the project. Make it a habit to count your stitches every few rows.
6. Block Your Beanie
Blocking is a process where you shape and smooth out your finished knitted piece. It can help even out any uneven stitches and give your beanie a more polished look. Follow the blocking instructions mentioned in the pattern to achieve the best results.
7. Customize Your Beanie
Don’t be afraid to add your personal touch to the beanie pattern. You can experiment with different color combinations, stitch patterns, or embellishments to make it unique. Let your creativity shine and create a beanie that reflects your style.
By following these tips and tricks, you can knit a perfect beanie that not only keeps you warm but also showcases your skills as a knitter.
Q&A:
What type of yarn is best for a knitted beanie?
A 8 ply yarn is a great choice for a knitted beanie as it provides a medium weight and warmth. It will give the beanie a nice structure and ensure that it is not too heavy or bulky.
How many stitches do I need to cast on for a knitted beanie?
The number of stitches you need to cast on for a knitted beanie will depend on the size of the beanie and your gauge. It is usually recommended to cast on a multiple of 8 or 10 stitches to ensure an even pattern. You can refer to the specific pattern you are following for the recommended number of stitches.
What size needles should I use for knitting a beanie with 8 ply yarn?
For knitting a beanie with 8 ply yarn, it is recommended to use needles in the range of US 6 to US 8 (4mm to 5mm). However, this can vary depending on your tension and the specific pattern you are following. It’s always a good idea to make a gauge swatch to ensure you are getting the correct gauge with your chosen needles.
Can I use a different ply yarn for a knitted beanie?
Yes, you can use a different ply yarn for a knitted beanie. However, keep in mind that using a different ply yarn may affect the size, drape, and overall appearance of the beanie. It’s always a good idea to make a gauge swatch and adjust your needle size accordingly to ensure the best results.