
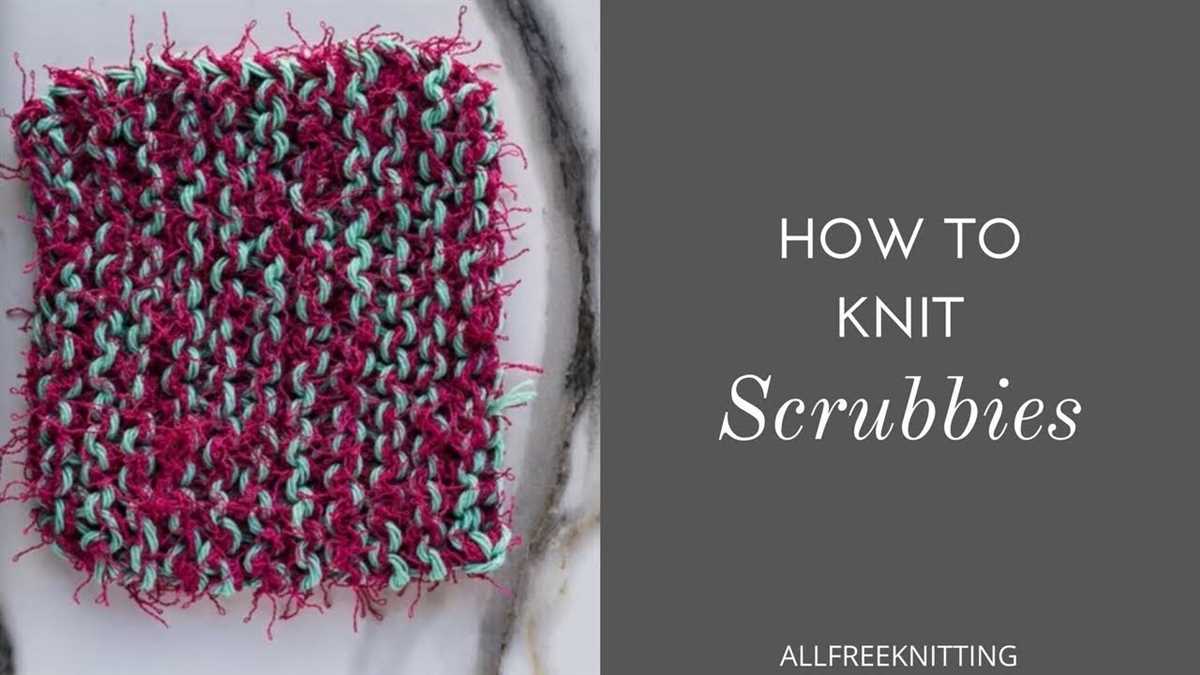
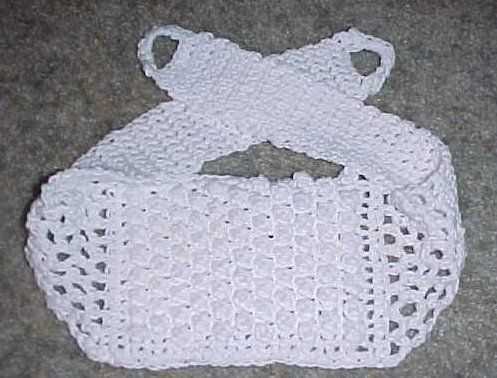
If you’re looking for a simple and practical project to knit, a back scrubber might be just what you need. Knitted back scrubbers are a great way to pamper yourself and keep your skin looking and feeling its best. Plus, they make fantastic gifts for friends and loved ones.
Knitting a back scrubber is not only fun, but also a great way to destress and relax. This beginner-friendly pattern is perfect for those new to knitting or for those who want a quick and satisfying project. With just a few basic stitches and some soft, durable yarn, you’ll have a back scrubber that will provide you with exfoliation and comfort for years to come.
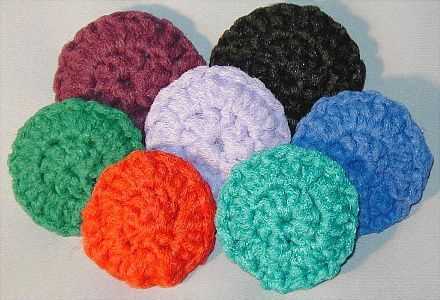
This knitted back scrubber pattern is customizable to fit your preferences. You can choose the size, shape, and texture of your back scrubber, allowing you to create a personalized experience. Whether you prefer a rectangular scrubber with a soft garter stitch or a round scrubber with a textured pattern, the possibilities are endless.
So grab your knitting needles and get ready to relax and pamper yourself with a homemade back scrubber. Not only will you enjoy the soothing sensation of the scrubber on your skin, but you’ll also feel a sense of accomplishment knowing that you made something practical and beautiful with your own two hands. Happy knitting!
Knitted Back Scrubber Pattern: A Step-by-Step Guide
Are you looking for a fun and practical knitting project? Look no further than the knitted back scrubber pattern. This pattern allows you to create your own back scrubber that is both functional and stylish. Not only will it help exfoliate and cleanse your skin, but it will also add a touch of personalization to your daily shower routine.
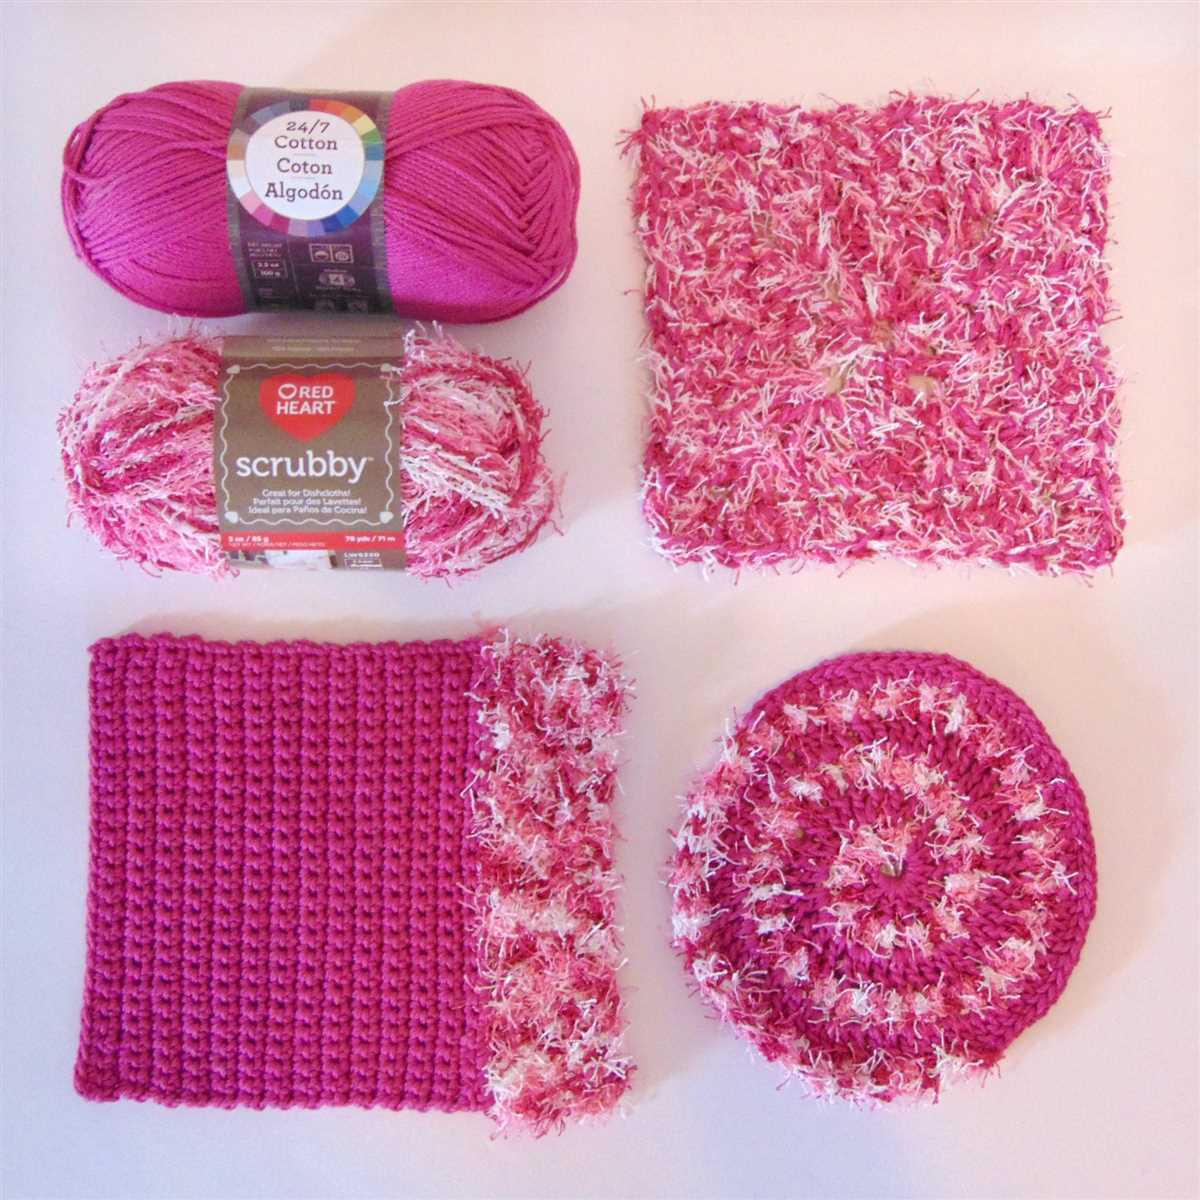
To get started, gather the necessary materials. You will need a set of knitting needles (size 8 or 9), a ball of cotton yarn, and a pair of scissors. Choose a yarn color that speaks to you and matches your bathroom decor.
Step 1: Cast On

The first step is to cast on the stitches. Start by making a slip knot and placing it on one of the knitting needles. Then, using the long tail cast on method, cast on approximately 30 stitches. This number can be adjusted to your preference, depending on how wide you want your back scrubber to be.
Step 2: Knit the Body
Once you have cast on the desired number of stitches, it’s time to knit the body of the scrubber. Simply knit each row until the piece measures around 24 inches in length. You can make it longer or shorter depending on your preference.
Step 3: Bind Off
When you are satisfied with the length of your back scrubber, it’s time to bind off the stitches. Knit the first two stitches and then pass the first stitch over the second stitch to bind it off. Continue this process until you have only one stitch remaining. Cut the yarn, leaving a long tail, and pull it through the last stitch to secure it.
Step 4: Finishing Touches
To add a decorative touch to your back scrubber, you can opt to add a crocheted border. With a crochet hook of the appropriate size, single crochet around the edges of the scrubber. This will give it a finished look and prevent the edges from curling.
Your knitted back scrubber is now complete! Simply wet it, apply your favorite body wash or soap, and gently scrub your back to exfoliate and cleanse your skin. Hang it to dry after each use, and it will be ready for your next shower. Enjoy the satisfaction of using a handmade item that not only helps improve your skin’s health but also adds a personal touch to your self-care routine.
Choosing the Right Yarn and Needles
When it comes to knitting a back scrubber, choosing the right yarn and needles is essential for achieving the desired results. The type of yarn you select will determine the texture and durability of the scrubber, while the size of your needles will affect the overall look and feel of the finished product.
Yarn: For a back scrubber, it’s important to choose a yarn that is strong, yet soft and comfortable against the skin. Cotton yarn is a popular choice due to its absorbency and ability to withstand frequent washing. Look for a medium-weight yarn that is easy to work with and doesn’t stretch too much. You can also consider adding texture to your scrubber by using a yarn with a slight nubby or textured surface.
Needles: The size of your needles will determine the gauge of your knitting and the overall size of the back scrubber. For a sturdy and durable scrubber, choose needles that are slightly larger than what is recommended for your chosen yarn. This will create a more dense fabric that will hold up well over time. Circular needles are a popular choice for knitting a back scrubber, as they allow you to easily knit a large rectangle without the need to seam or join any stitches.
Remember to always use a gauge swatch to check that your chosen yarn and needles will result in the desired dimensions for your back scrubber. By selecting the right materials, you can ensure that your knitted back scrubber will be both functional and enjoyable to use.
Getting Started: Cast On and Knit Stitch
Before you can start knitting your back scrubber, you’ll need to familiarize yourself with the basic techniques of casting on and knitting stitches. These two fundamental skills will form the foundation of your project and are essential for creating a successful and functional scrubber.
Casting on: The cast on is the first step in starting your knitting project. It creates the foundation row or edge of stitches from which you will work. There are different ways to cast on, but one of the most common methods is the long-tail cast on. To perform this technique, you’ll need to measure and leave a long tail of yarn before making a slipknot. Then, proceed to cast on each stitch by wrapping the yarn around the needle in a specific manner. The cast on should be tight enough to hold the stitches but not too tightly.
Knit stitch: Once you have cast on your stitches, you can begin working the knit stitch. This is the most basic knitting stitch and it forms the basis for many other stitch patterns. To knit a stitch, insert the right needle into the first stitch on the left needle from left to right, and then wrap the yarn around the right needle counterclockwise. Gently pull the right needle through the stitch, transferring the stitch from the left needle to the right needle. Repeat this process for each stitch on the left needle until you’ve worked all the stitches in your row or round.
These two techniques, casting on and knitting stitches, are essential for getting started on your knitted back scrubber pattern. Once you have mastered these basics, you’ll be ready to explore more advanced stitches and patterns to create beautiful and functional knitted items. So grab your needles, choose your yarn, and let’s get knitting!
Creating a Ribbing Pattern for Added Texture
When knitting a back scrubber, adding a ribbing pattern can provide both aesthetic appeal and functional benefits. Ribbing is a technique that involves alternating knit and purl stitches to create a stretchy and textured fabric. By incorporating ribbing into the design of a back scrubber, you can enhance its exfoliating properties and give it a unique look and feel.
To create a ribbing pattern for your knitted back scrubber, you will need to choose the number of stitches and the stitch combination that will produce the desired texture. A common ribbing pattern is the 1×1 rib, which alternates between one knit stitch and one purl stitch. This pattern creates a simple and uniform texture that is easy to work with.
To begin, cast on an even number of stitches that will fit the width of your back scrubber. For example, if you want a 6-inch-wide scrubber, you may cast on 30 stitches. Then, work the first row in the 1×1 rib pattern by knitting the first stitch, purling the next stitch, and repeating this sequence until the end of the row.
Continue working in the 1×1 rib pattern for the desired length of your back scrubber. The ribbing pattern will naturally create vertical lines of knit and purl stitches, which will add texture to the fabric. This texture helps to create friction against the skin, enhancing the scrubbing effect of the back scrubber.
Once you have reached the desired length, bind off the stitches and finish off any loose ends. You now have a knitted back scrubber with a ribbing pattern that provides an extra layer of texture and exfoliating power. The ribbed fabric also adds a touch of visual interest to the scrubber, making it a stylish and functional addition to your bath or shower routine.
Incorporating Stitch Patterns for Relaxing Scrubbing
When it comes to creating a knitted back scrubber, incorporating stitch patterns can add an extra level of relaxation to your bath or shower routine. By utilizing different stitches, you can create a textured surface that helps exfoliate and massage your skin, leaving you feeling refreshed and rejuvenated.
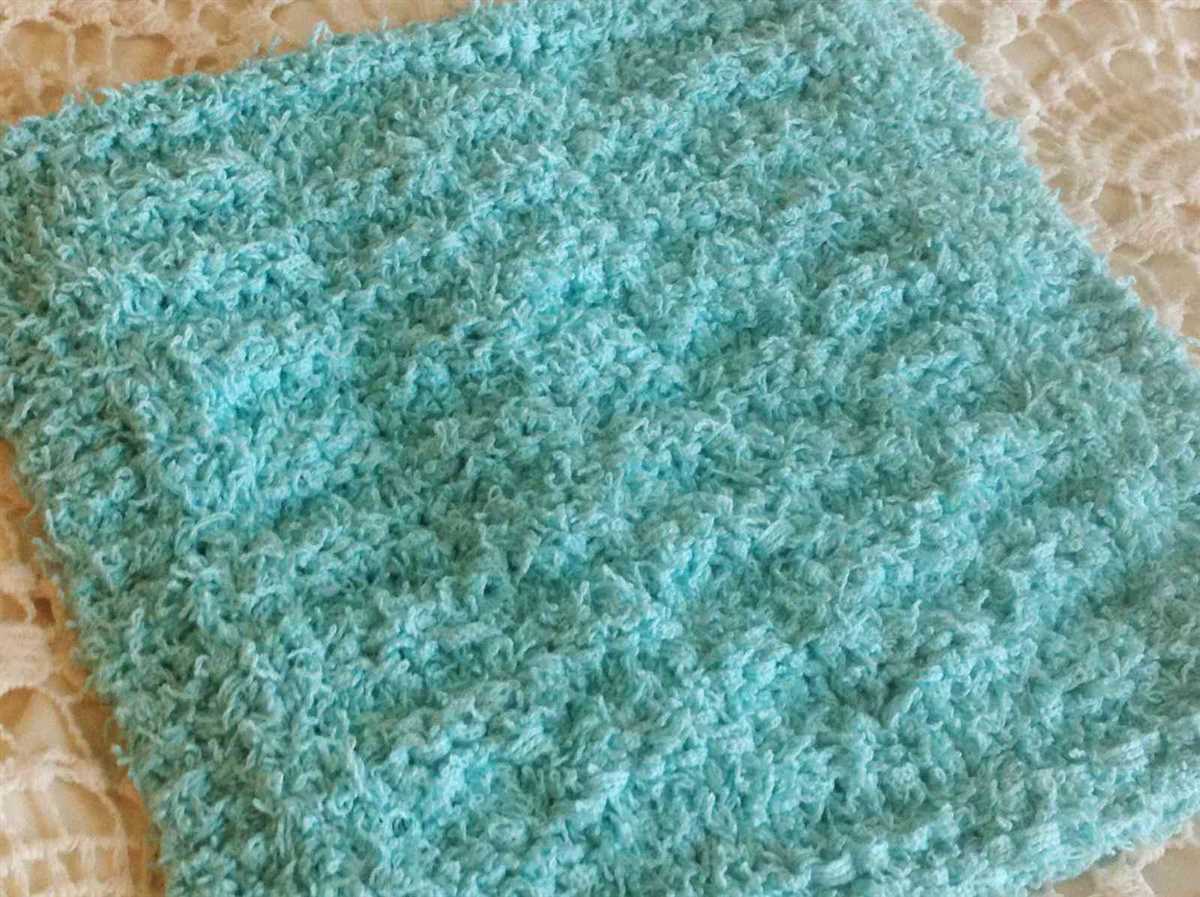
One popular stitch pattern for a back scrubber is the seed stitch. This pattern alternates between knit and purl stitches, creating a bumpy texture that is ideal for scrubbing away dead skin cells. The tiny bumps created by the seed stitch not only provide a gentle exfoliation, but they also stimulate circulation, leaving your skin looking and feeling healthier.
For a more invigorating scrub, you might consider incorporating the herringbone stitch. This stitch pattern creates a zigzag pattern, similar to the bones of a herring, hence its name. The diagonals created by the herringbone stitch provide a deeper exfoliation, leaving your skin feeling smooth and revitalized. The texture of the herringbone stitch also adds a visually appealing element to your knitted back scrubber.
Another stitch pattern that can create a relaxing scrubbing experience is the moss stitch. This pattern alternates between knit and purl stitches, similar to the seed stitch, but creates a different texture. The moss stitch creates a pattern of small, raised dots, which can provide a gentle massage for your skin. The texture of the moss stitch is also visually interesting, adding a unique touch to your knitted back scrubber.
Incorporating stitch patterns into your knitted back scrubber can enhance your bathing or showering experience. Not only do these patterns provide exfoliation and massage benefits for your skin, but they also add a decorative touch to your scrubber. Whether you choose the seed stitch, herringbone stitch, moss stitch, or another stitch pattern, your knitted back scrubber will become a functional and relaxing addition to your self-care routine.
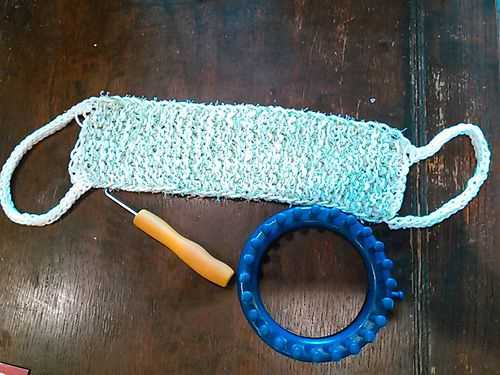
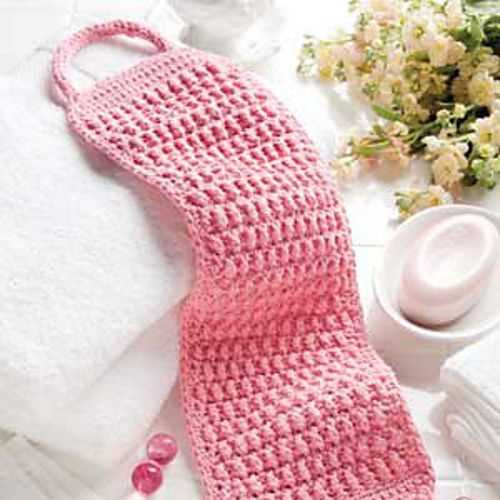
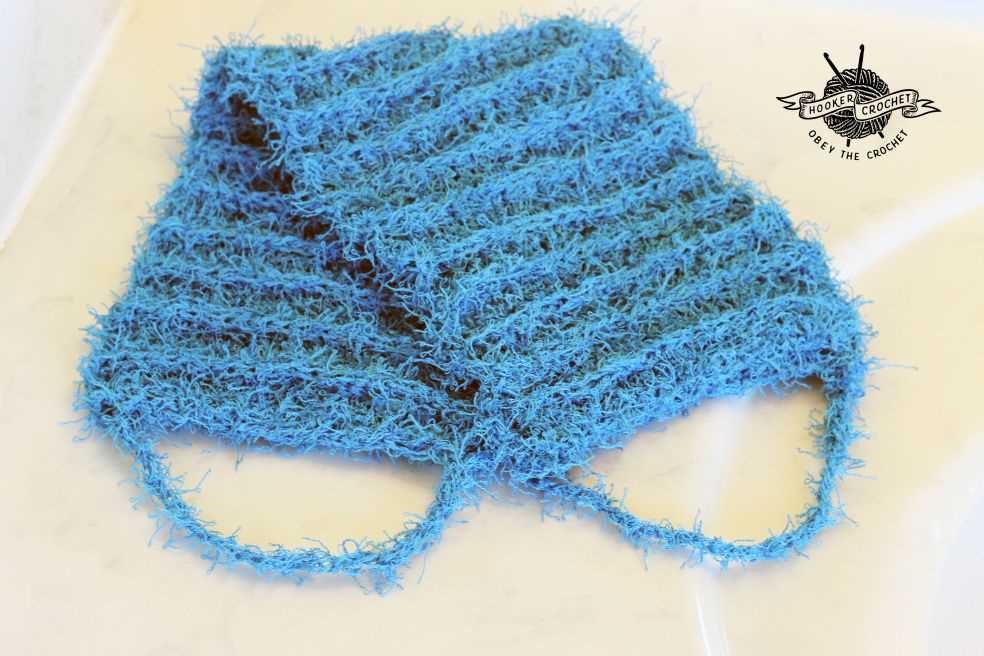
Adding a Handle for Easy Grip
One way to enhance the functionality of your knitted back scrubber is by adding a handle for an easy grip. This allows for better control and maneuverability while using the scrubber, ensuring a more effective and enjoyable experience.
Materials:
- 3.5mm knitting needles
- Worsted weight cotton yarn
- Tapestry needle
- Scissors
Instructions:
- Start by casting on 10 stitches. This will be the width of your handle.
- Knit every row in garter stitch for the desired length of your handle. You can make it as long as you like, depending on your personal preference.
- Once you’ve reached the desired length, bind off all stitches.
- Using a tapestry needle, weave in any loose ends to secure the handle.
- Next, fold the knitted handle in half and position it on one end of the back scrubber.
- Using the same yarn and tapestry needle, sew the folded edge of the handle to the back scrubber. Make sure to sew it securely, so it doesn’t come loose during use.
- Repeat the sewing process on the other end of the back scrubber to attach the handle symmetrically.
- Once both ends of the handle are securely attached, trim any excess yarn and weave in the ends.
- Your knitted back scrubber with a handle is now ready to use! Enjoy the added convenience and ease of grip while exfoliating and cleansing your back.
By adding a handle to your knitted back scrubber, you can enhance its functionality and make it more user-friendly. Follow these simple instructions to create a handle that provides an easy grip and ensures a comfortable and effective back scrubbing experience.
Shaping the Back Scrubber with Decreases and Increases
When knitting a back scrubber, shaping is an important step to achieve the desired size and shape. By using decreases and increases, you can create curves and contours that fit the body’s natural shape.
To shape the back scrubber, you will need to decrease and increase stitches at specific points. Decreases are used to narrow the fabric, whereas increases are used to widen it.
Decreases:
The most commonly used decrease stitch in knitting is the knit two stitches together (k2tog) decrease. This stitch is made by inserting the right needle into the next two stitches as if to knit, and then knitting them together. This decreases the stitch count by one. Other decrease stitches, such as slip-slip-knit (ssk), can also be used to achieve different shaping effects.
Increases:
The most commonly used increase stitch in knitting is the yarn over (yo) increase. This stitch is made by simply wrapping the yarn around the right needle from front to back, creating an extra stitch. Other increase stitches, such as knit front and back (kfb), can also be used to create increases. These stitches are worked by knitting into the front and back of the same stitch, resulting in two stitches from one.
By strategically placing these decrease and increase stitches, you can create shaping that follows the contours of the back scrubber. For example, you can decrease stitches at the edges of the scrubber to create a narrower top and bottom, and increase stitches in the center to create a wider middle section.
Remember to follow the pattern instructions carefully to ensure that you are shaping the back scrubber correctly. By incorporating decreases and increases, you can create a knitted back scrubber that fits comfortably and effectively exfoliates the skin.
Creating a Loop for Hanging
When making a knitted back scrubber, it’s important to include a loop for hanging the scrubber. This loop will allow the scrubber to be easily hung up to dry after each use, keeping it clean and free from mildew. To create the loop, follow these simple steps:
- First, determine where you want the loop to be positioned on your scrubber. This can be near one of the corners or in the center, depending on your preference.
- Once you’ve chosen the placement, you can begin making the loop. Take a separate strand of yarn in a contrasting color or the same color as your scrubber, depending on your desired look.
- Using a crochet hook or your knitting needles, make a small slip stitch or cast on a few stitches, forming a small chain. The length of the chain will depend on how long you want your loop to be, but 4-6 inches is usually a good length.
- After you’ve made the chain, attach it to your scrubber by sewing or weaving in the ends. Make sure it’s securely attached so that it can support the weight of the scrubber when hung.
- Once the loop is attached, you can continue knitting the rest of your scrubber as usual, following the pattern.
Having a loop for hanging your knitted back scrubber is not only practical, but it also adds a nice finishing touch to your creation. So don’t forget to include this important step when making your own scrubber!
Blocking and Finishing Touches
Once you have finished knitting your back scrubber, it is important to block it to give it a professional finish. Blocking helps to even out the stitches and make the scrubber look more polished. To block your scrubber, you will need to wet it and then lay it flat to dry. You can use a towel or foam blocking mats to pin it into shape. Make sure to adjust any areas that need reshaping and smooth out any wrinkles before leaving it to dry.
After blocking, you can add some finishing touches to your knitted back scrubber. One option is to sew a loop onto one corner of the scrubber so that you can easily hang it up to dry after use. You can use a contrasting color of yarn to make the loop stand out, or you can match it to the color of the scrubber for a more cohesive look.
If you want to further personalize your back scrubber, you can also add some decorative elements. For example, you can sew on small beads or buttons to create a textured effect. Alternatively, you can embroider a pattern or design onto the scrubber using a tapestry needle and contrasting yarn.
Once you have finished blocking and adding any desired finishing touches, your knitted back scrubber is ready to use. It is a versatile and practical item that not only exfoliates the skin but also adds a touch of handmade charm to your bathroom. Enjoy the benefits of using a knitted back scrubber while knowing that you created it with your own hands.
Alternative Materials and Variations
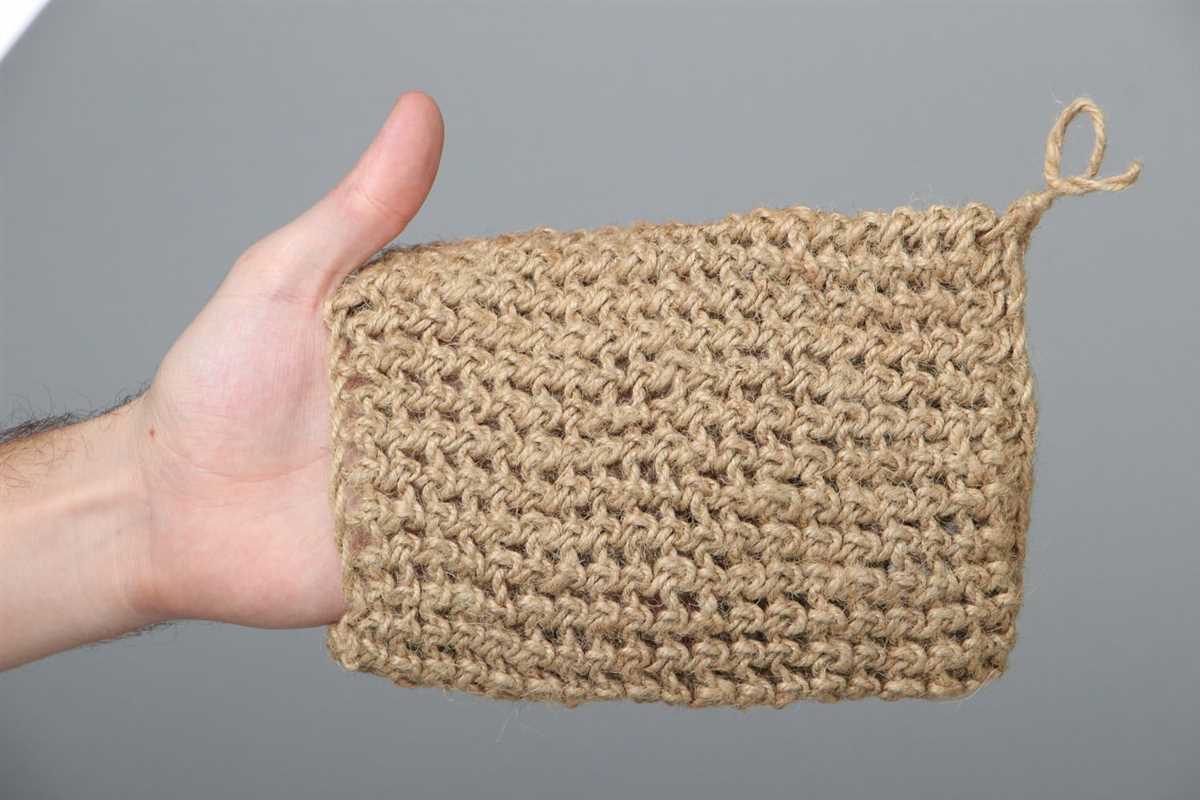
In addition to yarn, there are a variety of other materials that can be used to make a knitted back scrubber. One option is to use twine or jute, which can add a natural and textured look to the scrubber. Another option is to use t-shirt yarn, which is made from recycled t-shirts and is both soft and absorbent. Cotton rope or cord can also be used to create a more durable scrubber.
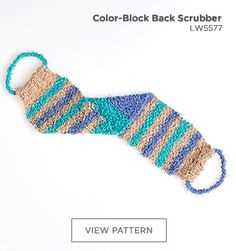
When it comes to variations, there are endless possibilities. One option is to experiment with different stitch patterns to create a more textured or lacy scrubber. For example, using a seed stitch or a basketweave pattern can add more scrubbing power and exfoliation. Another variation is to incorporate different colors or gradients of yarn to create a more visually appealing scrubber. This can be done by using variegated yarn or by changing colors every few rows.
- Try using twine or jute for a natural and textured look
- Experiment with different stitch patterns for added texture and exfoliation
- Incorporate different colors or gradients of yarn for a visually appealing scrubber
- Consider using t-shirt yarn for a soft and absorbent scrubber
- Use cotton rope or cord for added durability
Overall, the options for alternative materials and variations are endless when it comes to making a knitted back scrubber. Whether you choose to use twine, experiment with stitch patterns, or incorporate different colors, the end result will be a practical and customizable tool for exfoliating and cleansing your back.
Tips and Tricks for a Perfect Back Scrubber
Knitting a back scrubber can be a fun and rewarding project that allows you to create a practical item while also indulging in your passion for knitting. To ensure that your back scrubber turns out perfect, here are some tips and tricks to keep in mind:
Choose the Right Yarn
When selecting the yarn for your back scrubber, it’s important to choose a material that is both durable and soft. Opt for a cotton or bamboo blend yarn that is machine washable and gentle on the skin. This will ensure that your back scrubber is long-lasting and comfortable to use.
Pick the Correct Needle Size
The needle size you choose will determine the texture and size of your back scrubber. For a softer and more delicate scrubber, use smaller needles. If you prefer a scrubber with more texture and exfoliating properties, go for larger needles. Experiment with different needle sizes to find the one that gives you the desired result.
Add a Hanging Loop
To make your back scrubber easier to hang and store, consider adding a hanging loop. This can be achieved by knitting a small loop or attaching a loop of ribbon or string to one end of the scrubber. The loop will allow you to hang the scrubber in the shower or on a hook when not in use.
Use a Simple Stitch Pattern
When it comes to the stitch pattern for your back scrubber, simplicity is key. Avoid complex stitch patterns that may make the scrubber difficult to clean or trap dirt and residue. Stick to basic knit or purl stitches, or opt for a simple ribbing pattern for added texture.
Consider Length and Width
The length and width of your back scrubber will depend on personal preference and the size of your back. Aim for a length that allows you to comfortably reach all areas of your back, and a width that provides adequate coverage. You may also want to consider making the scrubber slightly longer than needed, as it may shrink slightly after washing.
By keeping these tips and tricks in mind, you’ll be able to create a perfect back scrubber that is effective, durable, and enjoyable to use.
Benefits of Using a Knitted Back Scrubber

Using a knitted back scrubber can provide a variety of benefits for your skin and overall well-being. Whether you suffer from dry skin, muscle tension, or simply enjoy the feeling of a good exfoliation, a knitted back scrubber is a versatile tool to add to your self-care routine.
First and foremost, a knitted back scrubber helps to exfoliate your skin, removing dead skin cells and stimulating circulation. This can improve the overall appearance and texture of your skin, leaving it feeling smoother and more radiant. Regular exfoliation with a knitted back scrubber can also help to prevent clogged pores and acne breakouts.
- Improved relaxation and stress relief: The texture of the knitted back scrubber and the gentle pressure applied during use can help to relieve tension in your muscles and promote relaxation. Incorporating a knitted back scrubber into your bath or shower routine can create a spa-like experience, allowing you to unwind and de-stress after a long day.
- Increased circulation: The physical act of scrubbing with a knitted back scrubber helps to improve blood flow and circulation to your skin. This increased circulation can promote the delivery of oxygen and nutrients to skin cells, while also aiding in the removal of toxins and waste products.
- Natural exfoliation: Unlike synthetic exfoliating tools, a knitted back scrubber is made from natural materials, such as cotton or bamboo. This makes it an eco-friendly and sustainable choice for your skincare routine. Additionally, the gentle exfoliation provided by a knitted back scrubber is less harsh on your skin compared to traditional scrubbing tools, reducing the risk of irritation or damage.
In conclusion, a knitted back scrubber offers a range of benefits for your skin and well-being. From exfoliation and improved circulation to relaxation and eco-friendliness, this versatile tool is a valuable addition to any self-care routine. So why not give it a try and experience the difference for yourself?