
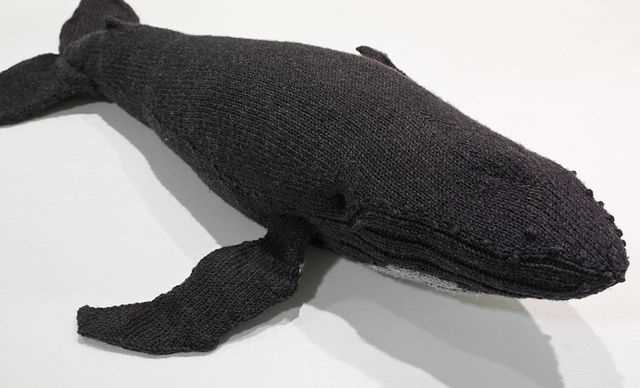
If you have a love for whales and knitting, then this knit whale pattern is the perfect project for you. Whether you’re a beginner or an experienced knitter, this pattern is designed to be easy to follow and fun to create. Knitting your own whale allows you to customize the colors and size to match your personal style and preferences.
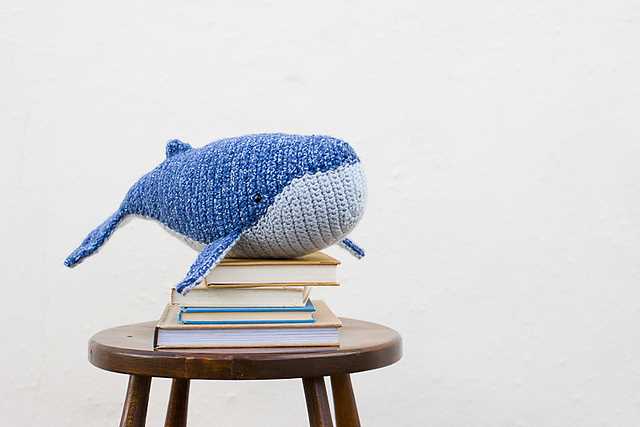
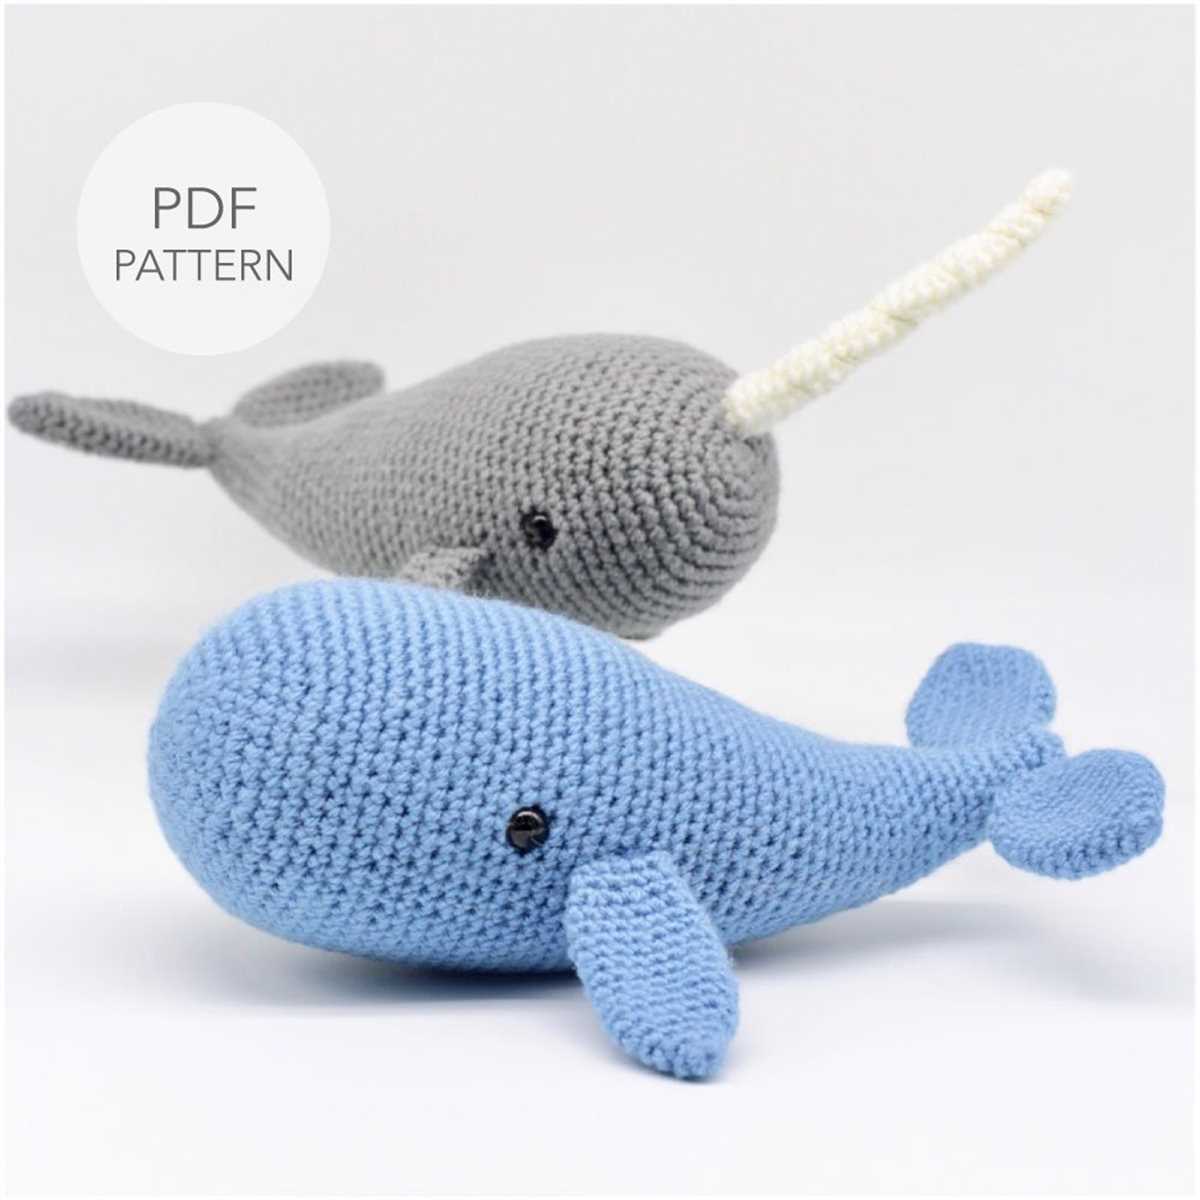
The pattern includes instructions for creating a cute and cuddly toy whale that can be used as a decorative piece for your home or as a gift for a loved one. The finished product is sure to put a smile on anyone’s face and is a great project for both children and adults.
With this knit whale pattern, you’ll be able to create a charming and unique piece of handmade art that showcases your knitting skills. The pattern is designed to be flexible, allowing you to experiment with different yarns and techniques to create a whale that is truly one-of-a-kind. So grab your knitting needles and get started on this fun and adorable project today!
Overview
If you are looking for a knit whale pattern, you have come to the right place. Knitting toys can be a fun and rewarding hobby, and knitting a cute whale is a great project to try. With a knit whale pattern, you can create an adorable stuffed animal or decorative piece that will be loved by both children and adults.
There are various knit whale patterns available online, ranging from simple and beginner-friendly designs to more intricate and advanced options. Some patterns may include detailed instructions and step-by-step guides, while others may only provide a basic outline for experienced knitters to follow. Depending on your skill level and preference, you can choose the pattern that suits you best.
Tips for Choosing a Knit Whale Pattern
- Level of Difficulty: Consider your knitting skills and experience when selecting a pattern. If you are a beginner, look for a pattern with clear instructions and basic techniques. Advanced knitters may enjoy more complex patterns that challenge their skills.
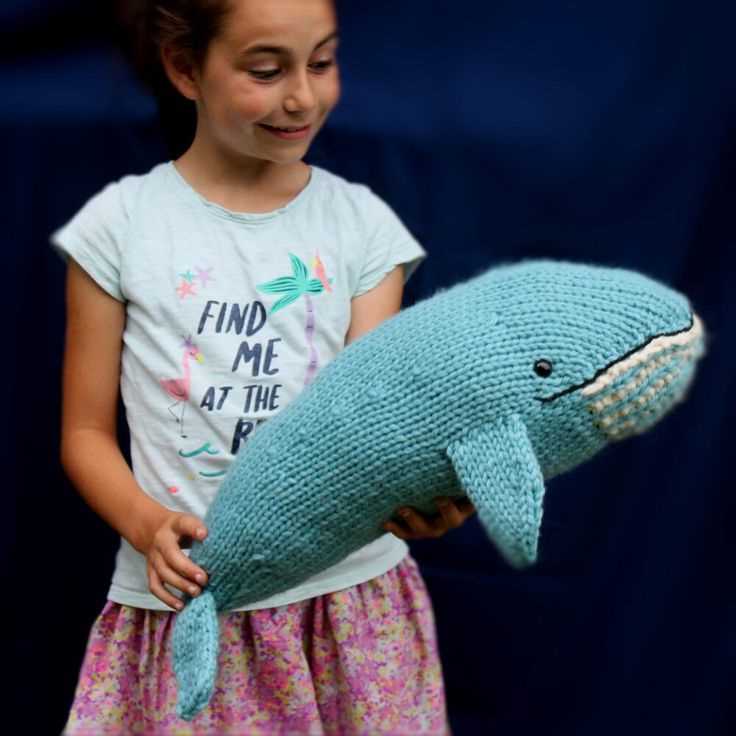
- Size and Style: Think about the final product you want to create. Some patterns may produce small and cute whale toys, while others may result in larger decorative pieces. Decide on the style and size that suits your needs and preferences.
- Materials: Check the materials required for the pattern. This may include specific yarn types, needle sizes, and additional supplies. Make sure you have all the necessary materials before starting your project.
- Reviews and Recommendations: Take a look at reviews and recommendations from other knitters who have tried the pattern. This can give you a better idea of the pattern’s clarity, accuracy, and overall results.
Once you have chosen a knit whale pattern that you like, gather your materials and start knitting! Follow the instructions carefully, and don’t be afraid to ask for help or consult knitting resources if needed. With time and patience, you will be able to create a charming knit whale that will bring joy to yourself or someone you love.
Materials Needed

Before you start knitting your adorable whale, make sure you have all the necessary materials. Here is a list of what you will need:
- Knitting Needles: You will need a pair of knitting needles suitable for the yarn you are using. The recommended size is usually indicated on the yarn label.
- Yarn: Choose a soft and lightweight yarn in the colors you desire for your whale. The pattern may suggest a specific brand or type of yarn, but feel free to use any similar yarn that meets the gauge requirements.
- Tapestry Needle: This needle will be used for sewing up the seams and weaving in loose ends.
- Stuffing: To give your whale its shape, you will need fiberfill or any other suitable stuffing material.
- Stitch Markers: These markers are useful for keeping track of your stitches and progress, especially if the pattern includes shaping or repetitive sections.
- Safety Eyes or Embroidery Thread: Depending on the design of your whale, you may want to use safety eyes for a more realistic look. Alternatively, you can use embroidery thread or yarn to sew on eyes.
- Scissors: A pair of sharp scissors will be needed for cutting the yarn and trimming any excess fabric.
Once you have gathered all these materials, you are ready to start knitting your adorable whale! Make sure to read through the pattern instructions carefully before beginning and enjoy the process of bringing your creation to life.
Step-by-Step Instructions
In order to create a knitted whale, follow these step-by-step instructions:
Materials:
- Size 7 knitting needles
- Blue and white yarn
- Fiberfill stuffing
- Tapestry needle
- Scissors
1. Cast on stitches:
Begin by casting on 80 stitches using blue yarn. This will be the body of the whale.
2. Knit the body:

Using the blue yarn, knit every row until the body measures approximately 10 inches in length. This will be the main part of the whale’s body.
3. Shape the tail:
To create the tail, switch to white yarn and knit 2 rows. Then, decrease by knitting 2 stitches together at the beginning and end of each row for the next 6 rows. This will taper the tail.
4. Create the fin:
For the fin, switch back to blue yarn and knit 1 row. Then, decrease by knitting 2 stitches together at the beginning and end of the row for the next 2 rows. Finally, knit 1 row. This will create a triangular fin.
5. Finish the body:
Switch back to white yarn and knit 1 row. Then, decrease by knitting 2 stitches together at the beginning and end of each row until only 6 stitches remain. Bind off these stitches.
6. Stuff and sew:

Stuff the knitted whale with fiberfill stuffing to give it shape. Use a tapestry needle and blue yarn to sew up any remaining open seams, including the tail and fin.
7. Add details:
Use the tapestry needle and blue yarn to embroider an eye on one side of the whale. You can also add other decorative stitching or details as desired.
Your knitted whale is now complete and ready to be displayed or given as a gift! Enjoy your handmade creation!
Cast On

In knitting, the cast-on is the foundation row of stitches that sets up the project. It is the first step in creating any knitting project, including the knit whale pattern. The cast-on creates the initial row of stitches on the knitting needles and determines the width and elasticity of the fabric.
There are various methods for casting on in knitting, including the long-tail cast-on, the knitted cast-on, the cable cast-on, and many more. Each method has its advantages and is suitable for different types of projects. When starting a knit whale pattern, it is important to choose a cast-on method that will create a firm and even edge.
One popular cast-on method for the knit whale pattern is the long-tail cast-on. This method creates an elastic edge and is perfect for projects that require stretch, such as stuffed animals. To start the long-tail cast-on, you will need to estimate the amount of yarn needed for the cast-on stitches and leave a long tail before starting the actual cast-on. The tail is used to create the stitches, while the working yarn is used to form the loops.
To execute the long-tail cast-on, hold the tail end in your left hand and the working yarn in your right hand. Make a slipknot with both strands of yarn and place it on the knitting needle. Then, using the thumb and index finger of your left hand, create a loop with the tail end of the yarn. Pass the working yarn over and through the loop, creating a new stitch. Repeat this process until you have cast on the desired number of stitches for your knit whale pattern.
Body
The body of the knitted whale pattern is the main part of the toy. To create the body, you will need to follow the instructions for each section and stitch them together. The body is typically made up of multiple pieces, including the main body section, tail, and fins. Each piece is knitted separately and then seamed together to form the complete body.
When knitting the body of the whale, it is important to pay attention to the gauge and tension of your knitting. The pattern will specify the recommended gauge, which ensures that the finished toy will be the correct size. By maintaining the correct tension, you will ensure that the stitches are even and the body has a smooth and professional appearance.
For the main body section, you will typically start by casting on a certain number of stitches and working in the desired stitch pattern for the specified length. This may involve knitting in stockinette stitch, garter stitch, or another stitch pattern that gives the body texture. The pattern will also indicate when to increase or decrease stitches to shape the body.
For the tail and fins, you will usually start with a smaller number of stitches and gradually increase or decrease to create the desired shape. These sections may involve knitting short rows or using shaping techniques like decreases or increases. It is important to follow the pattern instructions carefully to ensure that the tail and fins match the body proportions and shape.
Once all the sections of the body are complete, you will need to seam them together using a yarn needle. This involves using a technique like mattress stitch or whip stitch to sew the pieces together, creating a seamless and sturdy join. Take care to align the sections properly and match the stitch pattern to ensure a neat and professional finish. Once the body is seamed together, you can continue with the other parts of the toy, such as the head and eyes.
Fins
When knitting a whale pattern, the fins are an essential element that brings the whale to life. The fins are an integral part of the whale’s body structure, allowing it to navigate through the water and maintain balance.
Types of Fins:
- Dorsal Fin: The dorsal fin is located on the back of the whale and is often the most recognizable feature. It is typically tall and triangular in shape, providing stability and controlling the whale’s movement.
- Pectoral Fins: The pectoral fins, also known as flippers, are positioned on the sides of the whale’s body. They are used for steering and maneuvering, allowing the whale to change direction and swim gracefully through the water.
- Ventral Fins: The ventral fins, located on the underside of the whale, act as stabilizers and help maintain balance during swimming and diving. They also assist in steering and turning.
Knitting the Fins:
When knitting a whale pattern, you can create the fins using various techniques, depending on your desired outcome. To make the dorsal fin, you can use increases and decreases to shape it into a triangular form. The pectoral fins and ventral fins can be knitted separately and sewn onto the body, or they can be picked up from the body stitches and knitted directly. Adding details such as garter stitch or ribbing can enhance the texture and mimic the appearance of real fins.
Remember to consider the size and proportion of the fins in relation to the whale’s body. Fins that are too small may not provide adequate balance and maneuverability, while fins that are too large can create an unrealistic appearance. Experiment with different techniques and adjust the pattern as needed to achieve the desired result.
Tail

The tail of the knit whale is an important feature that adds charm and character to the finished toy. It is typically made using the same yarn as the body, but you can also use contrasting colors to make the tail stand out.
To create the tail, start by casting on a certain number of stitches, typically between 6 and 10, depending on the desired size of the tail. Knit several rows in garter stitch or stockinette stitch to create the base of the tail. Next, you can add some shaping by decreasing stitches on one or both sides of the tail to create a tapered or triangular shape.
For a textured tail, you can incorporate different stitch patterns such as ribbing, moss stitch, or seed stitch. These stitches will add depth and texture to the tail, making it more visually appealing. You can also experiment with different types of yarn, such as a fuzzy or eyelash yarn, to create a fluffy or textured effect.
Once you have finished knitting the tail, you can attach it to the body of the whale using a tapestry needle and yarn. Make sure to position the tail at the appropriate height and angle to give the whale a balanced and lifelike appearance. You can sew the tail with a few stitches or use a crocheted chain to attach it securely.
Overall, the tail is an essential element of the knit whale pattern. It not only adds aesthetic appeal but also contributes to the overall structure and design of the toy. Experimenting with different yarns, stitches, and shapes can help you create a unique and personalized tail for your knit whale.
Stuffing
When it comes to knitting a whale, one of the most important steps is stuffing. The stuffing is what gives the whale its shape and makes it soft and cuddly. It’s important to choose the right type of stuffing to ensure that the whale looks and feels just right.
There are several options when it comes to stuffing a knit whale. One popular choice is polyester fiberfill. This type of stuffing is lightweight, soft, and easy to work with. It can be easily manipulated to fill all the crevices of the whale, giving it a smooth and even shape. Polyester fiberfill is also hypoallergenic and machine washable, making it a great option for a toy that will be used and loved by children.
Another option for stuffing a knit whale is cotton batting. Cotton batting is made from natural fibers and is also soft and lightweight. It provides a slightly firmer feel than polyester fiberfill, which can be desirable if you want your whale to have a little more structure. Cotton batting is also hypoallergenic and can be machine washed.
When stuffing a whale, it’s important to take your time and make sure that the stuffing is evenly distributed throughout the body. This will help ensure that the whale maintains its shape and doesn’t have any lumpy or uneven areas. It’s also important to stuff the whale firmly, but not too tightly, to give it a nice, cuddly feel.
Assembly
Once you have finished knitting all the pieces of the knit whale, it’s time to assemble them. Take the body piece and fold it in half, wrong sides together, along the center line. Make sure to match up the cast on and bind off edges.
Next, using a tapestry needle and matching yarn, sew the side seams of the body together using mattress stitch. Start from the bottom and work your way up, leaving an opening at the top for stuffing. Once the side seams are sewn, stuff the body firmly with fiberfill or your preferred stuffing material.
For the tail, fold it in half lengthwise, wrong sides together, and sew the side seam using mattress stitch. Leave the top edge open for attaching to the body later. Stuff the tail lightly with stuffing material.
To attach the tail to the body, align the top open edge of the tail with the bottom opening of the body. Use the tapestry needle and yarn to sew them together, making sure to secure them tightly. Knot the yarn securely and weave in the ends.
Now it’s time to attach the fins. Position the fins on either side of the body, close to the tail. Sew them in place securely using the tapestry needle and yarn. Make sure to weave in the ends and knot them securely.
Finally, it’s time to attach the eyes. Use buttons or safety eyes and sew them onto the head of the knit whale. Position them to your liking and secure them tightly. Finish off by weaving in any remaining ends and trimming excess yarn.
Finishing Touches
Once you have completed knitting your whale, it’s time to add the finishing touches to bring your project to life. These final details will make your knitted whale come alive and showcase your craftsmanship. Here are some ideas for adding those special touches:
- Embroidered Eyes: Use embroidery floss or yarn to sew on the eyes of your whale. Choose black or dark blue thread to create eyes that stand out.
- Blowhole: Create a small opening at the top of the whale’s head to represent its blowhole. This can be achieved by sewing a small button or attaching a circular piece of fabric or felt.
- Flippers and Tail: Use a contrasting color yarn to create flippers and a tail for your whale. These can be sewn onto the sides and back of the whale to add dimension and extra detail.
- Smiling Mouth: Give your whale a friendly smile by using a white or light-colored yarn to create a curved line for the mouth. This will add a touch of personality to your knitted creation.
- Stuffing: Before adding the final touches, make sure your whale is properly stuffed with fiberfill or stuffing material. This will give your whale a pleasing shape and make it soft and cuddly.
Once you have added these finishing touches, take a step back and admire your handiwork. Your knitted whale is now complete, ready to be displayed or gifted to someone special. Don’t forget to give yourself a pat on the back for completing such a delightful project!
Final Thoughts
In conclusion, knitting a whale pattern can be a fun and rewarding project for knitters of all skill levels. Whether you are a beginner looking for a simple and quick project or an experienced knitter wanting a more challenging design, there are many whale patterns available to suit your needs.
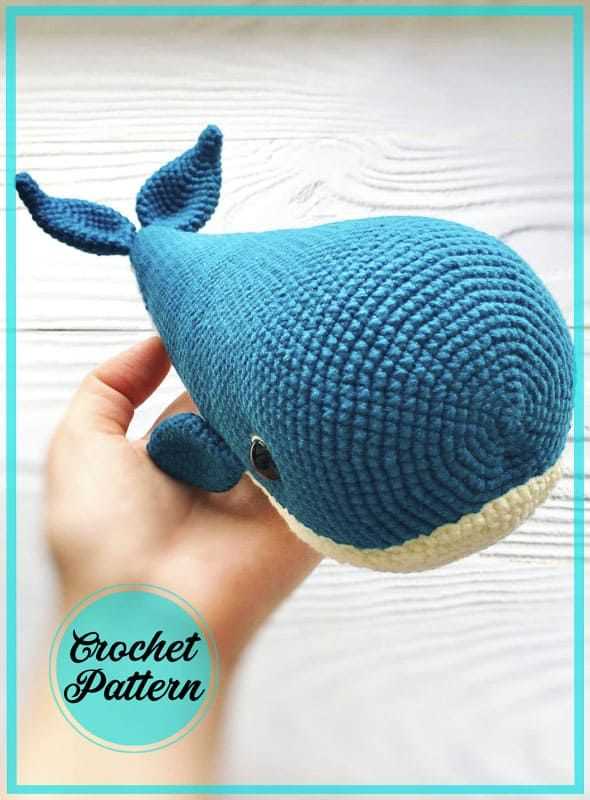
By following a pattern, you can create a cute and cuddly whale toy or a decorative piece to display in your home. The possibilities are endless, and you can even customize your whale by choosing different colors and yarn types.
Knitting not only provides a creative outlet but also offers numerous benefits such as stress relief and mindfulness. It allows you to disconnect from the digital world and focus on a tangible and soothing activity. Plus, the end result is a handmade item that you can be proud of.
So, why not give knitting a whale pattern a try? It may become your new favorite hobby, and you might even discover a newfound love for whales in the process. Happy knitting!