
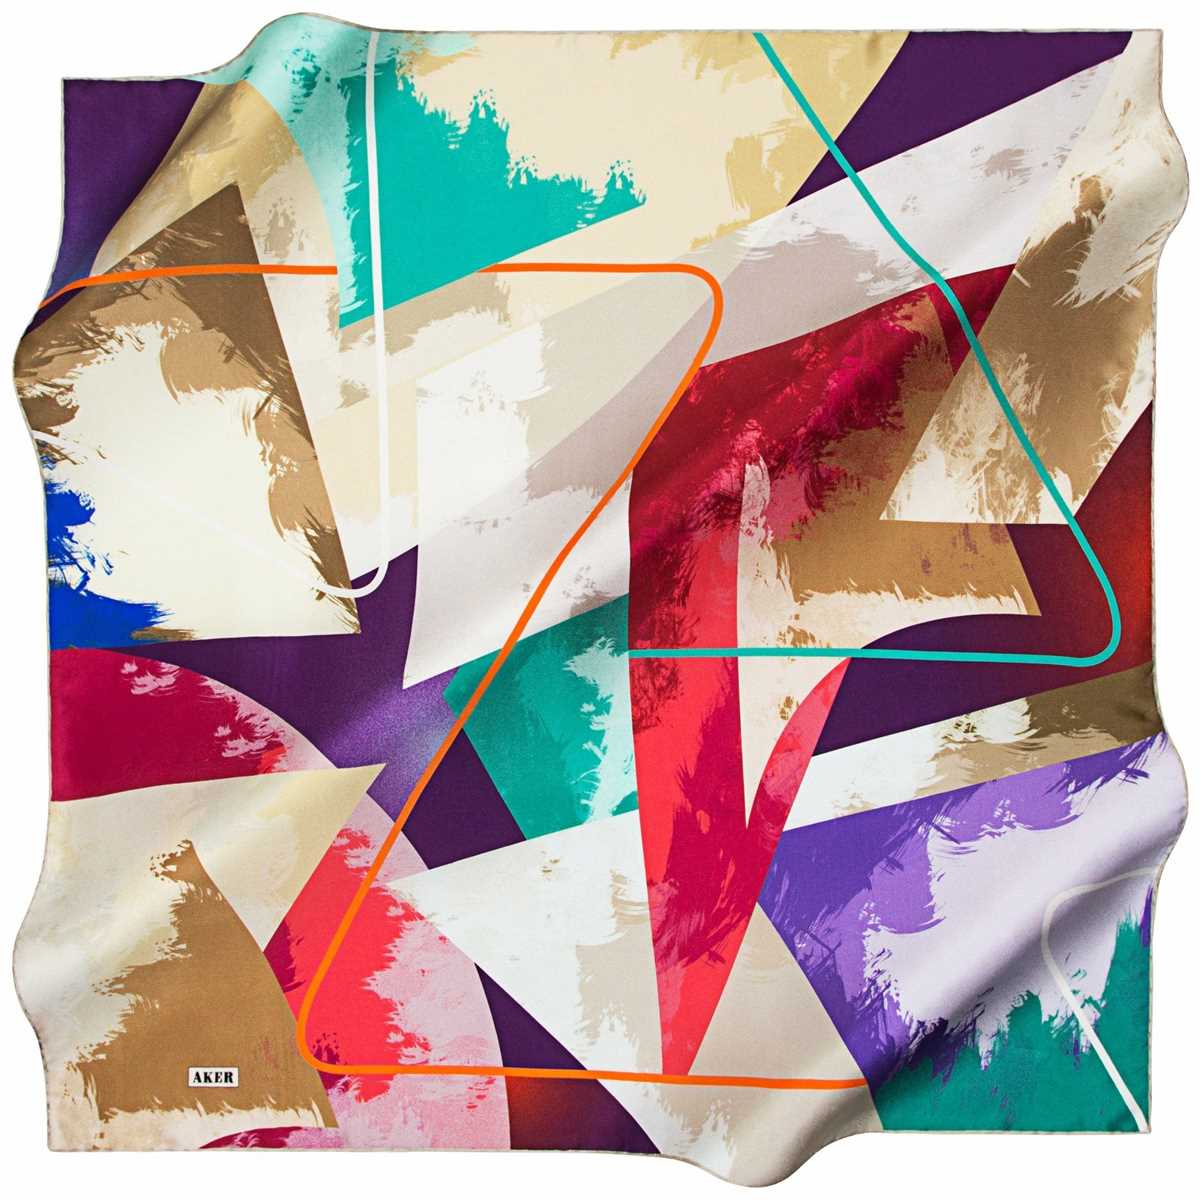
A silk scarf is a luxurious and versatile accessory that can add a touch of elegance to any outfit. Knitting your own silk scarf allows you to customize the color, texture, and pattern to match your personal style. In this article, we will provide a step-by-step guide on how to knit a beautiful silk scarf using a simple yet stylish pattern. Whether you are a beginner knitter or an experienced one, this pattern is suitable for all skill levels.
To start, it’s important to choose the right type of silk yarn for your project. Silk yarn comes in various weights and textures, but for a scarf, it’s best to choose a lightweight and finely spun silk yarn that provides a smooth and lustrous finish. You can find silk yarn in a wide range of colors, so pick a shade that complements your wardrobe or makes a statement. Once you have your yarn, you will need a pair of knitting needles suitable for your chosen yarn weight.
The pattern we will be using is a simple knit and purl stitch pattern that creates a beautiful textured effect. It is perfect for showcasing the natural shine of silk yarn. To begin, cast on the desired number of stitches using a long-tail cast-on method. The number of stitches will depend on the width you want your scarf to be. For a standard-sized scarf, cast on about 30-40 stitches.
Once you have cast on, begin the pattern by knitting the first row. Then, on the second row, purl all the stitches. Repeat these two rows until your scarf reaches the desired length. Finally, bind off all stitches and weave in any loose ends. Block your scarf by gently steaming or washing it to ensure that it lays flat and the stitches are even. Your beautiful silk scarf is now ready to be worn or gifted to a special someone.
How to Knit a Silk Scarf: A Step-by-Step Guide
Knitting a silk scarf can be a luxurious and rewarding project. The delicate and smooth texture of silk adds an elegant touch to any outfit, making it a perfect accessory for any occasion. Whether you are a knitting enthusiast or a beginner looking for a new challenge, this step-by-step guide will help you create a beautiful silk scarf.
Materials Needed:
- Silk yarn: Choose a high-quality silk yarn in your preferred color.
- Knitting needles: Select knitting needles that are appropriate for silk yarn, usually around size 7 or 8.
- Scissors: A sharp pair of scissors will be needed to cut the yarn.
- Tapestry needle: A tapestry needle with a large eye is essential for weaving in loose ends.
Step 1: Cast on stitches
Start by making a slipknot at the end of the silk yarn and place it on one of the knitting needles. Hold the needle in your right hand and your empty needle in your left hand. Insert the empty needle into the slipknot from left to right and wrap the yarn around it counterclockwise.
Step 2: Knit the first row
With the yarn in your right hand, bring the needle through the stitch on the left needle and slip off the stitch from the left needle. Repeat this process until you have knitted all the stitches on the left needle. Keep knitting each row until the scarf reaches your desired length.
Step 3: Bind off stitches
To finish the scarf, you will need to bind off the stitches. Knit the first two stitches, then insert the left needle into the first stitch on the right needle and lift it over the second stitch, dropping it off the needle. Knit another stitch and repeat the process until only one stitch remains. Cut the yarn, leaving a long tail, and pull it through the last stitch to secure.
Step 4: Weave in loose ends
Using a tapestry needle, weave the loose ends into the back of the scarf to secure them. Trim any excess yarn so that it is flush with the fabric.
With these simple steps, you can create a beautiful silk scarf that will add a touch of elegance to your wardrobe. Knitting with silk yarn may require some practice to adjust to its unique properties, but the end result will be worth the effort. Now, grab your materials and start knitting!
Gather Your Materials: What You’ll Need
Before you begin knitting your silk scarf, it’s important to gather all the materials you’ll need. Here is a list of essential items:
- Silk yarn: Choose a silk yarn in the color and weight of your choice. Silk yarn creates a luxurious texture and sheen that will make your scarf stand out.
- Knitting needles: Select a pair of knitting needles that are compatible with your chosen silk yarn. The size of the needles will depend on the gauge you want to achieve.
- Scissors: Have a pair of sharp scissors on hand to cut the yarn and any loose threads.
- Tape measure: Use a tape measure to ensure that your scarf is the desired length and width.
- Stitch markers: These small, removable markers can be used to keep track of specific stitches or pattern repeats.
- Yarn needle: A yarn needle with a large eye is essential for weaving in ends and finishing your scarf.
Once you have gathered all the necessary materials, you’ll be ready to start knitting your silk scarf. Make sure to have everything within reach to ensure a smooth and enjoyable knitting experience.
Choose Your Silk Yarn: Exploring Different Types
Silk yarn is a luxurious and versatile material that is perfect for knitting a scarf. When selecting your silk yarn, it’s important to consider the different types available to find the one that best suits your needs and preferences.
Mulberry Silk: Mulberry silk is considered the highest quality silk and is made from the silkworms that feed on mulberry leaves. It is known for its softness, smooth texture, and durability. Mulberry silk yarn is ideal for creating a lightweight and delicate scarf that drapes beautifully.
Wild Silk:
Another option to consider is wild silk, which is harvested from silk worms that are not exclusively fed on mulberry leaves. Wild silk yarns have a more textured and rustic appearance, making them perfect for creating scarves with a natural and earthy feel.
Some popular types of wild silk include:
- Tussah Silk: Tussah silk is harvested from the silkworms that feed on oak and juniper leaves. It has a slightly coarser texture and a golden hue, adding a unique touch to your silk scarf.
- Eri Silk: Eri silk, also known as peace silk, is harvested from the cocoons without killing the silkworms. It has a soft and fluffy texture, making it perfect for creating cozy scarves.
Bombyx Silk:
Bombyx silk, also known as cultivated silk, is harvested from the silkworms that are exclusively fed on mulberry leaves. It is similar to mulberry silk in terms of its smoothness and luster, but it may have a slightly different texture. Bombyx silk yarn is a popular choice for knitting scarves due to its elegance and versatility.
It’s important to keep in mind that different silk yarns may have different care requirements, so make sure to check the label for washing and drying instructions before starting your knitting project.
Selecting the Right Knitting Needles for Your Silk Scarf
When it comes to knitting with silk, selecting the right needles can make a significant difference in your knitting experience and the final result of your silk scarf. Silk is a delicate and slinky fiber that requires special attention and care, which is why choosing the right needles is crucial.
Material: First and foremost, consider the material of the knitting needles. For knitting with silk, it is recommended to use needles made of materials such as bamboo or wood. These materials have a smoother surface that prevents the silk from slipping too much and offers better control while knitting. They also have a bit of flexibility, which is perfect for handling the delicacy of silk.
Size: The size of the needles also plays a significant role in knitting with silk. Generally, smaller needles are preferred for silk yarns to achieve a tighter and more delicate stitch. However, it ultimately depends on the type of silk yarn you are using and the desired outcome. It is advisable to consult the yarn label or pattern instructions to determine the recommended needle size for your silk scarf.
Type: There are various types of knitting needles available, such as straight needles, circular needles, and double-pointed needles. When knitting a silk scarf, straight needles or circular needles are commonly used. Straight needles are ideal for beginners as they are easy to handle, while circular needles offer more flexibility and can accommodate a larger number of stitches.
Gauge: Consider the gauge or tension of your knitting when selecting the needles for your silk scarf. Silk yarns have different gauges, and it is crucial to match the gauge mentioned in the pattern or yarn label. Using the correct gauge needles will ensure that your scarf turns out as intended and will help you achieve the right size and drape.
By considering factors such as material, size, type, and gauge, you can select the right knitting needles for your silk scarf project. Remember to also take into account your personal knitting style and preferences. With the right needles in hand, you can enjoy the process of knitting a beautiful silk scarf that is both elegant and luxurious.
Casting On: Beginning Your Silk Scarf

When starting to knit a silk scarf, the first step is to cast on. This is the process of creating the initial stitches on the knitting needle, which will form the foundation of the scarf. There are different methods for casting on, but the most common technique is called the “long tail cast on”.
To begin the long tail cast on, you will need a long strand of silk yarn, approximately three times the desired width of your scarf. Make a slipknot at one end of the yarn, leaving a small loop. Insert the knitting needle into the loop and tighten the knot around the needle, ensuring that the tail of the yarn is on the left side.
Hold the knitting needle in your right hand and the tail of the yarn in your left hand. With your right hand, insert the needle under the yarn that is draped over your left thumb. Bring the needle up and over the yarn, creating a loop around the needle.
Repeat this process, alternating between inserting the needle under and over the yarn, until you have the desired number of stitches on your needle. It’s important to maintain an even tension as you cast on, as this will ensure that your scarf has a consistent appearance.
Once you have finished casting on, you can begin knitting the first row of your silk scarf. The cast on stitches will form the foundation row, and you can continue knitting subsequent rows using your chosen stitch pattern. Enjoy the process of creating your silk scarf and experimenting with different patterns and textures!
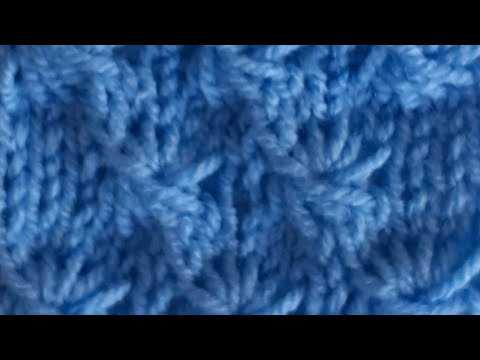
Mastering Basic Knitting Stitches for Your Silk Scarf
In order to create a beautiful silk scarf, it is important to first master the basic knitting stitches. These stitches will form the foundation of your design and determine the overall appearance and texture of your scarf. Whether you are a beginner or an experienced knitter, it is always helpful to review the fundamentals and practice these stitches before starting your project.
1. The knit stitch: This is the most basic stitch in knitting and is essential for any project. To create a knit stitch, insert your right needle into the front of the first stitch on your left needle, then bring the yarn over the top of the right needle and through the loop, pulling it off the left needle. Repeat this process for each stitch until you reach the end of the row.
2. The purl stitch: The purl stitch creates a bumpy texture and is often used in combination with the knit stitch to create different patterns. To purl, insert your right needle into the front of the first stitch on your left needle, then bring the yarn under and over the top of the right needle and through the loop, pulling it off the left needle. Repeat this process for each stitch until you reach the end of the row.
Once you have mastered these two basic stitches, you can start experimenting with different patterns and techniques to create your silk scarf. You can try using different stitch combinations, such as ribbing or seed stitch, to add texture and visual interest to your design. Additionally, you can incorporate different colors of silk yarn to create stripes or other colorwork effects.
3. Ribbing: Ribbing is a common knitting technique that creates a stretchy and textured fabric. It is achieved by alternating between knit and purl stitches in a specific pattern. For example, a commonly used ribbing pattern is “k2, p2” which means knitting two stitches, then purling two stitches, and repeating this pattern across the row.
4. Seed stitch: Seed stitch is another popular knitting pattern that creates a textured and reversible fabric. To create seed stitch, alternate between knit and purl stitches in a specific pattern for every row. For example, a common seed stitch pattern is “k1, p1” for the first row, and then “p1, k1” for the second row.
By mastering these basic knitting stitches and experimenting with different patterns, you will be able to create a unique and intricate silk scarf. Remember to take your time and practice each stitch until you feel confident in your skills. With patience and persistence, you will be able to create a beautiful scarf that showcases your creativity and craftsmanship.
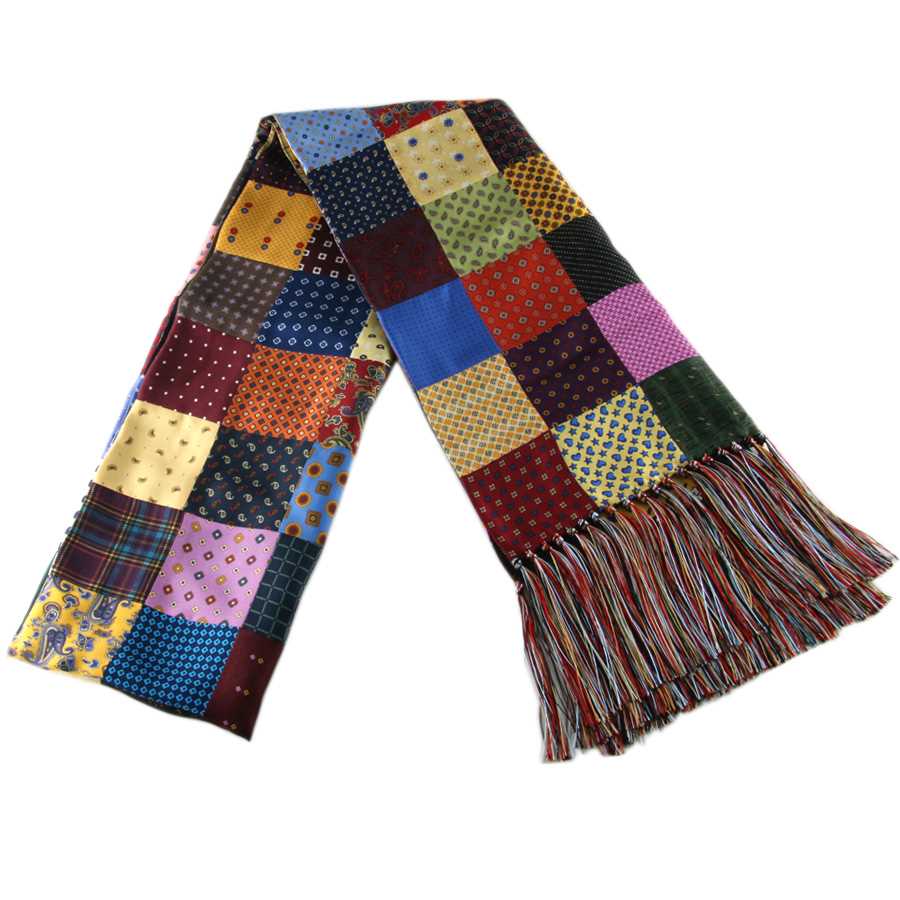
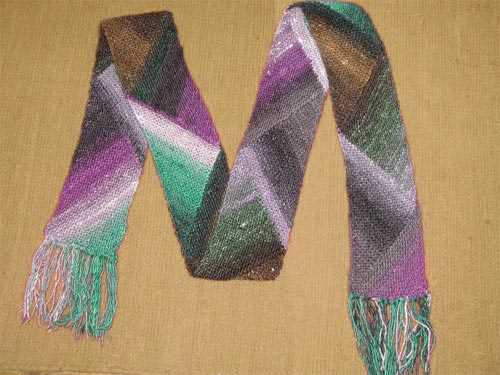
Adding Color: Incorporating Stripes or Color Blocks
If you’re looking to add some visual interest to your knit silk scarf, incorporating stripes or color blocks is a great way to achieve that. You can use different colors to create a bold and vibrant design or stick to a more subtle palette for a subdued look.
Stripes: To incorporate stripes into your silk scarf, you can alternate between two or more colors. You can create horizontal stripes by knitting a certain number of rows in one color, then switching to another color for the same number of rows. This pattern can be repeated throughout the length of the scarf.
Color Blocks: Color blocks are another way to add visual interest to your scarf. With this technique, you can create large sections of different colors. You can either knit one color for a certain number of rows before switching to another color, or use a color block pattern to achieve a more intricate design.
When incorporating stripes or color blocks into your knit silk scarf, it’s important to plan out your design beforehand. You can draw out a sketch or use a digital knitting software to visualize how the colors will look together. Additionally, make sure to keep track of your color changes and use stitch markers if necessary to ensure an even and consistent pattern.
- Experiment with different color combinations to find the one that best fits your style and preferences.
- If you’re feeling adventurous, you can also try incorporating different stitch patterns within your stripes or color blocks to add even more texture to your scarf.
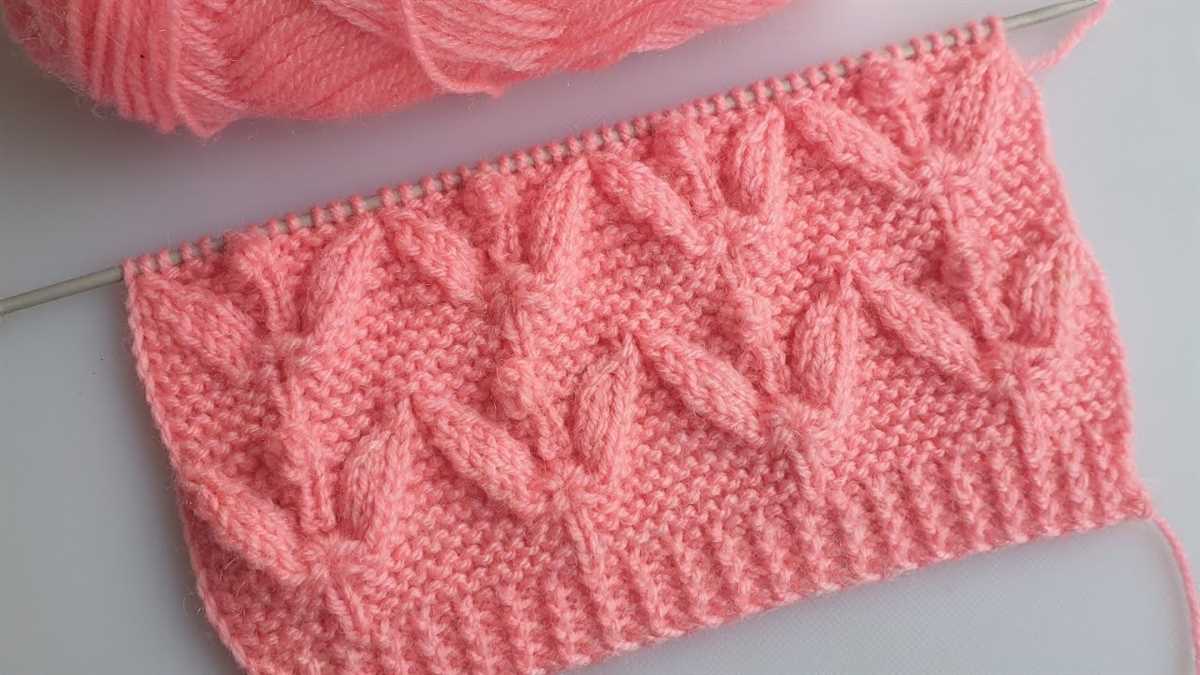
Creating Intricate Patterns: Cable Knitting with Silk Yarn
Knitting with silk yarn can add a touch of luxury and elegance to any project, and when it comes to creating intricate patterns, cable knitting is an excellent choice. The combination of silk yarn’s smoothness and the complexity of cable stitches results in a stunning finished piece that is sure to impress.
Cable knitting involves crossing stitches over one another to create beautiful braided or twisted patterns. When done with silk yarn, the resulting cables have a soft and lustrous appearance, making them even more eye-catching. The smoothness of the silk yarn allows the cables to stand out and adds a subtle sheen to the finished scarf.
How to cable knit with silk yarn:
- Choose a silk yarn that is suitable for cable knitting. Look for a yarn with good stitch definition and enough strength to hold up to the tension required in cable knitting.
- Start by casting on the desired number of stitches for your scarf. Cable knitting usually requires a multiple of stitches to create balanced cable patterns.
- Follow a cable knitting pattern or create your own design. Cable patterns typically involve working a series of rows that include crossing stitches over each other.
- Use a cable needle or a double-pointed needle to hold the cable stitches as you work. This will help you keep track of the stitches and prevent them from unraveling.
- Work the cable stitches according to the pattern instructions, crossing them over each other to create the desired cable pattern.
- Continue knitting the rows of the cable pattern until the desired length is achieved. Remember to keep the tension even and consistent throughout the project to ensure a professional finish.
- Once the knitting is complete, bind off the stitches and weave in any loose ends.
Knitting a silk scarf with intricate cable patterns can be a rewarding and enjoyable project. The combination of silk yarn’s luxurious feel and the complexity of cable stitches creates a unique piece that is sure to be treasured. Whether you’re knitting for yourself or as a gift, cable knitting with silk yarn is a technique that is worth exploring.
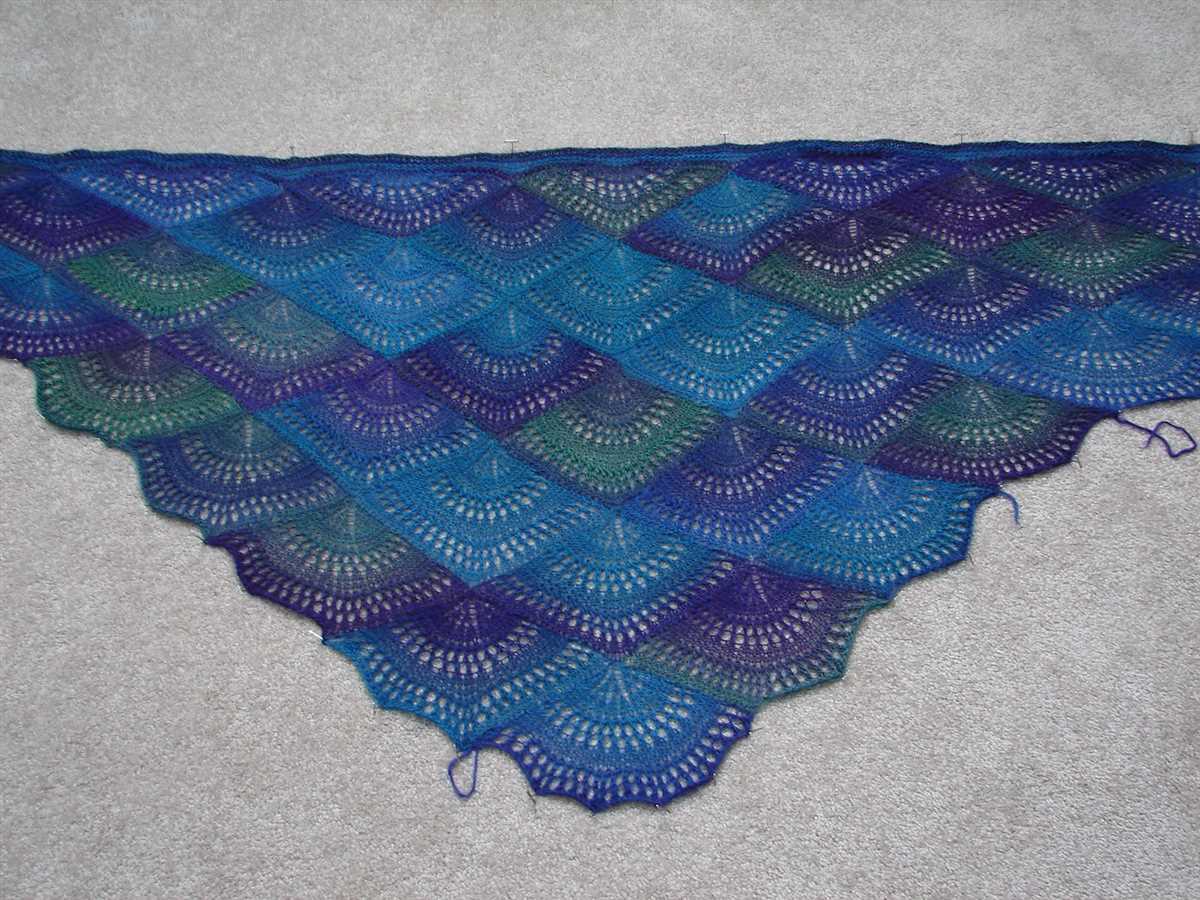
Knitting Lace: Delicate and Beautiful Designs
Knitting lace is a cherished and time-honored tradition that dates back centuries. The delicate and intricate patterns create stunning designs that are both functional and aesthetically pleasing. Lace knitting requires careful attention to detail and meticulous craftsmanship, making it a favorite among experienced knitters.
One of the most appealing aspects of knitting lace is the wide variety of patterns available. From simple geometric shapes to intricate floral motifs, there is a lace pattern to suit every taste and skill level. Many lace designs incorporate lace weight or fingering weight yarn, which gives the finished piece an airy and ethereal quality.
Key elements
- Holes: Lace knitting typically features small holes or eyelets that are created by intentionally increasing and decreasing stitches. These holes add texture and dimension to the finished piece.
- Charts: Lace patterns are often represented graphically using charts. These charts use symbols to indicate different stitches and stitch combinations, allowing knitters to easily follow the pattern.
- Repeats: Many lace patterns are composed of repeating sections. This makes it easier to memorize the pattern and allows knitters to easily adjust the size of their project.
For those new to lace knitting, it is recommended to start with a simpler pattern and gradually work your way up to more complex designs. Knitting lace requires focus and concentration, but the end result is always worth the effort. Whether you’re creating a delicate lace shawl, a cozy sweater, or an elegant scarf, lace knitting adds a touch of elegance and sophistication to any project.
Finishing Touches: Blocking and Weaving in Ends
After you have completed knitting your silk scarf, the final step is to block and weave in the ends to give it a polished and professional finish. Blocking will help to even out the stitches, improve the drape of the scarf, and open up any lace or cable patterns. Weaving in ends will secure the loose yarn tails and prevent them from unraveling.
Blocking: To block your silk scarf, you will need a clean towel or blocking mat, rustproof pins, and a spray bottle filled with water. Begin by gently washing the scarf according to the care instructions on the yarn label. Lay the wet scarf flat on the towel or blocking mat, making sure it is in the desired shape and size. Use the rustproof pins to secure the edges and corners of the scarf. Lightly mist the scarf with water until it is damp but not dripping. Leave the scarf to dry completely before unpinning.
Weaving in Ends: To weave in the ends, thread a tapestry needle with the loose yarn tail. Insert the needle under several stitches, following the path of the yarn as closely as possible. Then, bring the needle back out and trim any excess yarn. It is important to weave in the ends in a manner that is secure but invisible. Repeat this process with all the loose ends on the scarf.
By blocking your silk scarf, you can enhance its appearance and make it look more professional. Weaving in the ends ensures that your scarf will stay intact and prevent any loose ends from getting caught or pulled. These finishing touches will give your knit silk scarf a polished look and make it ready to be worn or gifted with pride.
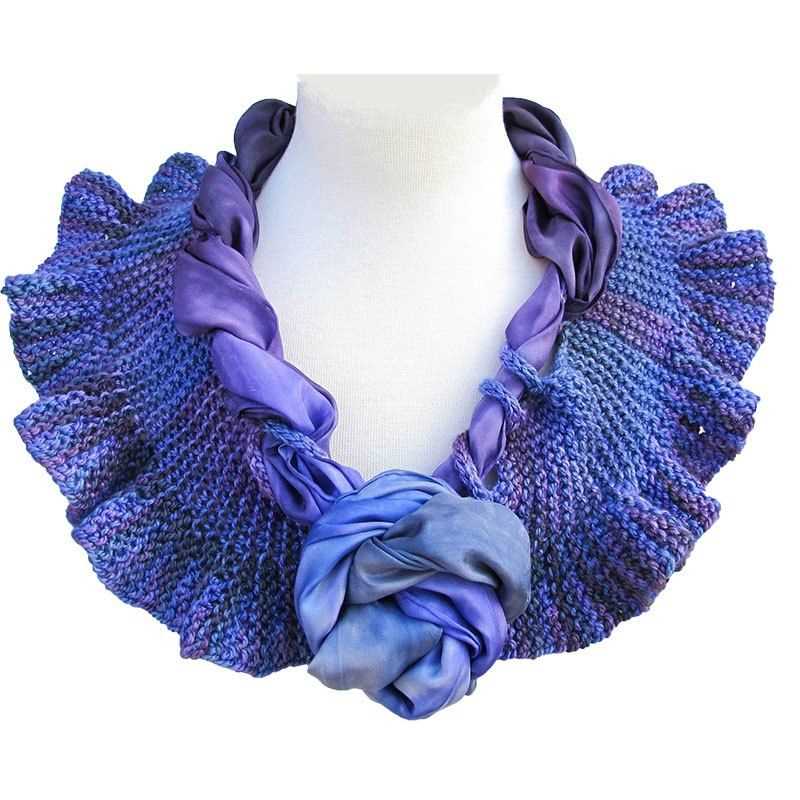
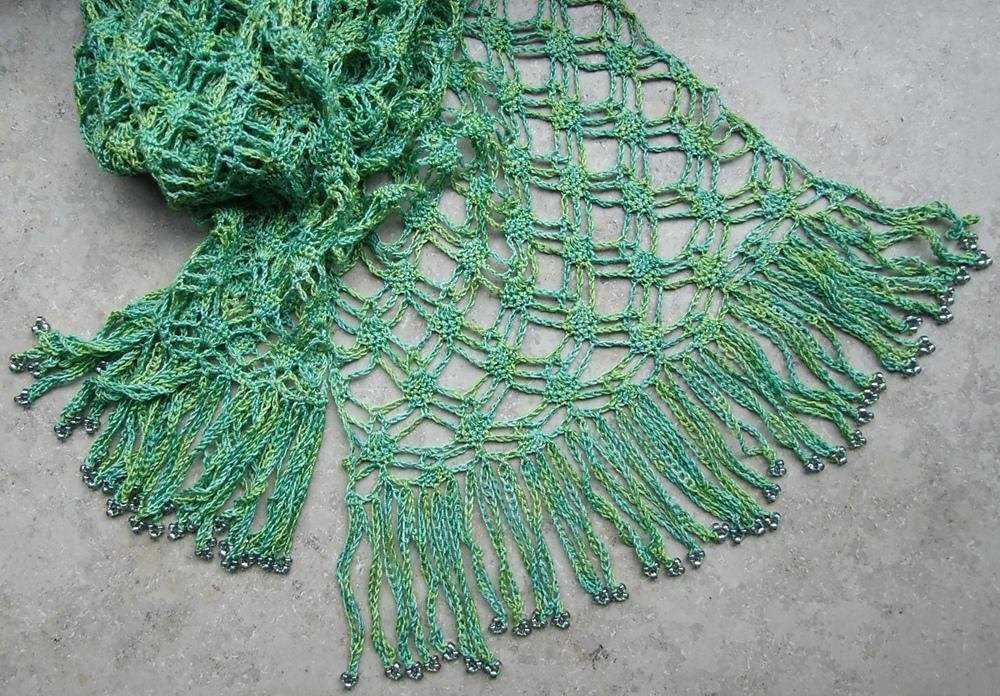
Adding Fringe: Enhancing Your Silk Scarf
A silk scarf is a versatile accessory that can elevate any outfit with its luxurious and delicate texture. To further enhance the elegance of your silk scarf, consider adding fringe to the edges. Fringe not only adds visual interest to the scarf but also creates movement and dimension, making it even more eye-catching.
When adding fringe to your silk scarf, there are a few different options to consider. One option is to sew pre-made fringe trim along the edges of the scarf. This can be a quick and easy way to add fringe, as the trim is already finished and ready to be attached. Simply sew it onto the edge of the scarf, making sure to evenly distribute the fringe for a balanced look.
If you prefer a more personalized touch, you can also make your own fringe. Cut long, thin strips of silk fabric, making sure they are all the same length. Fold each strip in half and attach them to the edges of the scarf using a needle and thread. This method allows you to create a fringe that matches the color and texture of the scarf, resulting in a cohesive and custom-designed accessory.
When adding fringe to your silk scarf, it is important to consider the overall style and aesthetic you want to achieve. A shorter fringe can create a more subtle and refined look, while a longer fringe can add drama and movement. Additionally, the thickness and density of the fringe can also have an impact on the overall appearance of the scarf. Play around with different lengths and widths to find the perfect fringe for your silk scarf.
Whether you choose to sew on pre-made fringe or create your own, adding fringe to your silk scarf is a simple and effective way to enhance its beauty and create a unique accessory. With the right fringe, your silk scarf will become a statement piece that adds a touch of luxury and style to any outfit.
Caring for Your Silk Scarf: Washing and Storage Tips
Silk scarves are delicate accessories that require special care to keep them looking beautiful for years to come. Proper washing and storage techniques can help maintain the quality and longevity of your knit silk scarf. Here are some tips to help you care for your silk scarf:
Washing:
- Always check the care instructions provided by the manufacturer before washing your silk scarf. Some scarves may require dry cleaning, while others can be hand washed.
- If hand washing is recommended, fill a sink or basin with lukewarm water and add a mild silk detergent.
- Gently swirl the scarf in the soapy water for a few minutes, being careful not to agitate or scrub the fabric.
- Rinse the scarf thoroughly with cool water until all the soap is removed. Avoid twisting or wringing the fabric.
- Place the scarf flat on a clean towel and carefully roll it up to remove excess water. Do not squeeze or twist the fabric.
Storage:
- Before storing your silk scarf, make sure it is completely dry to prevent mildew or odors.
- Avoid hanging silk scarves, as this can cause them to stretch or lose their shape. Instead, fold the scarf neatly and place it in a drawer or storage box.
- When folding the scarf, avoid sharp creases or bends, as these can damage the delicate silk fibers. Instead, loosely fold the scarf in a gentle manner.
- To protect the scarf from dust and insects, consider placing it in a breathable cotton bag or wrapping it in acid-free tissue paper.
- Store the scarf in a cool, dry place away from direct sunlight to prevent fading or discoloration.
By following these washing and storage tips, you can ensure that your knit silk scarf stays in excellent condition and continues to enhance your outfits for years to come. Remember to always check the care instructions provided by the manufacturer and handle your silk scarf with care.
Showcase: Styling Options for Your Finished Silk Scarf
After spending hours knitting your beautiful silk scarf, it’s time to show it off and experiment with different styling options. Here are some ideas to inspire you:
1. Classic Wrap
Drape the scarf around your neck, leaving both ends hanging down evenly in front. This timeless and elegant style is perfect for any occasion.
2. Neck Bow
Tie a small knot in the middle of the scarf and then wrap it around your neck, tying a bow with the ends. This feminine and charming style adds a stylish touch to any outfit.
3. Draped Shawl
For a more relaxed look, drape the scarf across your shoulders like a shawl. This style is perfect for chilly evenings or when you want to add a touch of elegance to a simple outfit.
4. Belted Scarf
Wrap the scarf around your waist and secure it with a belt. This unique and trendy styling option can transform a plain dress or tunic into a fashionable ensemble.
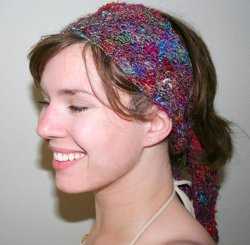
5. Hair Accessory
Tie the scarf around your ponytail or use it as a headband to add a pop of color and style to your hairdo. This versatile styling option works well for both casual and formal occasions.
6. Handbag Accessory
Attach the scarf to the handle or strap of your handbag for a chic and playful touch. This simple addition can instantly elevate the look of your bag and make a fashion statement.
There are countless ways to style and wear your silk scarf, so don’t be afraid to get creative and try new combinations. Whether you’re going for a classic, bohemian, or modern look, your silk scarf is sure to add a touch of luxury and sophistication to any outfit.