
Knitting is a popular hobby that allows you to create unique and personalized items. One such item is a knitted duck. Whether you’re knitting for a baby shower or simply want a fun and adorable project, a knitted duck can be a great choice. It’s a versatile pattern that can be customized in various ways, from the color of the yarn to adding different accessories. This article will guide you through the process of knitting your very own duck.
The first step in knitting a duck is to gather all the necessary materials. You will need a pair of knitting needles, yarn in the desired color for the body and beak, as well as small amounts of yarn in different colors for the eyes and feet. You will also need a tapestry needle for sewing up the duck and adding any final touches. Once you have all your materials, you can begin the actual knitting process.
Start by casting on the required number of stitches for the body of the duck. This will depend on the size you want your duck to be. A common starting point is to cast on around 30-40 stitches. Once you have cast on, you can begin working in the round, knitting in a continuous spiral. Use a stitch marker to mark the beginning of each round. You will continue knitting in this way until the body measures the desired length.
Why knit ducks are popular
Knit ducks have become increasingly popular in recent years, and it’s easy to see why. These adorable and versatile toys offer numerous benefits and have captured the hearts of both children and adults alike.
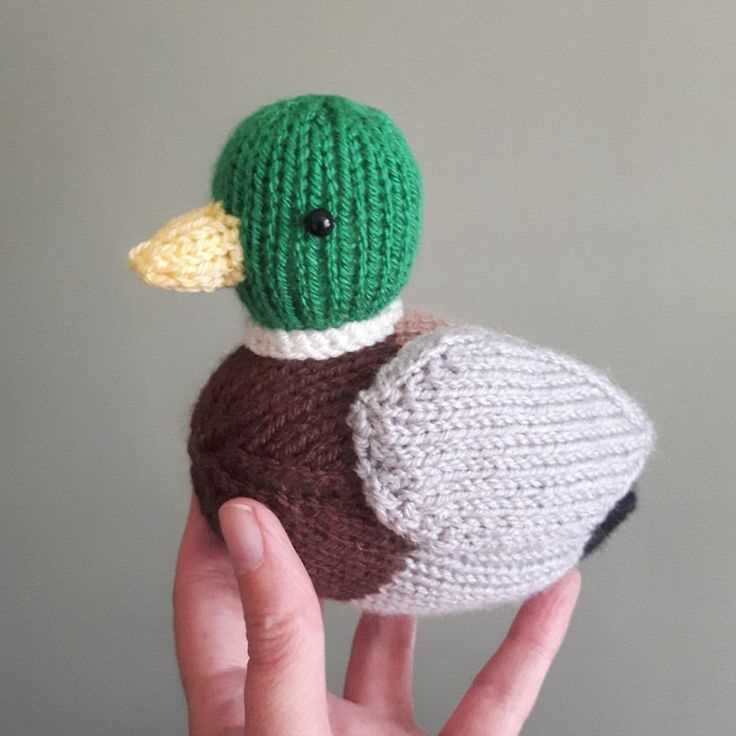
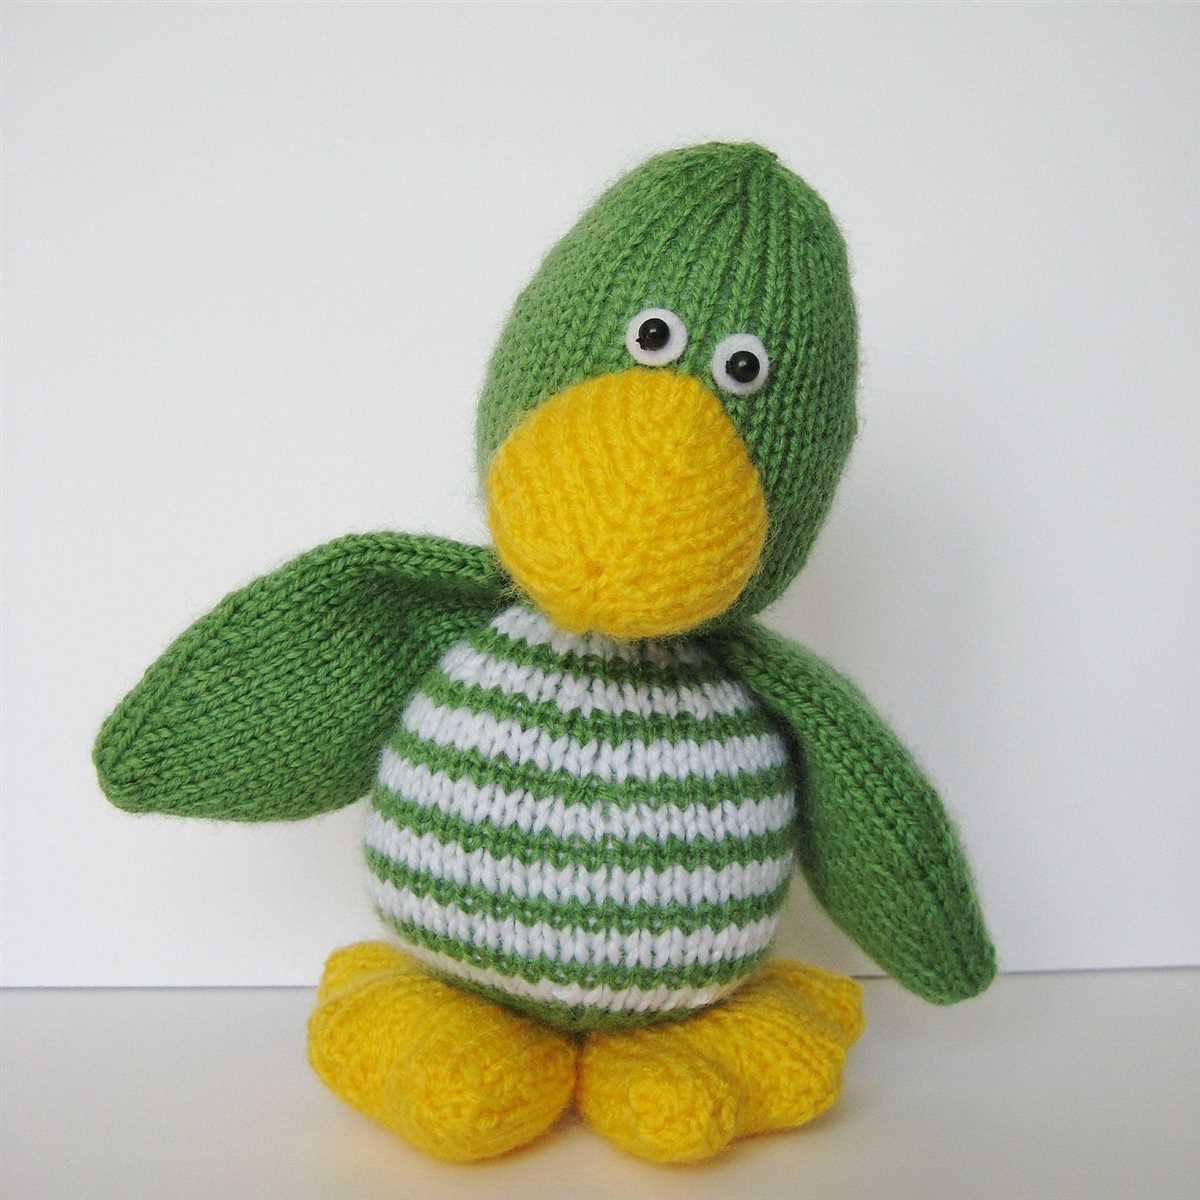
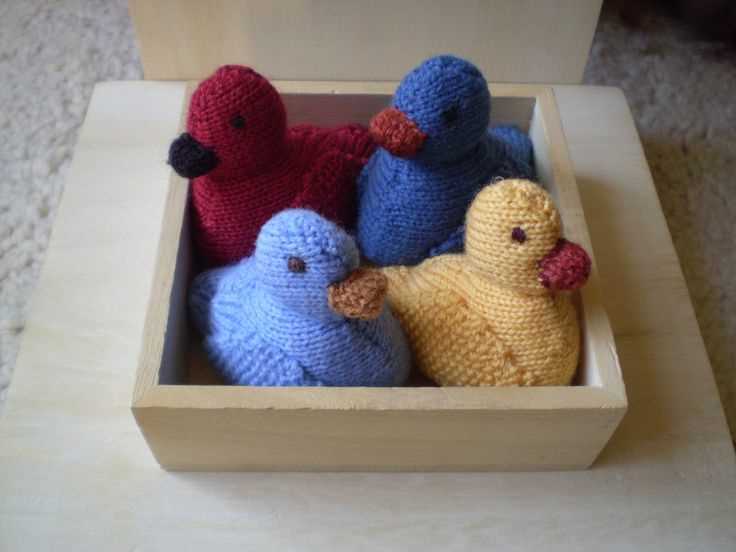
Creative and Unique Design: One of the main reasons why knit ducks have gained such popularity is their creative and unique design. Unlike traditional rubber ducks, knit ducks come in various colors, patterns, and sizes, allowing individuals to choose the perfect one to suit their tastes and preferences.
Another reason why knit ducks are popular is their craftsmanship value. These ducks are often handmade by skilled artisans, giving them a sense of authenticity and quality that many mass-produced toys lack. The intricate details and expert stitching make each knit duck a work of art, making them highly desirable for collectors and enthusiasts.
- Safe and Non-Toxic: Parents are always concerned about the safety of their children’s toys, and knit ducks provide a safe and non-toxic option. Made from soft and hypoallergenic materials, these ducks are free from harmful chemicals, making them suitable for even the youngest of children.
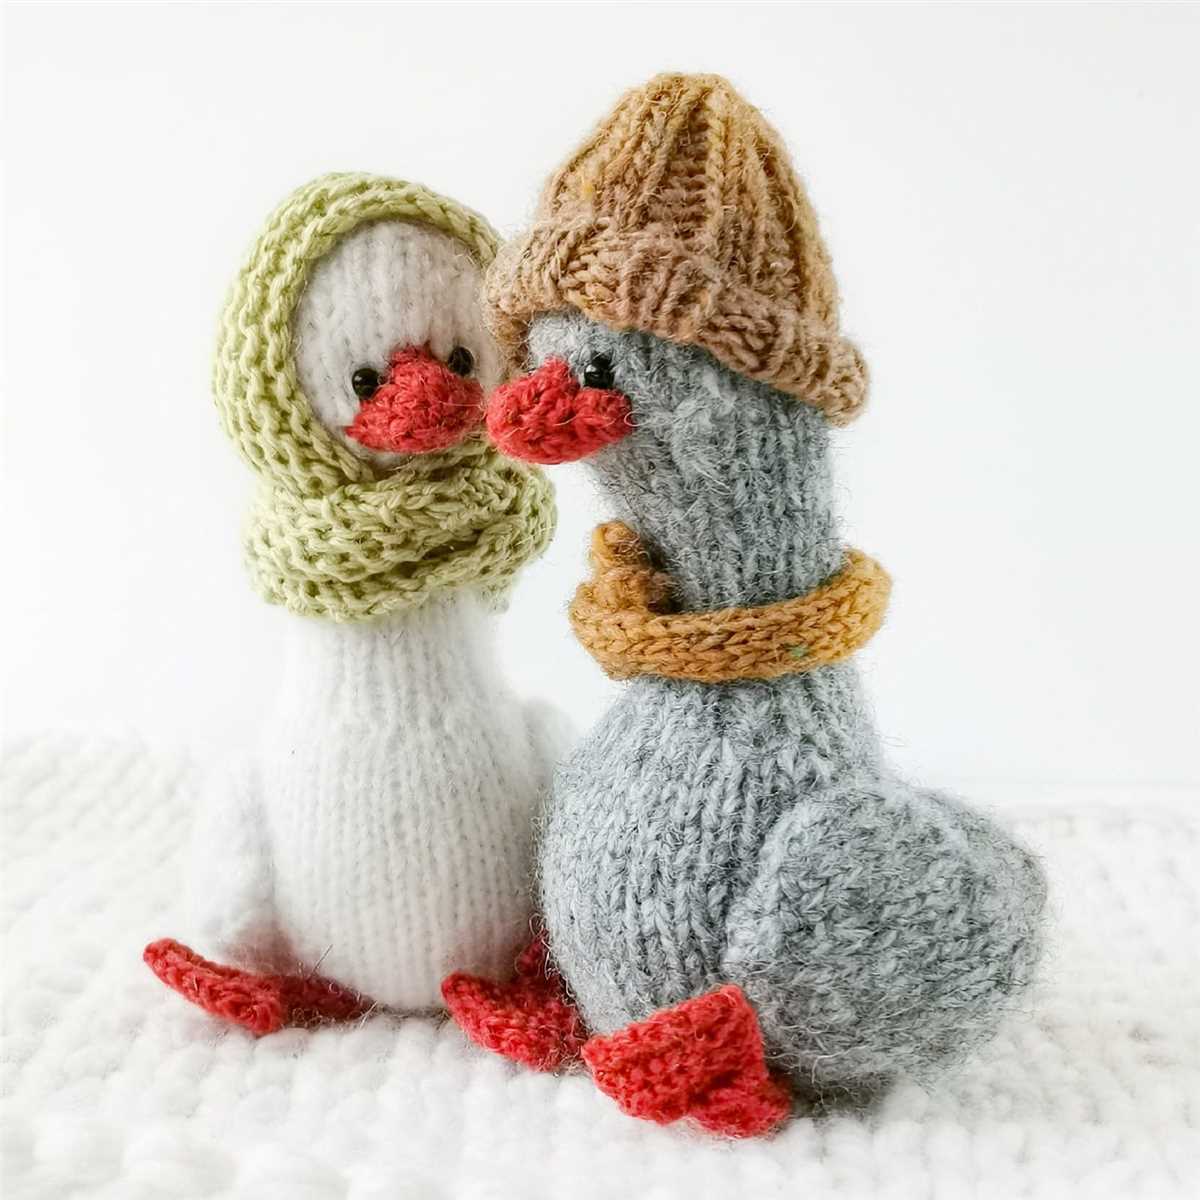
- Multi-Purpose Toy: Knit ducks are not just for playtime. They can also be used as decorative pieces in nurseries or children’s rooms. Their adorable appearance adds a touch of charm to any space, making them a popular choice for both children and adults who appreciate unique and whimsical decor.
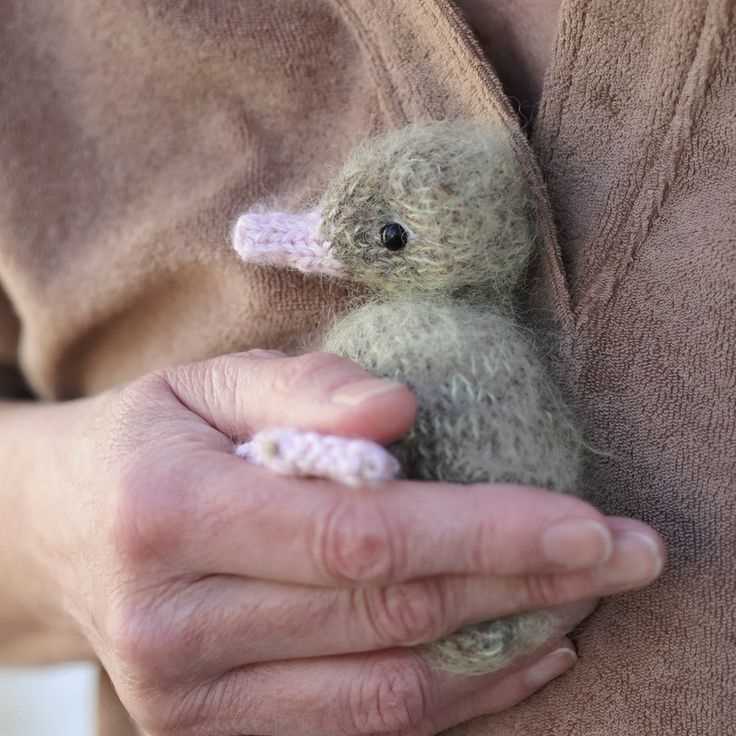
Emotional Connection: Lastly, knit ducks have an undeniable ability to create an emotional connection with their owners. Their soft texture and cuddly nature make them perfect companions for children, providing comfort and security in times of need. Additionally, for adults, knit ducks can evoke nostalgic memories of childhood or serve as a source of stress relief.
Overall, knit ducks have gained popularity for their creative design, craftsmanship value, safety, versatility, and emotional connection. Whether as a toy or a decorative item, these cute and lovable ducks have proven to be a beloved choice for people of all ages.
What you need to start knitting ducks
Knitting ducks can be a fun and rewarding project for both beginners and experienced knitters. To get started, you will need a few essential tools and materials. Here is a list of what you need:
1. Knitting Needles:
A pair of knitting needles is necessary for creating the body and other parts of the duck. You can choose the size depending on the desired outcome, but generally, medium-sized needles between US size 6 and 8 work well for most patterns.
2. Yarn:
Yarn is the main material for knitting ducks. You can use any type of yarn as long as it is suitable for the needle size you are using. Cotton or acrylic yarns are often recommended for making ducks, as they are soft and easy to work with.
3. Stuffing:
To give your knitted duck a plump and fluffy appearance, you will need some stuffing material. Polyester fiberfill is a popular choice as it is lightweight, hypoallergenic, and can be easily shaped to fill the different parts of the duck.
4. Scissors:
A good pair of scissors is essential for cutting yarn and trimming excess threads. Make sure to use sharp scissors that are specifically meant for fabric or yarn to get clean and precise cuts.
5. Stitch Markers:
Stitch markers can be helpful for keeping track of your stitches, especially when working on intricate patterns or shaping different parts of the duck. They come in various types, such as small rings or clips, and can be easily attached to the knitting needles.
6. Tapestry Needle:
A tapestry needle with a blunt end is necessary for weaving in loose ends and sewing pieces of the duck together. Choose a needle that is large enough to accommodate the yarn you are using, but not too large that it leaves visible holes.
With these essential tools and materials, you are ready to start knitting your very own adorable ducks. Whether you prefer a simple and classic design or a more intricate pattern, the joy of seeing your creation come to life is truly rewarding.
Choosing the Right Yarn for Knit Duck Pattern
When it comes to knitting a duck pattern, choosing the right yarn is essential to achieve the desired outcome. The yarn you select will not only determine the overall look and feel of the finished toy but also its durability and ease of care.
Fiber Content: When selecting yarn for a knit duck, consider the fiber content that will best suit your needs. Acrylic yarns are often a popular choice as they are affordable, easy to care for, and come in a wide range of colors. Cotton yarns can also be a good option, as they are soft, lightweight, and durable. If you prefer a more luxurious and natural option, consider using a wool or alpaca blend yarn.
Weight: The weight of the yarn, indicated by the yarn label’s number symbol, is another important factor to consider. For a knit duck pattern, a medium or worsted weight yarn is generally recommended as it provides a good balance between thickness and flexibility. However, you can experiment with different weights to achieve different effects, such as using a bulky yarn for a chunkier duck or a sport weight yarn for a more delicate toy.
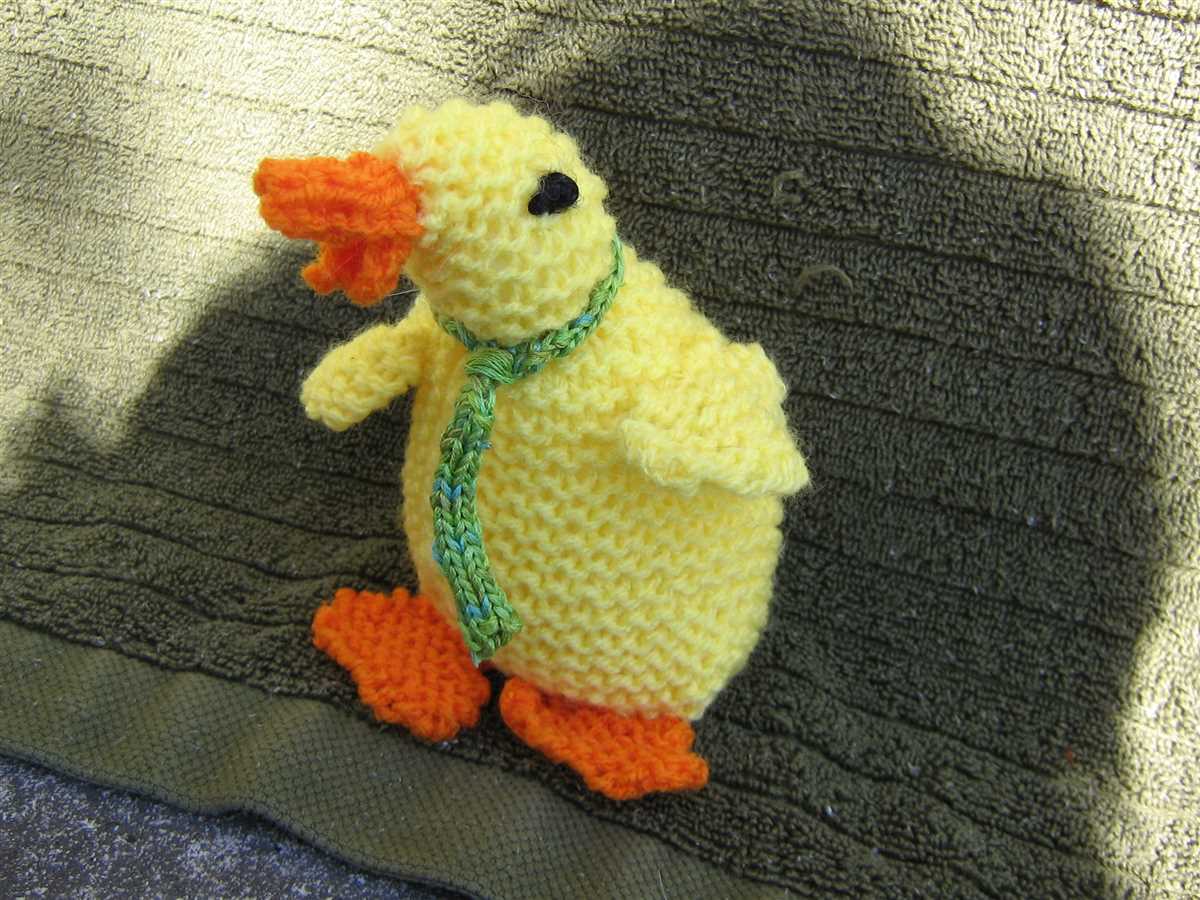
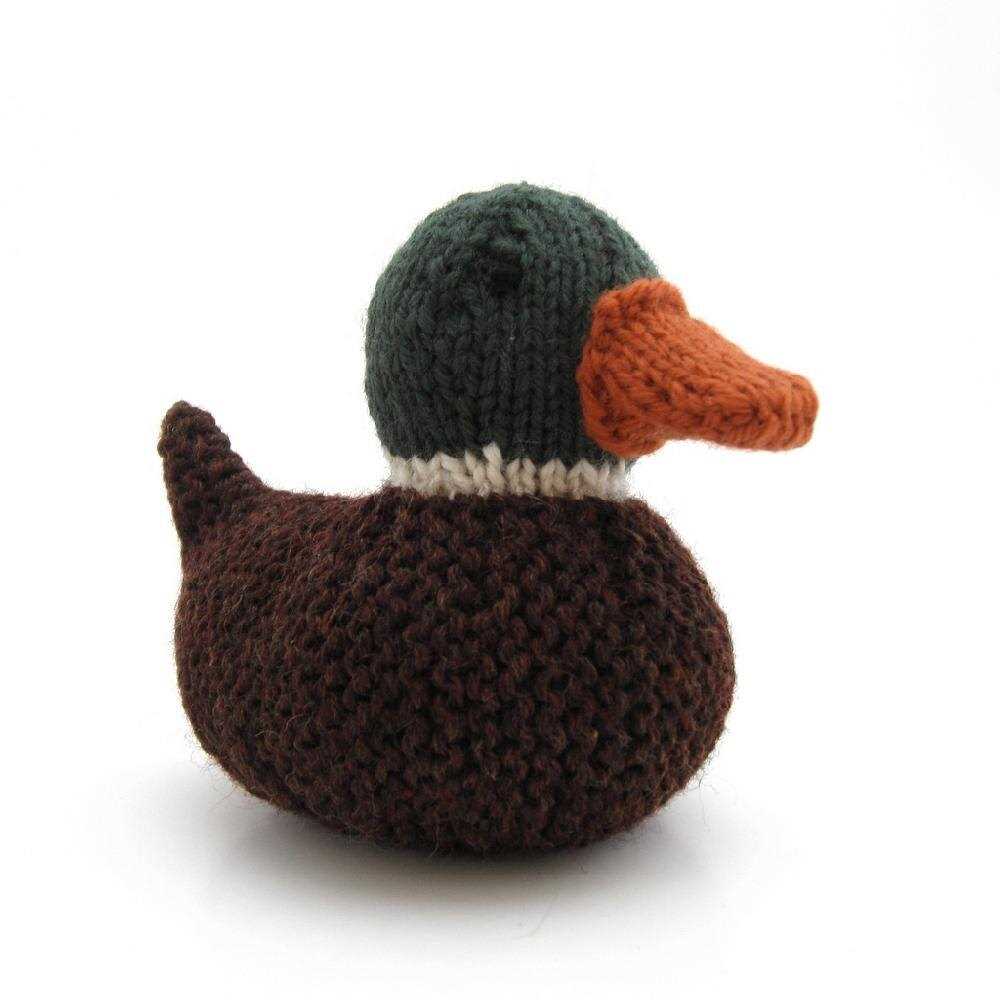
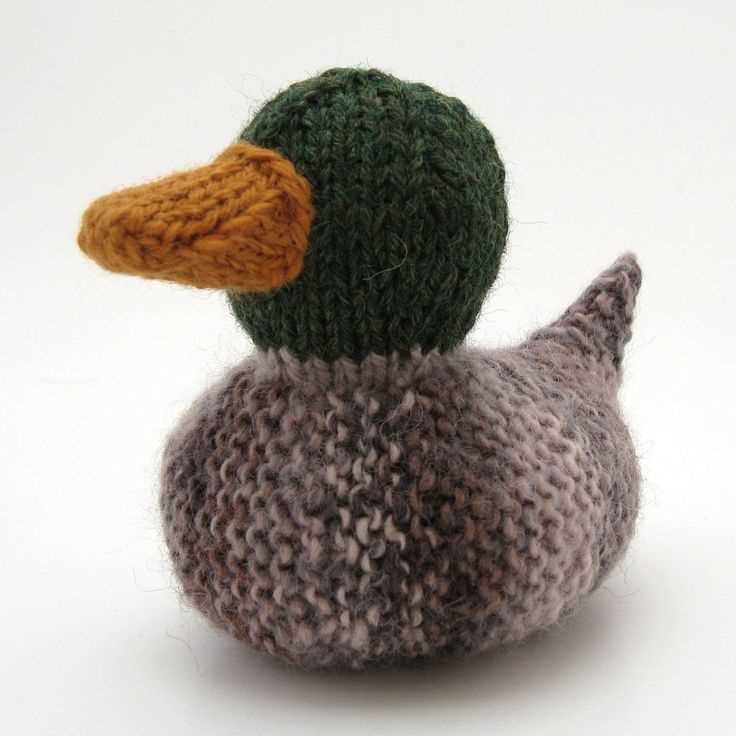
Color: The color of the yarn is also something to consider when knitting a duck. Traditionally, yellow or white yarn is used for the body of the duck, while orange or brown yarn is used for the beak and feet. However, you can get creative and play with different color combinations to make your duck unique. Consider using variegated yarns or adding small details in contrasting colors to enhance the overall look of your knit duck.
Texture: Finally, consider the texture of the yarn you choose. Smooth or lightly textured yarns will give your duck a sleek and polished look, while yarns with more texture can add depth and interest to the toy. Play around with different yarn samples to see how they work up and determine which texture you prefer for your knit duck pattern.
Overall, taking into account the fiber content, weight, color, and texture of the yarn will help you choose the perfect yarn for your knit duck pattern. Don’t be afraid to experiment and have fun with different yarns to create a unique and adorable toy.
Understanding the different types of yarn
When it comes to knitting or crocheting, one of the most important factors to consider is the type of yarn you are using. The different types of yarn vary in terms of texture, weight, and fiber content, which can greatly affect the outcome of your project. By understanding the different types of yarn available, you can make informed decisions about which yarn is best suited for your specific needs.
1. Protein-based yarns: These types of yarns are made from animal fibers such as wool, mohair, and cashmere. They are known for their warmth and durability. Wool, in particular, is a versatile fiber that can be used for a wide range of projects, from cozy sweaters to warm blankets. Mohair, on the other hand, is known for its softness and luster, making it a popular choice for luxurious accessories. Cashmere, although expensive, is highly sought after for its exceptional softness and warmth.
2. Plant-based yarns: These yarns are made from natural plant fibers such as cotton, linen, and bamboo. They are known for their breathability and lightweight feel. Cotton, in particular, is a popular choice for summer garments due to its ability to stay cool and absorb moisture. Linen is highly durable and becomes softer with each wash, making it a great choice for projects that need to withstand regular use. Bamboo, although relatively new to the market, is becoming increasingly popular due to its silky texture and sustainable properties.
3. Synthetic yarns: These yarns are made from man-made fibers such as acrylic, nylon, and polyester. They are known for their affordability and ease of care. Acrylic, in particular, is a popular choice for beginners as it is widely available and comes in a wide range of colors. Nylon and polyester yarns are known for their strength and durability, making them suitable for projects that require extra durability.
4. Specialty yarns: These yarns are made from unique fibers or are specially constructed to achieve specific effects. Specialty yarns can include metallic threads for added shimmer, boucle yarns for a textured appearance, or self-striping yarns for effortless color changes. These yarns are often used to add visual interest and texture to projects and can create stunning effects when used appropriately.
In conclusion, understanding the different types of yarn is essential for any knitter or crocheter. By considering factors such as fiber content, weight, and texture, you can choose the perfect yarn for your project and achieve the desired outcome.
Finding the right yarn for your knit duck
If you’re planning to knit a duck, one of the most important decisions you’ll need to make is choosing the right yarn. The type of yarn you select will determine the overall appearance, feel, and durability of your finished project. It’s important to consider the characteristics of the yarn before starting your knit duck so that you can achieve the desired result.
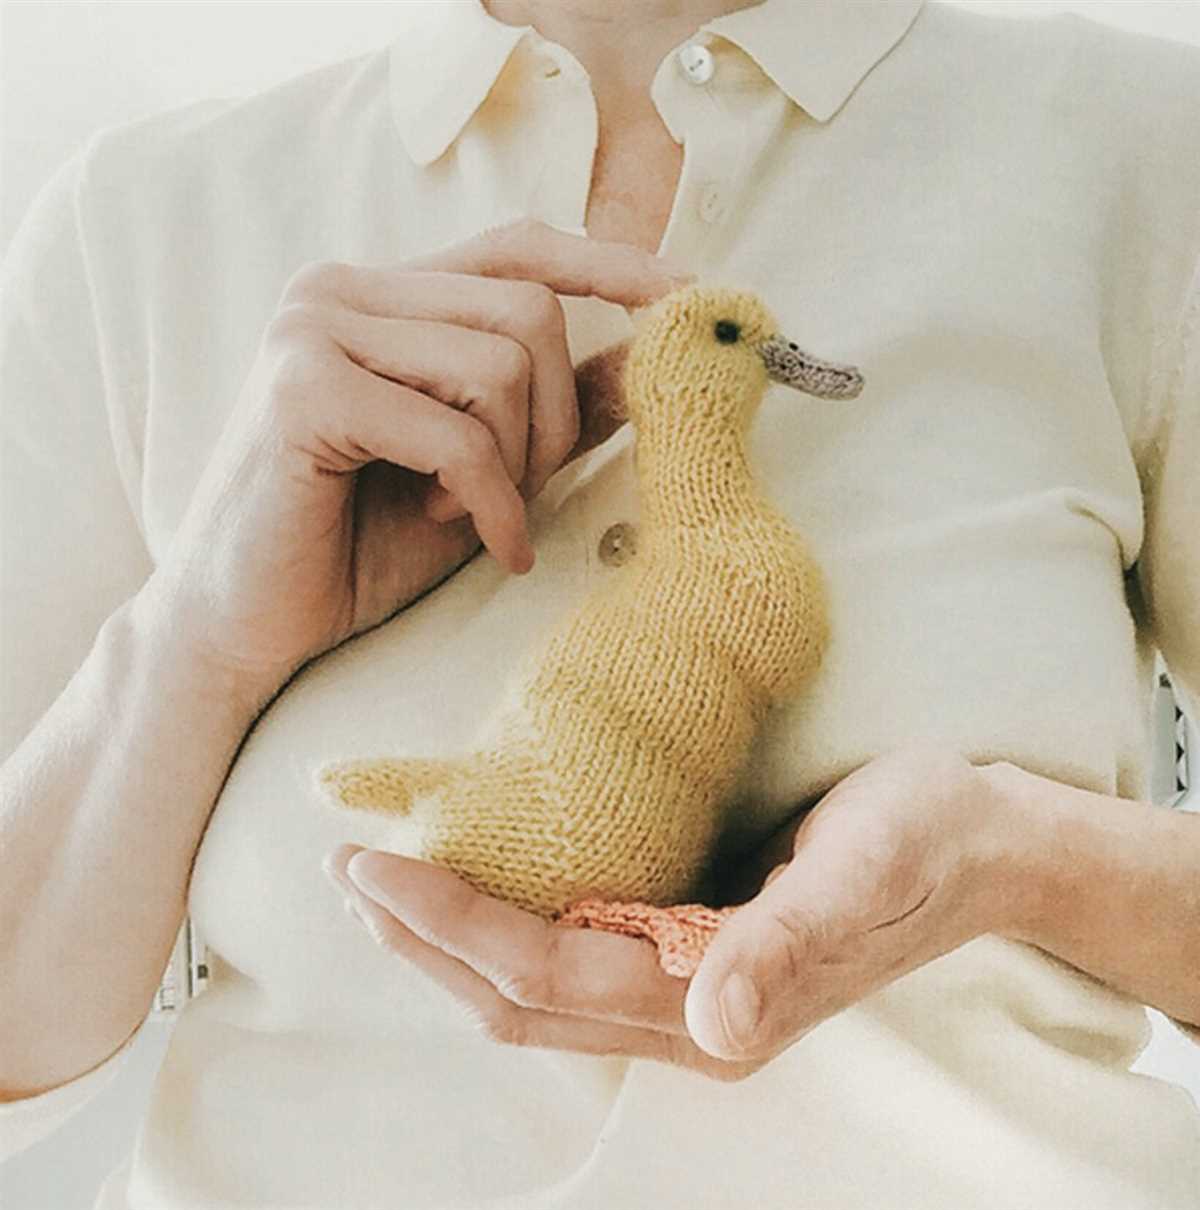
Weight: The weight of the yarn plays a crucial role in determining the size and shape of your knit duck. For a small and delicate duck, a lightweight yarn such as fingering or lace weight would be suitable. On the other hand, if you want a larger and more substantial duck, go for a bulky or super bulky yarn. Consider the size you want your duck to be and choose the yarn weight accordingly.
Fiber: The fiber content of the yarn will affect the duck’s softness, warmth, and overall appearance. Common options include cotton, wool, acrylic, and blends of different fibers. If you want a soft and cuddly duck, opt for a yarn with a high percentage of natural fibers such as wool. If you prefer a more durable and easy-to-care-for option, acrylic or a blend of acrylic and other fibers may be a better choice.
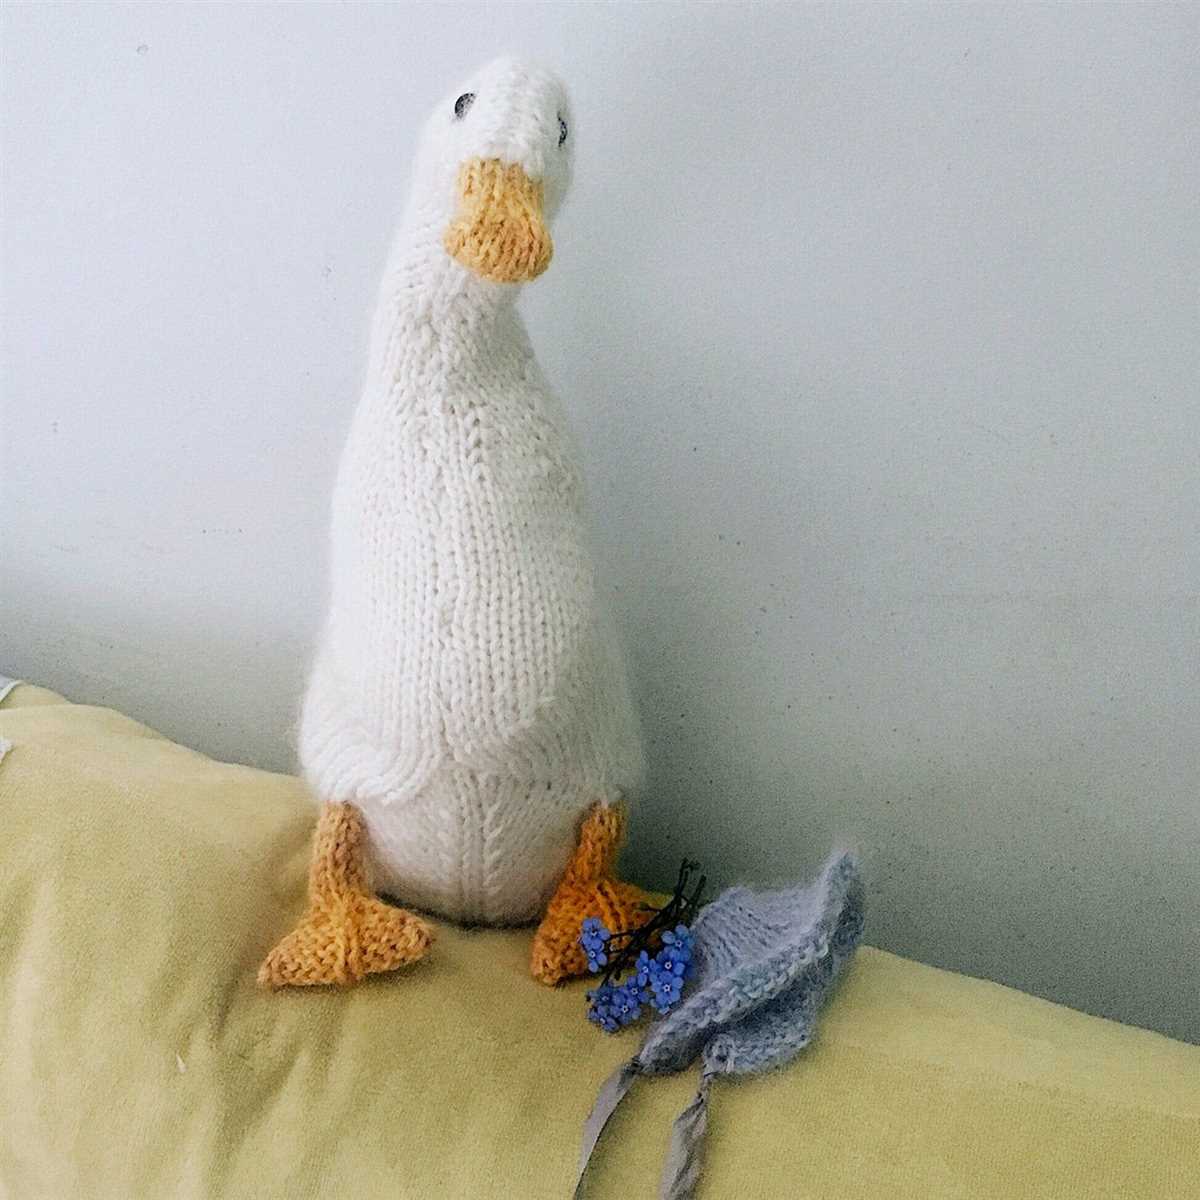
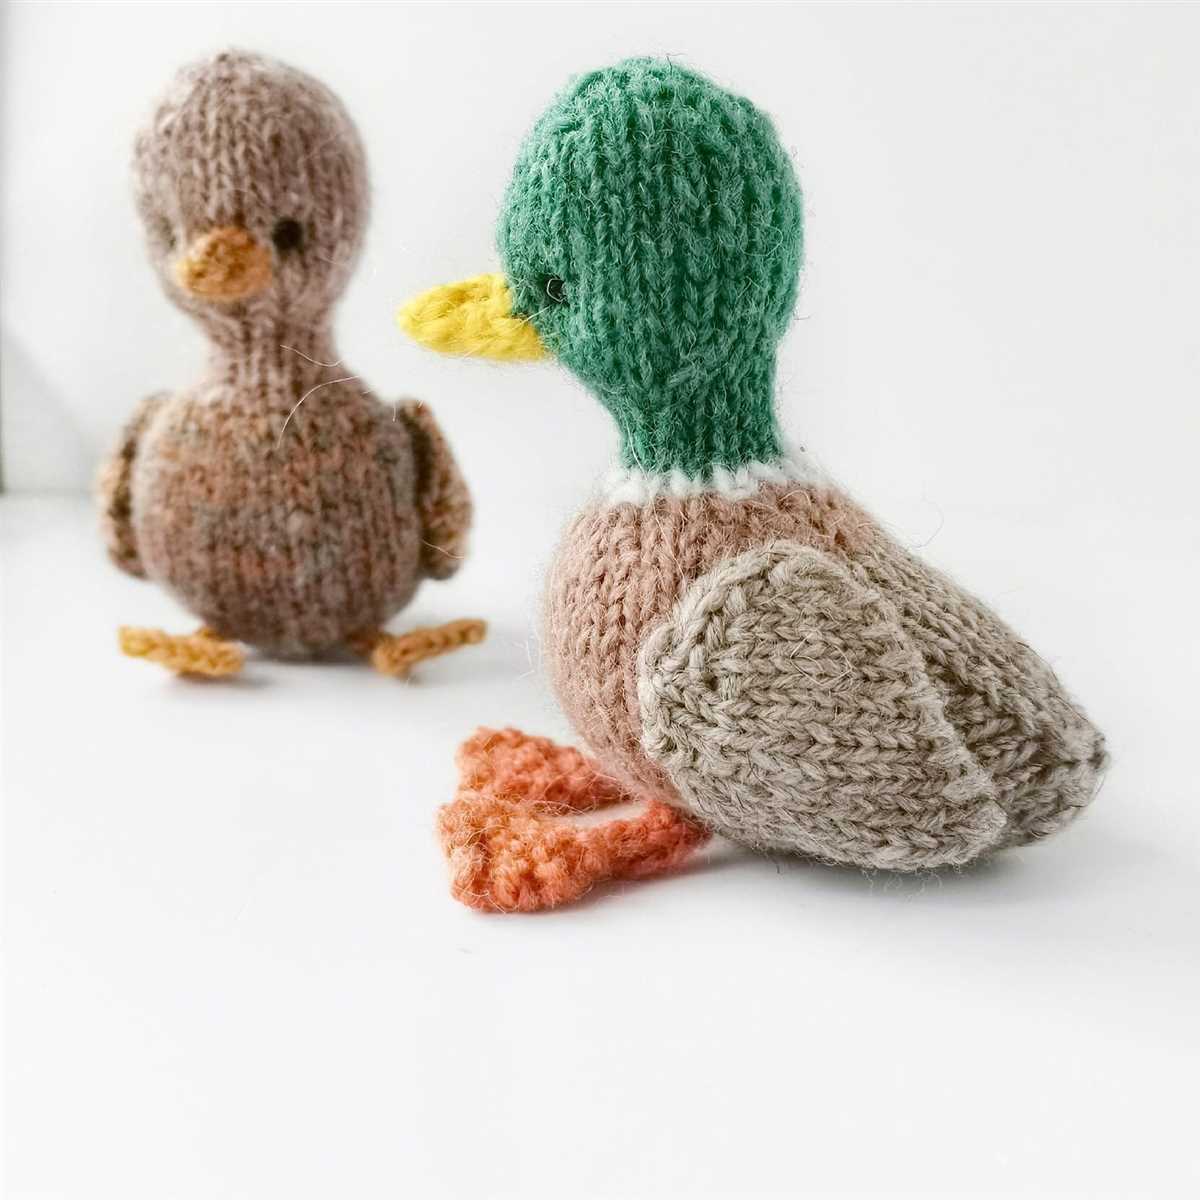
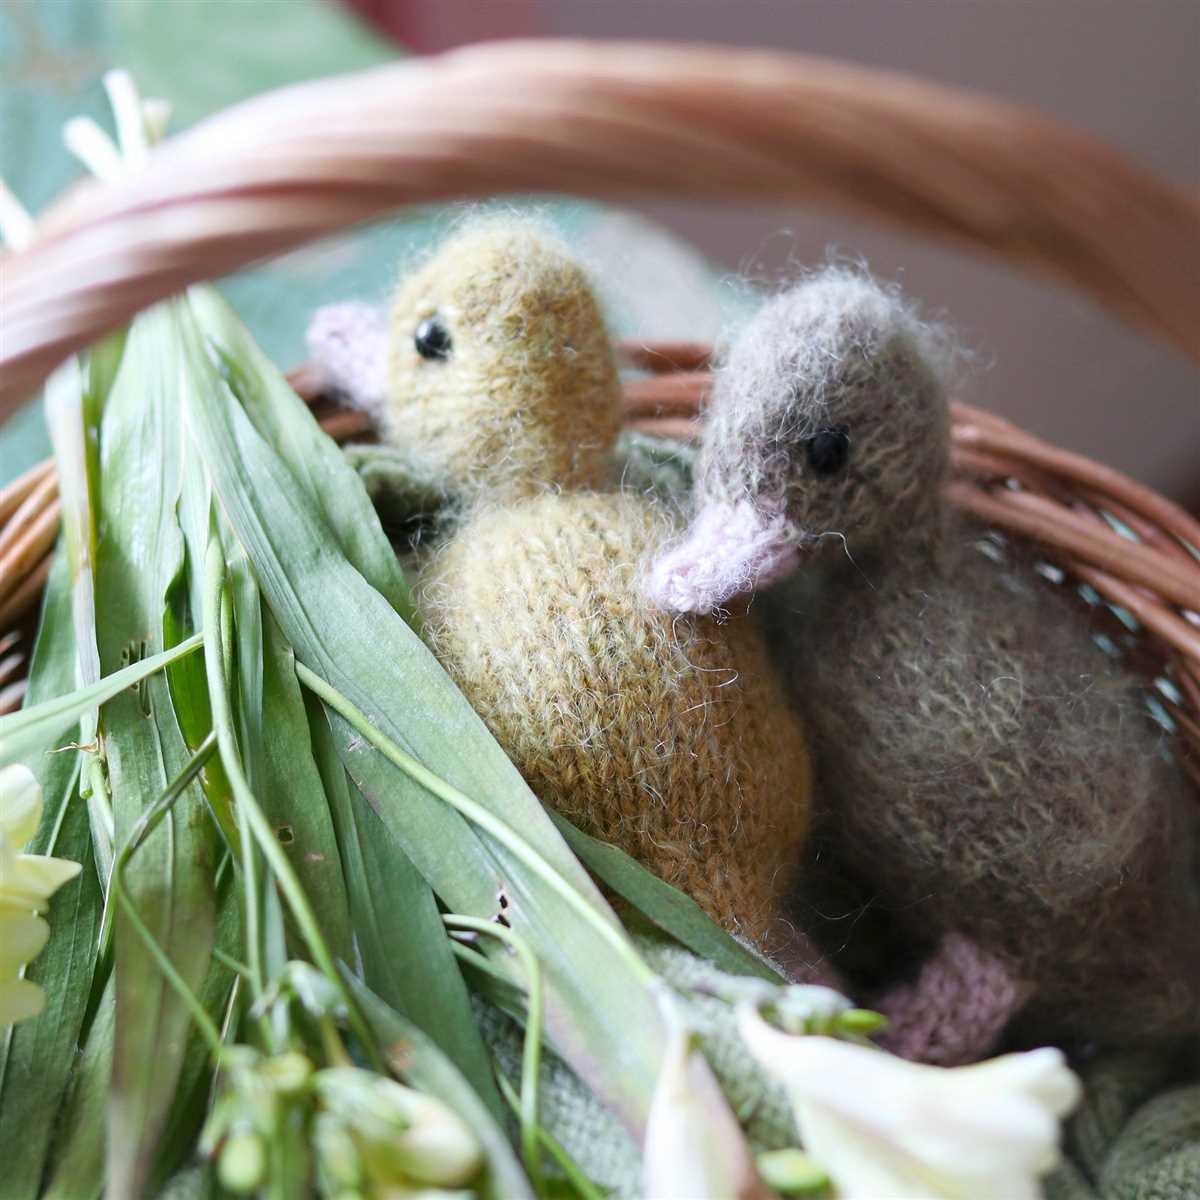
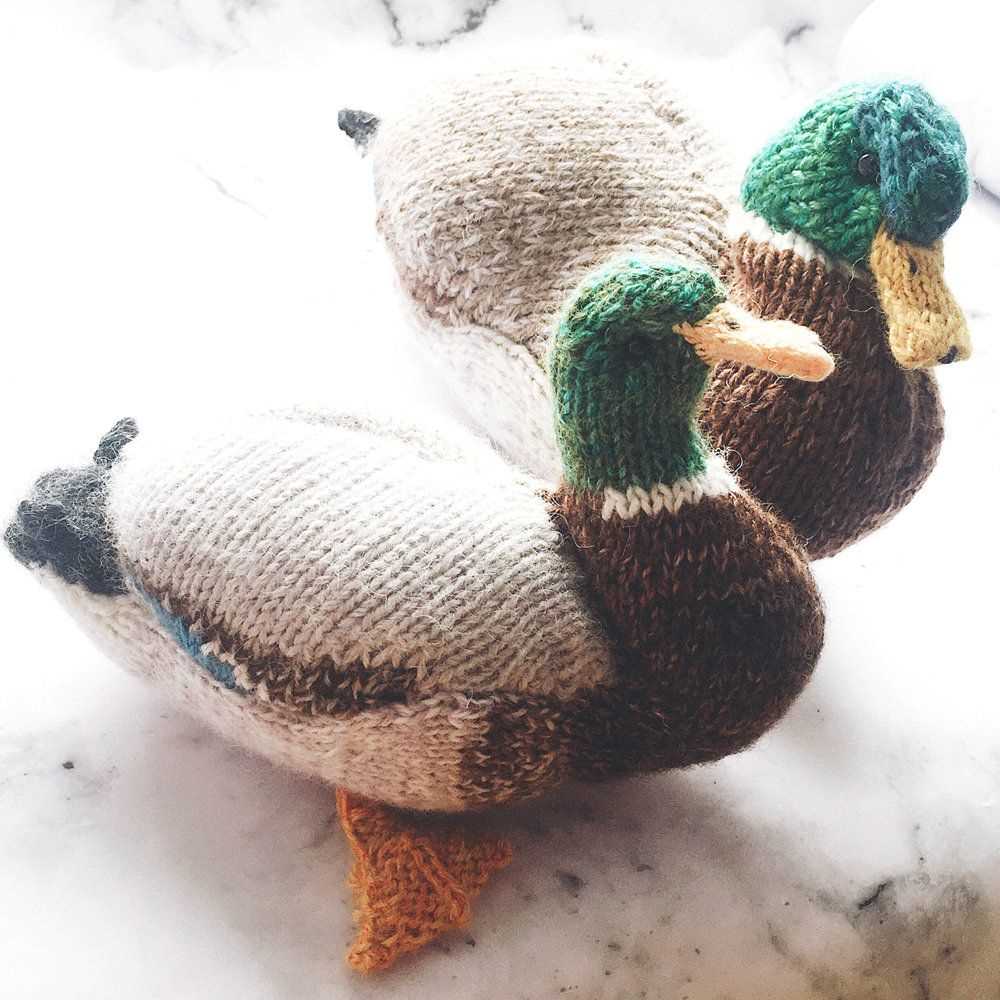
Color: Choosing the right color for your knit duck can add personality and charm to the finished project. Consider the intended purpose of your duck and the colors that best represent that. For example, if you’re making a toy duck for a child, vibrant and playful colors may be ideal. If you want a more realistic-looking duck, opt for natural shades of brown, yellow, or white.
Texture: The texture of the yarn can significantly impact the overall appearance of your knit duck. Smooth yarns will give your duck a polished and uniform look, whereas yarns with texture or variegation can add visual interest and dimension. Consider the texture you want for your duck and choose a yarn that complements your desired aesthetic.
In summary, when choosing yarn for your knit duck, consider the weight, fiber content, color, and texture of the yarn. Each of these factors will contribute to the final look and feel of your duck, so take your time to find the perfect yarn that will bring your creation to life.
Essential Knitting Techniques for Knit Duck Pattern
When knitting the adorable knit duck pattern, there are several essential knitting techniques that you should be familiar with. These techniques will help you create a successful and beautiful knit duck.
1. Casting on: To start your knit duck, you will need to cast on stitches. The number of stitches you cast on will vary depending on the size of the duck you want to make. Follow the instructions in the pattern to cast on the correct number of stitches.
2. Knit and purl stitches: The knit and purl stitches are the basic building blocks of knitting. You will use these stitches to create the body, head, and wings of the duck. Make sure you understand how to knit and purl before starting the pattern.
3. Increasing and decreasing stitches: To shape the duck’s body, you will need to increase and decrease stitches. Common methods for increasing stitches include knitting into the front and back of a stitch, or using yarn overs. Decreasing stitches can be done by knitting or purling two stitches together. Familiarize yourself with these techniques to achieve the desired shape.
4. Embroidery: The knit duck pattern may require some embroidery to add eyes, a beak, or other details to the duck. Brush up on your embroidery skills to ensure your duck looks as cute as possible.
5. Finishing techniques: Once you have completed knitting the duck, you will need to finish off your work. This may involve weaving in loose ends, sewing seams, or blocking the finished piece. Follow the pattern instructions for the appropriate finishing techniques.
By mastering these essential knitting techniques, you will be well-prepared to tackle the knit duck pattern and create a charming and cuddly duck. Happy knitting!
Casting on for your knit duck project
Before you can start knitting your adorable duck, you need to cast on your stitches. This is the first step in any knitting project and sets the foundation for your work. The number of stitches you cast on will depend on the size of your duck and the knitting pattern you are following.
To cast on for your duck, you can use your preferred method of casting on. Some popular methods include the long-tail cast-on, the knitted cast-on, or the cable cast-on. Choose the one that you are most comfortable with and that gives you the desired result.
If you are unsure about how many stitches to cast on, you can refer to the knitting pattern for guidance. The pattern will provide instructions on the cast-on number based on the desired size of the duck. Make sure to follow the pattern closely to achieve the best results.
Once you have cast on your stitches, you can begin knitting the body of your duck. Take your time and enjoy the process of creating something unique and handmade. Knitting can be a relaxing and fulfilling hobby, and knitting a duck can be a fun and rewarding project. Happy knitting!
Knit and purl stitches for your duck’s body
If you’re looking to create a cute and cuddly knitted duck, you’ll need to know a few basic stitches to get started. The body of the duck can be made using a combination of knit and purl stitches to give it texture and depth.
One popular stitch pattern for the body of the duck is the stockinette stitch. This involves knitting one row and purling the next row. By alternating between knit and purl stitches, you’ll create a smooth, even fabric that is perfect for the duck’s body. To start, cast on the desired number of stitches for your project and work in stockinette stitch until you reach the desired length.
For added detail and texture, you can also incorporate other stitch patterns into the body of your duck. One option is the seed stitch, which alternates between knit and purl stitches in a specific pattern. This creates a bumpy texture that can mimic the appearance of feathers. Alternatively, you could try the rib stitch, which consists of alternating knit and purl stitches in a repeating pattern. This creates a stretchy fabric that can provide a close fit for your knitted duck.
Increasing and decreasing stitches for shaping
When knitting a garment, shaping is often necessary in order to create a desired fit and silhouette. This involves increasing or decreasing stitches in certain areas to either add width or reduce it, creating curves or angles in the fabric.
Increasing stitches: To increase stitches, you can use a few different methods. One common technique is the yarn over (YO) increase, where you simply bring the yarn over the needle between two stitches, creating a new stitch. Another method is the make one (M1) increase, which involves picking up the horizontal strand between two stitches and knitting into it to create a new stitch. There are also several other specialized increases that can be used depending on the desired effect and pattern instructions.
Decreasing stitches: Decreasing stitches is the opposite of increasing, and is used to remove stitches from your knitting. The most common decrease is the knit two together (K2tog), where you knit two stitches together as if they were one. Another common decrease is the slip slip knit (SSK), where you slip two stitches knitwise one at a time, then insert the left needle into the front loops of both slipped stitches and knit them together. Like increasing, there are additional decreasing techniques that can be used depending on the desired effect and pattern instructions.
When working with patterns, it is important to pay attention to the shaping instructions and how they are incorporated into the overall design. Following these instructions accurately will ensure that your finished garment fits as intended and has the desired shape. Practice and experience will help you become more comfortable and proficient in increasing and decreasing stitches for shaping, allowing you to create beautifully tailored knitting projects.
Binding off to finish your knit duck
After spending time and effort knitting your adorable duck, it’s important to properly bind off to finish your project and give it a polished look. Binding off creates a secure edge, preventing further unraveling and ensuring that your stitches stay in place. Here are the steps to successfully bind off your knit duck:
Step 1: Knit two stitches
Start by knitting two stitches onto your right-hand needle. This will create a small edge that will help secure the bind off.
Step 2: Insert left-hand needle into the first stitch
Insert your left-hand needle into the first stitch you knitted on the right-hand needle, then lift it up and over the second stitch and off the needle. Now you have bound off one stitch.
Step 3: Knit another stitch and repeat
Knit one more stitch onto the right-hand needle, and then insert the left-hand needle into the first stitch again. Lift it up and over the second stitch and off the needle, binding off another stitch.
Step 4: Continue binding off
Continue knitting one stitch and binding off until you have only one stitch left on your right-hand needle.
Step 5: Cut the yarn and secure the last stitch
Cut the yarn, leaving a tail of about 6 inches. Pull the tail through the last stitch to secure it, and gently tighten the stitch to ensure it doesn’t unravel.
Once you have completed the bind off, you can weave in any loose ends and give your knit duck a final inspection. You can also consider adding any additional details or embellishments to personalize your duck. Now your knit duck is complete and ready to be enjoyed or gifted!
Step-by-Step Guide to Knit a Cute Duck
Crafting your own stuffed animals can be a fun and rewarding hobby. If you’re looking to try your hand at knitting, why not start with a cute duck? This step-by-step guide will walk you through the process of creating your very own knitted duck.
Materials You’ll Need:
- Knitting needles (size 4 mm)
- Yellow yarn
- Orange yarn
- Black yarn
- Toy stuffing
- Yarn needle
- Scissors
Step 1: Cast On
To begin, cast on 30 stitches using the yellow yarn. This will serve as the base for the body of your duck.
Step 2: Knit the Body
Next, knit every row in garter stitch for about 10 inches. This will create the body of your duck.
Step 3: Shape the Head
Once you’ve reached the desired length for the body, it’s time to shape the head. Knit 8 stitches, then knit 2 stitches together. Repeat this pattern until the end of the row. Knit the next row. Continue decreasing by knitting 7 stitches and knitting 2 stitches together until you have only 2 stitches left. Bind off the stitches.
Step 4: Knit the Wings
To knit the wings, cast on 8 stitches using the yellow yarn. Knit every row in garter stitch for about 2 inches. Bind off the stitches. Repeat this step to create the second wing.
Step 5: Knit the Beak
Using the orange yarn, cast on 6 stitches. Knit every row in garter stitch for about 1 inch. Bind off the stitches.
Step 6: Assemble the Duck
Using the yarn needle, sew the wings onto the sides of the body, near the top. Attach the beak to the front of the head, and embroider eyes using the black yarn. Leave a small opening at the bottom of the body, and stuff the duck with toy stuffing. Finally, sew up the opening to complete your knitted duck.
With these step-by-step instructions, you’ll soon have a cute and cuddly knitted duck to call your own. Feel free to get creative with different colors and patterns to make your duck unique. Happy knitting!
Creating the body and head
When knitting a duck, creating the body and head is an important step. This is where the main shape of the duck will begin to take form. To start, you will need to cast on the desired number of stitches, typically around 30-40 stitches, depending on the size of the duck you wish to create.
To create the body, you will knit in the round, using either circular needles or double-pointed needles. This will allow you to seamlessly create a tube shape for the body. Knitting in the round also eliminates the need for seaming later on. Be sure to place a stitch marker at the beginning of the round to help you keep track of where you are in your knitting.
As you continue knitting in the round, the body of the duck will gradually take shape. You can choose to create a longer or shorter body, depending on your preference. If you want a fuller body, you can increase the number of stitches as you work. Conversely, if you want a slimmer body, you can decrease the number of stitches. Remember to keep your tension consistent throughout to ensure an even and professional-looking result.
Once you have reached the desired length for the body, it’s time to move on to creating the head. To do this, you will separate the stitches for the head from the stitches for the body. This can be done by placing a portion of the stitches on a separate needle or by using stitch holders. The number of stitches you set aside for the head will depend on the size of the head you want to create.
With the stitches for the head isolated, you can then work on shaping it. This can be done through simple decreases or by following a specific pattern for the duck’s features, such as the beak and eyes. Take your time and follow the instructions carefully to ensure your duck’s head turns out just right. Once the head is complete, you can set it aside and move on to creating other parts of the duck, such as the wings and feet.
Knitting the wings and beak
In order to complete the knit duck, you will need to knit the wings and beak. These final touches will bring your duck to life and add the finishing details.
Wings:
- Using the same color yarn as the body, cast on the required number of stitches for the wings.
- Work in the specified stitch pattern, following the instructions provided in the pattern.
- Continue knitting until the wings reach the desired length.
- Bind off the stitches and weave in any loose ends.
Beak:
- Using a contrasting color yarn, cast on the required number of stitches for the beak.
- Work in a simple stockinette stitch, knitting one row and purling the next, until the beak reaches the desired length.
- Bind off the stitches and weave in any loose ends.
Once you have completed knitting the wings and beak, you can sew them onto the body of the duck using a yarn needle and the same color yarn as the body. Make sure to securely attach the wings to the sides of the body and the beak to the front, using the provided placement guide in the pattern.
Congratulations! You have successfully knitted a duck with wings and a beak. Your finished creation is sure to bring joy and delight to anyone who sees it.