
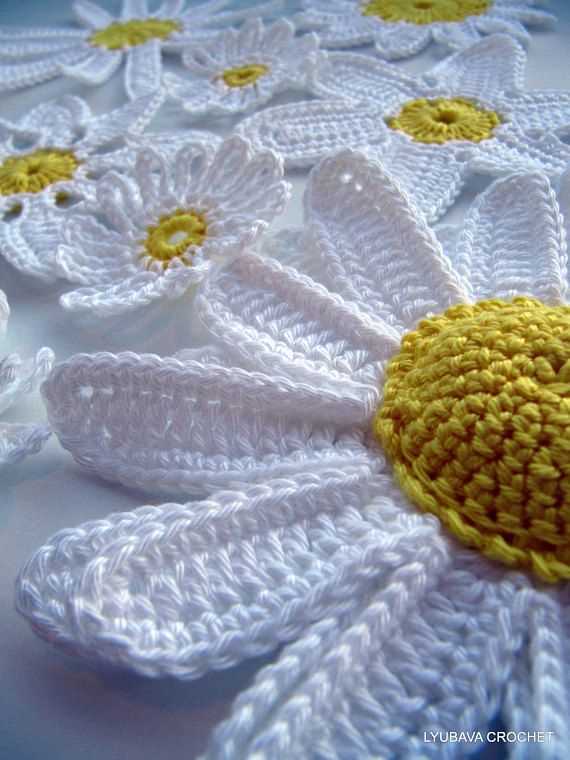
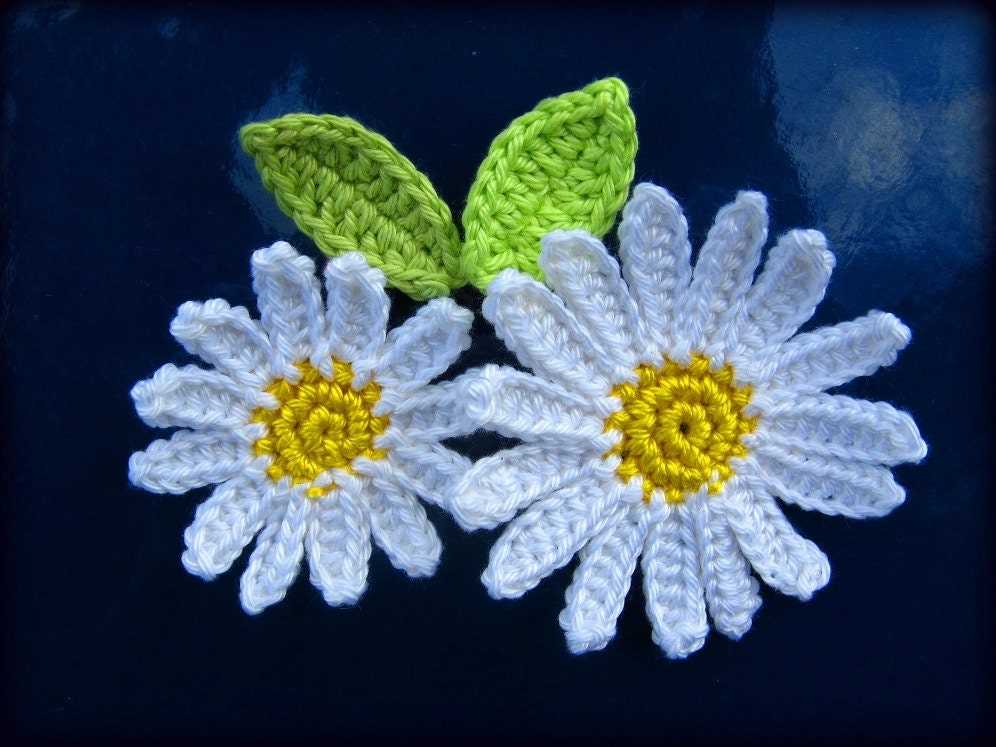
Knitting is a wonderful craft that allows you to create beautiful and unique items. If you’re looking for a new project to try, why not give the knit daisy flower pattern a go? These charming flowers can be used as decorations, hair accessories, or even as embellishments on clothing. They’re simple to make and can be knit up in no time.
The knit daisy flower pattern is perfect for knitters of all skill levels. Whether you’re a beginner looking to try out a new stitch or an experienced knitter looking for a quick and satisfying project, this pattern has something to offer. With just a few basic knitting techniques, you can create a stunning flower that will brighten up any space.
To make the knit daisy flower, you’ll need some yarn in your choice of colors, as well as knitting needles and a pair of scissors. The pattern uses simple knit and purl stitches, making it a great choice for beginners. Once you’ve mastered the basic stitch, you can experiment with different color combinations and sizes to create your own unique flowers.
How to Knit a Daisy Flower Pattern: Easy Step-by-Step Guide
Knitting daisy flowers can be a fun and rewarding project. Whether you’re an experienced knitter or just starting out, this easy step-by-step guide will help you create a beautiful daisy flower pattern.
Materials:
- Yarn: Choose any color of yarn for the petals and a contrasting color for the center.
- Knitting needles: Use the appropriate size for your chosen yarn.
- Tapestry needle: This will be used for sewing and weaving in loose ends.
- Scissors: To cut the yarn.
Step 1: Cast on and knit the center:
- Start by casting on an odd number of stitches in your chosen center color. This will create the center of the daisy flower.
- Knit every row in the garter stitch until the center is the desired size. You can choose to make a small or large center depending on your preference.
- Once the center is the desired size, cut the yarn, leaving a long tail for sewing later.
Step 2: Knit the petals:
- Switch to the yarn color for the petals.
- Row 1: Knit 1, *knit 2 together (k2tog), yarn over (yo), repeat from * until the end of the row.
- Row 2: Knit every stitch.
- Repeat rows 1 and 2 until you have the desired number of petals. You can make as many or as few petals as you like, depending on the size of your flower.
- Once you have completed the last row of petals, cut the yarn, leaving a long tail for sewing.
Step 3: Finishing touches:
- Using the tapestry needle, thread the long tail of the center yarn through the stitches in the center of the flower. Pull tight to gather the stitches and secure.
- Thread the long tail of the petal yarn through the edge stitches of each petal. Pull tight to shape the petals and secure.
- Weave in any loose ends using the tapestry needle.
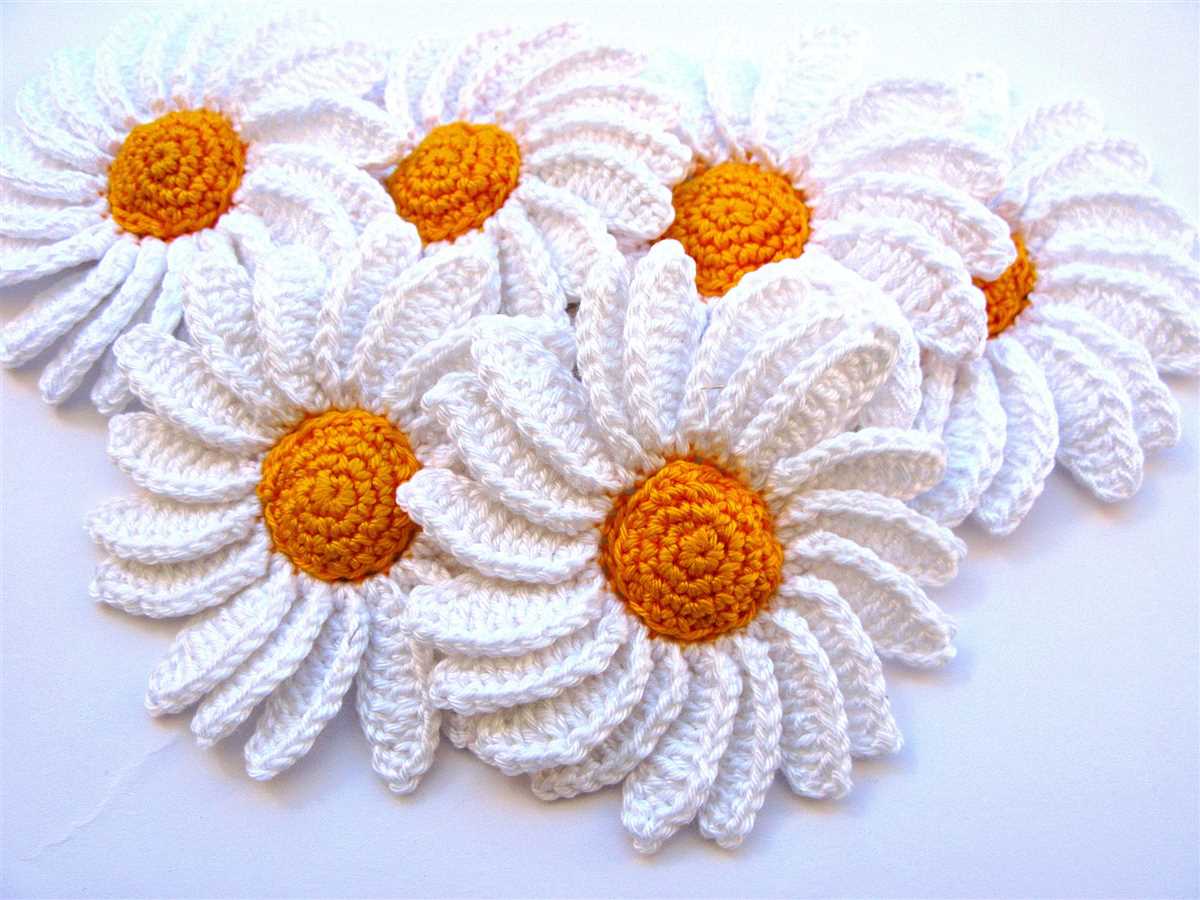
- Your knitted daisy flower is now complete! You can attach it to a headband, hat, or use it as a decorative element on a garment or accessory.
With this easy step-by-step guide, you can knit your very own daisy flower pattern. Experiment with different yarn colors and sizes to create a bouquet of beautiful knitted flowers. Have fun and enjoy the process of creating something unique!
Gather the Materials Needed for Knitting a Daisy Flower
Knitting a daisy flower is a fun and creative project that can add a touch of beauty to any knitting project. To get started, you will need a few essential materials. Here is a list of items you will need:
- Yarn: Choose a bright yellow color for the center of the daisy and a contrasting color for the petals. Cotton or acrylic yarn works well for this project.
- Knitting Needles: Depending on the weight of your yarn, you will need a pair of appropriate-sized knitting needles. Circular needles can also be used if you prefer.
- Tapestry Needle: This needle will be used for weaving in ends and sewing the daisy together.
- Scissors: A pair of sharp scissors for cutting the yarn.
- Stitch Marker: This can be a simple piece of yarn or a specialized stitch marker to help you keep track of your stitches.
Once you have gathered all the necessary materials, you will be ready to start knitting your daisy flower. Make sure to have everything within reach so that you can focus on your project without any interruptions. With these materials in hand, you are one step closer to creating a beautiful knitted daisy flower!
Casting on Stitches: Setting Up the Base for Your Daisy Flower
When knitting a daisy flower, the first step is to cast on stitches to create the base. Casting on is the process of adding loops onto your knitting needle to start your project. For the daisy flower pattern, it is important to cast on an even number of stitches to ensure symmetry.
To begin casting on, hold the knitting needle in your dominant hand and make a slipknot using the yarn. Insert the needle through the slipknot loop and pull the yarn, tightening the loop around the needle. This slipknot will count as your first cast-on stitch.
Next, hold the yarn in your non-dominant hand and wrap it around the needle from back to front. Insert the needle into the loop on your thumb and then behind the yarn held in your non-dominant hand. Grab the yarn with your needle and pull it through the loop, creating a new stitch on your needle. Repeat this process until you reach the desired number of stitches for your daisy flower.
Once all the stitches are cast on, ensure that they are evenly spaced on the needle. You can adjust the tension of your stitches by gently pulling on the yarn between each cast-on stitch. This will help to create a neat and consistent base for your daisy flower.
Helpful tip: It is recommended to use a smaller needle size for casting on stitches compared to the needle size used for the rest of the project. This will help to ensure that the cast-on edge is not too loose and maintains its shape.
Knitting the Center of the Daisy Flower
When knitting the center of a daisy flower, there are a few key steps to follow to achieve the desired result. The center of the flower is an important focal point and can be created using various techniques and stitches. One popular method is to use the magic loop technique to start with a small circle.
To begin, cast on a small number of stitches using your chosen yarn and knitting needles. For example, you could cast on 6 stitches. Then, using the magic loop method, divide these stitches onto two needles and pull the working yarn tightly to close the loop. This creates a small circle, which will form the center of the daisy flower.
Next, you can use different stitch patterns to add texture and dimension to the center of the flower. One option is to alternate between knit and purl stitches to create a simple ribbed pattern. Another option is to use the seed stitch, which alternates between knit and purl stitches within the same row. This stitch pattern gives a slightly raised texture to the center of the flower.
As you continue knitting, you can gradually increase the number of stitches by making yarn overs or knitting into the front and back of stitches. This will create a wider circle and help form the petals of the daisy flower. You can also experiment with different stitch patterns or add small details, such as beads or embroidery, to make the center of the flower more intricate and unique.
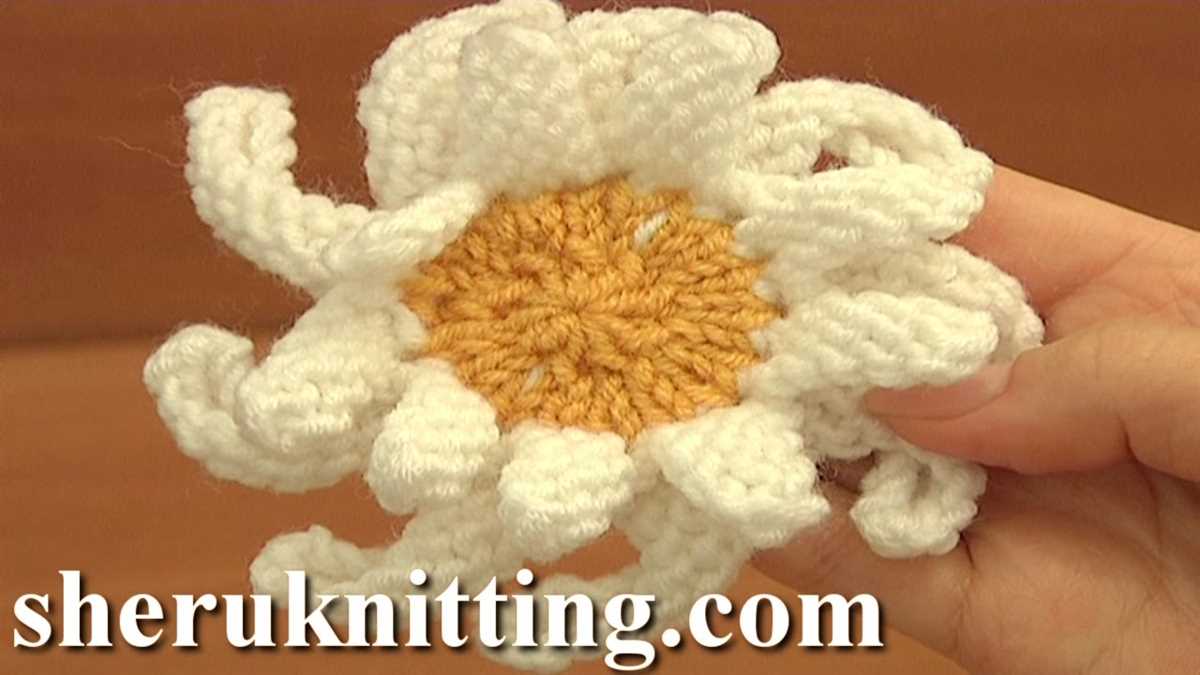
Overall, knitting the center of a daisy flower allows for creativity and personalization. Whether you choose a simple ribbed pattern or decide to experiment with different stitches, the center of the flower is an essential element in bringing the daisy to life. With practice and patience, you can create beautiful and intricate daisy flowers to enhance your knitting projects.
Creating the Flower Petals: Knitting the First Row
When knitting a daisy flower, the first step is to create the petals. The petals are knitted in rows, starting with the first row. To begin, you will need to cast on the required number of stitches. This can vary depending on the size of your flower and the desired thickness of the petals. It’s recommended to use a lighter-weight yarn for a finer and more delicate appearance.
Once you have casted on the stitches, the next step is to knit the first row. To do this, you will need to follow the pattern instructions. The pattern may instruct you to knit all stitches in the row or to create a specific stitch pattern, such as a knit-and-purl combination. It’s important to read the pattern carefully and understand the instructions before proceeding.
When knitting the first row of petals, it’s helpful to keep a stitch marker or a spare piece of contrasting yarn handy. This will help you keep track of your progress and avoid any mistakes. Place the marker at the beginning of the row, and move it along as you knit each stitch. This way, you can easily count the stitches and ensure that you haven’t accidentally added or skipped any.
As you continue knitting the first row, make sure to keep your tension consistent. Try to avoid pulling the yarn too tightly or leaving it too loose. A moderate tension will help create even stitches and ensure that the petals have a neat and uniform appearance. If you find that your tension is off, you can adjust it by gently tugging on the yarn after each stitch or using a different size of knitting needles.
Continuing the Petals: Knitting the Second and Third Rows
Once you have completed the first row of petals on your knit daisy flower, it’s time to move on to the second and third rows. These rows will continue to build up the petals and create the full bloom of the flower.
Second Row: To begin the second row, you will again knit the first stitch. Then, for each petal, you will knit 2 stitches together to decrease the number of stitches. This will create a more compact and layered effect. Repeat this pattern all the way around the flower, ending with a knit stitch.
Third Row: The third row will further decrease the number of stitches and create a tighter center for the flower. Start by knitting the first stitch, and then knit 2 stitches together for each petal, just like in the second row. Continue this pattern all the way around, ending with a single knit stitch.
Remember to pay attention to the pattern and the number of stitches you need to decrease. This will ensure that the petals are evenly spaced and the flower maintains its shape. As you continue knitting the rows, you will start to see the daisy flower take shape and the petals form.
Shaping the Petals: Decreasing Stitches
When knitting a daisy flower pattern, shaping the petals is an essential step to achieve the desired realistic look. One of the techniques used in shaping the petals is decreasing stitches. By decreasing stitches, you can create a tapering effect and give the petals a natural curve.
To decrease stitches, you can use various methods such as knit two stitches together (k2tog), slip slip knit (ssk), or slip slip slip knit (sssk). The choice of the method depends on the desired outcome and the specific pattern instructions.
When decreasing stitches, it is important to pay attention to the placement and frequency of the decreases. Typically, decreases are worked on the edge stitches of the petal to create a smooth curve. However, in some patterns, decreases may also be placed within the petal to create a more intricate shape.
By strategically decreasing stitches, you can create petals that gradually narrow towards the tip, mimicking the natural shape of a daisy flower. It’s important to follow the pattern instructions carefully and keep track of your decreases to ensure uniformity across all the petals.
Remember to keep an eye on your tension while decreasing stitches to maintain an even and consistent fabric. Practice the different decrease methods on a swatch before working on the actual flower to familiarize yourself with the techniques and achieve the best results.
Finishing the Petals: Binding off Stitches
Once you have finished knitting the last row of stitches for your daisy flower petals, it’s time to bind off the stitches to secure them in place. Binding off is a technique used to create a clean edge and prevent the stitches from unraveling.
To bind off the stitches, start by knitting the first two stitches as you normally would. Then, insert the tip of the left needle into the first stitch on the right needle and lift it over the second stitch. This will create one bound off stitch. Repeat this process for the remaining stitches until you have bound off all the stitches on the right needle.
If you want to give your daisy flower petals a scalloped edge, you can bind off the stitches using a picot bind off technique. To do this, knit the first two stitches as usual, then knit the next stitch. Insert the tip of the left needle into the first stitch on the right needle and lift it over the second and third stitches. Repeat this process for each group of three stitches until all the stitches are bound off.
Once you have finished binding off all the stitches, cut the yarn, leaving a tail of about 6 inches. Thread the tail through the last stitch and pull tight to secure it. You can then weave in the ends of the yarn using a tapestry needle to hide them and create a neat finish on the back of the petals.
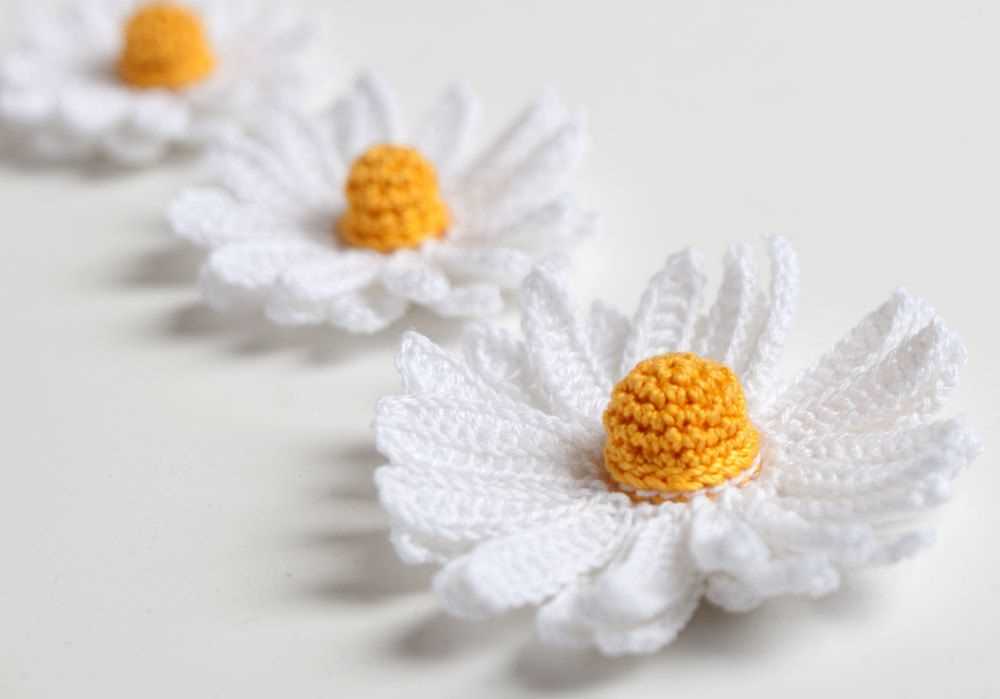
Blocking the Knitted Flower: Giving it Shape and Structure
Blocking is an essential step in the knitting process that helps give your project a professional and finished look. When it comes to knitting a daisy flower, blocking is especially important in order to give the petals shape and structure.
To block the knitted flower, you will need a blocking board or mat, rustproof pins, and a spray bottle filled with water. Start by spreading your blocking board on a flat surface and pinning it securely in place. Then, dampen the knitted flower with the spray bottle, making sure it is evenly wet but not dripping.
Next, gently stretch the petals of the knitted flower to the desired shape and size. Use the rustproof pins to secure the edges of the petals to the blocking board, being careful not to distort the shape. You can use your fingers to shape the petals as you pin them, creating a natural curve and dimension.
Once all the petals are pinned in place, allow the knitted flower to dry completely. This may take a few hours or overnight, depending on the thickness of the yarn used. As it dries, the shape and structure of the flower will set, giving it a more polished and professional appearance.
After the flower is completely dry, carefully remove the pins from the blocking board. The flower should now hold its shape and have a crisp, defined look. You can then use the knitted daisy flower as a decorative accent on a hat, scarf, or even as a brooch. Blocking not only gives the flower a more finished appearance, but it also helps the petals to stand upright and create a more realistic flower shape.
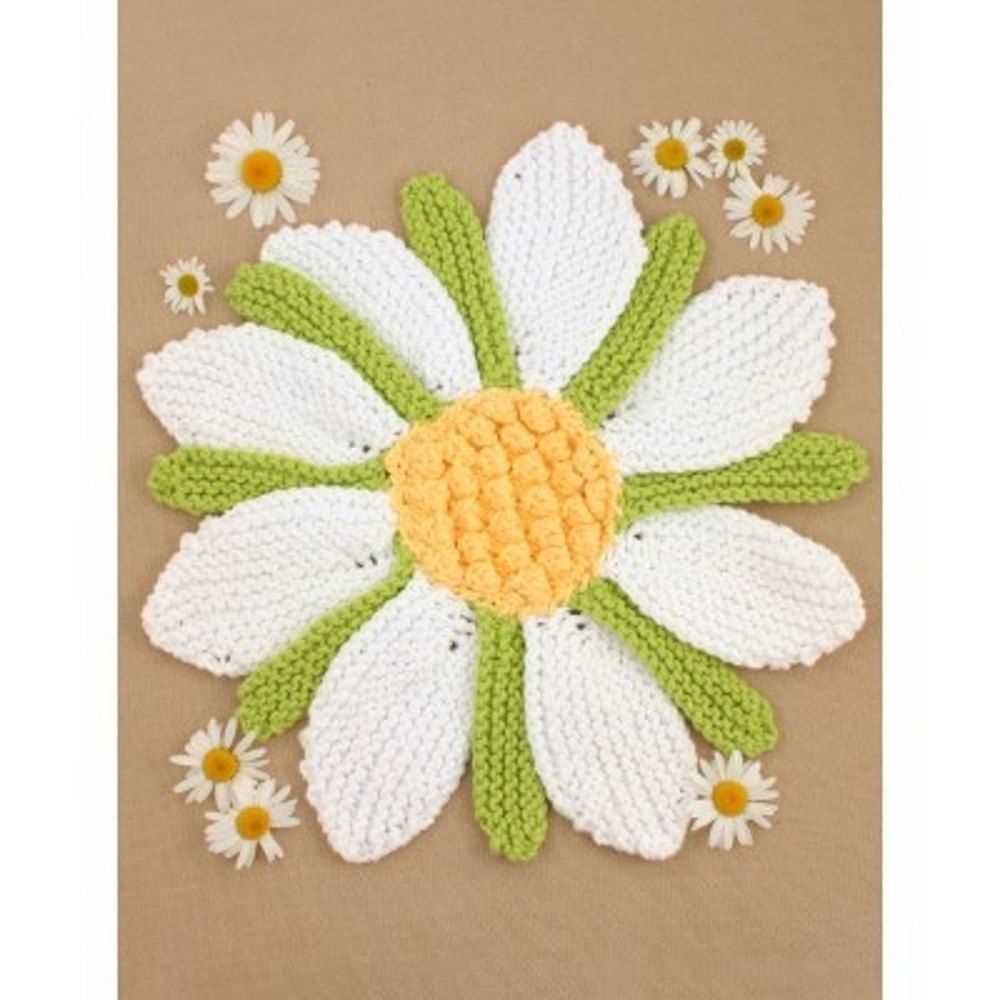
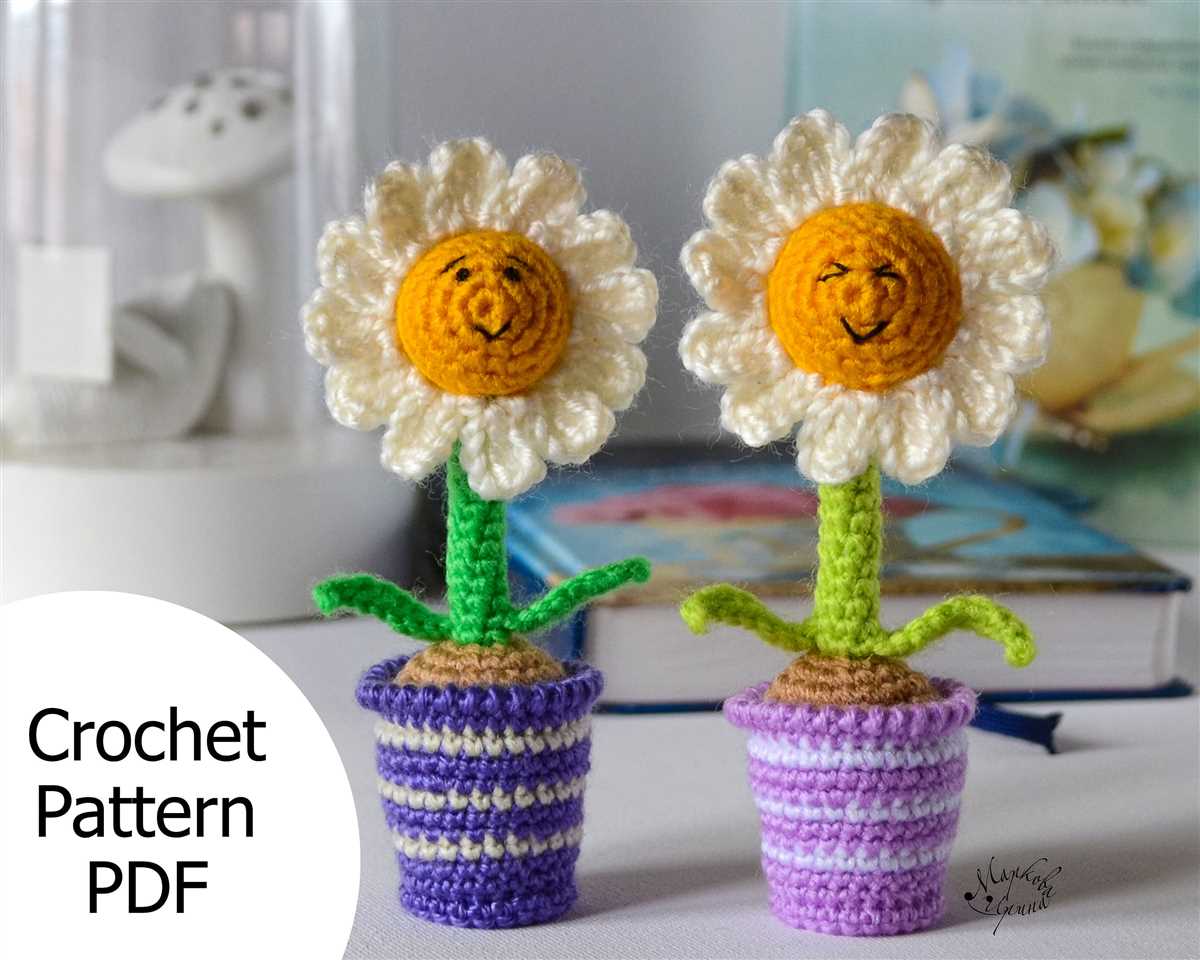
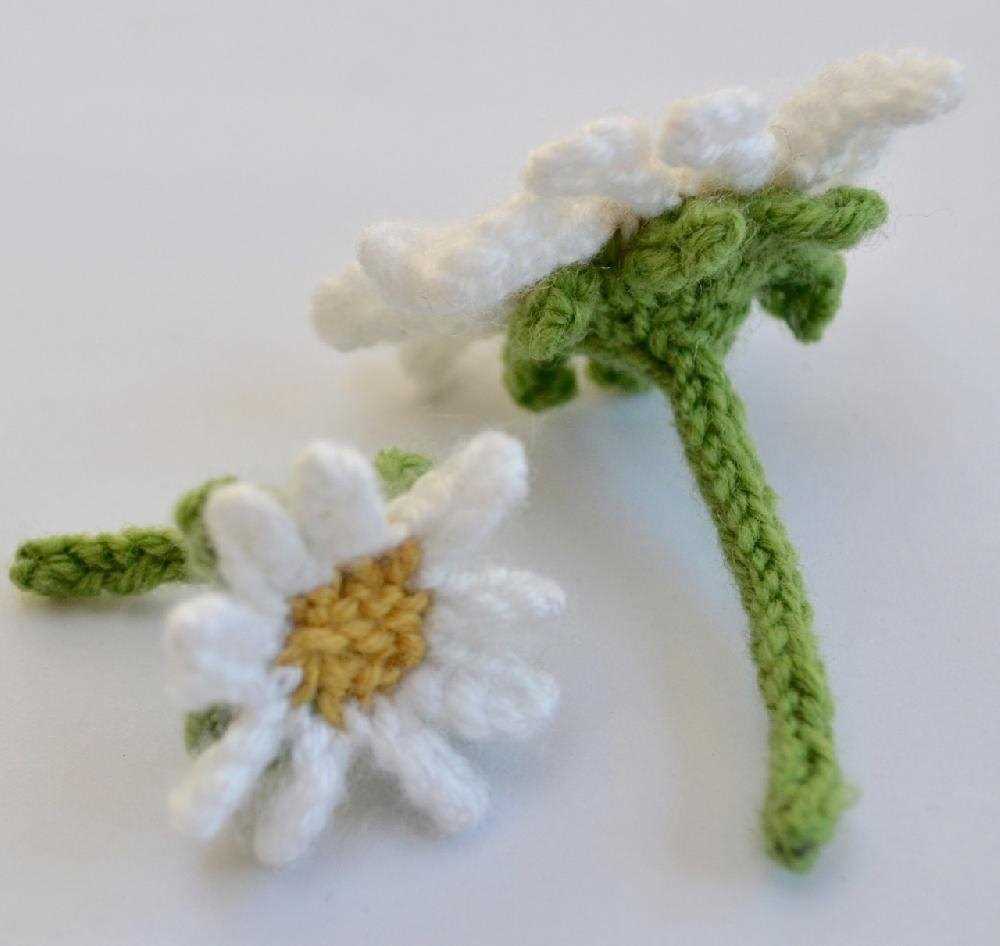
Adding a Stem: Knitting or Sewing One
When creating a knit daisy flower, adding a stem is an important step to complete the overall look of the flower. There are two common methods to add a stem to the flower: knitting or sewing one. Both methods have their own advantages and can be chosen based on personal preference or the desired outcome.
If you choose to knit the stem, you can use a thin green yarn or embroidery floss to create a long, straight stem that matches the natural appearance of a real daisy. You can start by casting on a small number of stitches and then knit in stockinette stitch, which will create a smooth and even surface. Once the desired length is reached, you can bind off the stitches and sew the stem onto the back of the daisy flower.
If knitting the stem seems too challenging or time-consuming, sewing one can be a quicker alternative. To sew a stem, you can use a green embroidery floss or thread and a long embroidery needle. Start by threading the needle with the green floss and then insert it through the bottom center of the daisy flower. Pull the thread through until it reaches the desired length for the stem. To secure the stem, make a knot at the bottom of the flower, and then continue sewing the floss down the stem until you reach the desired length. Finally, make another knot at the end to secure the thread and trim any excess.
Both knitting and sewing methods can yield beautiful results when adding a stem to a knit daisy flower. Whether you choose to knit or sew the stem, the important thing is to ensure it matches the overall style and aesthetics of the flower. Experiment with different techniques to find the method that works best for you and creates the desired look for your knit daisy flower.
Enhancing the Flower: Embellishments and Other Ideas
Once you have mastered the basic knit daisy flower pattern, you can experiment with various embellishments and ideas to enhance its beauty and make it your own. From adding extra layers to incorporating different colors, there are endless possibilities to explore.
Add Extra Petals

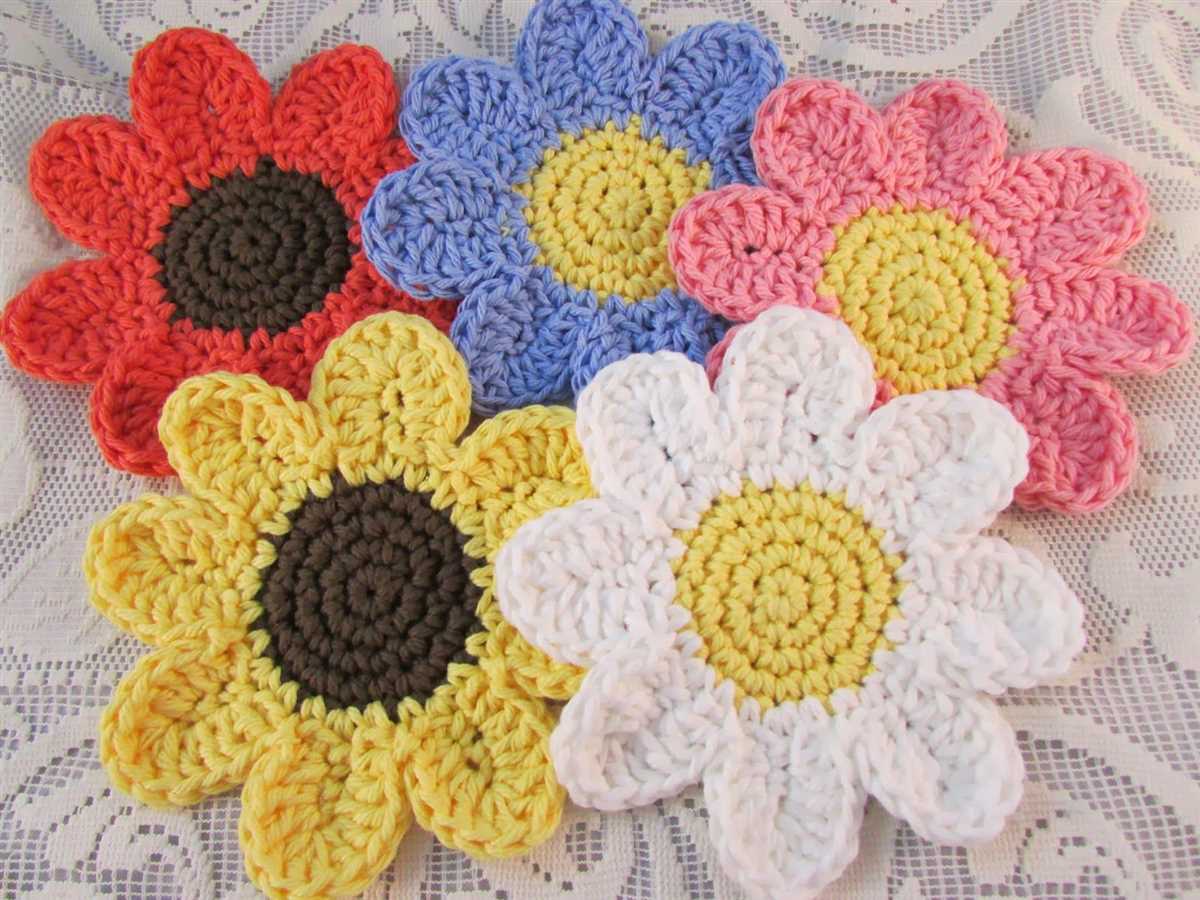
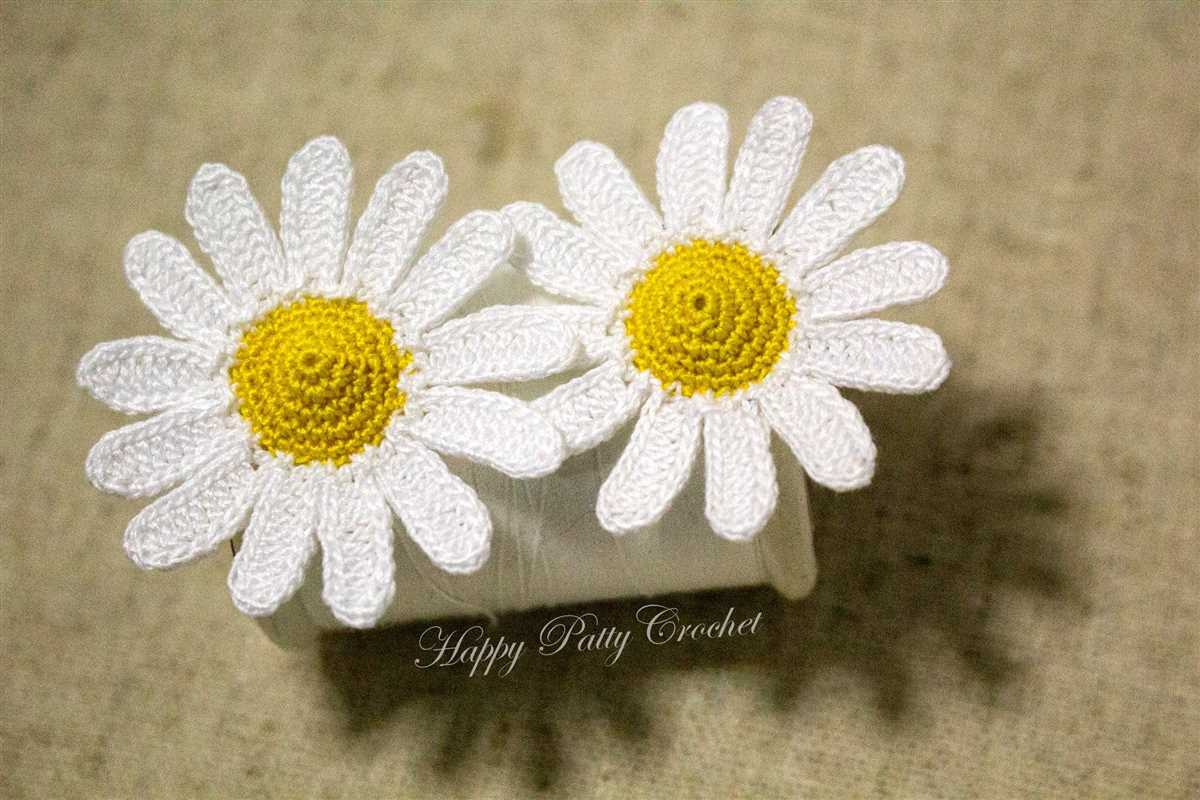
One way to enhance your knit daisy flower is by adding extra petals. Instead of the traditional five petals, you can increase the number to create a fuller and more intricate flower. You can experiment with different petal shapes and sizes to give your flower a unique look. Consider using a contrasting color for the extra petals to make them stand out.
Introduce Different Yarns
Another way to elevate your knit daisy flower is by introducing different yarns. Play around with yarns of varying thicknesses, textures, and colors to add depth and interest to your flower. For example, you can use a chunky yarn for the center of the flower to give it a more prominent and cozy feel. Combining different yarns can create a stunning visual effect.
Try Beads or Buttons
If you want to add some sparkle or a touch of whimsy to your knit daisy flower, try incorporating beads or buttons. You can sew small beads onto the center of the flower to give it a bit of shimmer. Alternatively, you can sew buttons in different colors and sizes onto the flower to create a fun and playful look. Be creative with your choices and let your personal style shine through.
Create a Bouquet
Instead of knitting just a single flower, why not create a whole bouquet? You can knit multiple daisy flowers in different colors and sizes and arrange them together in a vase or tie them together with a ribbon. This will not only showcase your knitting skills but also make a beautiful centerpiece or gift. Mix and match colors to create a vibrant bouquet that will brighten up any space.
Inspiration and Further Ideas for Using Knitted Daisy Flowers
Now that you have learned how to knit daisy flowers, the possibilities for incorporating them into your projects are endless. Here are some ideas to inspire your creativity:
1. Embellish Clothing and Accessories
Add a touch of whimsy to your wardrobe by sewing knitted daisy flowers onto your clothing and accessories. Attach them to hats, scarves, bags, or even jackets for a unique and playful look.
2. Create Home Decor
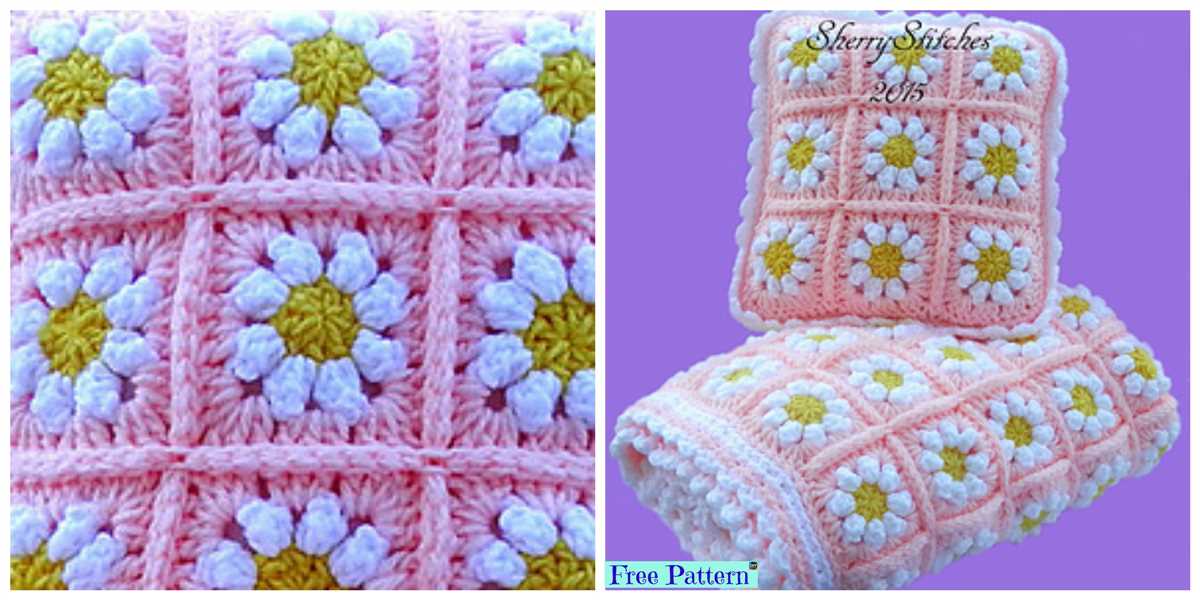
Brighten up your living space by using knitted daisy flowers as decorations. You can sew or glue them onto pillows, blankets, or curtains for a charming and cozy feel. They also make lovely additions to wreaths and wall hangings.
3. Make Jewelry
Turn your knitted daisy flowers into beautiful jewelry pieces. Attach them to earrings, necklaces, or bracelets for a fun and feminine touch. You can even create a daisy flower brooch to adorn your outfits.
4. Design Greeting Cards
Use your knitted daisy flowers to add a personalized and handmade touch to your greeting cards. Attach them to the front of the card or create a 3D effect by using them as pop-up elements inside.
5. Decorate Gift Wrapping
Add a special touch to your gift wrapping by attaching knitted daisy flowers to your packages. They will make your gifts stand out and show the recipient how much you care.
These are just a few ideas to get you started. Remember, the beauty of knitting is that you can adapt and customize your creations to suit your own style and preferences. Let your imagination run wild and enjoy exploring the many ways you can incorporate knitted daisy flowers into your projects!
Q&A:
What is a knit daisy flower pattern?
A knit daisy flower pattern is a set of instructions that guides you in creating a daisy flower using knitting techniques.
How many petals does a knit daisy flower have?
A knit daisy flower typically has 5 petals.
What materials do I need to knit a daisy flower?
To knit a daisy flower, you will need yarn in your desired color, knitting needles, a tapestry needle, and scissors.
Are there different variations of knit daisy flower patterns?
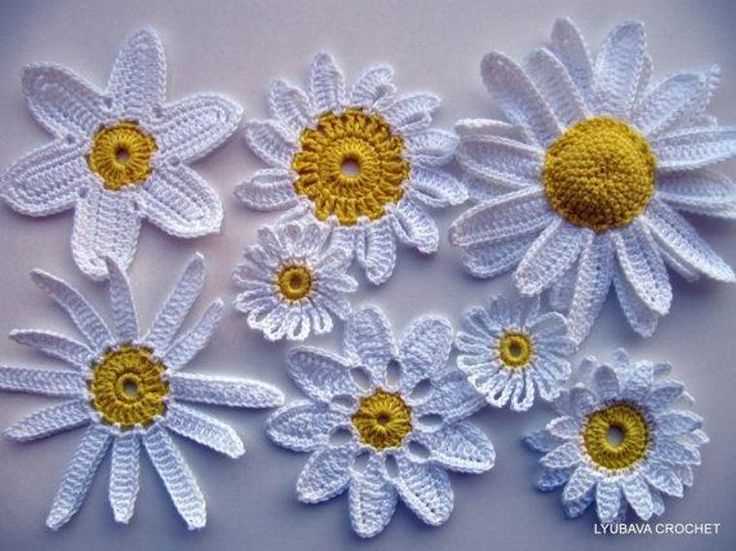
Yes, there are different variations of knit daisy flower patterns available. You can find patterns with different sizes, shapes, and petal designs.
Where can I find a knit daisy flower pattern?
You can find knit daisy flower patterns online on various knitting websites, in knitting books, or even in knitting magazines. You can also find free patterns on knitting blogs.
What is a knit daisy flower pattern?
A knit daisy flower pattern is a set of instructions for knitting a daisy flower using various knitting techniques. It provides step-by-step instructions on how to create the petals, center, and stem of the flower using different stitches and techniques.
Where can I find a knit daisy flower pattern?
You can find knit daisy flower patterns on various knitting websites, blogs, and online marketplaces. You can also find them in knitting books or magazines. Additionally, many knitters create and share their own patterns on social media platforms like Instagram and Pinterest.