
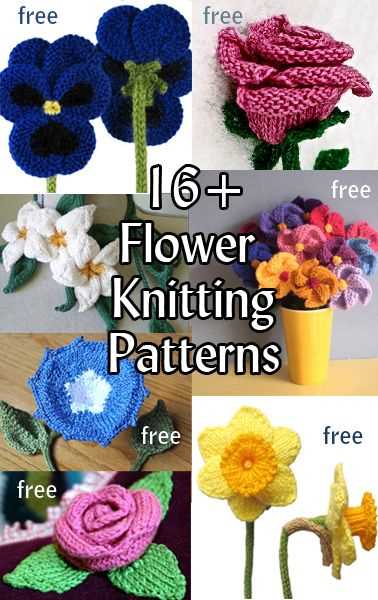
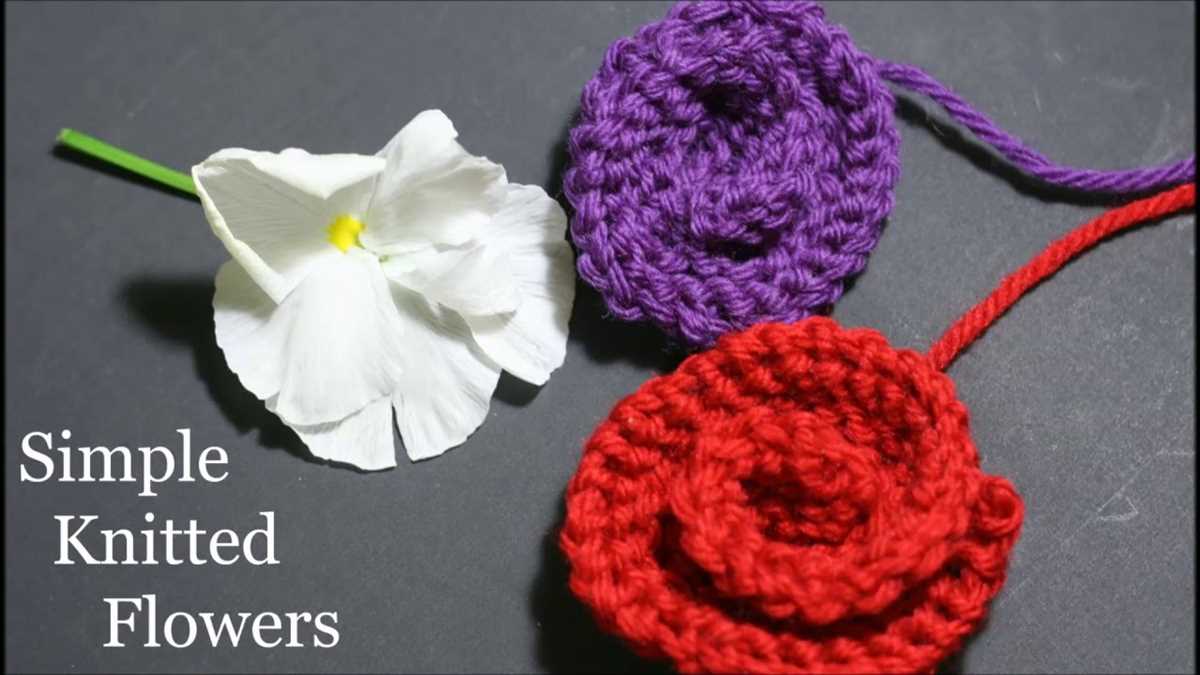
Knitting is a popular craft that allows you to create beautiful and unique items, including flowers. Knitted flowers can be used to add a touch of color and charm to various projects such as scarves, hats, bags, and more. If you’re a knitting enthusiast and would like to learn how to knit flowers, you’re in luck! In this article, we’ll provide you with a step-by-step guide on how to knit flowers using a free pattern.
Before we dive into the knitting instructions, it’s important to gather all the necessary materials. You’ll need yarn in your preferred colors, knitting needles suitable for the yarn weight, a tapestry needle for weaving in ends, and a pair of scissors. Once you have all these supplies ready, you’re ready to start knitting!
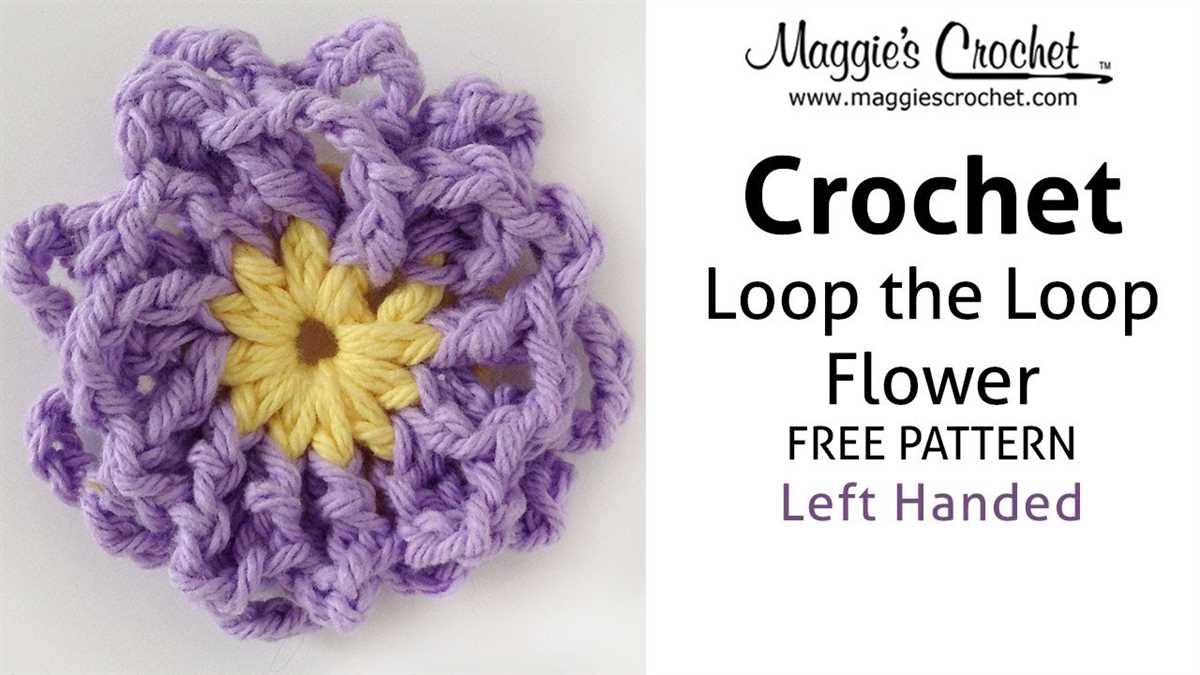
Our free knitting pattern for flowers is beginner-friendly, making it perfect for those who are new to knitting or looking for a quick and easy project. The pattern includes clear instructions and a stitch diagram to help you along the way. Whether you want to create a bunch of flowers for a bouquet or just one as an embellishment, this pattern is versatile and can be easily customized to suit your preferences.
How to Knit Flowers: Free Pattern for Beginners
Knitting flowers is a great way to add a touch of beauty to your projects. Whether you want to embellish a scarf, hat, or bag, knitted flowers can make any item look more vibrant and unique. Even if you’re a beginner, you can easily learn how to knit flowers with a free pattern.
Supplies:
- Yarn in desired colors
- Knitting needles appropriate for your yarn
- Tapestry needle
- Scissors
Instructions:
- Start by casting on an odd number of stitches, depending on how big you want your flower to be.
- Knit the first row.
- Purl the second row.
- Repeat these two rows until your piece measures the desired length.
- Bind off your stitches.
- Roll up your knitted piece, starting from one end, to form the center of the flower.
- Using the tapestry needle, sew the rolled-up piece together to secure it.
- To create petals, pick up stitches along the edge of the rolled-up piece.
- Knit a few rows, gradually decreasing the number of stitches to form a curved shape.
- Bind off your stitches, leaving a long tail.
- Use the long tail to sew the edges of the petal together, forming a cup-like shape.
- Repeat steps 8-11 to create as many petals as you desire for your flower.
- Once you have all your petals, sew them together at the base, arranging them in a circular shape.
- Weave in any loose ends and trim off excess yarn.
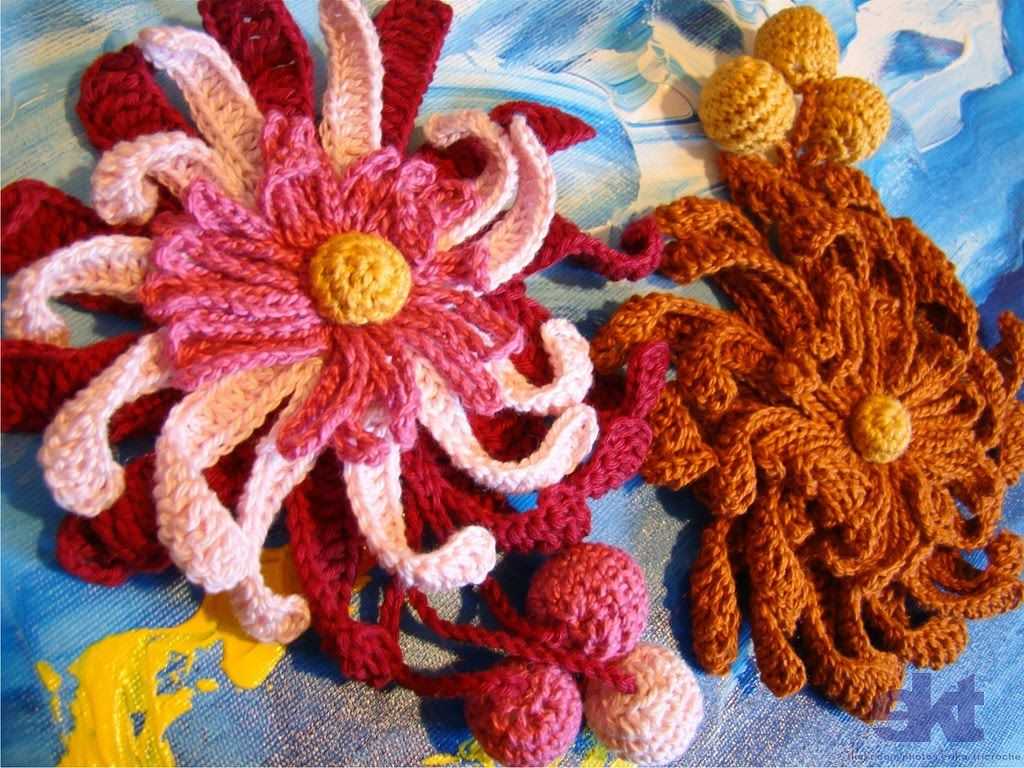
Now you have a beautiful knitted flower that you can attach to any project! Experiment with different yarn colors and textures to create unique and eye-catching flowers.
Understanding the Basics of Flower Knitting
Knitting flowers can be a fun and creative way to add a touch of nature to your knitting projects. Whether you’re a beginner or an experienced knitter, understanding the basics of flower knitting will allow you to create beautiful and intricate floral designs.
Choosing a Pattern: When starting a flower knitting project, the first step is to choose a pattern that suits your skill level and desired design. There are many free patterns available online that range from simple beginner projects to more complex designs. Take your time to find a pattern that matches your style and skill level.
Selecting Yarn and Needles: Once you have chosen a pattern, it’s important to select the appropriate yarn and needles. The type of yarn you choose will affect the overall look and feel of your knitted flower. Thicker yarns will create larger, more chunky flowers, while thinner yarns will result in more delicate and intricate designs. Similarly, needle size will also impact the final look of your flower. Smaller needles will result in tighter stitches, while larger needles will create looser and more open fabric.
Understanding Stitch Techniques: Flower knitting often involves various stitch techniques to create different petal shapes and textures. Common stitches used in flower knitting include knit, purl, yarn over, and various decrease and increase stitches. It’s important to familiarize yourself with these stitch techniques before starting your project to ensure you can execute the pattern correctly.
Assembling the Flower: Once you have knitted all the separate pieces of your flower, it’s time to assemble them. This may involve sewing or weaving in ends to attach petals and leaves to the center of the flower. Following the pattern’s instructions for assembly is crucial to achieving the desired look of your knitted flower.
By understanding the basics of flower knitting, you can embark on a creative journey of adding beautiful floral elements to your knitting projects. Whether you’re making an embellishment for a hat, a brooch, or a decorative element for a scarf, knitted flowers are a versatile and charming addition to any knitting project.
Choosing the Right Yarn and Needles
When it comes to knitting flowers, choosing the right yarn and needles is essential to achieve the desired look and texture. The type of yarn you choose will greatly impact the final result, so it’s important to consider the characteristics of different yarns.
Yarn Weight: The weight of the yarn refers to its thickness. For knitting flowers, you will generally want to use a lightweight yarn, such as lace or fingering weight, to create delicate and intricate petals. However, if you prefer a more chunky and textured flower, you can opt for a heavier yarn weight like worsted or bulky.
Yarn Fiber:
When choosing the fiber for your flower, consider the drape and texture you want to achieve. Natural fibers like cotton or linen are great for creating a crisp and structured flower, while wool or acrylic can give a softer and more fluffy appearance. Experimenting with different fiber blends can also provide interesting results.
Needle Size:
The needle size you choose will depend on the yarn weight and the desired tension of your flower. For lightweight yarns, use smaller needles to create tight and defined stitches. If you’re working with a bulkier yarn, larger needles will help create a looser and more open stitch pattern.
Tips:
- Make sure to check the recommended needle size on the yarn label.
- Try swatching with different needle sizes to find the one that gives you the desired gauge.
- Consider the drape and texture of the yarn when selecting the needle size.
By selecting the right yarn weight and needle size, you can create beautiful and unique knitted flowers that will add a touch of charm to any project.
Getting Started with the Magic Loop Method

Knitting flowers can be a fun and rewarding project, but sometimes it can be difficult to work on smaller circular needles. That’s where the magic loop method comes in! This technique allows you to knit in the round using a long circular needle, making it easier to manipulate your stitches and create intricate designs.
To get started with the magic loop method, you will need a long circular needle, preferably one that is at least 40 inches long. You will also need your preferred yarn and knitting needles that are appropriate for the yarn weight. Be sure to check the pattern you are using for the recommended needle size.
Step 1: Casting On
Begin by casting on the required number of stitches for your pattern. Make sure to leave a long tail, as you will need it later to pull the loop tight.
Step 2: Creating the Loop
Now, slide the stitches to the middle of the needle so that the working yarn is at the back and the tail is at the front. Bend the needle in half so that the working yarn is on top, creating a loop in the middle of the needle.
Step 3: Splitting the Stitches
Next, use your fingers or a stitch marker to mark the halfway point of your stitches. This will help you keep track of where to split your stitches for the magic loop. Pull the back needle through the loop and separate the stitches evenly onto both needles.
Step 4: Knitting in the Round
Now you are ready to start knitting in the round! Hold the needle with the working yarn in your right hand and the needle with the idle stitches in your left hand. Work the stitches on the right needle as you normally would, using the left needle to hold the idle stitches.
Continue knitting in the round, pulling the loop tight after each row to ensure your stitches are snug. As you work, remember to keep track of your rounds and follow the pattern instructions for any shaping or stitch changes.
The magic loop method is a versatile technique that can be used for a variety of knitting projects, including knitting flowers. With a little practice, you’ll be able to create beautiful flowers and other designs using this method.
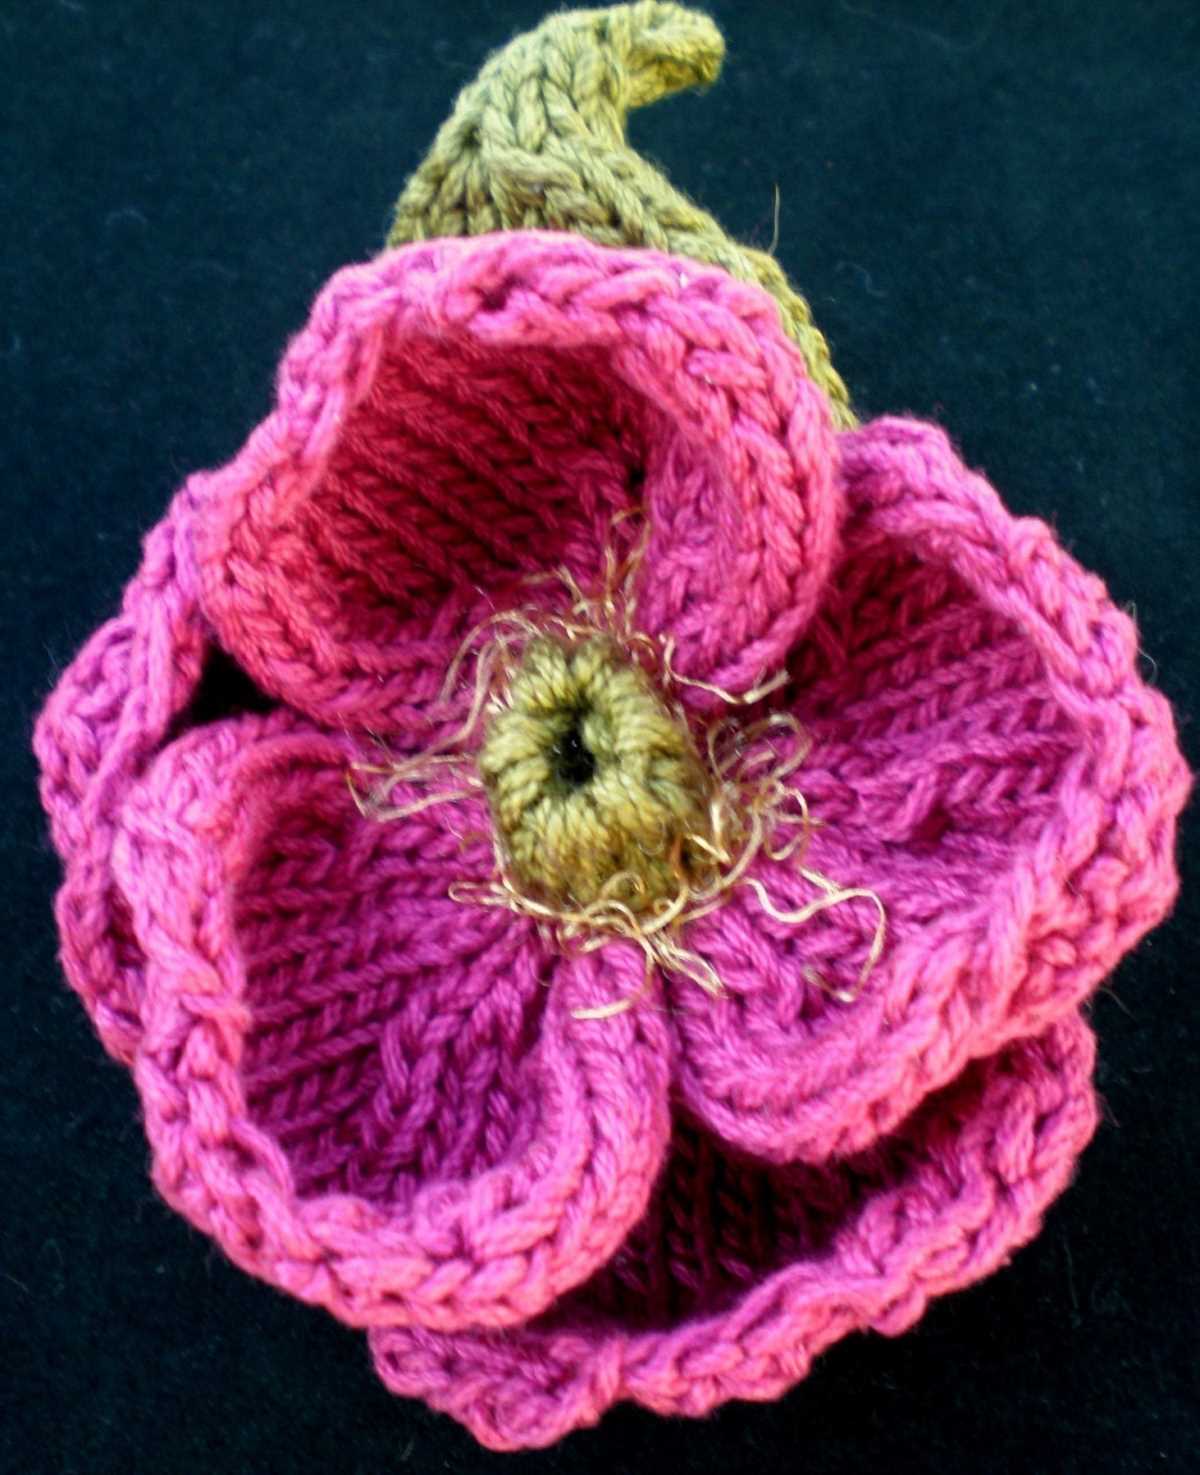
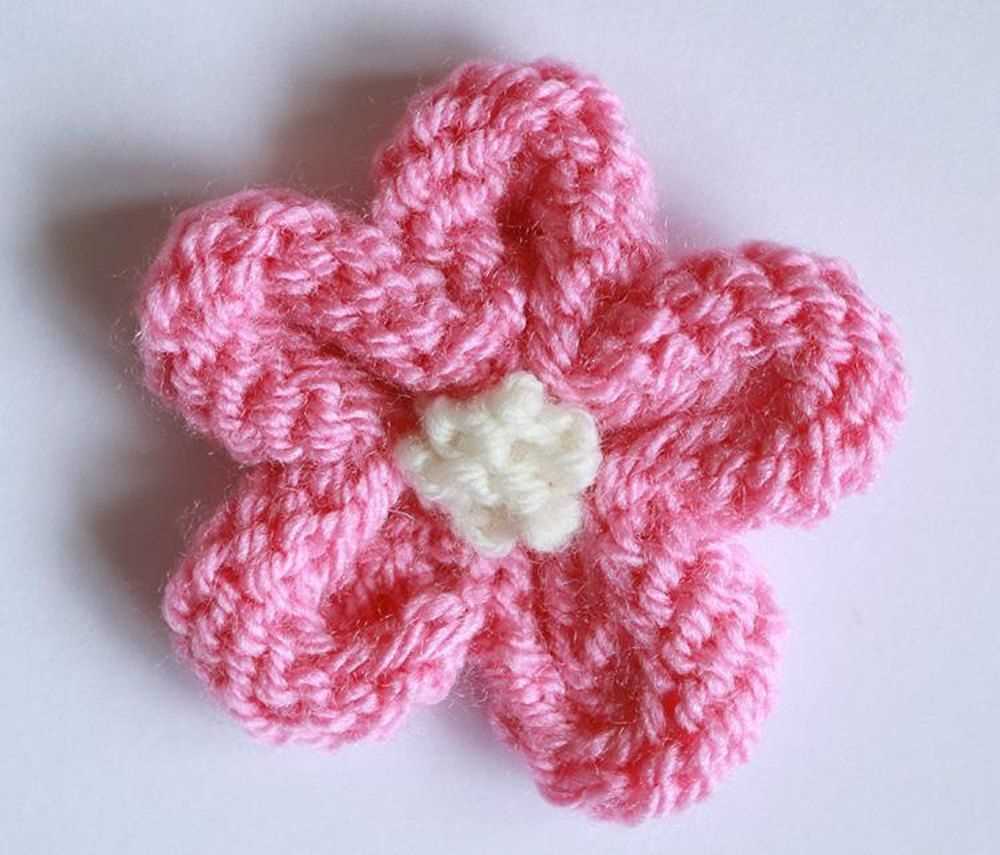
Knitting the Center of the Flower
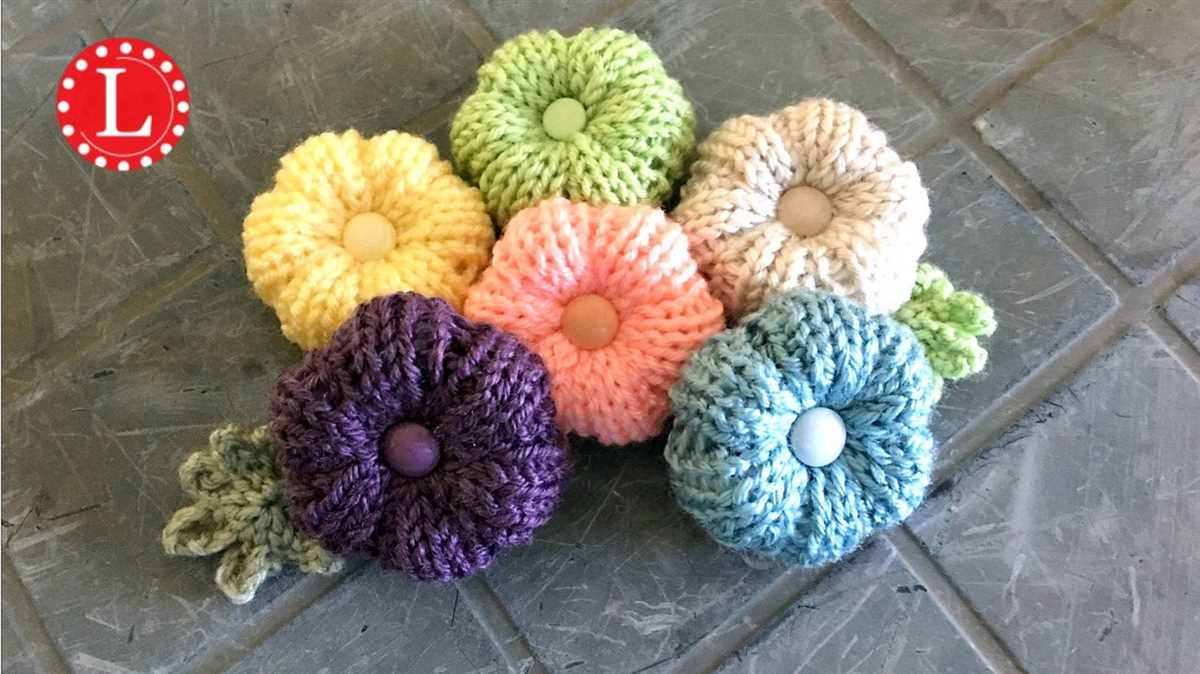
When knitting flowers, the center is an important and eye-catching element. It sets the tone for the entire flower and adds depth and texture to the finished piece. In this section, we will explore different techniques and patterns for knitting the center of the flower.
Simplicity in Design
One of the easiest and most popular ways to knit the center of the flower is by using a simple seed stitch or garter stitch. These stitches create a textured and bumpy surface that resembles the natural center of a flower. To achieve this look, cast on the desired number of stitches and knit every row in either the seed stitch or the garter stitch pattern. You can also experiment with different yarns and needle sizes to create variation and achieve the desired effect.
Bead Embellishments
To add a touch of glamour to your knitted flower center, consider using beads as embellishments. You can choose beads in a color that complements your flower or go for a contrasting one to make it stand out even more. One way to incorporate beads is by threading them onto your yarn before you start knitting. Simply slide a bead onto the working yarn and knit it into the center of the flower. Alternatively, you can sew the beads onto the finished center using a matching thread or yarn.
Introducing Color
Adding color to the center of the flower can make it more visually appealing and interesting. You can achieve this by using different colored yarns or by knitting stripes or color blocks. Experiment with different color combinations to find the one that suits your flower design best. Introducing color can also be an excellent way to use up leftover yarn from other projects.
Whether you prefer a simple and textured center or a more embellished and colorful one, knitting the center of the flower allows for creativity and personalization. Take time to experiment with different techniques, patterns, and materials to create unique and stunning flower centers that will enhance your knitting projects.
Creating the First Layer of Petals
Knitting flowers can be a fun and creative way to add an extra touch to your knitting projects. In this tutorial, we will guide you through the process of creating the first layer of petals for your knitted flower.
To begin, you will need the following materials: your chosen yarn, knitting needles appropriate for your yarn, a yarn needle, and scissors. If you would like to add multiple colors to your flower, make sure to have all of your colored yarns ready.
1. Cast on stitches
Start by casting on the desired number of stitches onto your knitting needles. The number of stitches you cast on will depend on the size of your flower and the thickness of your yarn. For a small flower, you can start with around 10 stitches, while larger flowers may require 20 or more stitches.
2. Knit the first row
Once you have cast on your stitches, knit the entire first row. This will create a solid base for your first layer of petals. Knit stitches will give your petals a smooth and clean look, but you can also experiment with different stitch patterns for a more textured effect.
3. Shape the petals
After knitting the first row, it’s time to shape the petals of your flower. To do this, you will need to increase stitches evenly across the row. This can be done by knitting into the front and back of certain stitches or by using other increase techniques such as yarn overs.
- For example, if you started with 10 stitches and want to end up with 20 stitches for your first layer of petals, you will need to increase 1 stitch in every stitch of the first row.
- Alternatively, you can also increase every other stitch to add more depth and dimension to your petals.
Continue knitting and increasing stitches until you have reached the desired number for your first layer of petals. Once you are finished, bind off your stitches and weave in any loose ends with your yarn needle.
Adding Details with Purl Stitches
When knitting flowers, adding details with purl stitches can make a significant difference in the final look. Purl stitches create a bumpy texture on the fabric, which can be used to simulate different elements of a flower, such as petals or leaves.
One way to add details with purl stitches is by using them to create texture on the petals. For example, you can alternate between knit and purl stitches to create a raised ridge along the edge of each petal. This can give the petals a more defined shape and make them stand out.
Another way to use purl stitches is to create veins on the leaves of the flower. By knitting the majority of the leaf in stockinette stitch and using purl stitches to create vertical lines down the center, you can achieve a realistic look. The purl stitches can be worked in a contrasting color to make the veins stand out even more.
To add even more dimension to your knitted flower, you can incorporate purl stitches into the center of the flower. This can create a textured center that mimics the appearance of pollen or stamens. By experimenting with different combinations of knit and purl stitches, you can achieve various effects and create a unique flower design.
In addition to adding details with purl stitches, don’t forget about other techniques, such as yarn overs or decreasing stitches, to further enhance the appearance of your knitted flowers. With a little creativity and experimentation, you can create beautiful and realistic-looking flowers using just your knitting needles and yarn.
Knitting the Second Layer of Petals
Once you have completed the first layer of petals for your knitted flower, it is time to move on to the second layer. This layer will add depth and dimension to your flower, giving it a more realistic look.
1. Choose a contrasting color: For the second layer of petals, it is best to choose a color that complements the first layer. This will help the petals stand out and create a beautiful contrast.
2. Start with a slip knot: To begin knitting the second layer of petals, start with a slip knot on your knitting needle. This will serve as the first stitch of the second layer.
3. Knit the first row: Using the same knitting technique as the first layer, knit the first row of the second layer. Make sure to follow the pattern or instructions for the specific flower you are knitting.
4. Increase or decrease stitches: Depending on the pattern, you may need to increase or decrease stitches in certain rows to create the desired shape of the petals. Pay close attention to the instructions and make any necessary adjustments.
5. Continue knitting: Keep knitting following the pattern until you have completed all the rows for the second layer of petals. Take your time and make sure each stitch is accurate and tight.
6. Bind off: Once you have finished knitting the second layer of petals, bind off your stitches. This will secure the edges of the petals and prevent them from unraveling.
7. Repeat for each petal: Repeat the process for knitting the second layer of petals for each petal of your knitted flower. Take your time and be patient, as this will give your flower a beautiful and professional finish.
Making the Flower Pop with Colorwork
Once you have mastered the basic flower pattern, you can take your knitting to the next level by incorporating colorwork. Adding different colors to your flower can make it stand out and add a beautiful depth to your finished piece.
To incorporate colorwork into your flower knitting, you will need to choose two or more colors of yarn. You can use the same type of yarn in different colors or mix different types of yarn for a more textured effect.
Choosing colors
When choosing colors for your flower, consider the overall look you want to achieve. If you want a vibrant and eye-catching flower, choose contrasting colors that will pop against each other. For a more subtle and elegant look, opt for colors that are more tonal and blend together harmoniously.
Experiment with different combinations and layouts before starting your project. You can create a color chart or use color swatches to visualize how the different colors will look together. This will help you plan your colorwork and ensure that the finished flower looks exactly how you imagined.
Integrating colorwork
There are several ways to integrate colorwork into your flower pattern. One option is to alternate colors for each petal, creating a striped effect. You can also incorporate colorwork into the center of the flower or add color accents to the edges of the petals.
Another technique is to use stranded knitting, also known as Fair Isle knitting, to create intricate patterns within the flower. This involves carrying both colors of yarn along the back of your work and knitting with one color at a time. It may take some practice to get the tension right, but the results can be stunning.
Remember to always keep an eye on your tension when working with multiple colors. Strive for an even tension throughout your knitting to ensure that the colorwork is consistent and the flower maintains its shape.
With a little bit of practice and experimentation, you can create beautifully vibrant and eye-catching flowers using colorwork techniques. Have fun playing with different color combinations and enjoy the process of making your flower pop with color!
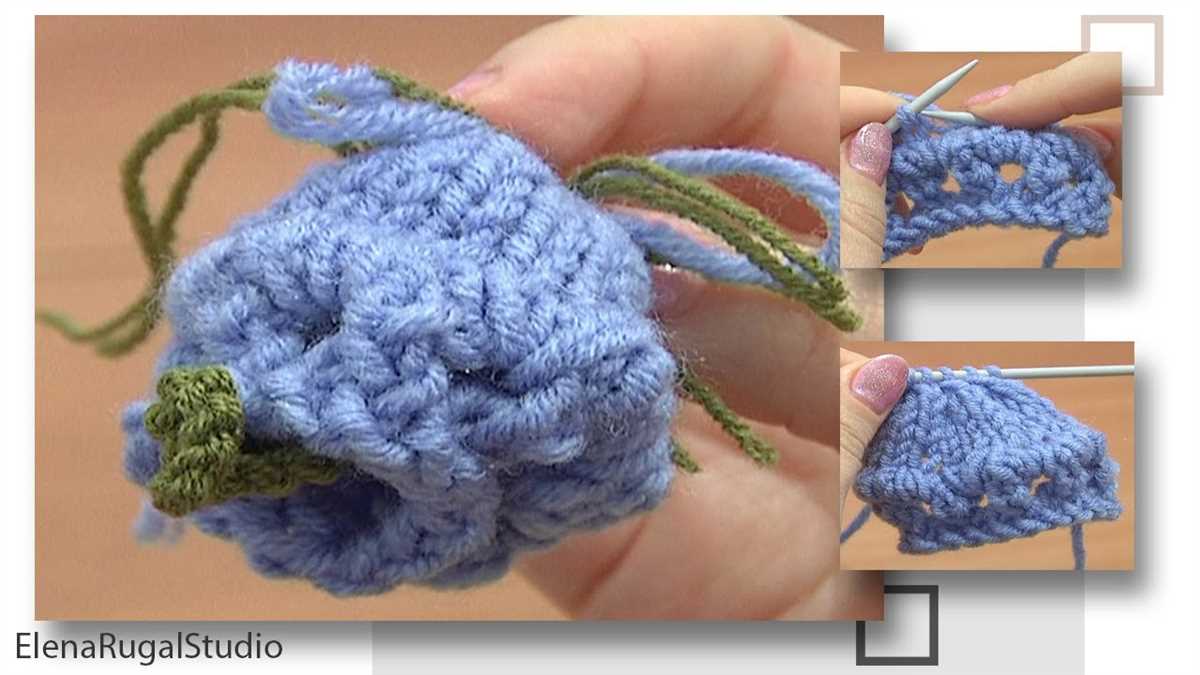
Adding Leaves and Stem
If you want to give your knitted flowers a more realistic look, you can add leaves and stems to them. This will make them look like they are growing from a plant and will add an extra element of beauty to your finished project.
Leaves: To create leaves, you can use a contrasting color yarn and a smaller size knitting needle. Start by casting on a small number of stitches, such as 10-15, and work in garter stitch or your preferred leaf stitch pattern. You can shape the leaves by increasing or decreasing stitches as needed. Once you have finished knitting the leaves, you can sew them onto your flower using a yarn needle.
Stem: To make a stem for your knitted flower, you can use a green color yarn and a long straight knitting needle. Start by casting on a few stitches, such as 5-10, and work in stockinette stitch or your preferred stem stitch pattern. You can make the stem as long as you like, depending on how tall you want your flower to be. Once you have finished knitting the stem, you can attach it to the bottom of your flower using a yarn needle.
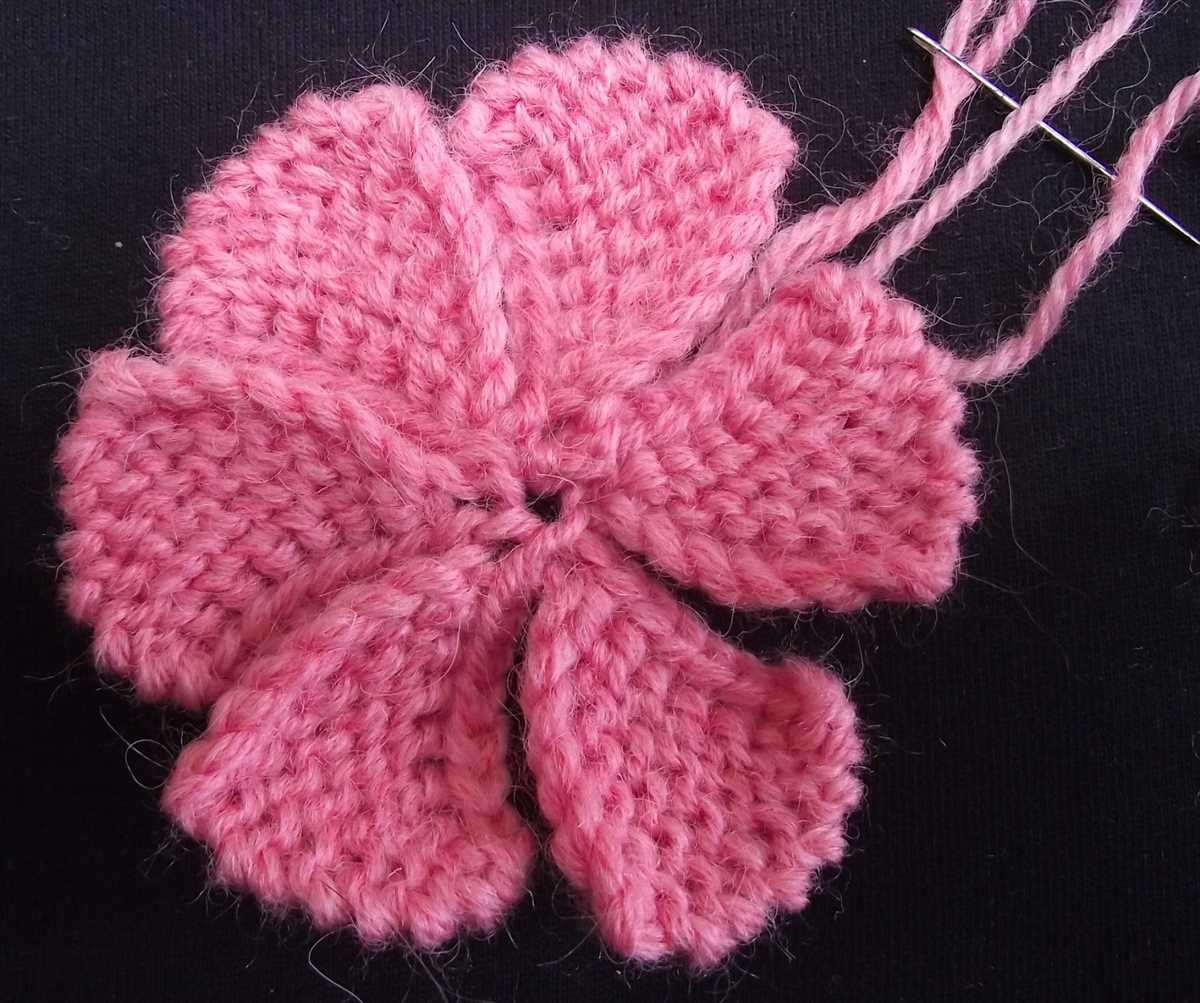
Blocking and Finishing the Flower
Once you have finished knitting your flower, it is important to block it to give it a more polished and professional appearance. Blocking helps to even out the stitches and shape the flower into its desired form. Here are the steps to block and finish your knitted flower:
1. Soak the Flower
Begin by filling a sink or basin with lukewarm water and adding a small amount of wool wash or a mild detergent. Gently place the knitted flower into the water, making sure it is fully submerged. Let the flower soak for about 15-20 minutes to allow the fibers to absorb the moisture.
2. Remove Excess Water
After soaking, carefully lift the flower out of the water and gently squeeze out the excess water. Avoid wringing or twisting the flower, as this can cause damage or distortion to the shape. Lay the flower on a clean, absorbent towel and press down to further remove moisture.
3. Shape the Flower
Next, you will need to shape the flower to achieve the desired form. Use your fingers to gently reshape the petals and arrange them into a pleasing arrangement. You can also use pins or blocking wires to hold the petals in place as the flower dries. Ensure that the flower is evenly shaped and any curling or distortion is corrected.
4. Allow to Dry
Place the shaped flower on a blocking mat or a towel in a well-ventilated area, away from direct sunlight. Allow the flower to air dry completely, which may take a day or two, depending on the humidity level. Avoid speeding up the drying process with a hairdryer or any direct heat source, as this can cause the flower to lose its shape.
5. Finishing Touches
Once the flower is dry, you can add any finishing touches, such as attaching a button or bead to the center of the flower, or sewing a pin or hair clip to the back. These details can enhance the overall look of the flower and make it more versatile for different uses, such as a brooch or a hair accessory.
By following these steps, you can achieve a professional finish for your knitted flower. Blocking not only enhances the appearance of the flower but also helps to prolong its lifespan by keeping the shape intact. Experiment with different yarns and color combinations to create beautiful knitted flowers that can be used in various projects.
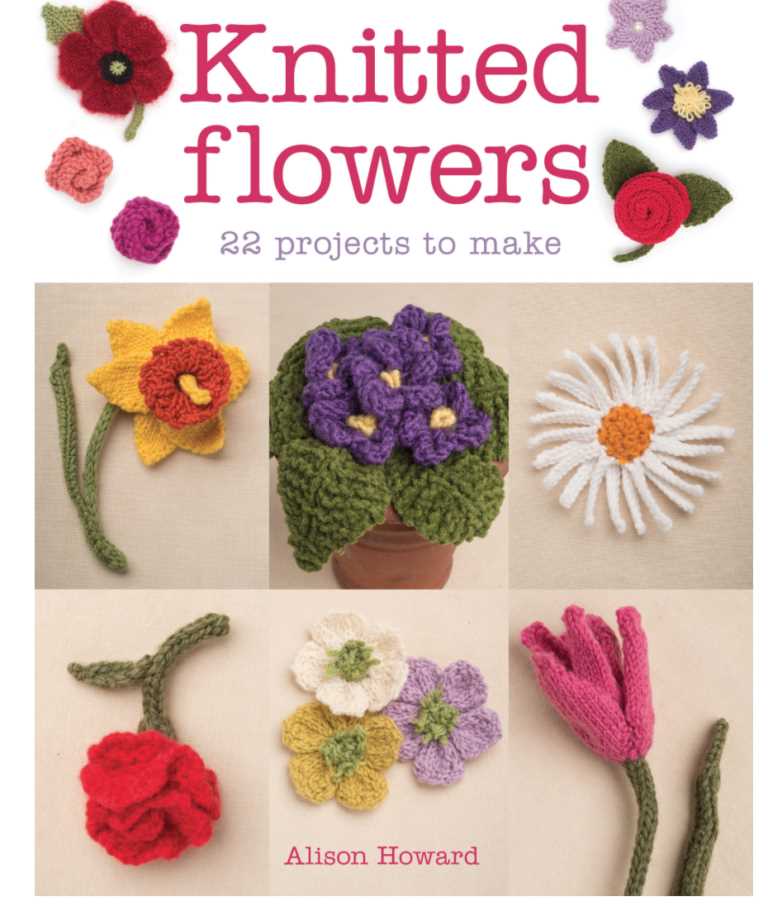
Exploring Different Flower Knitting Patterns
Flower knitting patterns are a wonderful way to add a touch of nature to your knitting projects. Whether you want to embellish a hat, scarf, or blanket, there are countless flower patterns to choose from. These patterns allow you to experiment with different colors, textures, and shapes, creating unique and beautiful flowers for your projects. In this article, we will explore some popular flower knitting patterns that you can try.
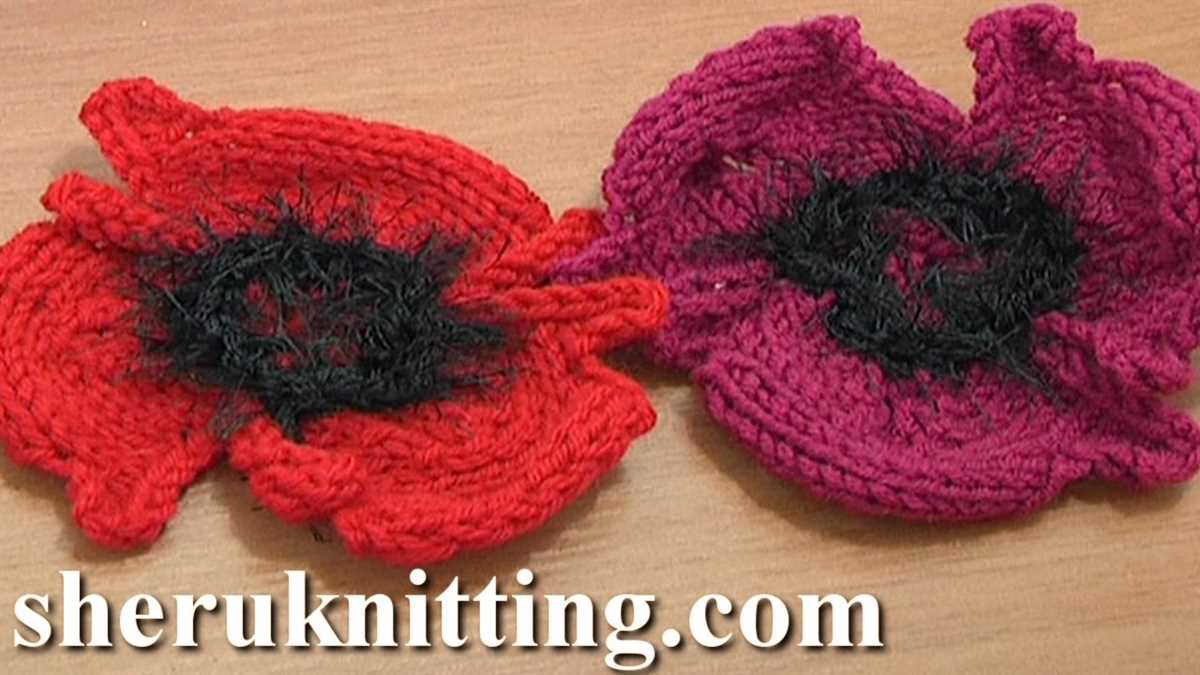
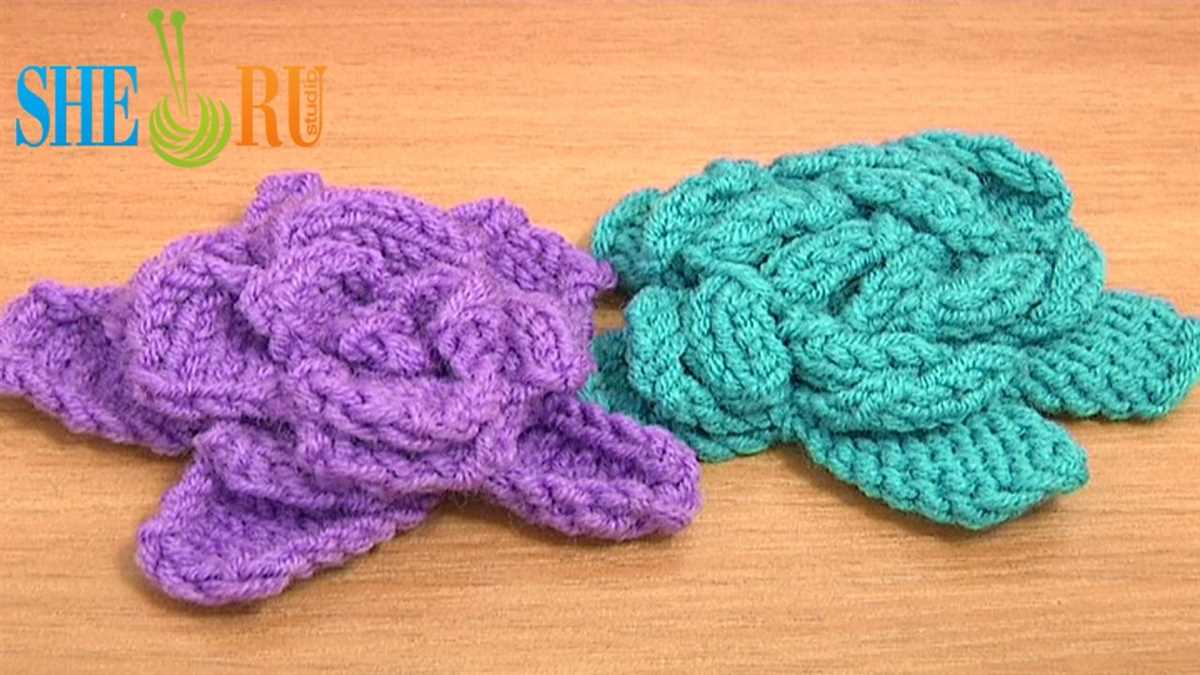
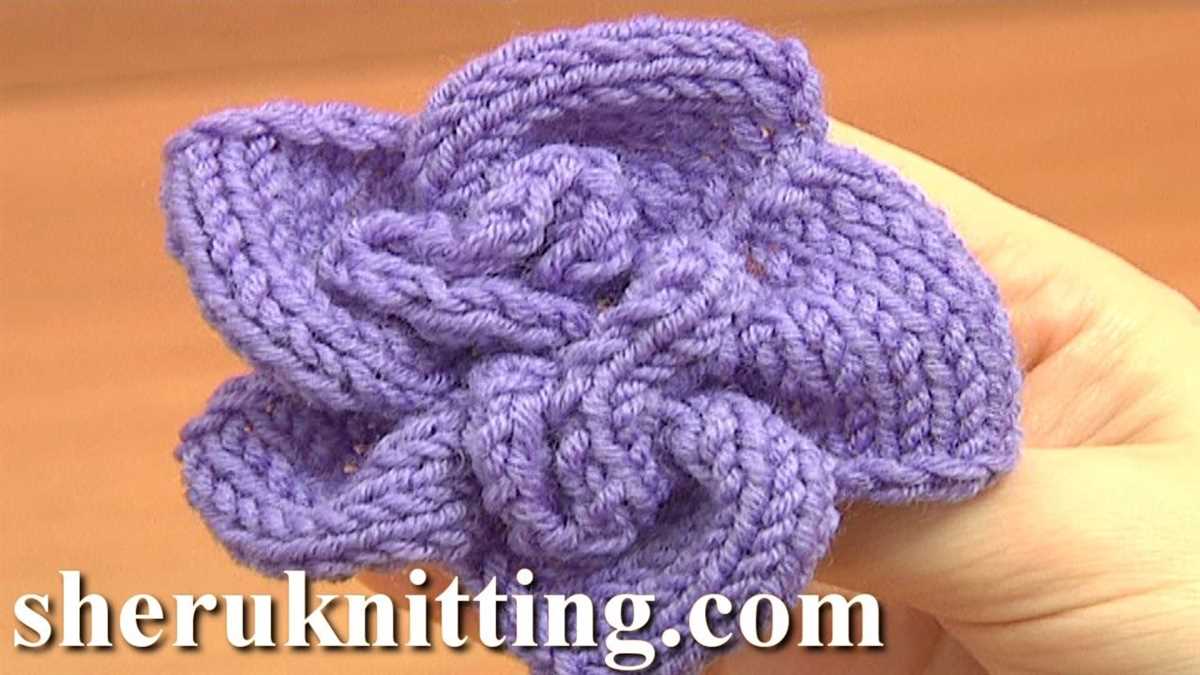
1. Rose Knitting Pattern
Roses are a classic symbol of love and beauty, and knitting a rose can be a fun and rewarding project. There are many rose knitting patterns available, each offering a different level of complexity and detail. Whether you prefer a simple, beginner-friendly pattern or a more intricate design, knitting a rose can add a touch of elegance to your knitting projects.
2. Daisy Knitting Pattern
The daisy is a cheerful and iconic flower that can brighten up any knitting project. Knitting a daisy allows you to play with different colors and create a vibrant and playful flower. There are many daisy knitting patterns available, from simple and quick designs to more intricate and detailed patterns. Whether you want to embellish a hat, a bag, or a sweater, knitting a daisy can add a touch of whimsy to your knitting projects.
3. Sunflower Knitting Pattern
Sunflowers are known for their vibrant yellow color and their ability to bring cheer to any space. Knitting a sunflower can be a relaxing and enjoyable project, allowing you to create a beautiful and unique flower. There are many sunflower knitting patterns available, from simple and basic designs to more complex and detailed patterns. Whether you choose to knit a single sunflower or a whole bouquet, knitting a sunflower can add a cheerful and sunny touch to your knitting projects.
These are just a few examples of the many flower knitting patterns available. Whether you are a beginner or an experienced knitter, there is a flower pattern out there for you. So grab your knitting needles, choose your favorite flower pattern, and start creating beautiful blooms for your knitting projects!
Ideas for Using Knitted Flowers
Now that you have learned how to knit flowers using the free pattern, here are some creative ideas for using them:
- Embroidery: Use the knitted flowers as beautiful accents on your embroidery projects. They can add a pop of color and texture to your designs.
- Accessories: Transform the knitted flowers into hair clips, brooches, or pin cushions. Simply attach a pin or clip to the back of the flower and you have a unique accessory.
- Home Decor: Decorate your home with knitted flowers by attaching them to pillows, curtains, or lampshades. They can instantly brighten up any space.
- Gift Embellishments: Add a knitted flower to the top of a gift box or attach it to a gift bag. It will make your gift stand out and show that you put in extra effort.
- Jewelry: Turn the knitted flowers into earrings, bracelets, or charms for a personal touch. Attach them to chains, hoops, or keyrings to create adorable accessories.
These are just a few ideas to get you started, but the possibilities are endless. Get creative and have fun experimenting with different ways to use your knitted flowers!