
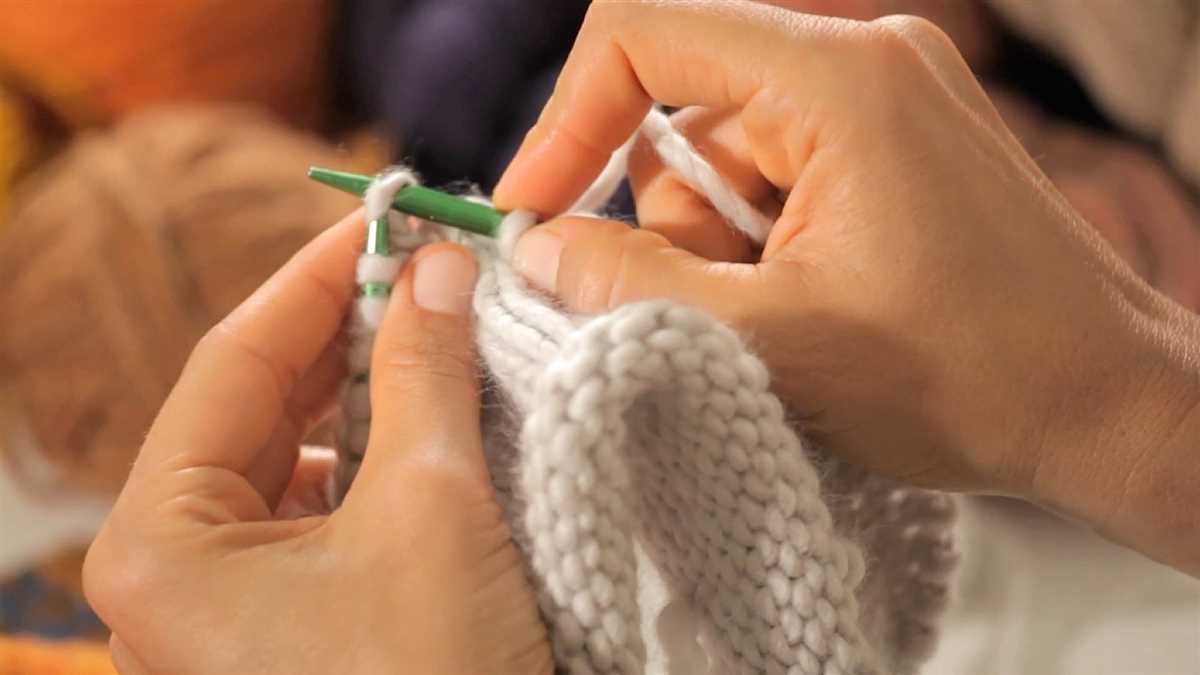
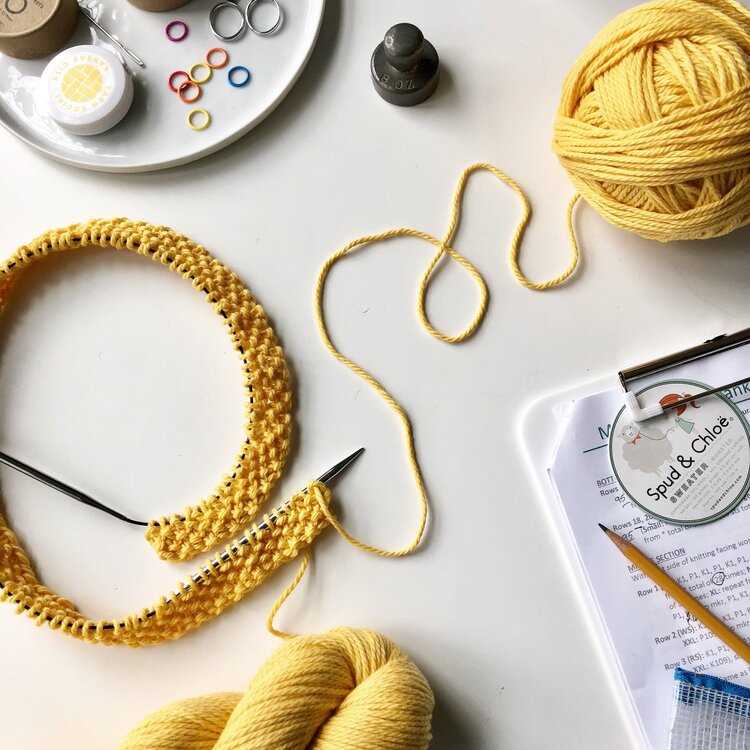
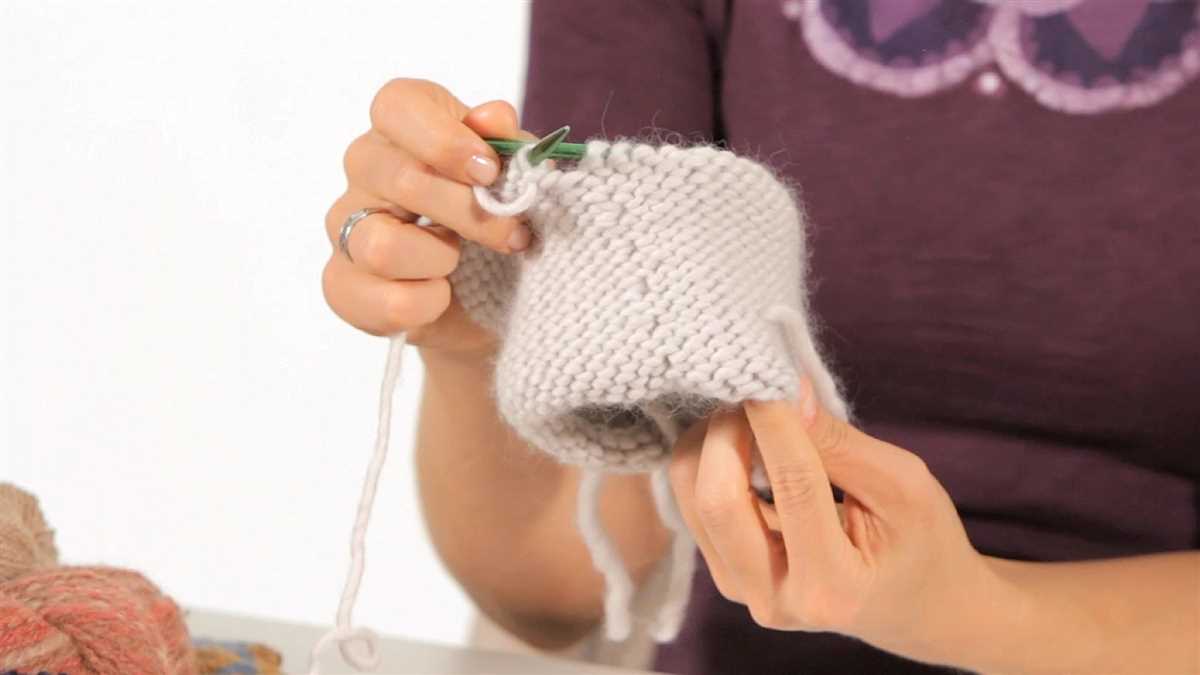
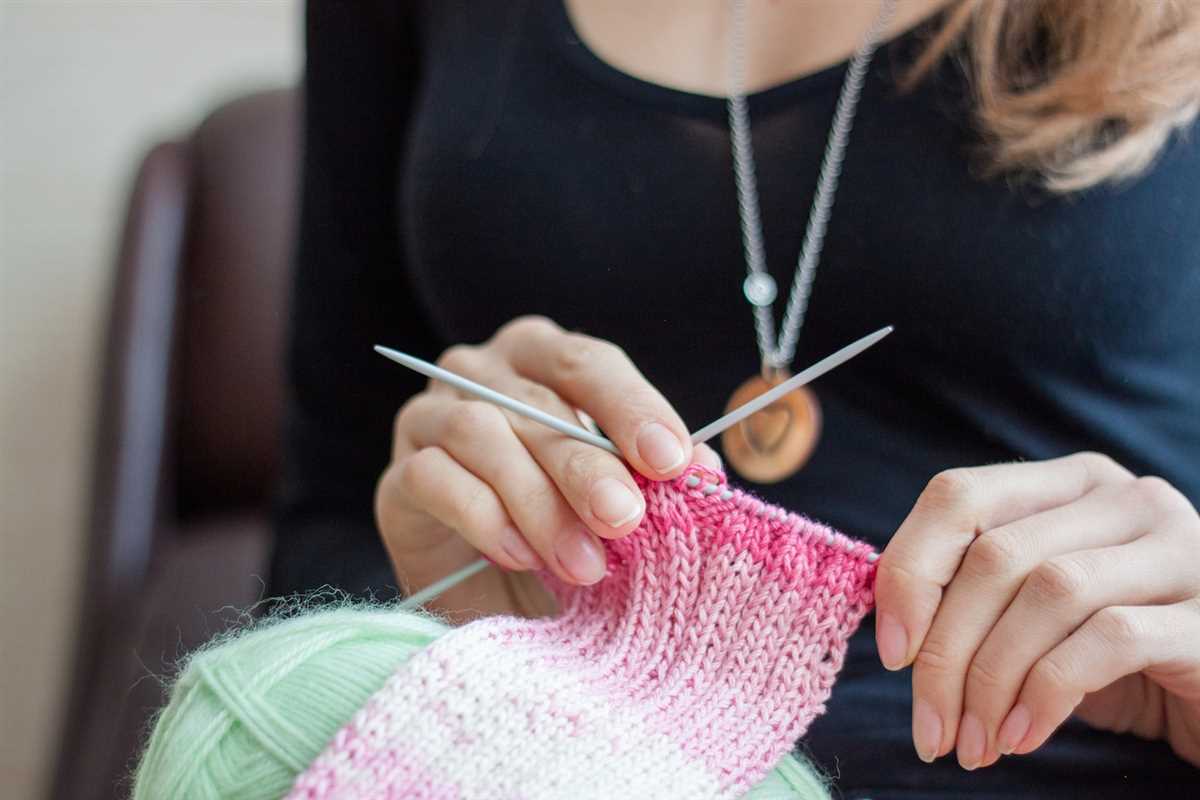
If you’re a knitter, you know that patterns can come in two different forms: circular and flat. Circular knitting patterns are worked in the round, usually on circular needles or double-pointed needles, creating a seamless tube. flat knitting patterns are worked back and forth in rows on straight needles, creating a flat piece.
But what if you have a circular knitting pattern that you want to knit flat? It’s actually quite easy to convert a circular knitting pattern to flat. In this article, we’ll guide you through the process and give you some helpful tips along the way.
The first step in converting a circular knitting pattern to flat is to determine the stitch count for each row. Since you’ll be working back and forth in rows instead of in the round, the number of stitches may need to be adjusted. You’ll need to take into account any stitch patterns or increases and decreases in the original circular pattern.
Next, you’ll need to decide where to place the right and wrong side rows. In a circular knitting pattern, there is no right or wrong side since you’re always working on the outside of the tube. When knitting flat, however, you’ll have a front and back side. You can decide which side of the fabric you want to be the right side based on the stitch pattern and your personal preference.
Once you have determined the stitch count and the placement of the right and wrong side rows, you’re ready to start knitting! Simply follow the instructions of the circular knitting pattern, but work back and forth instead of in the round. Remember to read the pattern carefully and make any necessary adjustments to accommodate the conversion from circular to flat knitting.
Why convert a circular knitting pattern to flat
There are several reasons why you may want to convert a circular knitting pattern to flat. Firstly, using a flat knitting method allows you to easily customize the size and shape of the project. You can easily adjust the width and length of the finished piece to suit your preferences, without having to modify the pattern itself.
Another reason to convert a circular knitting pattern to flat is if you prefer to work with straight needles instead of circular needles. Some knitters find it more comfortable and easier to work with straight needles, especially if they are not familiar with or don’t enjoy knitting in the round.
- Customize the size and shape of the project
- Work with straight needles instead of circular needles
- Personal preference or comfort
By converting a circular knitting pattern to flat, you also have the option to easily add stitch patterns or textures that may not be suitable or easily achieved when knitting in the round. This allows you to expand your design possibilities and create unique and intricate designs.
Lastly, converting a circular knitting pattern to flat can be useful if you have a specific yarn that you want to use for your project. Some yarns, such as very delicate or loosely spun ones, may be difficult to work with on circular needles. Converting the pattern to flat knitting allows you to work with the yarn more easily and avoid any potential issues or frustrations.
Understanding the differences between circular and flat knitting
When it comes to knitting, understanding the differences between circular and flat knitting is essential for any knitter. Circular knitting refers to knitting in a continuous, seamless loop, typically using circular knitting needles or double-pointed needles. On the other hand, flat knitting involves knitting back and forth in rows, creating a fabric that has a distinct right side and wrong side.
Circular knitting patterns: Circular knitting patterns are specifically designed for knitting in the round. They often use techniques such as knitting in the round, making increases and decreases, and creating seamless garments. These patterns are typically written using a circular knitting notation, indicating the number of stitches in each round and any necessary stitch count changes.
Benefits of circular knitting:
- No seams: One of the main advantages of circular knitting is that it eliminates the need for seams. This makes it ideal for creating garments like hats, socks, and sweaters that require a seamless finish.
- Efficiency: Circular knitting allows for continuous knitting without the need to turn the work at the end of each row. This can be more efficient and time-saving compared to flat knitting, where you have to change the direction of your work frequently.
- Flexibility: Circular knitting offers more flexibility in terms of the size and shape of the finished product. You can easily adjust the circumference of the project, allowing for easy customization.
Converting circular knitting patterns to flat:
Converting a circular knitting pattern to flat knitting requires a bit of adjustment. One of the main differences is that you will need to work in rows instead of rounds, which means you’ll have to turn the work at the end of each row. Additionally, you may need to make changes to the shaping and stitch counts to achieve the desired fit and finish. It’s important to carefully read and understand the instructions in the original circular knitting pattern, and make the necessary modifications to adapt it to flat knitting.
In summary, understanding the differences between circular and flat knitting allows you to choose the right technique for your project and make any necessary adjustments. Whether you prefer the efficiency and flexibility of circular knitting or the structured construction of flat knitting, both techniques have their own advantages and can be used to create beautiful knitted items.
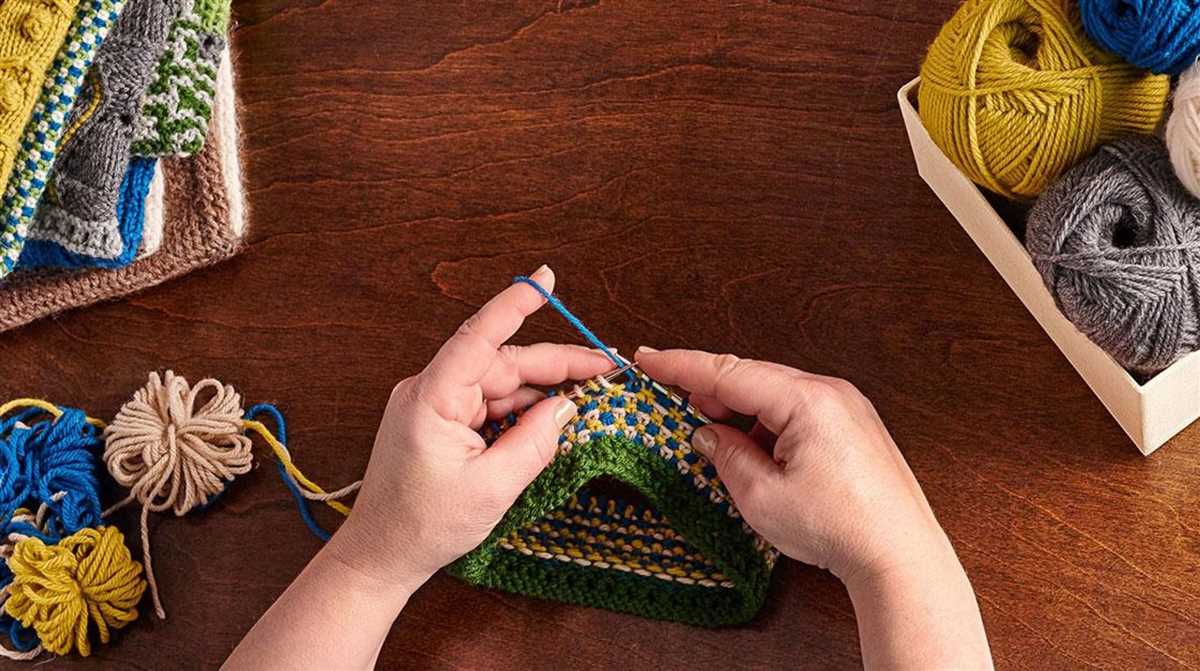
Choosing the right yarn and needle size
When converting a circular knitting pattern to flat, it’s important to choose the right yarn and needle size. Both the yarn and needle size can affect the final outcome of the project.
Yarn selection
When choosing yarn for your flat knitting project, consider the original yarn recommended in the circular pattern. Look for a yarn with similar fiber content, weight, and gauge. This will help ensure that your finished flat knitting project has the same drape and texture as the original circular pattern.
Additionally, it’s important to consider the stitch pattern and design elements of the original circular pattern. If the pattern has intricate stitch patterns or cables, using a yarn with good stitch definition is recommended. On the other hand, if the pattern has a lot of drape or requires a softer fabric, choosing a yarn with more drape and a softer hand will give similar results.
Needle size
When converting from circular knitting to flat, the needle size can affect the tension and overall size of the finished project. It’s important to consider the original gauge recommended in the circular pattern and adjust the needle size accordingly.
If you want a similar gauge and tension as the circular pattern, choose needles that are suitable for the yarn weight and match the original gauge. If you prefer a looser or tighter tension, adjust the needle size accordingly. However, keep in mind that changing the needle size can also affect the overall size of the finished project, so make sure to swatch and check your gauge before starting.
Calculating the Number of Stitches

When converting a circular knitting pattern to flat, it is important to calculate the number of stitches accurately, as it can affect the fit and overall appearance of the finished garment.
To determine the number of stitches needed for the flat version of a circular pattern, you need to consider the following factors:
- Gauge: Begin by knitting a swatch in the desired stitch pattern and yarn to determine your gauge. Measure the number of stitches per inch across the swatch and write it down. This will be the basis for your calculations.
- Measurements: Take the measurements of the circular pattern, such as the circumference of the garment or the desired width of the panel. Divide these measurements by the desired gauge to determine the number of stitches needed.
- Adding Seams: Since flat knitting requires seaming, you will need to account for the additional stitches needed for the seams. Plan where the seams will be placed and include these extra stitches in your calculations.
- Decreases and Increases: Consider any decreases or increases in the circular pattern and adapt them to the flat version. Make sure to keep the symmetry and balance of the original design by adjusting the number of stitches accordingly.
- Border Stitches: If the circular pattern has border stitches, such as ribbing or garter stitch edges, you will need to adapt them to the flat version as well. Calculate the necessary number of stitches for these borders and include them in your stitch count.
By carefully calculating the number of stitches and taking into account the gauge, measurements, seams, decreases, increases, and border stitches, you can successfully convert a circular knitting pattern to flat and create a garment that fits and looks as desired.
Adjusting the shaping and increases/decreases
When converting a circular knitting pattern to flat, it is important to adjust the shaping and increases/decreases accordingly. In circular knitting, shaping is typically done using decreases and increases worked within the round. To convert this shaping to flat knitting, the decreases and increases need to be worked differently.
To adjust the shaping, you will need to alternate between decreasing and increasing rows. For example, if the pattern calls for a decrease row in circular knitting, you can work a decrease row in flat knitting by working the desired decrease across the row. Similarly, if the pattern calls for an increase row in circular knitting, you can work an increase row in flat knitting by working the desired increase across the row.
- To work a decrease in flat knitting, you can use techniques such as knit two stitches together (k2tog) or slip slip knit (ssk) to decrease the stitch count.
- To work an increase in flat knitting, you can use techniques such as yarn over (yo) or make one (M1) to increase the stitch count.
It is important to keep track of the shaping and increases/decreases according to the pattern’s instructions. Make sure to count your stitches regularly to ensure accuracy and maintain the correct stitch count. Adjusting the shaping and increases/decreases in a circular knitting pattern to flat knitting may require some trial and error, so don’t be afraid to experiment and make adjustments as needed.
Adapting Stitch Patterns for Flat Knitting
In circular knitting, stitch patterns are often worked in the round, which means that the right side of the work is always facing out. However, there may be times when you want to adapt a circular knitting pattern to work it flat, such as when knitting a cardigan or a scarf. Adapting stitch patterns for flat knitting requires a few adjustments to ensure that the pattern looks cohesive and symmetrical.
1. Reverse the Wrong Side Rows
When converting a circular knitting pattern to flat, you will need to reverse the wrong side rows. In circular knitting, the wrong side rows are often just a repeat of the previous right side row. To adapt the stitch pattern for flat knitting, you will need to reverse the wrong side rows to maintain the consistency of the pattern.
2. Add Extra Edge Stitches
In circular knitting, the edges are often hidden within the seamless construction. However, in flat knitting, you will need to add extra edge stitches to create a neat and finished edge. These edge stitches can be worked in a simple garter stitch or a different stitch pattern to complement the main stitch pattern.
3. Consider the Row Gauge
When converting a circular knitting pattern to flat, it’s important to consider the row gauge. Circular knitting often has a different row gauge than flat knitting due to the continuous spiral of stitches. Make sure to swatch and adjust accordingly to ensure that the stitch pattern is not distorted or stretched when worked flat.
4. Adjust for Seaming
If you are knitting a garment that requires seaming, such as a sweater, you will need to make adjustments to the stitch pattern at the edges where the seams will be sewn. These adjustments can include adding extra stitches for seaming allowances or modifying the stitch pattern to align properly when the pieces are joined together.
By considering these factors and making the necessary adjustments, you can successfully adapt a circular knitting pattern to work it flat. This allows you to explore a wider range of patterns and create versatile and stylish knitted items.
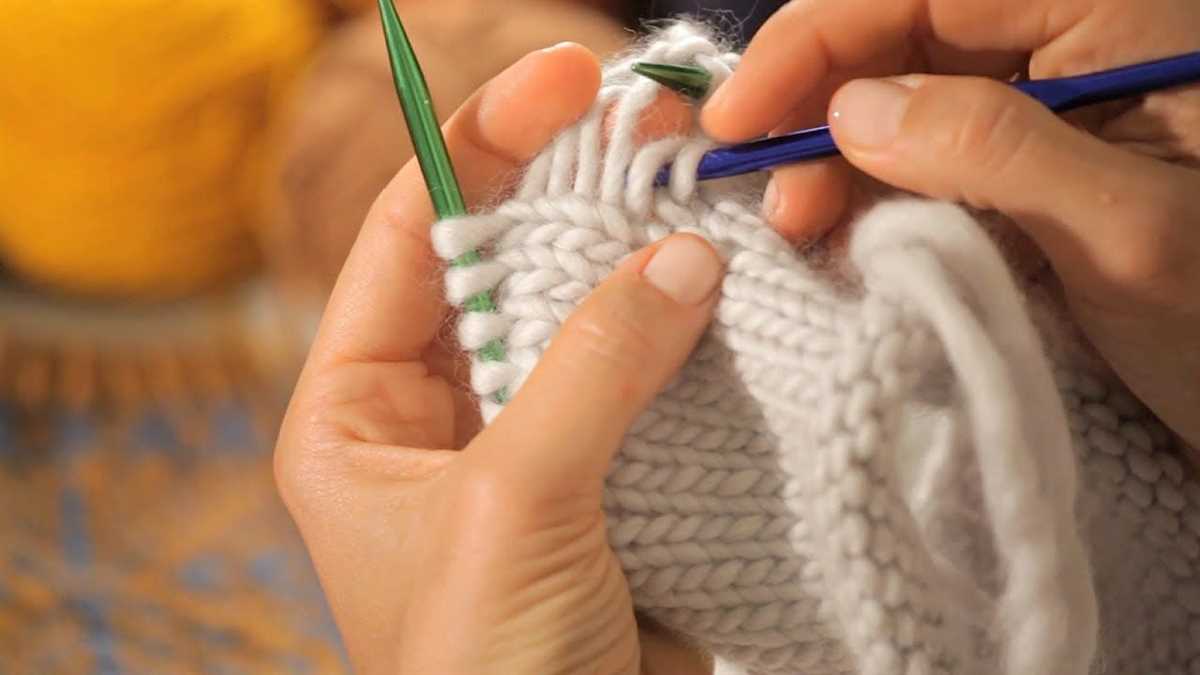
Dealing with jog and joining issues
When converting a circular knitting pattern to flat, one of the challenges you may encounter is dealing with jog and joining issues. The jog refers to the noticeable bump or step that occurs when transitioning from one round to another in circular knitting. This can become more pronounced when knitting flat as the pattern is now worked in rows instead of joined in the round.
To address the jog, there are a few techniques you can try. One option is to use a technique called “jogless stripes,” where you change colors in a way that minimizes the jog. This typically involves slipping the first stitch of the row to create a more seamless transition. Another technique is to use a decorative element like a button or a row of eyelets to distract from the jog and create visual interest.
Joining the edges of the knitting when working flat can also present challenges. One method is to join the edges using a technique called “mattress stitch.” This involves threading a yarn needle with a length of yarn and sewing the edges together in a nearly invisible manner. Another option is to add a decorative border or edging that can help conceal any joining issues and add a finished look to the project.
Overall, converting a circular knitting pattern to flat requires some problem-solving skills to address jog and joining issues. By experimenting with different techniques and being creative in your approaches, you can successfully adapt the pattern to suit your needs and achieve the desired result.
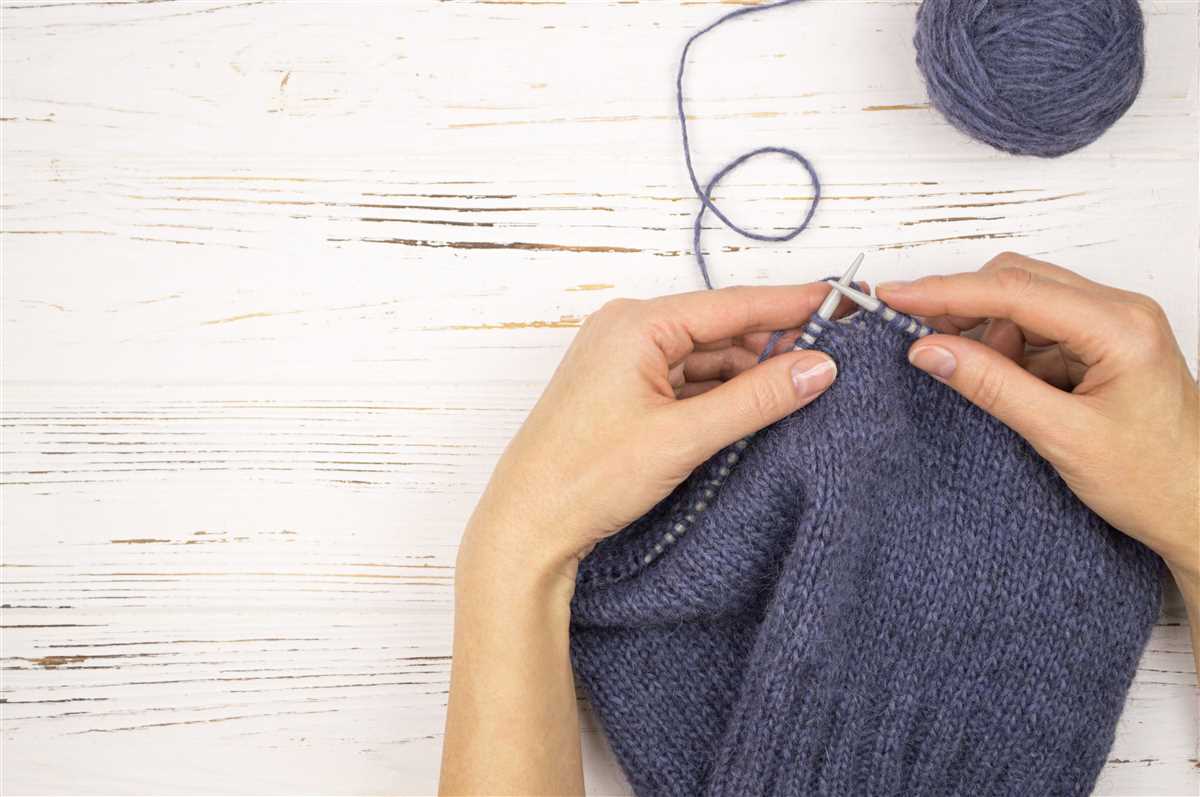
Altering the finishing and seaming techniques
When converting a circular knitting pattern to a flat one, it’s important to consider how the finishing and seaming techniques may need to be altered. In circular knitting, the stitches are worked in a continuous loop, resulting in a seamless garment. However, when knitting flat, you’ll need to create separate pieces that will eventually need to be joined together.
Finishing techniques: Instead of simply binding off the stitches at the end of a circular project, you’ll need to create a neat edge on each piece. This can be done by adding a selvedge edge to the sides of the flat knitting. A selvedge edge is typically created by slipping the first stitch of every row purlwise and knitting the last stitch. This helps prevent the edges from curling and provides a clean finish for seaming.
Seaming techniques: When it comes time to join the separate pieces of the flat knitting together, you’ll need to choose a seaming technique that works best for your project. Options include mattress stitch, which creates an invisible seam, or a visible seaming technique such as whip stitch or slip stitch. It’s important to carefully match the stitch pattern and gauge when seaming to ensure a professional-looking finish.
Overall, altering the finishing and seaming techniques is essential when converting a circular knitting pattern to flat. By adding selvedge edges and choosing the appropriate seaming technique, you can successfully transform a circular design into a flat one while maintaining the integrity of the stitch pattern and achieving a polished result.
Tips and tricks for successful conversion
Converting a circular knitting pattern to a flat one requires some careful planning and adjustments. Here are some tips and tricks to help you successfully convert your pattern:
1. Gauge is key
Before you start converting your pattern, make sure to knit a gauge swatch using the yarn and needle size specified in the original circular pattern. This will help you understand how the stitches and rows translate to a flat knitting. If your gauge is off, the measurements of your final project will be different from the original pattern, so it’s important to get it right.
2. Adjust stitch counts
In circular knitting, the number of stitches is typically divided evenly between four or more double-pointed needles or a circular needle. When converting to flat knitting, you’ll need to adjust the stitch counts to account for the removal of these extra needles. For example, if your circular pattern has 80 stitches divided evenly across four double-pointed needles, you’ll need to redistribute them to two straight needles, with 40 stitches on each.
3. Consider selvedge stitches
In circular knitting, there are no selvedge stitches because the work is continuous. When converting to flat knitting, you’ll need to add selvedge stitches to the sides of your work to create a clean edge. These selvedge stitches can be worked in a different stitch pattern or simply in stockinette stitch. Make sure to include these extra stitches in your stitch count calculations.
4. Pay attention to shaping
Circular knitting patterns often have shaping elements, such as increases or decreases, that create the desired shape of the project. When converting to flat knitting, you’ll need to adjust these shaping elements to work on the right-side rows only, as there won’t be any wrong-side rows. For example, if the pattern calls for a decrease on every other round, you’ll need to adjust it to work the decrease on every right-side row instead.
5. Use stitch markers
Stitch markers can be incredibly helpful when converting a circular knitting pattern to flat. They can help you keep track of stitch counts, especially when adjusting for shaping elements. Place stitch markers where you need to make adjustments or maintain a specific stitch pattern, and refer to them as you work through your flat knitting project.
- Gauge is key
- Adjust stitch counts
- Consider selvedge stitches
- Pay attention to shaping
- Use stitch markers
Now that you have learned how to convert circular knitting patterns to flat, let’s take a look at some project examples and tutorials to help you practice and deepen your understanding.
Project Examples:
- Scarf: Start with a simple scarf pattern that uses circular knitting and convert it to flat knitting. This will allow you to see the difference and practice the conversion process.
- Hat: Choose a hat pattern that is originally designed for circular knitting. Convert it to flat knitting and see how the construction changes. This project will give you a better understanding of shaping techniques.
- Sweater: Take a circular knitting sweater pattern and convert it to flat knitting. This project will require more advanced skills and understanding of garment construction. It will help you develop your ability to modify patterns to fit your needs.
Tutorials:
- Step-by-Step Guide: Follow a detailed tutorial that walks you through the process of converting a circular knitting pattern to flat knitting. This tutorial will provide clear instructions and examples to help you understand the conversion process.
- Video Tutorial: Watch a video tutorial where an experienced knitter demonstrates how to convert a circular knitting pattern to flat knitting. Seeing the process in action can be helpful for visual learners.
Remember that practice is key when learning a new skill. Start with smaller and simpler projects, and gradually move on to more complex ones. Don’t be afraid to make mistakes and experiment with different techniques. With time and practice, you will become more comfortable with converting circular knitting patterns to flat knitting.