
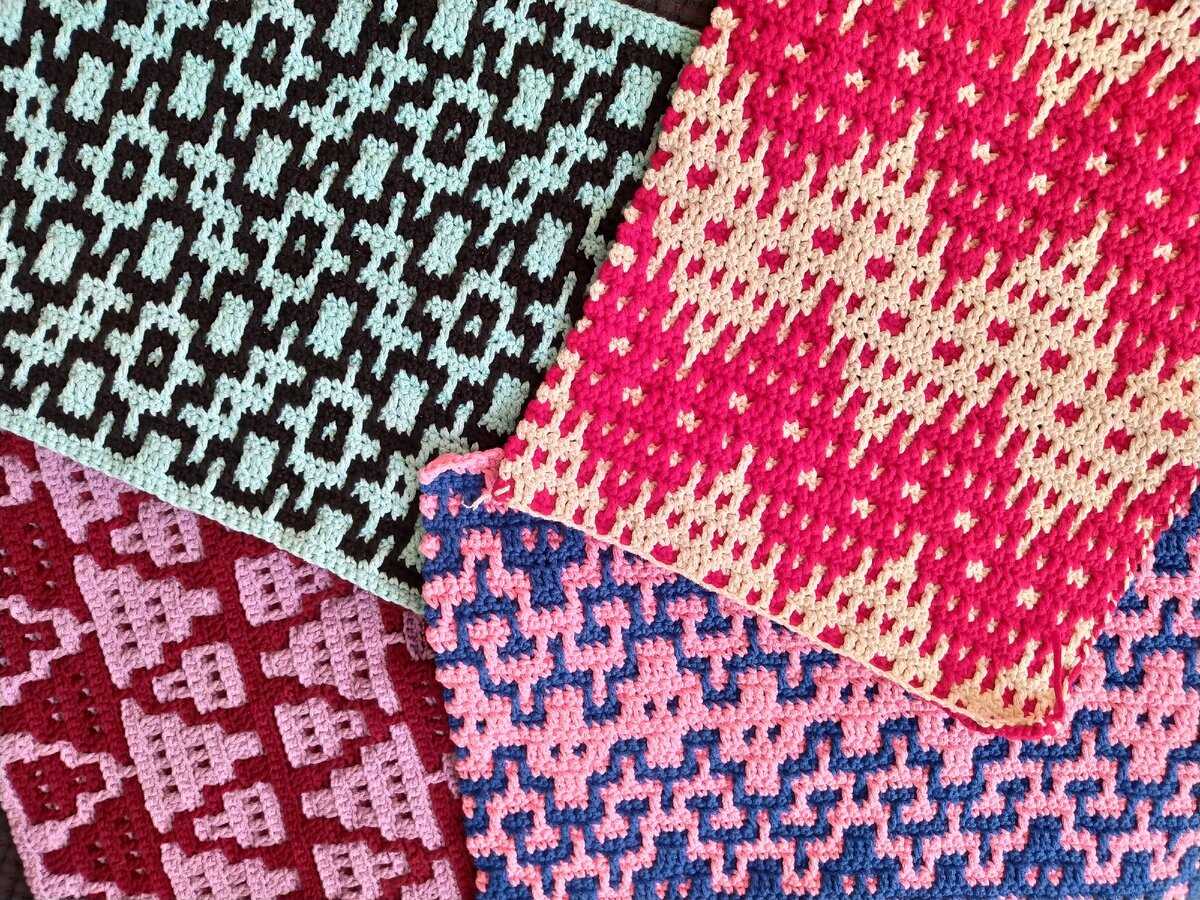
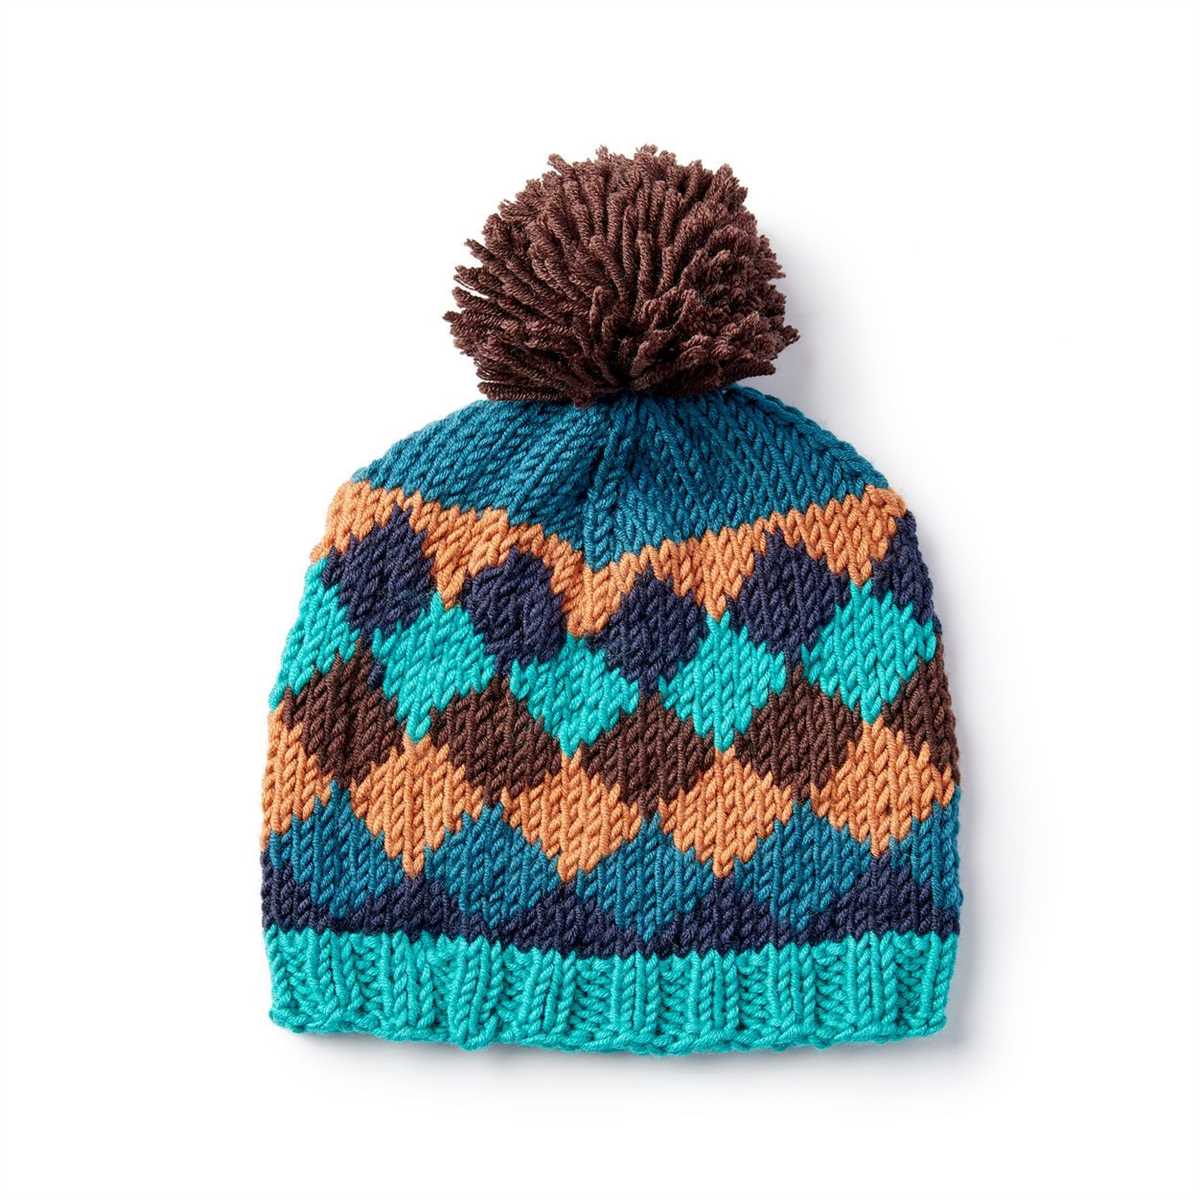
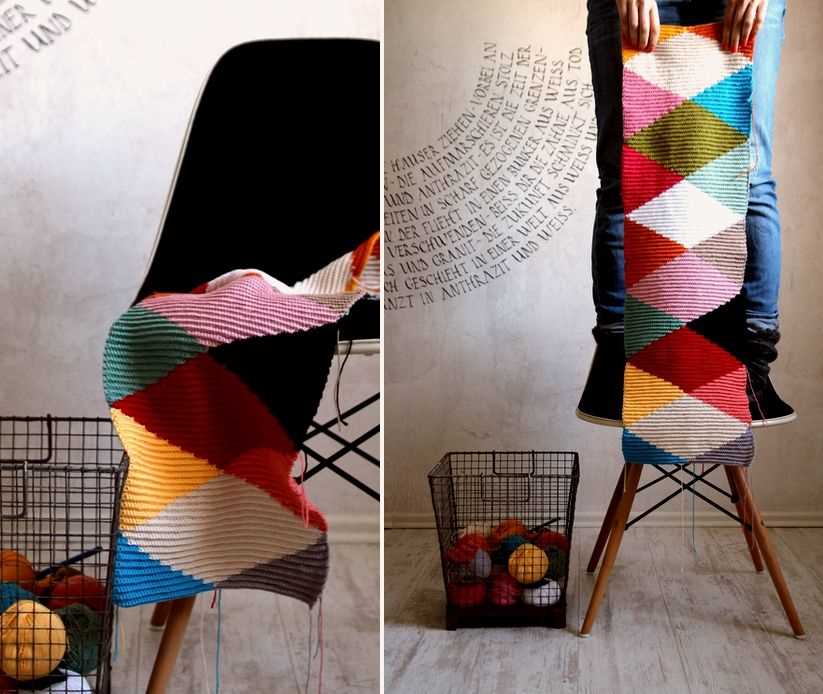
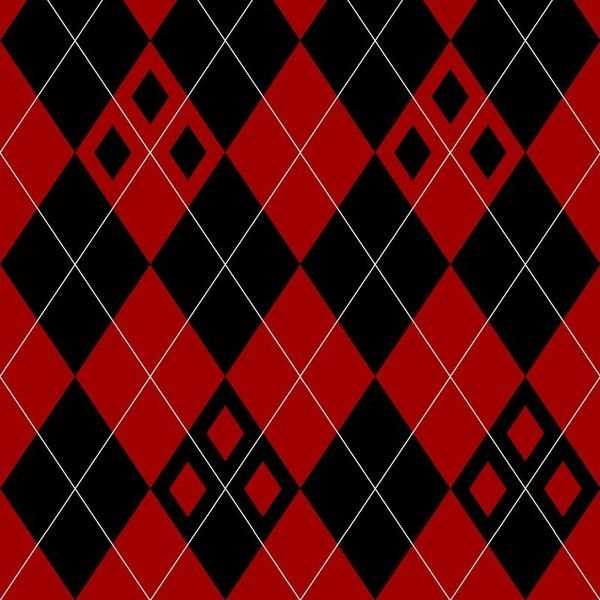
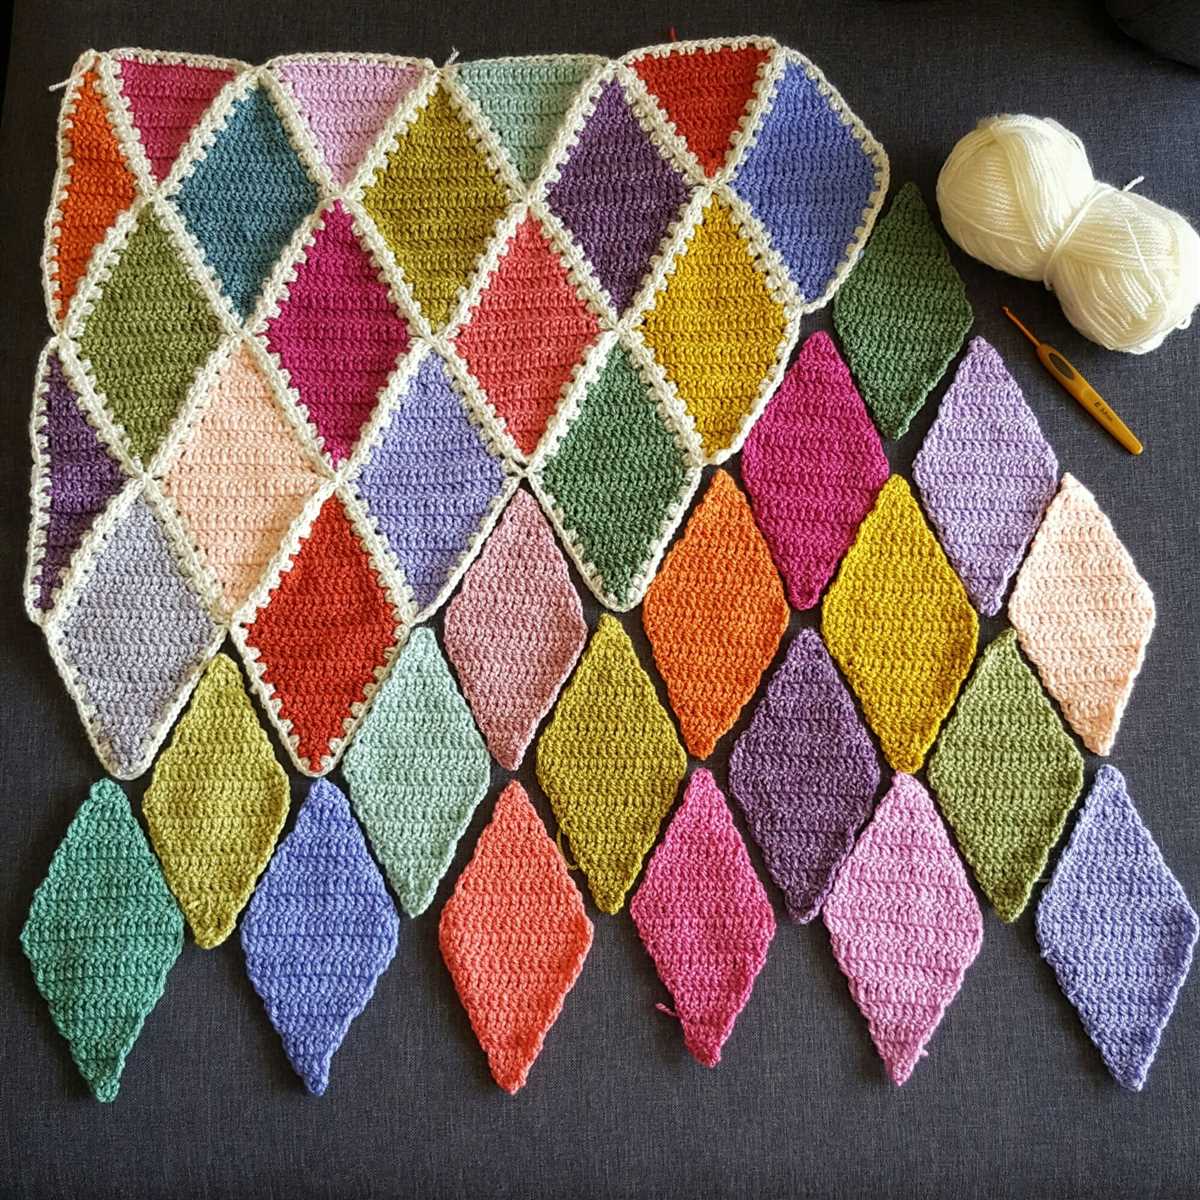
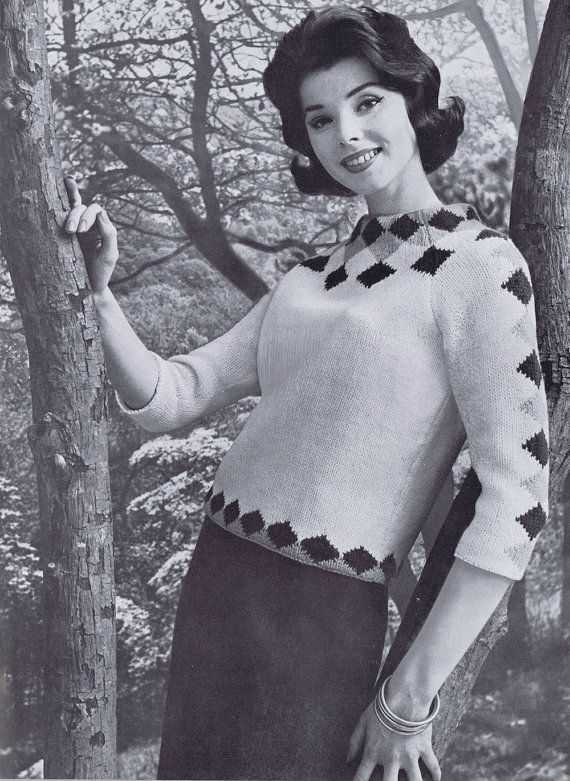
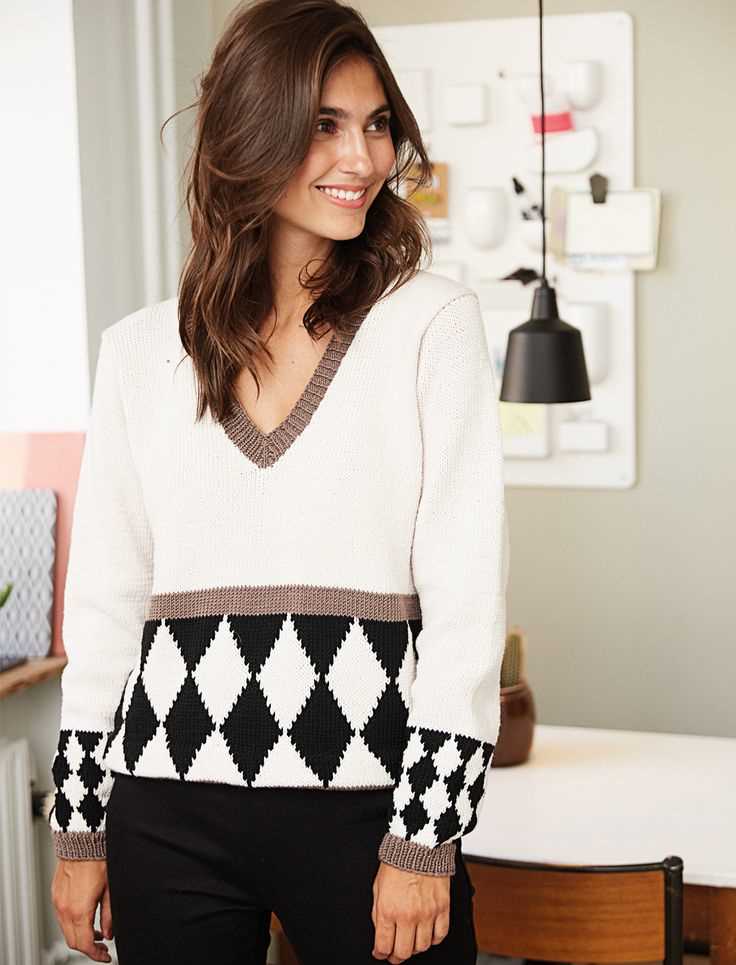
Knitting patterns have been around for centuries, with each pattern holding its own unique charm and aesthetic. One such pattern is the harlequin knitting pattern, inspired by the intricate costume of a harlequin, a comedic character from traditional Italian theater. The harlequin pattern is known for its geometric shapes and contrasting colors, creating a visually striking design that adds an element of whimsy to any knitted item.
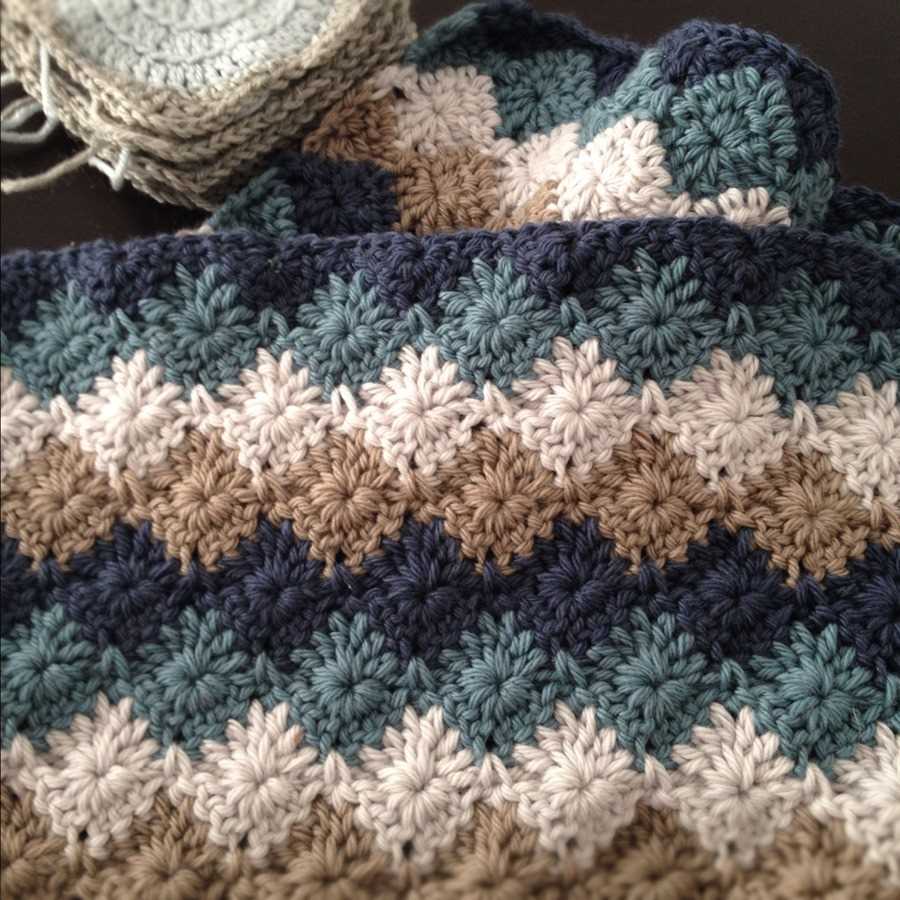
The harlequin knitting pattern is versatile and can be used to create a variety of items, from cozy blankets and scarves to stylish sweaters and socks. The pattern typically consists of alternating diamond shapes in different colors, allowing knitters to play with color combinations and express their creativity. Additionally, the repetitive nature of the pattern makes it ideal for beginner knitters, as it helps to build their confidence and develop their skills.
One of the reasons the harlequin pattern is so beloved by knitters is its ability to transform even the simplest of garments into something extraordinary. A plain knitted sweater can instantly become a statement piece with the addition of a harlequin design, breathing new life into an otherwise basic item. Whether using bold, vibrant colors or subtle, muted tones, the harlequin pattern adds a touch of whimsy and playfulness to any knitted item.
How to Knit a Harlequin Pattern
Knitting a harlequin pattern can add an interesting and vibrant touch to your knitting projects. This pattern is characterized by repeating diamond shapes, creating a striking geometric design. If you are interested in learning how to knit a harlequin pattern, follow these steps:
Materials Needed:
- Yarn in multiple colors
- Knitting needles
- Tapestry needle
- Scissors
- Knitting pattern or chart
Step 1: Choose Your Colors
Start by selecting the colors you want to use for your harlequin pattern. Traditionally, harlequin patterns use bright and contrasting colors to create a bold look. You can choose two or more colors depending on the size and complexity of your pattern.
Step 2: Cast On Stitches
Next, cast on the desired number of stitches for your project. The number of stitches will vary depending on the size and width of the harlequin pattern you wish to create. Make sure to leave enough space on your knitting needles to accommodate the width of your pattern.
Step 3: Create the Diamond Shapes
Follow the knitting pattern or chart you have chosen to create the diamond shapes. Generally, this involves alternating between knit and purl stitches to form the diamonds. Pay close attention to the colors and stitch combinations specified in the pattern to ensure you achieve the desired harlequin design.
Step 4: Continue Knitting
Continue knitting each row according to the pattern until you have completed the desired length or size of your project. Make sure to keep track of your stitches and colors to maintain the consistency of the harlequin pattern.
Step 5: Bind Off
Once you have reached the end of your project, bind off the stitches to secure your work. Use a tapestry needle to weave in any loose ends and trim off excess yarn.
With these steps, you can create a beautiful harlequin pattern in your knitting projects. Experiment with different color combinations and patterns to personalize your projects and add a touch of geometric flair!
Materials needed for Harlequin knitting pattern
Before you start knitting the Harlequin pattern, it is important to gather all the necessary materials. This will ensure that you have everything you need to complete the project without any interruptions. Here is a list of the materials you will need:
- Yarn: Choose a yarn that is suitable for the Harlequin pattern. It is recommended to use a medium-weight or light-weight yarn, depending on your preference. Make sure to select yarn in the desired colors for the pattern.
- Knitting needles: Use the appropriate size of knitting needles for the chosen yarn. The recommended needle size can usually be found on the yarn label.
- Tapestry needle: This needle will be used for weaving in ends and finishing off the project.
- Scissors: A pair of sharp scissors will be needed to cut the yarn.
- Stitch markers: These markers are helpful for keeping track of specific stitches or sections in the pattern.
- Measuring tape: A measuring tape is essential for checking gauge and measuring the dimensions of your knitted piece.
- Row counter: This can be a physical row counter or a digital one on your knitting app. It will help you keep track of the number of rows completed.
Once you have gathered all these materials, you will be well-prepared to begin knitting the Harlequin pattern. Take the time to organize your materials and ensure they are easily accessible during the knitting process. This will make the knitting experience more enjoyable and efficient.
Choose your colors

When it comes to knitting a Harlequin pattern, one of the most exciting aspects is choosing the colors for your project. The Harlequin pattern is known for its bold and vibrant colors that create a striking and eye-catching design.
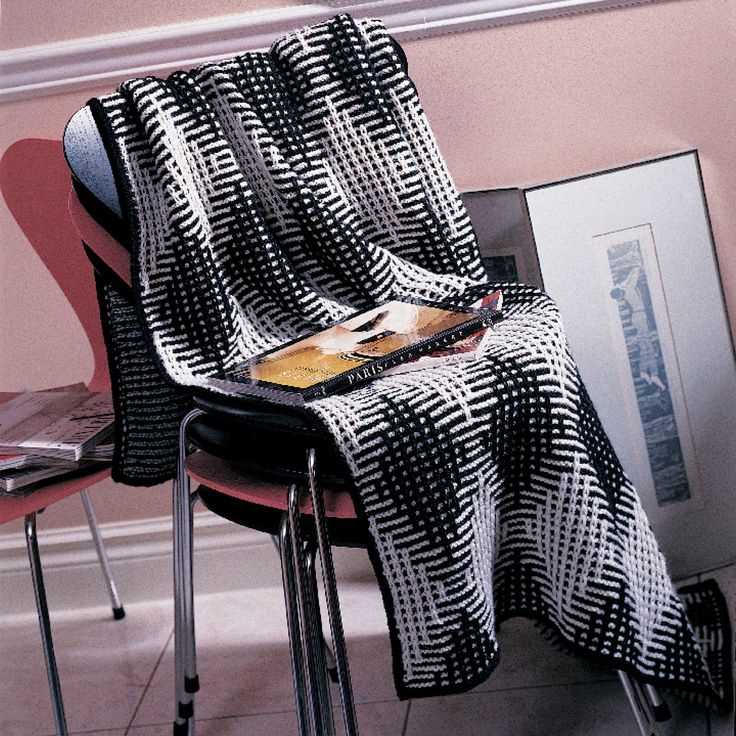
Whether you choose to use traditional Harlequin colors such as red, black, and white, or you prefer to experiment with your own unique color combinations, the choice is completely up to you. The key is to select colors that contrast well with each other, so that the diamond shapes of the pattern stand out.
To create a classic look, you can opt for a high-contrast color scheme, such as using black and white as your main colors, and adding pops of color in the diamond shapes. Alternatively, you can create a more subtle and modern interpretation by choosing muted or pastel shades for a softer effect.
When selecting your yarn, keep in mind the weight and texture of the yarn, as well as the intended purpose of your project. Consider whether you want a cozy and warm blanket, a lightweight and breathable garment, or a decorative accessory. Choose yarns that are easy to work with and will showcase the pattern well.
Remember, knitting a Harlequin pattern allows for endless creativity and expression. Let your imagination run wild as you experiment with different color combinations and create a unique piece that truly reflects your style and personality.
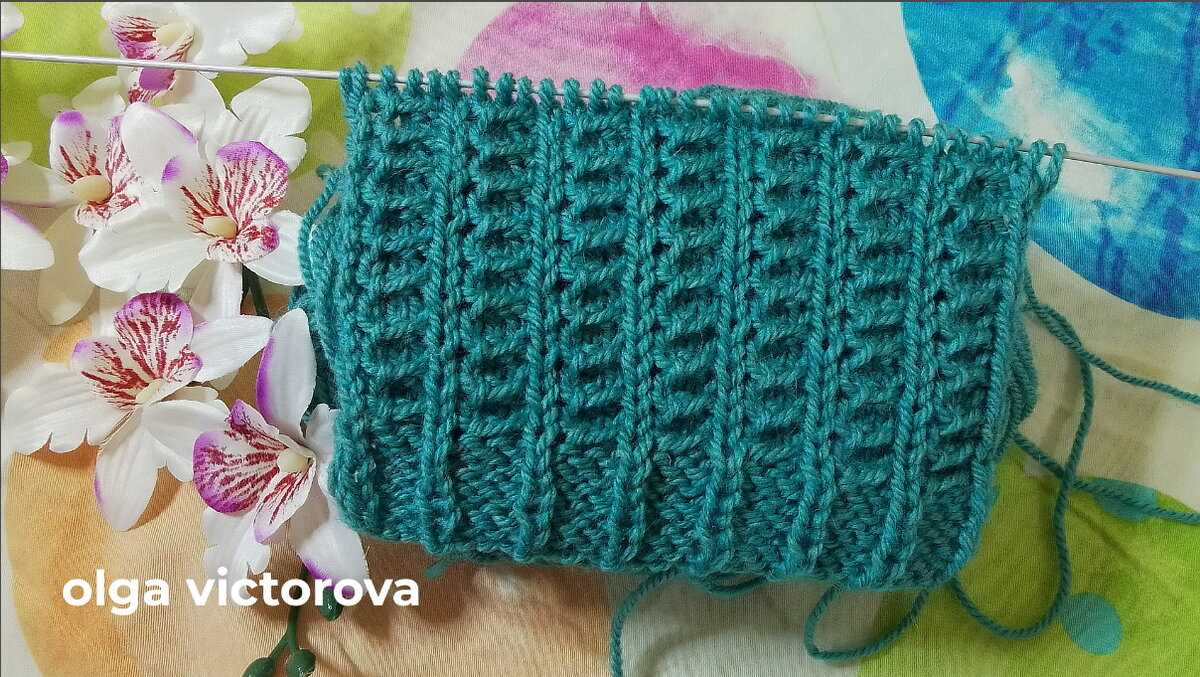
Start with a base pattern
If you want to create your own Harlequin knitting pattern, it’s important to start with a base pattern. This will serve as the foundation for your design and will help you to easily incorporate the diamond-shaped motifs that are characteristic of the Harlequin pattern. You can choose any base pattern that you like, such as a basic stockinette stitch or a simple ribbing pattern.
Once you have chosen your base pattern, you can begin adding the diamond motifs. These motifs are created by alternating colors in a specific arrangement, forming a diamond shape. You can use two different colors to create a classic Harlequin look, or you can get creative and use multiple colors for a more unique design.
To create the diamond motifs, you will need to follow a specific chart or pattern. This chart will indicate which stitches to knit or purl and which colors to use. You can find Harlequin knitting charts online or in knitting pattern books. Once you have the chart, you can follow it row by row to create the diamond motifs on your base pattern.
As you work on your Harlequin knitting pattern, it’s important to pay attention to your tension. Because the diamond motifs involve color changes and different stitch patterns, it can be easy for your tension to become uneven. Make sure to keep your tension consistent throughout the entire project to ensure that your stitches are even and your pattern looks crisp and well-defined.
Once you have completed your Harlequin knitting pattern, you can use it to create a variety of different projects. Whether you want to make a cozy sweater, a stylish scarf, or a beautiful blanket, the Harlequin pattern will add a touch of whimsy and uniqueness to your finished piece. Enjoy the process of creating your own Harlequin pattern and have fun experimenting with colors and designs!
Begin the colorwork
Once you have completed the ribbing and are ready to start the colorwork pattern, you will need to gather your supplies. Make sure you have all the necessary colors of yarn and the correct size of knitting needles. It is also helpful to have a row counter or a pen and paper to keep track of your progress.
Before you begin the colorwork, it is important to understand the chart or pattern you will be following. Take some time to study it and familiarize yourself with the symbols or instructions. This will help you avoid mistakes and make the knitting process smoother.
When starting the colorwork, you will typically begin with a right-side row. This means that you will be working the pattern from right to left. If you are using a chart, you will read the chart from right to left as well. Pay attention to any special instructions for the first row, such as increasing or decreasing stitches.
As you work the colorwork pattern, be sure to carry the unused colors along the back of the work. This will prevent long floats and help maintain an even tension. Some knitters find it helpful to use a finger or two to control the tension as they switch between colors.
Continue working the colorwork pattern row by row, following the chart or pattern instructions. Take breaks as needed, but try to maintain a consistent tension throughout the project. As you become more comfortable with the colorwork technique, you may find that your speed and efficiency increase.
Follow the chart
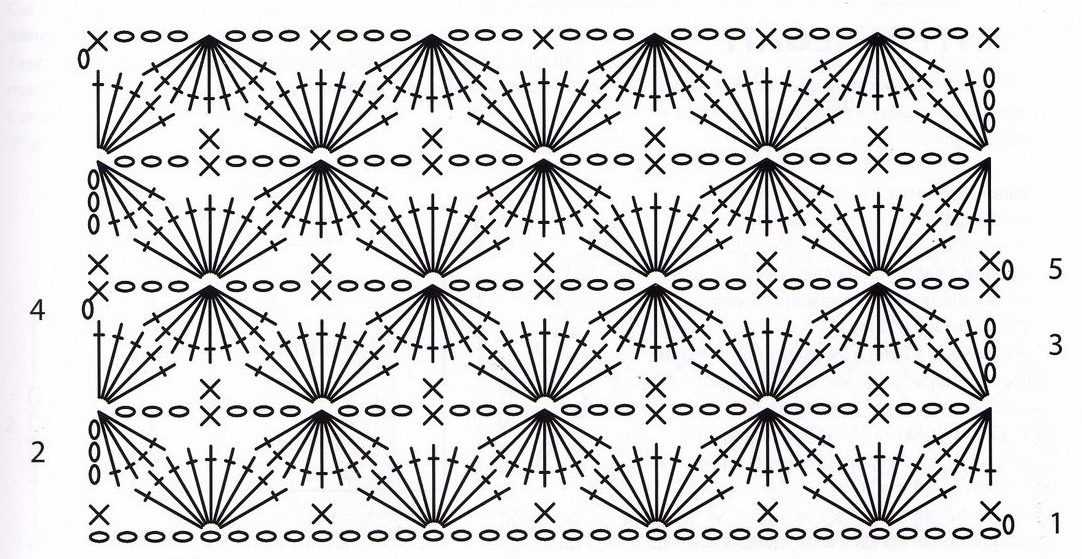
When knitting a Harlequin pattern, it is important to carefully follow the chart provided. The chart acts as a visual guide, showing you how to create the unique diamond pattern that is characteristic of the Harlequin design. Each symbol on the chart represents a specific stitch or color, and by following the chart, you can create a beautifully intricate pattern.
Start at the bottom: Begin knitting the chart from the bottom right corner and work your way up row by row. Make sure to read the chart from right to left, as this is the direction that you will be knitting. The first row on the chart represents the first row of your knitting project.
Read the symbols: The chart will use symbols to represent different stitches and colors. Take the time to familiarize yourself with these symbols before you start knitting. Each symbol will have a corresponding key or legend that explains what stitch or color it represents. By referring to this key while you knit, you can easily follow the chart and create the correct pattern.
- Colored squares: Colored squares on the chart indicate what color yarn to use for that particular stitch. Match the color on the chart to the corresponding color in your yarn stash or choose your own color scheme to create a unique Harlequin design.
- Symbols: Symbols on the chart represent different stitches. Common symbols include knit stitches, purl stitches, yarn overs, and decreases. Make sure to knit or purl according to the symbol on the chart to create the correct pattern.
Keep track of your progress: As you work through the chart, it can be helpful to use a row counter or pencil to mark off each row as you complete it. This will help you keep track of where you are in the pattern and prevent mistakes. Once you finish a row, move up to the next row on the chart and continue knitting.
By following the chart carefully and paying attention to the symbols and colors, you can create a stunning Harlequin pattern. Don’t be afraid to experiment and make the design your own by choosing different colors or adding your own embellishments. With a little practice, you’ll be able to master the Harlequin knitting pattern and create beautiful projects.
Tips for knitting a Harlequin pattern
If you’re interested in knitting a Harlequin pattern, here are some tips to help you get started. The Harlequin pattern is a classic design that features diamond shapes in contrasting colors. It’s a versatile pattern that can be used for a variety of projects, from scarves to blankets.
Choose your colors wisely
One of the key elements of the Harlequin pattern is the use of contrasting colors. When choosing your colors, make sure they have a strong contrast to ensure that the diamond shapes stand out. You can choose bold, high-contrast colors for a dramatic effect, or opt for more subtle shades for a softer look.
Use a stitch marker
Keeping track of your rows and stitches is important when knitting any pattern, but it’s especially crucial for a Harlequin pattern. To make it easier to keep count, use a stitch marker to mark the beginning or end of each diamond. This will help you stay on track and ensure that your pattern remains consistent throughout your project.
Swatch before you start
Before diving into your project, it’s always a good idea to knit a swatch to test out your tension and gauge. This is particularly important for the Harlequin pattern, as the diamond shapes require precise stitch count and tension to create a symmetrical design. By knitting a swatch, you can make any necessary adjustments to your needle size or tension to achieve the desired result.
Follow a chart or written instructions
There are various ways to follow a Harlequin pattern, whether through a chart or written instructions. Whichever method you prefer, make sure to follow the pattern carefully and double-check your work as you go. Pay attention to any color changes or stitch variations to ensure that your diamond shapes are crisp and evenly spaced.
With these tips in mind, you’re ready to start knitting your Harlequin pattern. Enjoy the process and get creative with your color choices to make a stunning finished piece!
Use slip stitches
Slip stitches are an important technique in the Harlequin knitting pattern. They are used to create the colorwork design by “slipping” stitches from one needle to another without working them. This allows you to carry the yarn across the back of the work, creating float stitches that show through on the right side of the fabric.
To use slip stitches, you will need two or more colors of yarn. Begin by knitting or purling the first few stitches in the main color. Then, bring the contrasting color yarn to the front of the work and slip the next stitch purlwise from the left needle to the right needle without working it. Return the contrasting color yarn to the back of the work and continue knitting or purling with the main color.
Tip: When slipping stitches, be sure to keep the tension loose. If you pull the yarn too tight, it can cause the fabric to pucker and distort the colorwork design.
You can use slip stitches to create various patterns and designs in the Harlequin knitting pattern. One common approach is to create diagonal lines or diamonds by slipping stitches in a specific pattern. For example, you can slip every other stitch in a row to the right and then slip them back to the left on the next row. This creates a diagonal line across the fabric.
Remember: Slip stitches are a great way to add color and texture to your knitting projects. Experiment with different color combinations and patterns to create your own unique designs.
Block your finished project
Once you have completed your Harlequin knitting pattern project, it is important to block it to enhance its finished appearance. Blocking involves gently shaping and stretching your knitted piece to ensure it has a smooth and even finish.
Why block your project? Blocking your finished project helps to even out any irregularities in your stitches, improves stitch definition, and helps the piece lay flat. It can also make your knitting look more professional and polished.
How to block your project: To begin, you will need some blocking tools such as blocking mats, T-pins or blocking wires, and a spray bottle filled with water or a blocking solution. Lay your project flat on the blocking mats, ensuring it is the correct shape and size. Use T-pins or blocking wires to secure the edges and corners in place, taking care not to stretch the fabric too much. Lightly spritz the project with water or blocking solution, being careful not to oversaturate. Allow the project to dry completely before unpinning.
Blocking your Harlequin knitting pattern project is an essential step in achieving a professional and finished look. It may seem like an extra step, but the results are well worth the effort. So take the time to block your project and enjoy the beautifully enhanced final product.
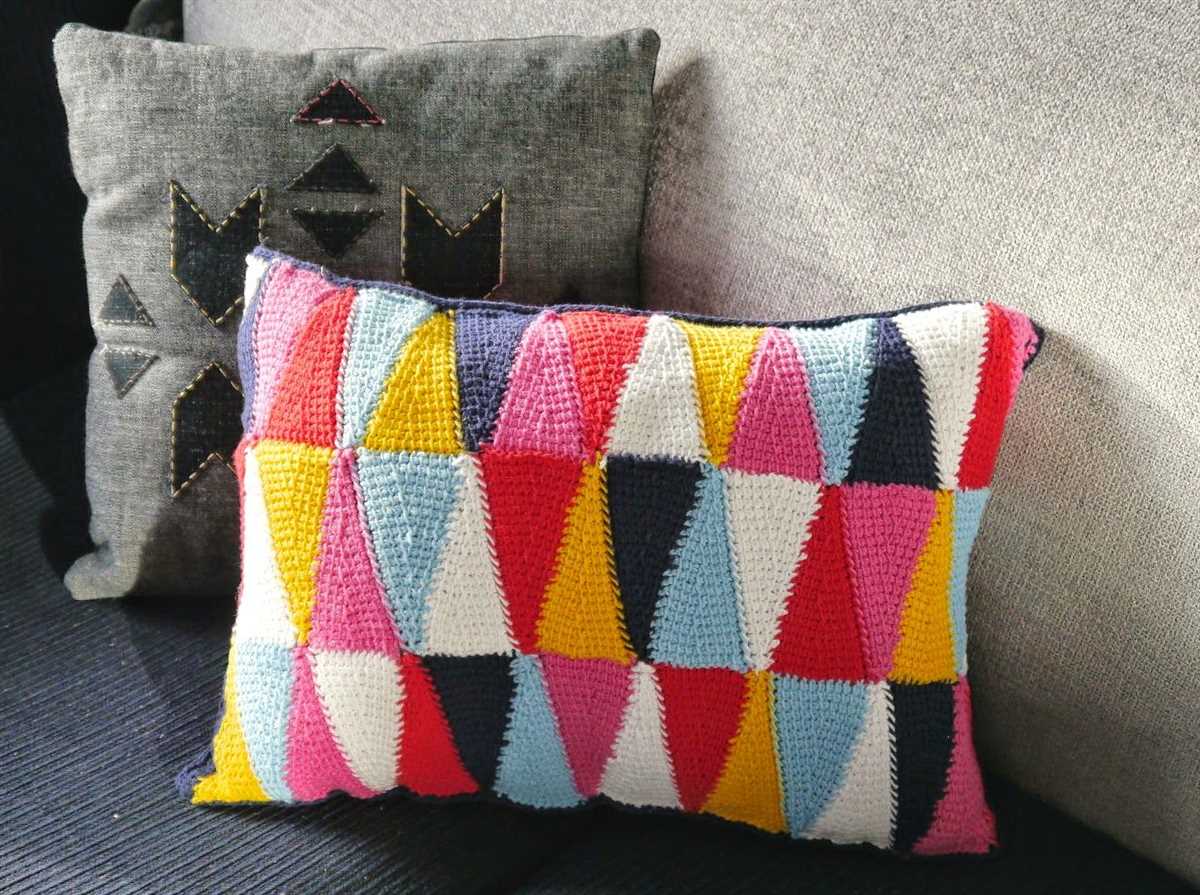
Experiment with different color combinations
When it comes to knitting with the Harlequin pattern, one of the most fun aspects is experimenting with different color combinations. This pattern allows for endless creativity as you mix and match colors to create unique and vibrant designs. Whether you prefer bold and contrasting colors or subtle and harmonious shades, the Harlequin pattern can be adapted to suit your personal style.
One popular approach is to use complementary colors for a striking effect. Complementary colors are opposite each other on the color wheel, such as blue and orange or red and green. Knitting with these color pairings can create a visually stunning result, with each color enhancing the vibrancy of the other. This bold approach works especially well when using a solid color for the background and a contrasting color for the diamond shapes in the Harlequin pattern.
Monochromatic color schemes
For a more subtle and sophisticated look, consider using a monochromatic color scheme. Monochromatic colors are different shades of the same hue, such as light and dark blue or pale and deep pink. This approach creates a harmonious effect, where the colors blend seamlessly together. It is a great choice for those who prefer a more understated and elegant design. Experiment with different shades and intensities within a single color family to create depth and dimension in your Harlequin pattern.
Another option is to use an analogous color scheme, where you choose colors that are next to each other on the color wheel, such as blue and green or red and orange. This creates a soothing and cohesive look, with colors that naturally complement each other. You can play around with different shades and tones within the same color group to add interest and variation to your Harlequin knitting.
Conclusion
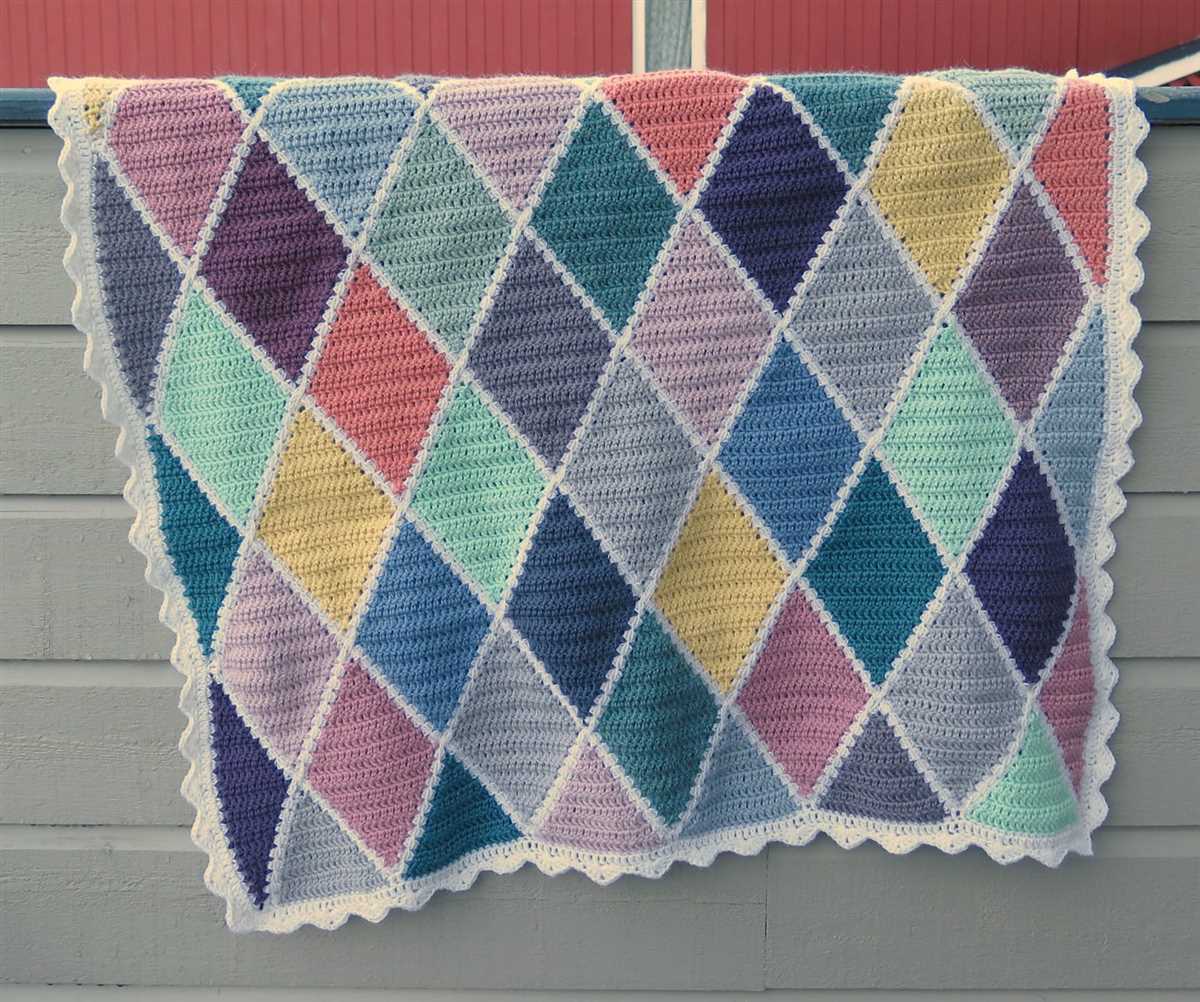
In conclusion, the Harlequin baby blanket pattern is a beautiful and intricate design that combines different colors and stitches to create a stunning finished product. Whether you are an experienced knitter or a beginner, this pattern can be enjoyed by all.
By following the instructions and using the recommended yarn and needle size, you can create a cozy and stylish blanket that is perfect for keeping warm or as a gift for a loved one. The harlequin pattern adds a touch of whimsy and charm to any nursery or living room.
Remember to take your time and enjoy the process of knitting. This pattern allows for creativity and personalization, so feel free to experiment with different color combinations and sizes to make it your own. With a little practice, you’ll be able to master this pattern and create beautiful Harlequin baby blankets for years to come.
Q&A:
What is a Harlequin knitting pattern?
A Harlequin knitting pattern is a type of pattern that creates a diamond-shaped motif with different colored sections. The pattern gets its name from the diamond pattern often associated with the costume of a harlequin character in traditional Italian theater.
How do you create a Harlequin knitting pattern?
To create a Harlequin knitting pattern, you will need to alternate between two or more colors of yarn. Typically, you would work a few rows or rounds in one color, then switch to the next color, creating a diamond shape. The specific instructions for creating the pattern will depend on the knitting project or pattern you are following.
What types of projects can you use a Harlequin knitting pattern for?
A Harlequin knitting pattern can be used for a variety of projects, including scarves, hats, sweaters, and blankets. The diamond motif created by the pattern adds visual interest and can be customized with different color combinations to suit your personal style.
Are there variations of the Harlequin knitting pattern?
Yes, there are variations of the Harlequin knitting pattern. Some variations may use different shaping techniques or incorporate additional stitch patterns within the diamond motif. These variations allow for even more creativity and customization in your knitting projects.
Can beginners try knitting with a Harlequin pattern?
While knitting with a Harlequin pattern may require some experience with basic knitting techniques, it is still achievable for beginners. The pattern itself is relatively simple, typically involving a combination of knit and purl stitches. Starting with small projects like a scarf or a hat can be a great way for beginners to practice and master the Harlequin knitting pattern.