
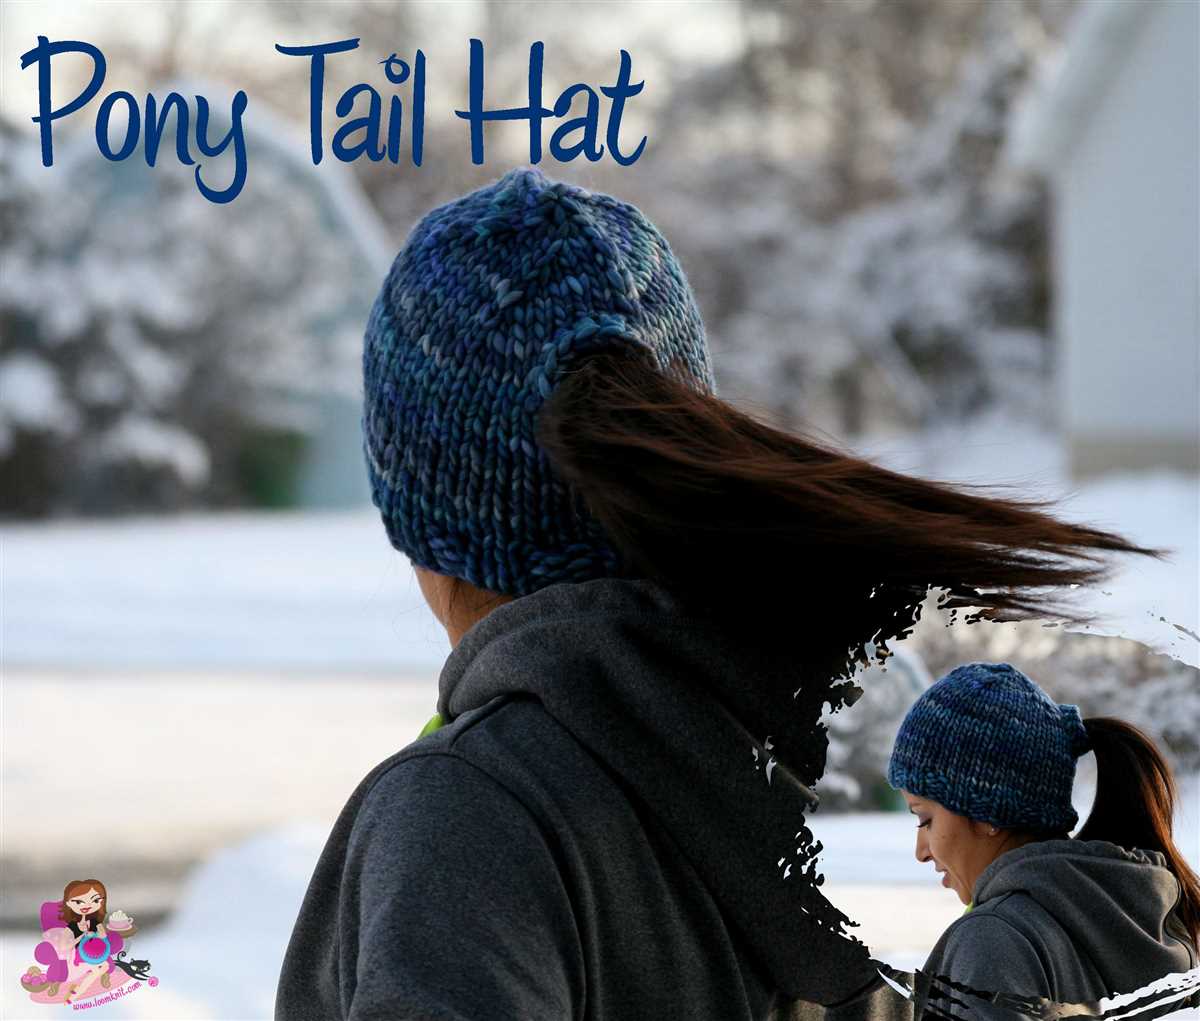
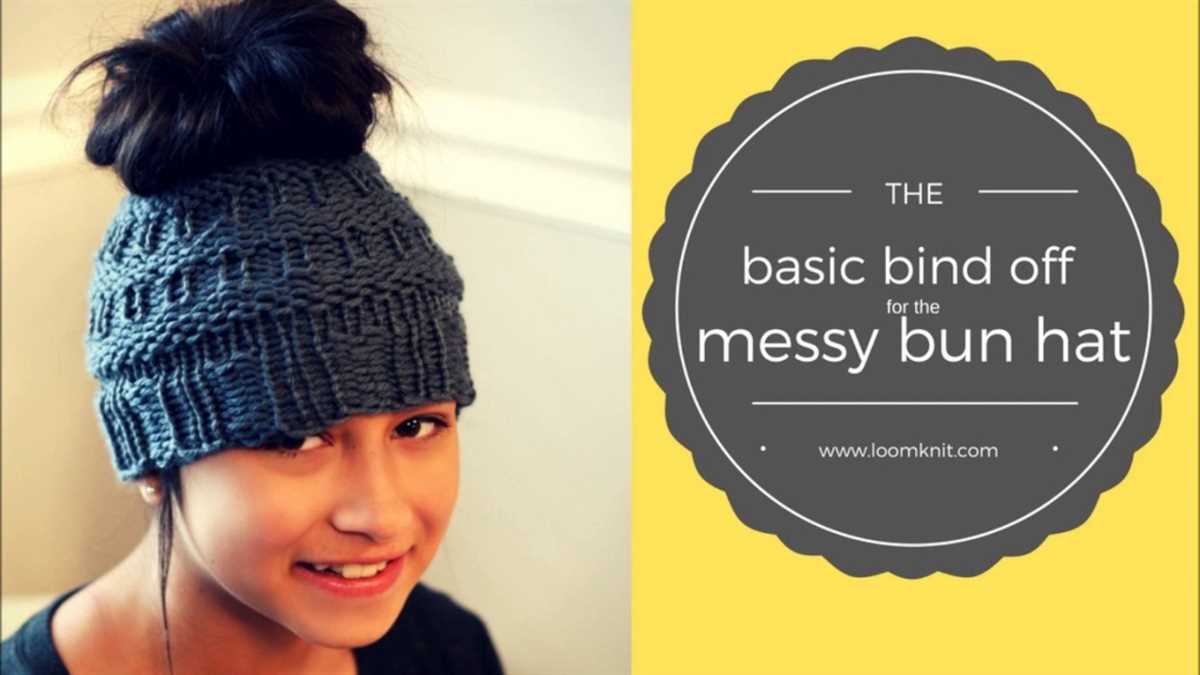
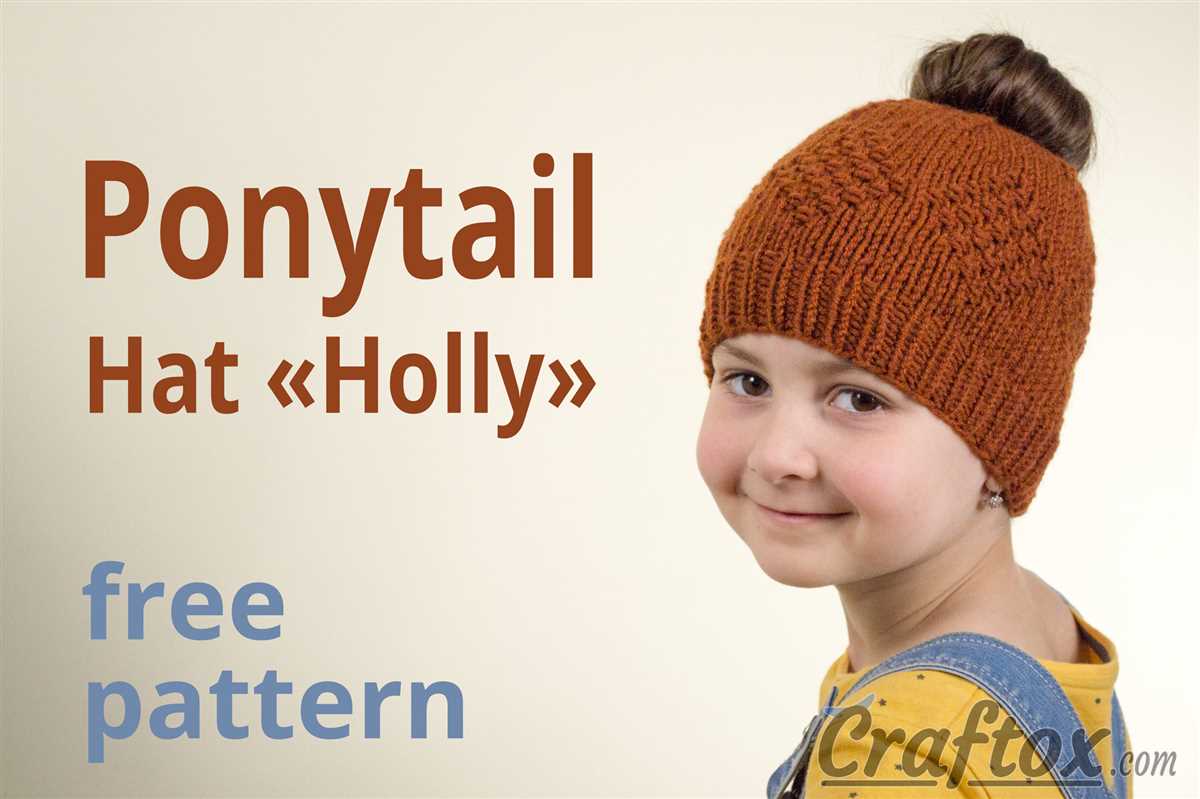
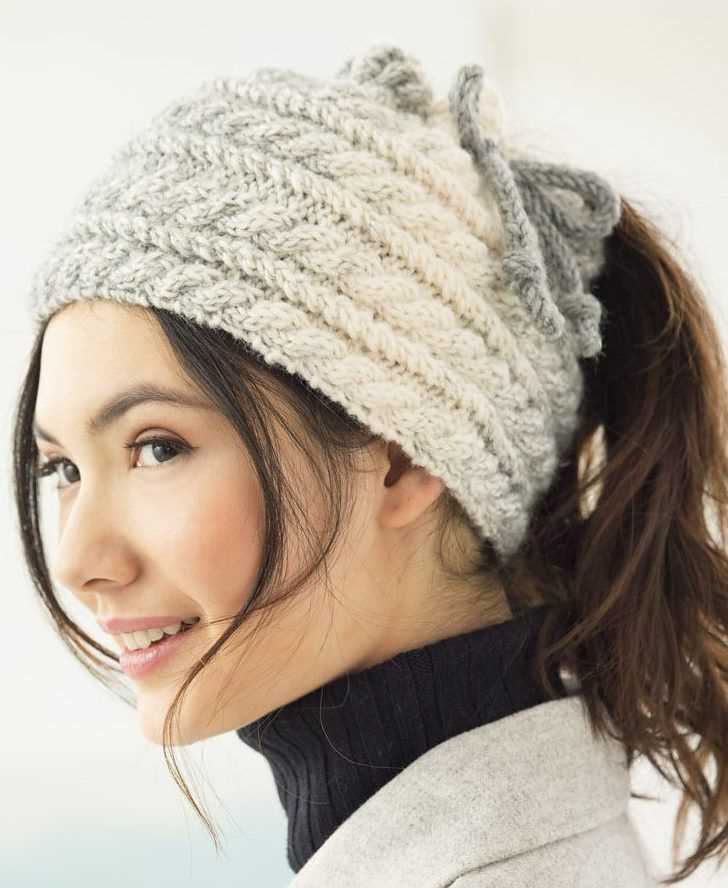
If you have long hair and love to wear ponytails but find it difficult to wear a hat, we have the perfect solution for you! Introducing our free ponytail knit hat pattern. This pattern is specifically designed to accommodate your ponytail while still keeping your head warm and cozy during those chilly winter days.
Our ponytail knit hat pattern is suitable for knitters of all skill levels. Whether you’re a beginner or an advanced knitter, you’ll find this pattern easy to follow and achieve great results. Plus, it’s a quick and fun project to work on, making it a perfect last-minute gift idea or a weekend knitting project.
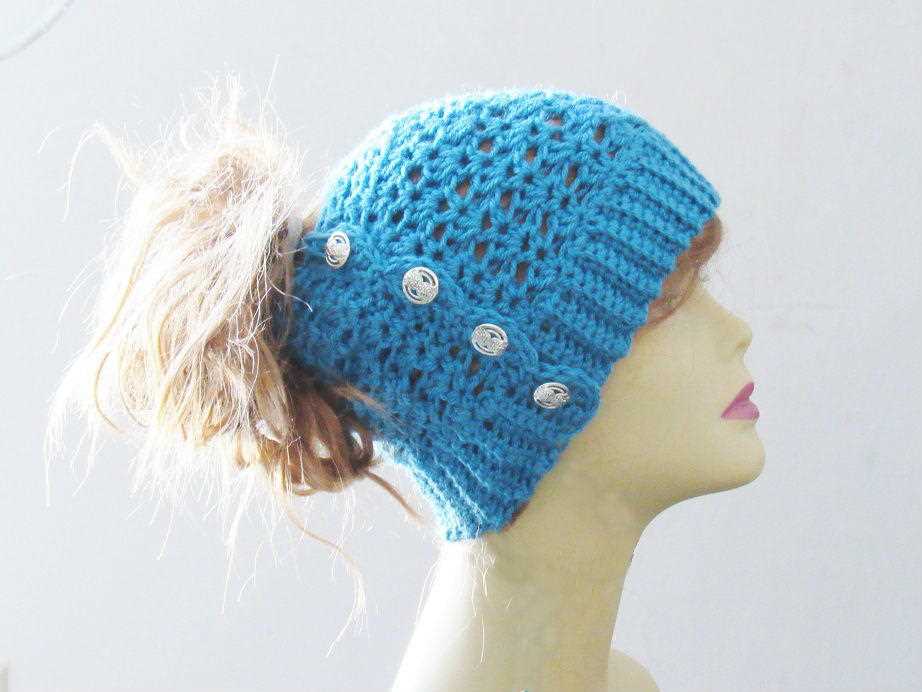
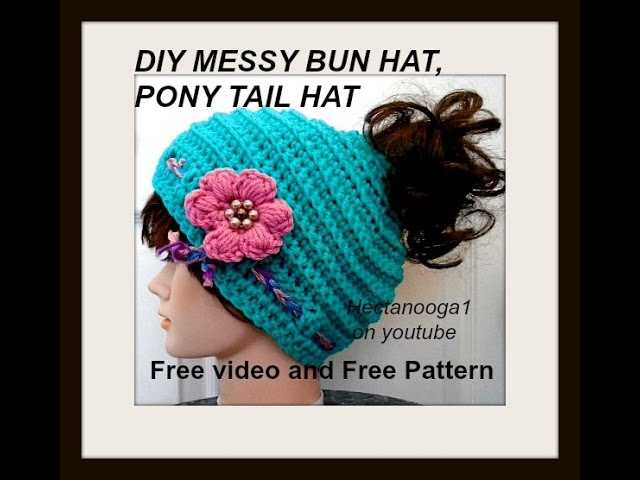
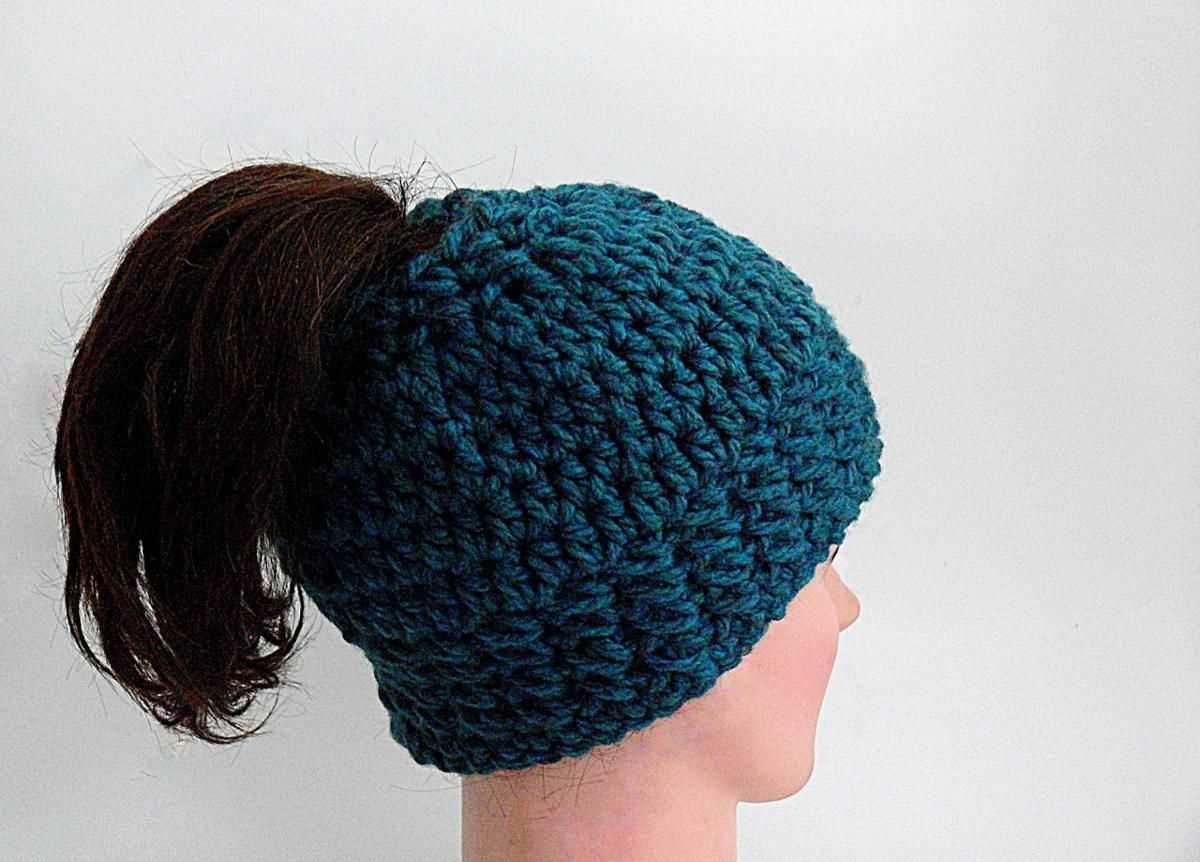
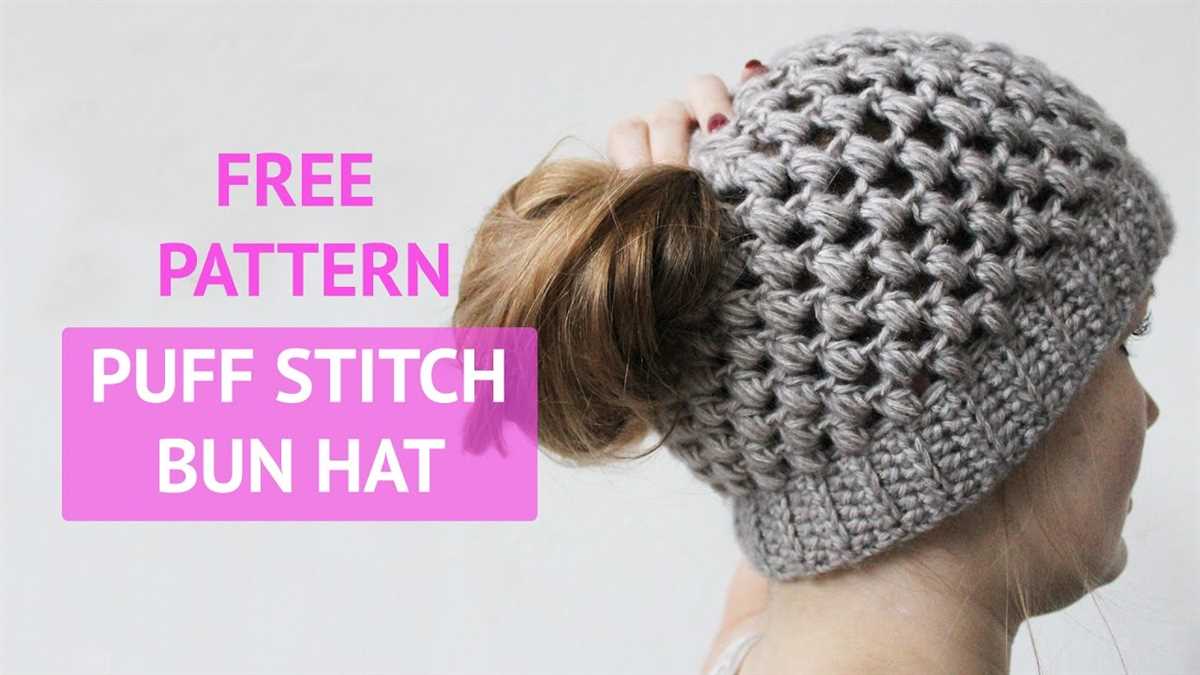
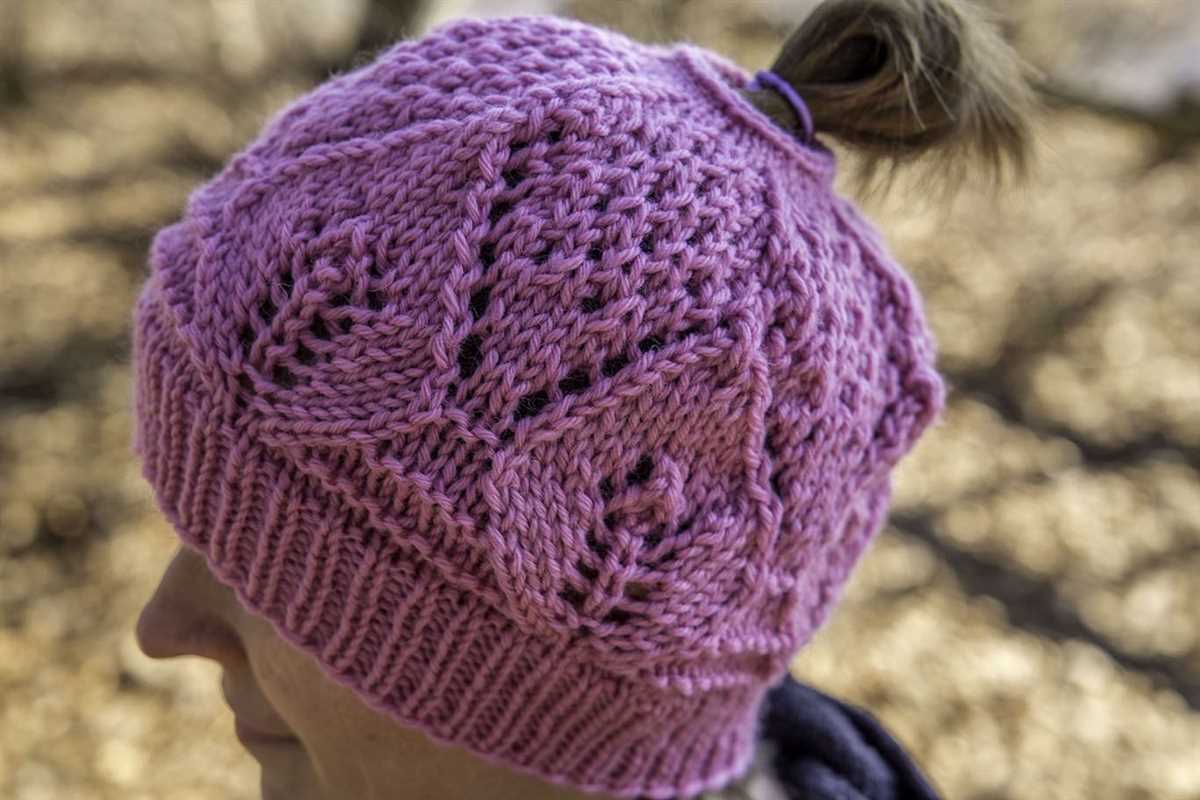
The design of our ponytail knit hat features a special opening at the crown, allowing you to comfortably pull your ponytail through. The hat is stretchy and stays in place, so you don’t have to worry about it slipping off or being uncomfortable. And with a variety of yarn options available, you can customize the hat to match your style and preferences.
Free Ponytail Knit Hat Pattern
Are you tired of trying to fit your ponytail through a regular knit hat? Look no further! This free ponytail knit hat pattern is the solution to your problem. With this pattern, you can create a stylish and functional hat that allows you to keep your ponytail intact while staying warm.
This pattern is perfect for those who love to wear their hair in a ponytail but still want to stay cozy during the colder months. The design features a convenient opening at the top of the hat that allows you to pull your ponytail through, eliminating the need to choose between warmth and style.
The pattern itself is straightforward and beginner-friendly, making it accessible to knitters of all skill levels. The instructions include step-by-step directions and helpful tips to guide you through the knitting process and ensure successful results.
Materials Needed:
- Worsted weight yarn
- Size 8 circular knitting needles
- Size 8 double-pointed knitting needles
- Stitch markers
- Tapestry needle
Instructions:
- Cast on 88 stitches with circular needles.
- Join in the round, being careful not to twist the stitches.
- Knit 2, purl 2 ribbing for 2 inches.
- Switch to stockinette stitch and continue knitting until the hat measures 8 inches from the cast-on edge.
- Begin decreasing: *Knit 6, knit 2 together* repeat to the end of the round.
- Next round: Knit.
- *Knit 5, knit 2 together* repeat to the end of the round.
- Next round: Knit.
- Continue decreasing in this manner until 8 stitches remain.
- Switch to double-pointed needles and knit all stitches for 3 rounds.
- Bind off and weave in any loose ends.
Once you’ve finished knitting the hat, you’ll have a cozy and stylish accessory that is perfect for keeping your ponytail in place while staying warm. Whether you’re heading out for a winter walk or simply running errands, this ponytail knit hat is sure to become a favorite go-to accessory. Grab your yarn and needles and start knitting this free pattern today!
Materials and Supplies
When it comes to knitting a ponytail hat, you’ll need a few specific materials and supplies to get started. Here’s a list of what you’ll need:
- Yarn: You’ll need a medium-weight yarn, also known as worsted weight or category 4 yarn, in your preferred color. Make sure to choose a yarn that is soft and comfortable to wear.
- Knitting Needles: You’ll need a set of circular knitting needles in size US 8 (5 mm) or a size that gives you the correct gauge. Circular needles are ideal for knitting hats, as they allow you to easily knit in the round.
- Stitch Markers: Stitch markers are essential for keeping track of your stitches and marking important sections of your work. You’ll need at least two stitch markers for this pattern.
- Tapestry Needle: A tapestry needle, also known as a yarn needle, is used for weaving in loose ends and sewing up any seams. Make sure to choose a needle with a large eye that can easily accommodate your yarn.
- Scissors: A pair of scissors is necessary for cutting your yarn and trimming any excess. Choose a pair of sharp, durable scissors that can easily cut through your yarn.
Now that you have all the necessary materials and supplies, you’re ready to start knitting your ponytail hat. Make sure to check the gauge and follow the pattern instructions carefully to ensure a successful outcome. Happy knitting!
Selecting the Right Yarn
Choosing the right yarn is an important step when making a ponytail knit hat. The type of yarn you select will not only determine the overall look and feel of the hat, but it will also affect how warm and durable it is. Here are some factors to consider when selecting yarn for your project:
Fiber Content:
The fiber content of the yarn will play a big role in the functionality and aesthetics of the hat. Wool yarns are often a popular choice for knit hats because they are warm, soft, and provide good insulation. Acrylic yarns, on the other hand, are a more affordable option and they are often machine washable, making them easier to care for. You can also choose blends of different fibers, such as wool and acrylic, to get the best of both worlds.
Weight:
The weight of the yarn refers to its thickness. This will determine the size of the stitches and the overall look of the hat. For a ponytail knit hat, you will want to choose a medium weight yarn (also known as worsted weight) to ensure that the hat is warm enough but not too bulky. Other options like bulky or sport weight yarns may be too thick or thin for the desired look.
Color:
Consider the color of the yarn when selecting materials for your ponytail knit hat. It’s important to choose a color that complements the recipient’s style and preferences, as well as their wardrobe. You can go for neutral colors like black, gray, or brown for a versatile and classic look, or opt for bright and vibrant colors to add some personality and fun to the hat.
Texture:
The texture of the yarn can also add interest and dimension to your ponytail knit hat. Smooth and even-textured yarns will result in a more polished and sleek look, while yarns with texture, such as boucle or variegated yarns, can create a more unique and visually appealing hat. Keep in mind that textured yarns may require more advanced knitting techniques or may be more challenging to work with, so consider your skill level before selecting them.
In conclusion, selecting the right yarn for your ponytail knit hat is crucial for achieving the desired look, warmth, and durability of the final product. Consider the fiber content, weight, color, and texture of the yarn to make an informed decision that will result in a hat that both you and the recipient will love.
Choosing Needles or a Loom
When it comes to knitting, one of the first decisions you’ll need to make is whether to use needles or a loom. Both options have their pros and cons, so it’s important to understand the differences before making your choice.
Knitting Needles: Knitting needles are the traditional method of knitting and are the preferred choice for many experienced knitters. They come in various materials, such as wood, bamboo, and metal, and in different sizes. Choosing the right size needles depends on the yarn thickness and the desired outcome of your project.
There are two types of knitting needles: straight needles and circular needles. Straight needles are used for flat knitting, such as scarves and blankets. Circular needles, on the other hand, can be used for both flat knitting and knitting in the round. They have flexible cables that connect the two needle tips, allowing you to knit larger projects and create seamless garments.
When choosing knitting needles, consider your skill level, the type of project you want to create, and your personal preference for materials and knitting style.
Knitting Loom: Knitting looms are a versatile alternative to traditional needles, especially for beginners or knitters who struggle with holding needles. Loom knitting uses a circular or rectangular loom that resembles a pegboard. Yarn is wrapped around the pegs and then lifted over them to create stitches.
There are several advantages to using a loom. Firstly, loom knitting is often faster than knitting with needles, making it a great option for larger projects. Secondly, looms can be easier on the hands and wrists, providing a more comfortable knitting experience. Lastly, looms allow you to create unique stitch patterns and textures that may be more challenging with needles.
When choosing a loom, consider the size and shape of the loom, the gauge it produces, and the type of project you want to make. Loom knitting can be a fun and satisfying alternative to traditional knitting, especially for those who enjoy experimenting with different techniques and textures.
Getting Started

Before you begin knitting your free ponytail knit hat, make sure you have all the necessary materials. You will need a set of knitting needles in the appropriate size for your yarn, as well as a skein of yarn in the color of your choice. It’s important to choose a yarn that is warm and comfortable to wear against the skin. You may also want to gather a tape measure and a pair of scissors for measuring and cutting your yarn.
Once you have all your materials ready, you can start by casting on your stitches. The number of stitches you need will depend on the size hat you want to make. If you’re not sure how many stitches to cast on, the pattern should provide a guideline. You can also measure the circumference of your head and use that measurement to calculate the number of stitches needed.
Step 1: Casting On
The first step in knitting your free ponytail knit hat is to cast on your stitches. Hold the knitting needle in your right hand and make a slipknot with your yarn. With the slipknot on the needle, bring the yarn over the top of the needle and towards you. Insert the needle into the slipknot and pull the yarn through to make a new loop. Repeat this process until you have cast on the required number of stitches.
Step 2: Knitting the Brim
Once you have cast on your stitches, you can start knitting the brim of the hat. This usually involves knitting in the round, so make sure your stitches are evenly distributed on your needles. Hold the needles in your hands, with the working yarn at the back. Insert the right needle into the first stitch on the left needle, from left to right. Bring the yarn over the right needle and through the stitch, sliding the stitch off the left needle. Repeat this process for each stitch until you have completed the round.
Knitting the Ribbing
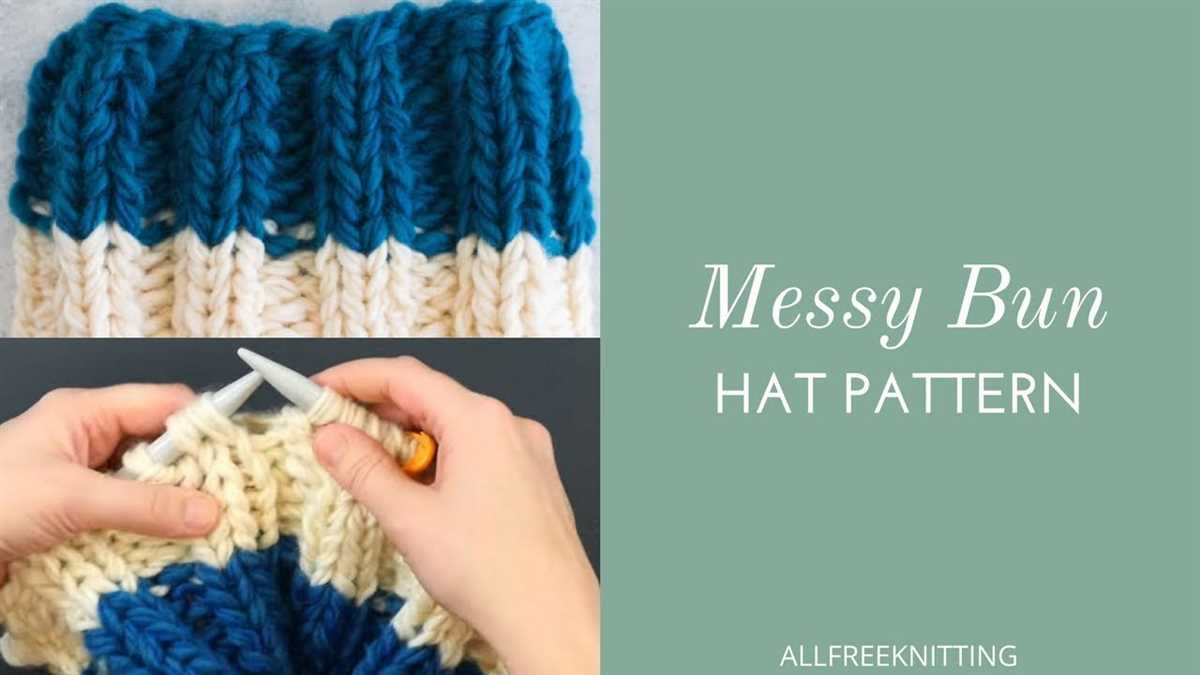
When knitting the ribbing for a ponytail hat, it is important to pay attention to the stitch pattern and tension. The ribbing is typically knit in a combination of knit and purl stitches to create a stretchy and elastic texture. This helps to ensure that the hat fits comfortably and securely on the head.
To start the ribbing, you will cast on the required number of stitches. This will depend on the size of the hat and the desired width of the ribbing. The most common stitch pattern for ribbing is the 2×2 rib, which means alternating two knit stitches and two purl stitches. This creates a textured pattern that has a lot of stretch.
Here is a step-by-step guide on how to knit the ribbing:
- Begin by casting on the required number of stitches.
- Row 1: *Knit 2 stitches, purl 2 stitches.* Repeat from * to * until the end of the row.
- Row 2: *Purl 2 stitches, knit 2 stitches.* Repeat from * to * until the end of the row.
- Continue repeating Rows 1 and 2 until the ribbing reaches the desired length. This is typically around 1-2 inches, but you can adjust it based on your personal preference or the pattern instructions.
- Once the ribbing is complete, you can then proceed with the rest of the hat pattern.
It is important to maintain an even tension while knitting the ribbing. This helps to ensure that the stitches are consistent in size and that the ribbing has a uniform appearance. If necessary, you can use a stitch marker to mark the beginning of each row and help you keep track of the stitch pattern.
By following these steps, you will be able to successfully knit the ribbing for your ponytail hat. The ribbing adds a nice touch to the hat and provides a comfortable fit for the wearer.
Knit the Body of the Hat
Now that you have cast on the required number of stitches, it is time to start knitting the body of the hat. This is where you will create the main part of the hat and determine its length. Follow the pattern instructions to knit the required number of rows or until the hat reaches your desired length.
Begin by knitting the first row. Use the knitting stitch specified in the pattern, which is typically the knit stitch for a basic hat. Hold the yarn in your right hand and insert the right needle into the first stitch on the left needle. Wrap the yarn around the right needle from back to front, then pull the right needle towards you, sliding the new stitch onto the right needle. Repeat this process for all the stitches on the row.
Continue knitting each row according to the pattern instructions. If the pattern calls for any shaping, such as decreases or increases, make sure to follow those instructions carefully. Shaping the hat correctly will ensure a snug and comfortable fit.
- If the pattern instructs you to decrease stitches, use the appropriate decrease method specified, such as knit two stitches together or slip, slip, knit.
- If the pattern instructs you to increase stitches, use the appropriate increase method specified, such as make one or knit front and back.
As you knit the body of the hat, periodically try it on to check the fit. This will allow you to make any necessary adjustments along the way. Once you reach the desired length or have completed the required number of rows, you are ready to move on to the next step of the hat pattern.
Add the Ponytail Hole
Adding a ponytail hole to your knit hat is a great way to keep your hair out of your face while still staying warm. Whether you’re going for a run in the chilly weather or just want a stylish way to wear your hair up, this simple modification to your hat will provide the perfect solution.
To add the ponytail hole, start by identifying the desired placement. Typically, the hole is located towards the back of the hat, just above the ribbed brim. Measure the circumference of your ponytail to determine the size of the hole you’ll need to create.
Using a stitch marker, mark the placement of the hole on your hat. Then, using a crochet hook, create a small chain stitch at that point. This will serve as the base for your ponytail hole. You can make the hole as large or as small as you’d like, depending on the thickness of your hair and the desired look. Keep in mind that you may want to add a few extra stitches to ensure the hole remains secure and doesn’t stretch over time.
Once you’ve created the base chain stitch, continue knitting the rest of your hat as normal, making sure to work around the chain stitch without closing it off. This will create a hole that is both functional and aesthetically pleasing.
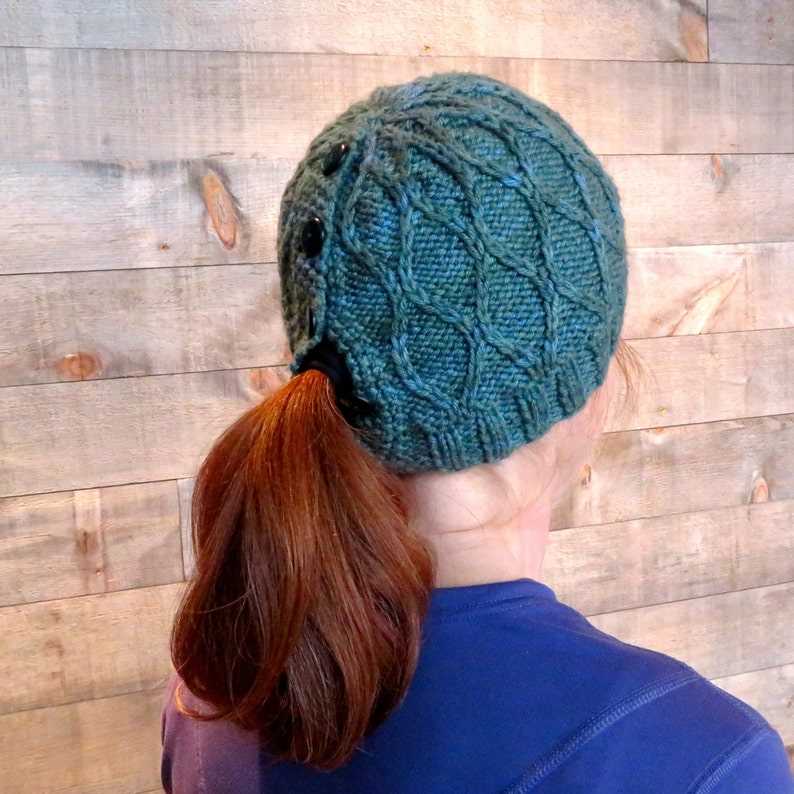
When your hat is complete, you can easily slip your ponytail through the hole to keep your hair up and out of the way. The ribbed brim of the hat will keep the hole snug around your ponytail, preventing it from slipping out or becoming loose.
Now you can enjoy the warmth of a knit hat while still rocking your favorite ponytail hairstyle. It’s a simple modification that can make a big difference in your comfort and style during the colder months. So grab your knitting needles, some cozy yarn, and give this ponytail hole pattern a try!
Knit the Crown
The crown of a knit hat is the part that sits on top of the wearer’s head. It is the final section to be knit and helps to shape the hat. When knitting the crown, it’s important to follow the pattern instructions carefully to ensure a proper fit. The crown is typically knit in a circular or decreasing pattern to create a snug and comfortable fit.
Start by casting on the required number of stitches for the crown, as indicated in the pattern. The stitches are usually joined in the round to create a seamless finish. This can be done using double-pointed needles, a circular needle, or the magic loop technique. Once the stitches are joined, the crown pattern can begin.
Follow the instructions for the crown pattern, which may involve knitting and purling certain rows or following a specific stitch pattern. As you continue knitting, you will begin to shape the top of the hat by decreasing the number of stitches. This is typically done by knitting two stitches together or using a different decrease method, as specified in the pattern.
As the crown pattern progresses, the number of stitches will continue to decrease until only a few stitches remain. At this point, you may need to switch to double-pointed needles or the magic loop technique if you haven’t already. Once all the stitches have been knit, cut the yarn, leaving a long tail, and thread it through the remaining stitches to secure them.
Finishing Touches
Once you have completed knitting your ponytail hat, there are a few finishing touches you can add to make it extra special.
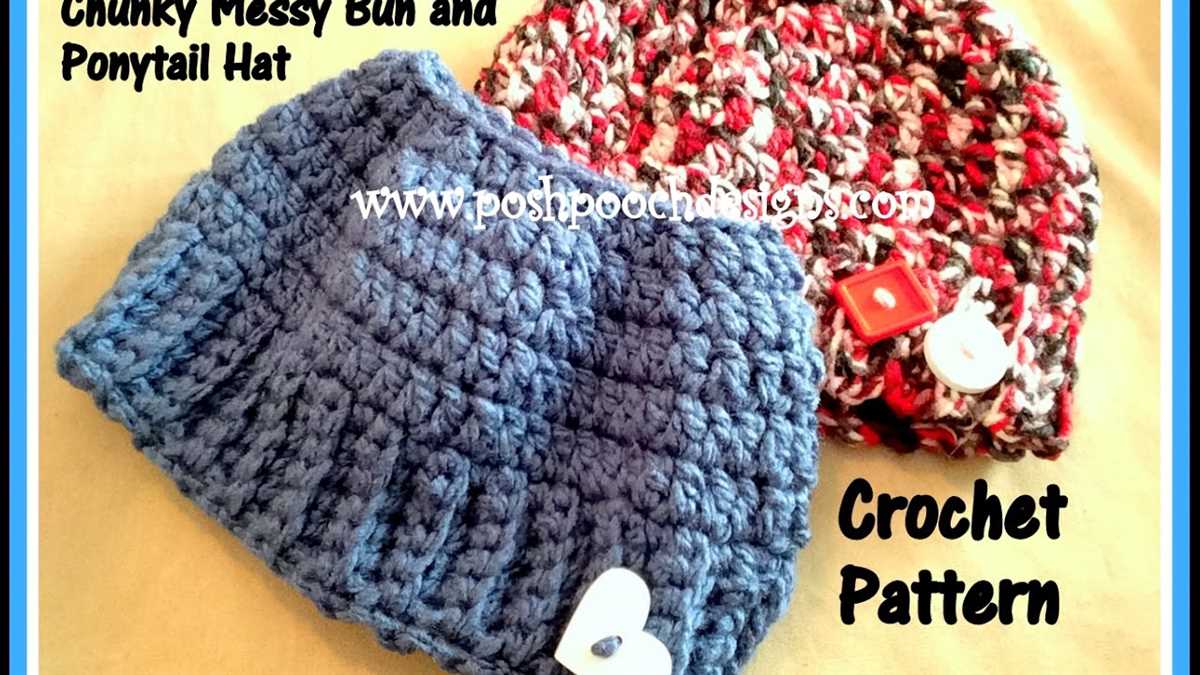
First, you can choose to add a pom-pom to the top of the hat. This can be made using the same yarn as the hat or a different color for a contrasting look. Attach the pom-pom securely to the hat using a sewing needle and thread.
Next, you can add some decorative buttons or charms to the side of the hat. This not only adds a personalized touch, but it can also help to secure the opening for the ponytail. Sew the buttons or charms onto the hat securely, making sure they are evenly spaced.
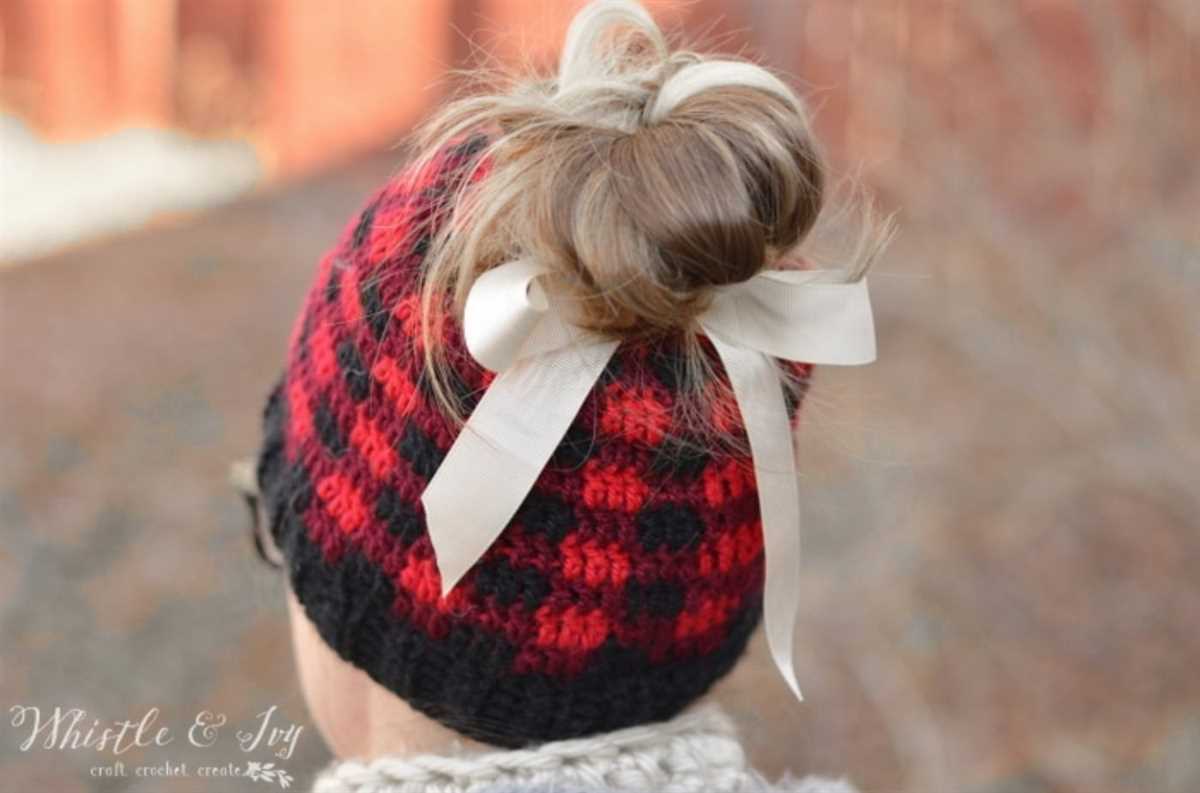
If you prefer a more sleek look, you can skip the pom-pom and buttons and instead add a small bow or bowtie to the side of the hat. This adds a touch of elegance and can be made using a thin ribbon or fabric strip.
To complete the finishing touches, make sure to weave in any loose ends of yarn and give the hat a good blocking to shape it nicely. This will ensure that your ponytail hat looks professional and polished.
In conclusion, adding these finishing touches to your ponytail hat not only enhances its appearance but also adds functionality and personalization. Whether you choose a pom-pom, buttons, or a bow, these details will make your hat truly unique and stylish.