
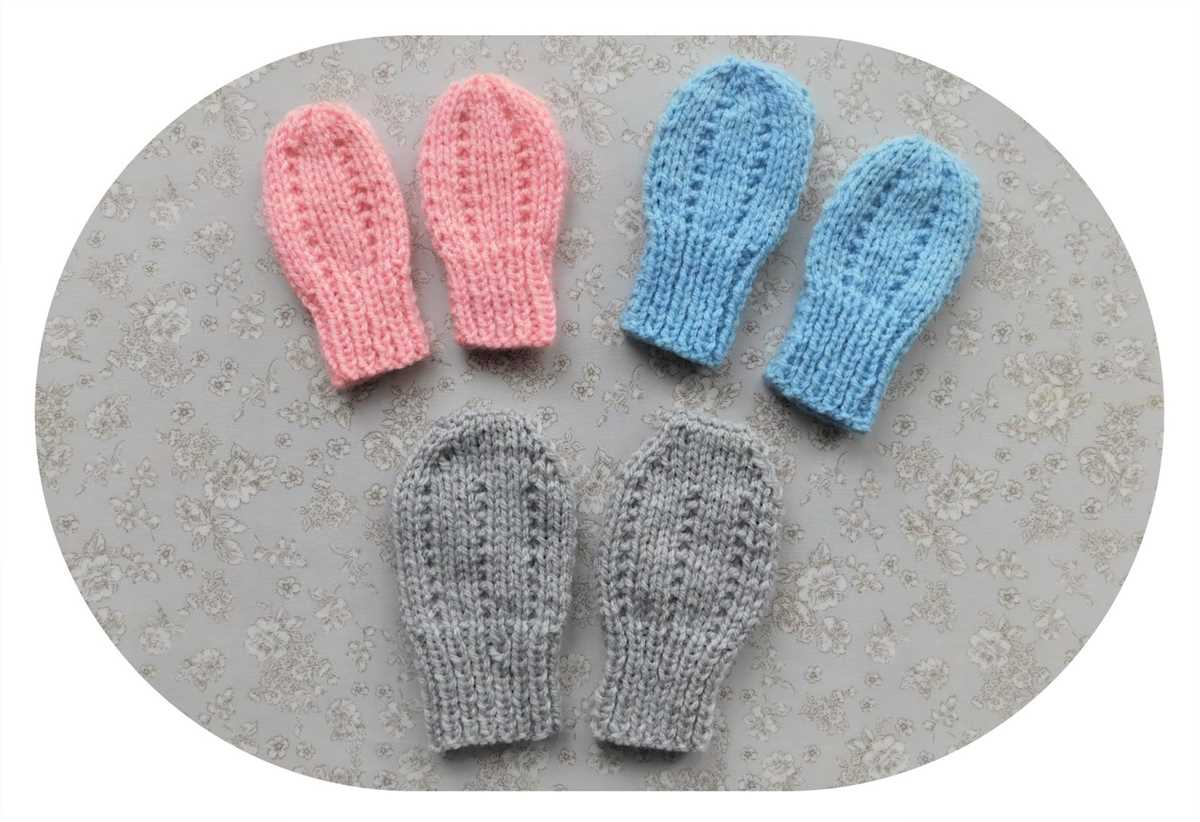
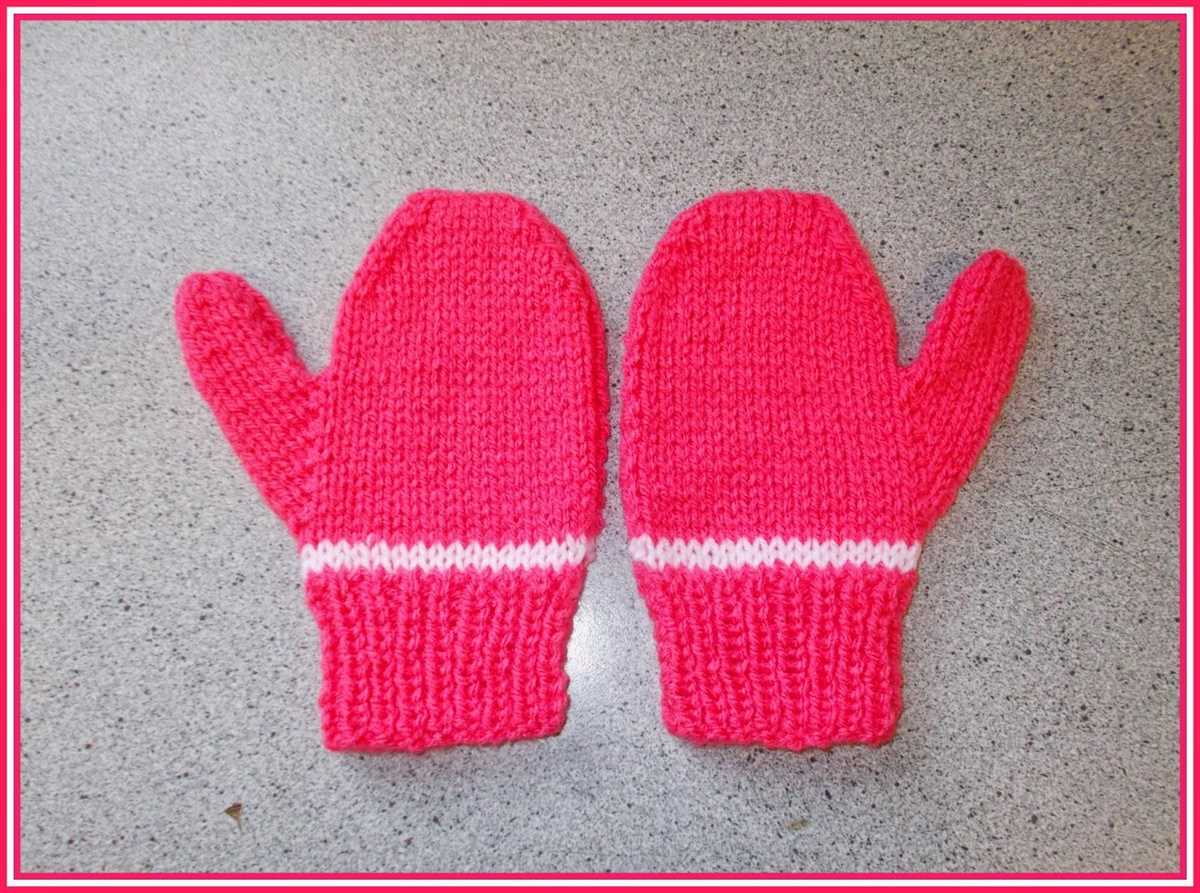
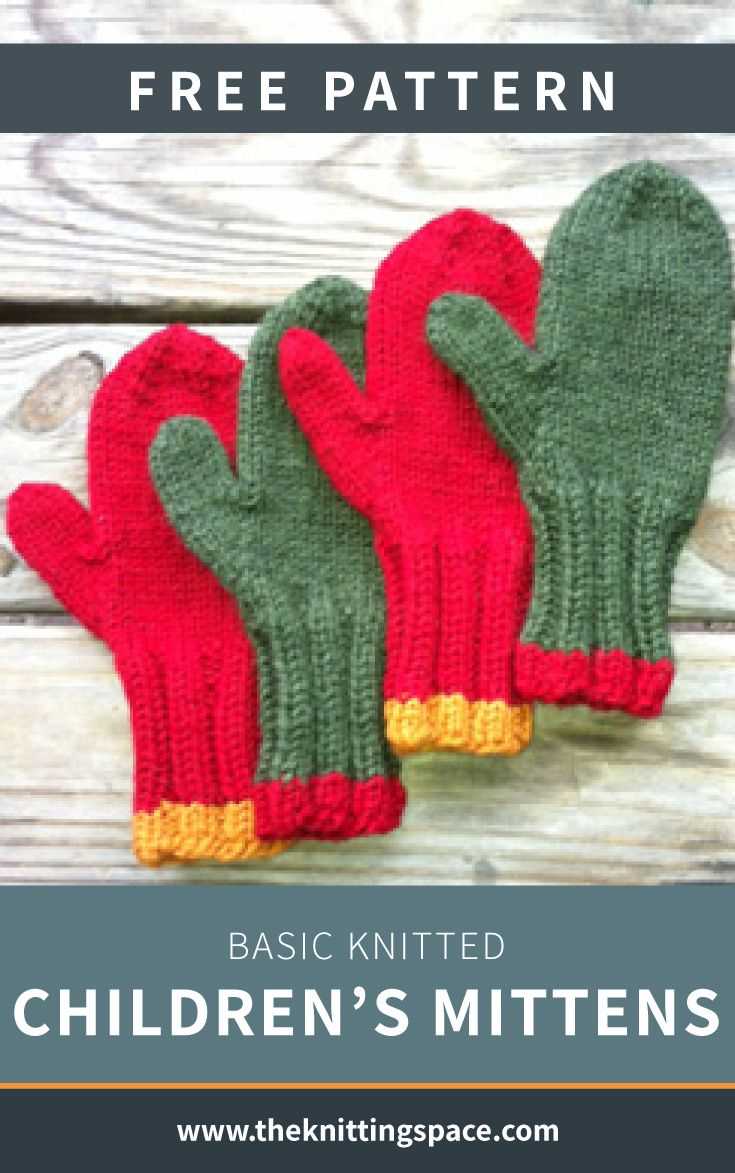
Winter is a time for cozy knitted accessories, and what better way to keep your little ones warm than with a pair of handmade mittens? Knitting mittens for children can be a fun and rewarding project, and with this easy pattern, even beginner knitters can create a snug and stylish pair for their little ones.
One of the great things about knitting mittens is that they are relatively quick to make. You can easily complete a pair in just a few evenings, making them an ideal project for last-minute gifts or unexpected cold snaps. This easy pattern uses basic knitting stitches and techniques, so even if you’re new to knitting, you can give it a try!
To get started on your children’s mittens, you’ll need some supplies: a pair of knitting needles in a size suitable for your chosen yarn, a tapestry needle for seaming, and of course, some soft and cozy yarn. Worsted weight yarn is a popular choice for mittens, as it provides warmth without being too bulky. Choose a yarn in your child’s favourite colour or let them pick it out themselves to make the mittens extra special.
How to Knit Children’s Mittens: Easy Pattern
Knitting children’s mittens can be a fun and rewarding project, especially if you have a little one in your life who needs a cozy pair of mittens to keep their hands warm during the colder months. With this easy pattern, you’ll be able to create a pair of mittens that are not only functional but also stylish.
Gather the materials: To start, you’ll need a set of double-pointed knitting needles in the appropriate size for the yarn you have chosen. You’ll also need a skein of yarn in a color of your choice, and a tapestry needle for finishing off your mittens.
Begin knitting the cuff: To start the mitten, cast on the desired number of stitches onto your double-pointed needles. This will depend on the size of the child’s hand. Knit in rib stitch (knit 1, purl 1) for a few rows to create a snug cuff that will help keep the mitten in place.
Knit the hand portion: Once you have completed the cuff, continue knitting in your chosen stitch pattern until the mitten is long enough to cover the child’s hand. This can vary depending on the child’s age and hand size, so it’s best to measure as you go.
Shape the top of the hand: To shape the top of the hand, you’ll need to decrease stitches. This can be done by knitting two stitches together every few rows until you have reached the desired number of stitches for the top of the mitten. This will create a rounded shape and ensure a good fit.
Finish off the mitten: Once you have shaped the top of the hand, it’s time to finish off the mitten. Cut the yarn, leaving a long tail. Thread the tail through a tapestry needle and slip the needle through the remaining stitches, pulling them off the knitting needles. Pull the tail tight to close up the top of the mitten, and weave in any loose ends.
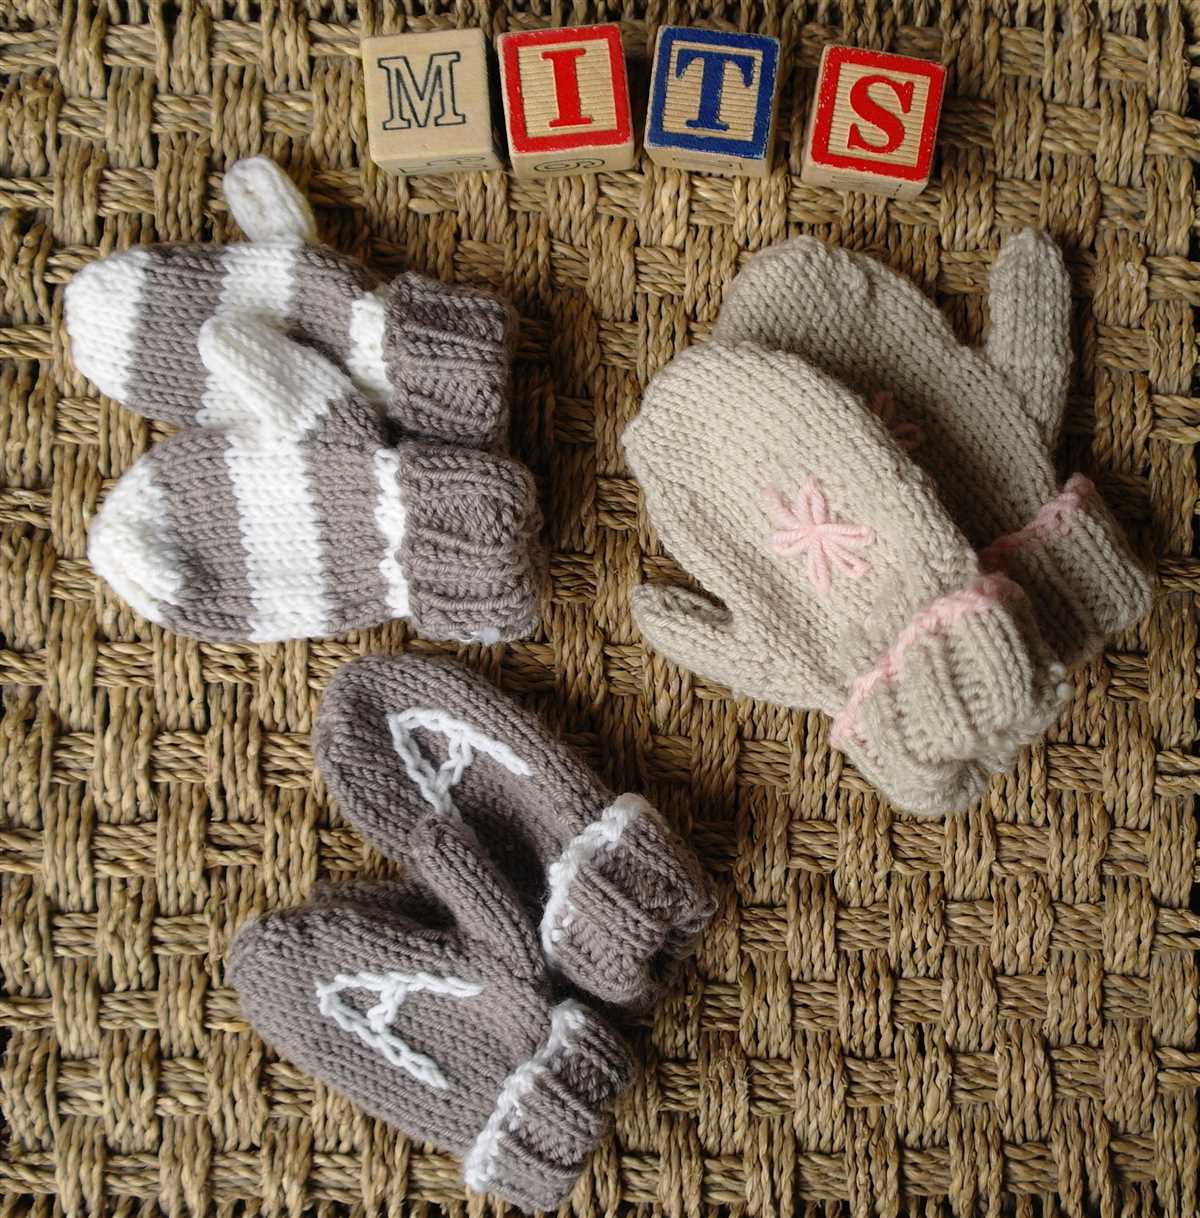
Add any desired embellishments: If you’d like, you can add some extra flair to your mittens by sewing on buttons, attaching pom-poms, or embroidering a design. This is a great way to personalize the mittens and make them extra special for the child who will wear them.
By following this easy pattern, you’ll be able to knit a pair of children’s mittens that are not only warm and cozy but also made with love. Whether you’re a beginner knitter or an experienced one, this project is sure to bring joy to both the maker and the wearer.
Gather Your Supplies
Before you begin knitting children’s mittens, make sure you have all the necessary supplies. Having everything prepared beforehand will make the process much smoother and enjoyable.
Here is a list of supplies you will need:
- Yarn: Choose a soft and warm yarn that is suitable for children. Look for yarn specifically designed for mittens or baby projects. Consider using acrylic or wool blends for their durability and comfort.
- Knitting Needles: You will need a set of double-pointed knitting needles in the appropriate size for your yarn. Typically, size 4mm or 5mm needles work well for children’s mittens.
- Tapestry Needle: This needle will be used for weaving in loose ends and finishing touches. Make sure it has a large eye to accommodate the yarn.
- Stitch Markers: These small rings or clips are helpful for marking important points in your knitting pattern, such as the beginning of a round.
- Scissors: A pair of sharp scissors is essential for cutting the yarn and trimming any excess.
- Stitch Holder: This tool is used to hold stitches when not in use, especially when shaping the thumb or joining the mitten together.
- Measuring Tape: A measuring tape or ruler will come in handy for checking the gauge and ensuring the mittens will fit correctly.
Once you have gathered all these supplies, you are ready to start knitting your children’s mittens using an easy pattern. Remember to follow the instructions carefully and have fun with your knitting project!
Choose the Right Yarn and Needles
When knitting children’s mittens, it is important to choose the right yarn and needles to ensure a comfortable and durable finished product. The type of yarn and the size of needles can greatly affect the fit, warmth, and overall look of the mittens.
Yarn
When selecting yarn for children’s mittens, it is best to choose a soft and sturdy fiber that will keep little hands warm in cold weather. Wool and wool blends are popular choices due to their natural insulating properties and durability. Acrylic yarns are also a good option as they are easy to care for and come in a wide range of colors.
It is important to consider the weight or thickness of the yarn when choosing. A heavier weight yarn is generally better for mittens as it provides more warmth and makes the project work up quicker. However, if you prefer a lighter weight yarn, you can always hold multiple strands together to achieve the desired thickness.
Needles
The size of needles you choose will depend on the gauge specified in the pattern or your own personal preference. For children’s mittens, it is recommended to use a set of double-pointed needles. These needles allow you to easily knit in the round and create a seamless mitten.
The size of the needles will also determine the finished size of the mittens. If you want a tighter knit fabric, use smaller needles. If you want a looser or more stretchy fabric, use larger needles.
Additionally, it is important to check the recommended gauge in the pattern. This will ensure that your mittens turn out the correct size and fit. If your gauge is too loose, try using smaller needles. If your gauge is too tight, try using larger needles.
Overall, choosing the right yarn and needles for knitting children’s mittens is crucial for a successful and enjoyable knitting experience. By selecting the appropriate materials, you can create comfortable and stylish mittens that will keep little hands warm and cozy.
Casting On Stitches
When starting a knitting project, one of the first steps is to cast on stitches. This is the process of creating loops on the needles to form the foundation of the project. There are several methods for casting on stitches, each with its own advantages and uses.
One common method is the long-tail cast on. To do this, you need to estimate the amount of yarn needed for the cast on plus some extra for the tail. Hold the yarn in your hand with the working end over your thumb and the tail end over your index finger. Insert the needle between the two strands, catching the working yarn with the needle and pulling it through the loop on your thumb. Repeat this process until you have the desired number of stitches.
Another popular method is the knit cast on. This method is great for beginners as it is simple and easy to learn. To start, create a slipknot on the needle and hold the needle in your right hand. Insert the left needle through the slipknot, coming from front to back. Wrap the working yarn around the right needle counterclockwise and pull it through the slipknot. This creates a new stitch on the right needle. Repeat this process until you have the desired number of stitches.
Summary:
- Casting on stitches is the first step in starting a knitting project.
- The long-tail cast on and the knit cast on are two common methods.
- The long-tail cast on requires estimating the amount of yarn needed and creating loops with the needle.
- The knit cast on is simple and easy to learn, involving creating a slipknot and pulling the yarn through to create new stitches.
Knitting the Cuff
When knitting children’s mittens, one of the important parts to pay attention to is the cuff. The cuff is the part of the mitten that goes around the wrist, and it needs to be snug enough to keep the mitten in place but not too tight that it cuts off circulation.
To start knitting the cuff, you will need to cast on the appropriate number of stitches. This will depend on the size of the mitten and the yarn you are using. It is always a good idea to refer to the pattern instructions for the specific number of stitches to cast on.
Once you have cast on the stitches, you can begin knitting the cuff. Most patterns will instruct you to knit in a rib stitch pattern for the cuff. This can be a 1×1 rib, where you alternate knitting one stitch and purling one stitch, or a 2×2 rib, where you alternate knitting two stitches and purling two stitches.
The rib stitch pattern creates a stretchy fabric that will help the cuff fit snugly around the wrist. It also adds a nice texture to the cuff. Depending on the pattern, you may need to knit the rib stitch pattern for a certain number of rows or until the cuff reaches a certain length.
Once you have completed the cuff, you can continue knitting the rest of the mitten according to the pattern instructions. Remember to always follow the pattern closely and make sure to check your gauge to ensure the mittens will fit properly. With a well-knitted cuff, your children’s mittens will not only keep their little hands warm but will also stay in place during playtime.
Creating the Thumb Gusset
When knitting children’s mittens, one of the most important steps is creating the thumb gusset. This key feature provides the necessary room for the thumb to comfortably fit inside the mitten. Without a well-designed thumb gusset, the mittens may be too tight or restrictive for the child’s hand.
To create the thumb gusset, you will need to set aside a portion of stitches that will later become the thumb opening. This can be done by using stitch markers to separate the thumb stitches from the rest of the mitten. It’s important to evenly distribute the stitches around the thumb gusset to ensure a balanced fit.
Instructions:
- Begin by knitting a few rounds or rows in the main mitten pattern.
- Once you reach the desired location for the thumb, place a stitch marker and work the designated number of stitches for the thumb gusset. This will typically be a smaller number of stitches compared to the rest of the hand.
- After completing the thumb gusset stitches, place another stitch marker to indicate the end of the thumb gusset section.
- Continue knitting the remaining hand stitches in the main mitten pattern.
By following these steps, you will successfully create a thumb gusset that allows for a comfortable and well-fitting mitten for children. Remember to check the pattern instructions for any specific details or variations on creating the thumb gusset, as different patterns may have slightly different techniques.
Knitting the Hand
When knitting mittens for children, it is important to pay attention to the hand size and shape. Children’s hands come in various sizes and proportions, so it is crucial to choose the right pattern and adjust it if needed. The hand consists of several key components that need to be considered when knitting a mitten: the palm, the thumb, and the fingers.
The palm is the largest area of the hand that needs to be covered by the mitten. It is important to measure the width and length of the palm accurately and adjust the pattern accordingly. The palm should be snugly fit inside the mitten for maximum warmth and comfort.
The thumb is another important part of the hand to consider when knitting mittens. It is essential to create a well-fitting thumb gusset that allows for easy movement and flexibility. The thumb should have enough room to move comfortably without being too loose or tight.
The fingers of the hand should also be taken into account when knitting mittens. Some patterns include individual finger sections, while others have a more traditional mitten shape. Choosing a pattern that suits the child’s preferences and needs is essential for a successful knitting project.
Overall, knitting mittens for children requires careful attention to detail and accurate measurements. By considering the size and shape of the palm, thumb, and fingers, it is possible to create a comfortable and well-fitting mitten that will keep the child’s hands warm during the winter months.
Shaping the Top
To shape the top of the mittens, you will need to decrease stitches evenly across the row. This will create a rounded shape at the top of the mitten.
To do this, you can use the technique called “decrease stitches.” This involves knitting two stitches together as one to reduce the total number of stitches. You can do this by inserting your right-hand needle into the next two stitches on your left-hand needle, and then knitting them together. Repeat this process evenly across the row to decrease the required number of stitches.
Here is how you can shape the top of the mittens:
- Start by knitting a row until you reach the desired length for the top of the mittens.
- Next, decrease stitches evenly across the row by knitting two stitches together as one.
- After decreasing the required number of stitches, continue knitting in your desired pattern until the top of the mittens is complete.
- Finish off your knitting and weave in any loose ends.
By following these steps, you will be able to shape the top of your mittens and create a comfortable and rounded fit for your child.
Kitchener Stitch
The Kitchener Stitch is a seamless method of grafting two pieces of knitting together. It is commonly used for joining the toes of socks or closing up the tops of mittens. This stitch creates a nearly invisible join that mimics the look of the surrounding knitting.
To work the Kitchener Stitch, you will need a tapestry needle and a length of yarn that is approximately three times the width of your knitting. Make sure that the working yarn is on the back needle, and that the stitches on both needles are lined up so that they correspond to each other.
Step 1: Insert the tapestry needle purlwise into the first stitch on the front needle, and pull the yarn through, leaving the stitch on the needle. Leave the needle in the stitch, do not remove it.
Step 2: Insert the tapestry needle knitwise into the first stitch on the back needle, and pull the yarn through, leaving the stitch on the needle. Leave the needle in the stitch, do not remove it.
Continue repeating steps 3 and 4 until all stitches have been grafted together. The result will be a seamless and invisible join between the two pieces of knitting.
- Step 3: Insert the tapestry needle knitwise into the first stitch on the front needle, and pull the yarn through, removing the stitch from the needle.
- Step 4: Insert the tapestry needle purlwise into the next stitch on the front needle, and pull the yarn through, leaving the stitch on the needle. Leave the needle in the stitch, do not remove it.
The Kitchener Stitch can be a bit tricky to master at first, but with practice, it becomes easier to execute. With its seamless and nearly invisible finish, the Kitchener Stitch is a great technique to have in your knitting repertoire.
Finishing Touches: Weaving in Ends
Once you have finished knitting the children’s mittens using the easy pattern, there are a few important steps to take to give them a polished and professional look. One of these steps is weaving in the ends of the yarn.
Weaving in ends is essential for ensuring that the mittens are secure and that the yarn won’t unravel over time. It also helps to create a neat and tidy finish.
To weave in the ends, start by threading a yarn needle with the end of the yarn. Carefully insert the needle under the stitches on the wrong side of the mitten, following the path of the yarn. It’s important to be gentle and avoid pulling the yarn too tightly, as this can distort the shape of the mitten.
Continue weaving the yarn through several stitches, alternating direction to create a secure weave. This will help to prevent the end from coming loose.
Once you are satisfied with the weave, trim the excess yarn close to the mitten, being careful not to cut any of the stitches. For added security, you can also apply a small dab of fabric glue to the cut end of the yarn to keep it in place.
Repeat this process for any remaining loose ends on the mitten, making sure to weave them in securely. By taking the time to weave in the ends, you will ensure that your children’s mittens not only look great but also stand up to wear and tear.
Enjoying Your Handmade Mittens!
After putting in the time and effort to knit your children’s mittens, it’s important to take a moment to appreciate your hard work and enjoy the final result. Here are a few tips for fully enjoying your handmade mittens:
1. Show off your creations
Be proud of your knitting skills and show off your beautiful mittens to friends and family. Wear them proudly and share the story of how you made them yourself. You’ll likely receive many compliments and admiration for your handiwork!
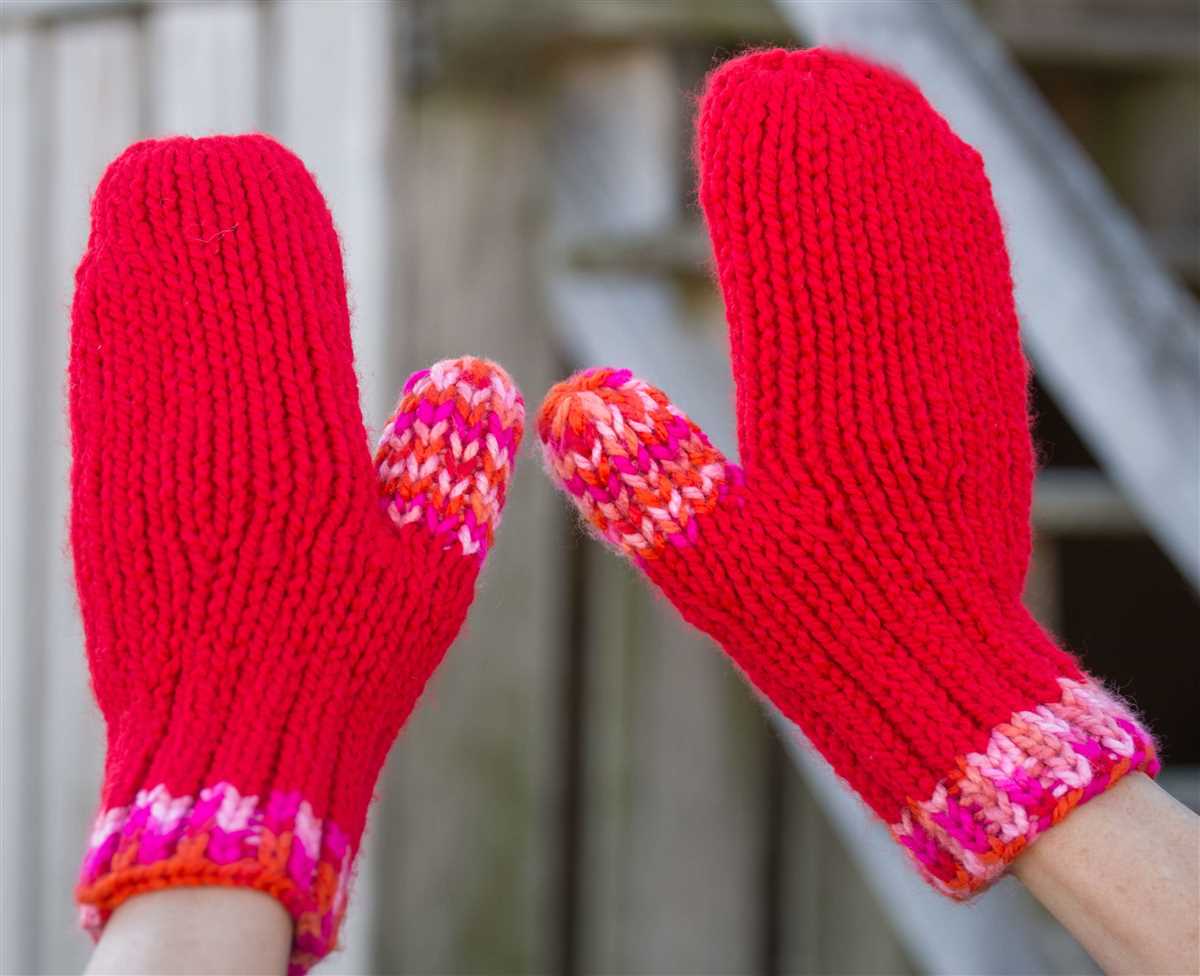
2. Keep your hands warm and cozy
One of the best things about handmade mittens is how warm and cozy they are. Put them to good use by wearing them during chilly winter days or anytime you need extra warmth. Your hands will thank you for the soft and comfortable feel of your handmade mittens.
3. Personalize your mittens
Add a personal touch to your mittens by embroidering your initials, adding cute buttons, or attaching a small charm to each mitten. This will make them even more unique and special, and you’ll feel a sense of pride every time you wear them.
4. Care for your mittens
To keep your handmade mittens in good condition, make sure to wash them according to the care instructions for the yarn you used. Some yarns may require hand-washing, while others can be machine-washed on a gentle cycle. Always air dry your mittens to prevent any shrinkage or damage.
5. Spread joy with knitting

Share your passion for knitting with others by teaching them how to knit mittens or by gifting them a pair of your handmade mittens. Knitting can be a therapeutic and rewarding hobby, and by spreading the joy of knitting, you’re helping others discover the same sense of accomplishment and creativity that you experienced while making your mittens.
So go ahead and enjoy your beautiful handmade mittens! Keep your hands warm, show them off, and share the joy of knitting with others. Your mittens are not just practical accessories but also a testament to your creativity and craftsmanship.