
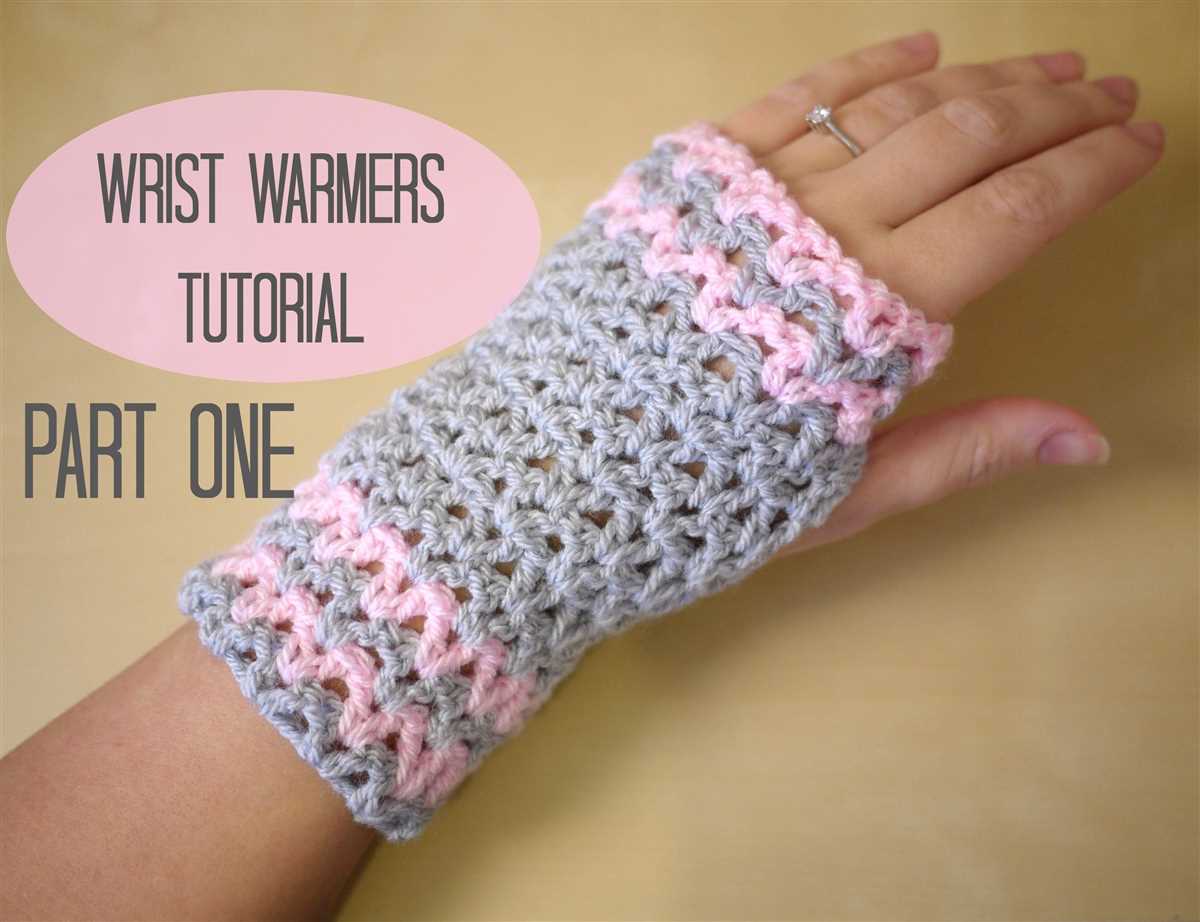
Wrist warmers are a versatile and stylish accessory that can keep your hands warm while allowing your fingers to be free. Whether you’re a beginner or an experienced knitter, making your own wrist warmers can be a fun and rewarding project. In this article, we’ll provide you with a free knitting pattern for wrist warmers specifically designed for the UK climate.
These wrist warmers are perfect for those chilly autumn and winter days when you want to keep your hands warm but still be able to use your fingers. The pattern is simple and easy to follow, making it suitable for knitters of all skill levels. Whether you’re knitting these for yourself or as a gift for a loved one, you’ll find that they are a practical and fashionable accessory that can be worn with any outfit.
To make these wrist warmers, you’ll need a few basic knitting supplies, including a set of double-pointed knitting needles and a ball of yarn. The pattern involves knitting in the round, so you’ll need to be familiar with this technique. If you’re new to knitting in the round, don’t worry – there are plenty of online tutorials and resources available to help you learn.
Once you’ve gathered your supplies and familiarized yourself with the pattern, you’ll be able to start knitting your wrist warmers. The pattern includes instructions for both small and large sizes, so you can easily customize the fit to your own hand. With just a few hours of knitting, you’ll have a cozy and stylish pair of wrist warmers that are sure to become one of your go-to accessories during the colder months.
So, why not grab your knitting needles and get started on this free knitting pattern for wrist warmers? Whether you’re an experienced knitter or just starting out, you’ll love the simplicity and style of these wrist warmers. They’re the perfect accessory to keep your hands warm without sacrificing style, and they make a great gift for friends and family. Get knitting today and enjoy the cozy comfort of your new wrist warmers!
Free Knitting Pattern for Wrist Warmers UK
Stay warm and stylish this winter with our free knitting pattern for wrist warmers in the UK. Wrist warmers, also known as fingerless gloves or hand warmers, are the perfect accessory for colder weather. They provide warmth to your wrists while leaving your fingers free for tasks such as using your phone or typing.
This knitting pattern is suitable for beginners and intermediate knitters. It features a ribbed cuff for a snug fit and a textured stitch pattern on the hand for added visual interest. The pattern can be easily adjusted to fit any size by changing the number of cast-on stitches and rows worked. It can also be customized with different yarn colors to match your personal style.
Materials:
- Yarn: Worsted weight yarn in your preferred color (approximately 100-150 yards)
- Needles: Size 8 (5mm) double-pointed needles
- Stitch marker
Pattern:
- Using the long-tail cast-on method, cast on 32 stitches.
- Divide the stitches evenly onto three double-pointed needles (10 stitches on each needle).
- Place a stitch marker to indicate the beginning of the round.
- Work 2×2 ribbing (k2, p2) for 1 inch.
- Switch to the main stitch pattern: row 1 – *k2, p2, repeat from * to end; row 2 – p2, k2, repeat from * to end. Repeat these two rows until the piece measures approximately 5 inches from the cast-on edge.
- Work 1 inch of 2×2 ribbing (k2, p2).
- Bind off loosely in ribbing pattern.
- Repeat steps 1-7 to create the second wrist warmer.
Once both wrist warmers are completed, weave in any loose ends and enjoy the cozy warmth they provide. These wrist warmers make great gifts for friends and family, or you can keep them for yourself and enjoy knitting a practical and fashionable accessory.
Choosing the Right Yarn and Needles
When it comes to knitting wrist warmers, choosing the right yarn and needles is essential for a successful project. The type of yarn you choose will determine the warmth, texture, and overall look of your wrist warmers.
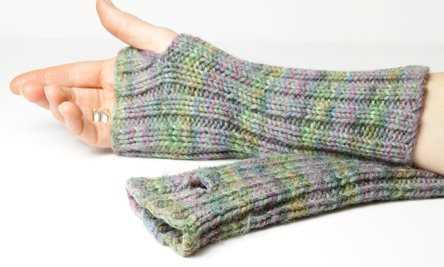
Yarn: There are various types of yarn that can be used for knitting wrist warmers, including wool, acrylic, and blends. Wool yarns are known for their warmth and natural insulation properties. Acrylic yarns, on the other hand, are more affordable and come in a wide range of colors. Blends, such as wool and acrylic, combine the best qualities of both fibers. Consider the level of warmth and comfort you desire when selecting your yarn.
Needles: The size of the needles you use will determine the gauge or tension of your wrist warmers. Thicker needles will create larger stitches, resulting in a looser fabric and a quicker project. Thinner needles, on the other hand, will create smaller stitches and a tighter fabric. You will need to match your needle size with the weight of your chosen yarn. Be sure to check the yarn label for the recommended needle size.
For example, if you are using a bulky weight yarn, you will likely need larger needles, such as size 10 or 11. If you are using a sock weight yarn, you will need smaller needles, such as size 2 or 3.
Additionally, consider the material of your needles. Bamboo and wood needles are lightweight and can be easier to handle, especially for beginners. Metal needles are sturdy and smooth, allowing for faster knitting. The choice of material is a matter of personal preference and comfort.
Getting Started
Before you can start knitting your wrist warmers, there are a few things you’ll need to gather and prepare. This includes the necessary materials, such as the right yarn and knitting needles, as well as any additional tools or accessories that may be required.
Materials
- Yarn: Choose a soft and warm yarn that is suitable for wrist warmers. You can pick any color or pattern that you like, as long as the yarn is appropriate for the project.
- Knitting Needles: Depending on the type of yarn you choose, you will need the appropriate knitting needles. Check the label on the yarn to determine the recommended needle size.
- Tapestry Needle: This needle is used for weaving in loose ends and sewing the wrist warmers together.
Preparation
Before you begin knitting, it’s important to make sure you have a clear understanding of the pattern instructions. Read through the entire pattern to familiarize yourself with the steps and techniques that will be used.
Take the time to measure your wrist to ensure the wrist warmers will fit properly. This will help you determine the correct number of stitches to cast on and the required length of the wrist warmers.
Knitting the Ribbing
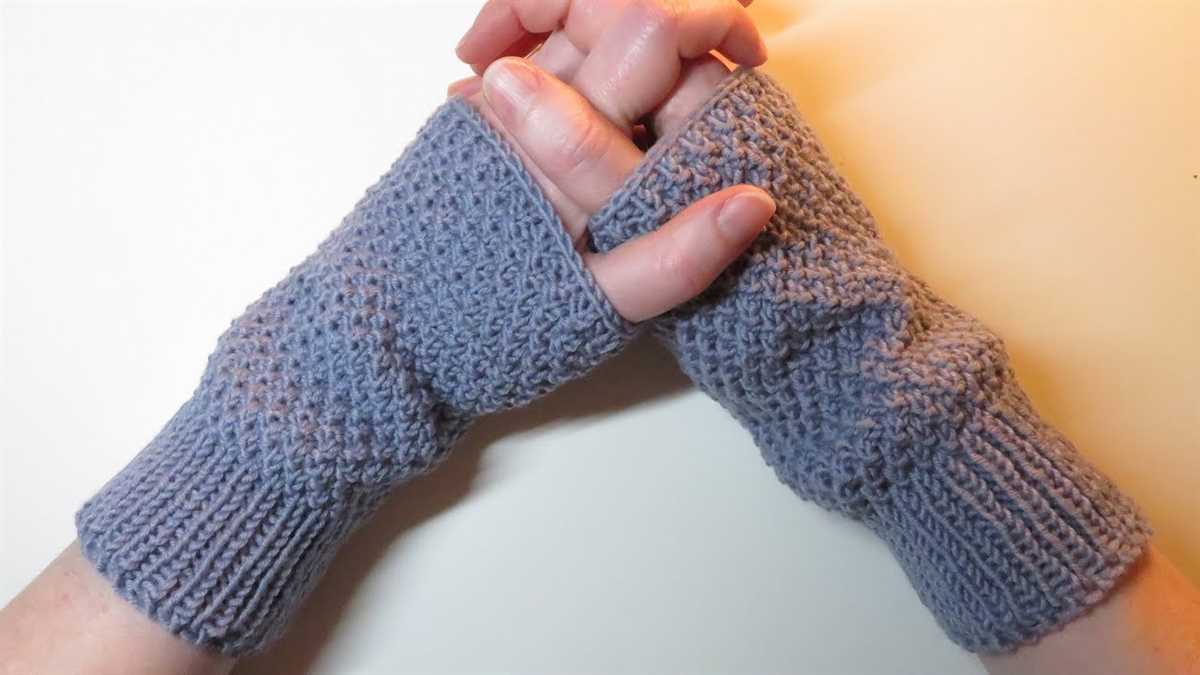
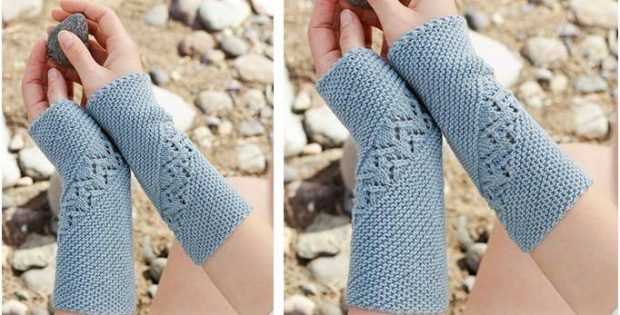
In the process of knitting wrist warmers, one of the first sections to be tackled is the ribbing. Ribbing is a technique that creates a stretchy and elastic fabric, which is perfect for wrist warmers as it allows them to comfortably fit snugly around the wrists. The ribbing technique is achieved by alternating knit and purl stitches in a specific pattern.
To begin knitting the ribbing, cast on the desired number of stitches using the long-tail cast on method. This cast on method provides a clean and stretchy edge for the ribbing. Once the stitches are cast on, the ribbing pattern can be started.
The most common ribbing pattern used for wrist warmers is the 1×1 ribbing pattern. To create this pattern, alternate one knit stitch and one purl stitch across each row. This creates a fabric that has a series of vertical ribs, with each rib consisting of a knit stitch and a purl stitch.
Continue working the 1×1 ribbing pattern for the desired length of the ribbing section. This length will depend on personal preference and the intended fit of the wrist warmers. Some knitters prefer a shorter ribbing section, while others may opt for a longer ribbing section.
Once the ribbing section is complete, it is time to move on to the main body of the wrist warmers. The ribbing provides a snug fit around the wrists and helps keep the wrist warmers in place. Knitting the ribbing section is a crucial step in the process of creating wrist warmers with a professional finish and comfortable fit.
Creating the Thumb Hole
One important feature of wrist warmers is the thumb hole, which allows for easy movement of the fingers while keeping the rest of the hand warm. Creating the thumb hole requires a simple modification to the knitting pattern.
To begin, locate the designated area for the thumb hole on the pattern. This is typically indicated with a special stitch or set of instructions. Once you have identified the thumb hole area, you will need to carefully divide your stitches.
- Step 1: Knit up to the thumb hole area, following the pattern instructions.
- Step 2: Slip the specified number of stitches onto a stitch holder or safety pin. These stitches will be used later to create the thumb.
- Step 3: Continue knitting the remaining stitches, following the pattern instructions.
Once the thumb hole has been created, you can continue knitting the rest of the wrist warmer as directed. When you reach the end of the pattern, be sure to follow any finishing instructions, such as binding off or adding a final edging, to complete the wrist warmer.
Knitting the Hand Part
After completing the ribbed cuff, it’s time to move on to knitting the hand part of the wrist warmers. This section will cover stitches and shaping for the main part of the fingerless gloves. Follow the instructions below to continue with your knitting project.
Instructions:
- Start by knitting the next row in the desired stitch pattern, whether it’s stockinette, seed stitch, or any other pattern you prefer.
- Continue knitting in the chosen stitch pattern for the desired length. You can measure this by trying on the wrist warmers and determining where you want them to end.
- Next, it’s time to shape the thumb hole. To do this, you will need to decide where you want the thumb hole to be located on your wrist warmers. Typically, it is placed on the side of the hand, above the wrist bone.
- To shape the thumb hole, you will need to bind off a certain number of stitches in the chosen stitch pattern. This will create a gap for your thumb to fit through. The number of stitches to be bound off will depend on the size of your thumb and your desired thumb hole size.
- After binding off the stitches for the thumb hole, continue knitting in the chosen stitch pattern for the remaining stitches. This will create the main part of the hand for the wrist warmers.
- Continue knitting until the hand part reaches the desired length. Again, you can measure this by trying on the wrist warmers and determining where you want them to end.
- Once the desired length is reached, it’s time to start shaping the fingers. This can be done by decreasing stitches in a specific pattern to create a tapered or pointed end for each finger.
- Follow a finger-shaping pattern or create your own by decreasing stitches evenly across the row. The number of decreases and the interval at which they are made will depend on the size and shape of your hand.
- Continue shaping the fingers until the desired finger length is reached. You can try on the wrist warmers periodically to check the fit and adjust the shaping as needed.
- Once all the fingers are shaped, bind off all the stitches and weave in any loose ends to finish off your wrist warmers.
By following these instructions, you will be able to successfully knit the hand part of your wrist warmers. Remember to choose a stitch pattern and shaping technique that fits your style and preferences. Enjoy your knitting project and stay warm with your new fingerless gloves!
Shaping the Thumb
When knitting wrist warmers, one of the important steps is shaping the thumb opening. This allows for easy movement and flexibility while wearing the wrist warmers. To shape the thumb opening, follow these steps:
1. Mark the Thumb Placement
Start by placing a marker on the row where you want the thumb opening to be located. This will guide you as you work on shaping the thumb.
2. Decrease Stitches
Next, on the row before the marked thumb placement, decrease the necessary number of stitches. This can be done by knitting two stitches together or using any other suitable decrease method. The number of stitches to decrease will depend on the size of your wrist warmers and the desired width of the thumb opening.
3. Create a Gap
After decreasing the stitches, continue knitting in pattern until you reach the marker. Here, you will create a gap to accommodate the thumb. To do this, slip the specified number of stitches (usually around 5 or 6) onto a spare stitch holder or waste yarn. Then, knit the remaining stitches in pattern.
4. Rejoin Yarn
Once the gap is created, rejoin the yarn at the end of the gap. This will allow you to continue working the rest of the wrist warmer without any interruption.
By following these steps, you can effectively shape the thumb opening in your wrist warmers. It is important to reference the specific pattern you are using for any additional instructions or variations. With a well-shaped thumb opening, you can enjoy the comfort and functionality of your handmade wrist warmers.
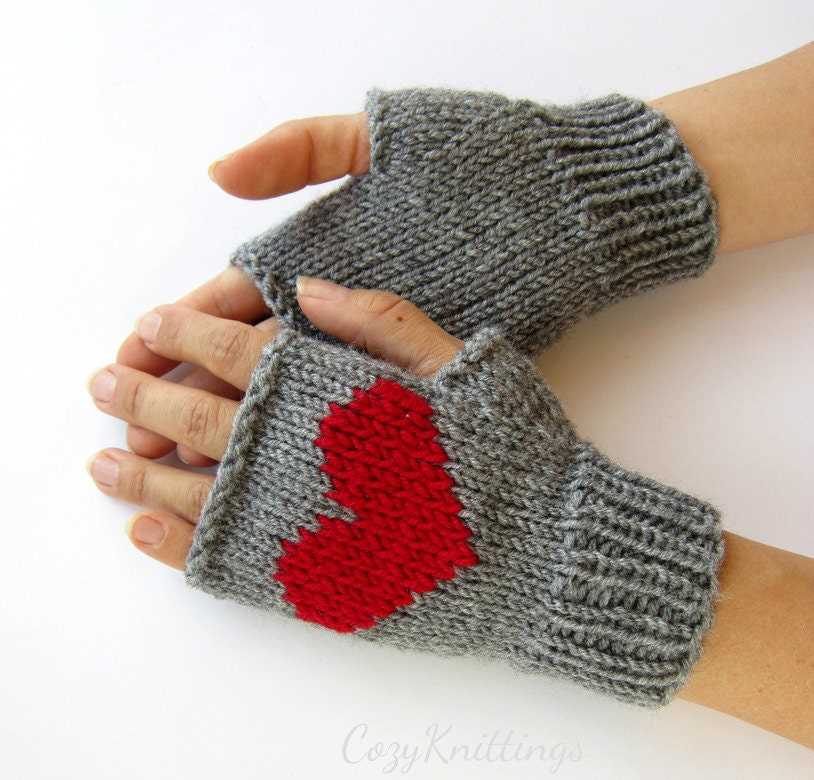
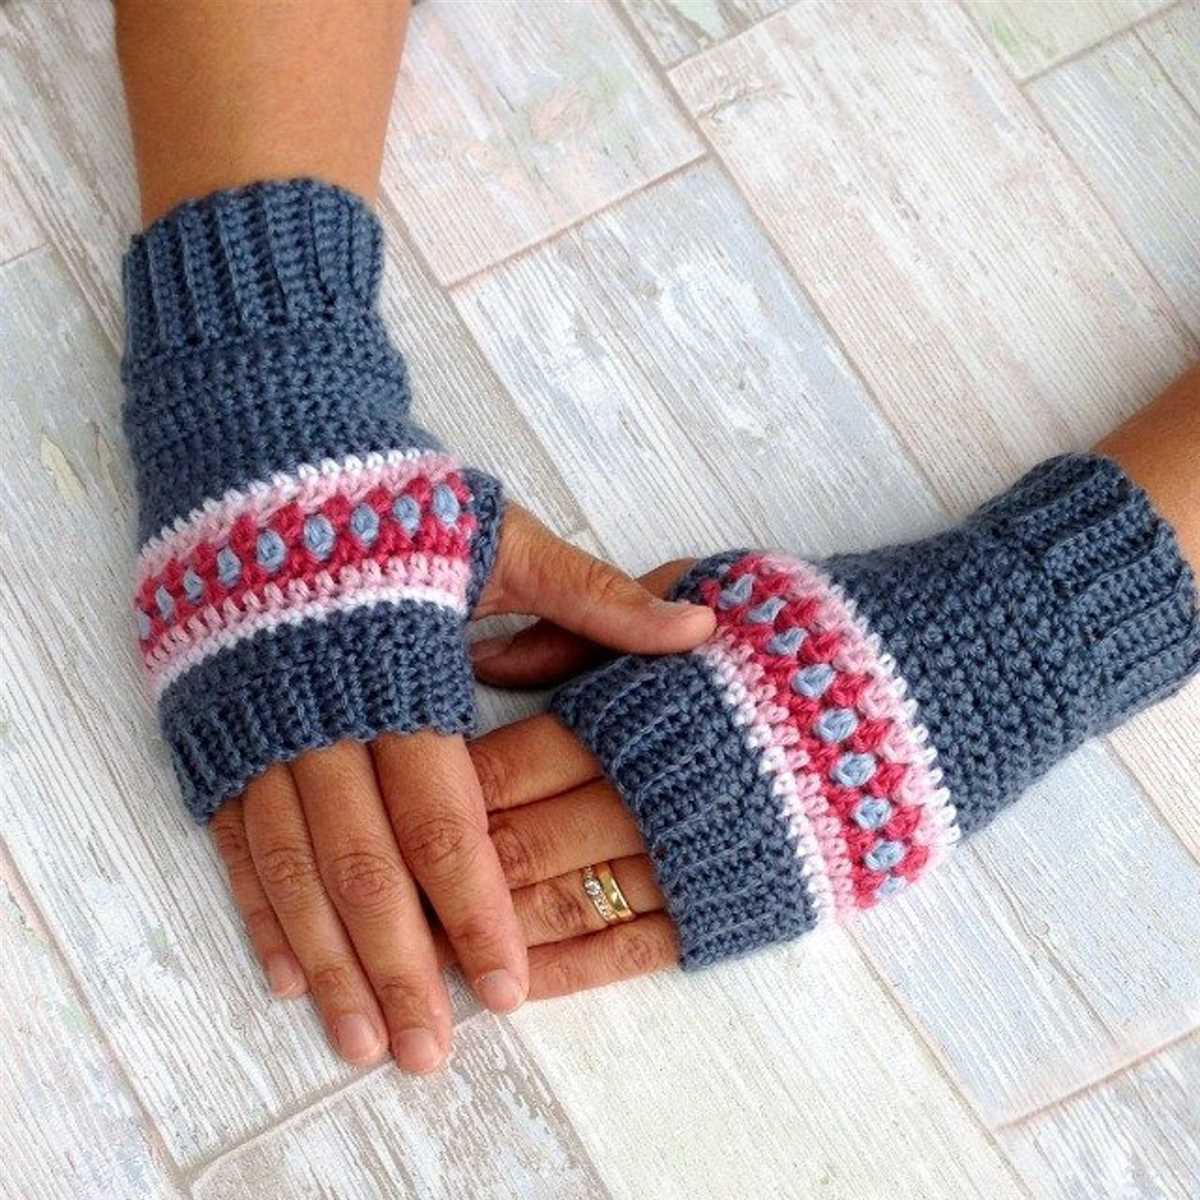
Adding Decorative Elements
When it comes to knitting wrist warmers, adding decorative elements can make them stand out and add a personal touch. There are several ways to do this, depending on your knitting skills and creativity.
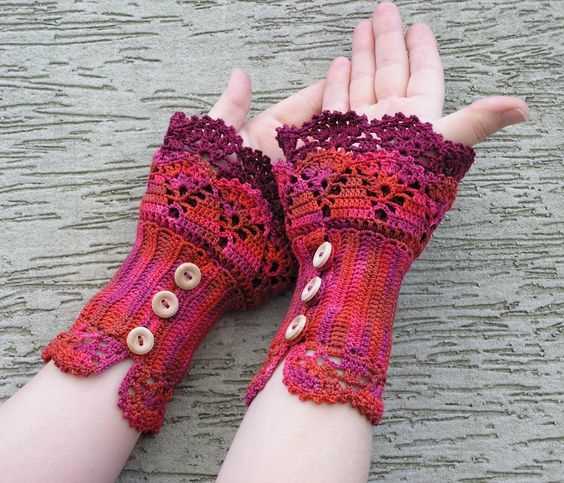
Embroidery: One popular way to add decorative elements to wrist warmers is through embroidery. You can use colorful yarn or embroidery floss to create intricate patterns or simple designs. Embroidery can be done on the surface of the wrist warmers or on specific areas, such as the cuffs or top edge. It allows for endless possibilities and customization.
Buttons: Adding buttons can also add a decorative touch to wrist warmers. You can sew them on the side, in a line down the length of the wrist warmer, or create a buttoned cuff. Choose buttons that complement the color and style of the wrist warmers for a cohesive look.
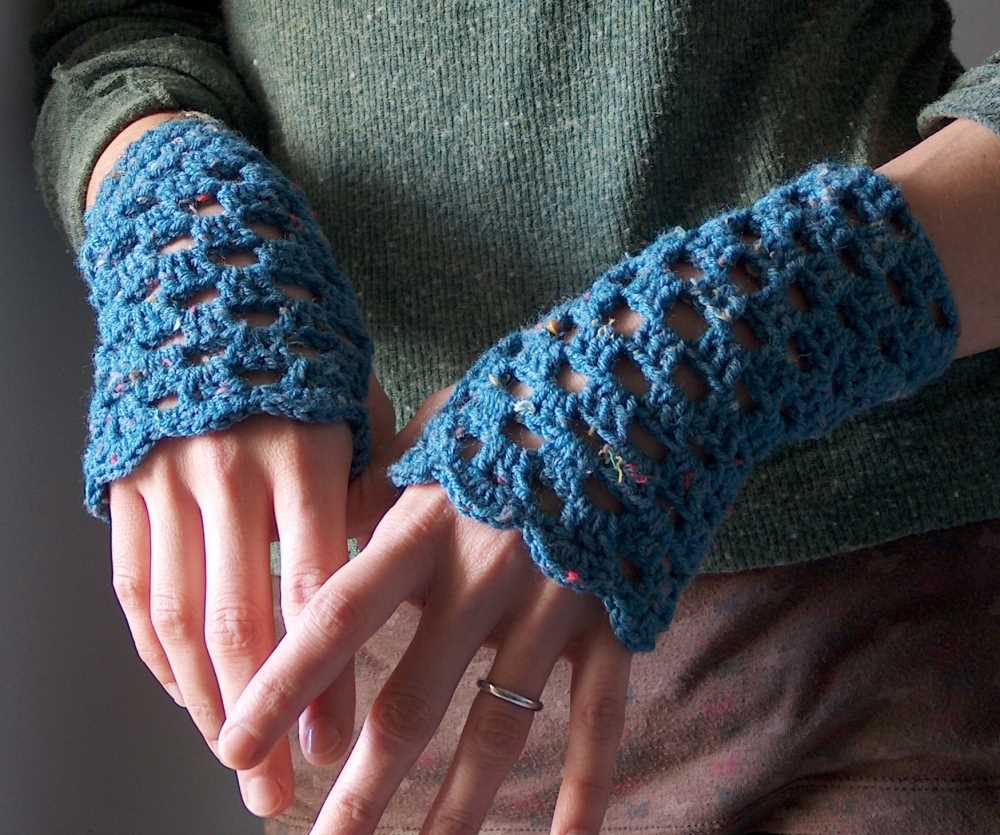
Lace or cable patterns: If you have more advanced knitting skills, you can incorporate lace or cable patterns into your wrist warmers. Lace patterns create a delicate and feminine look, while cable patterns add texture and depth. There are many free knitting patterns available online that include lace or cable elements, or you can create your own design.
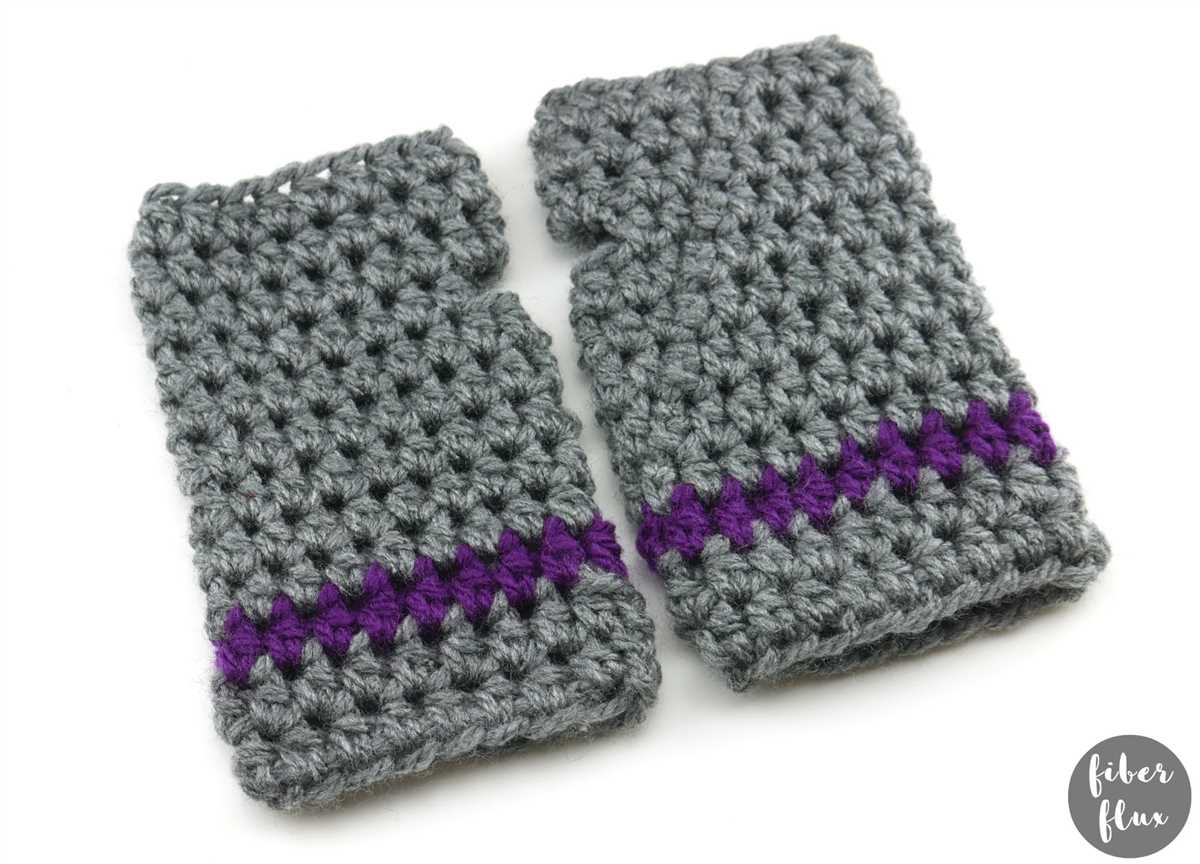
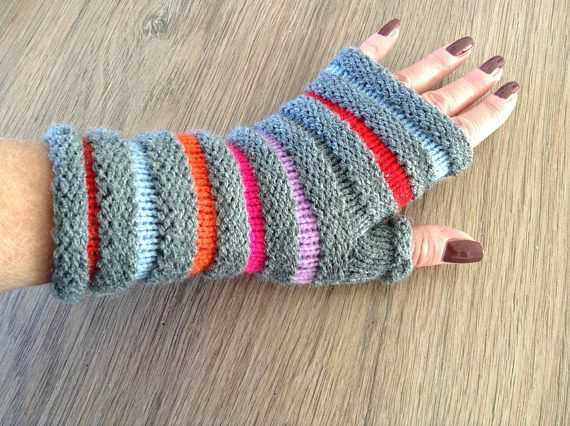
Colorwork: Colorwork is another way to add decorative elements to wrist warmers. You can use different colors of yarn to create stripes, geometric patterns, or even images. Fair Isle knitting is a popular colorwork technique that uses two or more colors in each row to create intricate patterns.
Pom-poms or tassels: For a fun and playful look, you can add pom-poms or tassels to your wrist warmers. You can make these using yarn in complementary or contrasting colors. Attach them to the cuffs or top edge of the wrist warmers using a yarn needle.
By adding decorative elements to your wrist warmers, you can create unique and eye-catching accessories that will keep your hands warm and stylish.
Finishing the Wrist Warmers
After completing the knitting portion of the wrist warmers, it’s time to finish them off to make them ready for wear. Here are the steps to follow:
Weaving in the ends
Start by weaving in any loose ends of yarn from the knitting. Use a tapestry needle to thread the ends through the stitches, going in different directions to secure them in place. Trim the excess yarn once they are securely woven in.
Seaming the sides
If your wrist warmer pattern requires seaming the sides together, align the edges of the wrist warmer and use a tapestry needle to sew them together. Work from the bottom edge upwards, taking care to ensure that the stitches are even and that the seam is secure.
Blocking
To give your wrist warmers a polished finish and to help them retain their shape, consider blocking them. Wet the wrist warmers in lukewarm water and gently squeeze out the excess moisture. Lay them flat on a clean towel, shaping them to the desired size and allowing them to dry naturally. This will help even out any uneven stitches and make the wrist warmers look more professional.
Finishing touches
Finally, take a moment to inspect the wrist warmers for any loose stitches or uneven edges. Use a crochet hook or tapestry needle to fix any issues and make any necessary adjustments. Once you are satisfied with the final appearance, your wrist warmers are ready to be worn or gifted.
Blocking and Care Instructions
Once you have finished knitting your wrist warmers, it is important to block them to ensure that they have the desired shape and size. Blocking involves wetting the knitting and reshaping it while it dries. Here are the steps to block your wrist warmers:
- Gently soak your wrist warmers in lukewarm water for about 10-15 minutes. You can add a small amount of mild detergent or wool wash if desired.
- Remove the wrist warmers from the water and gently squeeze out excess moisture. Avoid wringing or twisting the knitting, as this can cause stretching.
- Spread a clean towel on a flat surface and lay the wrist warmers on top, shaping them to the desired size and length. Smooth out any wrinkles or uneven stitches.
- Leave the wrist warmers to dry completely. This can take several hours or even overnight, depending on the humidity and air circulation in your home.
- Once the wrist warmers are dry, they should have a slightly stretched and blocked shape. If needed, you can lightly steam them with an iron on a low setting to further enhance the shape and finish.
In terms of care, it is important to hand wash your wrist warmers using a mild detergent or wool wash. Avoid machine washing or drying, as this can cause felting or stretching of the knitting. Gently squeeze out excess water and reshape the wrist warmers while they are damp. Lay them flat to dry to maintain their shape and avoid stretching. With proper care, your wrist warmers should last for many seasons of cozy warmth.
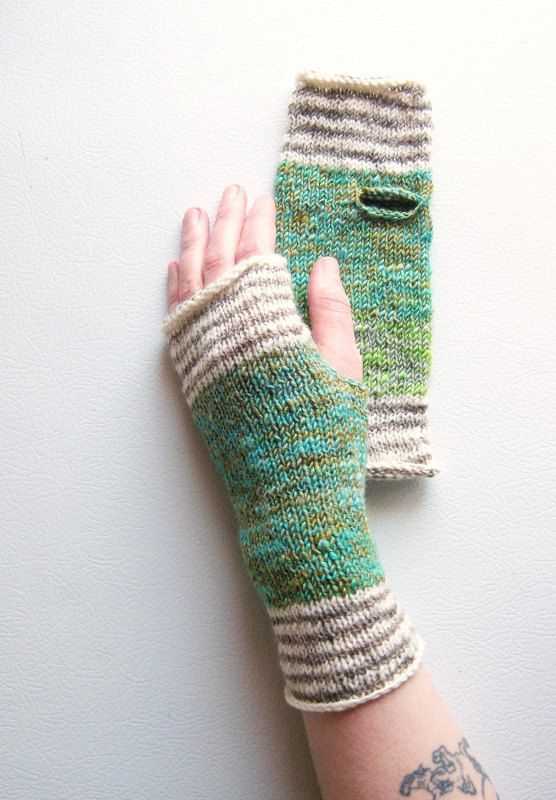
Variations and Customizations
If you want to add your personal touch to the wrist warmers pattern, there are several variations and customizations you can try. Here are some ideas to get you started:
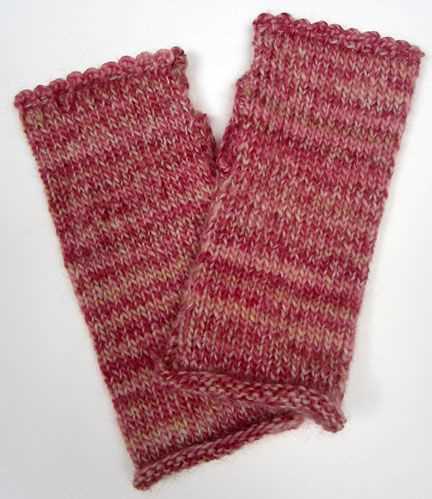
- Color variations: Experiment with different colors of yarn to create unique and vibrant wrist warmers. You can use one color for the main body and a contrasting color for the ribbed cuff or add colorwork patterns.
- Texture variations: Use different stitch patterns or combinations of stitches to create textured wrist warmers. For example, you can try a seed stitch, cables, or lace patterns.
- Length variations: Adjust the length of the wrist warmers to suit your preferences. You can make them shorter for a more casual look or longer for extra warmth.
- Embellishments: Add buttons, beads, or embroidery to personalize your wrist warmers. You can sew on buttons as decorative accents or create intricate designs with embroidery thread.
- Fingerless variations: If you prefer fingerless wrist warmers, you can modify the pattern by leaving an opening for your fingers. This variation allows you to keep your hands warm while still having full dexterity.
Remember, these are just suggestions, and you are encouraged to get creative and experiment with different ideas. The beauty of knitting is that it allows you to customize your projects according to your unique style and preferences.
With these variations and customizations, you can create a collection of wrist warmers that are not only functional but also reflect your personal flair. Whether you keep them for yourself or give them as gifts, these wrist warmers are sure to be a hit!