
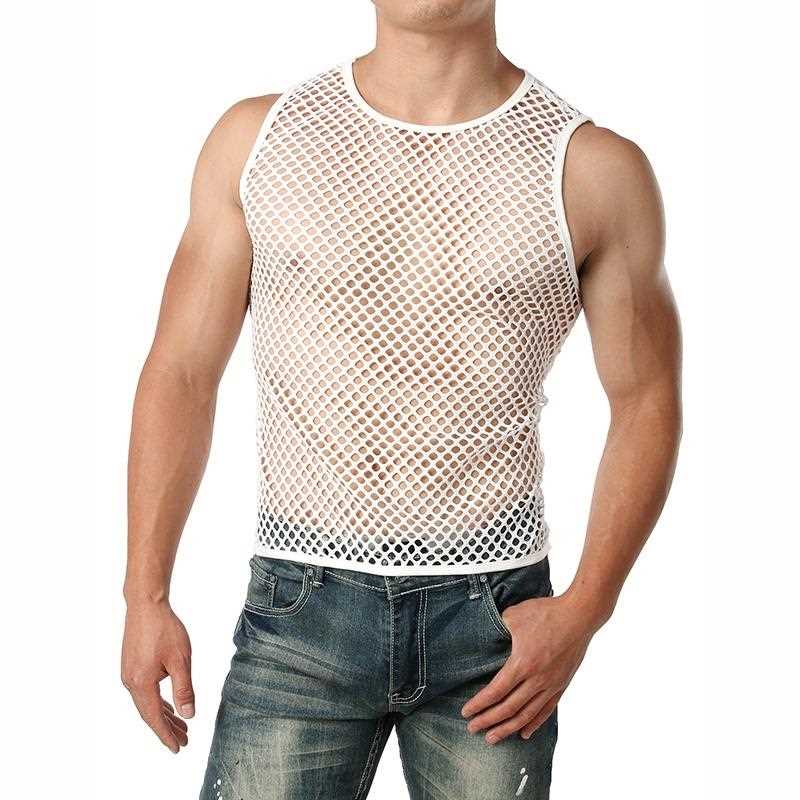
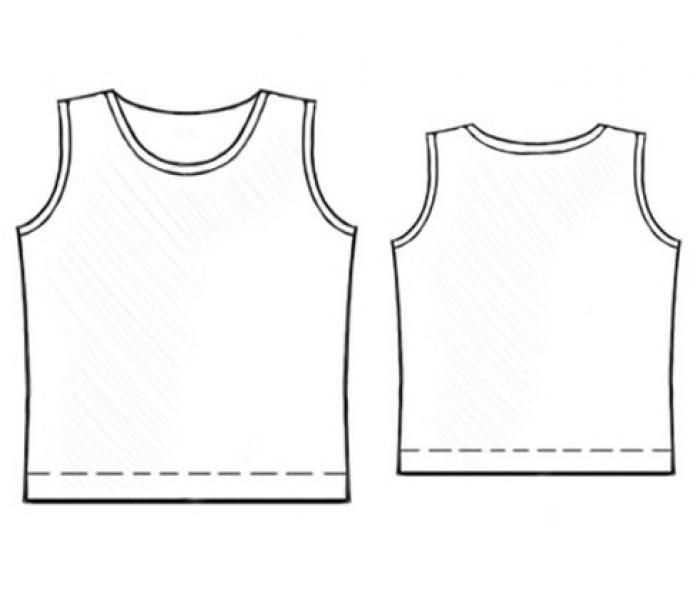
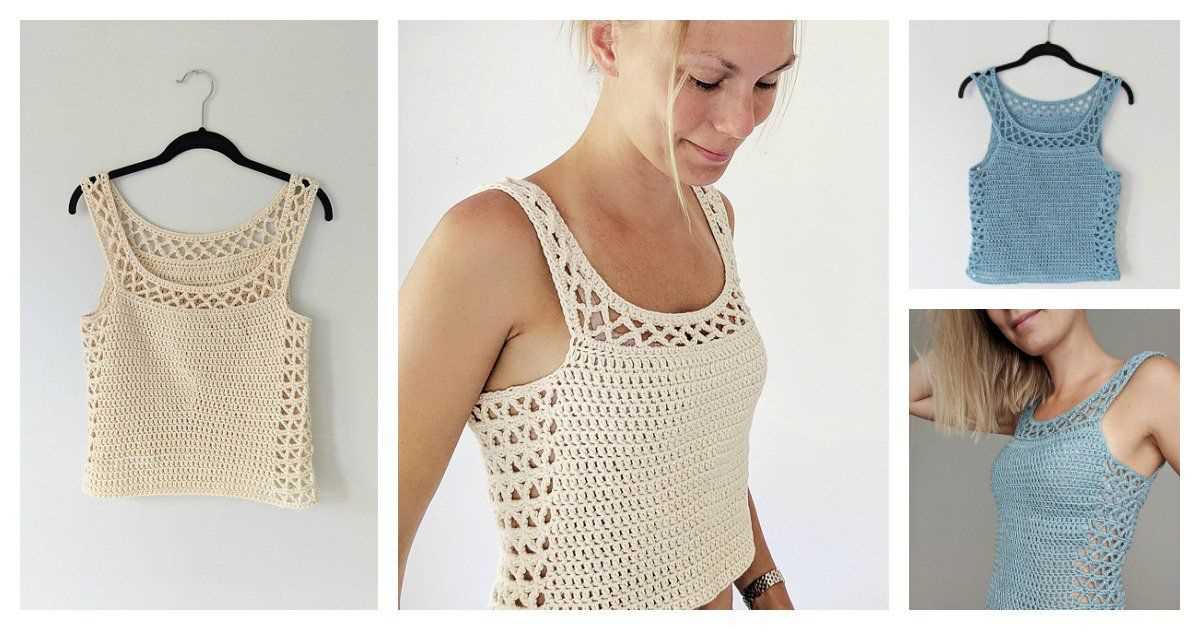
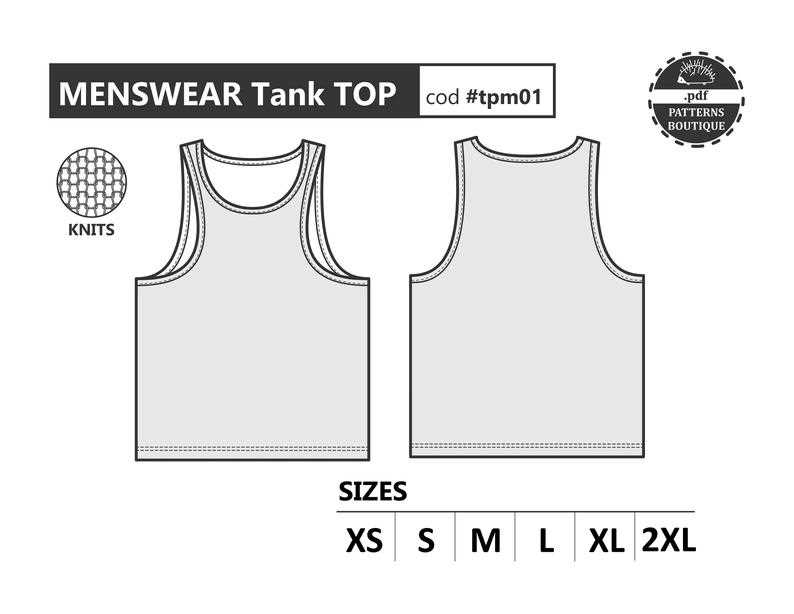
Are you looking for a new knitting project? How about making a stylish tank top for the man in your life? Knitting a tank top is a great way to show off your skills and create a unique and fashionable piece of clothing. Whether you’re an experienced knitter or a beginner, this free knitting pattern is perfect for anyone looking to take on a new challenge.
This pattern is designed for men and features a classic tank top style. The pattern includes step-by-step instructions and a detailed stitch guide, making it easy to follow along. You can choose your own color and yarn type to customize the tank top to suit your personal style. Whether you prefer a bold and bright design or something more subtle and neutral, this pattern is versatile enough to accommodate any preference.
Knitting a tank top is a fun and rewarding project that can be completed in just a few weeks. Not only will you end up with a stylish and comfortable piece of clothing, but you’ll also have the satisfaction of knowing that you made it yourself. So why not give it a try and start knitting your own men’s tank top today?
Free Knitting Pattern for Men’s Tank Top
Knitting is a wonderful hobby that allows you to create your own unique garments. If you’re looking for a new project to take on, why not try knitting a men’s tank top? With this free knitting pattern, you can create a stylish and comfortable tank top that is perfect for any summer outing or casual occasion.
Materials Needed:
- Medium weight yarn
- Size 8 knitting needles
- Tapestry needle
- Stitch markers
Instructions:
- Begin by casting on the desired number of stitches, based on your measurements.
- Knit the first few rows in a rib stitch pattern, alternating between knit and purl stitches.
- Continue knitting in the desired stitch pattern for the body of the tank top, whether it be a simple stockinette stitch or a more intricate design.
- Shape the armholes by binding off a certain number of stitches on each side, and then continue knitting the front and back separately.
- When you reach the desired length for the tank top, bind off all stitches and sew the sides together using a tapestry needle.
- Finally, add any finishing touches such as ribbing along the neckline and armholes.
This free knitting pattern for a men’s tank top allows for customization and creativity. You can choose different colors or stitch patterns to make it truly unique to your personal style. Knitting your own tank top also gives you the opportunity to create a garment that fits you perfectly. So why not give it a try and create a stylish and comfortable tank top that you can wear with pride?
Materials Needed:
In order to create a men’s tank top, you will need the following materials:
-
Yarn: Choose a yarn that is suitable for knitting a tank top, such as cotton or a cotton blend. The amount of yarn needed will depend on the size of the tank top and the gauge of your knitting.
-
Knitting Needles: Use knitting needles that are appropriate for the yarn you have chosen. The recommended needle size can usually be found on the yarn label. You may also need circular needles if you choose to knit the tank top in the round.
-
Tape Measure: A tape measure will come in handy for taking measurements and ensuring the tank top fits properly.
-
Stitch Markers: Stitch markers can be used to indicate the beginning of rounds or to mark specific stitches.
-
Scissors: A pair of sharp scissors will be needed for cutting the yarn.
-
Darning Needle: A darning needle is useful for weaving in yarn ends and sewing pieces together, if necessary.
Once you have gathered all of the necessary materials, you will be ready to start knitting the men’s tank top. Make sure to read through the pattern thoroughly before beginning to ensure you understand all of the instructions and techniques involved.
Sizing Options
When it comes to knitting a men’s tank top, it’s important to find the right size for a comfortable fit. Whether you’re knitting for yourself or someone else, taking accurate measurements is key.
Standard Sizing: Most knitting patterns include standard sizing options, such as small, medium, large, and extra-large. These sizes typically correspond to chest measurements, ranging from around 34 to 50 inches. Be sure to choose the size that matches the intended recipient’s measurements.
Custom Sizing
If you prefer a more tailored fit or if the recipient doesn’t fall into the standard sizing options, you can easily customize the tank top to fit specific measurements.
Measurements Needed: To create a custom size, you’ll need to take the chest, waist, and hip measurements of the person you’re knitting for. You may also want to consider the length of the tank top from the shoulder to the desired hemline.
Adjusting the Pattern: Once you have the measurements, you can adjust the pattern accordingly. This may involve adding or subtracting stitches to achieve the desired width and length. You may also need to modify the armhole depth and neckline shaping to ensure a proper fit.
Swatching: Before diving into the project, it’s a good idea to knit a swatch using your chosen yarn and needles. This will help you determine the correct gauge and ensure that your tank top will turn out the right size. Adjust your needle size accordingly if your gauge doesn’t match the pattern’s.
By choosing the right size or customizing the pattern to fit specific measurements, you can create a men’s tank top that is not only stylish but also comfortable to wear.
Gauge and Tension
Before starting any knitting project, it’s important to check the gauge and tension of your stitches to ensure that your finished garment will fit correctly. Gauge refers to the number of stitches and rows you’ll get per inch when knitting with a specific yarn and needle size. Tension, on the other hand, refers to the overall tightness or looseness of your knitting.
To check your gauge, start by knitting a swatch using the specified yarn and needle size. The pattern will usually provide a recommended gauge, such as 20 stitches and 28 rows per 4 inches. Measure your swatch using a ruler or a gauge tool and compare it to the recommended gauge. If your stitches are too tight and you have fewer stitches per inch, you’ll need to switch to a larger needle. If your stitches are too loose and you have more stitches per inch, you’ll need to switch to a smaller needle.
It’s important to note that everyone knits with different tension, so it’s crucial to check your own gauge rather than relying solely on the pattern’s recommendations. Even a slight difference in gauge can significantly affect the size and fit of your finished garment. Additionally, your tension may change throughout the knitting process, so it’s a good idea to periodically check your gauge as you work on your project.
Once you have determined the correct gauge, you can confidently knit your men’s tank top using the pattern. Remember to keep an eye on your tension as you knit and adjust your needle size if needed to ensure a professional and well-fitting finished garment.
Pattern Instructions
Here are the detailed instructions for knitting the men’s tank top:
Materials:
- Yarn: You will need approximately 500-600 grams of medium weight yarn. Choose a color that you like.
- Knitting needles: Size US 8 (5.0 mm) or size needed to obtain gauge.
- Tapestry needle
- Stitch markers
Gauge:
20 stitches and 24 rows = 4 inches (10 cm) in stockinette stitch
Size:

This pattern is written for a men’s size medium. To make adjustments for other sizes, refer to the measurements provided.
Instructions:
- Cast on 96 stitches.
- Work in 2×2 ribbing (knit 2 stitches, purl 2 stitches) for 2 inches.
- Switch to stockinette stitch and continue knitting until the piece measures 10 inches from the cast-on edge.
- Shape armholes:
- On the next row, bind off 4 stitches at the beginning of the row, then knit to the end.
- Repeat the previous row every other row 5 more times.
- Continue knitting until the piece measures 17 inches from the cast-on edge.
- On the next row, bind off 26 stitches at the beginning of the row, then knit to the end.
- Repeat the previous row every other row 3 more times.
Finishing:

Use the tapestry needle to weave in any loose ends. Block the garment to the desired measurements. Sew the side seams together using the mattress stitch. Sew the shoulder seams together using the same stitch. You can also optionally add ribbed trims to the armholes and neckline for a neater finish.
Front Panel
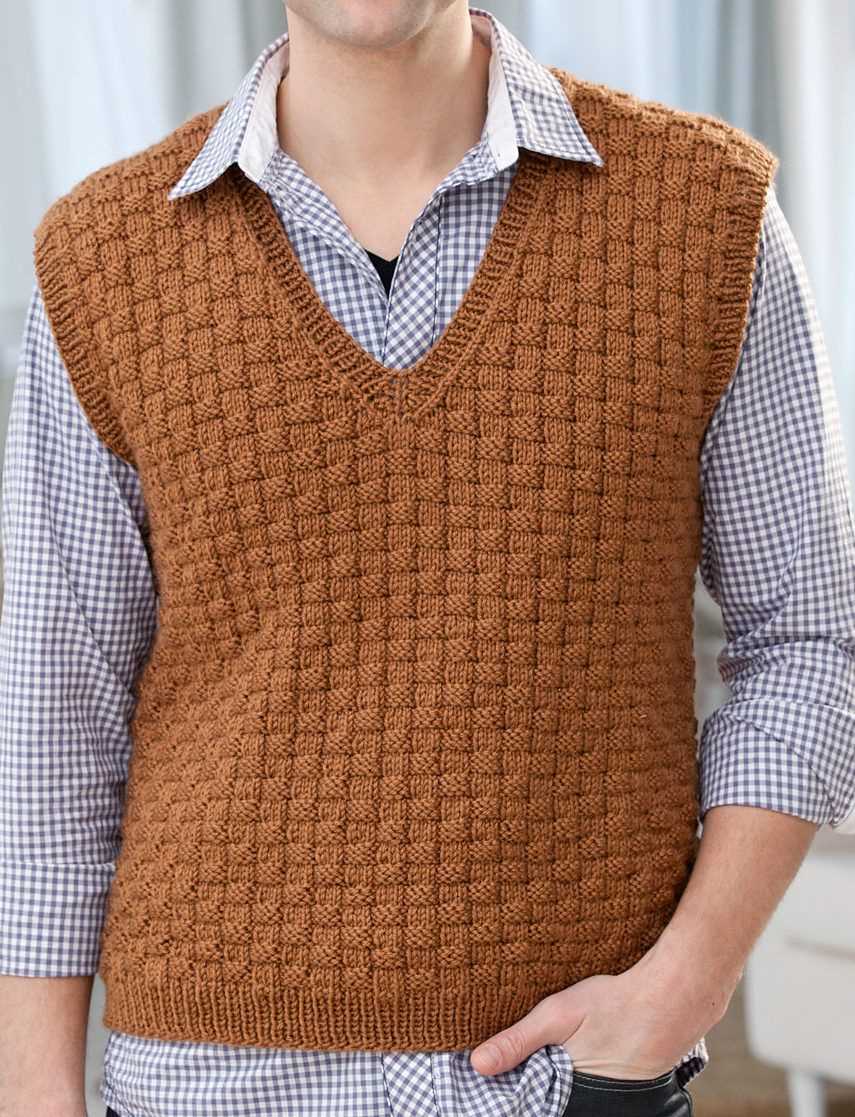
The front panel of this men’s tank top is worked in a combination of knit and purl stitches to create a textured pattern. The pattern begins with a ribbed hem, followed by a section of seed stitch, and then transitions into a central cable panel surrounded by a combination of knit and purl stitches.
To start, cast on the required number of stitches using the specified yarn and needle size. The ribbed hem is worked in a K1, P1 ribbing pattern for the desired length. Next, the seed stitch section is worked by alternating between knit and purl stitches across each row. This creates a bumpy texture that adds depth to the design.
The central cable panel is the focal point of the front panel. It is worked over a specific number of stitches and rows, and creates a visually interesting pattern. Care should be taken to follow the cable pattern instructions accurately to achieve the desired result. The cable panel is surrounded by sections of knit and purl stitches, which help to frame the panel and provide additional texture.
- Cast on the required number of stitches
- Work the ribbed hem in a K1, P1 ribbing pattern
- Transition to the seed stitch section by alternating between knit and purl stitches
- Work the central cable panel according to the specified pattern instructions
- Surround the cable panel with sections of knit and purl stitches
Continuing the front panel, repeat the seed stitch, cable panel, and knit-purl sections as specified by the pattern. Pay attention to any shaping instructions, such as decreases or increases, to ensure a proper fit. Once the front panel is complete, it can be set aside while working on the back panel of the tank top.
Back Panel
The back panel is worked in two sections: the upper back and the lower back. The upper back is worked first, starting from the shoulders and knitting downwards. The lower back is worked from the bottom up, joining to the upper back panel at the armholes.
To begin the upper back panel, cast on the required number of stitches for your size. Use a provisional cast on if you prefer to graft the shoulder seams later, or a regular cast on if you plan to sew the shoulder seams. Work in a simple ribbing pattern for the desired length, usually about 2-3 inches.
Upper Back Panel
After completing the ribbing, switch to your main stitch pattern for the upper back panel. This can be a simple stockinette stitch, a textured stitch pattern, or any other design you prefer. Continue knitting in your chosen pattern until the back panel measures the desired length from the base of the neck to the armholes.
Once the upper back panel is complete, set it aside and move on to the lower back panel. Starting from the bottom edge, cast on the required number of stitches for your size. Work in your chosen stitch pattern until the lower back panel measures the desired length from the bottom edge to the armholes.
After completing the lower back panel, you will join it to the upper back panel at the armholes. Place the two panels side by side, with right sides facing each other, and use a tapestry needle to sew the side seams. Pay attention to matching up the stitch pattern and maintaining the correct number of stitches along the armholes. Once the side seams are sewn, your back panel is complete and ready to be assembled with the front panel and straps.
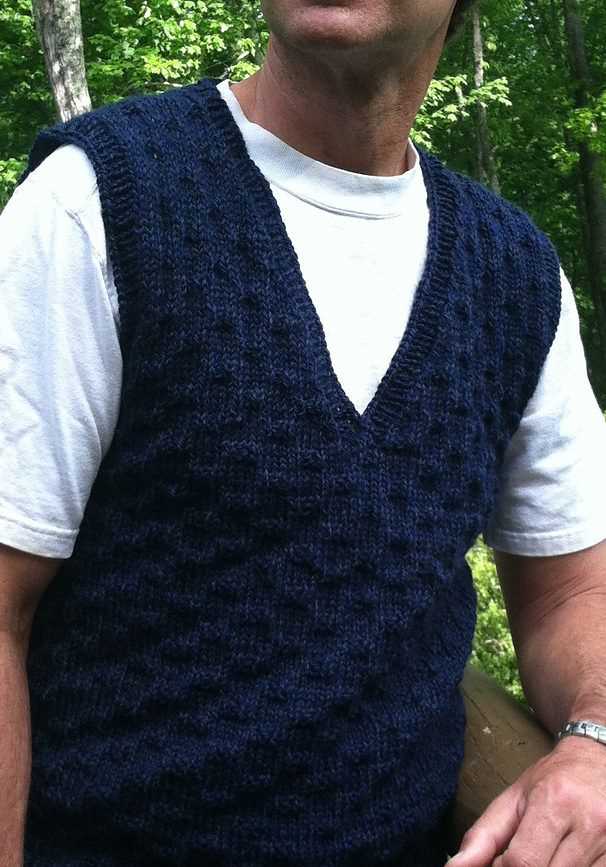
Neckline and Armholes
The neckline and armholes are important elements in a tank top design. They contribute to the overall fit and style of the garment. When creating a men’s tank top, it is essential to pay attention to these areas to ensure a comfortable and flattering fit.
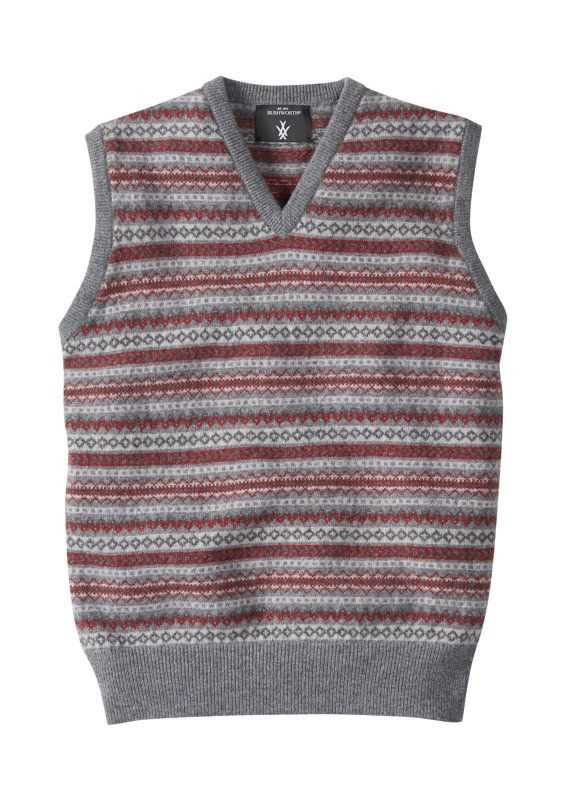
The neckline can be customized to suit personal preferences or follow a specific pattern. A common neckline option for a men’s tank top is a crew neck, which sits just below the base of the neck. This neckline provides a clean and classic look. Alternatively, a V-neckline can be chosen for a more trendy and modern style. The V-neckline adds visual interest to the tank top and can help elongate the neck. Whichever option is chosen, it is important to ensure that the neckline is not too tight or too loose to ensure comfort.
In terms of armholes, they should be proportionate to the size of the tank top and allow for ease of movement. The armholes should not be too tight as this can restrict arm movement and cause discomfort. On the other hand, overly large armholes may result in an unflattering fit and make the tank top look ill-fitting. Finding the right balance is crucial to ensure both comfort and style.
Consider using ribbing or a contrasting color to finish the neckline and armholes of the tank top. This can help add visual interest and create a polished and professional-looking finish. Additionally, it is important to reinforce the edges of the neckline and armholes to prevent stretching or unravelling over time. This can be achieved by using a smaller needle size or adding a few rows of ribbing.
Overall, the neckline and armholes are important components of a men’s tank top. They should be carefully considered and tailored to ensure a comfortable and stylish fit. Making the right choices in terms of neckline style, size, and finishing touches can elevate the overall design of the tank top and make it a versatile and fashionable wardrobe staple.
Finishing Touches
Once you have completed knitting your men’s tank top, it’s time to add the finishing touches to make it look polished and professional. Here are a few final steps to take before your tank top is ready to wear:
- Blocking: Blocking is an important step in finishing knitwear. It helps to even out the stitches and give the garment its final shape. Soak your tank top in lukewarm water with a dash of mild detergent. Gently squeeze out the excess water and lay the tank top flat on a towel. Shape it to the correct dimensions and leave it to dry.
- Seaming: Use a yarn needle and matching yarn to seam the sides of the tank top together. Make sure to sew with neat and even stitches to ensure a clean finish. You can also use a crochet hook to add a decorative edge to the armholes and neckline.
- Adding Buttons or Decorations: If your tank top has button closures, sew the buttons onto one side of the front and add corresponding buttonholes on the other side. You can also add decorative buttons, beads, or appliques to personalize your tank top.
- Weaving in Ends: Take the time to weave in any loose ends of yarn to give your tank top a professional look. Use a yarn needle to carefully sew the ends of the yarn into the back of the stitches, ensuring they are secure and not visible.
With all these finishing touches, your men’s tank top is now complete and ready to be worn with style. Enjoy your handmade creation or give it as a thoughtful gift to someone special.