
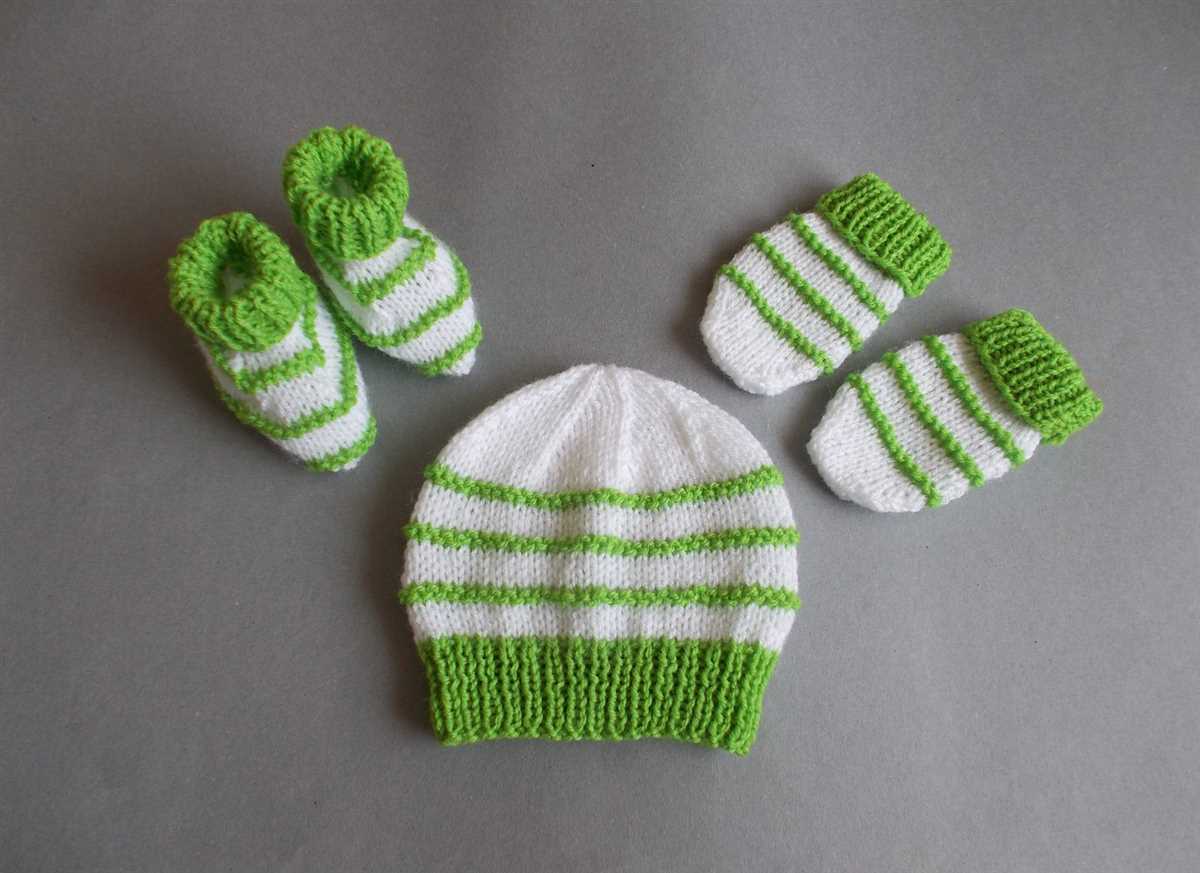
If you’re just starting out in the world of knitting, it can be overwhelming to try and tackle complicated patterns right off the bat. That’s why finding free knitting mitten patterns for beginners is the perfect way to ease into the craft. Mittens are a great project for beginners because they’re relatively small and can be completed in a short amount of time. Plus, they’re a practical and cozy accessory for the colder months.
When looking for beginner-friendly mitten patterns, it’s important to find ones that are simple and easy to follow. Look for patterns that use basic stitches, like knit and purl, and avoid patterns that have complex techniques like cables or colorwork. It’s also helpful to find patterns that include step-by-step instructions and clear explanations, so you can confidently work through each stage of the project.
Free knitting mitten patterns can be found online on various knitting websites and blogs. There are patterns available for all skill levels, so be sure to filter your search specifically for beginner patterns. Many websites and blogs also offer tutorials and videos to accompany their patterns, which can be helpful for visual learners or those who are new to knitting terminology.
With the right free knitting mitten patterns for beginners, you’ll be able to confidently create cozy mittens to keep your hands warm all winter long. The patterns will not only help you develop your skills as a knitter, but they’ll also provide you with a sense of accomplishment and pride as you wear your handmade mittens. So gather your knitting needles and yarn, and get ready to create beautiful mittens with these beginner-friendly patterns!
Free Knitting Mitten Patterns for Beginners
If you’re new to knitting and want to start with a simple and practical project, knitting mittens is a great choice. Mittens are a useful accessory during the colder months, keeping your hands warm and cozy. Moreover, they can be a thoughtful and personalized gift for your loved ones. Fortunately, there are several free knitting mitten patterns available online, specifically designed for beginners.
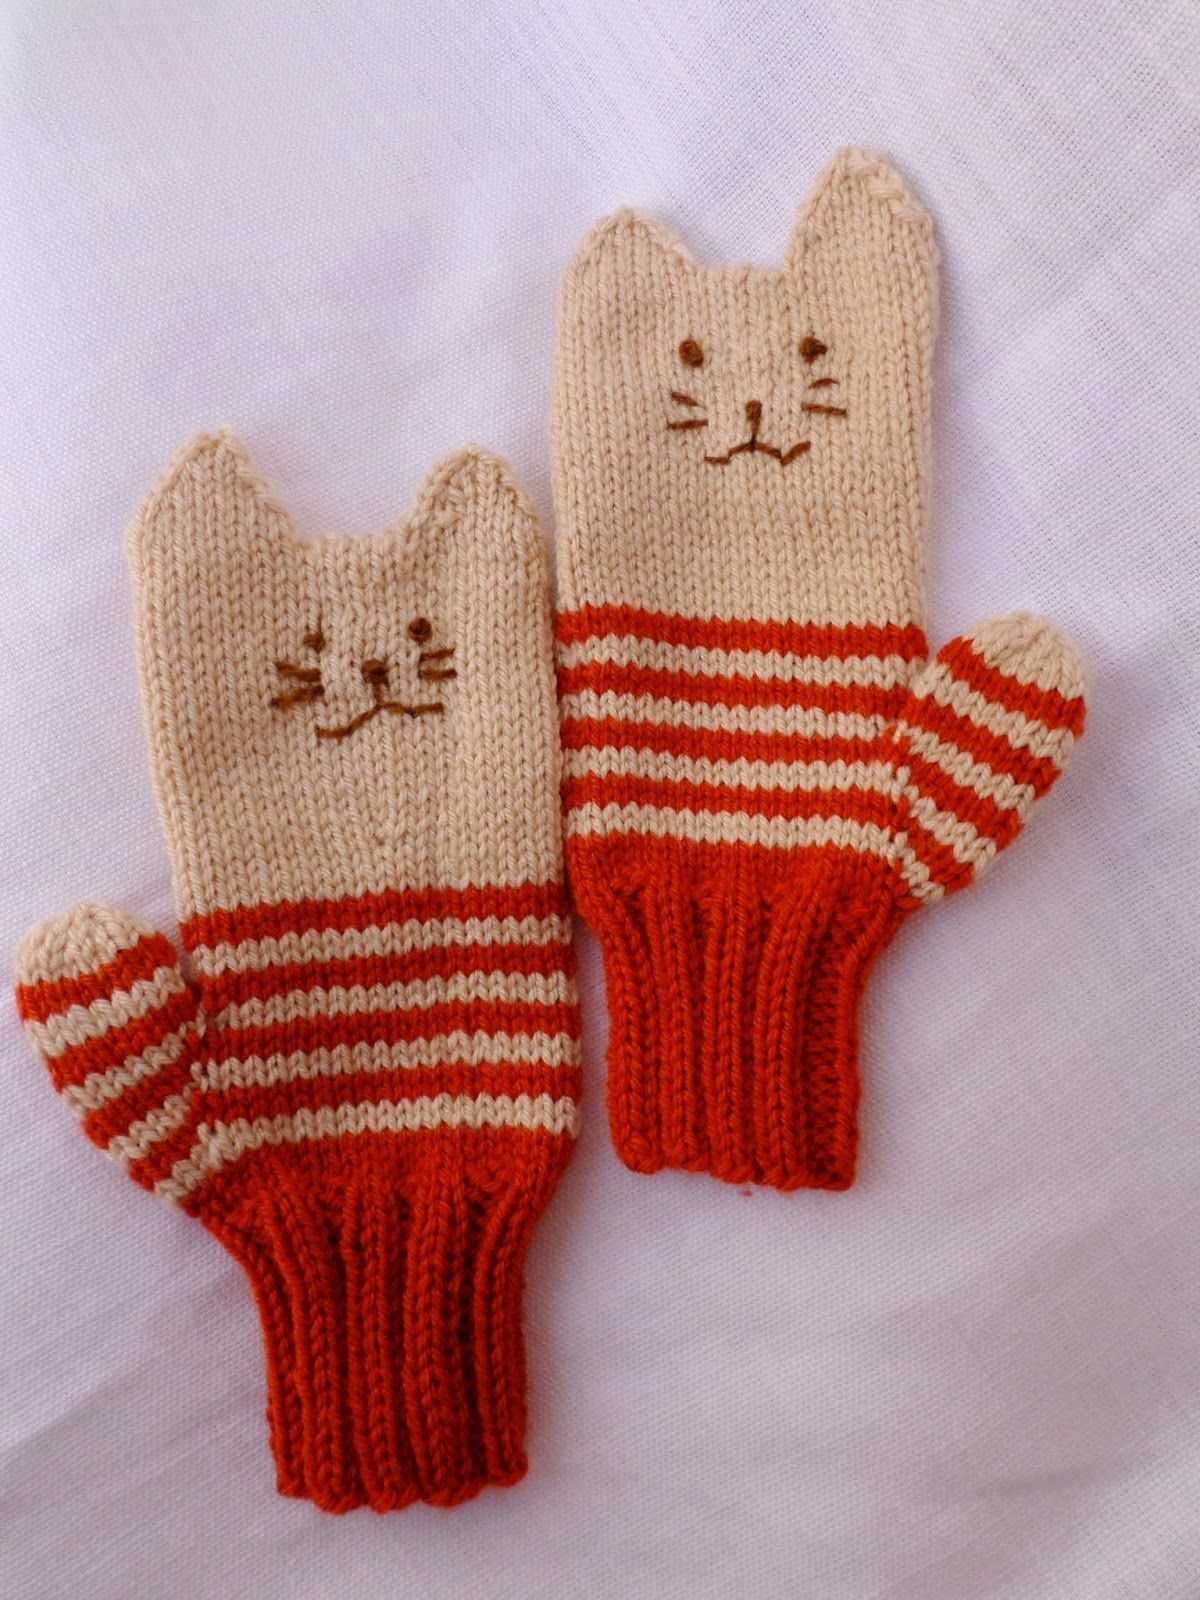
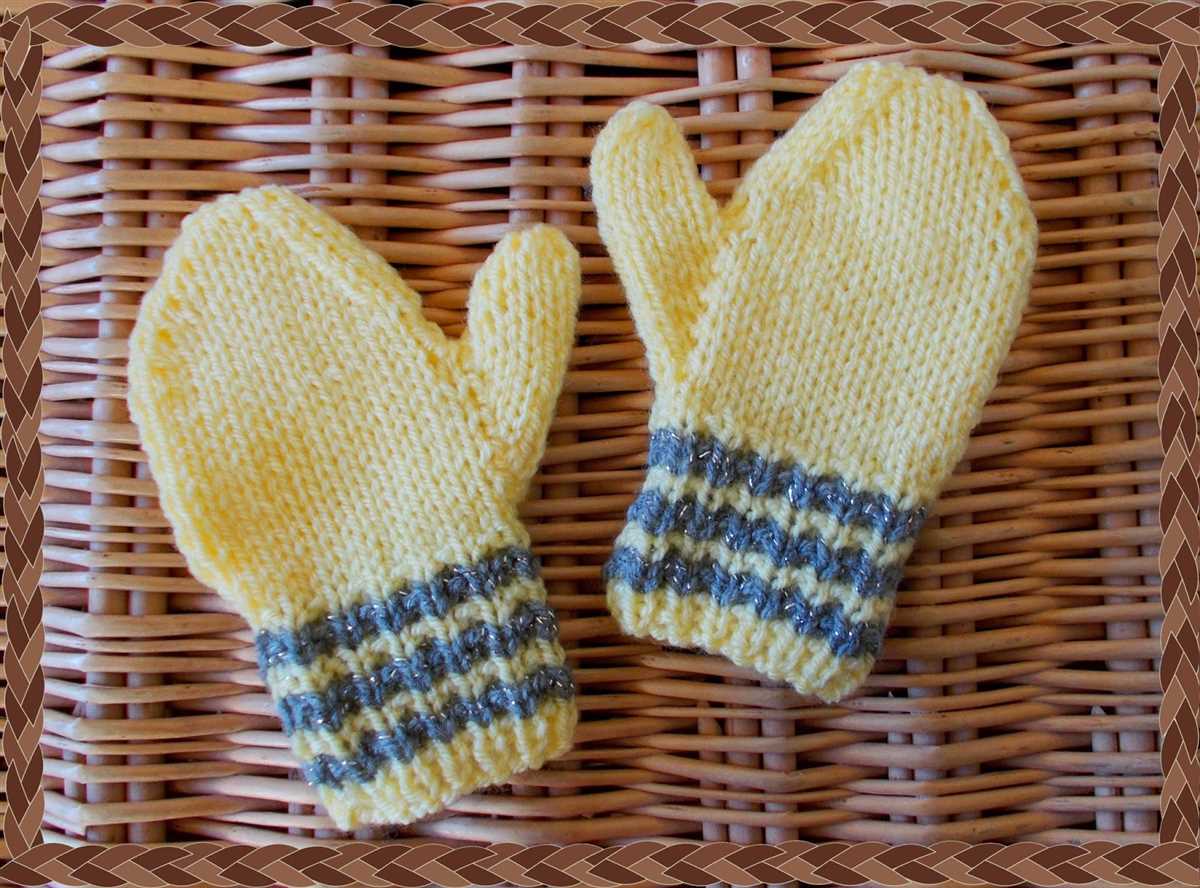
1. Basic Mittens Pattern: This pattern is perfect for beginners as it uses basic knitting techniques such as casting on, knitting, purling, and decreasing stitches. The instructions are easy to follow and include step-by-step illustrations. With this pattern, you’ll be able to create a classic pair of mittens that can be customized with different colors or patterns.
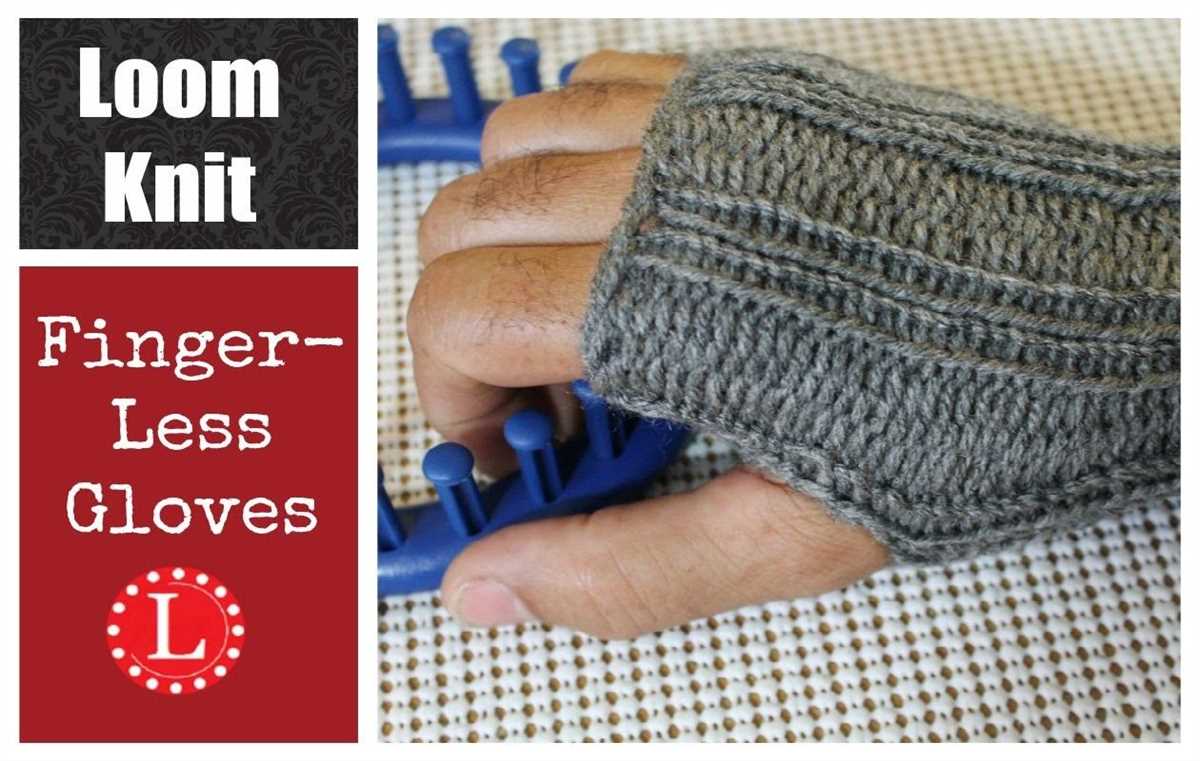
2. Fingerless Mittens Pattern: If you prefer more dexterity while keeping your hands warm, fingerless mittens are a great option. This pattern is ideal for beginners as it involves simple knitting techniques without the complexity of knitting individual fingers. Fingerless mittens can be worn indoors or outdoors and are perfect for activities that require finger movement, such as typing or crafting.
3. Cable Knit Mittens Pattern: Once you feel more confident with basic knitting techniques, you can try your hand at cable knitting. Cable knit mittens add a stylish and intricate touch to your knitting projects. Although it might seem intimidating, this pattern includes detailed instructions and step-by-step illustrations to guide you through the cable knitting process. The end result will be a beautiful pair of mittens with a unique and textured design.
If you’re new to knitting and looking for a beginner-friendly project, free knitting mitten patterns are a great choice. Whether you prefer basic mittens, fingerless mittens, or cable knit mittens, there are patterns available that suit your skill level. Knitting mittens not only keeps your hands warm but also allows you to unleash your creativity by choosing different yarns, colors, and patterns. So grab your knitting needles and start creating your own cozy mittens this winter!
Basic Knitting Materials
When it comes to knitting, having the right materials is essential for a successful project. Whether you’re a beginner or an experienced knitter, there are a few basic materials that you’ll need to have on hand.
Yarn: Yarn is the main material used in knitting. It comes in various thicknesses, textures, and colors. For beginners, it’s best to start with a medium-weight yarn made from acrylic or wool blend. This type of yarn is easier to work with and creates a nice finished product.
Knitting Needles: Knitting needles are used to create the loops in the yarn. They come in different sizes and materials. For beginners, it’s recommended to start with a pair of medium-sized needles, usually around US size 8 (5mm). These needles are versatile and work well with a variety of yarns.
Scissors: Scissors are needed for cutting the yarn at the end of a project or to fix any mistakes. It’s a good idea to have a small pair of sharp scissors specifically for knitting.
Tape Measure: A tape measure is an essential tool for measuring your work and checking gauge. It helps ensure that your project is the correct size and that your tension is consistent.
Stitch Markers: Stitch markers are small rings or clips that are used to mark specific points in your knitting. They can be used to mark the beginning of a round, pattern repeats, or any other important spots in your project.
Yarn Needle: A yarn needle, also known as a darning needle, is used for sewing in loose ends of yarn and seaming pieces together. It’s an important tool for finishing your knitting projects.
By having these basic knitting materials on hand, you’ll be well-equipped to start your knitting journey and create beautiful mitten patterns for yourself or as gifts for others!
Choosing the Right Yarn
When it comes to knitting mittens, choosing the right yarn is crucial. The yarn you select will not only determine the overall look and feel of your mittens but also affect the warmth and durability they provide. Here are some factors to consider when choosing yarn for your mitten project.
Fiber Content:
The first thing to consider is the fiber content of the yarn. Common yarn options for mittens include wool, acrylic, alpaca, and blends. Wool is a popular choice due to its warmth and natural moisture-wicking properties. Acrylic yarns are often more affordable and easy to care for. Alpaca yarn can provide extra warmth and softness but may be more expensive. Consider the characteristics you desire in your mittens and choose the fiber content accordingly.
Weight and Thickness:
The weight and thickness of the yarn will also impact the final outcome of your mittens. Thicker yarns will create bulkier mittens, which may be more suitable for colder climates. Lightweight yarns, on the other hand, will result in thinner, more flexible mittens. Consider the intended use of your mittens and the desired level of warmth and dexterity when selecting the weight and thickness of your yarn.
Color and Texture:
The color and texture of the yarn can greatly enhance the overall appearance of your mittens. Choose colors that complement your personal style or match your winter wardrobe. Consider whether you want a solid color or prefer a variegated or self-striping yarn for added visual interest. Additionally, consider the texture of the yarn. A smooth yarn may be easier to knit with, while a textured yarn can add dimension to your mittens.
With these considerations in mind, take the time to explore different yarn options and choose one that suits both your knitting skills and the desired outcome of your mitten project. Happy knitting!
Getting Started with Knitting Needles
When it comes to knitting, one of the most important tools you’ll need is a pair of knitting needles. These needles come in various sizes and materials, and choosing the right ones will greatly affect your knitting experience. Here’s a guide to help you get started with knitting needles.
Types of Knitting Needles
- Straight Needles: These are the most common type of knitting needles. They are straight and have a pointed tip on one end and a knob or cap on the other end to prevent stitches from slipping off.
- Circular Needles: These needles are connected by a flexible cable, allowing you to knit in a round or work on larger projects that require more stitches. Circular needles are great for knitting sweaters, hats, and socks.
- Double-pointed Needles: These needles are shorter in length and have a point on both ends. They are ideal for knitting small projects like gloves, mittens, and socks.
Choosing the Right Size
Knitting needles come in different sizes, ranging from small to large. The size you choose will depend on the type of yarn and the desired gauge of your project. The size of the needle is often indicated by a number or a letter, and you can find this information on the packaging or by using a needle gauge.
Materials
Knitting needles can be made from various materials, each with its own pros and cons. Common materials include:
- Aluminum: Lightweight and affordable, aluminum needles are durable and smooth, making them great for beginners.
- Bamboo: Known for their warmth and flexibility, bamboo needles provide a good grip and are gentle on the hands.
- Wood: Similar to bamboo, wooden needles are lightweight and provide a warm and smooth knitting experience.
- Plastic: Plastic needles are often inexpensive and lightweight, but they may not be as durable as other materials.
Getting Started
Once you have chosen your knitting needles, you can start practicing your knitting skills. It’s recommended to start with a simple pattern or tutorial for beginners. Make sure to familiarize yourself with the basic knitting stitches and techniques before moving on to more complex projects.
Remember, knitting is a skill that takes time and practice to master, so be patient and enjoy the process of creating beautiful knitted items with your new knitting needles!
Understanding Knitting Abbreviations
If you’re new to knitting, you may be overwhelmed by the many abbreviations that are commonly used in knitting patterns. However, once you become familiar with these abbreviations, you’ll find it much easier to read and understand knitting instructions.
Knitting abbreviations are commonly used to represent different stitches, techniques, and actions in knitting patterns. They are a shorthand way of conveying information, making patterns easier to read and follow. Common knitting abbreviations include:
- K – knit stitch
- P – purl stitch
- YO – yarn over
- SSK – slip, slip, knit
- K2tog – knit two stitches together
These abbreviations are often combined with other symbols and numbers to indicate specific instructions. For example, a pattern may instruct you to “K2, P2” which means to knit two stitches, then purl two stitches. Another pattern may use the abbreviation “K2tog” followed by a number, indicating that you should knit two stitches together a certain number of times.
It’s important to familiarize yourself with these common abbreviations before attempting to knit a pattern. You can find a comprehensive list of knitting abbreviations in knitting books and online resources. Once you understand these abbreviations, you’ll be able to confidently tackle knitting projects and create beautiful pieces with ease.
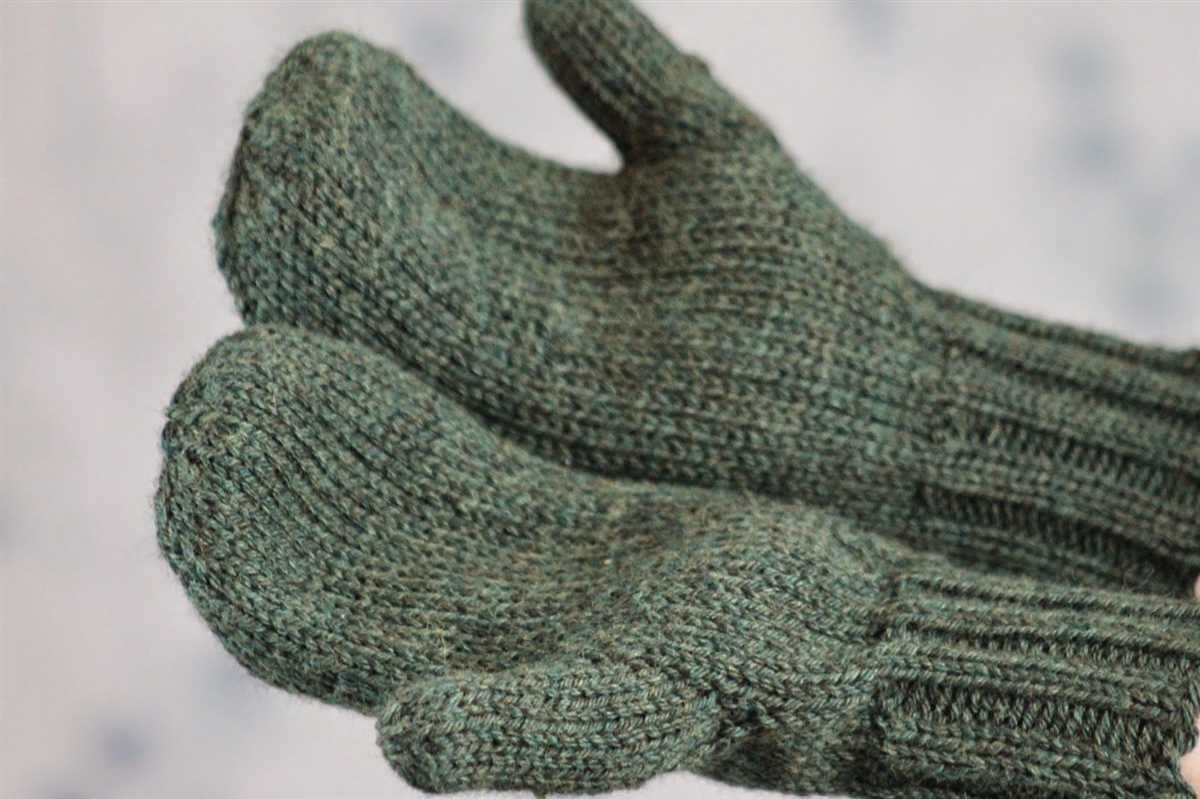
Simple Mittens Pattern
Are you a beginner knitter looking to take on a new project? Look no further! This simple mittens pattern is perfect for those just starting out. With easy-to-follow instructions and basic knitting techniques, you’ll have a cozy pair of mittens in no time.
To get started, you’ll need a set of size 8 double-pointed knitting needles and a ball of worsted weight yarn in your favorite color. Cast on 28 stitches and divide them evenly among your needles. Join in the round, being careful not to twist your stitches.
Thumb Gusset: Knit 9 stitches, place marker, increase 1 stitch, knit 8 stitches, place marker, increase 1 stitch, knit to end of round. Repeat this increase round every 3rd round until you have 16 stitches between your markers.
Hand: Knit all stitches until the mittens measure about 2 inches from the base of the thumb gusset, or until they fit snuggly on your hand. You can try them on as you go to ensure the perfect fit.
Decrease Rounds: Switch to double-pointed needles when necessary. Decrease 1 stitch before and after each marker every other round until you have 8 stitches remaining. Cut the yarn, leaving a long tail. Thread the yarn through the remaining stitches, pull tight, and secure the end.
With this simple pattern, you’ll be able to create a warm and stylish pair of mittens for yourself or as a thoughtful gift. Don’t be intimidated by the idea of mittens – give it a try and discover the joys of knitting!
Ribbed Cuff Mittens Pattern
Are you a beginner knitter looking for a simple and stylish mitten pattern? Look no further than the ribbed cuff mittens pattern. This pattern is perfect for those who are new to knitting or want a quick and easy project. The ribbed cuff adds a touch of texture and detail to the mittens, making them look more polished and professional.
To start the pattern, you will need to gather some basic knitting supplies. These include a pair of knitting needles, a tapestry needle, and a ball of yarn in your desired color. It’s also helpful to have a stitch marker and a set of double-pointed needles, although these are not essential.
Begin the mittens by casting on the required number of stitches, then follow the pattern instructions for the ribbed cuff. This typically involves knitting a certain number of rows in a specific ribbed stitch pattern, such as k1, p1 or k2, p2. The ribbed cuff serves as a stretchy and snug band that keeps the mittens in place on your hands.
Next, you will move on to the main body of the mittens. This is where you will shape the thumb gusset and knit the palm and back of the hand. The pattern will guide you through each step, such as increasing stitches for the thumb gusset and knitting in stockinette stitch for the palm and back.
Once you have completed the main body, you will shape the top of the mittens to create the finger section. This is typically done by decreasing stitches in a specific pattern, such as k2tog or ssk. The pattern will specify the number of stitches and rows to knit for each decrease section.
Finally, you will finish the mittens by binding off the remaining stitches and weaving in any loose ends. You can then try on your new ribbed cuff mittens and admire your handiwork. These mittens make a great accessory for the colder months and also make wonderful gifts for friends and family.
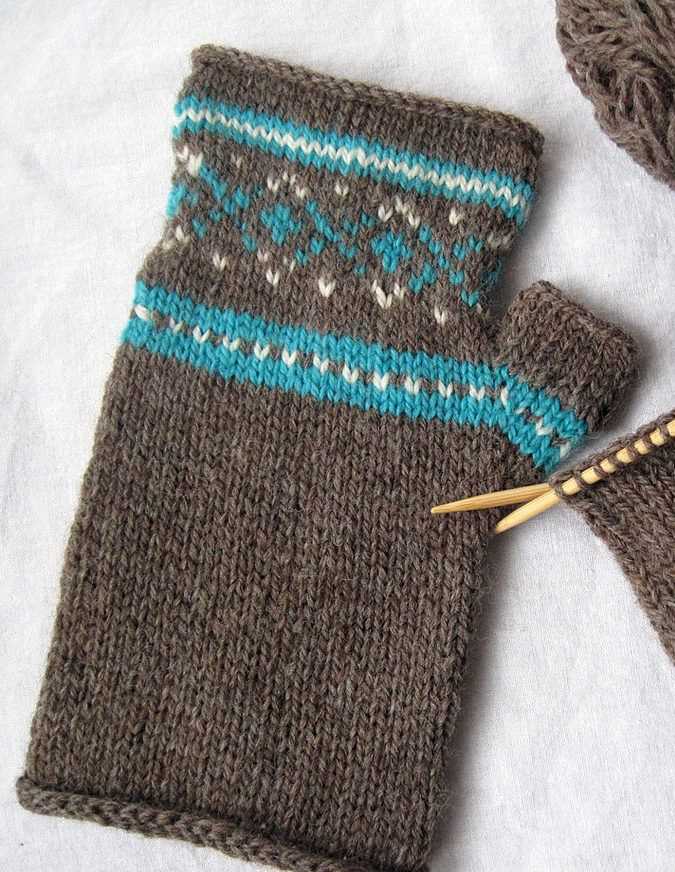
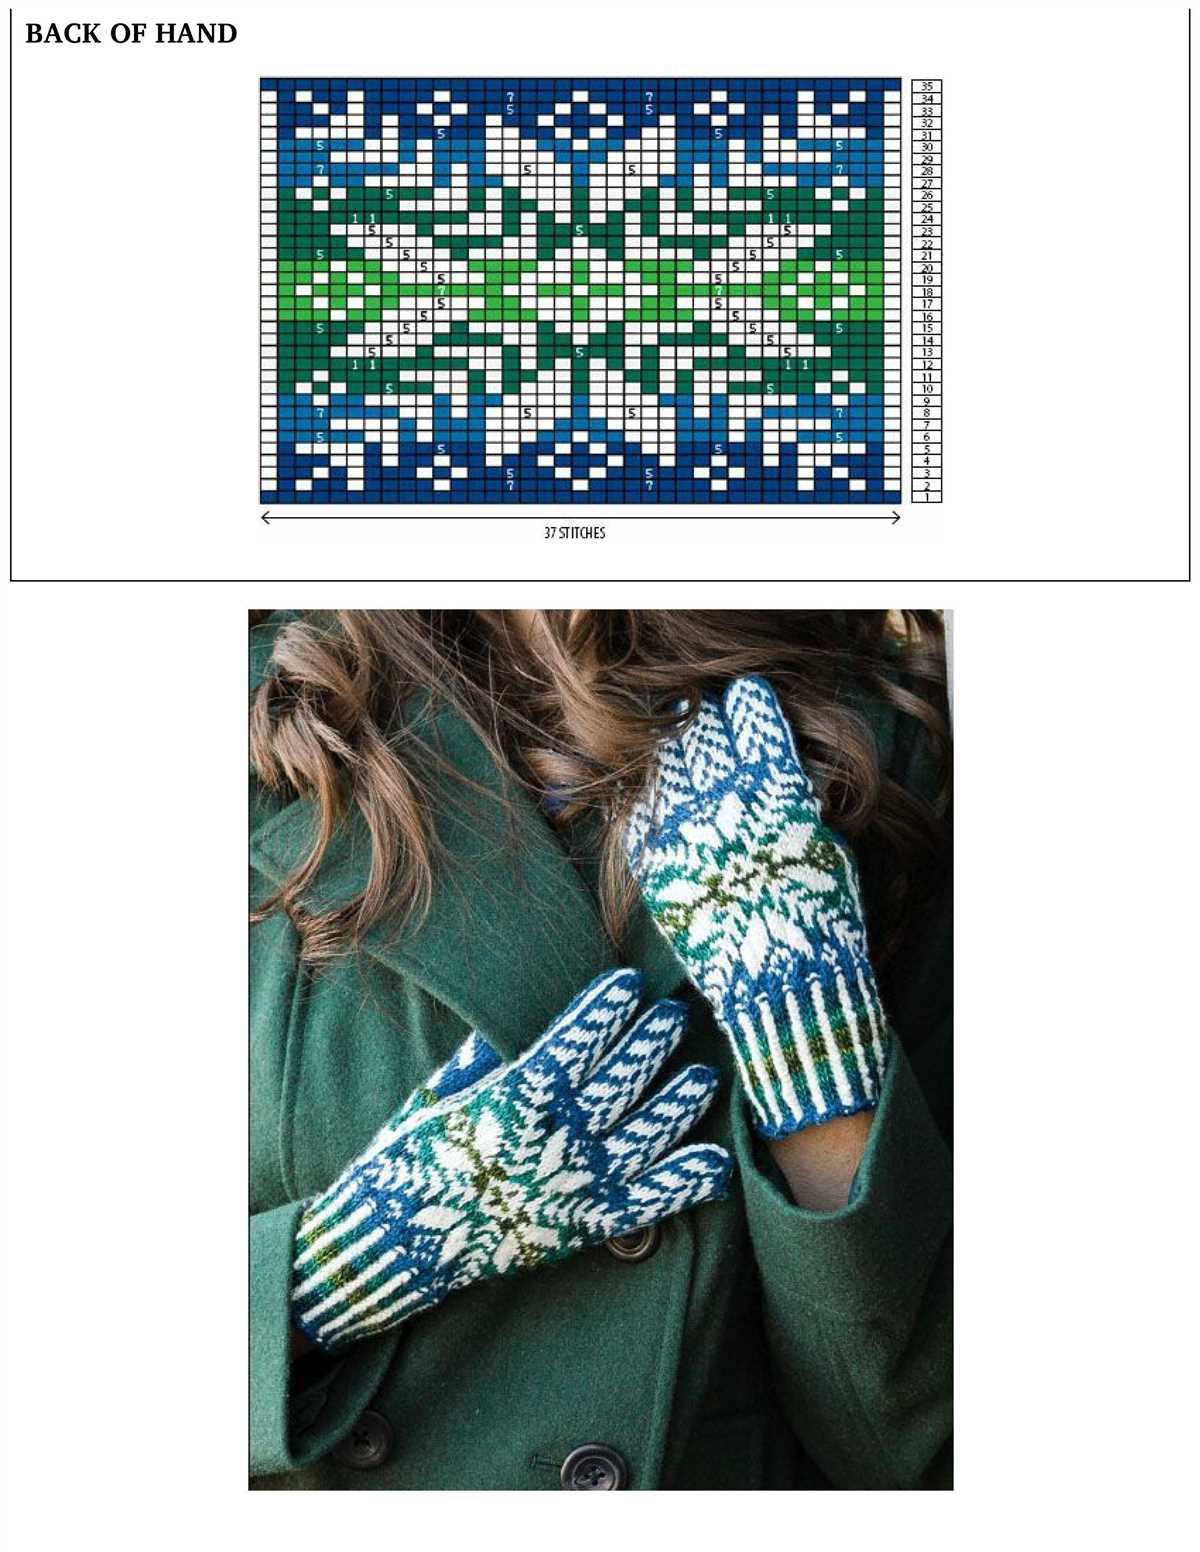
Fair Isle Mittens Pattern
If you’re looking to take your knitting skills to the next level, the Fair Isle mittens pattern is a perfect project for beginners. Fair Isle is a traditional knitting technique that involves using multiple colors in a single row to create intricate patterns. These mittens showcase the beauty of Fair Isle with a simple, yet stylish design.
To begin, gather your materials. You’ll need two colors of yarn, one for the background and one for the pattern. Make sure to choose a wool or wool-blend yarn for warmth and durability. You’ll also need knitting needles in the appropriate size for your yarn, and a set of double-pointed needles for knitting in the round.
To start the pattern, cast on the desired number of stitches on your double-pointed needles. Begin by knitting a ribbed cuff for extra warmth and stretch. Once the cuff is complete, switch to the background color and begin knitting in the Fair Isle pattern.
- Follow the chart provided with the pattern for the color changes.
- Use the technique of stranding to carry the unused yarn along the back of your work.
- Remember to keep your tension even to ensure a smooth and professional-looking finish.
Continue knitting in the Fair Isle pattern until the mitten reaches the desired length. At this point, it’s time to shape the thumb. Follow the instructions provided in the pattern to create a thumb gusset, then continue knitting in the pattern until the mitten is complete.
Once both mittens are finished, it’s time to sew up any seams and weave in the loose ends. Make sure to block your mittens to give them a polished look and ensure that they fit properly.
With the Fair Isle mittens pattern, you’ll be able to create beautiful and cozy accessories while honing your knitting skills. Whether you’re a beginner or an experienced knitter, this pattern is sure to impress.
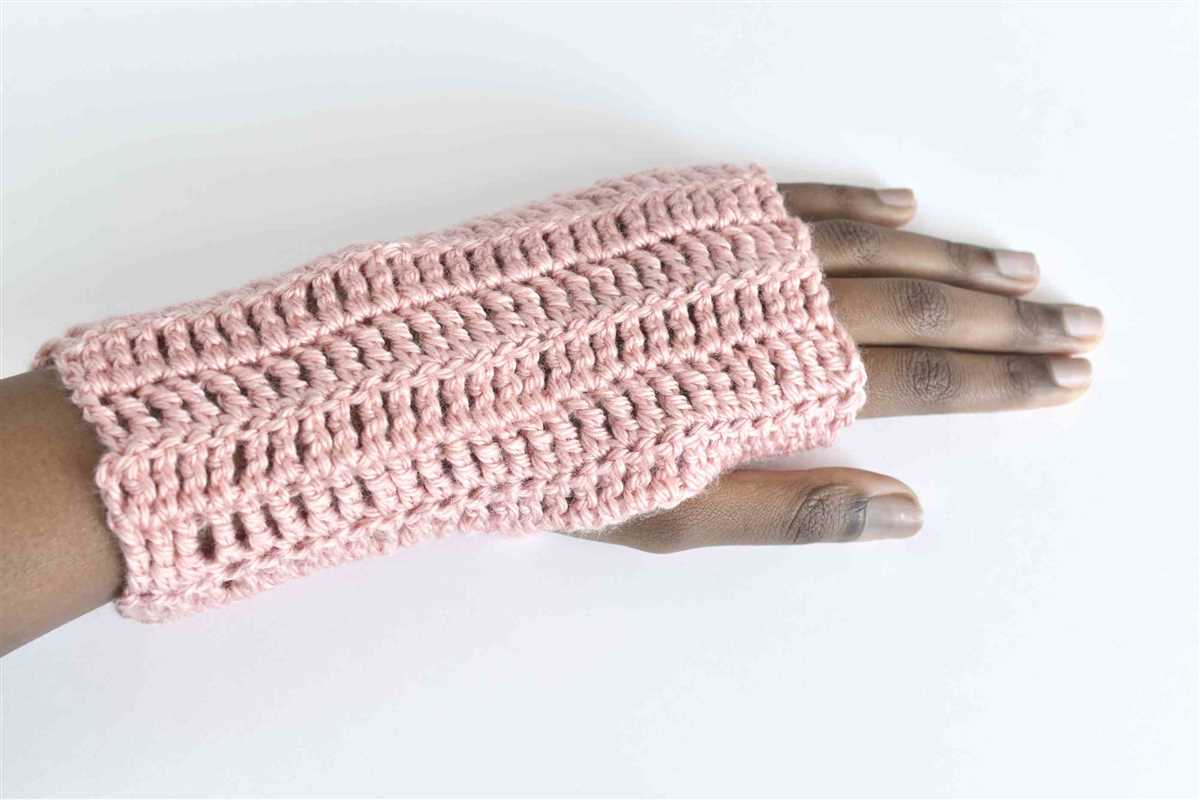
Fingerless Mittens Pattern
If you’re a beginner and want to try your hand at knitting mittens, a fingerless mittens pattern is a great place to start. Fingerless mittens are a popular accessory that not only keeps your hands warm but also allows for easy use of your fingers. With this pattern, you can create a stylish and practical pair of fingerless mittens in no time.
To begin, you’ll need some basic knitting supplies, including yarn, knitting needles, and a tapestry needle. Choose a soft and cozy yarn in your favorite color to make your mittens extra comfortable. Start by casting on the required number of stitches, which will depend on the size of your hand and the thickness of your yarn.
Once you have your stitches cast on, you’ll begin knitting in the round to create the body of the mittens. A simple rib stitch pattern is often used for fingerless mittens, as it provides both stretch and texture. You can alternate between knit and purl stitches to create the ribbing effect.
In addition to the ribbed body, you can also add some decorative elements to your fingerless mittens. For example, you could incorporate a cable stitch pattern or add a contrasting color stripe to the cuffs. Get creative and experiment with different stitch patterns to make your mittens unique.
When you reach the desired length for your mittens, you’ll work on binding off the stitches. This will create a neat edge and finish off your project. Finally, you’ll use a tapestry needle to weave in any loose ends and give your mittens a polished look.
With this fingerless mittens pattern, you’ll be able to create a cozy and stylish accessory that will keep your hands warm during the colder months. Whether you’re new to knitting or have some experience, this pattern is a great way to practice your skills and create something useful at the same time.
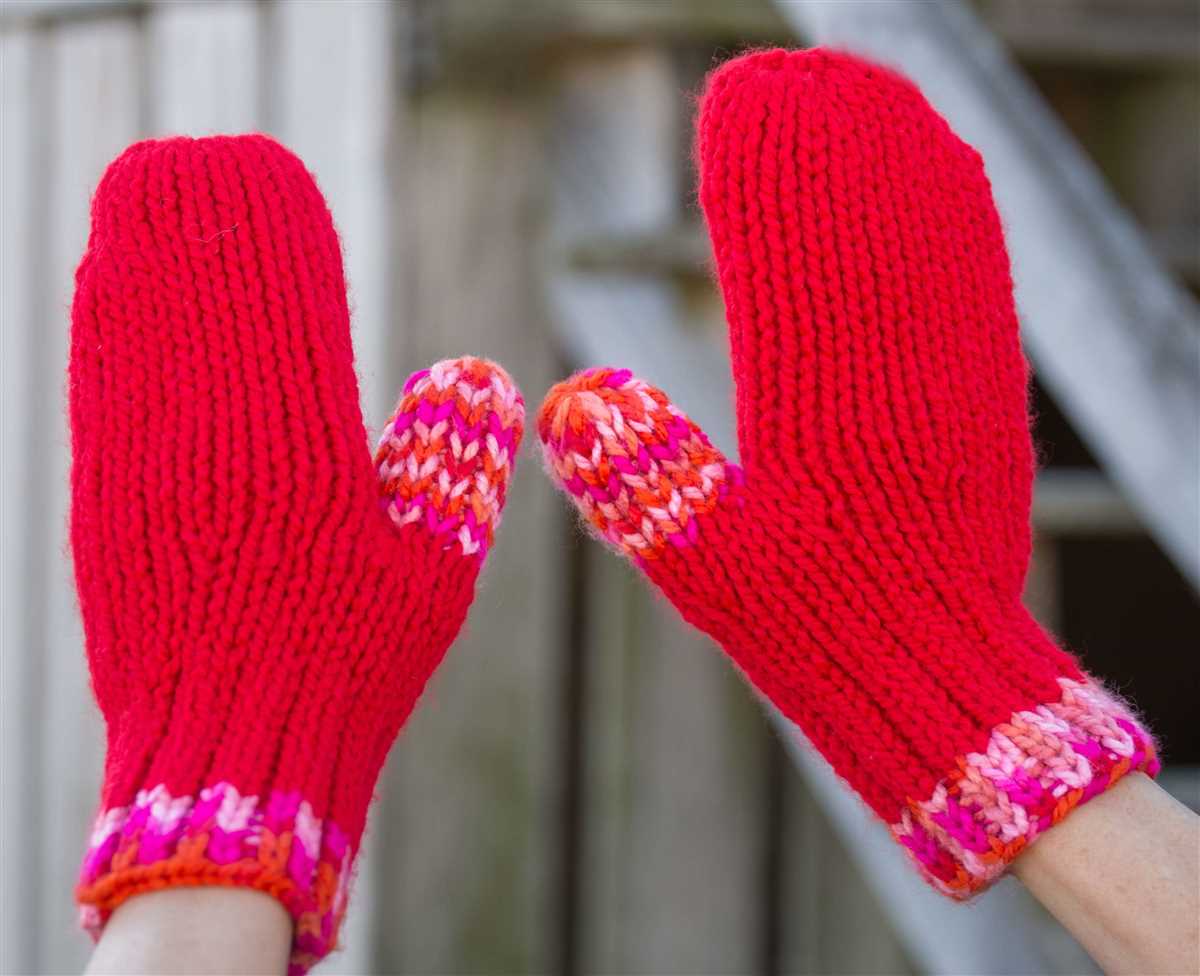
Cable Knit Mittens Pattern
If you’re a beginner knitter looking to try a more intricate pattern, the cable knit mittens pattern is a great option. Cable knitting involves creating twists and turns in the yarn to create textured patterns that resemble cables. This pattern will give your mittens a classic, cozy look that you’ll love.
To start, you’ll need to gather your materials. You’ll need a set of size 7 double-pointed knitting needles, a cable needle, and worsted weight yarn in your desired color. Once you have everything ready, you can begin casting on stitches to start your mittens.
Instructions:
- Cast on 32 stitches onto one of your double-pointed needles.
- Divide the stitches evenly onto three needles, with 12 stitches on the first needle, 8 on the second, and 12 on the third.
- Begin by knitting two stitches on the first needle, then move the next two stitches onto your cable needle and hold it in front of your work.
- Knit the next two stitches from your left-hand needle, then knit the two stitches from your cable needle.
- Continue this pattern of knitting two stitches, crossing two stitches, and knitting the remaining two stitches on each needle until you have completed 18 rows.
- After completing the cable pattern, you can continue knitting in stockinette stitch until the mitten measures approximately 6 inches from the cast-on edge.
- Next, you’ll start decreasing stitches to shape the top of the mitten. Follow the given instructions for decreasing stitches and shaping the thumb.
- Finally, finish off the mitten by binding off the remaining stitches and sewing up the seams. Add any desired embellishments, such as buttons or a contrasting cuff, to personalize your mittens.
This cable knit mittens pattern is a great way to practice your cable knitting skills while creating a functional and fashionable accessory. Once you’ve mastered this pattern, you can experiment with different cable designs and colors to create a variety of unique mittens.
Colorwork Mittens Pattern
If you are a beginner knitter looking to take your skills to the next level, a colorwork mittens pattern is a great project to try. Colorwork mittens offer an opportunity to experiment with different colors and patterns, while still creating a functional and stylish accessory.
Materials:
- Yarn in two contrasting colors
- Knitting needles in the appropriate size for your chosen yarn
- Darning needle
Instructions:
- Start by casting on the desired number of stitches for your mittens. For a basic mitten, you can cast on around 40 stitches.
- Begin knitting in the main color until you reach the desired length for the cuff of the mitten.
- Switch to the contrast color and start the colorwork pattern of your choice. You can use a traditional Fair Isle pattern, or create your own design.
- Continue knitting in the colorwork pattern until you have reached the desired length for the body of the mitten.
- Once you have reached the desired length, start decreasing stitches for the top of the mitten. You can follow a basic decrease pattern or create your own.
- Finish off the mitten by weaving in any loose ends and sewing up any remaining seams.
Tips:
- When working with multiple colors, make sure to carry the unused color along the back of the work to prevent long floats.
- Practice tension control to ensure that your colorwork stitches are even and neat.
- Experiment with different color combinations to create unique and personalized mittens.
Once you have mastered the colorwork mittens pattern, you can try more complex colorwork projects such as sweaters and hats. This pattern is a great introduction to the world of color knitting and will help you develop your skills as a knitter.
Lace Knit Mittens Pattern
If you’re looking to add a touch of elegance to your winter wardrobe, lace knit mittens are the perfect pattern for you. These delicate and intricate designs are sure to make a statement and keep your hands warm during the colder months.
Materials:
- US size 4 (3.5mm) double pointed knitting needles
- Approximately 200 yards of fingering weight yarn
- Cable needle
- Tapestry needle
Instructions:
- Cast on 40 stitches onto your double pointed needles.
- Divide the stitches evenly onto three needles, with 16 stitches on each needle and one needle being used as the working needle.
- Begin the lace pattern by knitting 2 stitches, then performing a yarn over, knitting 2 together, knitting 2 stitches, and repeating this pattern until the end of the round.
- Continue repeating the lace pattern for the desired length of your mitten. This could be anywhere from 6 to 8 inches, depending on your preference.
- Once you’ve reached the desired length, divide the stitches onto two needles, with 20 stitches on each needle.
- Begin shaping the top of the mitten by decreasing every other row. To do this, knit 2 together at the beginning of the row and knit 2 together at the end of the row.
- Repeat this decrease row every other row until you have 8 stitches remaining.
- Thread the tail of your yarn through the remaining stitches, pull tight to close the top of the mitten, and weave in any loose ends.
Lace knit mittens are a beautiful and elegant addition to any winter wardrobe. With a delicate and intricate lace pattern, these mittens will surely catch the eye and keep your hands warm in style.
Finishing Touches and Final Thoughts
After completing your knitted mittens, there are a few finishing touches you can add to make them extra special. You can embroider a design or pattern onto the back of the hand, add buttons or toggles to the cuff, or even attach a small pocket to hold a hand warmer. Get creative and personalize your mittens to suit your style!
Remember that knitting is a skill that takes practice, so don’t be discouraged if your first pair of mittens doesn’t turn out perfectly. With each project, you’ll improve your technique and gain confidence in your knitting abilities.
Final Thoughts
- Always follow the instructions and gauge given in the knitting pattern to ensure your mittens turn out the correct size.
- Experiment with different types of yarn and needle sizes to achieve different textures and sizes of mittens.
- Don’t be afraid to make mistakes and learn from them. Each project is an opportunity for growth and improvement.
- Consider knitting mittens for your friends and family as thoughtful and personalized gifts.
- Share your finished mittens on social media or a knitting community to inspire and connect with other knitters.
| Happy knitting! | The Knitting Team |