
Do you love Halloween crafting? Are you looking for a fun and easy knitting project to get into the spooky spirit? Look no further! We have the perfect project for you – a free knitted ghost pattern!
Knitting is a wonderful way to relax and get creative, and this ghost pattern is simple enough for beginners. Whether you’re a seasoned knitter or just starting out, you’ll have a blast making these adorable little ghosts. They’re perfect for decorating your home, giving as gifts, or even as a fun activity for kids.
With this pattern, you’ll be able to create your very own army of cute knitted ghosts. The pattern uses basic knitting techniques and requires minimal materials – all you need is some soft yarn, knitting needles, and a little bit of stuffing. Plus, since ghosts are traditionally white, you can use up any leftover white or off-white yarn you might have lying around.
If you’re ready to dive into this fun and festive project, keep reading for the free knitted ghost pattern. We’ll walk you through each step, from casting on to adding the finishing touches. Get your knitting needles ready and let’s get started!
How to Create a Free Knitted Ghost Pattern
Creating your own knitted ghost pattern can be a fun and creative project to try. With just a few basic knitting techniques, you can make adorable ghost decorations for Halloween or any other spooky occasion. Here are the steps to create your own free knitted ghost pattern.
Materials Needed
Before you begin, gather your materials. You will need:
- White yarn
- Knitting needles (size may vary depending on your yarn weight)
- Black yarn or embroidery floss
- Stuffing
- Tapestry needle
- Scissors
Step 1: Cast On
To start your ghost pattern, cast on the desired number of stitches. For a small ghost, you can cast on around 15-20 stitches, while a larger ghost might require 30-40 stitches.
Step 2: Knit the Body
Next, begin knitting the body of the ghost. You can use stockinette stitch (knit one row, purl one row) for a smooth finish. Continue knitting until the body is the desired length, leaving a long tail of yarn for sewing.
Step 3: Decrease Stitches
To shape the ghost’s head, you’ll need to decrease stitches. You can do this by knitting two stitches together at regular intervals throughout a row. This will create a tapered effect and give your ghost its distinct shape.
Step 4: Sew and Stuff
Once you’ve finished knitting the body, cut the yarn, leaving a long tail. Thread the tail through a tapestry needle and draw it through the remaining stitches to secure them. Next, turn the ghost inside out and stuff it firmly with stuffing. Use the tapestry needle to sew up the bottom of the ghost.
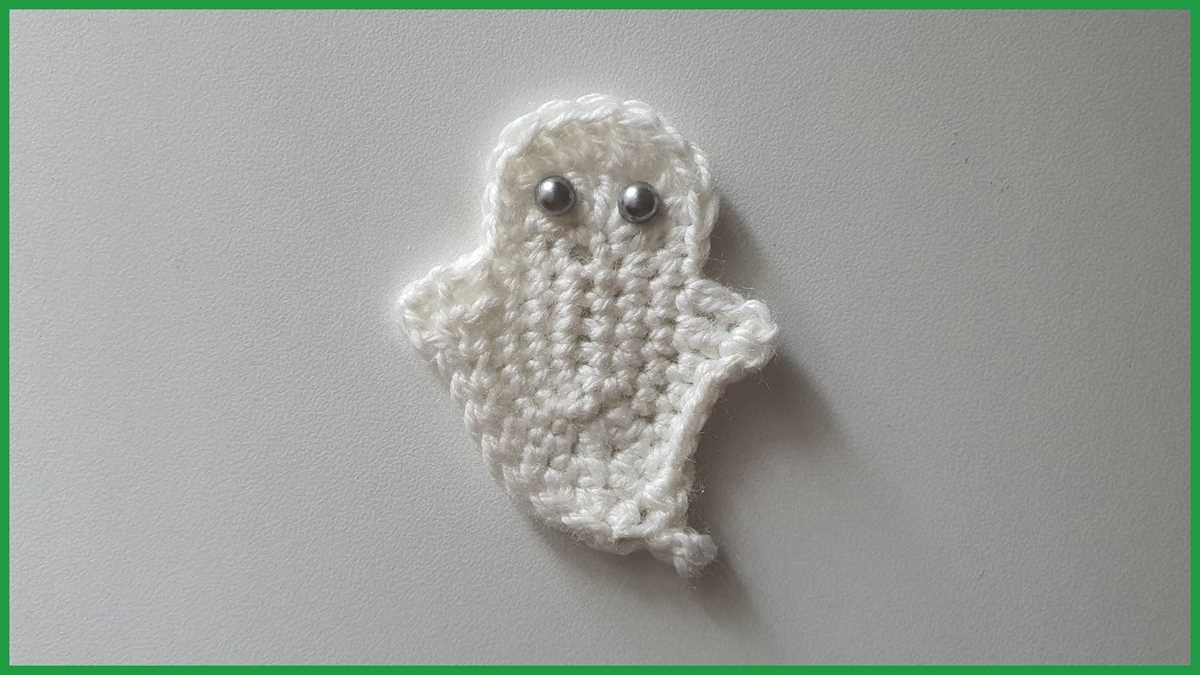
Step 5: Add the Face
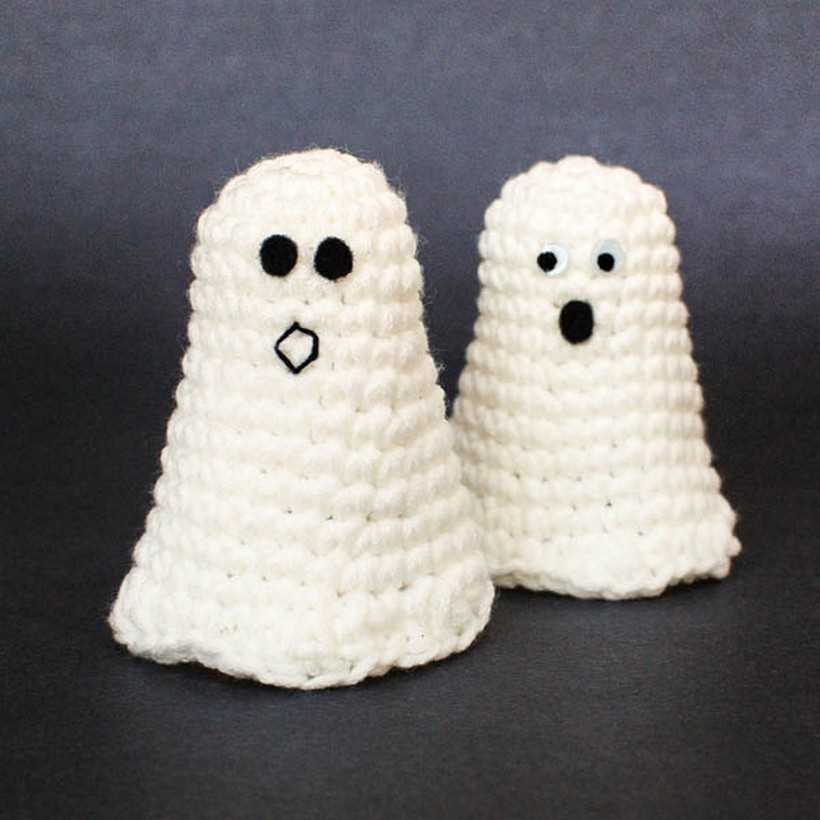
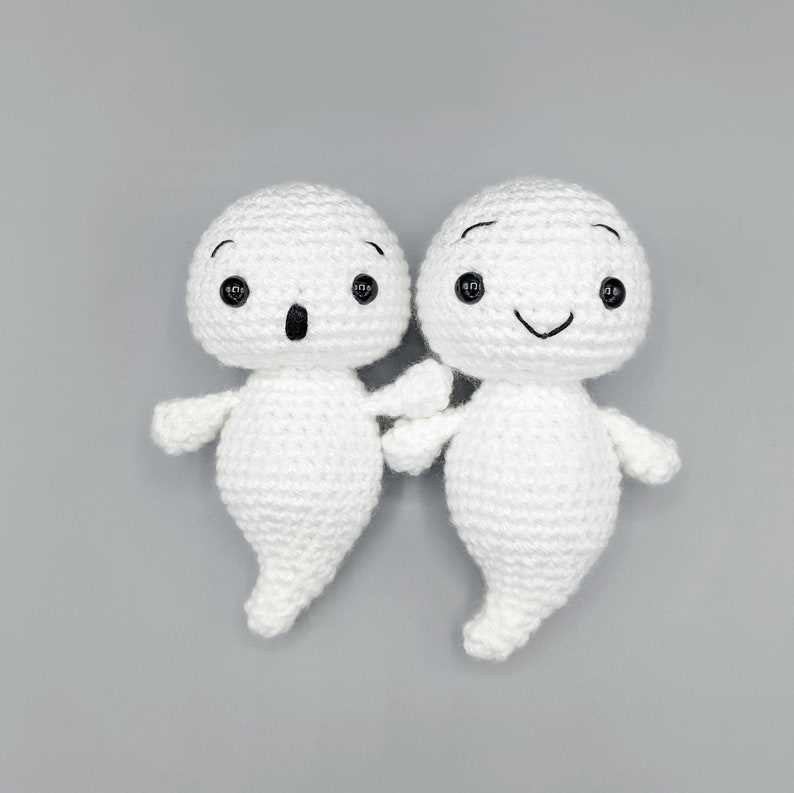
Finally, use black yarn or embroidery floss to create the ghost’s face. You can embroider on eyes, a mouth, and even some eyebrows to give your ghost personality. Get creative and have fun with the face design!
Once you’ve finished creating your free knitted ghost pattern, you can use it to make as many ghosts as you like. These cute and spooky decorations can be used to add a fun touch to your home during Halloween or given as gifts to friends and family. Happy knitting!
Materials Needed for Knitting a Ghost
When it comes to knitting a ghost, you’ll want to gather a few materials to bring your spooky creation to life. Whether you’re an experienced knitter or just starting out, these items will help make your ghost project a success.
Yarn: One of the key materials you’ll need is yarn. For a classic ghost look, you can choose a white or off-white yarn. Opt for a soft yarn that is easy to work with and will give your ghost a cozy feel.
Needles: You’ll also need knitting needles to bring your ghost to life. The size of the needles will depend on the thickness of the yarn you choose. It’s a good idea to use larger needles to create a looser fabric, allowing your ghost to appear more ethereal.
- A pair of knitting needles
- Size: Whatever is comfortable for you
Scissors: Having a pair of scissors on hand is essential for any knitting project. You’ll need them to cut your yarn when you’re finished, as well as for any small adjustments along the way.
Tapestry needle: A tapestry needle is useful for weaving in loose ends and joining different pieces of your ghost together. Look for a needle with a large eye that can comfortably accommodate the thickness of your yarn.
Stuffing: To give your ghost its shape, you’ll need some stuffing. This can be polyester fiberfill, cotton batting, or any other soft material you have on hand. The amount of stuffing will depend on the size of your ghost, so make sure you have enough to fill it out.
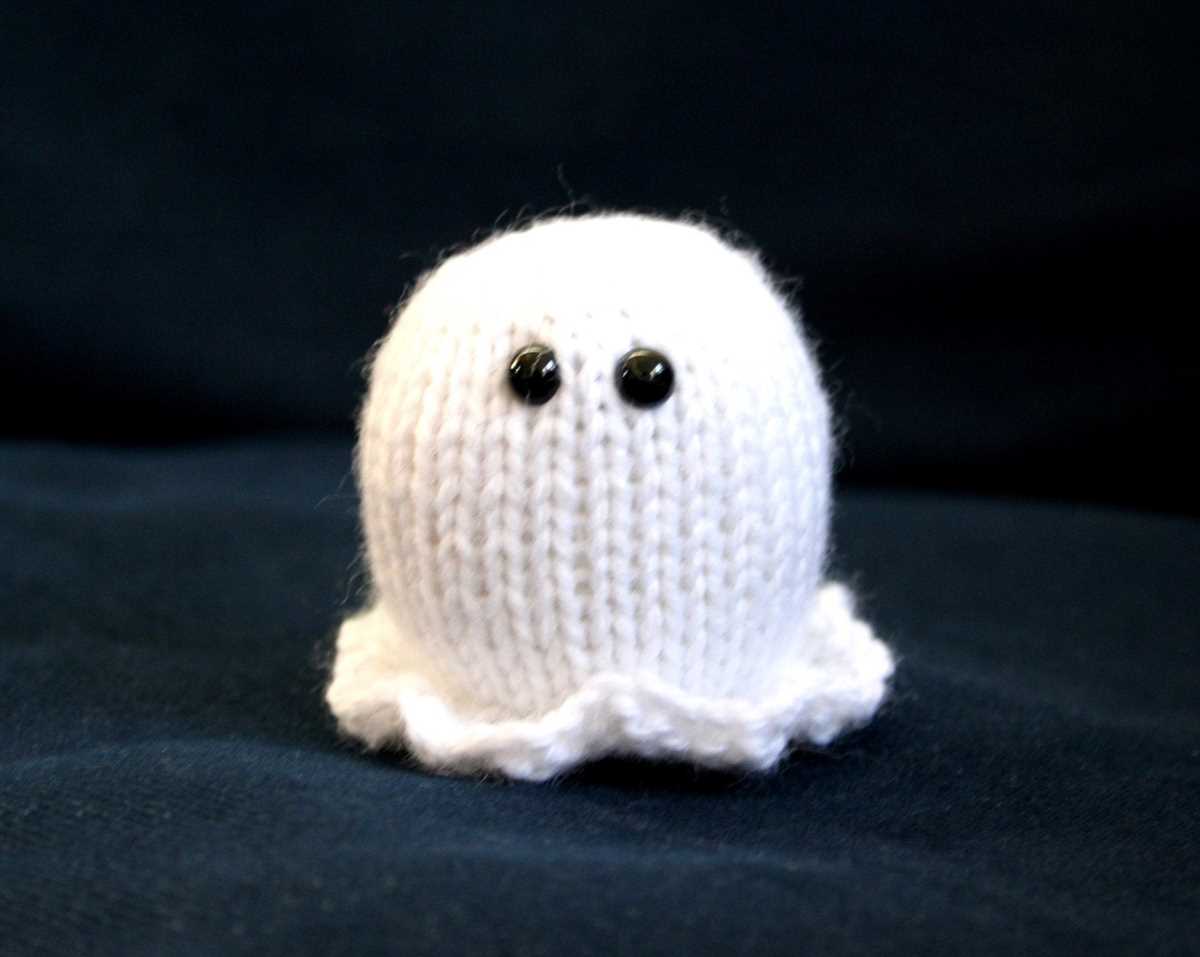
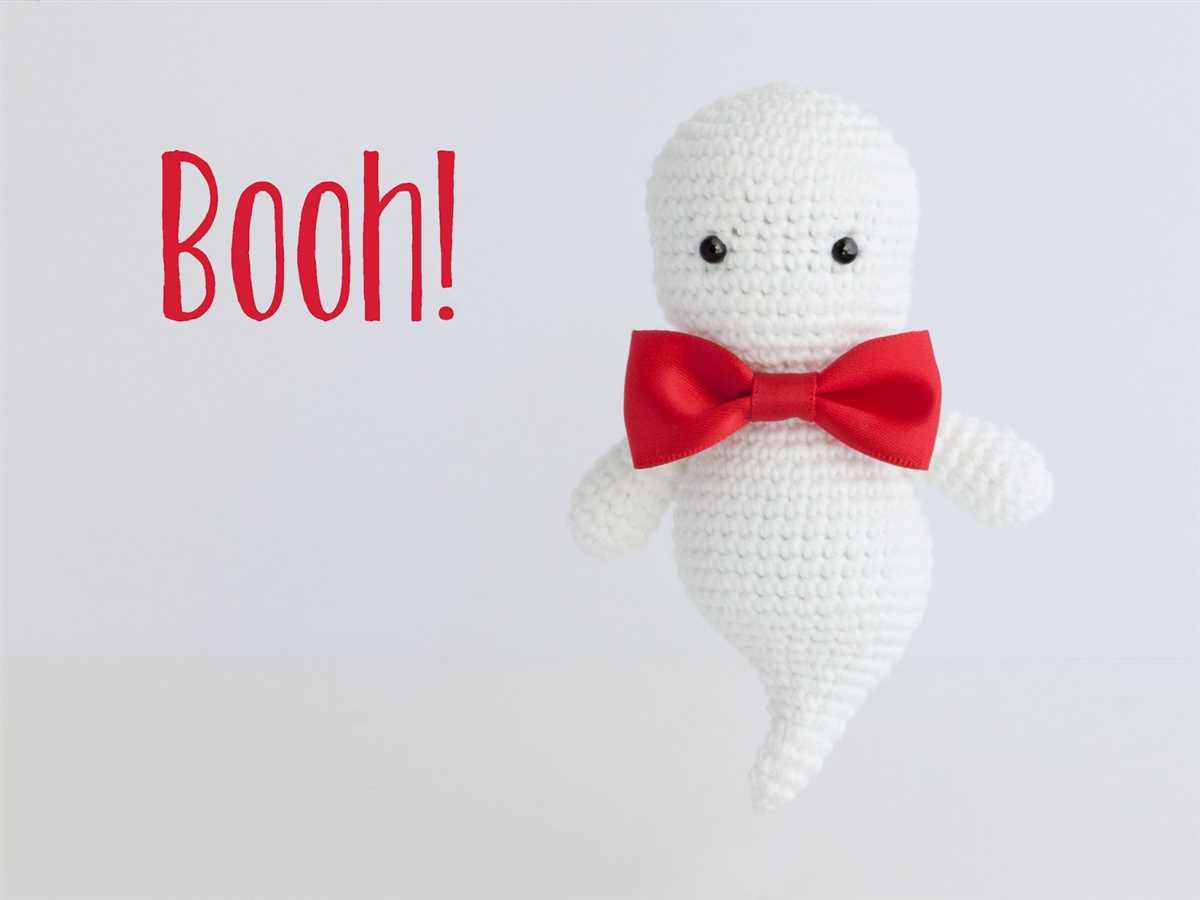
Optional: If you want to add some extra flair to your knitted ghost, you may consider using safety eyes or embroidery floss for the face. These can help bring your ghost to life and give it a unique personality.
Choosing the Right Yarn for Your Ghost
When it comes to knitting a ghost, choosing the right yarn is important to ensure that your finished creation is not only cute but also durable. Here are some factors to consider when selecting the yarn for your ghost.
Fiber Content
First and foremost, consider the fiber content of the yarn. Acrylic yarn is a popular choice for knitted ghosts as it is affordable, easy to care for, and comes in a wide range of colors. The smooth texture of acrylic yarn also makes it ideal for creating smooth and even stitches, giving your ghost a polished appearance. Alternatively, you could opt for a natural fiber like cotton or bamboo for a more environmentally-friendly option.
Weight
The weight of the yarn is another crucial aspect to consider. For a small knitted ghost, a lightweight yarn such as fingering or sport weight would work well. These thin yarns will give your ghost a delicate and airy feel. On the other hand, if you prefer a larger and chunkier ghost, consider using a worsted or bulky weight yarn to achieve the desired size and thickness.
Texture
The texture of the yarn can also play a role in the appearance of your ghost. If you want a smooth and sleek ghost, opt for a yarn with a smooth texture. On the other hand, if you want a more textured and cozy ghost, consider a yarn with a bit of fuzz or a boucle yarn. The texture of the yarn can add depth and character to your ghost design.
Color
Lastly, consider the color of the yarn. While white or off-white may be the traditional choice for a ghost, don’t be afraid to get creative. You can choose a yarn in any color that inspires you, whether it’s a vibrant orange, a spooky black, or even a fun multicolored yarn. The choice of color can add personality and uniqueness to your finished ghost.
By considering these factors – fiber content, weight, texture, and color – you can choose the perfect yarn for your knitted ghost. Experiment with different options to create a ghost that matches your vision and enjoy the process of bringing your spooky creation to life.
Selecting the Appropriate Knitting Needles for the Ghost
When it comes to knitting the perfect ghost, selecting the right needles is essential. The size and type of needles can greatly impact the overall look and feel of your ghost, so it’s important to choose wisely. Here are a few considerations to keep in mind when selecting your needles.
1. Needle Size: The size of your knitting needles will determine the finished size of your ghost. If you want a larger ghost, opt for larger needles, such as size 8 or 9. If you prefer a smaller ghost, go for smaller needles, like size 4 or 5. Keep in mind that the pattern may also specify a recommended needle size, so be sure to check that as well.
2. Needle Material: Knitting needles come in a variety of materials, including metal, wood, and plastic. The material you choose can affect the tension and drape of your finished ghost. Metal needles are typically smoother and can result in faster knitting, while wooden needles provide more grip and control. Plastic needles are often more affordable and lightweight. Consider your personal preference and the desired effect before making a decision.
3. Needle Type: There are two main types of knitting needles: straight needles and circular needles. For a small ghost, straight needles may be sufficient. However, if you’re knitting a larger ghost or prefer to work in the round, circular needles might be a better choice. Circular needles can also offer more flexibility and make it easier to knit in tight spaces.
In conclusion, selecting the appropriate knitting needles for your ghost project is crucial to achieving the desired outcome. Consider the size, material, and type of needles that best suit your preferences and the pattern specifications. With the right needles in hand, you’ll be well on your way to creating a charming knitted ghost that will surely delight this Halloween season.
Understanding the Knitting Pattern
Knitting is a popular craft that involves creating fabric by interlocking loops of yarn. Knitting patterns provide instructions for creating various stitches and shaping the fabric to create a specific design. Understanding a knitting pattern is essential for successfully completing a project.
When reading a knitting pattern, it is important to start by familiarizing yourself with the abbreviations and terms used. These abbreviations represent specific stitches or actions that need to be taken while knitting. For example, “k” stands for “knit,” “p” for “purl,” and “inc” for “increase.” By understanding these abbreviations, you will be able to follow the pattern more easily.
Interpreting the Instructions
- Cast on: This is the first step in starting a knitting project. It involves creating the initial row of stitches on the knitting needle.
- Stitch pattern: The stitch pattern defines the design of the fabric. It may involve repeating a sequence of stitches or using different combinations of knit and purl stitches.
- Shaping: Shaping refers to changing the size or contours of the fabric. This can be done by increasing or decreasing stitches in specific places.
- Bind off: The bind off step is done at the end of the project to secure the last row of stitches and create a finished edge.
As you work through the knitting pattern, it is important to pay attention to the instructions for stitch counts, measurements, and any special techniques used. Keeping track of your progress and marking completed rows or sections can also be helpful.
Remember that knitting is a creative and adaptable craft, so don’t be afraid to make modifications to the pattern if needed. Take your time, practice the stitches, and enjoy the process of bringing the knitted ghost pattern to life!
Beginning the Knitting Process for the Ghost
When starting to knit the ghost, it is important to gather all the necessary materials and familiarize yourself with the pattern. The free knitted ghost pattern provides a clear set of instructions to follow, ensuring that the knitting process goes smoothly.
Materials Needed:
- A pair of knitting needles
- White yarn
- Black yarn for embroidering the eyes and mouth
- A tapestry needle
- Scissors
- Fiberfill stuffing
Once all the materials are ready, it is time to cast on the stitches for the ghost. The pattern usually specifies the number of stitches required to start. Follow the knitting instructions to cast on the stitches on the knitting needles.
Next, it is important to carefully follow the pattern’s instructions row by row. The pattern will guide you on how to knit the body of the ghost, shaping it as you go along. Make sure to keep track of your progress by marking rows or using a row counter.
Creating the Body of the Knitted Ghost
When it comes to creating the body of the knitted ghost, you will need a few basic knitting supplies and a clear understanding of the pattern. It’s important to start with the right type of yarn and needles to ensure the desired shape and size of the ghost.
To get started, choose a soft and fluffy yarn in white or off-white color. This will give your ghost a fluffy and ghostly appearance. Additionally, make sure to use appropriate knitting needles that match the weight of your yarn. For this project, a pair of size 3.75mm needles would work well.
Step 1: Cast On
Begin by casting on the required number of stitches to form the base of your ghost. This will determine the width of your ghost’s body. Follow the pattern’s instructions for cast-on stitches, ensuring an even number of stitches to create symmetry.
Step 2: Knit the Body
Once the stitches are cast on, you will start knitting the body of the ghost. The main pattern will likely involve alternating between knit and purl stitches, as well as other pattern stitches, to achieve the desired texture and shape.
Follow the given pattern closely, making sure to count rows and stitches as you go along. This will help you maintain the shape and proportions of the ghost’s body. Pay attention to any shaping instructions, such as decreasing or increasing stitches, to create the desired effect.
Step 3: Shaping the Head
As you near the end of the body section, you will need to shape the head of the ghost. This may involve decreasing stitches gradually to form a tapered top. Follow the pattern’s instructions carefully to achieve the desired shape.
Once the head shaping is complete, you can bind off the remaining stitches and secure the end of the yarn. Your knitted ghost’s body is now complete and ready for the next steps in the pattern!
Adding the Face Details to the Ghost
Now that you have completed knitting the ghost body, it’s time to add some character to its face. This step will give your ghost its playful and cute expression.
First, you will need to gather the materials for the face details. You will need black yarn or embroidery floss, a tapestry needle, and a pair of scissors. Cut a small length of the black yarn, enough to stitch the eyes and mouth. Thread the yarn through the tapestry needle, making sure to securely tie a knot at the end.
Next, determine the placement of the eyes and mouth on your ghost. This will depend on the size and shape of your knitted ghost. Once you have decided on the placement, gently insert the tapestry needle through the knitted fabric from the inside of the ghost to the outside. Pull the yarn snugly but not too tightly to create the eye shape. Repeat this step to create the second eye.
For the mouth, insert the tapestry needle from the inside of the ghost to the outside, creating a small straight stitch. Then, insert the needle back through the fabric, slightly below the first stitch, to create the shape of the mouth. Repeat this step to create additional stitches, depending on the desired width of the mouth.
Once you are satisfied with the position and shape of the face details, secure the yarn by knotting it on the inside of the ghost. Trim any excess yarn, making sure not to cut the knitted fabric. Your ghost now has a cute and friendly face, ready to spook and delight!
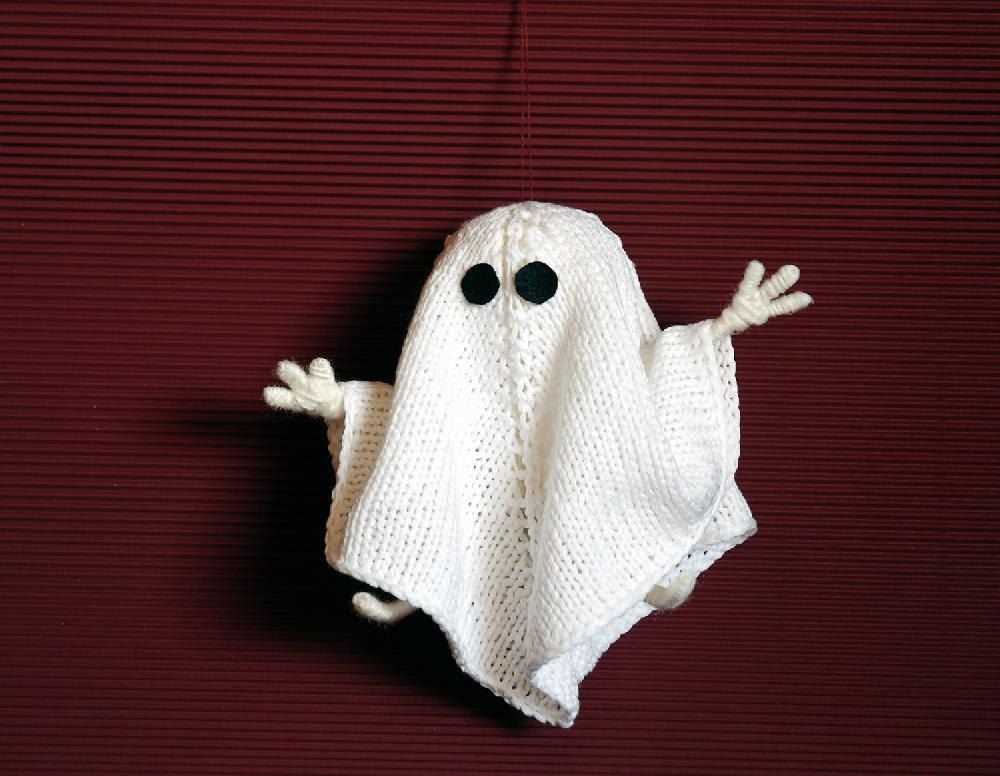
Knitting the Arms for the Ghost
When knitting the arms for the ghost pattern, there are a few key steps to follow in order to ensure a successful and cute result. Firstly, it is important to select the appropriate yarn and needles for the project. A soft and fluffy yarn, preferably in a white or cream color, works best for creating a ghostly appearance. A set of double-pointed needles in a suitable size should also be used for knitting the arms.
To begin, cast on the required number of stitches for the arms. This will usually be a small number, around 4 or 6 stitches, depending on the desired size. It is recommended to use the long-tail cast-on method for a neat and secure edge. Once the stitches are cast on, distribute them evenly across the double-pointed needles.
Next, knit in the round, working the stitches on the double-pointed needles. This can be done by using the magic loop method or by dividing the stitches onto two double-pointed needles and working with a third needle. Alternatively, a small circular needle can also be used if preferred. It is important to ensure that the stitches are not twisted before joining in the round.
Continue knitting the arms in the desired stitch pattern, following the instructions provided in the ghost pattern. This may involve simple stockinette stitch or more complex stitch patterns such as ribbing or seed stitch. It is important to keep track of the number of rows worked in order to match the length of the arms.
Once the desired length is reached, it is time to shape the arms. This can be done by decreasing a certain number of stitches evenly across the row. Common decrease methods include knit two stitches together (k2tog) or slip, knit, pass the slipped stitch over (skpo). Follow the pattern instructions for the specific decrease method and number of stitches to be decreased.
After shaping the arms, continue knitting for a few more rows in the established stitch pattern. Then, bind off the remaining stitches and cut the yarn, leaving a tail for seaming. Repeat the process to knit the second arm.
Once both arms are completed, they can be sewn onto the body of the ghost using a yarn needle and the yarn tails. Make sure to position the arms symmetrically and securely attach them to the body. Finally, weave in any remaining yarn tails and give the ghost a gentle stuffing if desired.
Attaching the Arms to the Ghost’s Body
The next step in creating your knitted ghost is attaching the arms to the body. This will give your ghost a more three-dimensional appearance and bring it to life.
To attach the arms, you will first need to locate the armholes on the body of the ghost. These armholes are typically located on the sides of the body and will be indicated in your pattern.
Step 1: Preparing the Arms
Before attaching the arms, make sure they are properly finished. This may involve weaving in any loose ends and securing them with a knot or sewing them closed. Once the arms are finished, set them aside.
Step 2: Positioning the Arms
With the arms prepared, you are ready to attach them to the ghost’s body. Start by positioning the arms in the armholes of the body. Make sure the arms are symmetrical and facing the correct way before securing them.
Note: You may find it helpful to use pins or stitch markers to hold the arms in place before sewing them to the body.
Step 3: Sewing the Arms
Using a yarn needle and matching thread, carefully sew the arms to the body using a whip stitch or mattress stitch. Make sure to sew the arms securely to prevent them from coming loose during use.
Tip: It may be helpful to use a backstitch or reinforcement stitch at the beginning and end of each arm to provide extra durability.
Once you have finished sewing the arms to the ghost’s body, give them a gentle tug to ensure they are securely attached. Trim any excess yarn and weave in any loose ends to complete the attachment process. Your knitted ghost is now ready to haunt your home!
Finishing Touches for Your Knitted Ghost
Once you have completed knitting your ghost, it’s time to add some finishing touches to give it that perfect spooky look. Here are a few ideas to make your knitted ghost stand out:
1. Embroider the face
Add a cute or scary face to your knitted ghost using embroidery floss. You can use different colors of thread to create different expressions like a friendly smile or an eerie grin. Be creative and experiment with different shapes and designs to bring your ghost to life.
2. Add hanging loops
To make your knitted ghost easy to hang around, attach a small loop of yarn or a ribbon to the top of its head. This will allow you to hang the ghost from a hook or string, making it a perfect decoration for your Halloween party or haunted house.
3. Attach a tail

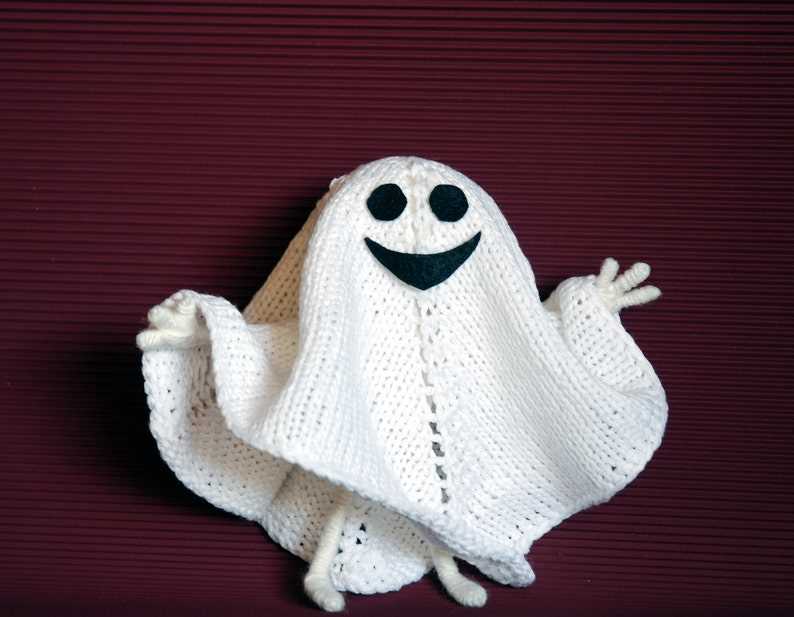
If you want your knitted ghost to have a floating effect, you can attach a long piece of yarn to its bottom. Secure the yarn at the base of the ghost and let it hang down, creating the illusion of a ghost hovering in mid-air.
4. Incorporate glow-in-the-dark yarn
To make your knitted ghost extra spooky, consider using glow-in-the-dark yarn. You can knit the entire ghost with glow-in-the-dark yarn, or just incorporate it into certain parts, like the eyes or mouth. When the lights go out, your ghost will have an eerie glow, adding an extra element of spookiness to your Halloween decorations.
With these finishing touches, your knitted ghost will be the perfect addition to your Halloween decor. Have fun experimenting with different ideas and make your ghost one-of-a-kind!
Tips and Tricks for Creating the Perfect Knitted Ghost
Knitting a ghost can be a fun and rewarding project, but it can also be a bit tricky to get the shape just right. Here are some tips and tricks to help you create the perfect knitted ghost:
1. Choose the Right Yarn
When knitting a ghost, it’s important to choose a yarn that is lightweight and has some stretch. This will allow you to achieve the ethereal look that is characteristic of a ghost. Consider using a soft, fuzzy yarn to add some texture and make your ghost extra snuggly.
2. Use a Smaller Needle Size
To create a tight and sturdy fabric for your ghost, it’s recommended to use a smaller needle size than what is typically used for the yarn. This will help prevent the stuffing from showing through and give your ghost a neater finish. Experiment with different needle sizes to find the one that works best for you.
3. Stuff with Care

When stuffing your knitted ghost, be sure to do so gently and evenly. Overstuffing can distort the shape of your ghost and make it look less ghost-like. Take your time and add small amounts of stuffing at a time, making sure to distribute it evenly throughout the body.
4. Add Embellishments
To make your knitted ghost even more spooky and fun, consider adding some embellishments. You could embroider eyes and a mouth using black yarn or thread, or even use small buttons or beads for the eyes. Get creative and give your ghost some personality!
5. Block and Shape
After finishing your knitted ghost, it’s a good idea to block and shape it. Wet blocking can help to even out any inconsistencies in your stitches and give your ghost a more polished appearance. Use pins to shape the ghost and let it dry completely before removing the pins.
With these tips and tricks, you’ll be well on your way to creating the perfect knitted ghost. Have fun experimenting with different yarns, needle sizes, and embellishments to make your ghost truly unique. Happy knitting!