
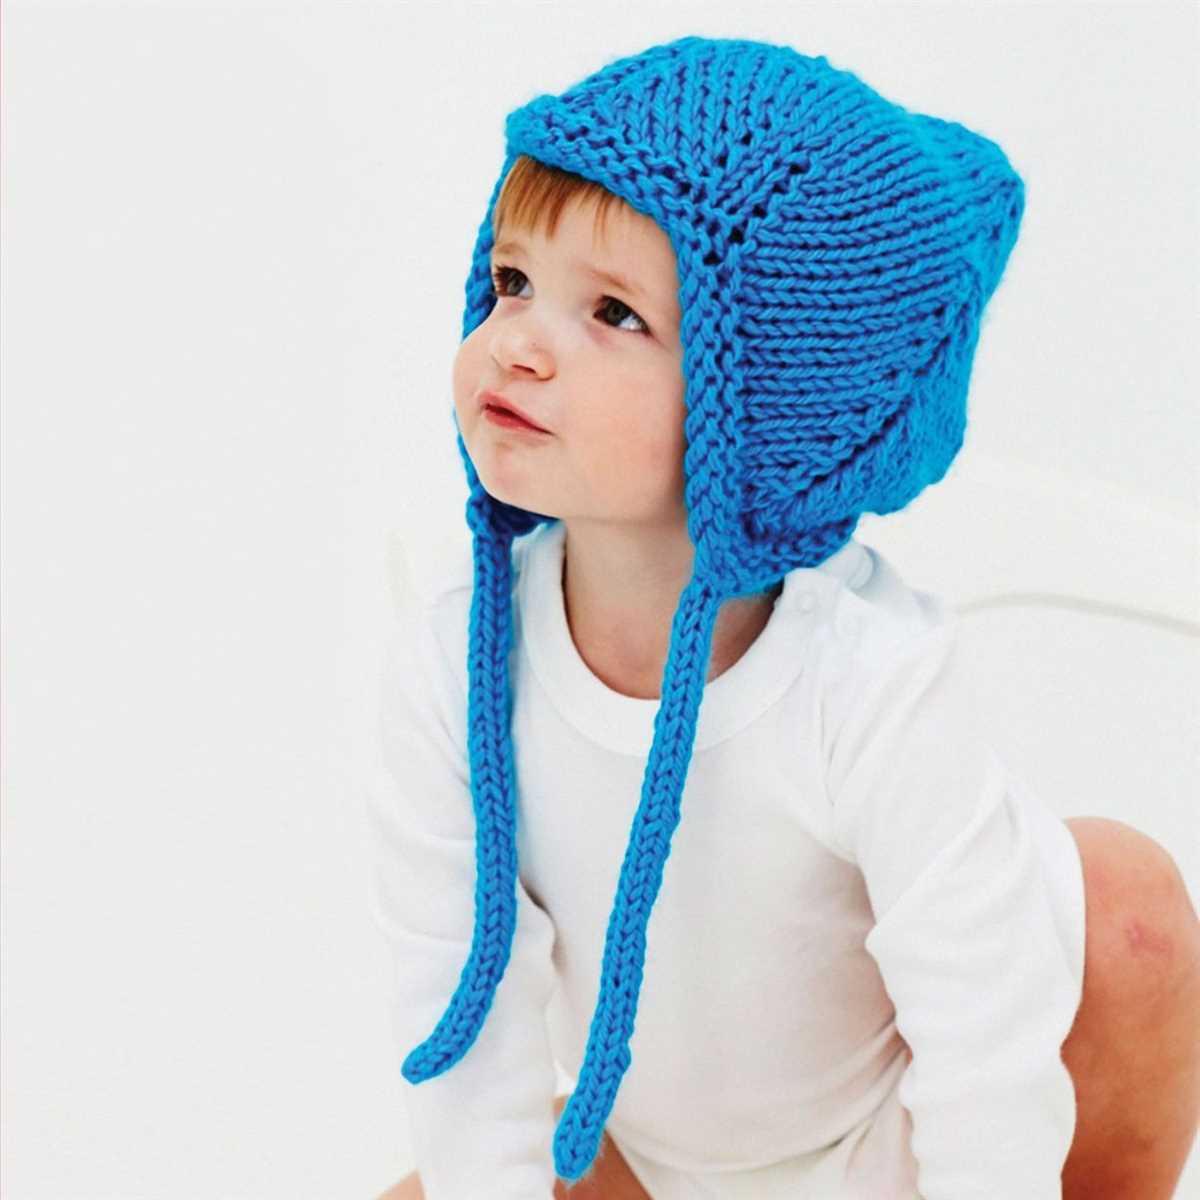
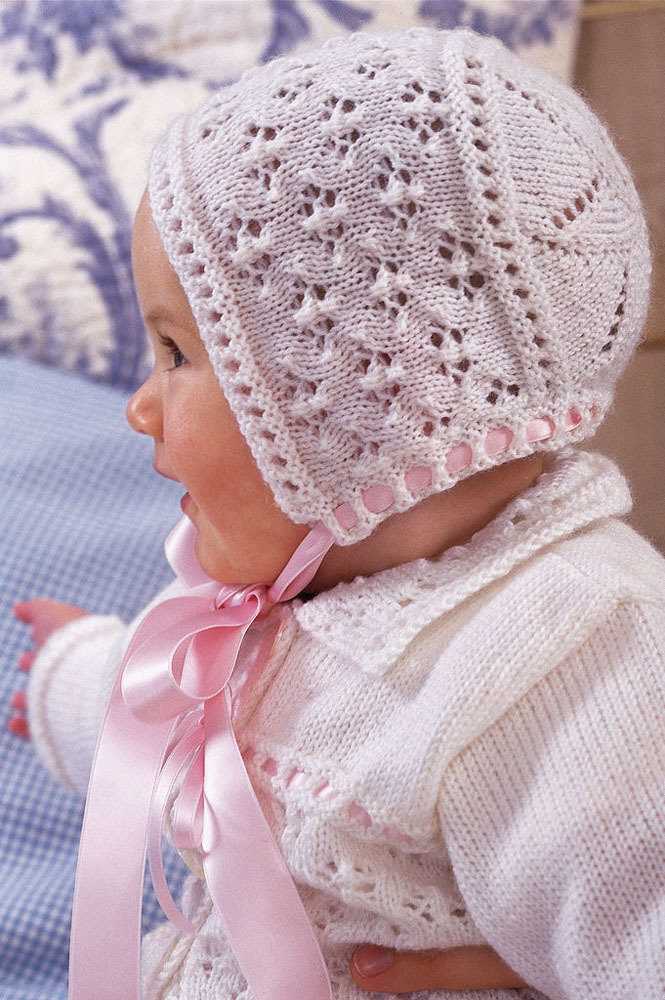
When the weather starts to turn chilly, it’s time to start thinking about warm and cozy accessories for your little ones. A knitted baby hat is not only practical but also adorable, making it the perfect project for any knitter. Whether you are a beginner or an experienced knitter, this free pattern will guide you through the process of creating a beautiful and snug hat for your little bundle of joy.
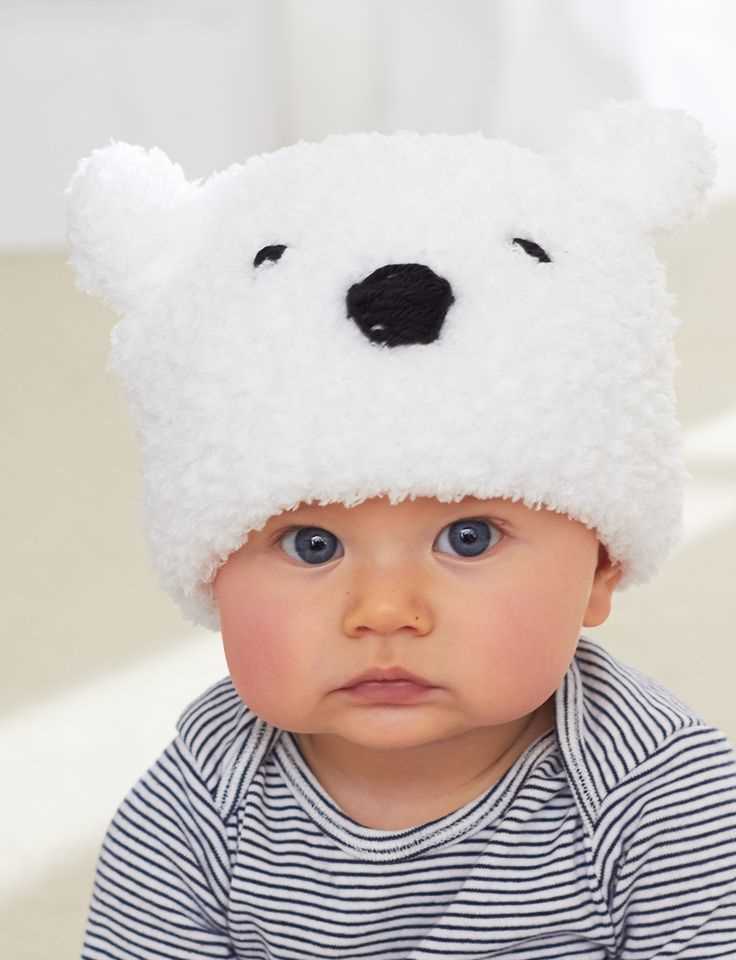
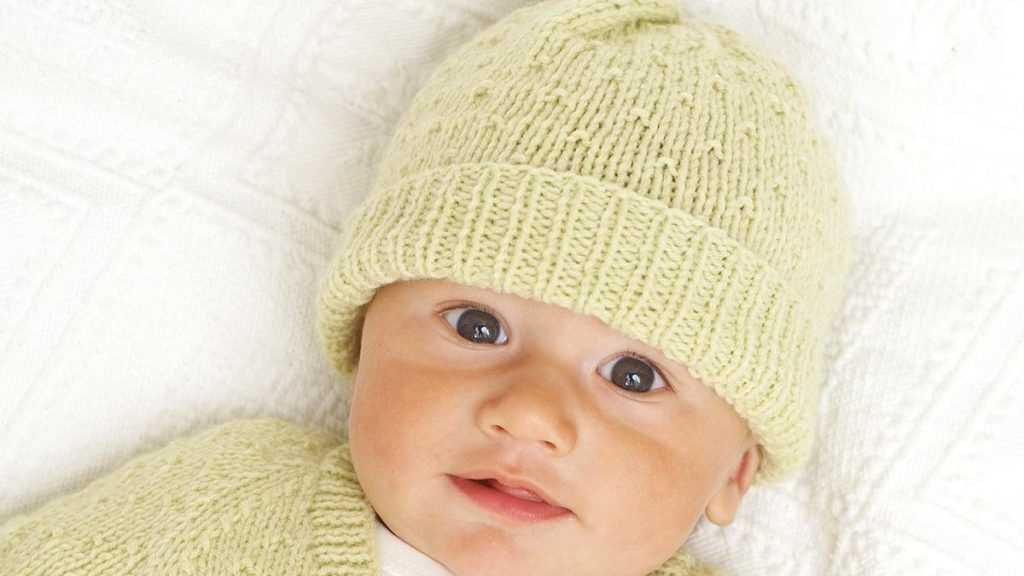
This pattern is designed for babies aged 0-3 months and is suitable for both boys and girls. It features a simple ribbed brim and a classic stockinette stitch body, which gives the hat a sleek and polished look. The pattern also includes instructions for adjusting the size and adding optional embellishments, such as a pom-pom or a decorative bow, to make the hat even more unique.
If you are new to knitting, don’t worry! This pattern is beginner-friendly and requires basic knitting skills, such as casting on, knitting, purling, and decreasing. The instructions are clear and easy to follow, with step-by-step explanations and helpful tips. With a little practice, you’ll be able to knit up a cozy hat in no time.
So grab your knitting needles and some soft and warm baby yarn, and get ready to create a lovely and practical accessory for your little one. With this free pattern, you’ll be able to make a stylish and snug hat that will keep your baby warm and cozy all winter long.
How to Knit a Baby Hat: Free Pattern and Step-by-Step Guide
Knitting a baby hat is an enjoyable and rewarding project that can be completed in just a few hours. Whether you’re a beginner knitter or an experienced crafter, this free pattern and step-by-step guide will help you create a cozy and stylish hat for your little one.
To start, gather your materials. You will need a soft and warm yarn in a color of your choice, knitting needles in the appropriate size for your yarn, a tapestry needle for sewing up the hat, and a pair of scissors.
Step 1: Cast on
Begin by casting on the required number of stitches for the size of hat you want to knit. You can find the specific instructions for this in the free pattern. Make sure to leave a long tail of yarn for sewing up the hat later.
Step 2: Knit the body of the hat
Follow the pattern instructions to knit the body of the hat. This may involve knitting rounds or rows in a specific stitch pattern or sequence. Take your time and enjoy the rhythmic and soothing process of knitting.
Step 3: Shape the crown
As you near the top of the hat, you will need to shape the crown. This is usually done by decreasing stitches in a systematic way. The pattern will guide you through this process, specifying the number of stitches to knit together or slip, knit, and pass over to create a neat and snug crown.
Step 4: Finishing touches
When you have completed the body of the hat, it’s time to finish it off. Cut the yarn, leaving a long tail for sewing. Thread the tail onto a tapestry needle and carefully sew up the side seam of the hat using a mattress stitch or other suitable sewing technique.
Finally, weave in any loose ends and trim the yarn. Give the hat a gentle block to even out the stitches and ensure it holds its shape. Your knitted baby hat is now ready to keep your little one warm and stylish!
Remember, practice makes perfect, so don’t be discouraged if your first attempt doesn’t turn out exactly as you envisioned. Keep knitting and experimenting with different yarns and patterns, and soon you’ll be creating beautiful baby hats with ease.
Choose the Perfect Yarn and Needle Size
When it comes to knitting a baby hat, choosing the right yarn and needle size is crucial. The type of yarn you select will determine the overall look, feel, and durability of the hat. Additionally, the needle size will affect the gauge and size of the final product. Here are some important factors to consider when making your yarn and needle selection.
Yarn Weight and Fiber Content
There are various yarn weights available for knitting projects, and each weight has its own unique properties. For a baby hat, it is generally recommended to use a lightweight yarn, such as fingering or sport weight. These yarns are soft and delicate, making them perfect for baby accessories. Additionally, consider the fiber content of the yarn. Avoid using rough or scratchy fibers that could irritate a baby’s sensitive skin. Opt for soft, gentle fibers like cotton or merino wool.
Gauge and Needle Size
Gauge refers to the number of stitches and rows per inch in a knitted fabric. It is crucial to achieve the correct gauge when knitting a baby hat to ensure it fits properly. To determine the right needle size, you can check the yarn label for the recommended gauge. If your gauge doesn’t match, you may need to adjust your needle size accordingly. Remember that the needle size will also affect the overall texture of the fabric. Smaller needles will create a denser, tighter fabric, while larger needles will result in a looser, more open fabric.
Ultimately, when choosing the perfect yarn and needle size for your knitted baby hat, consider the comfort and safety of the baby. Aim for soft, gentle fibers and a lightweight yarn that will feel cozy against their delicate skin. Take proper gauge measurements and adjust your needle size if needed to ensure a snug and comfortable fit. With the right combination of yarn and needle, you’ll be able to create a beautiful and practical hat for your little one.
Gauge: Why It Matters and How to Measure It
When knitting a garment, achieving the correct gauge is crucial to ensure that the finished piece fits properly. Gauge refers to the number of stitches and rows per inch that the knitter achieves with a particular yarn and needle size. It is usually stated in the pattern and is important for maintaining the correct sizing and proportions of the project. If the gauge is off, the garment may end up too small or too large.
Measuring gauge involves knitting a swatch, a small sample of fabric, using the specified yarn and needle size. The swatch should be large enough to accurately measure the gauge, usually around 4 inches by 4 inches. It is important to wash and block the swatch before measuring, as this step helps to stabilize the stitches and give a more accurate measurement.
Steps for Measuring Gauge:
- Select the specified yarn and needle size for the project.
- Cast on the recommended number of stitches stated in the pattern, plus a few extra stitches on each side for a border.
- Knit the swatch using the recommended stitch pattern, working for the recommended number of rows.
- After finishing the swatch, wash it gently using the same method you would use for the finished garment.
- Once the swatch is dry, lay it flat on a surface and measure the stitches and rows using a ruler or gauge tool.
- Count the number of stitches per inch horizontally (across the rows) and vertically (up the columns) to determine the gauge.
If the gauge is not accurate, adjustments in needle size may be necessary. If there are too few stitches per inch, try using a smaller needle. If there are too many stitches per inch, try using a larger needle. It may take several swatches and adjustments to achieve the correct gauge, but it is worth the effort to ensure a well-fitting finished garment.
Cast On: Starting Your Baby Hat
If you’re new to knitting, one of the first things you’ll need to learn is how to cast on. Casting on is the process of creating the first row of stitches on your knitting needle, and it sets the foundation for your knitting project. In this guide, we’ll walk you through how to cast on for a baby hat using a free pattern. Whether you’re knitting for your own little one or making a gift for someone special, this baby hat pattern is a great project to practice your casting on skills.
To start your baby hat, you’ll need to gather your materials and select your yarn and needles. This pattern recommends using a worsted weight yarn and size 8 circular needles. Once you have your supplies handy, you’re ready to cast on.
Step 1: To begin, make a slipknot by creating a loop with the yarn and pulling the working end through it. Place the slipknot on your knitting needle and tighten it snugly.
Step 2: Hold the knitting needle with the slipknot in your right hand, and the loose end of the yarn in your left hand. Insert the right knitting needle into the slipknot from front to back, and bring the working end of the yarn over the top of the right needle.
Step 3: With the right needle, bring the working end of the yarn under the left needle, then over the top to form a loop. Gently pull the loop through the slipknot, creating a new stitch on the right needle.
Step 4: Continue steps 2 and 3 until you have cast on the desired number of stitches for your baby hat. Remember to count your stitches periodically to ensure accuracy.
Once you’ve cast on the necessary stitches, you’re ready to begin knitting the baby hat. This free pattern will guide you through the rest of the process, including the knitting stitch pattern, shaping, and finishing details. Cast on with confidence, and enjoy the process of creating a cozy hat for your little one!
Knitting in the Round: Mastering Circular Needles
Knitting in the round is a technique that many knitters find useful and versatile. It allows for the creation of seamless projects such as hats, socks, and sweaters. One of the key tools needed for knitting in the round is circular needles. These needles have two pointed ends connected by a flexible cable, allowing you to knit in a continuous loop. Once you master circular needles, a whole world of possibilities opens up for your knitting projects.
Why Use Circular Needles?
One of the main advantages of using circular needles is that they can accommodate a large number of stitches. This makes them ideal for knitting larger projects, such as blankets, without the need to constantly shift your stitches onto longer straight needles. Circular needles are also great for projects that require a certain amount of stretch, as the flexible cable allows you to easily manipulate the stitches.
Getting Started
When using circular needles, it’s important to choose the right needle length for your project. The length of the needle should be shorter than the circumference of your project, so that the stitches can comfortably fit around the needle. To get started, cast on your desired number of stitches and place a stitch marker to indicate the beginning of the round. Then, hold the needle with the stitches in your right hand and begin knitting as you would with straight needles. As you work, make sure to keep the tension even and avoid any twists in the cable.
Common Techniques
There are several techniques that can be used when knitting in the round with circular needles. One common technique is the magic loop method, which allows you to knit small circumferences, such as sleeves or hats, using a long circular needle. Another technique is using double-pointed needles, where you divide your stitches evenly onto three or four needles and knit in a spiral. Whichever technique you choose, it’s important to practice and find the method that works best for you.
Conclusion
Knitting in the round with circular needles is a valuable skill to have as a knitter. It opens up numerous possibilities for creating seamless and stretchy projects. By choosing the right needle length and practicing different techniques, you can master the art of knitting in the round and take your knitting projects to the next level.
Basic Stitches: Knit, Purl, and Ribbing

When it comes to knitting, understanding the basic stitches is essential. The two most commonly used stitches are the knit stitch and the purl stitch, which are the foundation for many different stitch patterns and designs. Knitting involves working with two basic stitches: knit and purl.
The knit stitch is created by inserting the right-hand needle into the first stitch on the left-hand needle, from front to back. The working yarn is then wrapped around the right-hand needle, and pulled through the stitch to create a new loop. This loop is then transferred onto the right-hand needle, and the process is repeated for each stitch.
- Knit Stitch: Insert right-hand needle into first stitch, wrap yarn around needle, pull through, and transfer stitch.
- Purl Stitch: Insert right-hand needle into first stitch, wrap yarn around needle in the opposite direction, pull through, and transfer stitch.
The purl stitch, on the other hand, is created by inserting the right-hand needle into the first stitch on the left-hand needle, from back to front. The working yarn is then wrapped around the right-hand needle, and pulled through the stitch to create a new loop. This loop is then transferred onto the right-hand needle, and the process is repeated for each stitch.
One common use of these basic stitches is in ribbing, which is a pattern that alternates between knit and purl stitches. Ribbing is commonly used for cuffs, collars, and hems, as it creates a stretchy and flexible fabric. The most common ribbing pattern is the 1×1 rib, which consists of alternating one knit stitch and one purl stitch. This creates a pattern that resembles a series of vertical columns. Other variations, such as the 2×2 rib or the 2×1 rib, can also be used for different effects.
Increasing and Decreasing: Shaping Your Baby Hat
When knitting a baby hat, it’s important to have the right shape and size. As babies grow quickly, you’ll want the hat to fit comfortably, but not be too tight or too loose. One way to achieve the perfect fit is by increasing and decreasing stitches. This allows you to shape the hat to fit the baby’s head.
Increasing stitches: To increase stitches, you’ll need to add extra stitches to the row. This is typically done by knitting in the front and back of a stitch or by making a yarn over. Adding stitches at regular intervals will gradually make the hat wider, allowing for a better fit as the baby grows.
Decreasing stitches: On the other hand, decreasing stitches helps create a snugger fit towards the top of the hat. This is typically done by knitting two stitches together or by slipping a stitch over another stitch. Decreasing stitches at regular intervals will shape the top of the hat and give it a rounded appearance.
It’s important to follow the pattern instructions for increasing and decreasing stitches. The pattern should specify when and how to make these adjustments. By following the pattern and using the correct techniques, you can create a baby hat that not only looks adorable but also fits perfectly.
Note: It’s always a good idea to measure the baby’s head circumference before starting the hat and to check the gauge (the number of stitches per inch) to ensure the hat will fit correctly. Adjustments can be made by adding or subtracting stitches as needed.
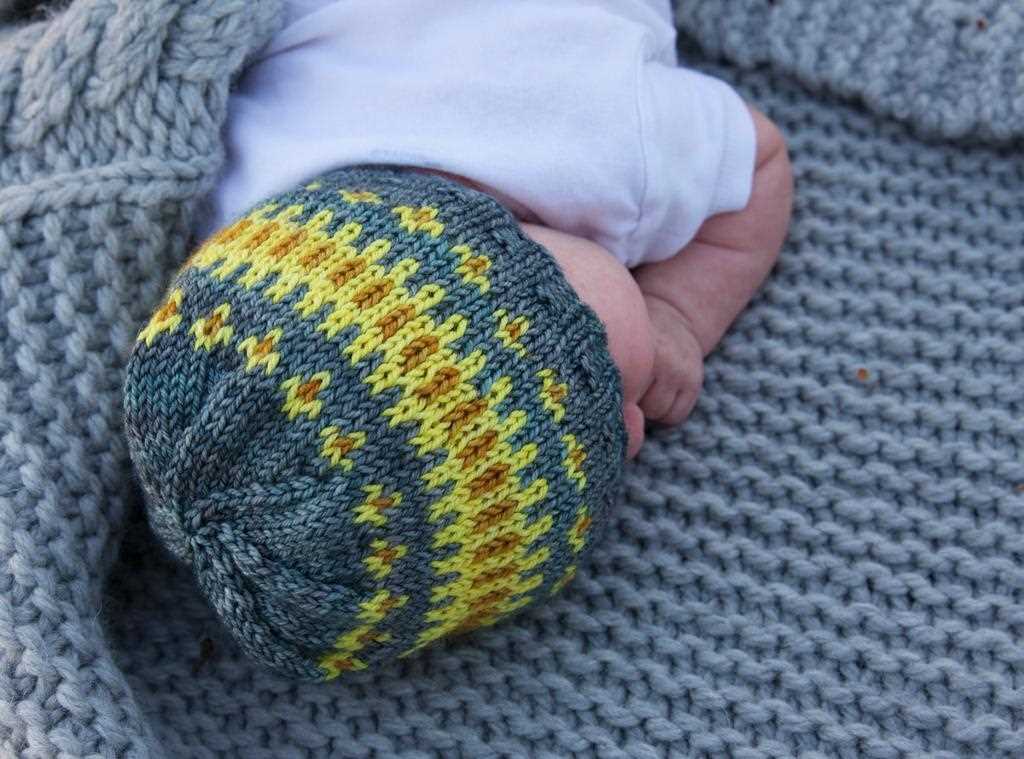
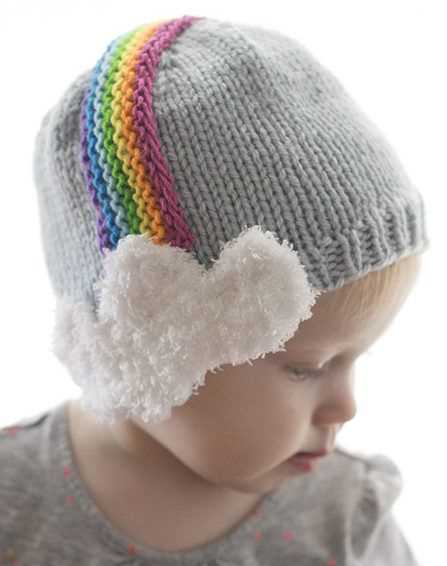
Adding Color: Stripes, Fair Isle, and Other Techniques

Adding color to a knitted baby hat can make it more visually appealing and fun for babies and their parents. There are various techniques you can use to incorporate color into your knitting projects, such as stripes, Fair Isle, and other colorwork methods.
Stripes are a simple and effective way to add color to your baby hat. You can either knit the entire hat in one color and add stripes of a contrasting color, or alternate between two different colors for a more vibrant look. To create stripes, simply switch yarn colors at the desired interval and continue knitting in the new color until you’re ready to switch back.
Fair Isle, also known as stranded knitting, is a technique that involves working with multiple colors in the same row. Traditionally, Fair Isle patterns feature intricate motifs and designs, but you can also create simpler patterns or use it for a contrasting color effect in your baby hat. When working Fair Isle, you carry both colors across the row, creating floats on the back of your work. This technique requires some practice to maintain an even tension and avoid puckering.
If you’re looking for more adventurous colorwork techniques, you can explore intarsia or slip stitch patterns. Intarsia allows you to knit different blocks of color separately, while slip stitch patterns involve slipping stitches from previous rows to create color patterns. These techniques can create eye-catching designs and add texture to your baby hat.
Remember to choose yarn colors that are safe and hypoallergenic for babies’ sensitive skin. It’s also important to pay attention to color placement to ensure a balanced and visually pleasing design. Have fun experimenting with different color combinations and techniques to create unique and personalized knitted baby hats!
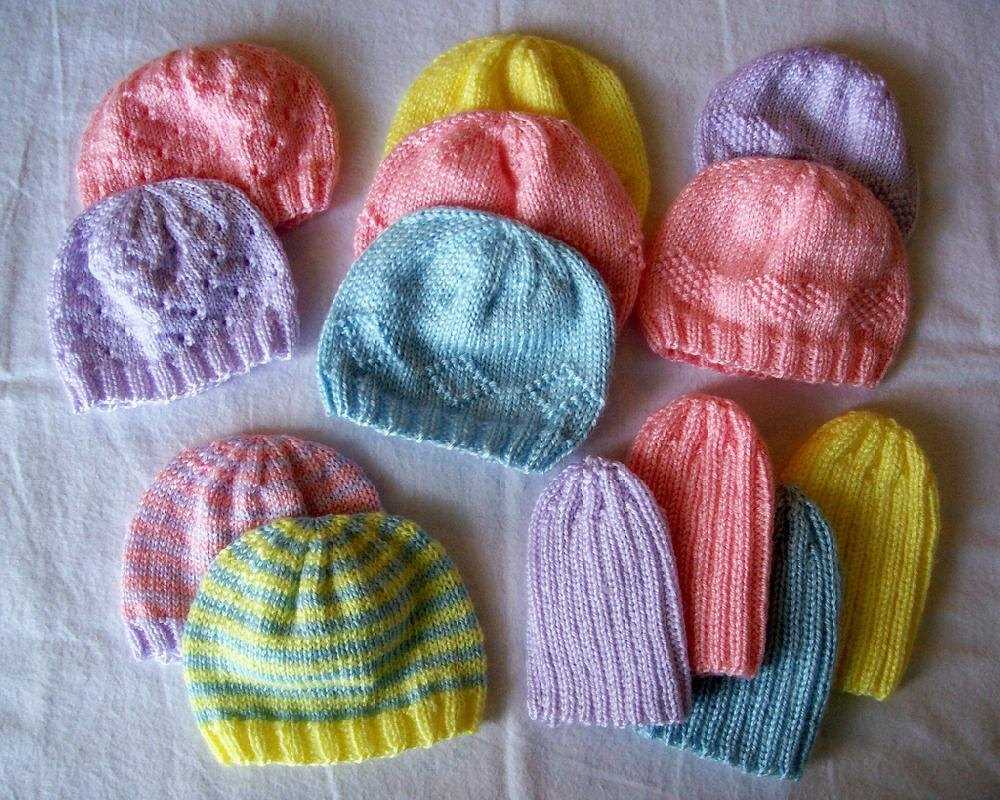
Pattern: The Ribbed Baby Hat
The Ribbed Baby Hat is a simple and classic pattern that is perfect for keeping your little one warm and stylish. This pattern is suitable for beginner knitters and can be completed in just a few hours.
Materials:
- Yarn: Worsted weight yarn, approximately 100 yards
- Needles: Size US 7 (4.5mm) double-pointed needles or circular needles for magic loop method
- Stitch marker
- Tapestry needle
Instructions:
- Cast on 64 stitches using the long-tail cast on method.
- Place a stitch marker to mark the beginning of the round.
- Join in the round, being careful not to twist the stitches.
- Work in *K2, P2* ribbing for 1 inch.
- Switch to stockinette stitch (knit all stitches) and continue until the hat measures approximately 4 inches from the cast on edge.
- Decrease rounds:
- Round 1: *K6, K2tog* across the round (56 stitches).
- Round 2: Knit all stitches.
- Round 3: *K5, K2tog* across the round (48 stitches).
- Round 4: Knit all stitches.
- Round 5: *K4, K2tog* across the round (40 stitches).
- Round 6: Knit all stitches.
- Round 7: *K3, K2tog* across the round (32 stitches).
- Round 8: Knit all stitches.
- Round 9: *K2, K2tog* across the round (24 stitches).
- Round 10: Knit all stitches.
- Round 11: *K1, K2tog* across the round (16 stitches).
- Round 12: *K2tog* across the round (8 stitches).
- Cut the yarn, leaving a long tail. Thread the tail through the remaining stitches and pull tight to close the top of the hat.
- Weave in any loose ends and block the hat if desired.
This pattern is versatile and can be easily customized by changing the colors or adding embellishments such as pom-poms or buttons. Whether you are knitting for your own baby or as a gift, the Ribbed Baby Hat is sure to be a favorite accessory.
Finishing Touches: Sewing, Blocking, and Weaving in Ends
When you have finished knitting your baby hat, there are a few final steps to take to make sure it looks polished and professional. This includes sewing any seams, blocking the hat to improve its shape, and weaving in any loose ends of yarn.
Sewing: If your baby hat has any seams, such as a seam up the back or along the sides, you will need to sew them together. Using a yarn needle, carefully stitch the pieces together using the same yarn you used to knit the hat. Make sure to align the stitches evenly and securely to create a seamless finish.
Blocking: Blocking is an important step in knitting that helps to shape and smooth out your finished piece. For a baby hat, gently soak it in lukewarm water and lay it flat on a clean towel. Use pins or a blocking board to stretch the hat to the desired size and shape, ensuring the edges and any ribbing lay flat. Allow the hat to dry completely before removing the pins.
Weaving in Ends: When you have completed knitting, you may have loose ends of yarn that need to be tucked away. Using a yarn needle, weave the loose ends back into the stitches of the hat, making sure to secure them well. Take care to weave the ends in discreetly so they are not visible on the finished hat.
By following these finishing touches, you can take your knitted baby hat from homemade to professional-looking. Sewing the seams neatly, blocking the hat to improve its shape, and weaving in any loose ends will ensure your baby hat is not only adorable but also well-crafted and long-lasting. Happy knitting!
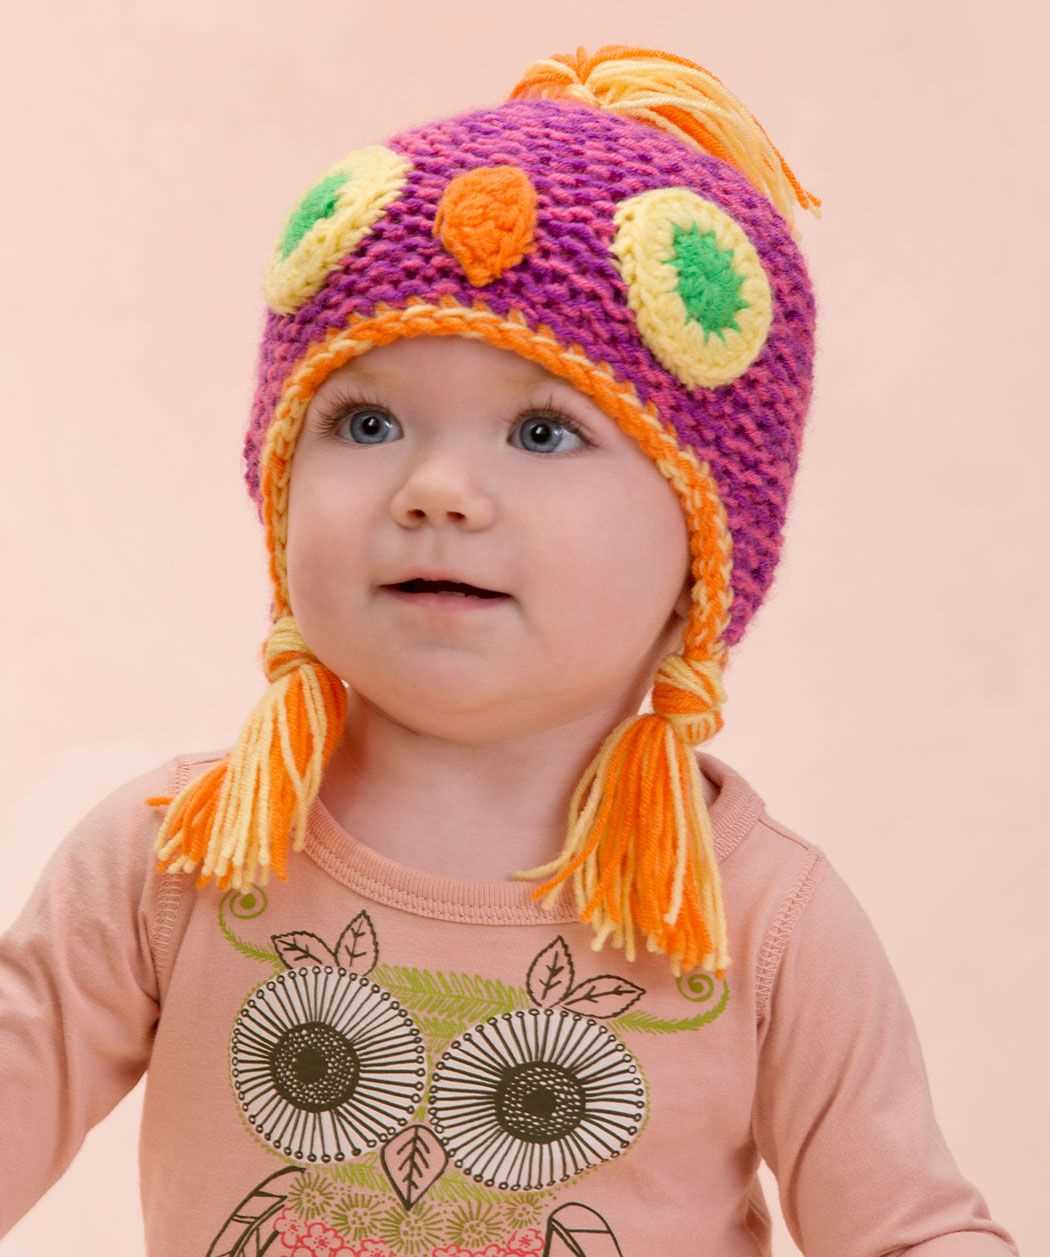
Share Your Creativity: Ideas for Personalizing Your Baby Hat
Congratulations on completing the free knitted baby hat pattern! Now it’s time to add your personal touch and make it truly unique. Here are some ideas for personalizing your baby hat:
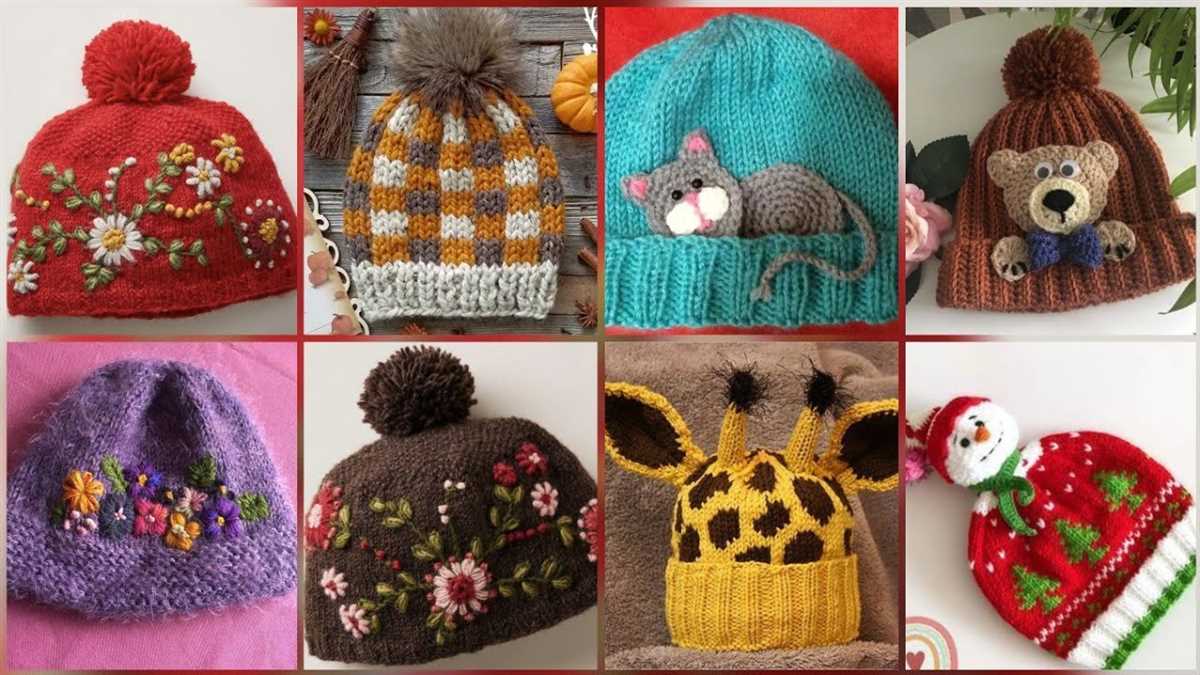
Add Embroidery
Embroidery is a great way to add a special touch to your baby hat. You can use colorful threads to stitch your baby’s name, initials, or cute designs like hearts, stars, or animals. This will not only personalize the hat but also make it more attractive.
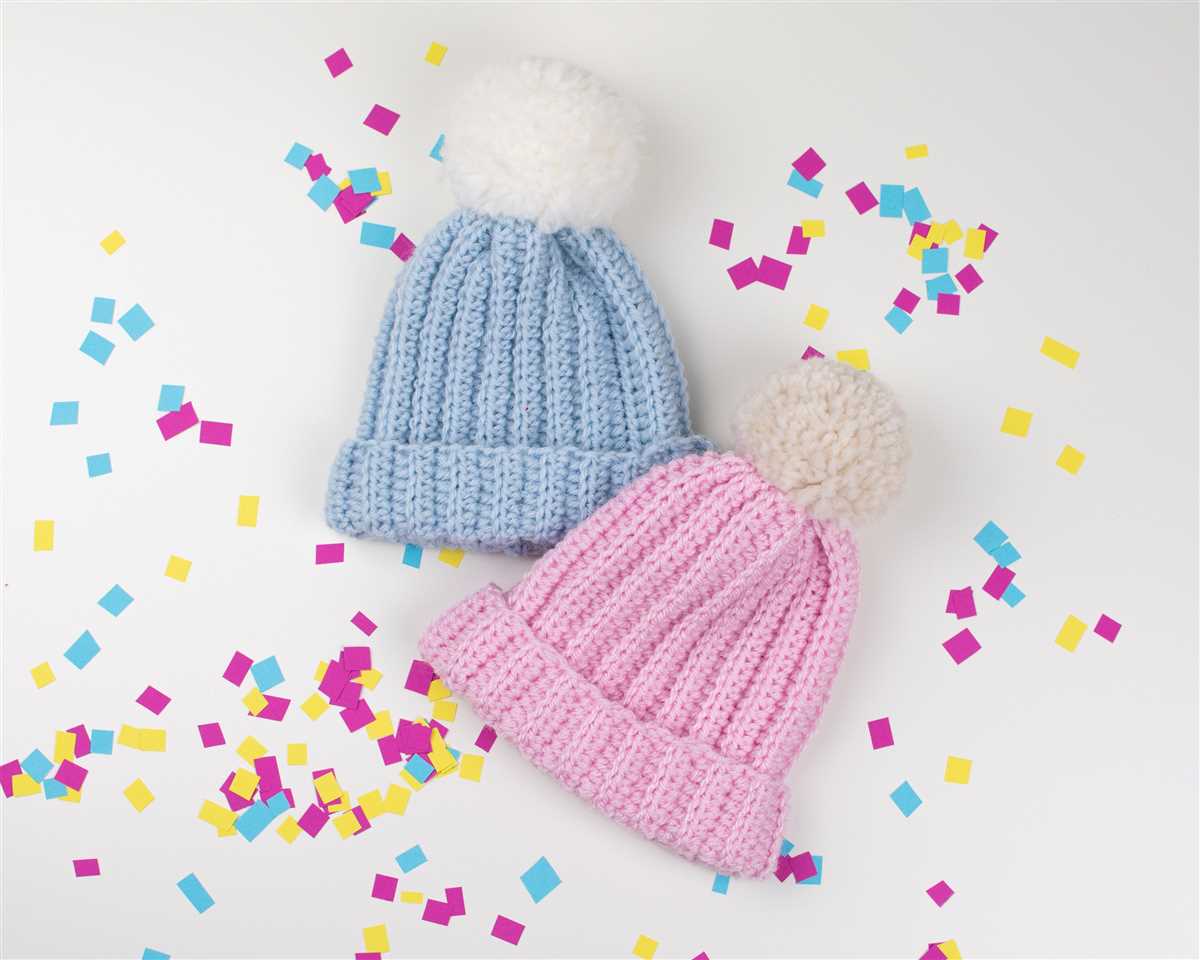
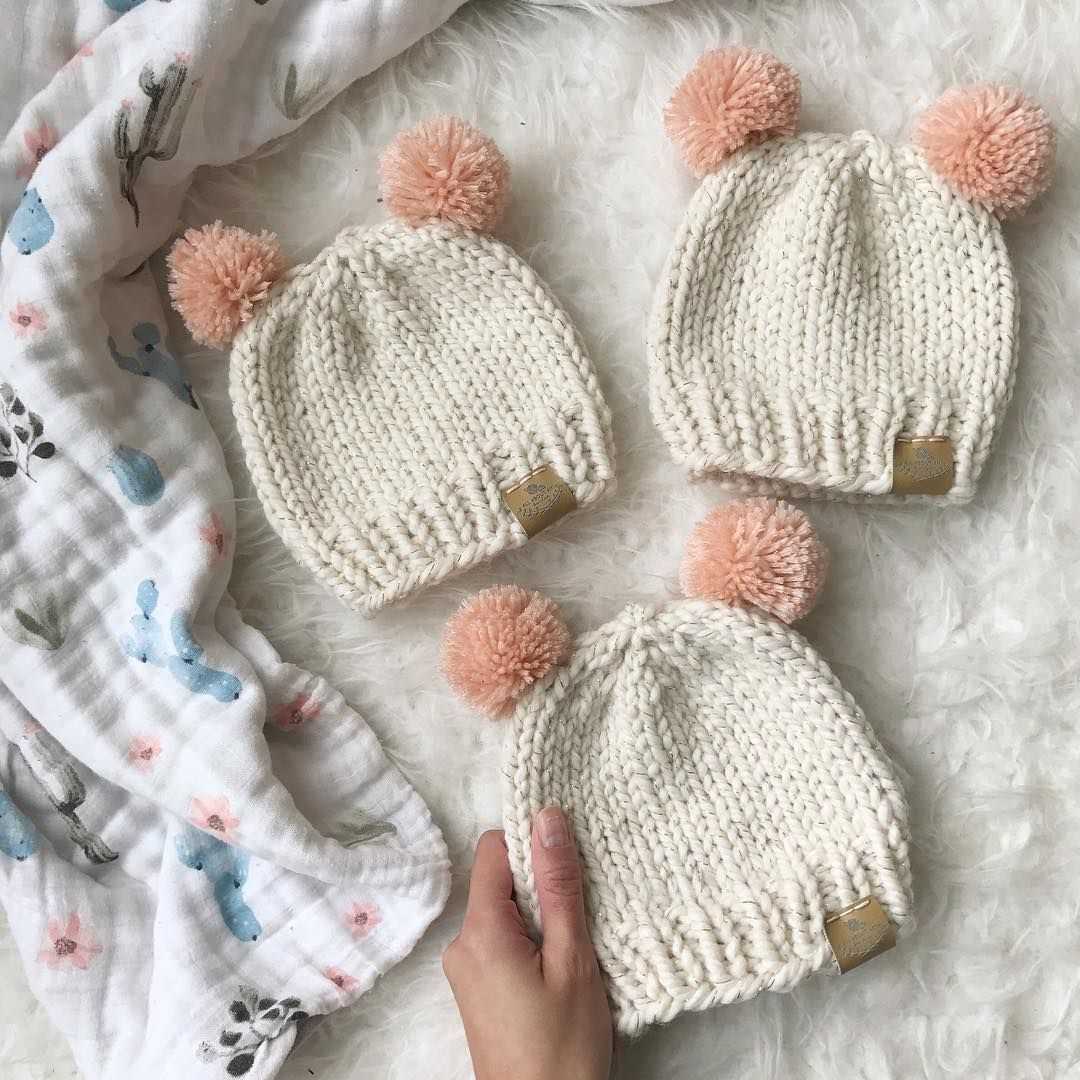
Attach Pom-Poms
Pom-poms are a fun and whimsical addition to a baby hat. You can make your own pom-poms using yarn in coordinating colors and attach them securely to the top of the hat. Pom-poms are sure to make your baby hat stand out and add a playful touch.
Apply Appliques
Another way to personalize your baby hat is by adding appliques. These can be small fabric or felt shapes that you sew or glue onto the hat. You can choose appliques that match the theme of your baby’s nursery or go with something fun like animals, flowers, or even superheroes!
Use Buttons or Ribbons
Buttons or ribbons can also be used to personalize your baby hat. Sewing on decorative buttons or tying ribbons in bows can give the hat a cute and charming look. Just make sure to choose buttons that are securely attached and avoid using small decorative items that could pose a choking hazard.
By using these simple techniques, you can transform a basic knitted baby hat into a personalized accessory that reflects your creativity and love for your little one. So, go ahead and experiment with these ideas or come up with your own to make your baby hat truly one-of-a-kind!