
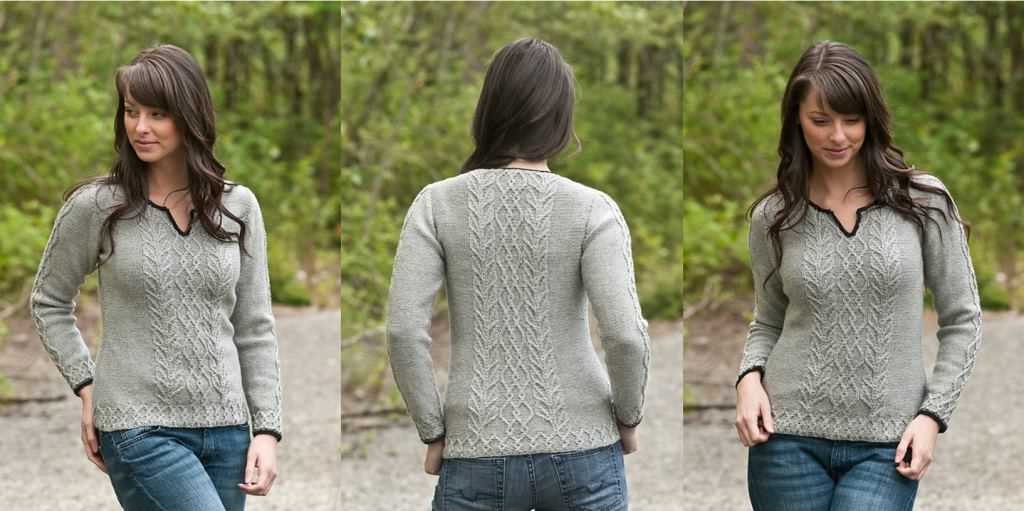
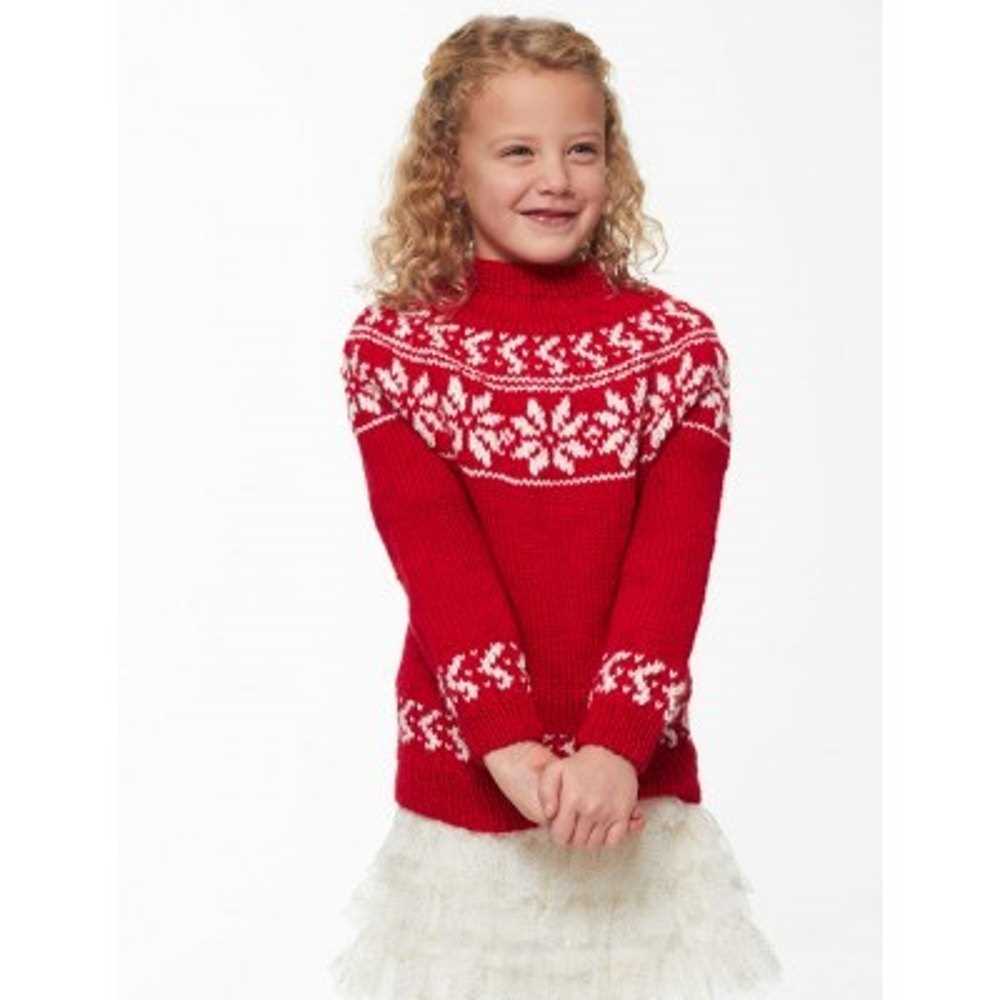
If you’re looking for a cozy and stylish addition to your winter wardrobe, look no further than a jumper dress! Perfect for layering over leggings or tights, a jumper dress is a versatile and comfortable option for those chilly days. But why buy one when you can make your own? With our free jumper dress knitting pattern, you can create a one-of-a-kind piece that fits you perfectly!
Knitting your own jumper dress not only allows you to customize the fit and design, but it also gives you the opportunity to experiment with different stitches and patterns. Whether you prefer a classic ribbed design or a more intricate cable knit, the possibilities are endless. Plus, knitting can be a relaxing and therapeutic activity that allows you to unwind while creating something beautiful.
Our free jumper dress knitting pattern is suitable for knitters of all skill levels. Even if you’re a beginner, you’ll be able to follow along with our detailed instructions and create a stunning garment. And if you’re an experienced knitter, you can use this pattern as a starting point and add your own personal touches.
Step-by-Step Guide to Knitting a Free Jumper Dress
If you’re looking to add a stylish and cozy addition to your wardrobe, knitting a jumper dress can be a rewarding project. With this step-by-step guide, you’ll be able to create a beautiful and comfortable jumper dress using a free pattern. Whether you’re an experienced knitter or a beginner, this guide will walk you through the process and provide helpful tips along the way.
Gather Your Materials
Before you begin knitting, make sure you have all the necessary materials. You’ll need a pair of knitting needles, the recommended yarn for the pattern, stitch markers, a tape measure, and a yarn needle for weaving in ends. It’s important to choose a yarn that is suitable for a jumper dress, such as a medium to bulky weight yarn that will provide warmth and structure to the garment.
Read and Understand the Pattern
Next, thoroughly read and understand the free jumper dress knitting pattern. Take note of the required gauge, the stitch pattern, and any specific instructions. Familiarize yourself with the abbreviations used in the pattern and keep them handy for reference. It’s also helpful to highlight or mark important sections of the pattern for easy navigation during the knitting process.
Swatch and Measure
Before diving into the main body of the jumper dress, it’s advisable to knit a swatch to ensure you achieve the correct gauge. Follow the instructions provided in the pattern to create a square swatch and measure it using your tape measure. If your gauge doesn’t match the one specified in the pattern, adjust your knitting needle size accordingly until you achieve the correct gauge. This step is crucial for ensuring the proper fit of your jumper dress.
Start Knitting
Now it’s time to start knitting the jumper dress. Begin by casting on the required number of stitches as indicated in the pattern. Use stitch markers to mark any important sections or stitch patterns. Follow the pattern instructions row by row, making sure to keep track of your progress with a row counter or pen and paper. Pay attention to any shaping instructions, such as increasing or decreasing stitches, and mark these accordingly to ensure symmetry in your garment.
Finishing Touches
Once you’ve completed knitting the main body of the jumper dress, it’s time to finish off the garment. Follow the pattern instructions for the neckline, sleeves, and any other details. Use your yarn needle to weave in any loose ends and give your jumper dress a professional finish. Give the completed garment a gentle blocking by lightly steaming or wetting it and shaping it to the desired dimensions.
With this step-by-step guide, you’ll be able to knit a beautiful and cozy jumper dress using a free pattern. Remember to take your time, enjoy the knitting process, and don’t hesitate to seek help or guidance if needed. Happy knitting!
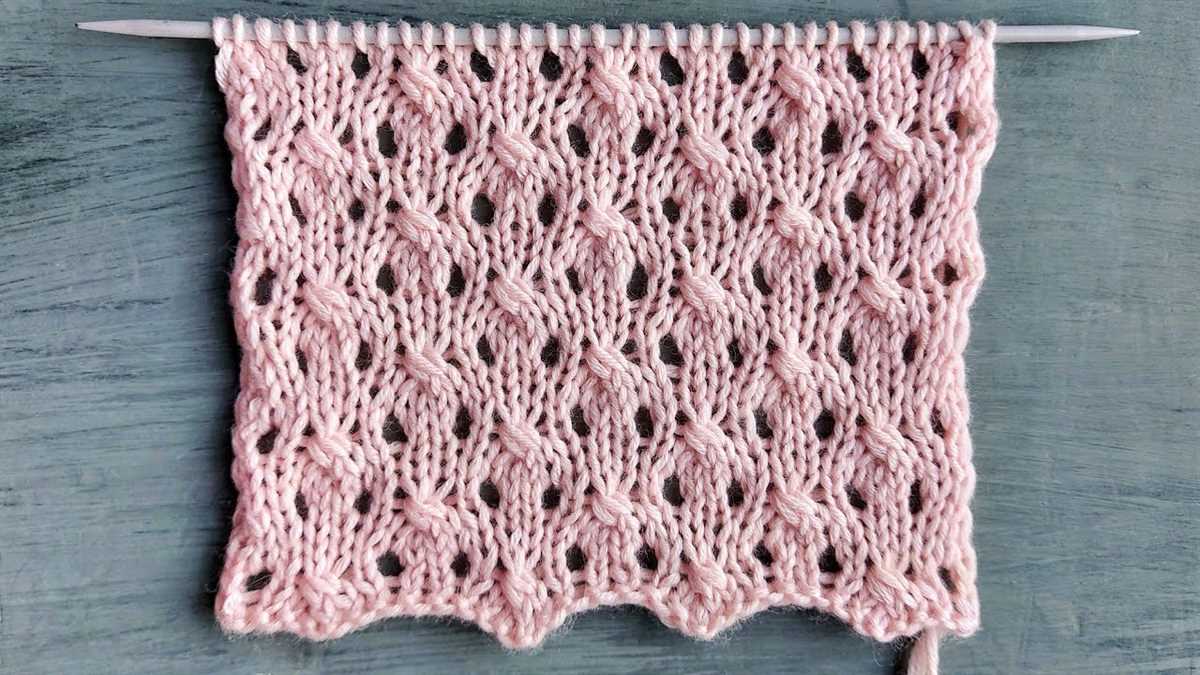
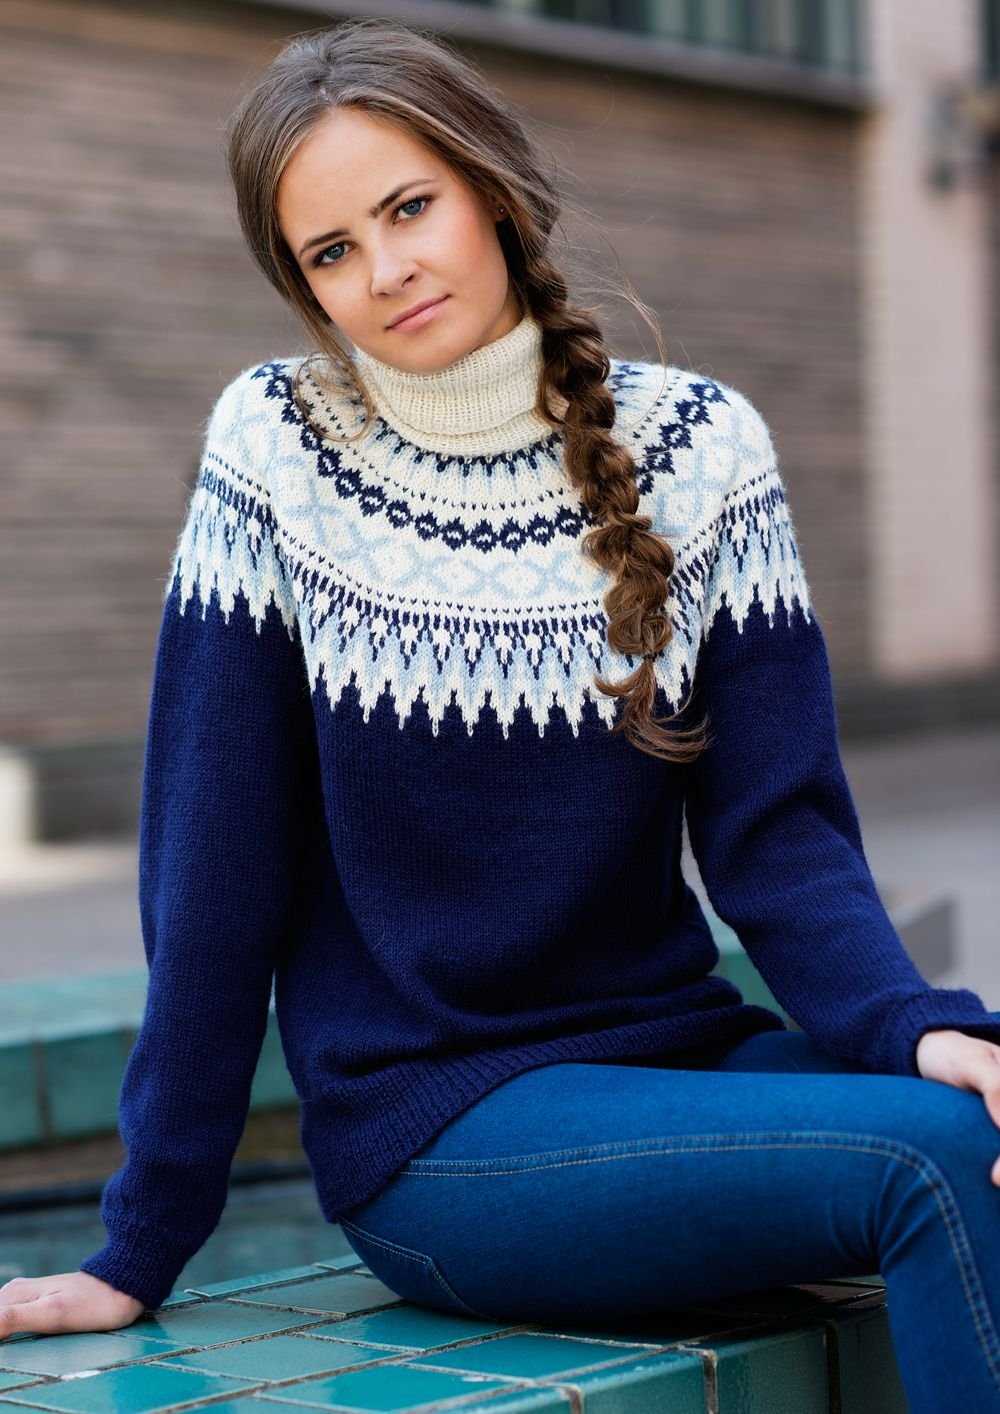
Choosing the Right Yarn for Your Jumper Dress
When choosing yarn for your jumper dress, it’s important to consider not only the color and texture but also the weight and composition of the yarn. The right yarn can make a huge difference in the overall look and feel of your finished dress, so it’s worth taking the time to make the right choice.
Weight: The weight of the yarn will determine the thickness and drape of your jumper dress. If you want a lightweight and flowy dress, opt for a lace or fingering weight yarn. For a more structured and warm dress, choose a bulky or bulky weight yarn. Keep in mind that the weight of the yarn will also affect the amount of yarn you’ll need for your project.
Composition: The composition of the yarn refers to the fibers used to make it. Common yarn compositions include wool, cotton, acrylic, and blends. Consider the properties of each fiber when choosing your yarn. Wool, for example, is warm, stretchy, and great for keeping you cozy in colder weather. Cotton, on the other hand, is breathable and lightweight, making it perfect for spring and summer dresses. Acrylic yarn is often budget-friendly and easy to care for.
Color and Texture: The color and texture of the yarn will play a big role in the aesthetic of your jumper dress. Consider the color palette you want for your dress and choose a yarn that matches or complements it. As for texture, you can choose from smooth, fluffy, or textured yarns to achieve different looks and feels for your dress.
Remember to always check the manufacturer’s recommended gauge for the yarn and use the appropriate needle size to achieve the desired tension. Test the yarn swatch before starting your project to ensure that you are happy with the fabric it creates. With the right yarn, your jumper dress will not only be stylish but also comfortable to wear.
Getting Started: Casting On
When starting a knitting project, the first step is to cast on. This is the process of creating the first row of stitches on your knitting needle. It is important to cast on the correct number of stitches to ensure that your jumper dress will have the correct size and fit.
To cast on, you will need your knitting needles and your yarn. Start by making a slipknot: take the end of the yarn and create a loop, pulling the working yarn through the loop. Place the loop onto your knitting needle and tighten it to create a snug knot.
Once you have your slipknot, you can begin casting on. Hold the knitting needle with the slipknot in your right hand and the empty needle in your left hand. Insert the left needle into the slipknot from left to right, making sure that the yarn is behind the right needle.
To cast on each stitch, use the right needle to wrap the yarn around the left needle in a clockwise motion, creating a loop. Slip this loop onto the left needle, and then tighten the stitch by gently pulling on the working yarn. Repeat this process until you have cast on the desired number of stitches for your jumper dress.
It is important to keep your stitches loose and even while casting on. If your stitches are too tight, it will be difficult to knit the first row. If your stitches are too loose, the edges of your jumper dress may be uneven.
Once you have finished casting on, you are ready to start knitting the first row of your jumper dress. Make sure to follow the pattern instructions carefully and enjoy the process of creating your own stylish and comfortable jumper dress!
Knitting the Ribbing for the Hemline
When knitting the ribbing for the hemline of your jumper dress, it is important to pay attention to the details to achieve a polished finished look. The ribbing at the hemline not only adds a decorative element but also helps to create a snug fit around your hips.
To start, cast on the desired number of stitches using the recommended yarn and needle size. It is generally recommended to use a smaller needle size for the ribbing to create a tight, flexible fabric. For example, if you are using a US size 8 needle for the main body of the dress, you may want to switch to a US size 6 or 7 needle for the ribbing.
Once you have cast on the stitches, you will typically work in a rib stitch pattern such as knit 2, purl 2 or knit 1, purl 1 for the entire length of the ribbing. This creates a stretchy fabric that hugs the body and helps to prevent the hemline from rolling up. Make sure to maintain the rib pattern consistently throughout the ribbing section.
Depending on the desired length of the ribbing, you may need to repeat the rib stitch pattern for a certain number of rows. It is important to measure the length of the ribbing as you go to ensure it matches the desired length for your dress. You can use a tape measure or simply compare it to the length of the main body of the dress.
Once the ribbing is complete, bind off the stitches in a way that matches the rib stitch pattern. If you have been working in a knit 2, purl 2 pattern, for example, make sure to bind off in the same pattern to maintain consistency in the finished edge.
Overall, knitting the ribbing for the hemline of your jumper dress requires attention to detail and consistency in stitch pattern. By following these steps and using the appropriate needle size, you can create a professional-looking hemline that adds the finishing touch to your dress.
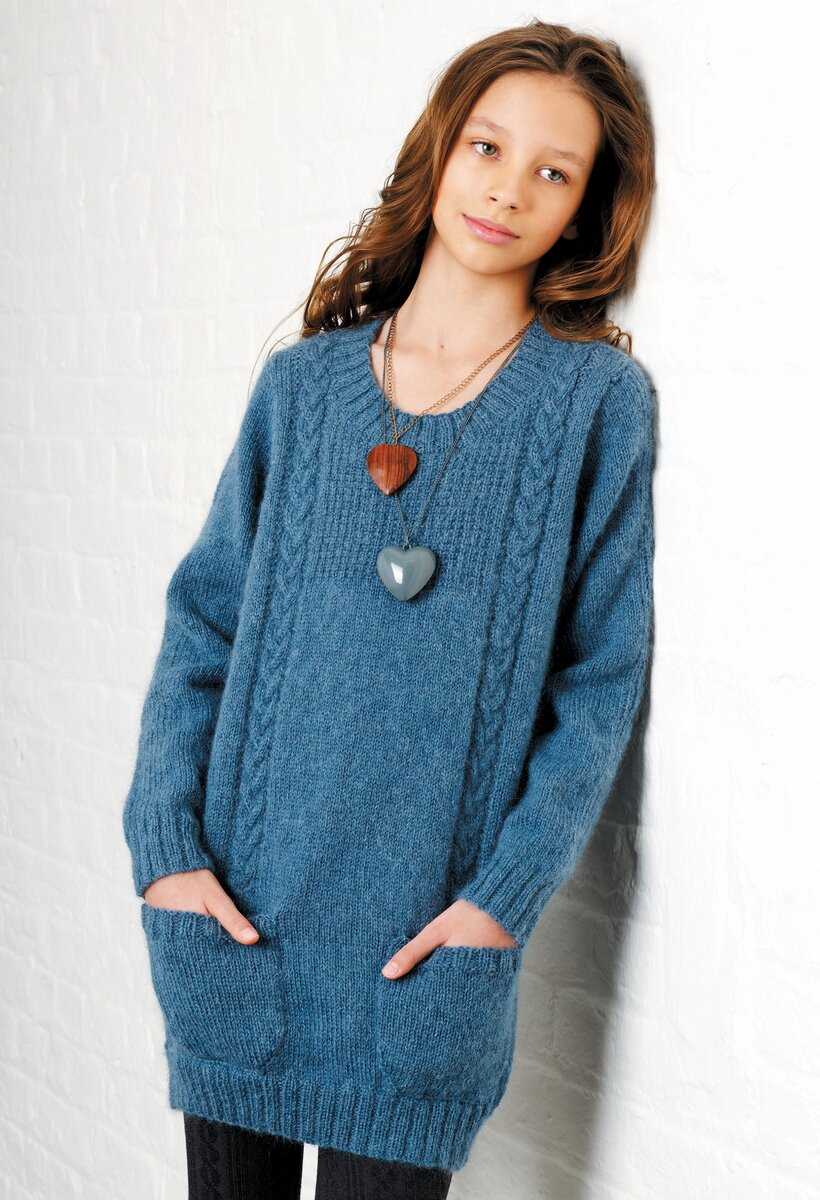
Creating the Body of Your Jumper Dress
Once you have completed the ribbing for the neckline and cuffs of your jumper dress, it’s time to begin creating the body. This is where you will start to see your dress taking shape.
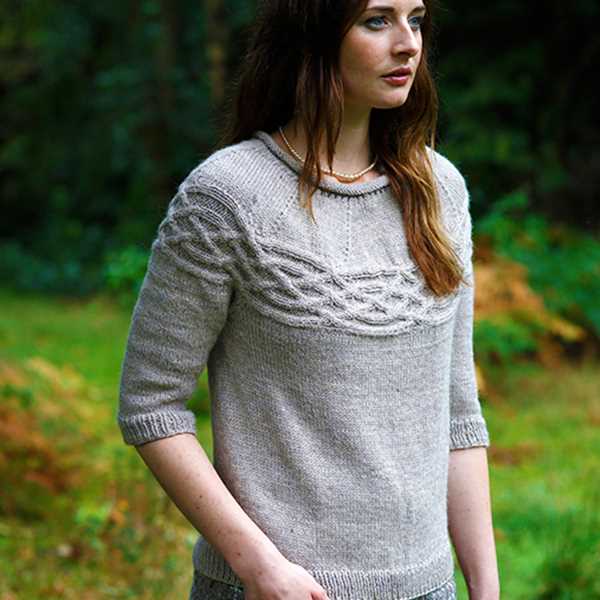
To create the body of your jumper dress, you will need to continue knitting in the main stitch pattern that you have chosen. This could be a simple stockinette stitch, a cable pattern, or any other stitch pattern that you prefer. Follow the instructions for your chosen stitch pattern and continue knitting until you reach the desired length for your dress.
If you are using a stitch pattern that requires shaping, such as a cable pattern or a lace pattern, you will need to follow the instructions for these specific stitches and incorporate the shaping as you go. For example, if you are knitting a cable pattern, you may need to decrease or increase stitches at certain points to create the desired cable design.
It is also important to keep track of your stitch count as you knit the body of your jumper dress. This will ensure that your dress remains the correct size and shape. You can use stitch markers to help you keep track of specific sections or repeat pattern sections if necessary.
Once you have reached the desired length for your jumper dress, you can then move on to finishing the hemline. This may involve creating a ribbed hem, adding a decorative border, or simply binding off the stitches. Follow the instructions for your specific pattern to complete the hemline and finish off your jumper dress.
Shaping the Armholes
To create a beautifully fitting jumper dress, it is important to shape the armholes correctly. This will ensure that the dress sits comfortably on your shoulders and allows for easy movement of your arms.
1. Marking the Armhole
Before you begin shaping the armholes, you will need to mark the position of the armhole on your dress. To do this, measure the distance from the neckline to where you want the armhole to start. Make a small mark on each side of the dress at this measurement.
2. Decreasing Stitches
To shape the armholes, you will need to decrease stitches at each side of the dress. Start by knitting to the first marked stitch. Then, slip the next stitch knitwise, knit the following stitch, and pass the slipped stitch over the knitted stitch. This is called a decrease stitch. Repeat this decrease stitch at the beginning and end of every other row until you have reached your desired armhole depth.
3. Binding Off
Once you have reached the desired armhole depth, you will need to bind off the stitches to create a neat edge. To bind off, knit 2 stitches, then pass the first stitch over the second stitch and drop it off the needle. Continue this process until all the stitches have been bound off.
Remember to shape both armholes symmetrically, following the same steps for each side of the dress. This will ensure a balanced and professional finish to your jumper dress.
Knitting the Neckline
When knitting a jumper dress, one of the important aspects to pay attention to is the neckline. The neckline can greatly influence the overall look and fit of the dress, so it’s crucial to choose the right style and technique. There are several options for creating a neckline, each with its own unique characteristics.
1. Crew Neck: The crew neck is a classic and versatile choice for a jumper dress. It sits high on the neck and can be easily achieved by knitting the neckline straight across without any shaping. This neckline is perfect for a clean and simple look.
2. V-Neck: For a more feminine and flattering neckline, consider knitting a V-neck on your jumper dress. This style forms a V-shaped opening at the front, elongating the neck and creating a more visually appealing silhouette. To achieve this neckline, you will need to shape the neck by gradually decreasing stitches.
3. Boat Neck: If you prefer a slightly wider neckline that exposes the shoulders, the boat neck is a great option. This neckline extends horizontally across the collarbones, giving a more relaxed and casual look. To create a boat neck, you will need to add extra stitches to the neckline and shape it accordingly.
These are just a few examples of neckline options for your jumper dress. It’s important to choose a style that complements your body shape and personal style. Remember to carefully follow the knitting pattern instructions for shaping the neckline and finishing it off neatly. With the right neckline, your jumper dress will not only be fashionable but also comfortable to wear.
Adding Shoulder Shaping
When knitting a jumper dress, adding shoulder shaping can give the garment a more tailored and comfortable fit. Shoulder shaping allows the garment to follow the natural curve of the shoulders, preventing it from pulling or sagging.
To add shoulder shaping to your free jumper dress knitting pattern, you will need to work short rows. Short rows are rows that are only partially knitted, creating a gentle slope that mimics the shape of the shoulders.
Here is a step-by-step guide on how to add shoulder shaping:
- Begin by working to the point where you want the shaping to start, usually at the top of the armhole.
- With right side facing, knit a certain number of stitches (specified in the pattern) past the desired shoulder shaping point.
- Turn your work and purl back the same number of stitches.
- Continue working in this manner, knitting and purling a few stitches further each time until you reach the full width of the shoulder.
- Once you have reached the full width of the shoulder, resume knitting or purling across the entire row.
- Repeat this process for the other shoulder.
By adding shoulder shaping to your jumper dress, you can ensure a better fit and a more flattering silhouette. It’s a simple technique that can make a big difference in the finished garment.
Knitting the Sleeves
When knitting the sleeves for your jumper dress, there are a few key steps to follow to ensure a perfect fit and professional finish. Start by selecting the appropriate knitting needles and yarn that match the gauge of your pattern. This will help ensure that your sleeves will come out the correct size.
Once you have your materials ready, begin by casting on the required number of stitches for the size you are making. Double-check your pattern to ensure that you have the correct number of stitches and that you are following the correct stitch pattern for the sleeve.
When knitting the sleeves, it is important to pay attention to any shaping instructions provided in your pattern. This may include increases or decreases to shape the sleeve. Follow the instructions carefully, as these shaping details will help ensure that the sleeve fits properly and provides the desired aesthetic.
As you work on the sleeves, make sure to periodically measure your progress to ensure you are on track. This will help you catch any mistakes early on and make adjustments as needed. Additionally, consider trying on the sleeve as you go to see how it fits and determine if any modifications are necessary.
Once you have completed the required length for the sleeves, follow the instructions in the pattern for any finishing details, such as binding off or creating a ribbed cuff. Take your time and pay attention to the details to ensure a polished and professional final result. With careful attention to detail and following the pattern instructions, you will have beautifully knitted sleeves for your jumper dress.
Attaching the Sleeves to the Body
Once you have completed knitting the body of the jumper dress, it’s time to attach the sleeves. This step is crucial in creating a well-fitting and comfortable garment. Follow these instructions to seamlessly integrate the sleeves into the body.
Step 1: Prepare the Sleeves
Before attaching the sleeves, it is essential to make sure they are properly prepared. Lay the body of the dress flat with the right side facing up. Take one sleeve and align it with the armhole, ensuring that the right side of the sleeve is also facing up. Pin the sleeve in place, making sure to distribute the excess fabric evenly around the armhole.
Step 2: Seam the Sleeves and Body
Once the sleeve is securely pinned to the armhole, it’s time to seam them together. Use a tapestry needle and the same yarn you used for knitting the dress to stitch the sleeves to the body. Start sewing from the underarm area, creating a strong and neat seam. Use a basic sewing stitch and make sure to catch both the sleeve and the body stitches with your needle, creating a secure connection. Continue sewing around the armhole until you reach the starting point, ensuring that the seam is even and tight.
A well-attached sleeve will provide a seamless transition between the body and the armhole, ensuring a comfortable fit. Repeat these steps for the other sleeve, and once both sleeves are attached, you are ready to move on to the next stage of your knitting project.
Knitting the Waistband
Before you begin knitting the waistband of your jumper dress, make sure that you have completed all previous steps, such as knitting the body and the sleeves. The waistband is an important part of the dress as it provides structure and helps to define the silhouette.
To start knitting the waistband, you will need to pick up stitches along the bottom edge of the dress. This can be done by inserting your knitting needle through the stitches on the edge and pulling the yarn through to create new stitches. The number of stitches you pick up will depend on the size and desired fit of your dress.
Once you have picked up the stitches, you can begin knitting the waistband. This can be done using ribbing or a different stitch pattern of your choice. Ribbing is a common choice for waistbands as it provides stretch and helps the dress to sit snugly around the waist.
When working the waistband, it is important to keep track of your stitch count and pattern if you are using one. You may need to decrease or increase stitches to ensure that the waistband fits properly. Additionally, you will need to decide on the length of the waistband, as this will determine the final length of the dress.
Once you have finished knitting the waistband, you can bind off the stitches and weave in any loose ends. Try on the dress to ensure a proper fit before proceeding to the next steps, such as adding any desired embellishments or finishing touches. Enjoy your new jumper dress!
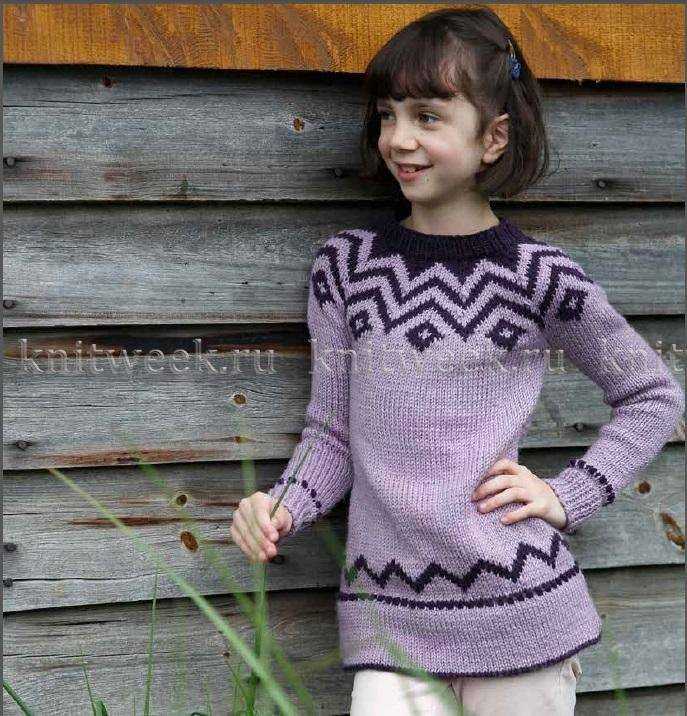
Adding Finishing Touches: Buttons, Pockets, and Embellishments
Once you have completed knitting your jumper dress using the free pattern, it’s time to add the finishing touches that will give it a unique and personalized look. This can be done through the addition of buttons, pockets, and various embellishments.
Buttons: Choose buttons that complement the color and style of your jumper dress. Consider the size, shape, and material of the buttons to ensure they are practical and aesthetically pleasing. Sew the buttons onto the front or back of the dress, making sure they are evenly spaced and securely attached.
Pockets:
Add functional pockets to your jumper dress to make it more versatile and convenient. You can create patch pockets by knitting separate pieces and sewing them onto the front or back of the dress. Alternatively, you can create in-seam pockets by incorporating them into the knitting pattern itself. Choose a yarn color that contrasts with the main body of the dress to make the pockets stand out.
Embellishments:
Embellishments can add a touch of personality and creativity to your jumper dress. Consider adding embroidery, beading, or appliques to highlight certain areas or create intricate designs. You can also experiment with different stitches and patterns to add texture and visual interest to the dress. Remember to keep the overall balance and harmony of the design in mind when adding embellishments.
- Embroidery: Use colorful threads and different stitching techniques to create beautiful motifs or patterns on the dress.
- Beading: Add beads to the neckline, cuffs, or pockets for a touch of sparkle and glamour.
- Appliques: Attach fabric or knitted pieces in different shapes to create unique accents on the dress.
Remember to try out different combinations and experiment with different embellishments to find the perfect finishing touches for your jumper dress. These small details can make a big difference in transforming a basic knitted dress into a stylish and personalized garment.
Blocking and Care Instructions for Your Jumper Dress
After completing your jumper dress, it’s important to block it to give it a finished look. Blocking helps to even out the stitches, relax the fabric, and ensure that the dress holds its shape. Here’s a step-by-step guide on how to block your jumper dress:
1. Fill a basin or sink with lukewarm water and add a mild detergent. Submerge your jumper dress in the water, gently squeezing it to ensure that the entire dress is soaked.
2. Let it soak for about 10-15 minutes. This will help the fibers relax and evenly distribute the detergent.
3. Drain the water and gently squeeze out the excess moisture. Avoid twisting or wringing the dress, as this can damage the fibers.
4. Lay your jumper dress flat on a clean towel or blocking mat. Gently shape it to its intended size and smooth out any wrinkles or creases.
5. Pin the dress in place. Use rustproof pins to secure the edges and corners of the dress, making sure that the fabric is stretched slightly to achieve the desired measurements.
6. Leave the dress to air dry. Depending on the thickness of the yarn and the humidity in the air, this could take anywhere from a few hours to a couple of days.
Here are some care instructions to keep your jumper dress looking its best:
- Hand wash: To maintain the shape and texture of the dress, it’s best to hand wash it using a mild detergent and lukewarm water. Avoid using bleach or fabric softeners.
- Dry flat: After washing, reshape the dress and lay it flat on a clean towel or blocking mat to dry. Avoid hanging it, as this can cause the fabric to stretch and lose its shape.
- Storage: When storing your jumper dress, fold it neatly and place it in a breathable fabric bag or container to protect it from dust and pests. Avoid storing it in plastic bags, as this can trap moisture and lead to mildew or odors.
- Pilling: Over time, you may notice small balls of fibers, known as pills, forming on the surface of your jumper dress. Gently remove these pills with a sweater shaver or a fabric comb to keep your dress looking fresh.
- Mending: If you notice any loose threads or small holes in your jumper dress, mend them promptly to prevent further damage. You can use matching yarn to darn the holes or sew in a patch if needed.
By following these blocking and care instructions, you can ensure that your jumper dress remains in great condition and can be enjoyed for years to come. Happy knitting!