
Wrist warmers are a versatile and practical accessory that can be enjoyed by knitters of all skill levels. Whether you’re a seasoned knitter or just starting out, there’s nothing quite like the satisfaction of creating a beautiful and functional garment with your own two hands. With this free knit wrist warmer pattern, you can create a cozy and stylish accessory that will keep your hands warm and your fingers free.
What sets this pattern apart is its simplicity and versatility. Knit in a simple ribbed pattern, these wrist warmers can be easily customized to fit your unique style and preferences. You can experiment with different yarn weights, colors, and even add your own personal touches, such as buttons or embroidery.
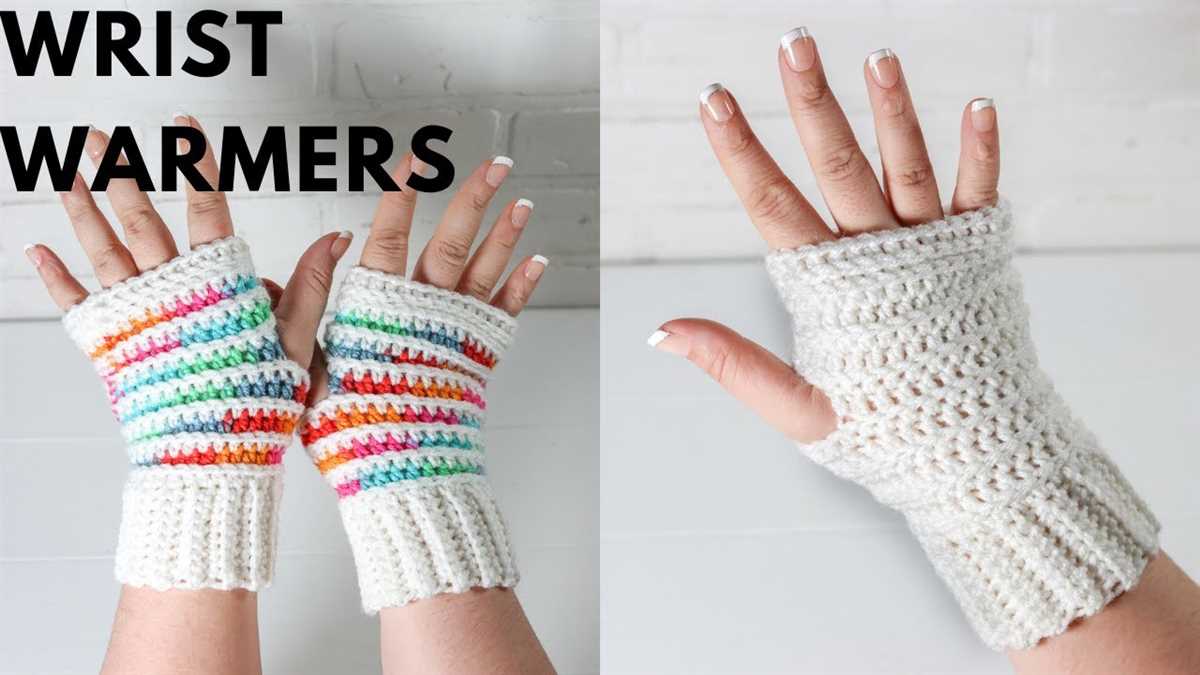
Not only are these wrist warmers fashionable, but they also serve a practical purpose. They provide extra warmth and insulation for your hands, making them perfect for chilly days or outdoor activities. Plus, since they only cover the wrists and part of the hands, your fingers are free to move and manipulate objects, making them ideal for tasks that require dexterity.
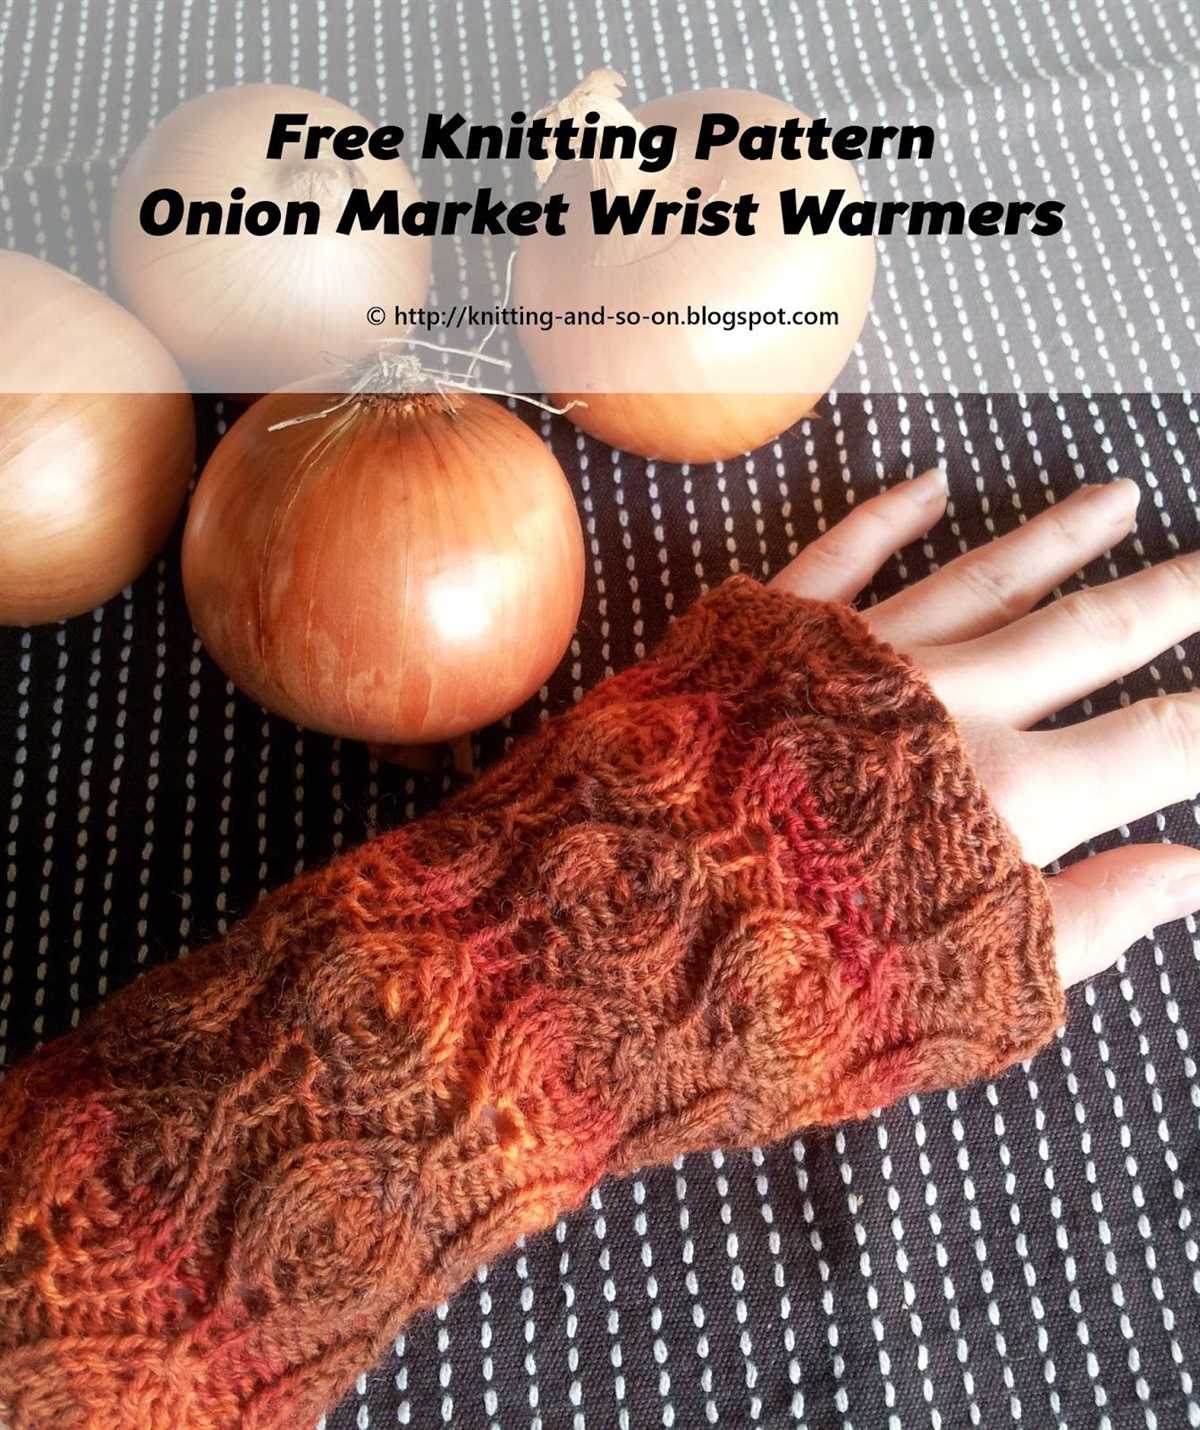
Free Knit Wrist Warmer Pattern
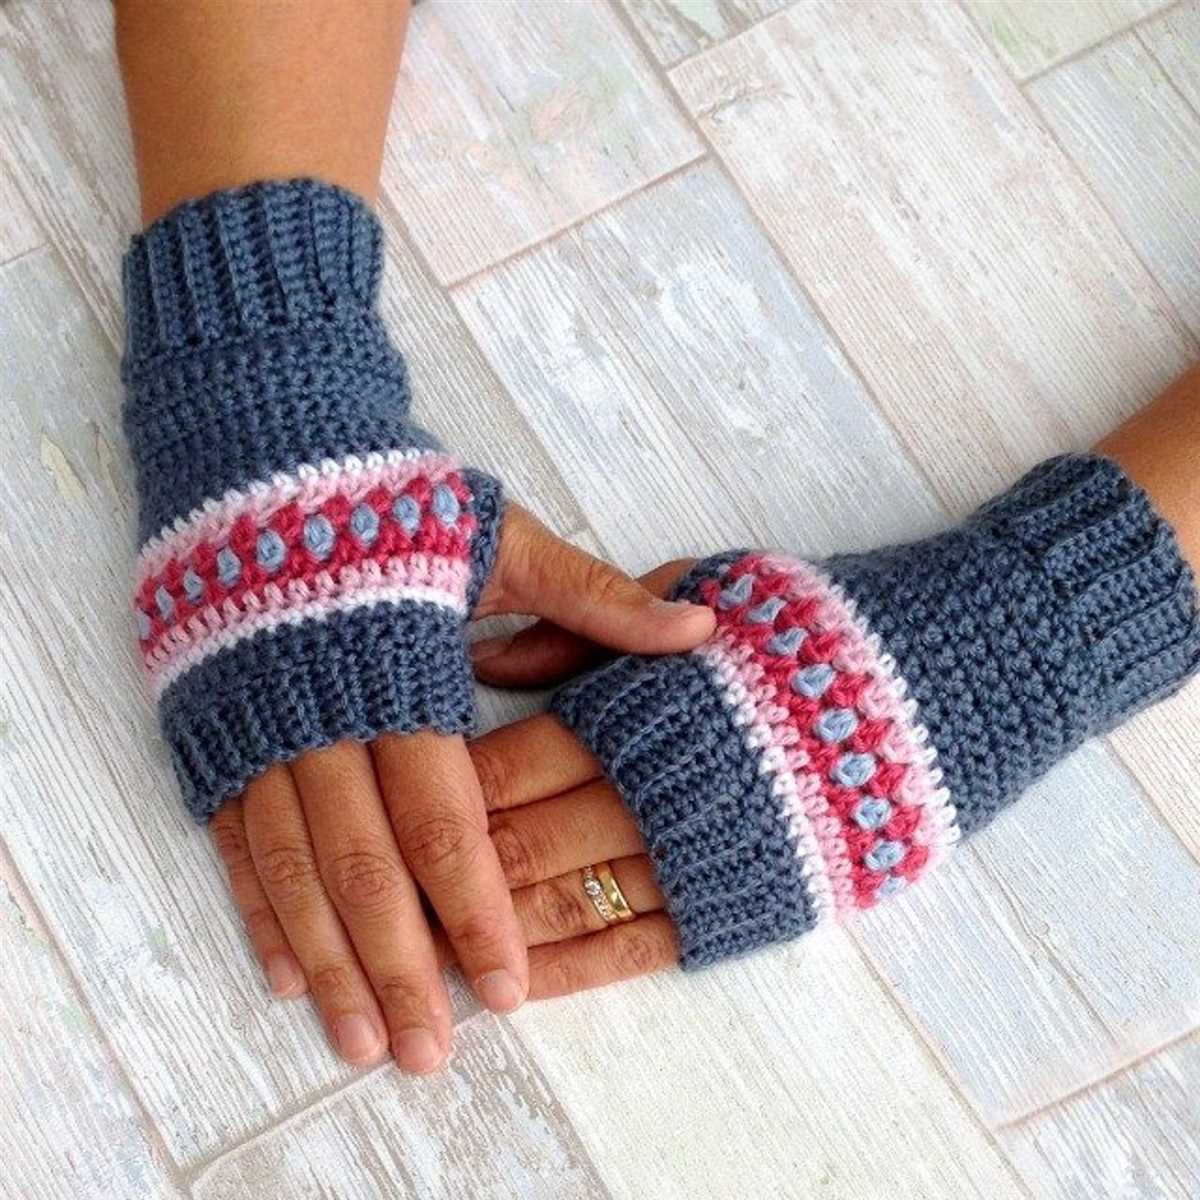
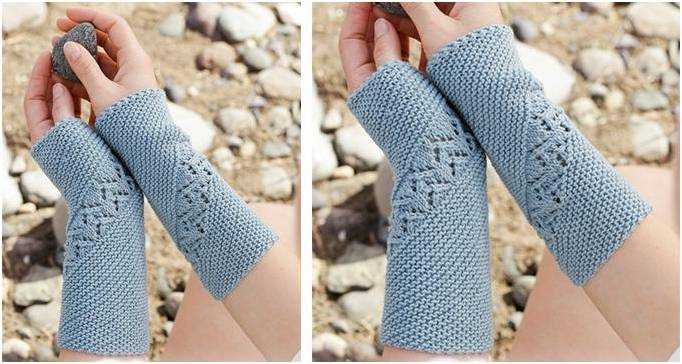
Keep your hands cozy and stylish with this free knit wrist warmer pattern. Wrist warmers, also known as fingerless gloves, are the perfect accessory for colder days when you still need to use your fingers. They add warmth to your hands while allowing you to easily use your phone, type on a keyboard, or do any other tasks that require finger dexterity.
To make these wrist warmers, you will need a set of knitting needles and your choice of yarn. The pattern is simple and beginner-friendly, making it a great project for knitters of all skill levels. The wrist warmers are knit in the round, starting from the cuff and ending at the fingers.
Materials:
- Knitting needles (size US 8 or size needed to obtain gauge)
- Yarn (worsted weight or your preferred yarn)
- Tapestry needle
- Stitch marker
Instructions:
- Cast on 32 stitches and join in the round, being careful not to twist the stitches.
- Knit in a rib stitch pattern (k2, p2) for the cuff, continuing for 1 inch.
- Switch to stockinette stitch and knit every round until the wrist warmer measures 4 inches from the cast on edge.
- Next, create an opening for the thumb. Knit 16 stitches, place a stitch marker, bind off 6 stitches, and continue knitting the remaining 16 stitches.
- Continue knitting in the round, knitting the bound off stitches on the next round to create a thumbhole.
- Knit until the wrist warmer measures desired length, typically around 7-8 inches.
- Switch back to rib stitch pattern (k2, p2) and continue for 1 inch.
- Bind off in rib stitch pattern and weave in any loose ends.
These wrist warmers are a quick and satisfying project that will keep your hands warm and your style on point. Experiment with different yarn colors and stitch patterns to create unique variations. Whether you’re a beginner or an experienced knitter, this free knit wrist warmer pattern is sure to become a favorite in your knitting repertoire.
Overview
Looking for a stylish and cozy accessory to keep your hands warm during the colder months? Knit wrist warmers are the perfect solution! Whether you’re a beginner or an experienced knitter, this free pattern is a great project to make for yourself or as a gift.
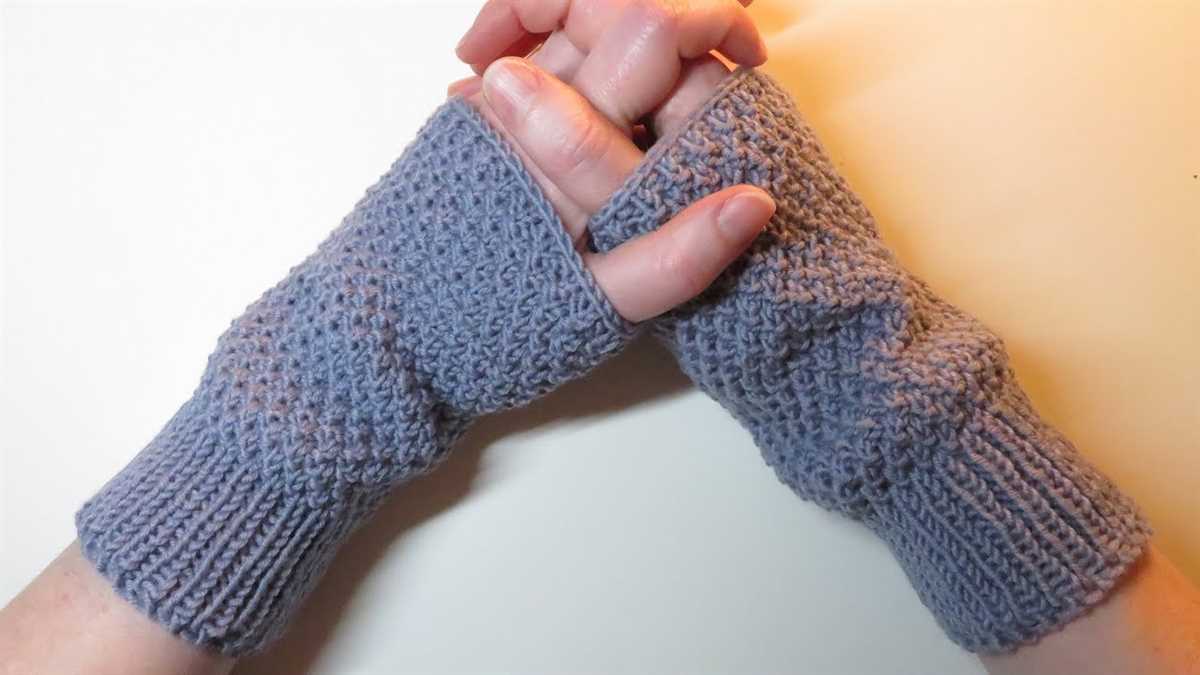
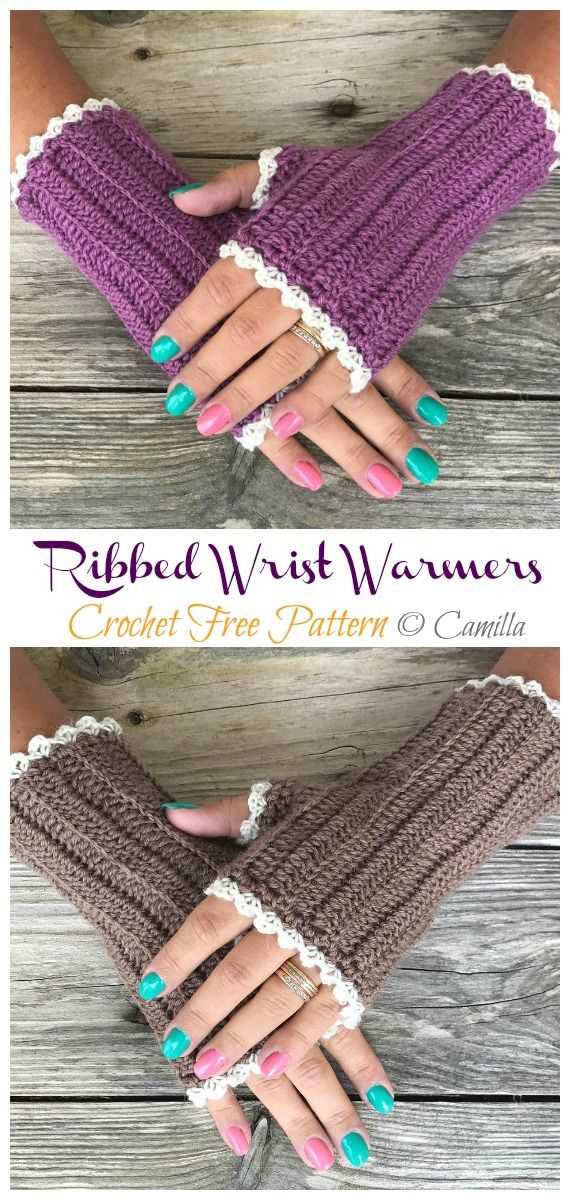
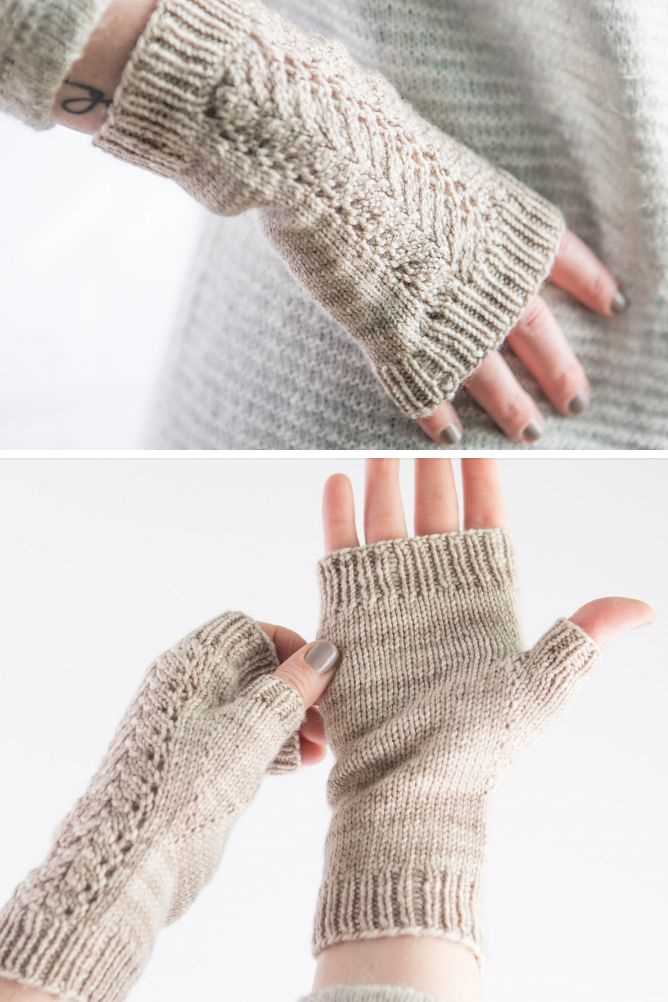
This pattern provides an easy-to-follow guide on how to create a pair of wrist warmers using basic knitting stitches. The design features a ribbed cuff for a snug fit and a textured stitch pattern to add visual interest. With just a few skeins of your favorite yarn and a set of knitting needles, you’ll be able to whip up these wrist warmers in no time.
Materials Needed:
- Yarn: Choose a soft and warm yarn in your preferred color. Worsted weight yarn is recommended for this pattern.
- Knitting Needles: Size US 8 (5mm) double-pointed needles or circular needles, depending on your preferred method of knitting in the round.
- Tapestry Needle: Used for weaving in ends and sewing up the wrist warmers.
- Scissors: For cutting yarn.
Pattern Instructions:
Step 1: Cast on the desired number of stitches, depending on your wrist size. If you’re unsure, cast on about 32 stitches for an average-sized adult wrist. Join in the round, making sure not to twist the stitches.
Step 2: Begin with the ribbed cuff by working *k1, p1* for the first few rounds. This will create a stretchy cuff that hugs the wrist.
Step 3: Once the ribbed cuff is complete, switch to the textured stitch pattern. This can be a simple knit/purl pattern or a more intricate design depending on your skill level and preference.
Step 4: Continue working in the textured stitch pattern until the wrist warmers reach your desired length, typically around 6-8 inches. Remember to try on the wrist warmers as you go to ensure a good fit.
Step 5: Finish off the wrist warmers by working a few more rounds of ribbing. Bind off all stitches and weave in any loose ends.
Once you’ve completed one wrist warmer, simply repeat the pattern to make the second one. The final result will be a pair of cozy and stylish wrist warmers that you can wear with pride or give as a heartfelt gift. Enjoy the process of knitting and staying warm in style!
Choosing the Right Yarn
When it comes to knitting wrist warmers, choosing the right yarn is key to achieving the perfect look and feel. The type of yarn you choose will determine the overall texture, thickness, and warmth of the wrist warmers. With a wide variety of yarn options available, it can be overwhelming to make a decision. However, by considering a few factors, you can find the ideal yarn for your project.
Fiber Content
One important factor to consider is the fiber content of the yarn. Different fibers have different qualities, and each will affect the final result of your wrist warmers. For example, wool yarns are known for their warmth and resilience. They can be great for keeping your hands cozy in colder weather. On the other hand, cotton yarns are lightweight and breathable, making them suitable for milder climates or for those who prefer a less bulky feel. Acrylic yarns are another popular choice, as they are affordable and come in a wide range of colors.
Weight and Thickness
The weight and thickness of the yarn will also play a role in the final outcome of your wrist warmers. Yarns are typically categorized into different weights, such as lace, fingering, sport, worsted, or bulky. Thinner yarns will result in a lighter and more delicate fabric, while thicker yarns will create a chunkier and warmer texture. Consider the level of warmth you desire and the pattern you plan to use to determine the appropriate yarn weight.
Color and Texture
Lastly, consider the color and texture of the yarn. The color of the yarn can greatly impact the overall look of the wrist warmers. You may choose a neutral color for a classic and versatile accessory, or opt for a bold and vibrant shade to make a statement. Texture also adds visual interest to the wrist warmers. Some yarns have a smooth and even texture, while others may have a more textured or fuzzy appearance. Consider the design and style you have in mind to choose a yarn with the appropriate color and texture.
By taking into account the fiber content, weight and thickness, as well as color and texture of the yarn, you can choose the perfect yarn for your wrist warmer project. Experiment with different yarns to find the one that fits your style and preferences, and enjoy the process of creating beautiful and cozy accessories.
Choosing the Right Needles
When it comes to knitting wrist warmers, choosing the right needles is essential. The needles you use can greatly affect the outcome of your project, including the size, tension, and overall appearance of the finished wrist warmers. Therefore, it is important to consider a few factors before selecting your needles.
Material
One of the first things to consider is the material of the needles. There are various options available, including metal, bamboo, and plastic. Metal needles are durable and provide a smooth knitting experience, while bamboo needles are lightweight and gentle on the hands. Plastic needles are often the most affordable option, but they may not be as durable as other materials.
Size

The size of the needles will determine the gauge and thickness of your wrist warmers. The pattern you are using should specify the recommended needle size, and it is important to follow these guidelines for best results. If you want a tighter fabric, choose smaller needles, and if you prefer a looser fabric, opt for larger needles. Keep in mind that the size of the needles can also affect your tension, so it is important to knit a gauge swatch before starting your project.
Length
Needle length is another factor to consider. Shorter needles are ideal for smaller projects, such as wrist warmers, as they provide better control over the stitches. Longer needles, on the other hand, are better suited for larger projects or for knitting in the round. Consider the length of the wrist warmers you want to knit and choose needles accordingly.
Type
Lastly, you need to decide on the type of needles you prefer. Straight needles are the most common type and consist of two separate needles. They are suitable for knitting flat pieces, such as the wrist warmers. Alternatively, you can use circular needles for knitting in the round. Circular needles provide more flexibility and are great for projects that require a large number of stitches or for avoiding seams.
By considering these factors and choosing the right needles, you can ensure a successful knitting experience and create beautiful wrist warmers. Happy knitting!
Understanding Gauge Swatch for Free Knit Wrist Warmer Pattern

Before you start knitting the Free Knit Wrist Warmer pattern, it is crucial to understand the importance of creating a gauge swatch. The gauge swatch helps you determine the correct size of your knitting stitches and ensures that your finished wrist warmers will fit correctly.
What is a Gauge Swatch?
A gauge swatch is a small sample of fabric that you knit using the same yarn and needles you’ll be using for your project. It allows you to measure the number of stitches and rows per inch, helping you achieve the required measurements specified in the pattern.
How to Create a Gauge Swatch
Start by casting on the number of stitches mentioned in the pattern instructions. Knit a few inches of the fabric, following the pattern stitch. Make sure to use the recommended needle size and yarn weight.
Once you’ve knit a sufficient length, take a tape measure or ruler and measure the number of stitches and rows in a 1-inch section. Compare these measurements to the gauge specified in the pattern. If your stitch count and row count match the pattern’s gauge, then you’re good to go. However, if your measurements are different, you may need to adjust your needle size or yarn weight to achieve the correct gauge.
The Importance of Gauge Swatch
Creating a gauge swatch is essential because it allows you to understand how your stitches will translate into the final product’s size. If your gauge is too tight or too loose, it can significantly affect the final size and fit of the wrist warmers. By taking the time to create a gauge swatch, you can ensure that your finished project matches the intended measurements and avoid any potential disappointments.
In conclusion, don’t skip the gauge swatch step when starting the Free Knit Wrist Warmer pattern. It might seem like an extra step, but it is a crucial part of achieving the correct size and fit for your wrist warmers. Take the time to create a gauge swatch and make any necessary adjustments to achieve the desired results.
Cast On
Before you can start knitting your wrist warmers, you need to cast on your stitches. Casting on is the process of creating the foundation row of stitches on your knitting needle. There are different methods for casting on, but we will be using the long tail cast on method for this pattern.
Long Tail Cast On
The long tail cast on is a versatile method that creates a neat and stretchy edge. To start, make a slip knot with a long enough tail to accommodate the number of stitches you need. Hold the slip knot in your dominant hand, with the working yarn over your index finger and the tail over your thumb.
Insert the needle into the slip knot from left to right, with the working yarn towards the back and the tail towards the front. Using your index and middle fingers, catch the working yarn and bring it under the needle, then over the tail. Slip your thumb out of the loop and tighten the stitch on the needle.
Repeat this process for each stitch, making sure to maintain an even tension. Once you have cast on the desired number of stitches, you are ready to begin knitting your wrist warmers!
Knitting the Body
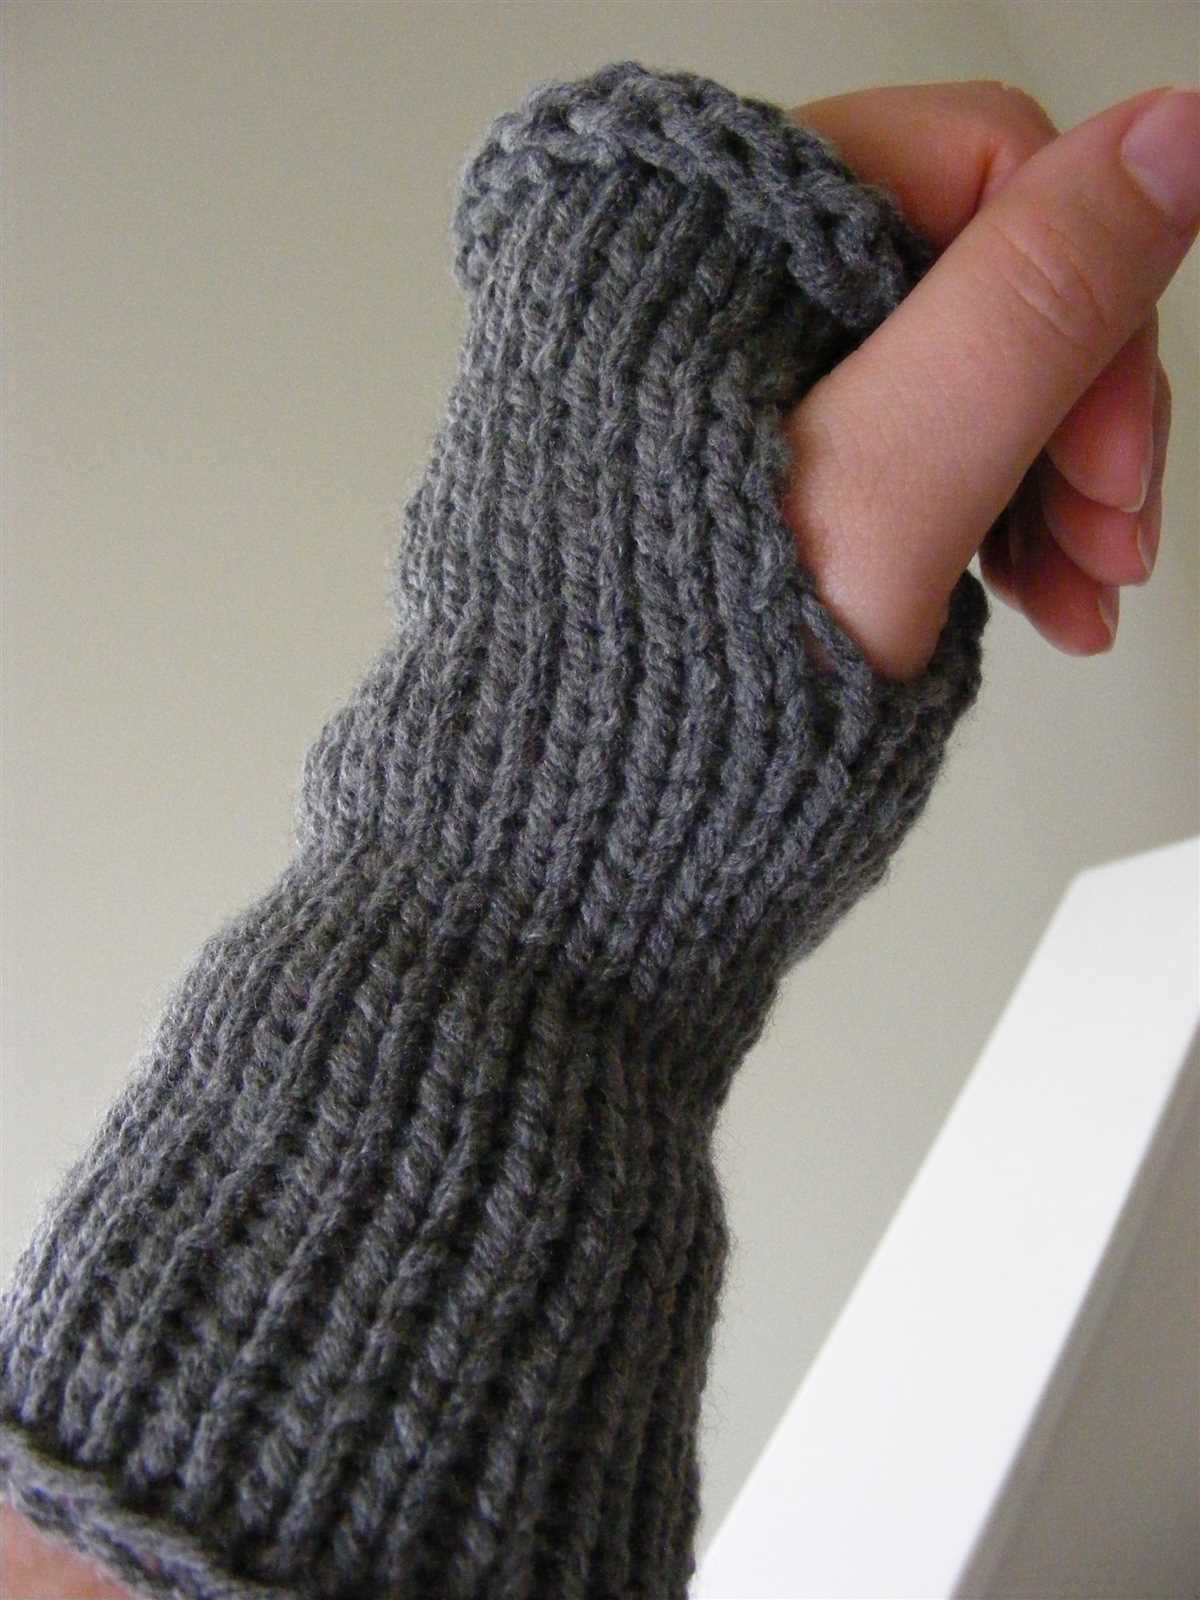
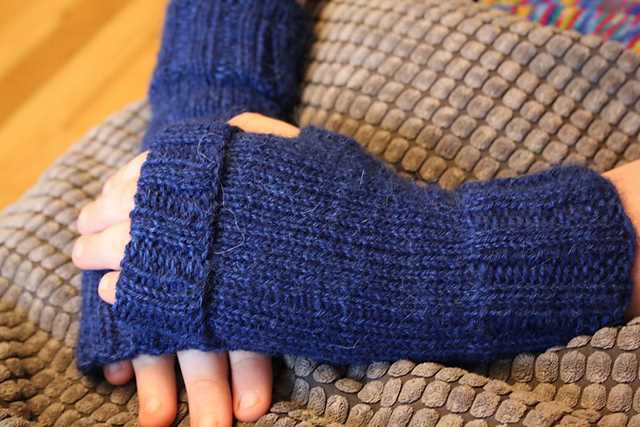
When knitting the body of your wrist warmers, you will start with a ribbing pattern to create a snug and stretchy cuff. This can be done by alternating knit and purl stitches in a specific pattern, such as *K1, P1* repeated across the row. The ribbing helps to keep the wrist warmers in place and provides a nice finished edge.
Once the ribbing is complete, you can move on to the main body of the wrist warmers. This is where you can get creative and experiment with different stitch patterns or colorwork techniques. You may choose to continue with a simple knit or purl stitch for a clean and classic look, or you can try more intricate stitch patterns like cables or lace for added texture and visual interest.
Pro tip: If you’re new to knitting or want to keep it simple, sticking with a basic stitch pattern for the body can make the project more straightforward and enjoyable.
As you knit the body, make sure to regularly try on the wrist warmers to ensure a proper fit. You want them to be snug but not too tight, allowing for comfortable movement of your hands and fingers. Adjust the length as needed to ensure the wrist warmers cover the desired area of your wrists and hands.
Pro tip: Consider adding shaping techniques like increases or decreases to create a contoured fit that hugs your wrists and hands even more.
- Continue knitting the body until you reach the desired length for your wrist warmers. This could be a few inches or all the way up to your mid-forearm, depending on your preference.
- Finally, you will finish off the body by binding off your stitches. This can be done using a traditional bind-off method or a stretchy bind-off technique like the Jeny’s Surprisingly Stretchy Bind-Off.
With the body of your wrist warmers complete, you can now move on to the finishing touches, such as adding any additional decorative elements like buttons or embroidery. You may also choose to block your wrist warmers to ensure they maintain their shape and size.
Thumb Opening
A thumb opening is a crucial feature of wrist warmers as it allows for mobility and dexterity in the hands. Without a thumb opening, the wrist warmers would restrict the movement of the thumb and make it difficult to perform daily tasks. The thumb opening is typically located near the side of the wrist warmer and is designed to fit the thumb comfortably.
When knitting wrist warmers with a thumb opening, it is important to carefully follow the pattern instructions to ensure that the opening is the correct size and shape. This may involve creating a section of the wrist warmer with fewer stitches or using different techniques, such as adding a buttonhole or a yarn over, to create the opening.
To create a thumb opening, the pattern may instruct the knitter to place a certain number of stitches onto a stitch holder or waste yarn. This section of stitches will later be used to create the thumb. The knitter may then continue knitting the rest of the wrist warmer before returning to the thumb section and creating the thumb either by picking up stitches or by casting on additional stitches.
Once the thumb opening is created, the knitter can continue working on the thumb separately by following the pattern instructions. This may involve knitting in the round or working back and forth in rows, depending on the design of the wrist warmer. It is important to carefully read and follow the pattern to ensure that the thumb is shaped correctly and fits comfortably.
Shaping the Thumb
When knitting wrist warmers, one of the most important parts to shape correctly is the thumb. The thumb not only provides comfort and ease of movement, but it also adds a stylish touch to the overall design. To create the thumb opening, follow the pattern instructions carefully.
Step 1: Mark the Thumb Placement
Before you start shaping the thumb, it’s crucial to mark the correct placement for it. To do this, fold the knitted wrist warmer in half, aligning the side seams. Place a stitch marker or a safety pin at the center of the folded edge. This will indicate where the base of the thumb will be.
Step 2: Decrease Stitches

To shape the thumb, decrease a specific number of stitches on each side of the marked thumb placement. This can be achieved by knitting two stitches together or using other decreasing techniques specified in the pattern. Decrease stitches evenly on both sides to ensure symmetry.
Step 3: Create Thumb Opening
Once the necessary stitches have been decreased, it’s time to create the thumb opening. This is done by simply knitting a certain number of stitches and then slipping them onto a stitch holder or a piece of waste yarn. This creates a gap where the thumb will later be inserted.
Remember to follow the pattern instructions diligently as different patterns may have alternate methods for shaping the thumb. Take your time and ensure that the thumb opening is aligned properly with the marked placement to achieve a professional finish. Happy knitting!
Knitting the Thumb
When knitting wrist warmers, one of the most important parts to consider is the thumb. Knitting a thumb can seem a bit tricky at first, but with a few simple steps, you’ll have a cozy thumb opening in no time.
To begin, you’ll need to determine the placement of the thumb. This will depend on the size of the wrist warmer and the desired fit. Typically, the thumb opening is located towards the side of the wrist warmer, slightly closer to the palm of the hand.
Step 1: Once you have determined the placement of the thumb, you’ll need to carefully unravel a few stitches in that area. These will be the stitches that will form the thumb opening. To do this, insert the knitting needle into the stitch below the chosen area and unravel the stitches up to the desired width of the thumb opening.
Step 2: After unraveling the stitches, you’ll then need to cast on an equal number of stitches to replace the ones you unraveled. This will ensure that the thumb opening maintains the same number of stitches and is the same width as the rest of the wrist warmer. Follow your chosen cast-on method and knit the new stitches.
Step 3: Once you have cast on and knit the new stitches, continue knitting the rest of the wrist warmer according to the pattern instructions. Be sure to keep track of the number of rows and stitches, so that the thumb opening aligns properly with the rest of the wrist warmer.
Step 4: Finally, when you have finished knitting the wrist warmer, it’s time to complete the thumb. For this, you’ll need to pick up the stitches from the cast-on edge of the thumb opening and knit them in the round to create a tube for the thumb. This can be done using double-pointed needles or using the magic loop method.
Once you have finished knitting the thumb, you can weave in any loose ends and enjoy your cozy and functional wrist warmers!
Finishing Off
After you have completed knitting your wrist warmers, it’s time to finish off the project. This involves securing any loose ends and giving the wrist warmers a polished look.
To start, weave in any loose yarn tails or ends that may be hanging from your knitting. Use a yarn needle to thread the yarn through the stitches on the wrong side of the fabric. Make sure to weave the yarn in a few different directions to ensure it stays in place.
Seaming
If your wrist warmers have a seam, now is the time to sew it up. Place the wrist warmer flat with the wrong side facing up. Using a yarn needle and matching yarn, sew through the edges of the fabric, stitching in a straight line. This will create a clean and seamless look for your wrist warmers.
Blocking
If desired, you can block your wrist warmers to give them a more professional finish. Fill a basin or sink with lukewarm water and a mild detergent. Gently submerge the wrist warmers in the water and let them soak for a few minutes. Remove them from the water and squeeze out any excess moisture. Lay the wrist warmers flat on a towel and shape them to the desired size and shape. Allow them to dry completely before wearing.
Once your wrist warmers are finished off, they are ready to wear or gift to a loved one. Enjoy the cozy warmth they provide during the colder months!
Blocking

Blocking is an important step in finishing knitting projects, including wrist warmers. It is a process that involves gently reshaping and setting the stitches to achieve a desired size and shape. This helps smooth out any uneven tension, enhances stitch definition, and ensures that the garment fits properly.
One common method of blocking is wet blocking, where the knitted piece is submerged in water and then gently squeezed to remove excess moisture. It is then laid flat on a blocking mat or towel, stretched to the desired dimensions, and pinned in place. This method is especially effective for natural fibers like wool, as the water helps relax the fibers, making them easier to shape.
Another option is steam blocking, which involves using a steamer or an iron with a steam setting to apply moisture and heat to the knitted piece. The steam helps relax the fibers, allowing them to be shaped and stretched. Care should be taken to avoid applying too much heat or pressure, as this can damage delicate fibers or cause them to lose their elasticity.
When blocking wrist warmers, it is important to pay attention to the measurements provided in the pattern. By blocking the wrist warmers, they can be adjusted to fit perfectly and ensure a comfortable fit. After blocking, the wrist warmers should be left to dry completely before wearing or storing.
In conclusion, blocking is a crucial step in finishing knitting projects like wrist warmers. Whether through wet blocking or steam blocking, this process helps shape the stitches, enhance the overall appearance, and ensure a proper fit. So don’t skip blocking, as it can make a big difference in the final result!
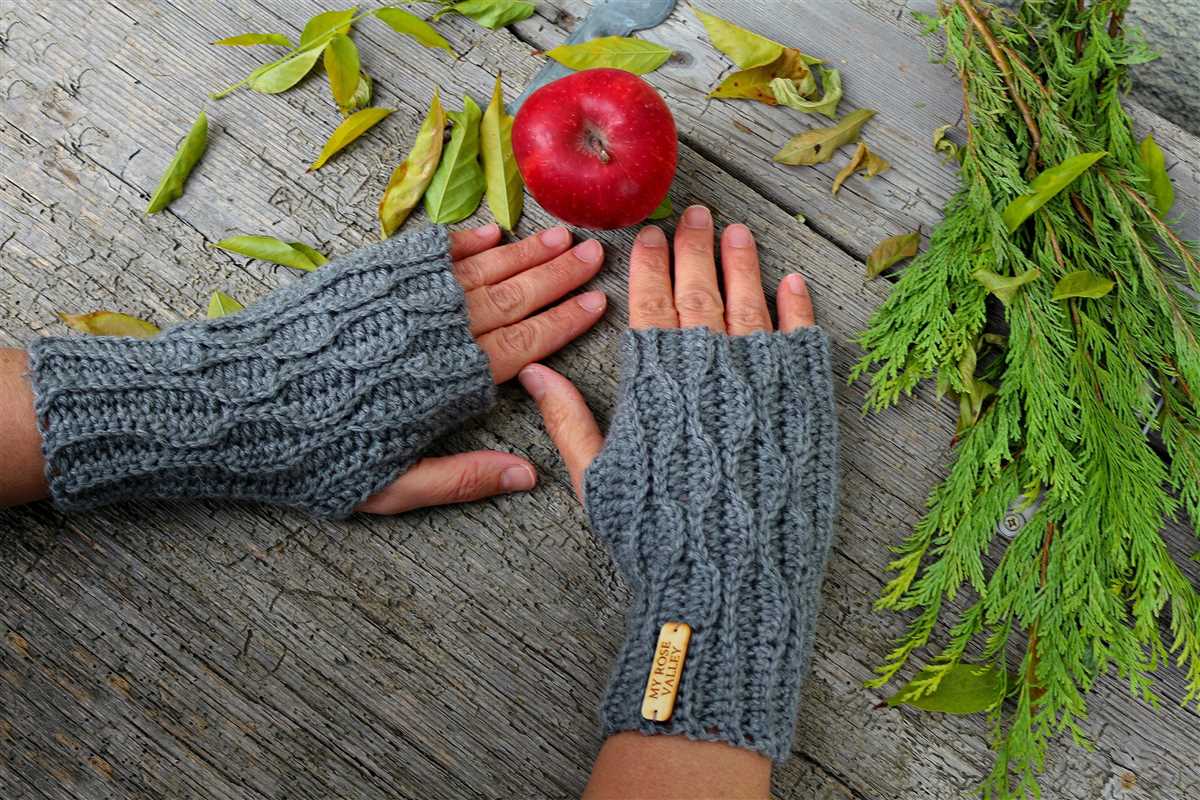
Variations and Customizations
There are endless possibilities for customizing your knit wrist warmers to make them unique and personalized. Here are a few ideas:
- Color variations: Experiment with different color combinations to create your own unique look. You can use variegated yarns, gradient yarns, or even mix and match different colors throughout the pattern.
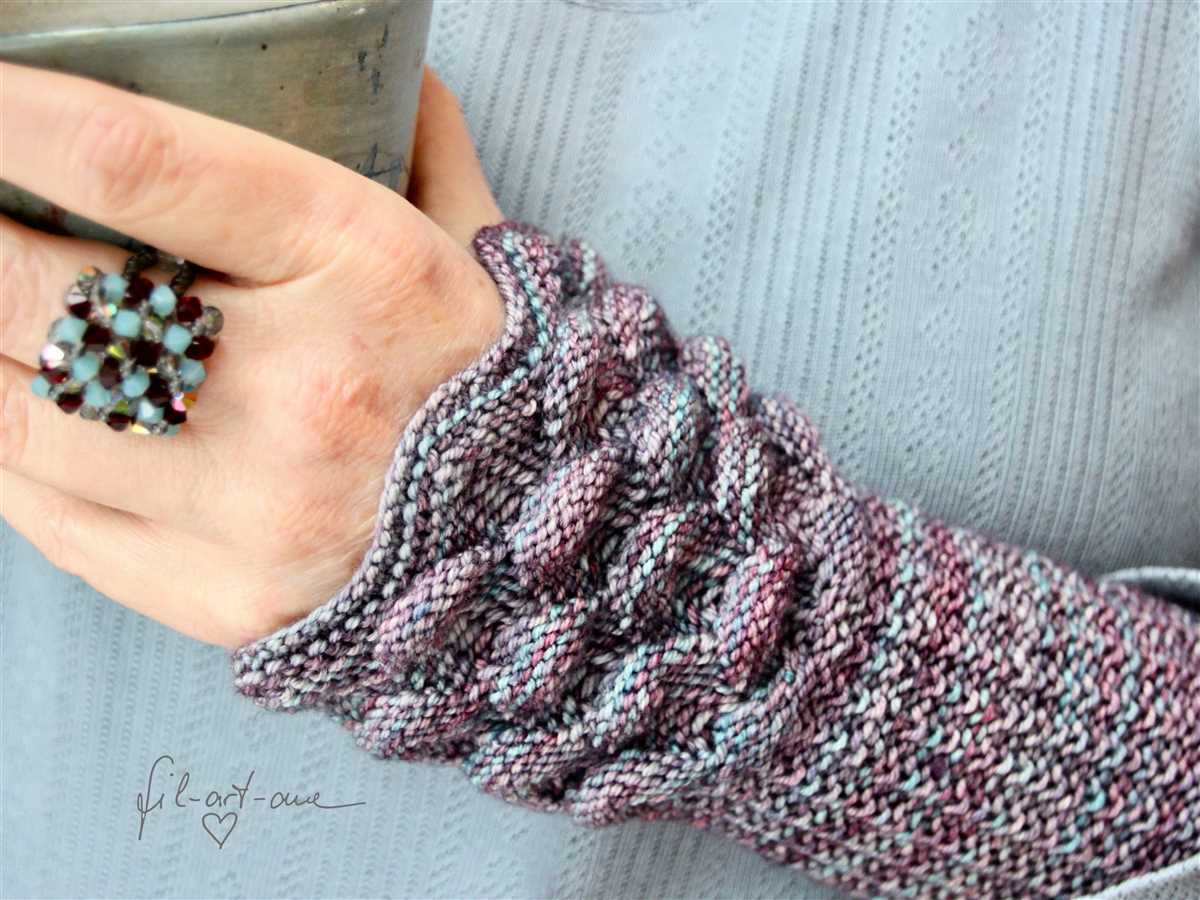
- Texture variations: If you’re feeling adventurous, you can try incorporating different stitch patterns or techniques into your wrist warmers. For example, you could add cables, lace panels, or even bobbles for some extra texture.
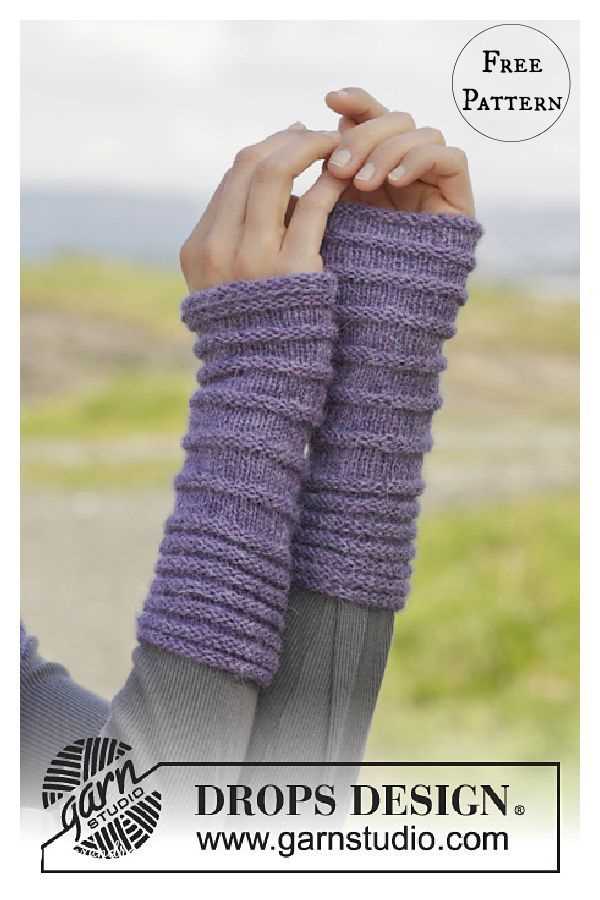
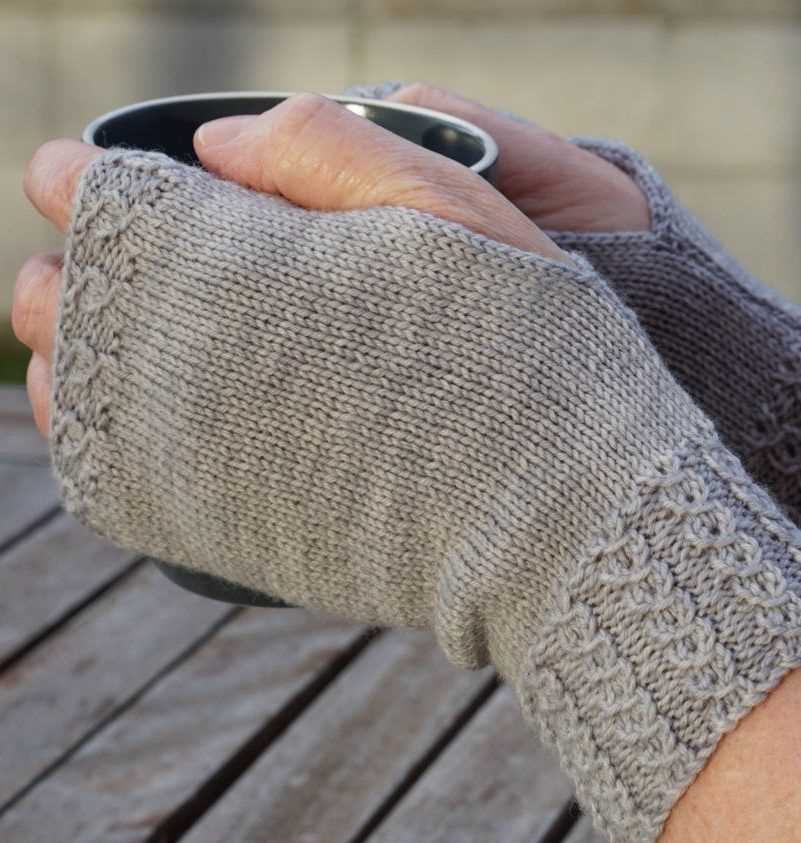
- Length variations: Adjust the length of the wrist warmers to suit your preference. You can make them shorter for a more casual look or longer for added warmth and coverage.
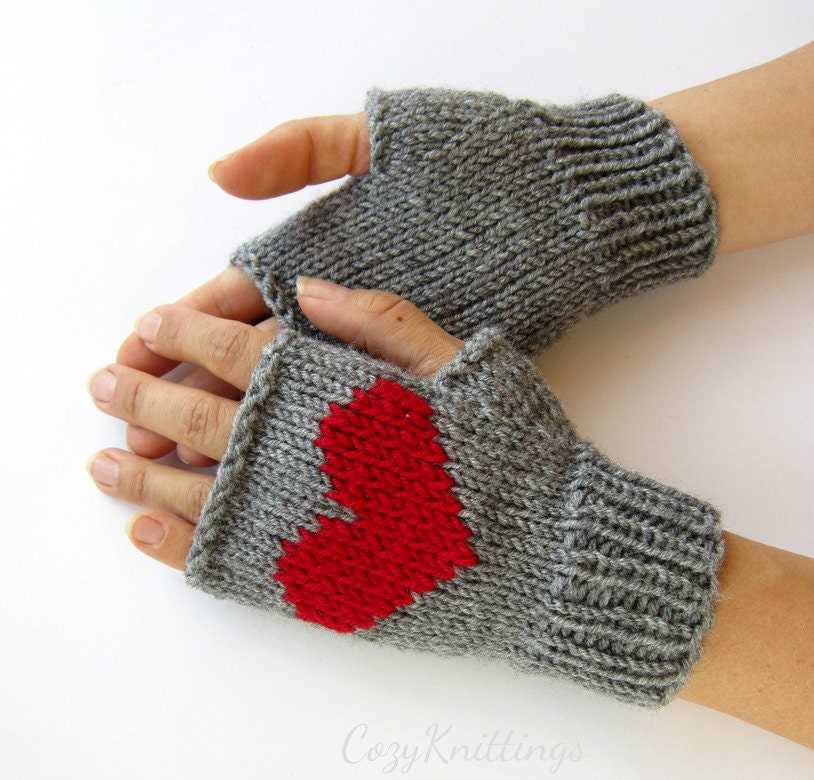
- Embellishments: Add some extra flair to your wrist warmers by embellishing them with buttons, beads, appliques, or embroidery. Get creative and add personal touches that reflect your style and personality.
Remember, these are just a few ideas to get you started. The beauty of knitting is that you have the freedom to customize and make each project your own. Feel free to experiment and let your creativity shine through!
Whether you’re a beginner or an experienced knitter, this free knit wrist warmer pattern is a great project to try. The pattern is straightforward and versatile, allowing you to create stylish and cozy wrist warmers that are perfect for colder weather. With the variations and customizations discussed above, you can truly make these wrist warmers your own. So grab your needles and yarn, and start knitting your way to warm and fashionable wrists!
Q&A:
What are knit wrist warmers?
Knit wrist warmers are accessories that cover the wrist and lower part of the arm to keep them warm. They are usually made of yarn using knitting techniques.
What is a free knit wrist warmer pattern?
A free knit wrist warmer pattern is a set of instructions that guide you on how to knit wrist warmers without any cost. It includes information on the materials needed, the stitches to use, and the steps to follow.
Where can I find free knit wrist warmer patterns?
You can find free knit wrist warmer patterns on various websites, including knitting blogs, crafting forums, and pattern-sharing platforms. You can also try searching on social media platforms or asking fellow knitters for recommendations.
Are there different styles of knit wrist warmers?
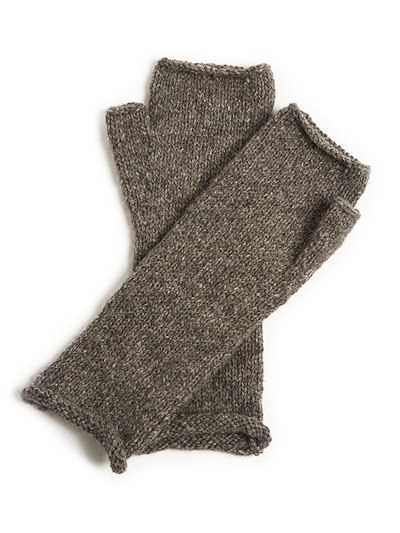
Yes, there are different styles of knit wrist warmers. Some popular styles include fingerless wrist warmers, cabled wrist warmers, lace knit wrist warmers, and ribbed wrist warmers. Each style offers a unique look and can be customized according to your preferences.
Can I modify a free knit wrist warmer pattern?
Yes, you can modify a free knit wrist warmer pattern to suit your needs. You can change the stitch pattern, adjust the size, or add your own embellishments. Just make sure to keep track of your modifications so you can replicate them if needed.
Where can I find a free knit wrist warmer pattern?
You can find free knit wrist warmer patterns on various knitting websites, such as Ravelry, Knittingpatterncentral, and Lion Brand Yarn. These websites offer a wide selection of patterns for wrist warmers in different styles and difficulty levels.