
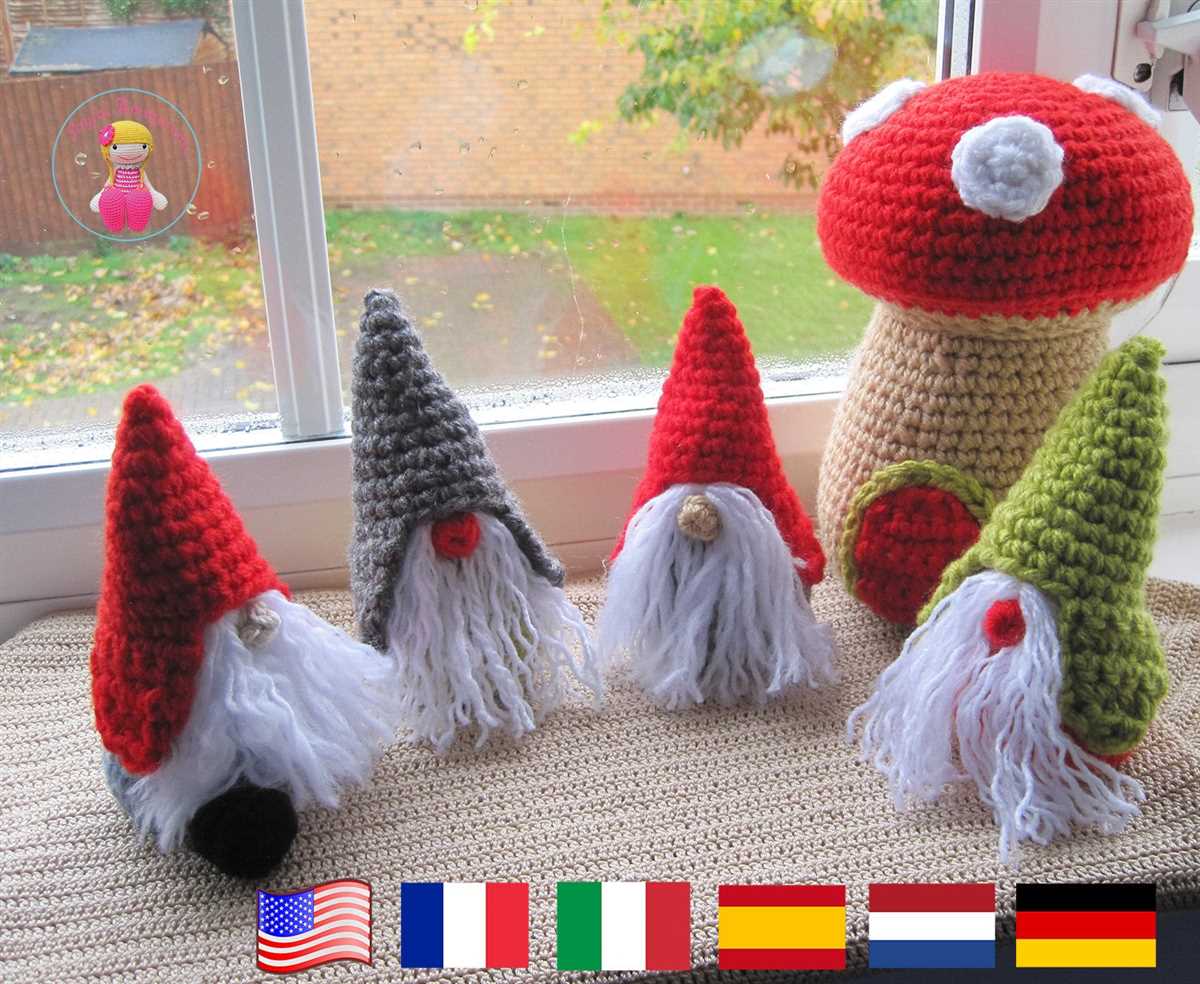
If you enjoy knitting and are looking to add a touch of whimsy to your home decor, why not try making your very own gnome? Gnomes have become a popular trend in recent years, with their cute and quirky appearance adding a fun and playful element to any space. This free gnome knitting pattern will guide you through the process of creating your own adorable gnome, from the body and hat to the finishing touches.
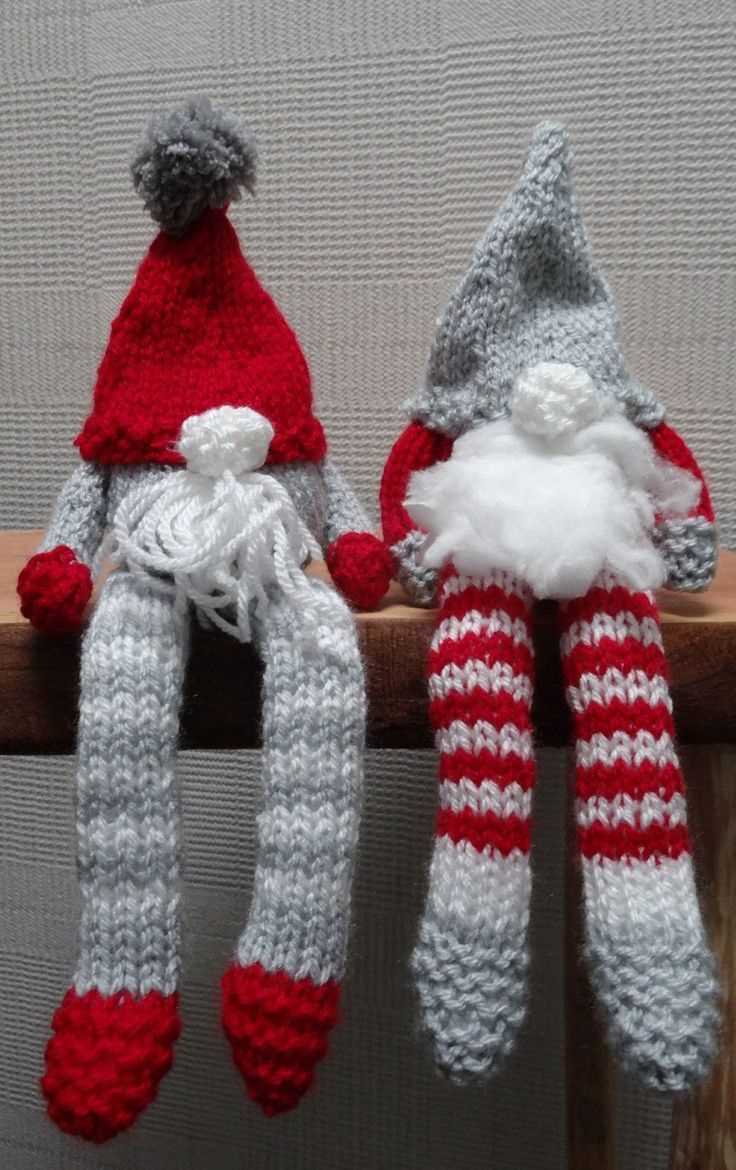
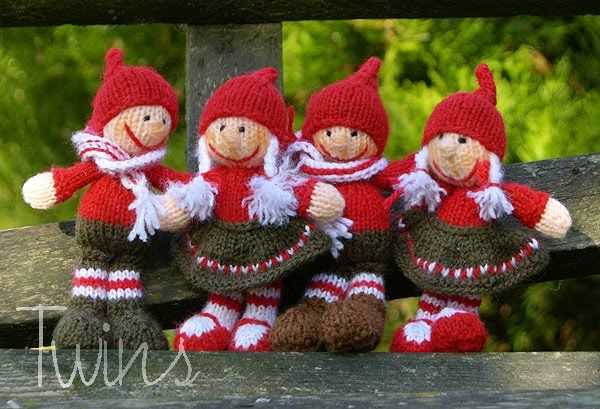
Knitting your own gnome not only allows you to customize it to suit your personal style and color scheme, but it also provides a great opportunity to use up any leftover yarn in your stash. Whether you prefer a traditional red and white gnome or want to experiment with bold and vibrant hues, this pattern can be easily adapted to meet your preferences.
Don’t worry if you’re new to knitting or haven’t tried making stuffed toys before – this pattern is suitable for all skill levels. With step-by-step instructions and helpful tips along the way, you’ll soon be crafting your very own gnome collection. So grab your knitting needles and get ready to bring some magic and charm into your home with this free gnome knitting pattern!
What is a Gnome Knitting Pattern?
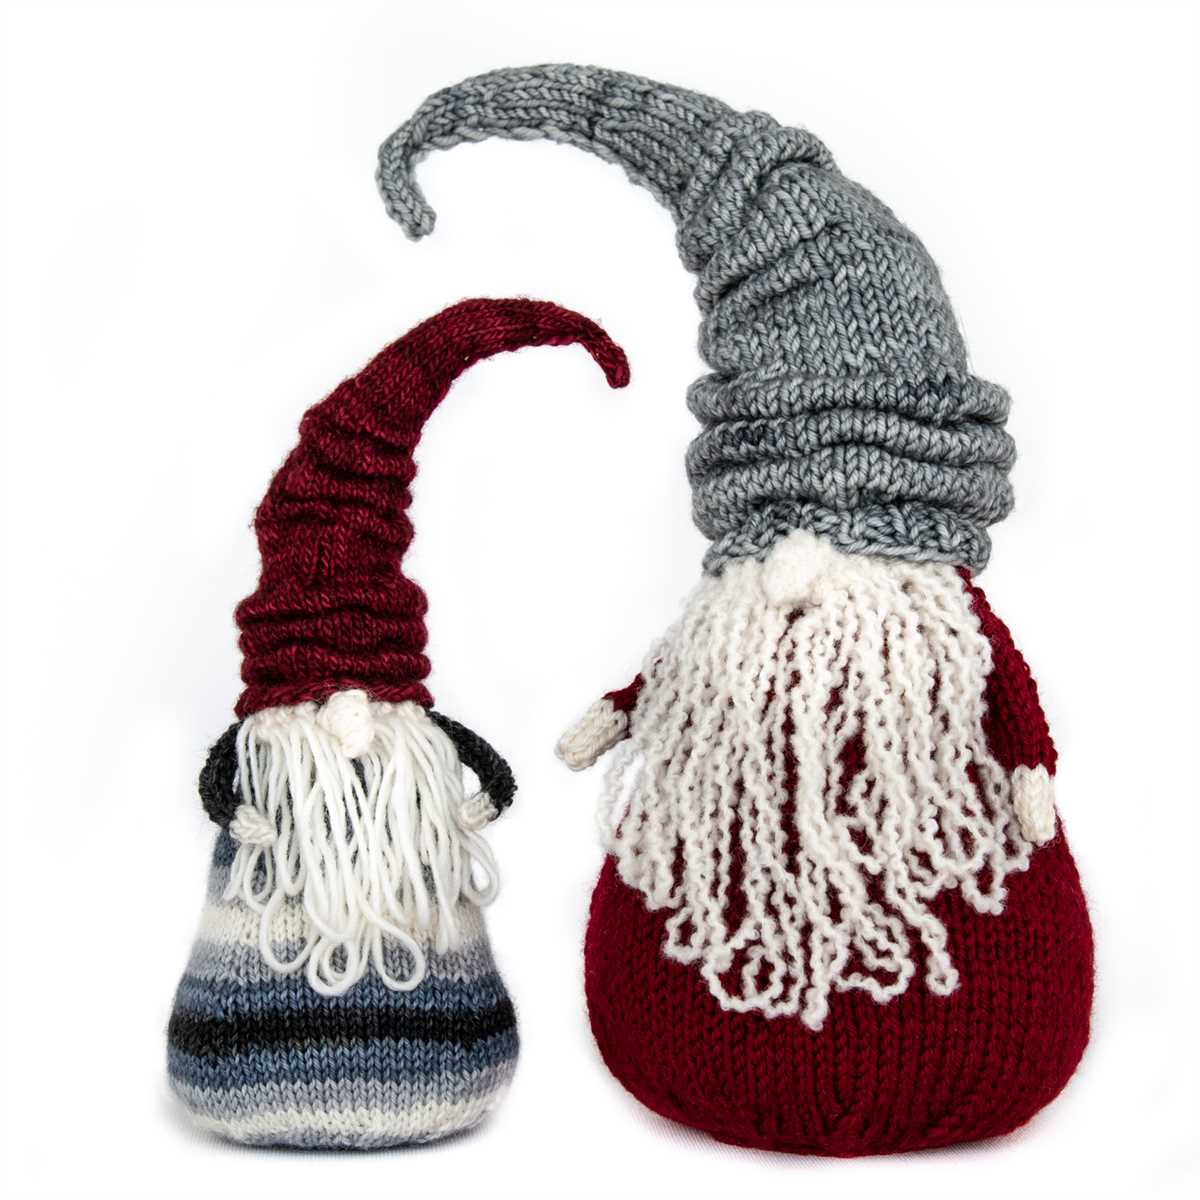
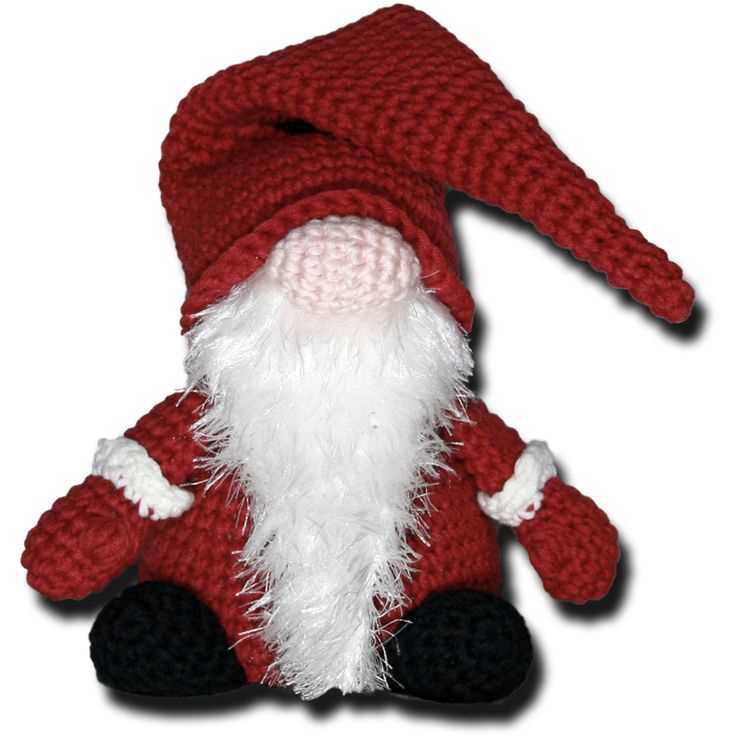
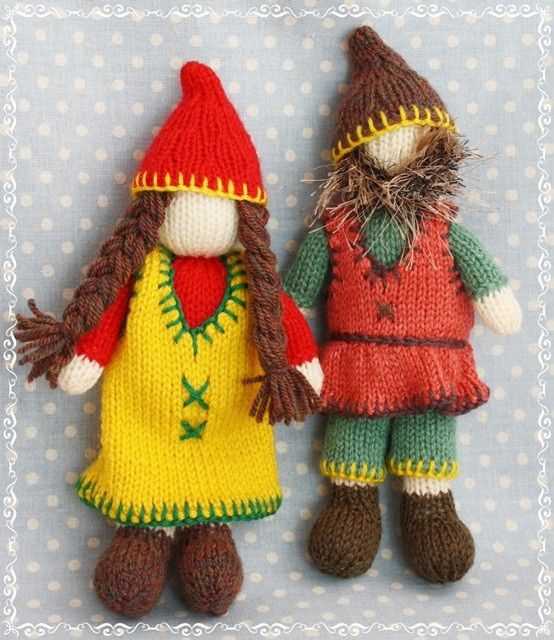
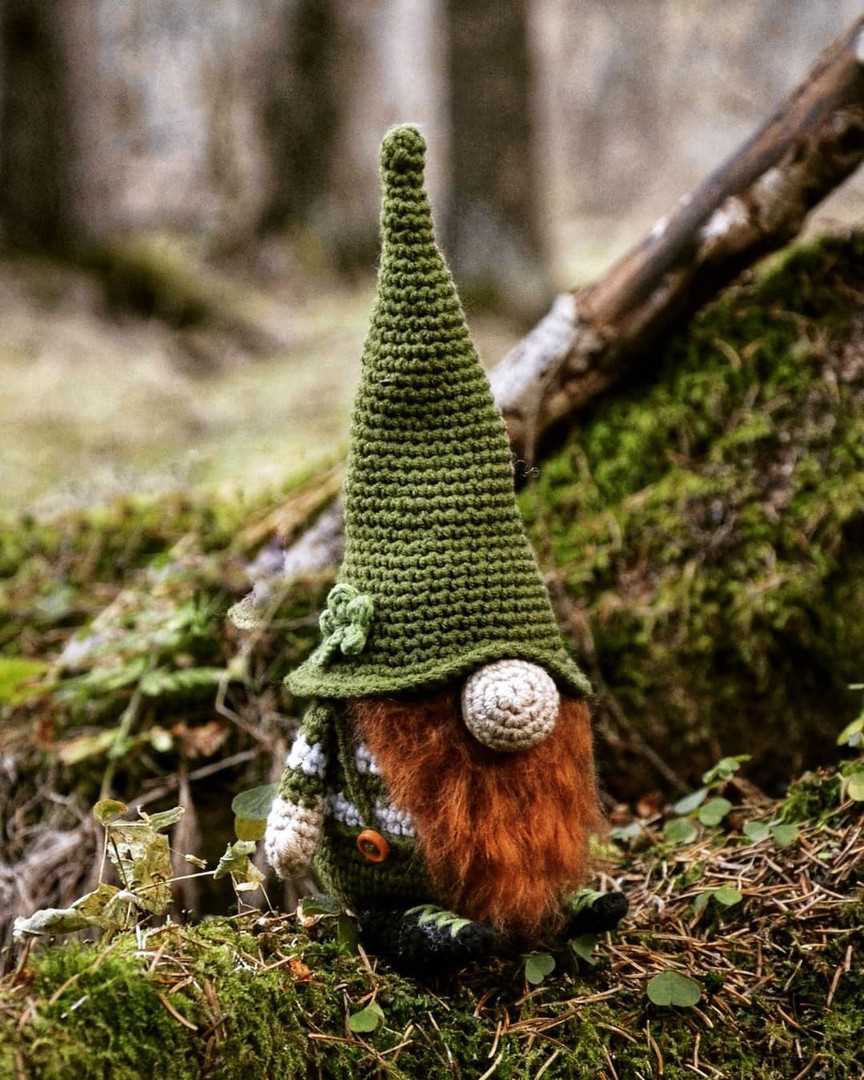
A gnome knitting pattern is a set of instructions that allows you to create your own knitted gnome. Gnomes, also known as tomten or nisse, are mythical creatures that are often associated with Scandinavian folklore. They are typically depicted as small, bearded men wearing pointy hats and are believed to bring good luck to households.
A gnome knitting pattern includes specific instructions for knitting the various components of the gnome, such as the body, head, hat, and beard. The pattern may also include details on how to add facial features, such as eyes and a nose, as well as any additional embellishments, like a scarf or mittens.
Knitting gnomes can be a fun and creative project, allowing you to customize the appearance of the gnome to your liking. You can choose different colors of yarn and experiment with different stitches and techniques to give your gnome a unique look.
To find a free gnome knitting pattern, you can search online knitting communities and forums, as many talented knitters share their patterns for free. You may also find patterns in knitting magazines or books that focus on holiday or Scandinavian-themed projects.
To get started with a gnome knitting pattern, you will need basic knitting skills, such as casting on, knitting, purling, and decreasing. Some patterns may require additional skills, like knitting in the round or using double-pointed needles. However, there are also patterns available for beginners that provide detailed instructions and explanations of the necessary techniques.
If you’re new to knitting, following a gnome knitting pattern can be a great way to practice your skills and create an adorable and whimsical decoration for your home or to give as a gift.
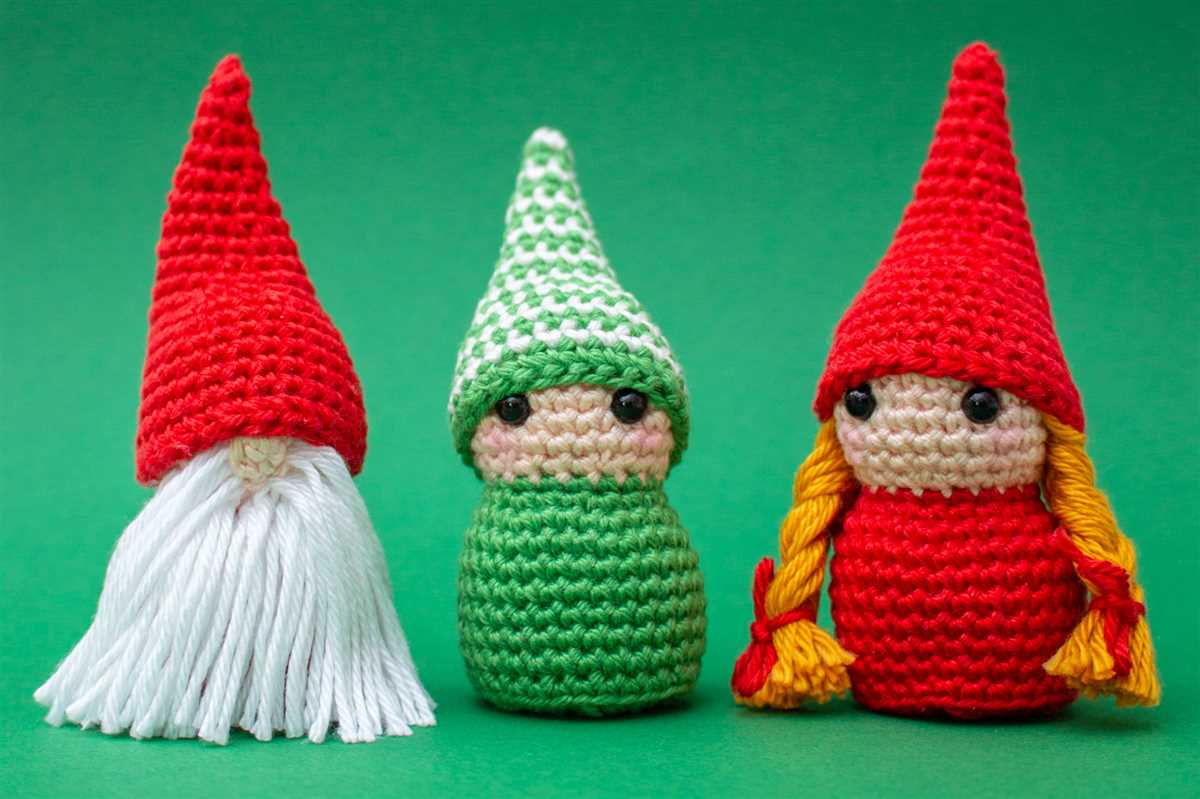
- Remember not to limit yourself to the traditional colors – gnomes can be knitted in all sorts of shades, from vibrant greens and reds to pastels or even neutrals.
- Once you’ve knitted your gnome, you can customize it further by adding embellishments such as buttons, ribbons, or small accessories like a miniature knitted backpack.
- When searching for a gnome knitting pattern, you’ll find options for both flat-knit and in-the-round patterns. Choose the style that you feel most comfortable with or use it as an opportunity to learn a new technique.
Why use a Free Gnome Knitting Pattern?
Knitting is a popular hobby for many people, and it’s always exciting to start a new project. If you’re looking for inspiration, using a free gnome knitting pattern can be a great option. These patterns provide a detailed guide for creating your own adorable gnome characters, and they offer several advantages over purchasing patterns or designing your own.
Cost-effective: One of the main reasons why people prefer free gnome knitting patterns is because they are cost-effective. Instead of spending money on expensive patterns, you can easily find many free patterns online that offer high-quality instructions. This allows you to save money while still enjoying the process of knitting.
Accessibility: Another benefit of using a free gnome knitting pattern is accessibility. With the widespread availability of the internet, it’s easier than ever to find free knitting patterns. You can simply search for “free gnome knitting patterns” and browse through various websites and blogs dedicated to knitting. This means that no matter where you are located, you will have access to a wide range of patterns to choose from.
Variety and creativity: Free gnome knitting patterns also provide a great opportunity for creativity. You can find patterns that cater to different skill levels and techniques, allowing you to choose the one that matches your expertise. Additionally, there are numerous variations and adaptations of gnome patterns available, so you can experiment with different colors, sizes, and details to create your own unique gnomes.
Overall, using a free gnome knitting pattern can be a fun and practical way to explore your creativity, save money, and enjoy the process of knitting. Whether you’re a beginner or an experienced knitter, these patterns offer a wide range of possibilities for creating adorable gnome characters that will bring a touch of whimsy to your knitting projects.
Choosing the Right Yarn for Your Gnome Knitting Project
When it comes to knitting gnomes, selecting the right yarn is essential to achieve the desired outcome. The texture, weight, and color of the yarn can greatly impact the final appearance of your gnome. Here are a few factors to consider when choosing the perfect yarn for your gnome knitting project:
1. Texture:
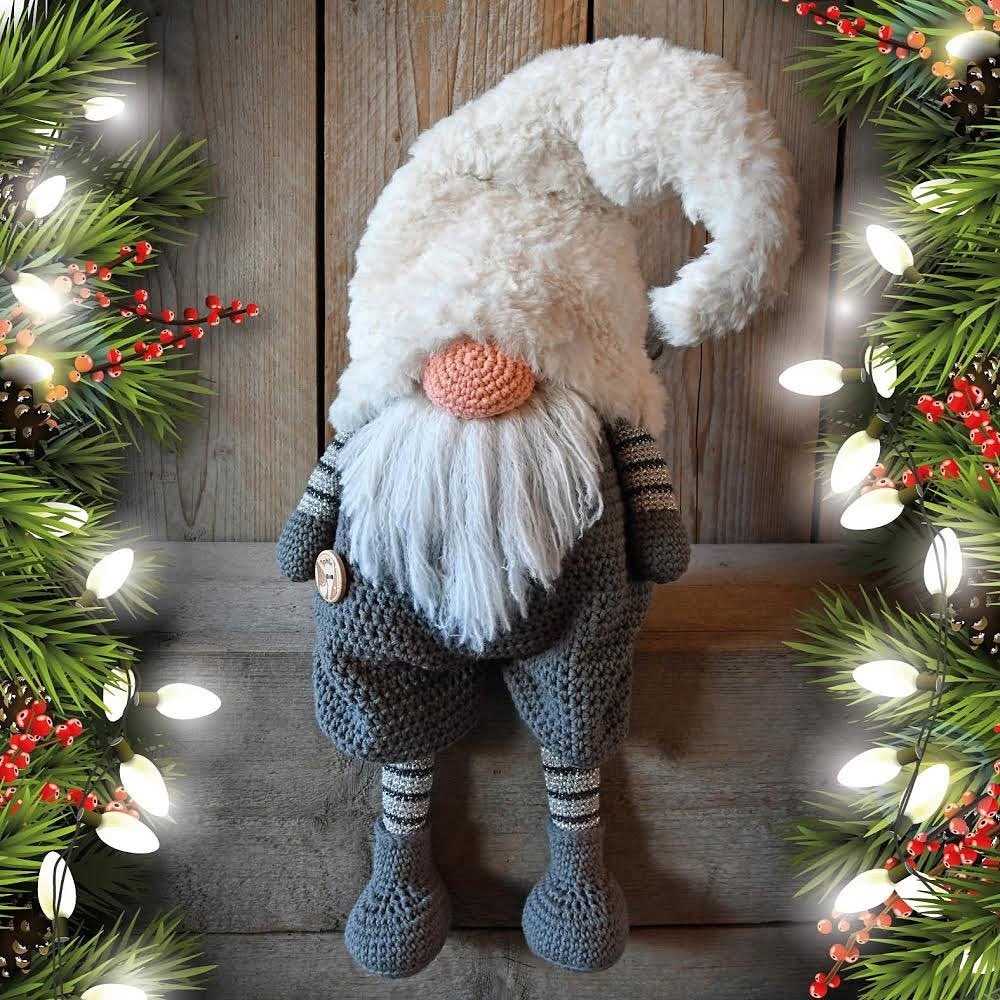
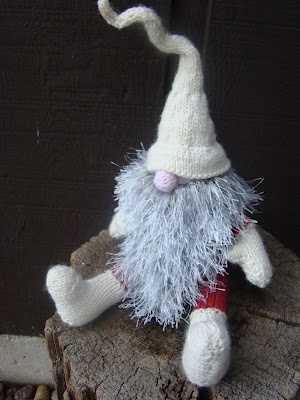
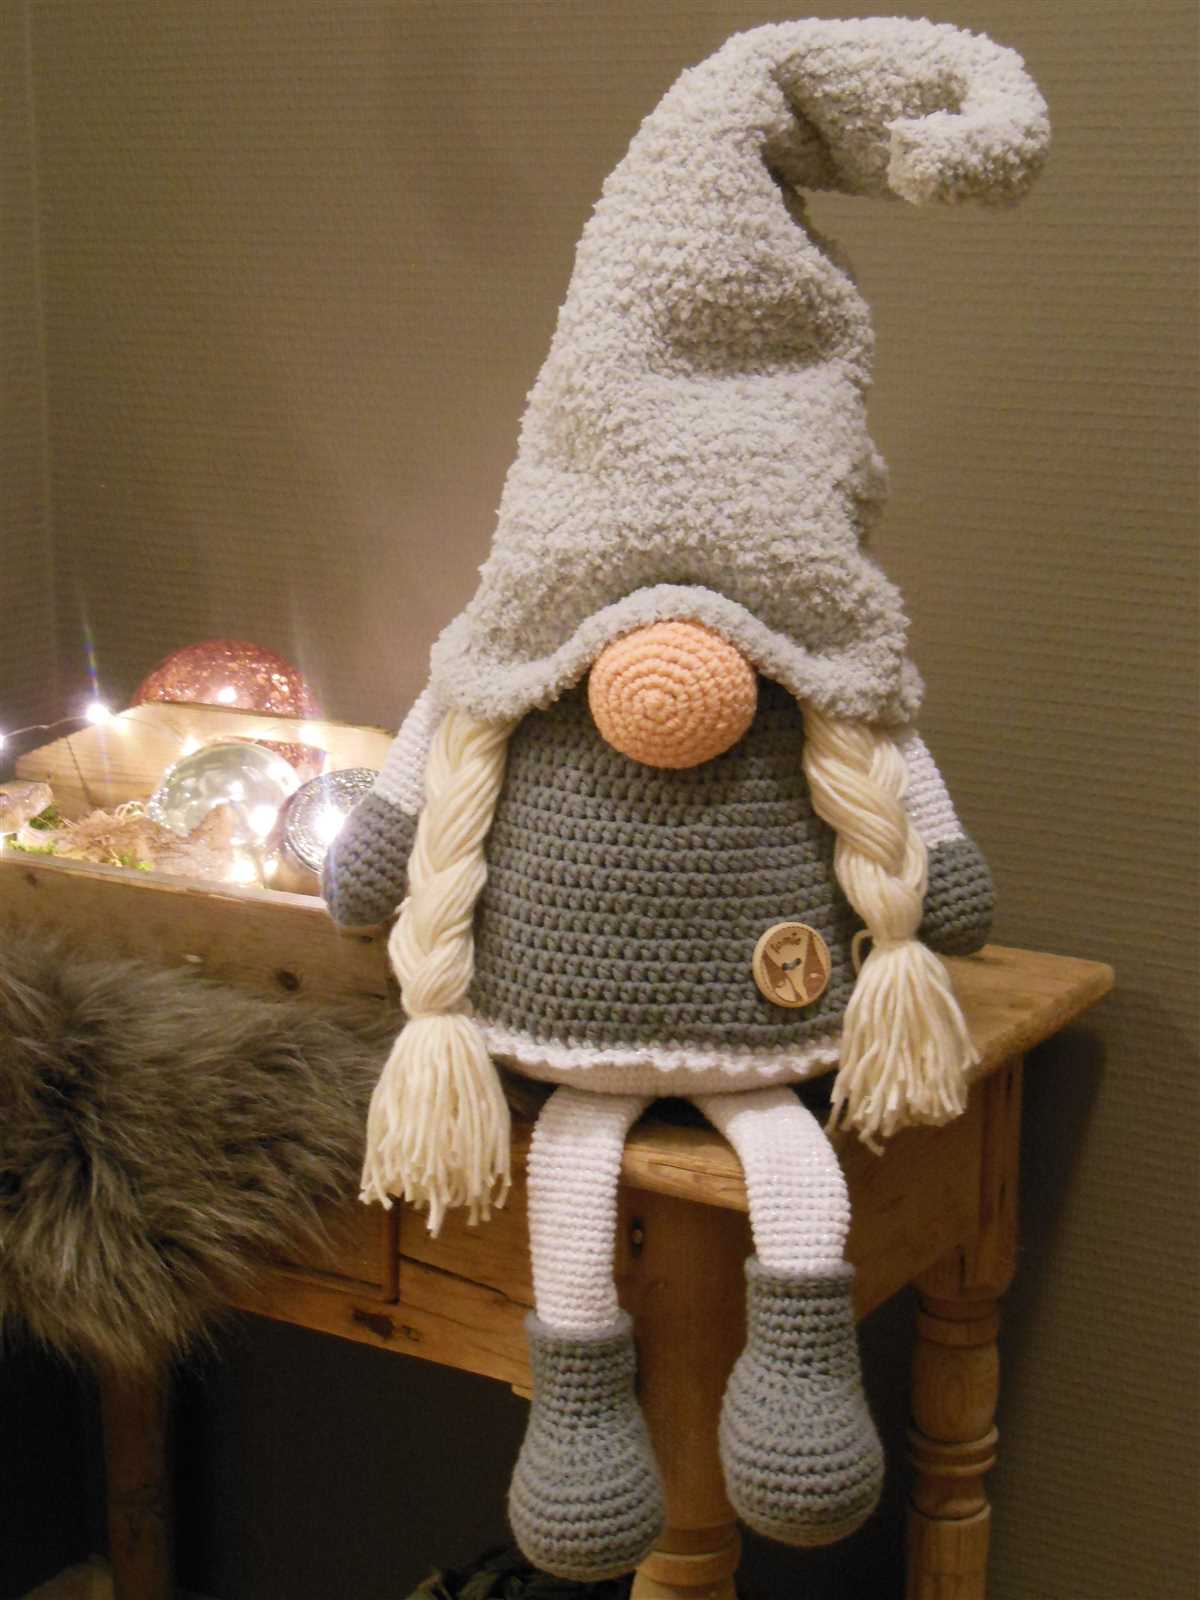
The texture of the yarn can add character and uniqueness to your gnome. A smooth yarn can create a polished and sleek look, while a fuzzy or textured yarn can give your gnome a more whimsical and playful appearance. Consider the personality you want your gnome to have and choose a yarn that matches that vision.
2. Weight:
The weight of the yarn will determine the size and density of your gnome. A thicker, bulkier yarn will result in a larger gnome, while a thinner, lighter yarn will create a smaller gnome. Additionally, different weights of yarn may require different needle sizes, so be sure to check the recommended needle size for the yarn you choose.
3. Color:
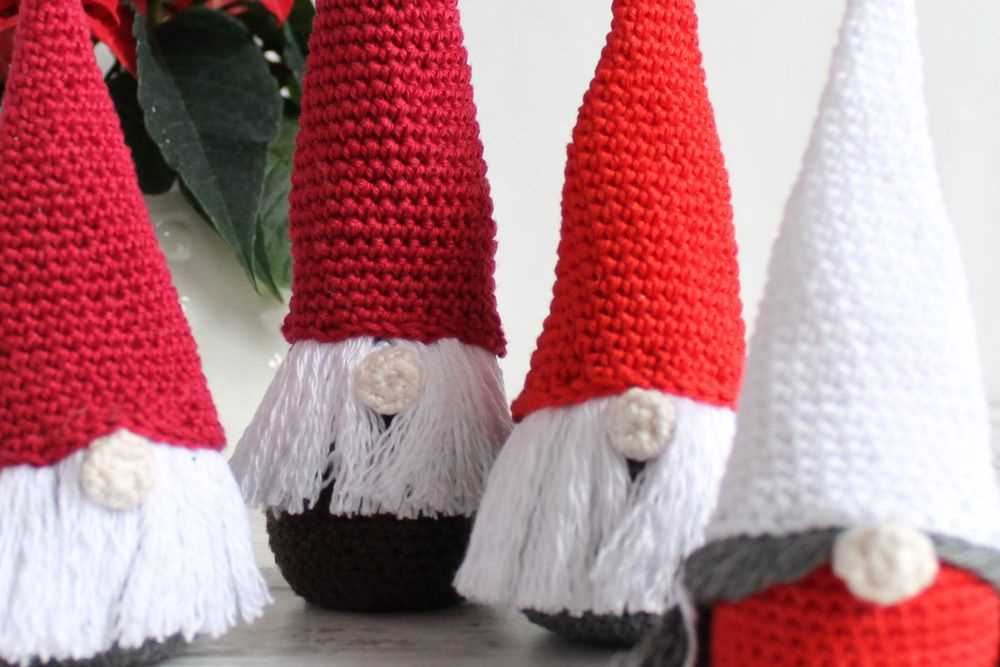
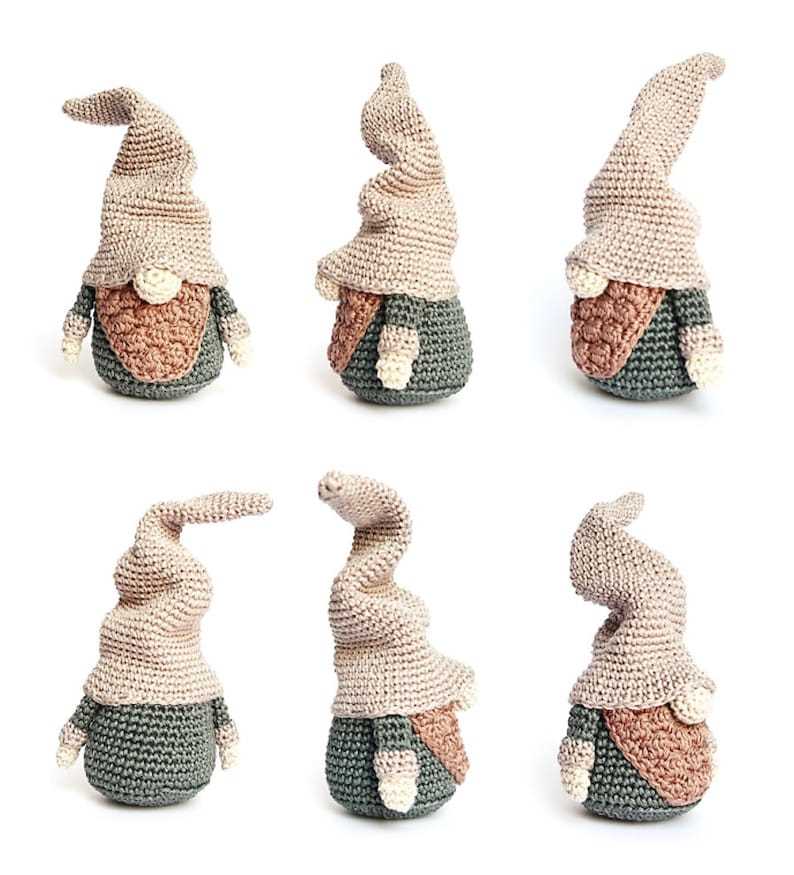
The color of your yarn is an important consideration as it can bring your gnome to life. If you’re aiming for a traditional gnome look, earthy tones like browns, greens, and reds are a good choice. However, don’t be afraid to get creative and experiment with bright and vibrant colors to give your gnome a modern twist.
Overall, the key to choosing the right yarn for your gnome knitting project is to consider the texture, weight, and color that align with your vision for the final result. Take your time to explore different yarn options and remember that knitting gnomes is all about having fun and bringing a little bit of magic into your crafting.
Essential Knitting Tools for Gnome Patterns
When it comes to knitting gnome patterns, having the right tools can make all the difference in creating a charming and well-crafted gnome. Here are some essential knitting tools that every gnome knitter should have in their arsenal.
1. Knitting Needles
The most basic tool you’ll need for knitting gnome patterns are a set of knitting needles. Choose the appropriate size needles based on the weight of yarn you’ll be using. Gnomes are often knitted using a small gauge, so be sure to select needles that are suitable for finer yarns. Double-pointed needles are especially useful for knitting the small and intricate parts of gnome patterns.
2. Yarn
Choosing the right yarn is essential for creating a gnome with the perfect texture and look. Opt for natural fibers like wool or alpaca, as they provide warmth and durability to your gnomes. Consider using different colors and textures to give each gnome character and personality. Remember to check the recommended yarn weight for the specific gnome pattern you’re working on.
3. Stitch Markers
Stitch markers are invaluable tools when knitting gnome patterns. They can help you keep track of stitch counts, mark important sections, and make it easier to follow the pattern instructions. You can use traditional stitch markers or even repurpose everyday items like safety pins or small pieces of contrasting yarn.
4. Tapestry Needles
A tapestry needle is necessary for weaving in loose ends and assembling the various parts of your gnome. Look for a blunt-tipped needle with a large eye that makes threading yarn effortless. Having a tapestry needle handy will ensure that your gnome’s seams are secure and neat.
5. Stuffing
To give your gnome its characteristic shape, you’ll need stuffing material. Choose a high-quality fiberfill or stuffing that is fluffy and resilient. Additionally, you can use small fabric scraps or yarn scraps to stuff smaller parts of the gnome, such as the nose or hands, for added texture and dimension.
By having these essential knitting tools, you’ll be well-equipped to create adorable and whimsical gnome patterns. With a little bit of time, patience, and creativity, you’ll have a collection of charming gnomes to display or give as heartfelt gifts.
Tips for Reading and Understanding Gnome Knitting Patterns
When it comes to knitting gnome patterns, it’s important to be able to read and understand the instructions in order to create the adorable creatures. Here are some helpful tips to help you navigate and interpret gnome knitting patterns:
1. Familiarize Yourself with the Abbreviations
Gnome knitting patterns, like most knitting patterns, use a variety of abbreviations to save space and make instructions more concise. Before you start knitting, take some time to familiarize yourself with the common abbreviations used in knitting patterns. This will make it easier for you to understand the instructions and follow along.
2. Pay Attention to the Gauge
Gauge refers to the number of stitches and rows per inch in a knitted piece. It’s important to check the gauge mentioned in the pattern and ensure that your knitting matches it. If your gauge doesn’t match, the gnome may turn out too large or too small. Adjust your needle size or tension until you achieve the correct gauge.
3. Read the Pattern from Beginning to End
Before you start knitting, read the entire pattern from beginning to end. This will give you a good overview of the instructions and help you understand the construction and shaping of the gnome. It will also give you a chance to check if you have all the necessary materials and understand any special techniques that may be required.
4. Break Down the Pattern into Sections
Knit gnome patterns are often divided into different sections, such as the body, head, arms, and legs. Break down the pattern into these sections and focus on one section at a time. This will make it less overwhelming and easier to keep track of where you are in the pattern.
5. Take Note of Special Instructions or Techniques
Some gnome knitting patterns may include special instructions or techniques, such as colorwork or shaping techniques. Pay close attention to these instructions and make sure you understand them before you begin. If there are any unfamiliar techniques, take the time to practice them before starting the pattern.
6. Use Stitch Markers and Row Counters
Stitch markers and row counters can be incredibly helpful when knitting gnome patterns. They can help you keep track of stitch counts, pattern repeats, and shaping instructions. Use them to mark important points in the pattern and help you stay organized as you knit.
By following these tips, reading and understanding gnome knitting patterns will become easier, allowing you to create adorable gnomes with ease and confidence. Happy knitting!
Step-by-Step Tutorial: How to Knit a Gnome
A gnome is a delightful and whimsical creature that can bring a touch of magic to any space. If you’re a knitting enthusiast looking for a fun project, knitting a gnome can be a rewarding endeavor. In this step-by-step tutorial, we’ll guide you through the process of creating your very own knitted gnome.
Materials You’ll Need:
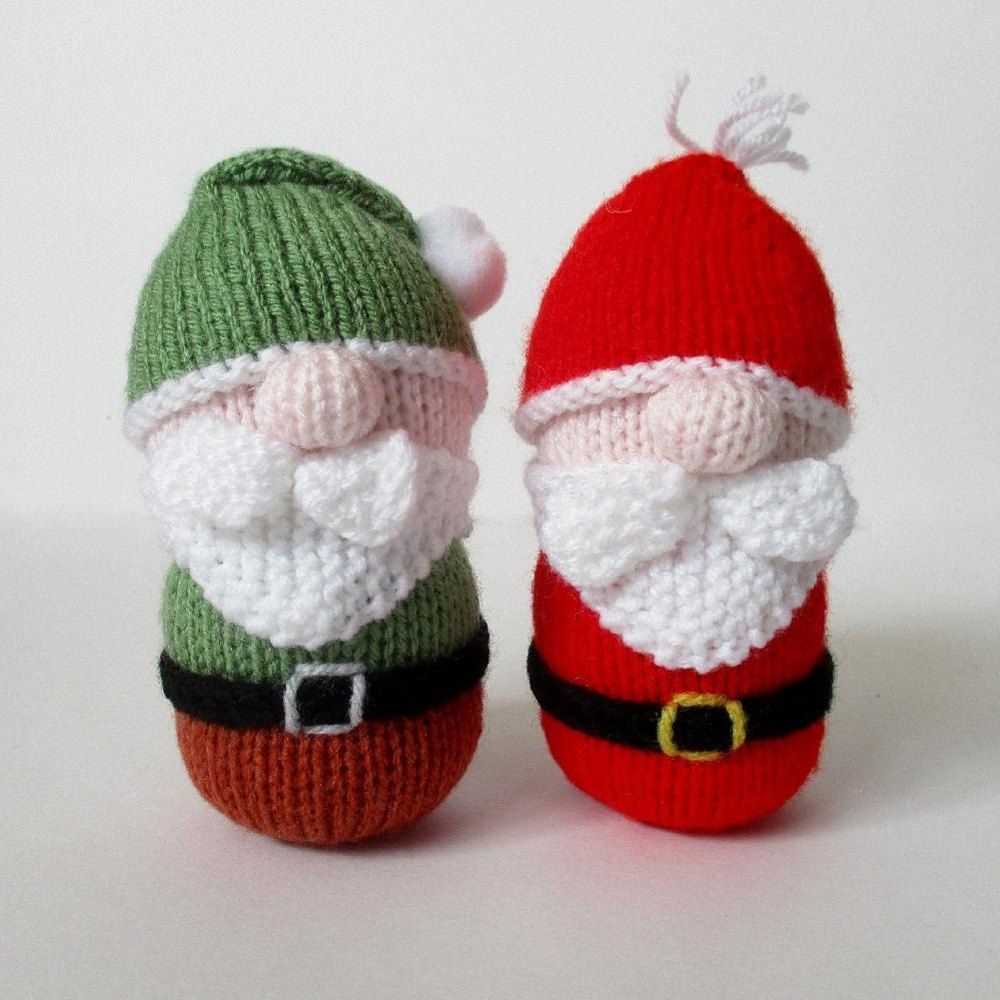
- Yarn in various colors (red, white, and beige are common gnome colors)
- Knitting needles (size will depend on the thickness of the yarn you choose)
- Fiberfill stuffing
- Yarn needle
- Scissors
- Markers
Step 1: Body
Begin by casting on stitches to create the gnome’s body. Using the main color yarn, knit a square or rectangle shape, depending on the desired size of your gnome. Knit rows back and forth in garter stitch until the body reaches the desired length.
Step 2: Hat
Next, it’s time to knit the gnome’s hat. Using a contrasting color of yarn, cast on stitches to create a triangular shape. As you knit, decrease stitches gradually to shape the hat. Once the hat is the desired height, bind off the stitches and weave in any loose ends.
Step 3: Assembly
Now it’s time to bring your gnome to life by assembling the pieces. Fold the knitted body in half and sew two sides together, leaving the top open. Stuff the body with fiberfill, using a yarn needle to help push the stuffing into all the corners. Attach the hat to the top of the body, sewing it in place securely.
Step 4: Facial Features
To add personality to your gnome, you can embroider or sew on facial features. Use black yarn or thread to create eyes, and red yarn or thread to make a mouth. Use the yarn needle to carefully sew these details onto the gnome’s face.
Step 5: Finishing Touches
To complete your knitted gnome, you can add extra details such as a knitted beard, pom-poms, or a belt. Get creative with your gnome’s accessories to make it truly unique. Cut any excess yarn, weave in any loose ends, and your charming knitted gnome is ready to be displayed or gifted!
Common Mistakes to Avoid when Knitting Gnomes
Knitting gnomes can be a fun and rewarding project, but it’s important to avoid common mistakes to ensure the final result is as perfect as possible. Here are some common mistakes to watch out for when knitting gnomes:
1. Incorrect Gauge
One of the most common mistakes knitters make when knitting gnomes is not checking their gauge before starting the project. Gauge refers to the number of stitches and rows per inch. Knitting with the wrong gauge can result in a gnome that is too large or too small. To avoid this mistake, always make sure to swatch and measure your gauge before starting the gnome.
2. Wrong Yarn Choice
Choosing the wrong yarn can also affect the final result of your knitted gnome. It’s important to use a yarn that is suitable for the pattern and will give you the desired texture and appearance. Avoid using yarn that is too bulky or too thin for the pattern instructions. Always read the pattern carefully and choose a yarn that matches the recommended gauge and fiber content.
3. Inconsistent Tension
Tension plays a vital role in the appearance of your knitted gnomes. Inconsistent tension can result in a gnome with uneven stitches or an overall distorted shape. To avoid this mistake, try to maintain a consistent tension throughout your knitting. Take breaks if you find yourself knitting too tightly or loosely, and make sure to check your tension regularly by measuring your stitches.
4. Poor Seaming
Seaming is an important step in completing your knitted gnome. Poor seaming can make your gnome look messy and unfinished. To ensure a neat and professional finish, take your time when seaming the different parts of your gnome together. Use the appropriate seaming technique recommended in the pattern and pay attention to detail to ensure smooth and invisible seams.
5. Neglecting Blocking
Blocking is often overlooked but can make a huge difference in the final appearance of your knitted gnome. Blocking helps even out stitches, shape the gnome, and give it a polished finish. Don’t skip this step! Follow the blocking instructions provided in the pattern, whether it’s wet blocking, steam blocking, or using blocking wires, to achieve the best results.
Avoiding these common mistakes will help you create beautiful and well-executed knitted gnomes. Remember to always read the pattern carefully, check your gauge, and take your time to ensure the best possible outcome. Happy gnome knitting!
Adding Personal Touches to Your Gnomes: Embellishments and Customizations
When it comes to knitting gnomes, the possibilities for adding personal touches are endless. With a few simple embellishments and customizations, you can create unique and one-of-a-kind gnome figures that reflect your style and creativity. Whether you prefer a traditional look or want to experiment with different colors and textures, here are some ideas to help you get started.
1. Embroidery: One of the easiest ways to add a personal touch to your gnomes is through embroidery. You can use colorful threads to stitch details such as eyes, noses, or even intricate patterns on their hats. Embroidery not only adds visual interest but also brings your gnomes to life.
2. Beading: Another way to customize your gnome is by adding beads. You can use various sizes and colors of beads to embellish the hat, scarf, or even the body of the gnome. Beads can create a whimsical or glamorous effect, depending on your preference. Experiment with different bead placement and designs to find the look you love.
3. Buttons and Charms: Buttons and charms can also be used to add a personal touch to your gnomes. You can sew on buttons as eyes or use them as decorative accents on their clothing. Charms, such as tiny metal keys or miniature animals, can be attached to the gnome’s hat or added as charms to the scarf. These small details can make a big difference in the overall look and feel of your gnome.
4. Yarn and Texture: Don’t be afraid to experiment with different types of yarn and textures for your gnomes. You can use variegated yarn to create a colorful effect, or opt for textured yarn to add dimension to their clothing. Mixing different yarn types and textures can give your gnome a truly unique and personalized appearance.
5. Accessories: Lastly, consider adding accessories to your gnomes to further customize them. You can knit tiny hats, scarves, or even mini backpacks for your gnomes. These accessories not only add a touch of charm but also allow you to showcase your knitting skills. Get creative and think about what accessories would speak to your gnome’s personality.
Remember, the joy of knitting gnomes lies in the ability to add your personal touch to each creation. Whether it’s through embroidery, beading, buttons, yarn choices, or accessories, these embellishments and customizations will make your gnomes truly special and reflect your unique style.
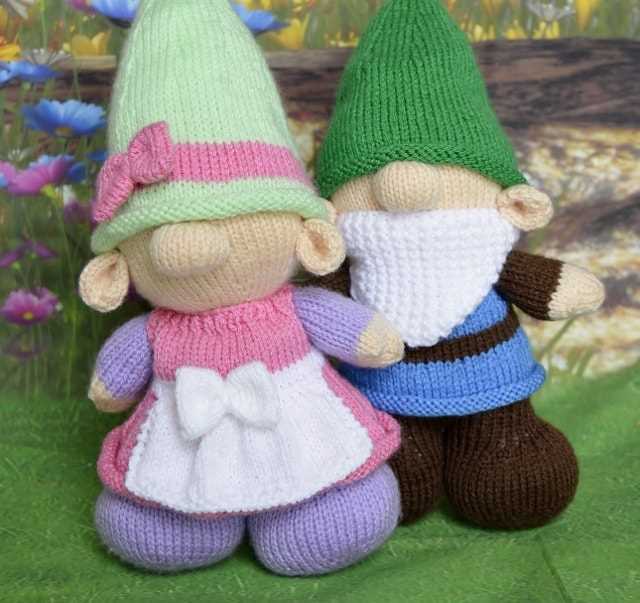
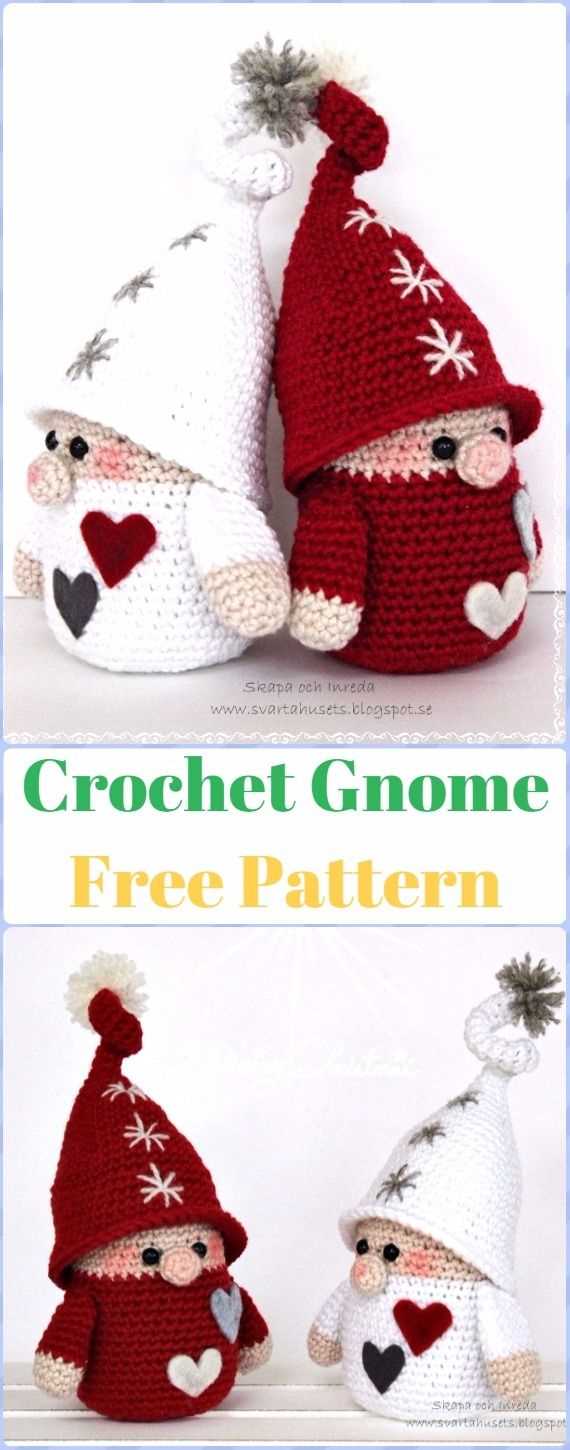
Free Gnome Knitting Patterns for Beginners
Are you a beginner knitter looking for a fun and easy project? Why not try knitting your own gnome! Gnomes are adorable creatures that add a touch of whimsy to any home decor, and knitting one can be a rewarding and relaxing experience. Luckily, there are plenty of free gnome knitting patterns available online that are perfect for beginners.
One popular gnome pattern for beginners is the “Basic Gnome” pattern. This pattern typically uses just a few basic stitches, such as knit and purl, making it a great project for those who are new to knitting. The pattern usually includes step-by-step instructions, as well as helpful tips and tricks to ensure your gnome turns out just right.
Materials:
- Yarn in various colors (typically red, green, white, and skin tone)
- Knitting needles (size varies depending on desired gnome size)
- Stuffing material
- Tapestry needle
- Scissors
Instructions:
- Begin by casting on your desired number of stitches to create the gnome’s body.
- Knit in the round for a few rows to create the gnome’s body shape.
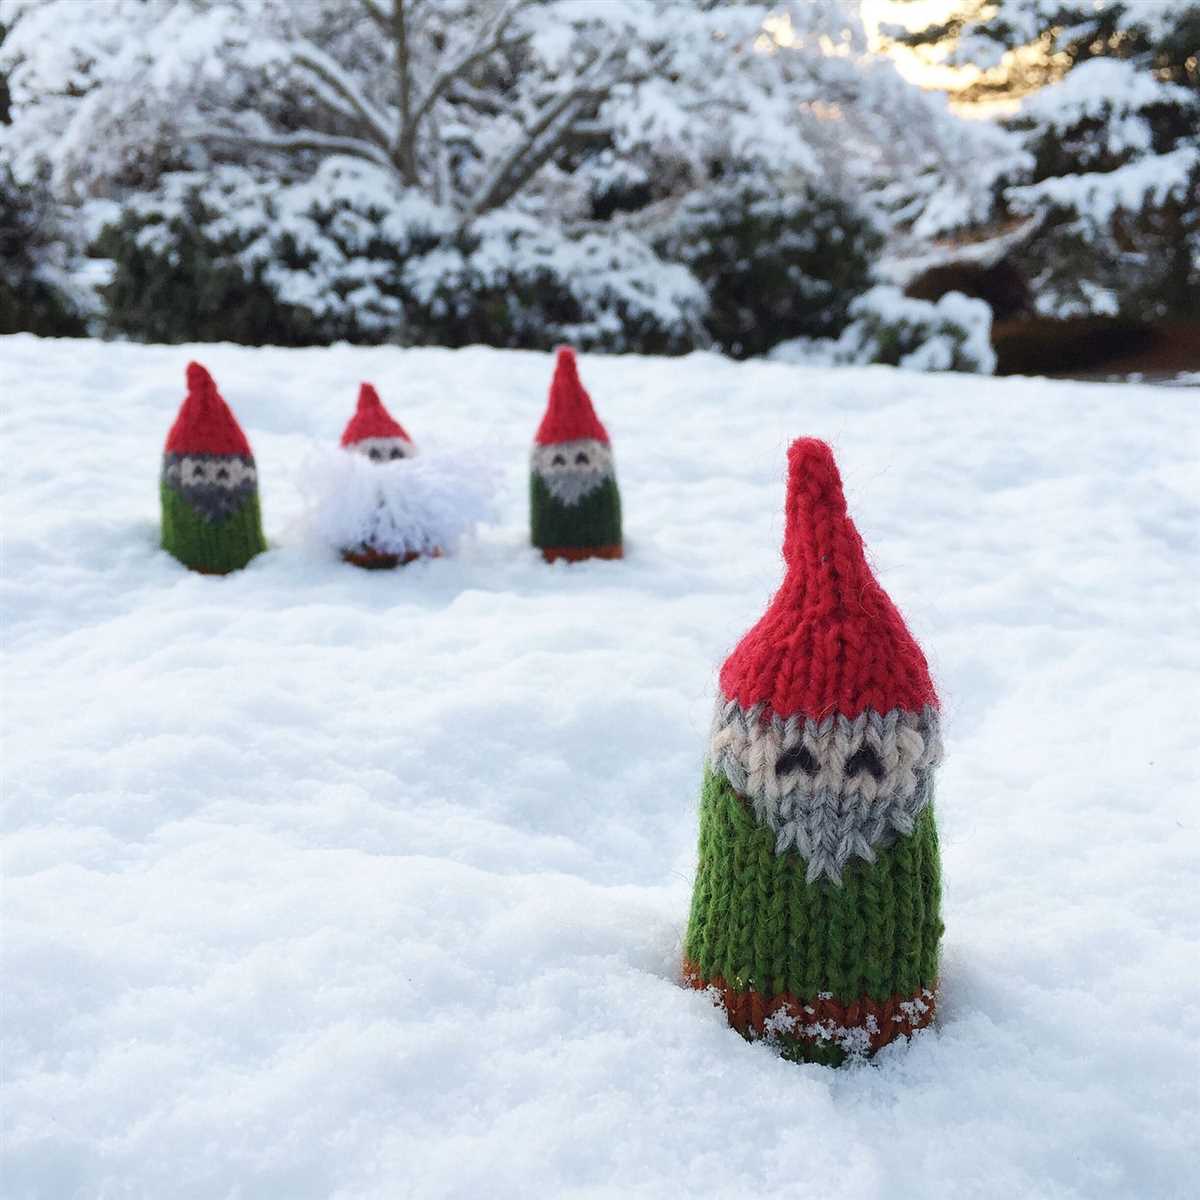
- Continue knitting in the round, decreasing stitches gradually to create the gnome’s pointed hat.
- Once the hat is complete, bind off the stitches and weave in any loose ends.
- Using a different color yarn, knit a rectangle to create the gnome’s scarf. You can add fringe or tassels for extra flair.
- Next, knit two small circles to create the gnome’s hands. You can stuff them lightly with the stuffing material to give them shape.
- Using the tapestry needle, sew the gnome’s scarf and hands onto the body.
- Finally, use embroidery floss or yarn to create the gnome’s face, including eyes, nose, and mouth.
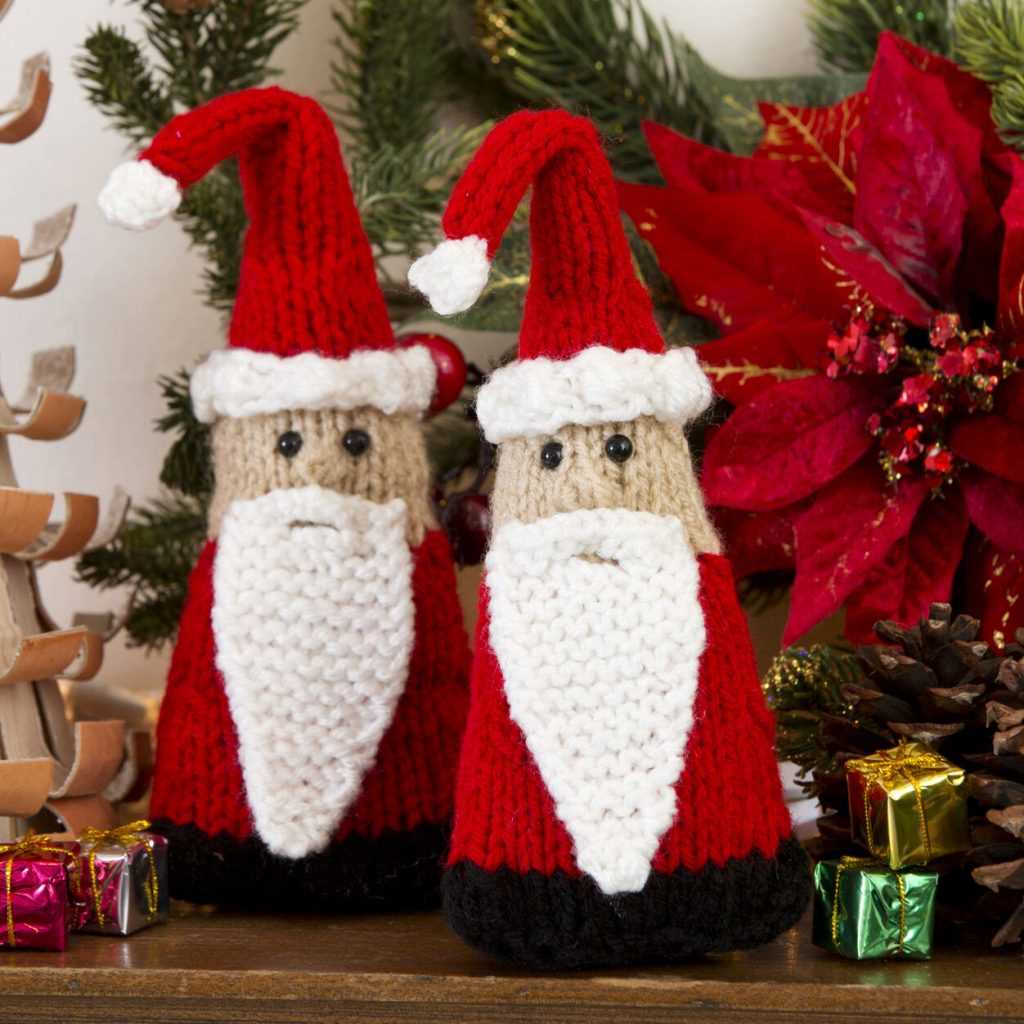
Once you’ve finished knitting and assembling your gnome, you can place it on a shelf, mantel, or even use it as a cute holiday decoration. Whether you’re new to knitting or just looking for a quick and easy project, these free gnome knitting patterns are perfect for beginners. So grab your knitting needles and get ready to create your own adorable gnome!
Advanced Gnome Knitting Patterns: Challenges for Experienced Knitters
For experienced knitters who have mastered the basics of gnome knitting, there are several advanced gnome knitting patterns available that provide new challenges and opportunities for creativity. These patterns often require complex stitch patterns, intricate colorwork, and advanced shaping techniques.
One example of an advanced gnome knitting pattern is the “Fair Isle Gnome.” This pattern incorporates the Fair Isle knitting technique, which involves working with multiple colors in each row to create intricate patterns. Knitters will need to be proficient in colorwork and have good tension control to achieve the desired effect. The Fair Isle Gnome pattern also includes detailed instructions for shaping the gnome’s body and hat, adding an extra level of complexity for experienced knitters.
Advanced Techniques and Stitch Patterns
Advanced gnome knitting patterns challenge knitters to expand their repertoire of techniques and stitch patterns. These patterns may introduce advanced lacework, cabling, or even beaded knitting techniques. Knitters can expect to encounter complex stitch patterns that require concentration and careful attention to detail. These advanced techniques and stitch patterns add a level of intricacy and sophistication to the finished gnome, making it a true work of art.
Customization and Creativity
Advanced gnome knitting patterns often provide more opportunities for customization and creativity compared to basic patterns. Knitters can experiment with different color combinations, modify the shape or size of the gnome, or add additional embellishments such as embroidery or applique. The advanced nature of these patterns encourages knitters to think outside the box and create unique and personalized gnomes that reflect their own style and creativity.
The Rewards of Advanced Gnome Knitting
While advanced gnome knitting patterns may be more challenging, the rewards are well worth the effort. Knitters can take pride in their ability to conquer complex techniques and stitch patterns, and the finished gnomes are sure to impress with their intricate designs and attention to detail. Advanced gnome knitting allows experienced knitters to push their skills to new heights and create heirloom-quality pieces that will be cherished for years to come.
Frequently Asked Questions about Gnome Knitting Patterns
Thank you for reading our guide on gnome knitting patterns! Here are some frequently asked questions that may help you along your knitting journey:
1. Can I sell items I make using free gnome knitting patterns?
Yes, in most cases you can sell items you create using free gnome knitting patterns. However, it’s always a good idea to check the individual pattern’s terms and conditions to ensure you are allowed to sell the finished items.
2. I’m a beginner knitter. Are gnome knitting patterns suitable for me?
Gnome knitting patterns can vary in difficulty, but there are many patterns available that are suitable for beginners. Look for patterns labeled as “easy” or “beginner-friendly” to start with. As you gain confidence and skills, you can try more advanced patterns.
3. What materials do I need to knit a gnome?
Most gnome knitting patterns will specify the materials you need, but generally you’ll need:
- Yarn in various colors (typically worsted weight or similar)
- Knitting needles in the recommended size for the pattern
- A tapestry needle for sewing and finishing
- Stuffing material (such as polyester fiberfill)
- Optional: embellishments like buttons, felt, or embroidery floss
4. Can I modify gnome knitting patterns?
Yes, you can modify gnome knitting patterns to suit your preferences! Feel free to experiment with different colors, add or remove embellishments, or adjust the size of the gnome. Just be mindful that modifying a pattern may require adjustments to the instructions or stitch counts.
5. Where can I find more gnome knitting patterns?
You can find more gnome knitting patterns online through various websites and knitting communities. Some popular options include Ravelry, Etsy, and knitting blogs. You can also consider joining knitting groups or forums to connect with other knitters and discover new patterns.
Conclusion
In conclusion, gnome knitting patterns are a fun and creative way to express your knitting skills. Whether you’re a beginner or an experienced knitter, there are patterns available for all skill levels. Remember to check the individual pattern’s terms regarding selling finished items, gather the necessary materials, and feel free to modify the patterns to make them your own. Happy knitting!