
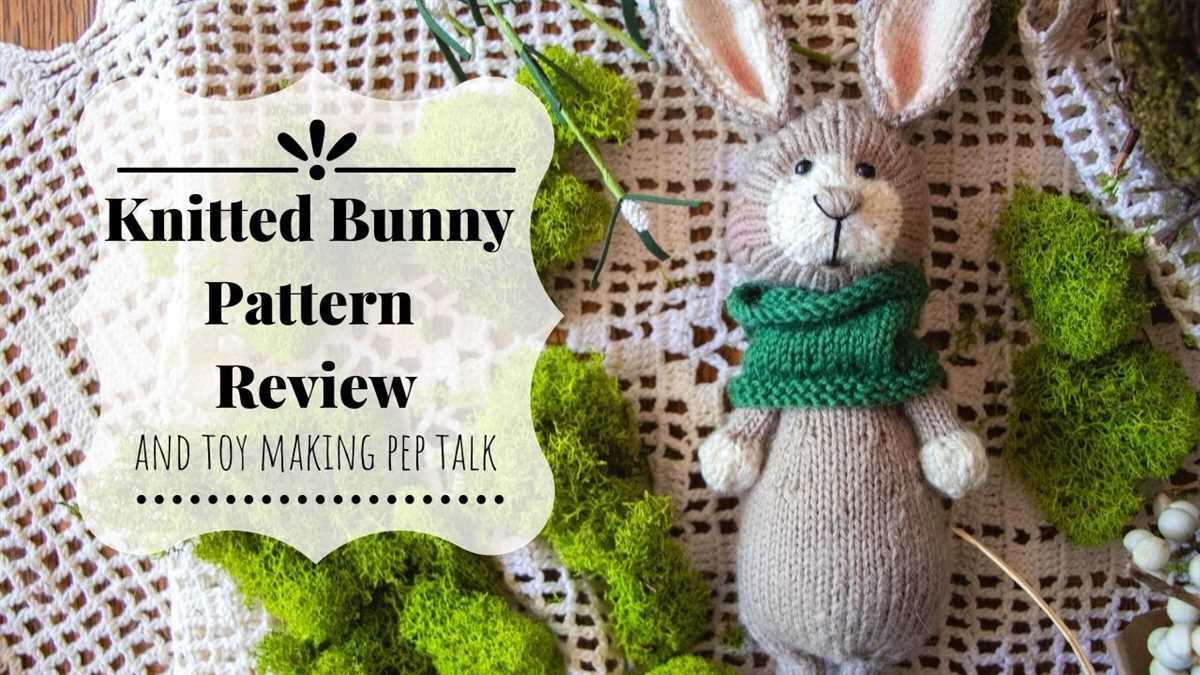
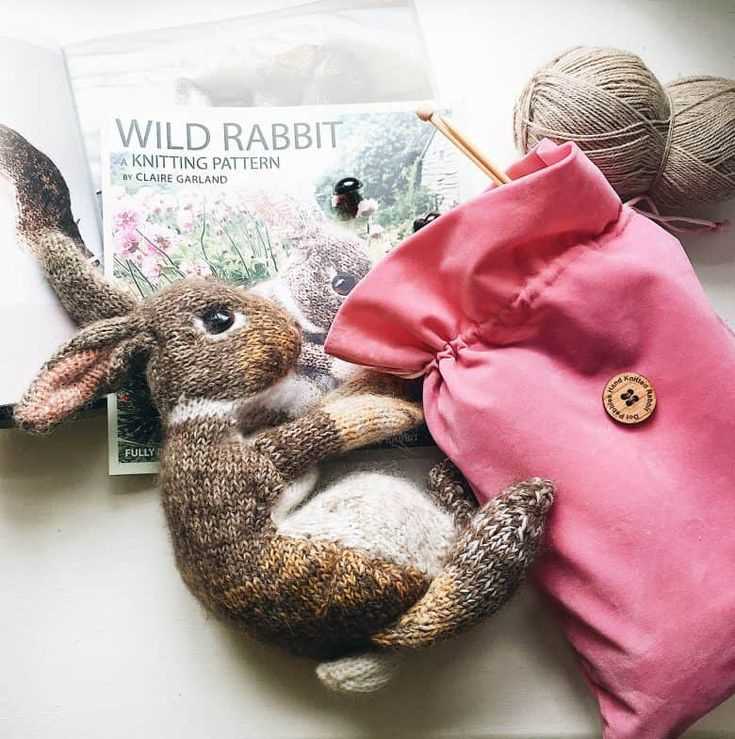
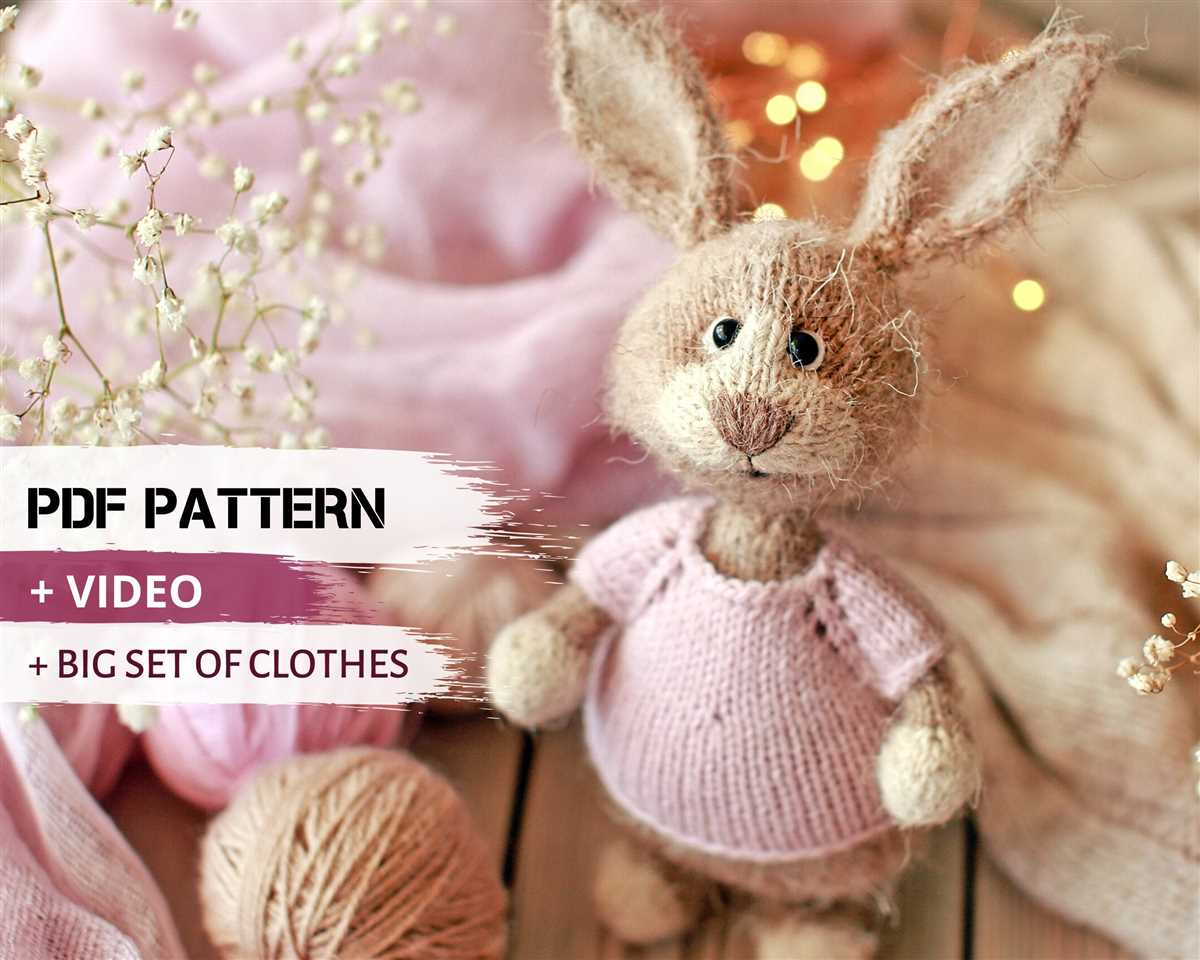
Are you looking for a cute and cuddly project to knit? Look no further, because we have the perfect pattern for you – a free easy knit bunny pattern! Whether you are a beginner or an experienced knitter, this pattern is suitable for all skill levels.
Our free easy knit bunny pattern is not only adorable, but it is also quick and fun to make. With just a few basic knitting techniques, you can create your very own soft and fluffy bunny in no time. This pattern includes step-by-step instructions and helpful tips to guide you through the process.
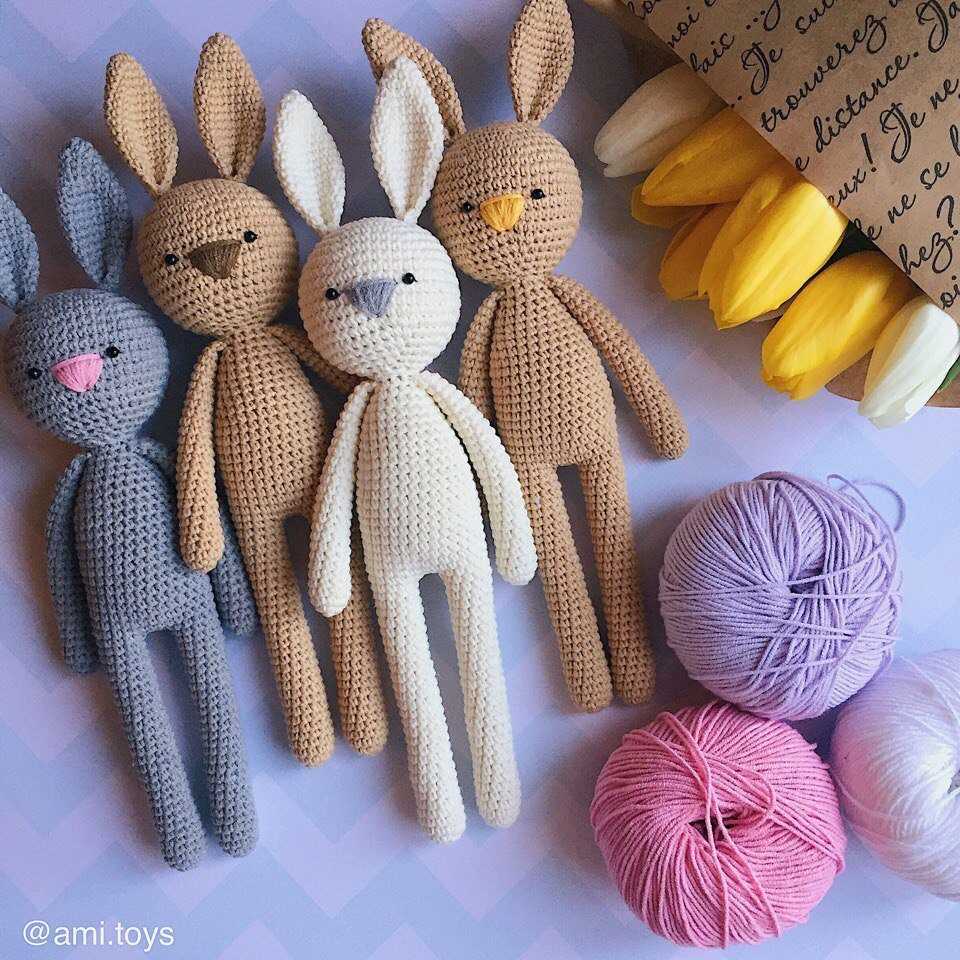
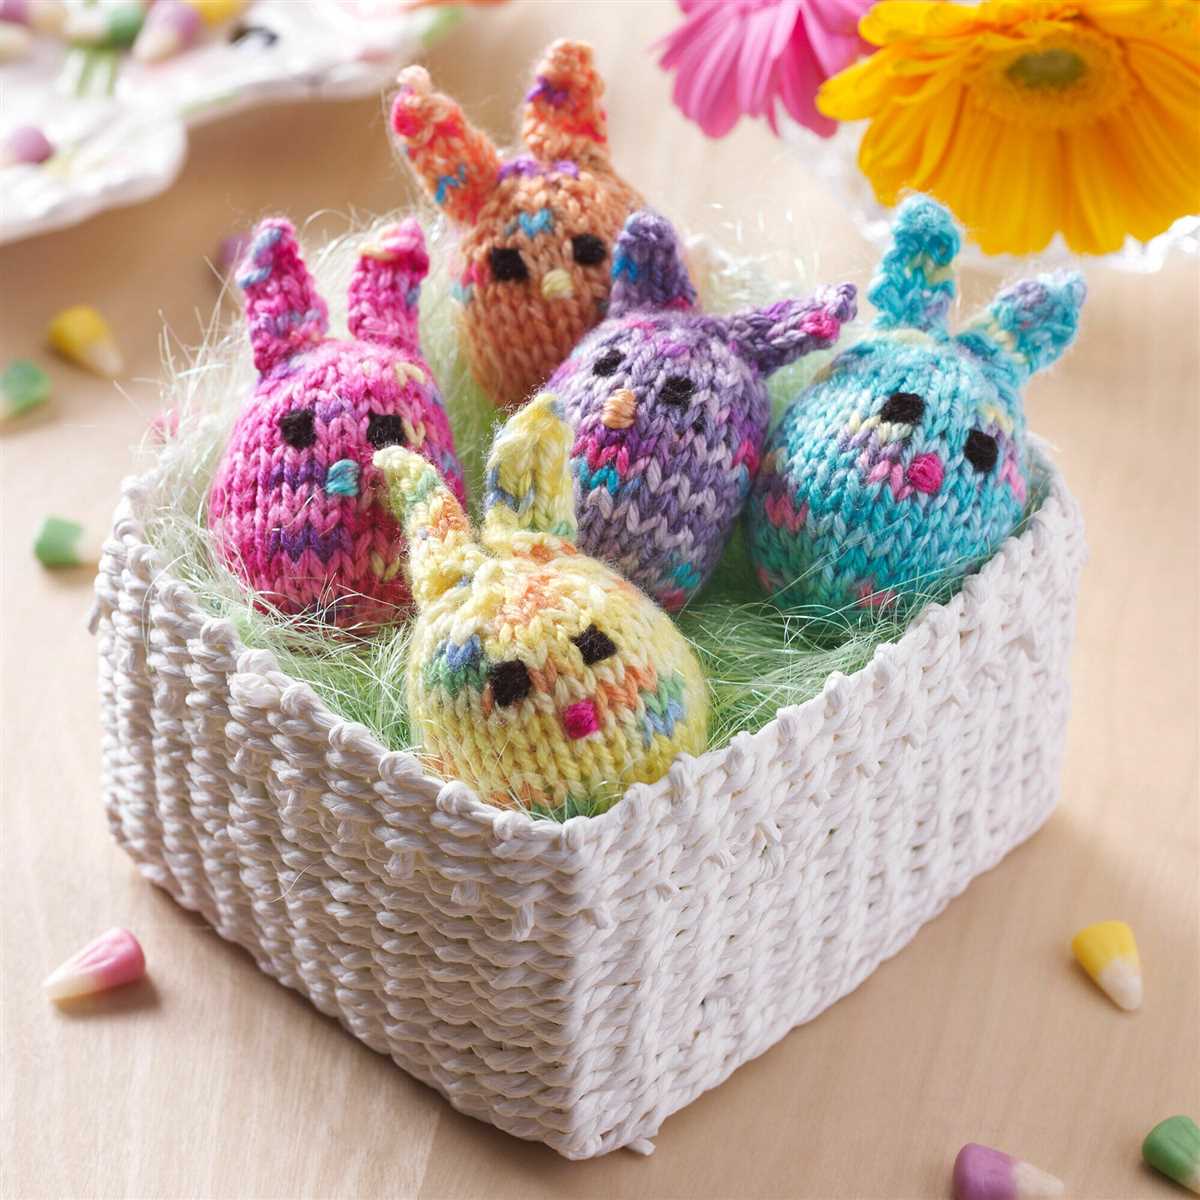
This free easy knit bunny pattern is a great project for anyone who loves knitting toys or wants to try their hand at toy making. It can be a wonderful gift for a child or a charming decoration for your home. No matter the reason, this bunny will surely bring joy and smiles to anyone who sees it.
Free Easy Knit Bunny Pattern
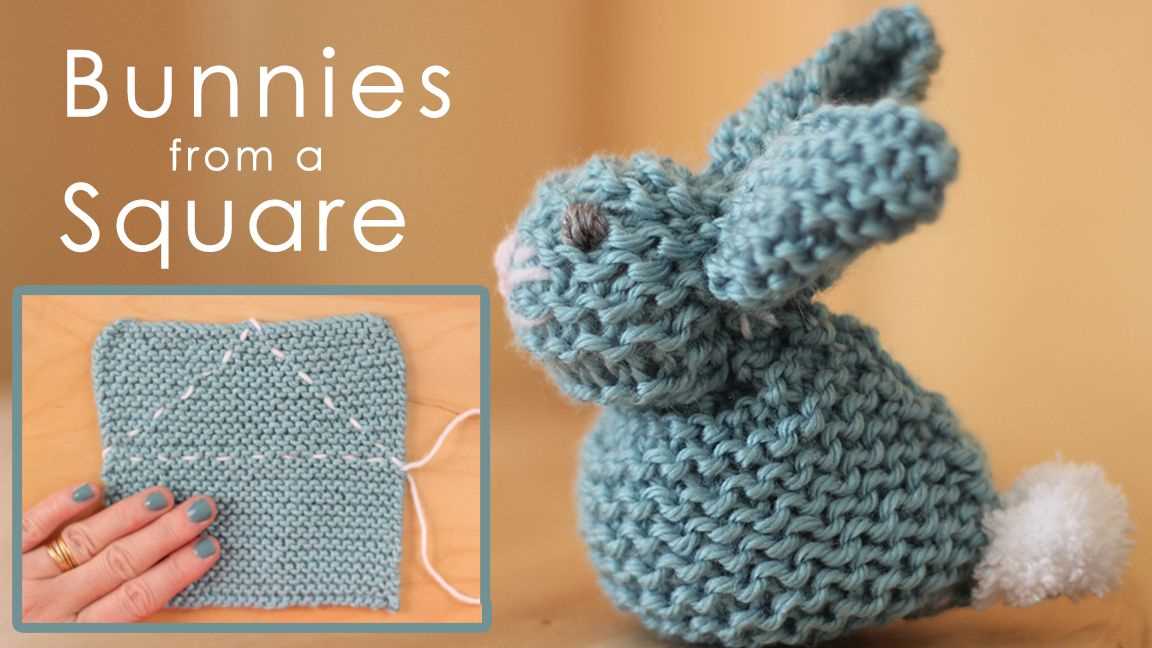
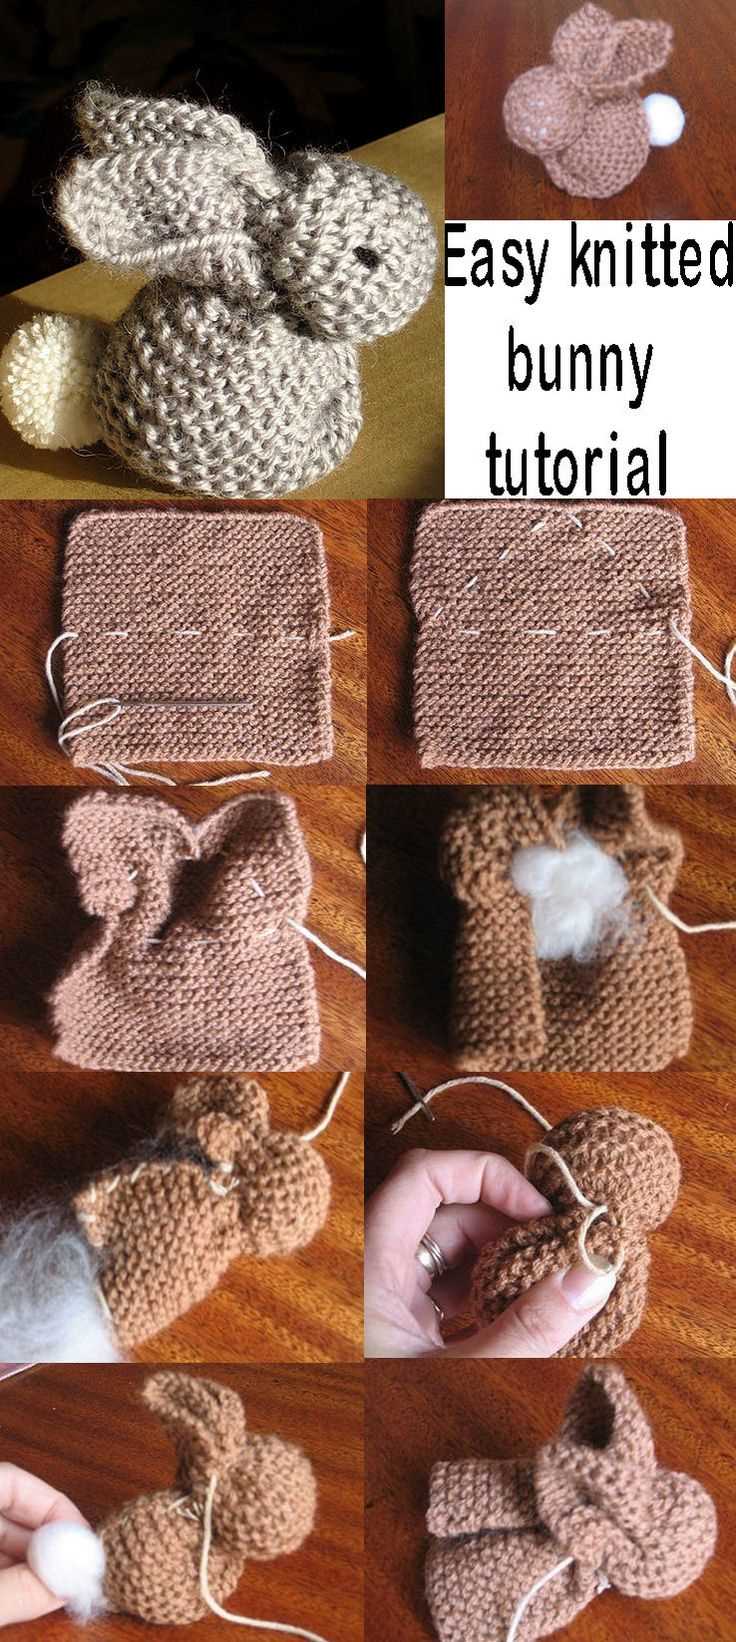
If you’re looking for a fun and simple knitting project, this free easy knit bunny pattern is perfect for you. With just a few basic knitting stitches, you can create an adorable bunny toy that will bring joy to kids and adults alike.
This pattern is suitable for beginner knitters as it uses basic techniques such as knit and purl stitches. The bunny is worked flat and then sewn together, making it a great project for anyone looking to practice their seaming skills.
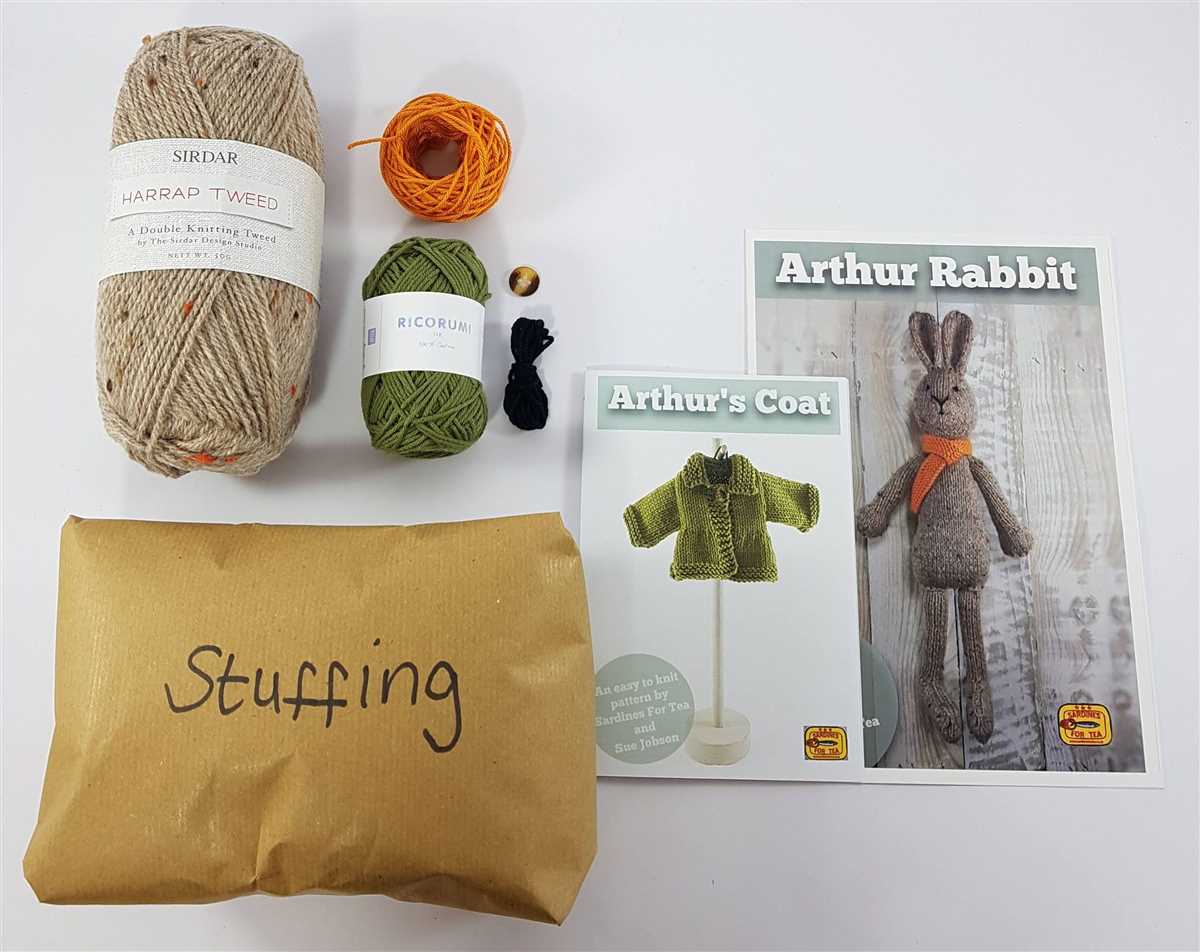
Materials:
- Yarn: Any DK weight yarn in your desired colors. You will need a main color for the body and contrasting colors for the ears and facial features.
- Knitting needles: Size US 6 (4mm) straight needles
- Stuffing: Polyester fiberfill or any other stuffing material
- Yarn needle
- Scissors
Instructions:
- Start by casting on 30 stitches with your main color yarn.
- Knit every row for 20 rows to create the main body.
- Next, switch to your contrasting color yarn for the bunny’s ears. Knit 6 rows in this color.
- Switch back to the main color yarn and knit 10 more rows.
- Bind off all stitches.
- Repeat these steps to create another ear and body piece.
- Sew the two body pieces together, leaving a small opening for stuffing.
- Stuff the bunny firmly with the polyester fiberfill.
- Sew up the opening, making sure to secure the stuffing inside.
- Using the contrasting color yarn, embroider the bunny’s facial features such as eyes, nose, and mouth.
- Your adorable knit bunny toy is now complete!
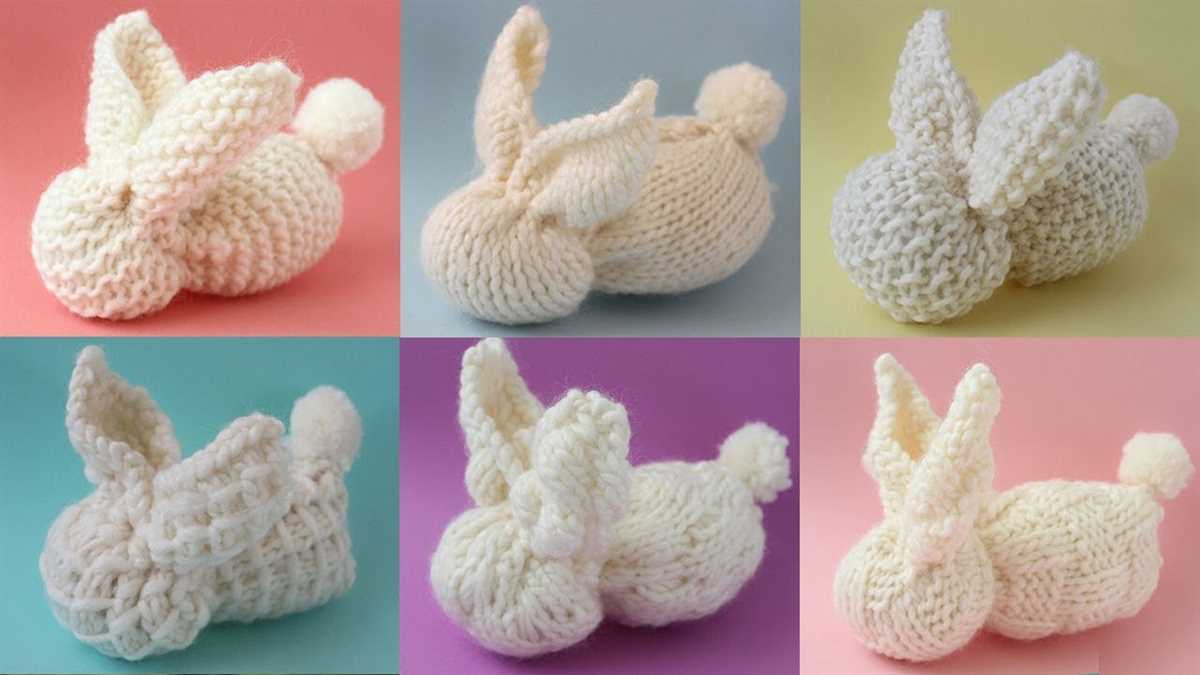
This easy knit bunny pattern is a great way to practice your knitting skills and create a cute and cuddly toy for yourself or as a gift. Feel free to experiment with different colors and yarns to make each bunny unique.
Materials Needed
In order to create your own adorable knit bunny, you will need the following materials:
1. Yarn:
Main Color: Choose a soft, medium-weight yarn in the color of your choice to serve as the main color of your bunny. This will be used for the body and head. A light pastel shade or a classic white or gray would work well for a traditional bunny.
Note: You can also experiment with different colors for a unique look!
Contrast Color: Select a contrasting color of yarn that complements your main color. This will be used for the bunny’s ears, nose, and tail. It’s best to choose a color that will stand out against the main color for a more eye-catching effect.
2. Knitting Needles:
You will need a pair of knitting needles appropriate for your chosen yarn weight. Check the yarn label for the recommended needle size, usually indicated in millimeters or a knitting needle gauge.
3. Tapestry Needle:
A tapestry needle with a large eye to weave in the loose ends of yarn and sew the different parts of the bunny together.
4. Stuffing:
To give your knit bunny its shape and make it cuddly, you will need a soft stuffing material. You can use polyester fiberfill, cotton batting, or any other stuffing material of your choice.
5. Scissors:
You will need a pair of sharp scissors for cutting the yarn and trimming any excess material.
6. Stitch Markers:
Stitch markers can be helpful for keeping track of your stitches and marking important sections of your knitting.
7. Embroidery Floss:
If you want to add any additional details to your bunny, such as facial features or decorative elements, you may want to have some embroidery floss on hand. Choose colors that coordinate with your yarn and contrast color.
8. Optional Accessories:
If you want to give your bunny some extra personality, you could consider adding accessories such as a ribbon bow, bow tie, or a small knitted scarf.
With these materials ready, you are all set to start knitting your own adorable bunny!
Getting Started
Knitting your very own bunny is a fun and rewarding project that is perfect for beginners. With this easy-to-follow pattern, you’ll have your very own cuddly bunny in no time. Before you begin, make sure you have all the necessary materials, including yarn, knitting needles, scissors, and stuffing. Once you have everything you need, you’re ready to get started on your bunny!
Gathering Materials
The first step in knitting your bunny is gathering all the necessary materials. You’ll need a soft and fluffy yarn in the color of your choice, preferably one that is suitable for knitting baby toys. Additionally, you’ll need a pair of knitting needles, size 8 or 9, depending on your preferred tension. Make sure you have a pair of scissors ready for cutting the yarn, as well as some stuffing to give your bunny its shape and cuddliness.
If you’re unsure about which type of yarn or needles to use, don’t worry! Most craft stores have knowledgeable staff who can help you choose the right materials for your project. They can also assist you in selecting the perfect shade of yarn to bring your bunny to life. Remember, knitting is all about personal preference, so don’t be afraid to experiment and find what works best for you.
Understanding the Pattern
Once you have gathered all your materials, it’s time to familiarize yourself with the pattern. This pattern is written in simple and easy-to-understand instructions, making it perfect for beginners. Take a few minutes to read through the entire pattern before you start knitting, so you have a clear understanding of the steps involved.
Pay close attention to any abbreviations or special stitches mentioned in the pattern. If you come across a term you’re not familiar with, don’t panic! A quick internet search or a visit to your local library can provide you with the information you need. Understanding the pattern before you begin will help ensure that your bunny turns out just as you imagined.
Knitting the Body
Once you have completed knitting the head and ears of your bunny, it is time to move on to knitting the body. The body of the bunny is knitted separately and then sewn onto the head. This gives the bunny a more three-dimensional look and adds a nice touch to the finished toy.
To start knitting the body, you will need to cast on the required number of stitches, as specified in the pattern. It is important to follow the pattern instructions carefully, as different bunny patterns may have different stitch counts and shaping techniques.
Shaping the Body
After casting on, you will begin knitting in the round or back and forth, depending on the pattern. The body is usually knit in garter stitch or stockinette stitch, which creates a smooth and even texture.
To shape the body, you may need to increase or decrease stitches at certain points. These shaping techniques help create the curved shape of the bunny and define its body contours. The pattern will guide you on when and how to make these adjustments.
Finishing the Body
Once you have completed knitting the required number of rows or reached the desired length, it is time to finish the body. This usually involves binding off the stitches and cutting the yarn, leaving a long tail for sewing.
To sew the body onto the head, you will need to align the edges and use a tapestry needle to stitch them together. Take your time and make sure to secure the stitches tightly for a sturdy finish.
With the body attached, your bunny is starting to take shape! The next step will be adding the arms and legs, which will further enhance the bunny’s charm. Stay tuned!
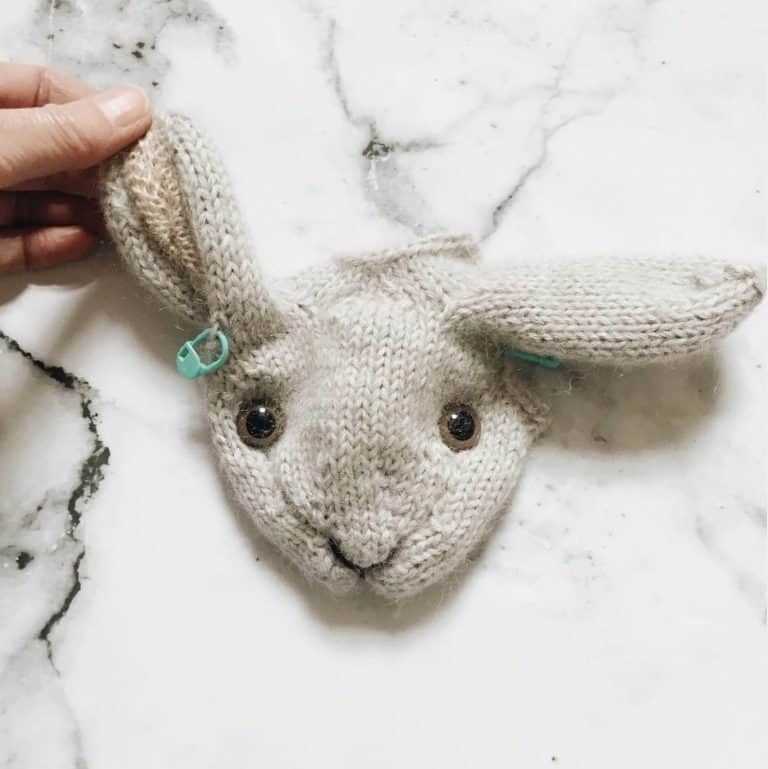
Shaping the Head
When knitting the bunny, the head is an important part to shape correctly. To start, cast on the required number of stitches for the head. The pattern will usually specify this number.
Once the stitches are cast on, begin by knitting a few rows in a basic stitch pattern, such as garter or stockinette. This will create the foundation for the shape of the head.
Decreases: To shape the head, decreases will be needed. These can be done in various ways, such as knitting two stitches together or slip slip knitting. The pattern will indicate the specific decreases to use and when to make them.
- To start the decreases, knit the specified number of stitches, and then begin the decrease pattern as directed.
- Continue to make the specified decreases at the designated points in the pattern until the required number of stitches is reached. This will create a tapered effect, shaping the head.
Shaping the ears: Once the head is shaped, it’s time to focus on creating the bunny’s ears. This can be done by knitting a certain number of stitches, and then binding off a portion of them to create the ear shape. The pattern will provide instructions on how many stitches to bind off and when to do so.
With these shaping techniques, knitters can create a well-proportioned and adorable head for their knitted bunny. Following the pattern’s instructions and using the specified decreases and bind offs will ensure the desired shape is achieved.
Making the Ears
When making the bunny ears for your knitting project, you will start by casting on the required number of stitches, as indicated in the pattern. This is typically done using the long-tail cast-on method, which creates a neat and stretchy edge. Make sure to leave a long enough tail for weaving in later.
Once you have cast on, you will then proceed to work the specified number of rows in the main stitch pattern. The pattern may call for simple garter stitch, stockinette stitch, or a combination of knit and purl stitches. Follow the instructions carefully to ensure you achieve the desired shape and texture for the bunny ears.
After completing the required rows, the pattern may instruct you to shape the top of the ears by decreasing stitches. This is typically done using a method such as knit two stitches together (k2tog) or slip, slip, knit (ssk). These decreases help create a pointed or rounded shape at the top of the ears, depending on the desired look.
Once the shaping is complete, you will need to bind off the remaining stitches. This is typically done using a basic bind-off method, such as knitting two stitches, passing the first stitch over the second, and repeating until all stitches have been bound off. Make sure to bind off loosely to prevent a tight edge.
Finally, you may need to sew the bunny ears onto the main body of the bunny. This can be done using a tapestry needle and the long tail left from casting on. Position the ears where desired and use a whipstitch or mattress stitch to secure them in place. Weave in any remaining ends to finish off your knit bunny ears.
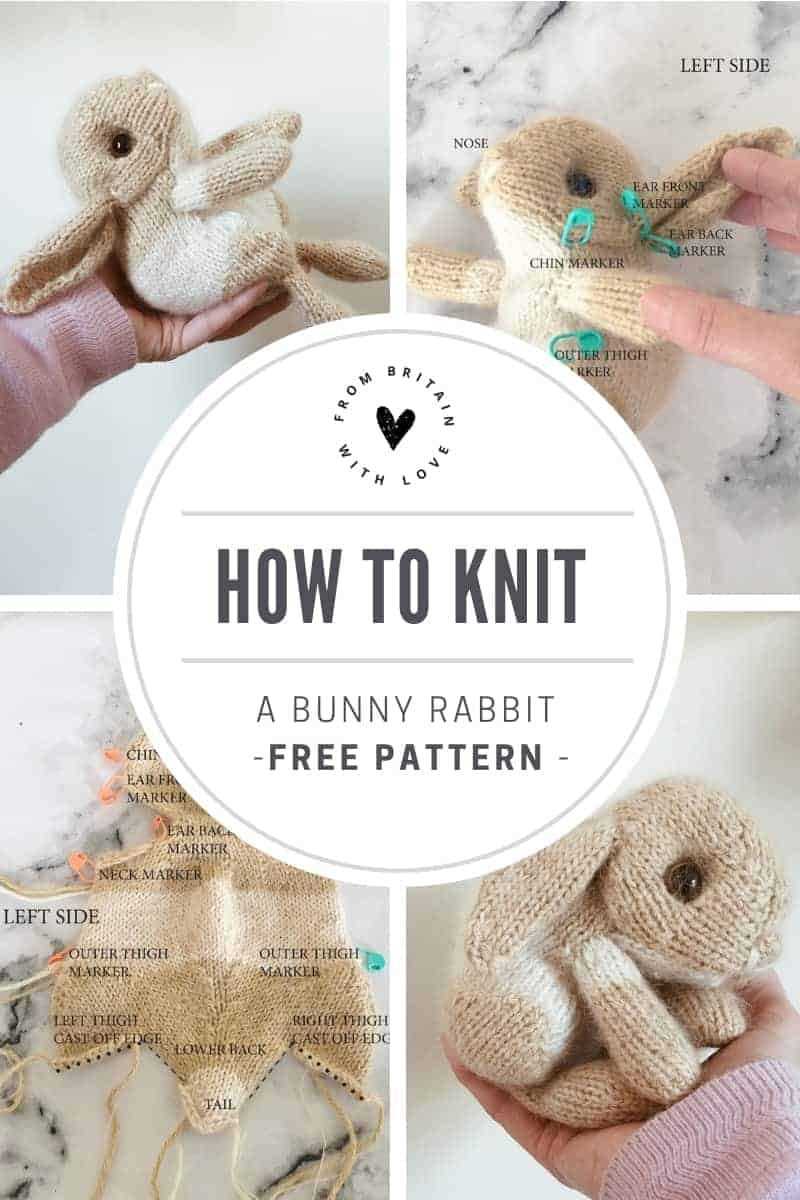
Attaching the Ears
Once you have completed knitting the bunny’s ears, you will need to attach them to the head. Place the head flat on a table or work surface, with the front facing upward. Take one of the ears and align it with the top corner of the head, approximately 1 inch from the side edge. Pin the ear in place to ensure it stays secure during sewing.
Using a yarn needle and the same yarn you used to knit the bunny, sew the ear to the head. Start with one corner of the ear and stitch through the head, making sure to catch both layers of fabric. Sew around the edge of the ear, using small, even stitches, until you reach the other corner. Repeat this process for the second ear, making sure they are aligned symmetrically.
Once both ears are securely sewn in place, weave in any loose ends of yarn to tidy up the project. Trim any excess yarn if necessary.
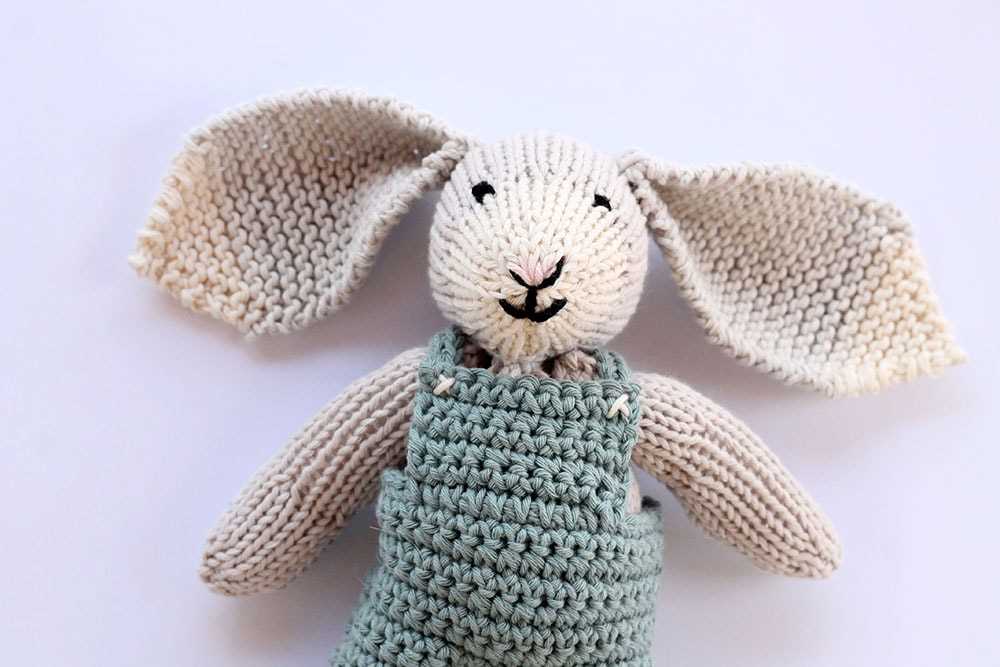
Creating the Face
When knitting a bunny, one of the most important steps is creating the face. The facial features are what give the bunny its character and personality. There are several different techniques you can use to create the face, depending on the style you want to achieve.
If you want a simple and minimalistic look, you can create the face using just yarn and embroidery thread. Start by using a thin black yarn or embroidery thread to stitch the eyes onto the bunny’s face. You can use French knots or straight stitches to create the eyes. Next, use the same yarn or thread to stitch a small nose in the centre of the face. You can use a satin stitch or straight stitch to create the nose. Finally, use a thin pink yarn or thread to stitch a small mouth just below the nose. Again, you can use a satin stitch or straight stitch to create the mouth.
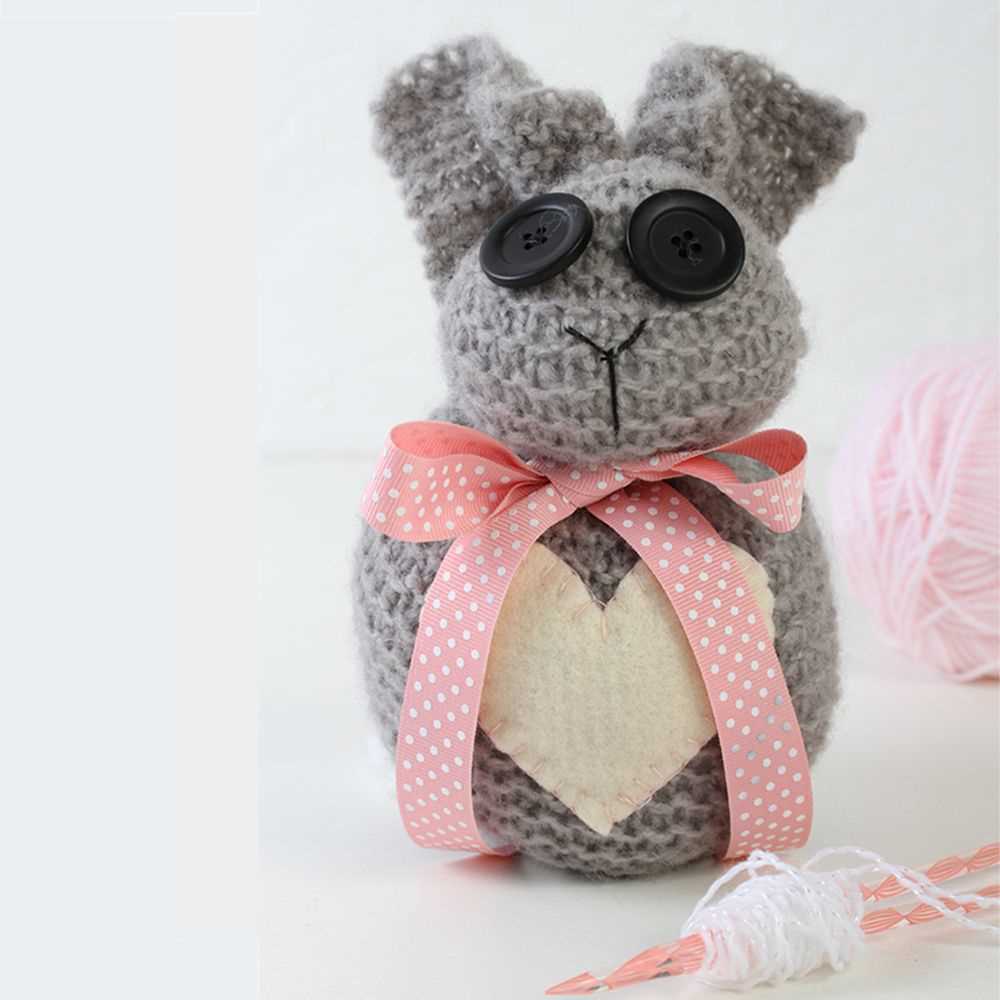
If you want a more detailed and realistic look, you can use small black beads for the eyes. Sew the beads onto the face using black thread, making sure they are evenly spaced and secure. For the nose, you can use a small black button or sew a triangle shape using black thread. To create the mouth, you can use black embroidery thread to sew small stitches in a curved shape.
Whichever technique you choose, it’s important to take your time and ensure that the face is symmetrical and well-balanced. The eyes and nose should be positioned correctly and the mouth should be in proportion to the rest of the face. Adding the face is the last step in completing your knitted bunny, so make sure to put in the effort and attention to detail to create a face that brings your bunny to life!
Making the Arms and Legs
Once you have finished knitting the body of your bunny, it’s time to move on to making the arms and legs. These are relatively simple to knit and attach to the body, adding extra cuteness to your finished toy.
To make the arms and legs, you will need to cast on a certain number of stitches, depending on the size and thickness you want. It’s always a good idea to refer to the pattern you are using for specific instructions on this. You can use the same color yarn as the body, or choose a contrasting color to make them stand out.
Knitting the arms
To knit the arms, you will start by casting on the required number of stitches onto a knitting needle. Then, using the specified stitch pattern in your pattern, knit the necessary rows until the arm reaches the desired length. You can use a basic knit stitch, or try something more decorative like a seed stitch or ribbing.
Once the arm is the desired length, you will need to bind off the stitches. This can be done using a basic bind-off method, or you can explore different bind-off techniques to achieve a different finish. Make sure to cut the yarn, leaving a long enough tail for sewing the arm onto the body.
Attaching the arms to the body
To attach the arms to the body, place each arm on either side of the body where you want them to be. Using the yarn tail left from binding off, sew the arm securely to the body. You can use a tapestry needle or a smaller knitting needle to make this process easier.
Make sure to sew the arms tightly to the body, so they don’t hang loose or easily come undone. Repeat this process on the other side of the body to attach the second arm.
Knitting the legs
The process for knitting the legs is similar to that of the arms. Start by casting on the required number of stitches, then knit the necessary rows using the specified stitch pattern. Once the legs are the desired length, bind off the stitches and cut the yarn, leaving a long enough tail for sewing.
When attaching the legs to the body, you will need to decide where you want them to be positioned. You can either place them at the bottom of the body, or slightly higher up for a sitting position. Sew them securely to the body using the yarn tail, making sure they are evenly positioned.
Once you have completed the arms and legs, your bunny is almost complete! All that’s left is to add any finishing touches, such as embroidering eyes or sewing on a cute little tail. Enjoy the process of creating your knitted bunny and admire your handiwork when it’s all finished!
Sewing the Arms and Legs
Once you have finished knitting the bunny’s body, it’s time to sew on the arms and legs. This step is crucial in bringing the bunny to life and giving it a cuddly appearance. By following these steps, you’ll be able to attach the arms and legs securely and neatly.
1. Position the arms and legs: Start by determining where you want to attach the arms and legs. Take into consideration the size of the bunny and the desired pose. Place the bunny in front of you, with the front facing up, and position the arms and legs accordingly.
2. Thread your needle: Choose a strong and thin thread that matches the color of the arms and legs. Thread your needle and tie a knot at the end to secure it. This will ensure that the arms and legs stay in place and do not come off easily with time.
3. Sew the arms and legs: Starting with the arms, insert the needle from the inside of the body, coming out at the desired position for the arm. Secure the arm by looping the thread around it a few times, making sure to pull it tight for a secure attachment. Repeat this process for the second arm. Once the arms are securely attached, proceed to sew on the legs using the same technique.
4. Finishing touches: After sewing on the arms and legs, trim any excess thread and make sure all the knots are secure. Gently tug on the arms and legs to ensure they are firmly attached to the body. Give the bunny a little squeeze to see if it feels secure and properly stuffed.
Following these steps will ensure that the arms and legs are securely attached to the bunny’s body, allowing it to withstand plenty of hugs and playtime. Now your knitted bunny is complete and ready to be loved!
Finishing Touches
Once you have completed knitting your bunny, it’s time to add the finishing touches to bring it to life. These final details will give your bunny its unique personality and make it even more adorable.
First, you can embroider the bunny’s nose using a contrasting color of yarn. You can choose to make a round or triangular shape for the nose, depending on the look you want to achieve. Simply thread your needle with the yarn and stitch the shape onto the bunny’s face. This small detail will make a big difference in the overall appearance of your bunny.
Next, you can sew on the bunny’s eyes using small black buttons or safety eyes. You can choose to position the eyes close together or further apart to create different expressions. Sew the buttons or safety eyes securely onto the bunny’s face, making sure they are evenly placed. This will give your bunny a sweet and expressive look.
To add a touch of cuteness, you can create small fluffy pom-poms for the bunny’s tail. Cut a small piece of white yarn and wrap it around your fingers several times. Slide the wrapped yarn off your fingers and tie a knot tightly in the middle. Then, cut through the loops, fluff up the yarn, and trim it into a round shape. Sew the pom-pom securely onto the bunny’s backside to complete the look.
Finally, to make your bunny even more huggable, you can stuff it with polyester fiberfill or another appropriate filling material. Use small amounts at a time and distribute it evenly throughout the body. Stuff the bunny firmly but not too tightly, so it still retains its shape. Make sure to stuff the ears, arms, and tail as well. Once you are satisfied with the stuffing, sew up the opening to secure it.
With these finishing touches, your knitted bunny will be ready to be cherished and cuddled. Whether it’s a gift for a loved one or a delightful addition to your own collection, your bunny will surely bring joy and smiles to everyone who sees it.
Tips and Tricks
Here are some helpful tips and tricks to keep in mind when knitting the bunny:
- Use the right yarn and needles: Make sure to choose a yarn and needle size that matches the pattern’s gauge. This will ensure that your bunny turns out the right size and texture.
- Take your time: Knitting can be a relaxing and enjoyable activity, but it requires patience. Take your time and focus on each stitch to create a high-quality bunny.
- Check your tension: Tension can affect the size and appearance of your knitting. Make sure to check your tension regularly and adjust your knitting style if needed.
- Use stitch markers: Stitch markers can be helpful for keeping track of increases or decreases in the pattern. They can also help you stay organized and prevent mistakes.
- Count your stitches: Counting your stitches regularly can help you catch any mistakes early on and ensure that your bunny turns out symmetrical.
- Weave in ends carefully: Once you have finished knitting, make sure to weave in your ends securely. This will give your bunny a clean and professional finish.
- Add personal touches: Feel free to add your own personal touches to the bunny. You can embroider a face, add bows or other accessories, or even customize the bunny’s color.
With these tips and tricks in mind, you are ready to start knitting your own adorable bunny using the free easy knit bunny pattern. Happy knitting!