
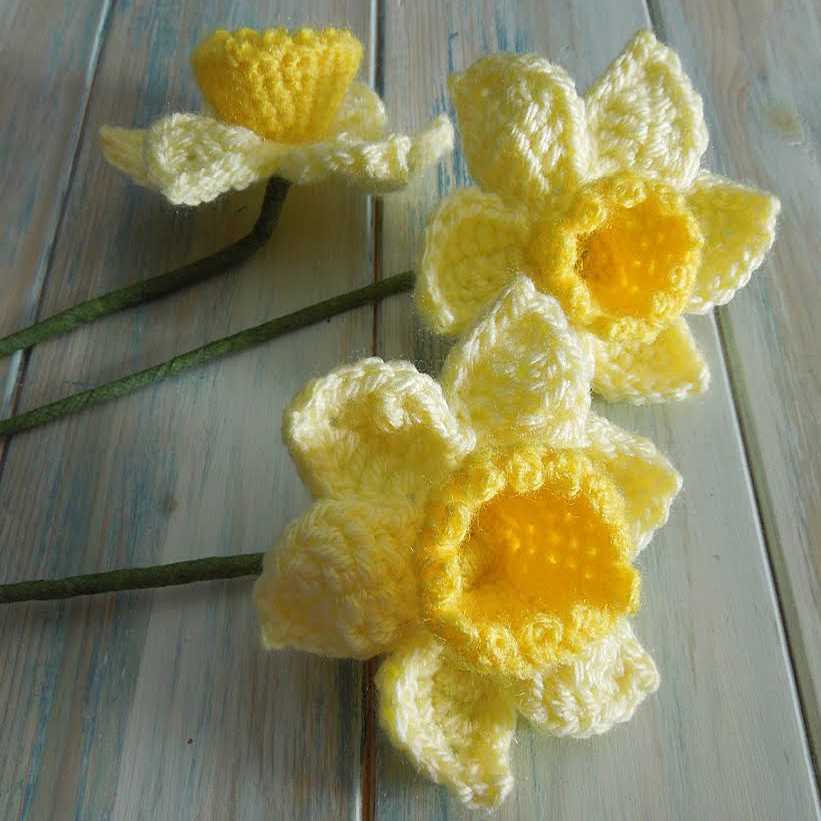
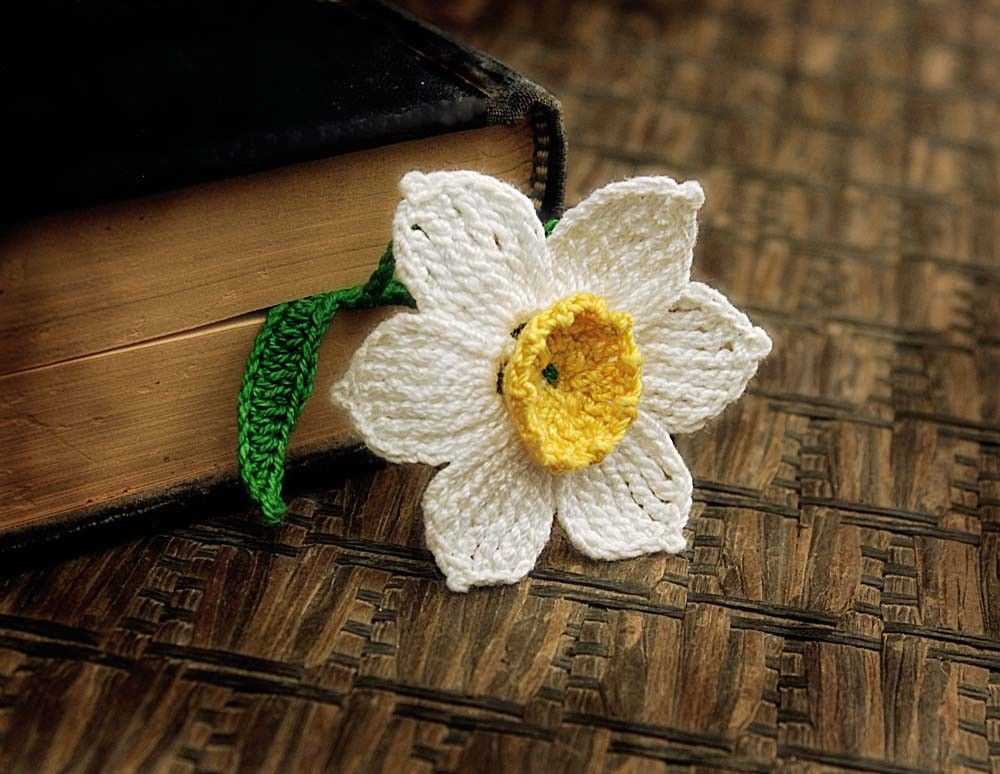
Knitting is not only a great way to relax and unwind, but it also allows you to create beautiful handmade items. One such item is a daffodil, a symbol of spring and renewal. With just a few basic knitting skills, you can create your own daffodil bouquet to brighten up any room or give as a gift.
This free daffodil knitting pattern is perfect for beginners and more experienced knitters alike. The pattern provides clear step-by-step instructions, along with a list of materials needed to complete the project. Whether you’re new to knitting or a seasoned pro, you’ll love how quick and easy it is to knit up these charming daffodils.
Not only are these daffodils a joy to knit, but they also make for a versatile and eco-friendly alternative to fresh flowers. You can use them to create unique and long-lasting floral arrangements, or attach them to hats, scarves, or even as decorative pins. The possibilities are endless!
So grab your knitting needles and get ready to bring a little bit of springtime joy into your home with this free daffodil knitting pattern. Once you start knitting these adorable daffodils, you won’t be able to stop!
How to Knit Daffodils: Free Pattern and Step-by-Step Guide
Knitting daffodils can be a fun and creative way to add a touch of spring to your home decor or make a unique gift for a loved one. With this free pattern and step-by-step guide, you’ll be able to create beautiful knitted daffodils in no time.
To get started, gather the following materials:
– Yellow and green yarn
– Knitting needles in a suitable size for your yarn
– Fiberfill stuffing
– Tapestry needle
– Scissors
Step 1: Knitting the Flower
Begin by casting on six stitches with the yellow yarn. Knit two rows in garter stitch, which means knitting every stitch. On the third row, increase one stitch at the beginning and end of the row, resulting in eight stitches.
Continue knitting in garter stitch for another three rows. On the seventh row, increase one stitch at the beginning and end again, creating a total of ten stitches. Knit one more row in garter stitch.
Next, switch to green yarn. Knit two rows in garter stitch with the green yarn to create the stem. On the third row, knit two stitches together at the beginning and end of the row, reducing the number of stitches back to six.
Step 2: Shaping the Flower
Now it’s time to shape the daffodil flower. On the first row with yellow yarn, knit two stitches together at the beginning and end of the row, resulting in four stitches. Knit one row in garter stitch.
On the next row, knit two stitches together twice, leaving only two stitches on the needle. Cut the yarn, leaving a tail, and thread it through the two remaining stitches. Pull tight to secure and form the center of the daffodil flower.
Step 3: Finishing Touches
To finish off your knitted daffodil, stuff the stem with fiberfill stuffing. Use the tapestry needle to weave in any loose ends of yarn and trim them. Fluff up the flower petals and shape them as desired.
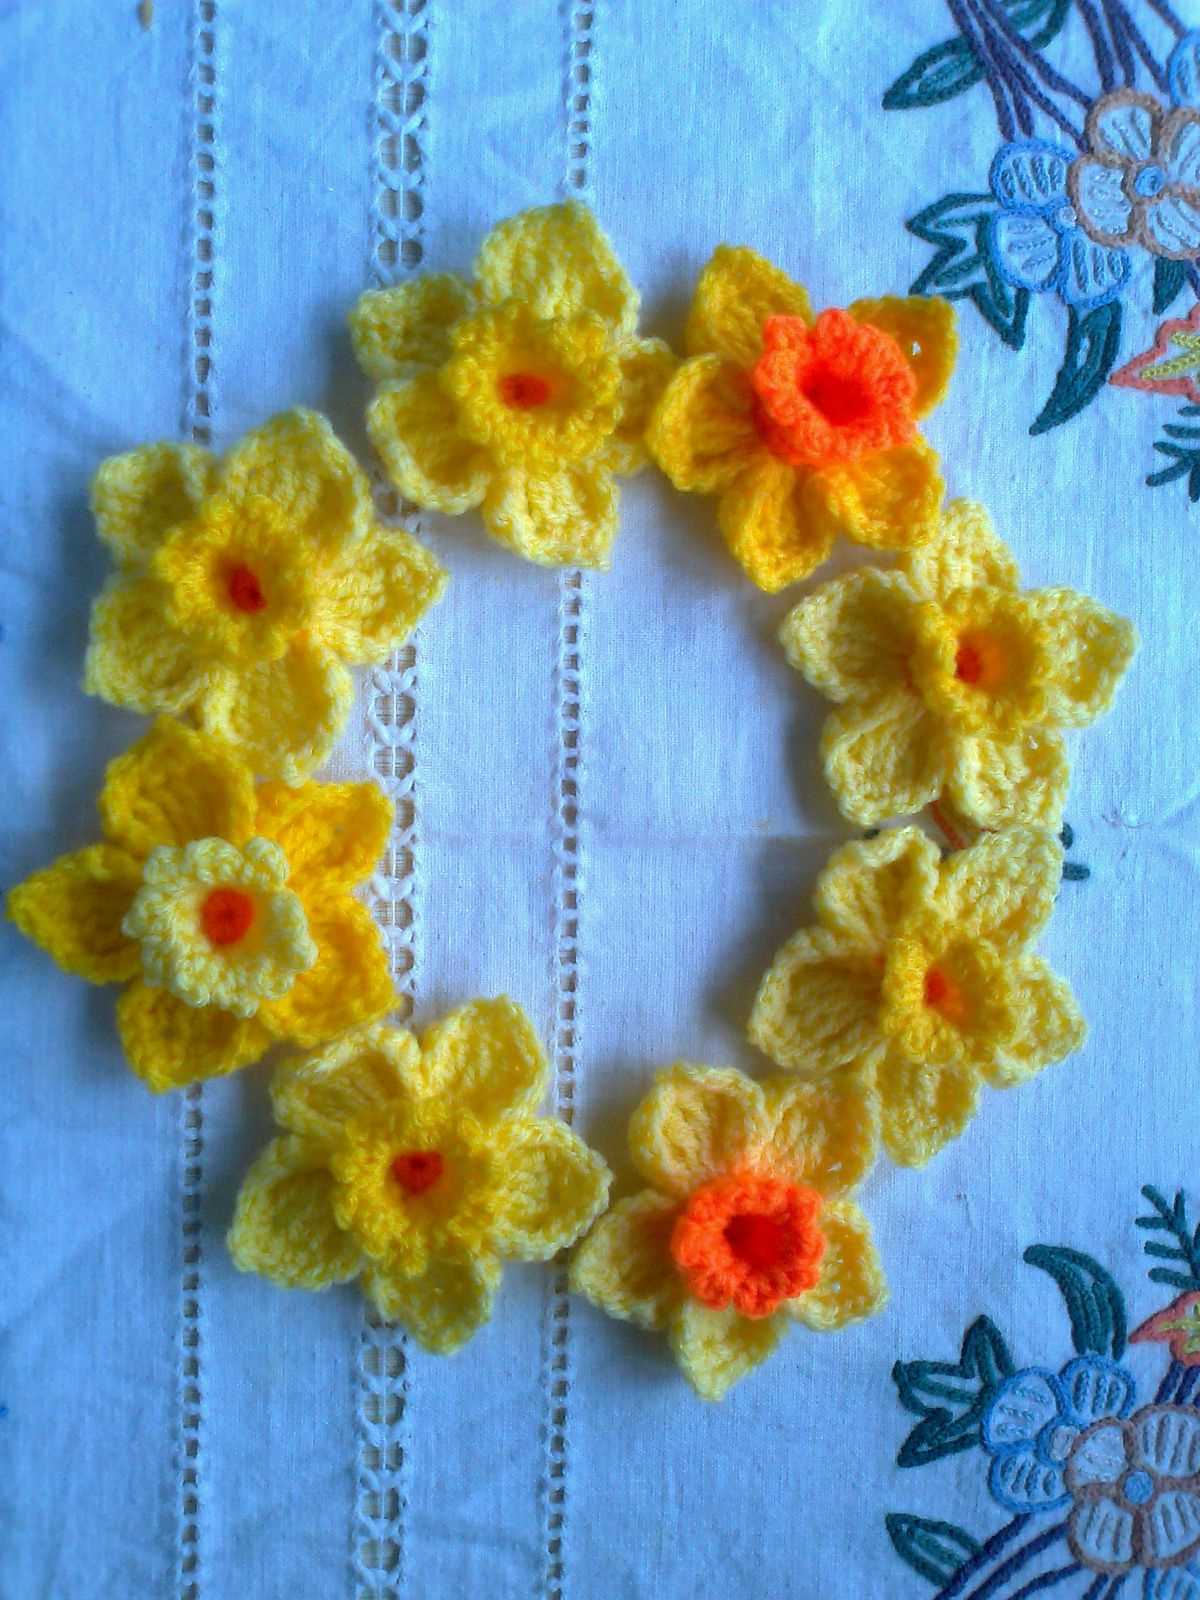
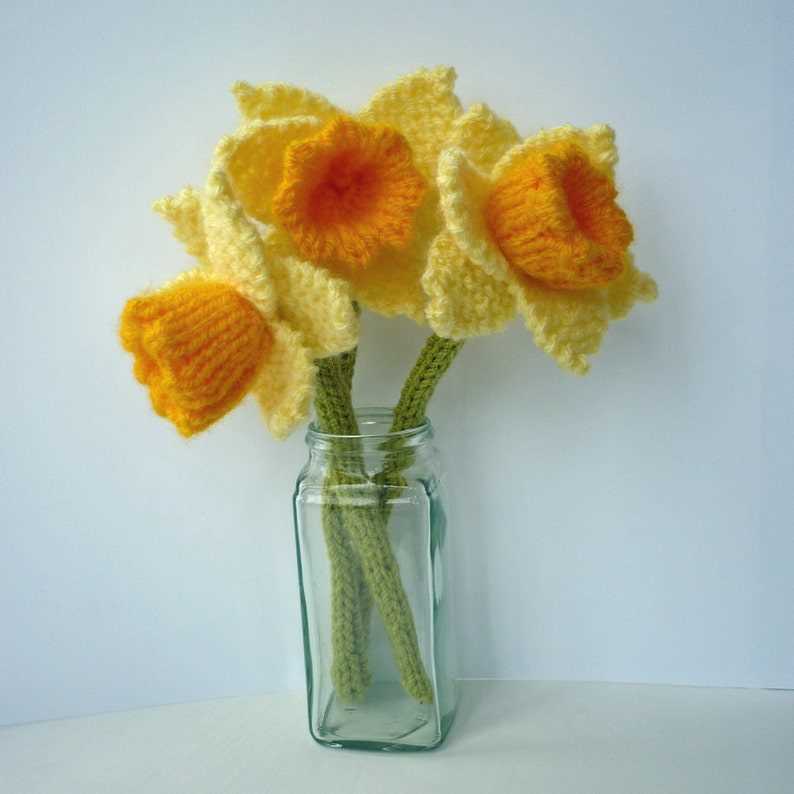
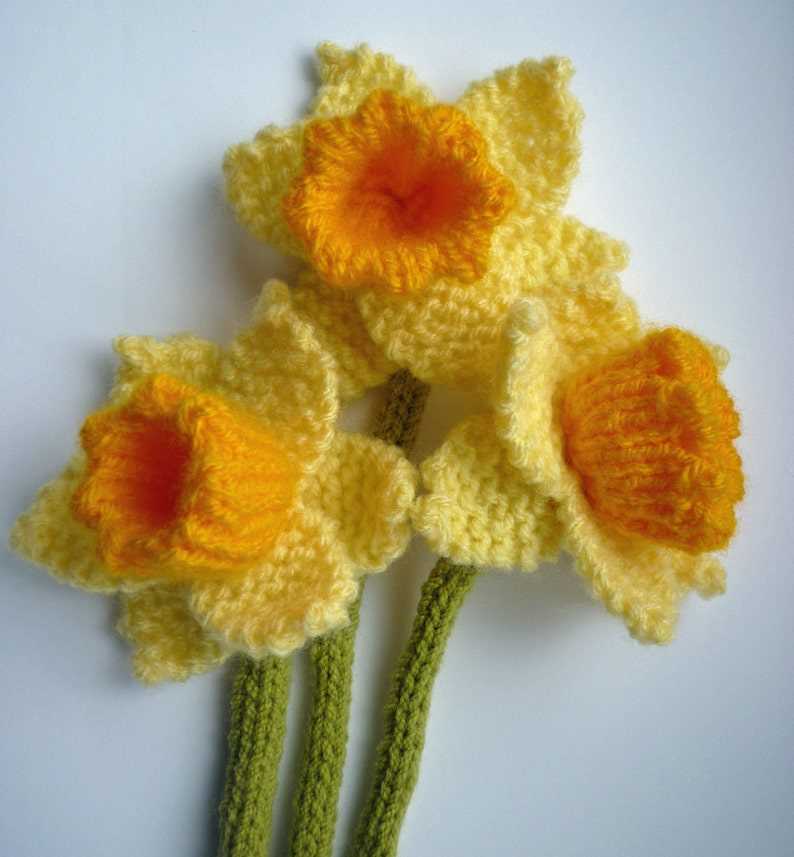
You can make multiple knitted daffodils in different sizes and arrange them in a vase for a colorful and cheerful centerpiece. You can also attach them to hair clips or brooch pins to wear as accessories.
With this free pattern and step-by-step guide, you can easily knit your own daffodils and enjoy the beauty of spring all year round.
Materials and Supplies Needed for Knitting Daffodils
When it comes to knitting daffodils, there are a few materials and supplies that you will need to gather before getting started. These items will help ensure that your finished daffodils look vibrant and beautiful. Here is a list of what you will need:
Yarn
One of the most important materials you will need for knitting daffodils is yarn. Look for a yarn that is spring-inspired and comes in bright shades of yellow, orange, and white. The yarn should also be soft and lightweight so that the daffodils have a delicate appearance.
Knitting Needles
You will also need a pair of knitting needles to work with the yarn. The size of the needles will depend on the thickness of the yarn you choose. Make sure to check the label of the yarn for the recommended needle size. Circular needles can also be used if you prefer.
Tapestry Needle
A tapestry needle is essential for weaving in loose ends and attaching different parts of the daffodil together. Make sure to choose a needle with a large eye that will accommodate the yarn you are using.
Stitch Markers
Stitch markers can be helpful for keeping track of different sections or rounds of your knitting. They can be particularly useful when working on the trumpet of the daffodil or the flower petals.
Stuffing
To give your knitted daffodils a 3-dimensional shape, you will need some stuffing material. This could be polyester fiberfill, cotton balls, or even small fabric scraps. Make sure to have enough stuffing on hand to fill each daffodil to your desired level of fullness.
Thread and Needle for Embroidery
Finally, you will need a small amount of thread in a coordinating color and a thin needle for embroidery. This will be used to add details to the daffodil, such as the center of the flower or any additional stitching you might want to include.
- Yarn
- Knitting Needles
- Tapestry Needle
- Stitch Markers
- Stuffing
- Thread and Needle for Embroidery
Choosing the Right Yarn for Knitting Daffodils
When it comes to knitting daffodils, choosing the right yarn is essential to achieve the desired result. The yarn you select should have certain characteristics that will make your daffodils look realistic and beautiful. Here are some factors to consider when choosing the perfect yarn for your daffodil knitting project.
1. Fiber Content
The first thing to consider when selecting yarn for knitting daffodils is the fiber content. Natural fibers like cotton or wool are great choices as they can provide a realistic texture to your daffodils. Cotton yarn is lightweight and easy to work with, making it suitable for delicate flower petals. On the other hand, wool yarn can add a fuzzy look to the center of the daffodil, mimicking the natural appearance of the flower.
2. Weight
The weight of the yarn is another important factor to consider. For daffodils, a lightweight yarn is usually preferred. Lace-weight yarn or fingering-weight yarn can create delicate and intricate details, such as the fine lines on the petals or the thin stalks of the flowers. However, if you prefer a bulkier daffodil with a more substantial appearance, you can opt for a slightly heavier yarn, such as sport-weight or DK-weight.
3. Color
Choosing the right color for your daffodils can make a significant difference in the final result. Daffodils typically have yellow petals and a bright orange or yellow center. Look for yarn that closely matches these colors to create a lifelike daffodil. Consider using variegated yarn for a more natural and vibrant look, as it can add depth and dimension to your knitting project.
4. Availability
Lastly, it’s important to consider the availability of the yarn you choose. Look for yarn brands and types that are readily available in your local yarn store or online. This will ensure that you can easily find the yarn you need for your daffodil knitting project without any hassle.
By considering these factors – fiber content, weight, color, and availability, you can confidently choose the right yarn for knitting daffodils. Remember, the right yarn will not only make your daffodils look realistic but also make the knitting process enjoyable and rewarding.
Getting Started: Casting On and Knitting the Stem
In order to knit a daffodil following the free pattern, you will first need to cast on and knit the stem. The stem is an important part of the flower, as it provides support and stability.
To begin, you will need an appropriate size knitting needle and yarn in a green color. It is best to use a smooth, medium-weight yarn to ensure the stem has enough structure.
Start by making a slipknot and placing it on your knitting needle. Hold the yarn in your right hand and the knitting needle in your left hand. Insert the needle into the loop of the slipknot and pull the yarn through, creating a new stitch on the needle. Repeat this process until you have the desired number of stitches for the stem, as specified in the pattern. This is known as the casting on process.
Once you have cast on the required number of stitches, you can begin knitting the stem. Hold the knitting needle with the stitches in your left hand and the empty knitting needle in your right hand. Insert the right-hand needle into the first stitch on the left-hand needle, from left to right. With the yarn held behind the needles, wrap it around the right-hand needle and pull it through the stitch, creating a new stitch on the right-hand needle. Slip the old stitch off the left-hand needle. This is known as a knit stitch. Repeat this process for each stitch on the left-hand needle until all the stitches have been worked.
Continue knitting in this manner, working each row from right to left, until the stem measures the desired length, as specified in the pattern. Once you have reached the desired length, you can move on to knitting the other parts of the daffodil, such as the petals and the center. Enjoy the process and have fun knitting your daffodil!
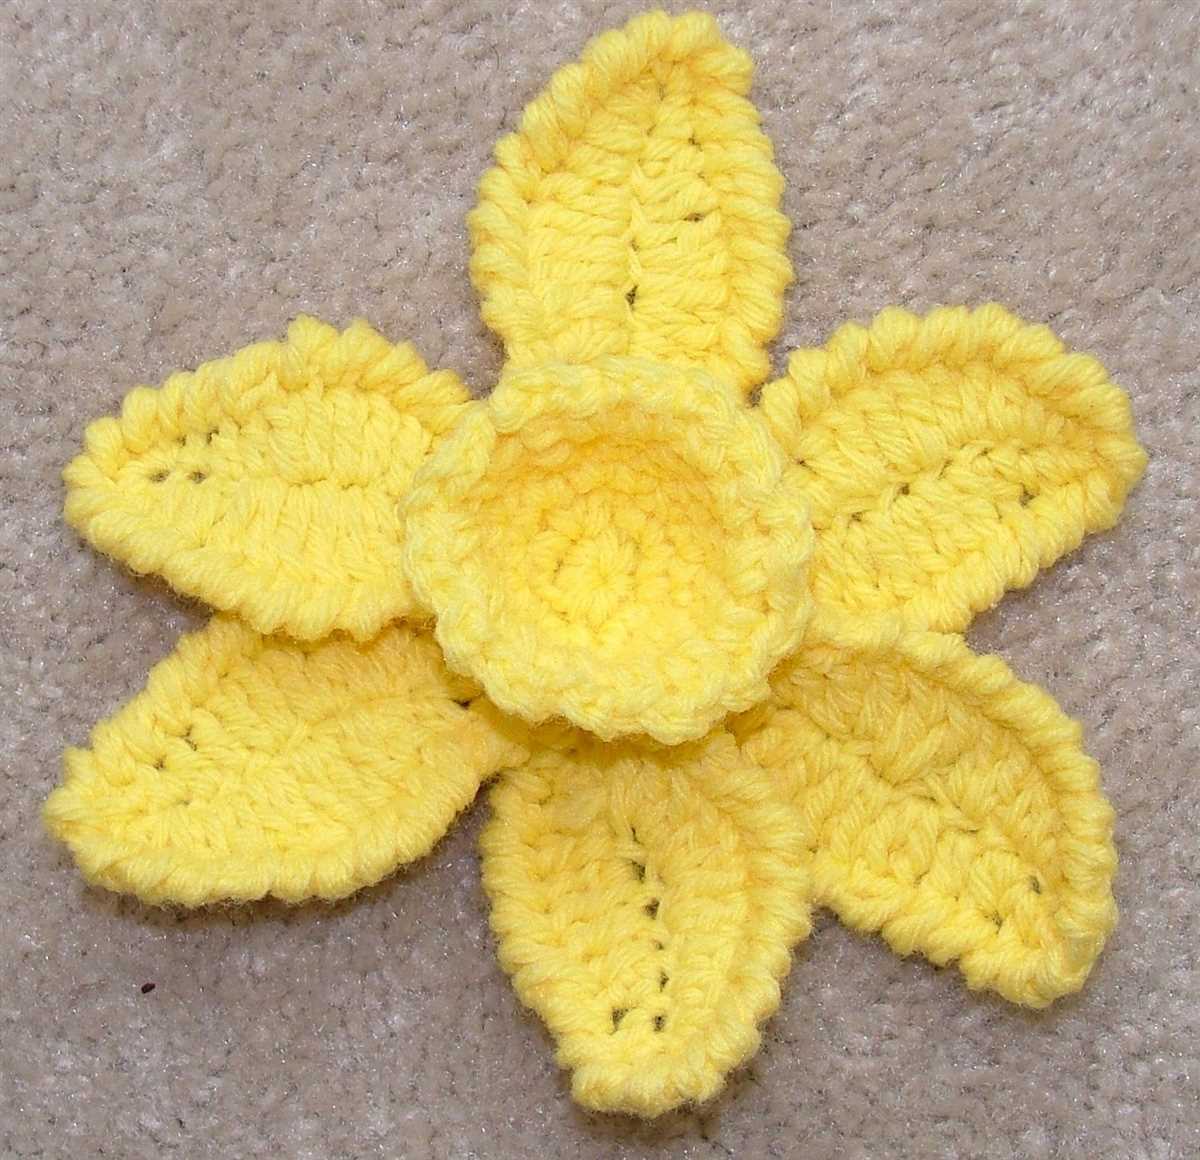
Creating the Petals: Knitting Techniques for Realistic Daffodil Flowers
Knitting daffodil flowers can be a fun and rewarding project for any knitting enthusiast. To achieve a realistic look for your daffodil petals, it’s essential to use specific knitting techniques that mimic the delicate and distinct shape of a daffodil. By following these techniques, you can create beautiful and lifelike daffodil flowers to adorn various knitting projects.
When knitting daffodil petals, it’s important to pay attention to the shaping and texture of each petal. Start by casting on the required number of stitches and work in stockinette stitch to create a smooth surface. To add texture and dimension to the petals, use basic knitting techniques such as yarn overs, decreases, and lace patterns. These techniques will create the natural curves and ruffles that are characteristic of daffodil petals.
One technique that can greatly enhance the realism of your daffodil petals is the use of short rows. Short rows allow you to shape the petal by knitting only a portion of the stitches in a row, then turning the work and knitting back in the opposite direction. This technique creates a curved shape, mimicking the natural shape of a daffodil petal. By strategically placing the short rows, you can achieve a lifelike appearance for your daffodil petals.
Another key aspect of creating realistic daffodil petals is the choice and manipulation of yarn. Opt for a yarn that has a natural sheen and drape, as this will add to the lifelike quality of the finished petals. When knitting, adjust your tension to create looser or tighter stitches, depending on the desired effect. Experiment with different yarn weights and needle sizes to achieve the perfect balance of texture and shape for your daffodil petals.
Incorporating these knitting techniques into your daffodil flower project will result in beautifully crafted petals that resemble the real thing. Whether you plan to use these petals for a garment, accessory, or home decor item, the attention to detail and realistic shaping will make your knitting project truly stand out. So grab your knitting needles and start creating breathtaking daffodil flowers today!
Assembling the Daffodil: Attaching the Petals to the Stem
Now that you have completed knitting all the daffodil petals and stem, it’s time to assemble your beautiful flower. Attaching the petals to the stem requires a few simple steps, and soon you will have a lovely daffodil that you can display or give as a gift.
Materials Needed:
- Completed daffodil petals
- Completed daffodil stem
- Yarn needle
1. Start by threading the yarn needle with the same color yarn used for the petals. This will ensure a seamless look when attaching the petals to the stem.
2. Take one of the daffodil petals and position it at the top of the stem. Make sure the bottom of the petal aligns with the top of the stem.
3. Insert the yarn needle through one side of the petal and then through the stem. Pull the yarn through, leaving a small tail on the backside.
4. Repeat step 3 for the other side of the petal, making sure it is securely attached to the stem.
5. Continue attaching the remaining petals in the same manner, spacing them evenly around the stem. You can arrange the petals in a circular pattern or slightly staggered for a more natural look.
6. Once all the petals are attached, take a moment to adjust their positioning if needed. Gently shape and arrange the petals to create a full and realistic appearance.
7. Finally, secure the yarn at the back of the stem by tying a knot and weaving in the loose ends. Trim any excess yarn for a neat finish.
And there you have it! Your daffodil is now fully assembled and ready to be displayed. Enjoy the beauty of your handmade creation and feel free to experiment with different colors and arrangements for more variety in your daffodil knitting projects.
Adding Details: Knitting the Daffodil’s Trumpet
When knitting a daffodil, one key detail to focus on is the trumpet or center of the flower. This is the part that gives the daffodil its distinctive shape and adds depth to the overall design. Knitting the trumpet requires a few specific techniques and attention to detail to achieve the desired effect.
To start knitting the trumpet, you will need to gather the necessary materials, including the appropriate yarn and knitting needles. It is important to choose a yarn that has a soft texture and is slightly thicker than the rest of the daffodil petals. This will help create the trumpet’s structure and make it stand out from the surrounding petals.
Once you have the materials ready, begin by casting on the required number of stitches for the trumpet. This will typically be a smaller number compared to the petals as the trumpet is narrower in shape. You can use a basic knitting stitch, such as the knit or purl stitch, to create the trumpet’s body.
To add more dimension to the trumpet, consider incorporating different stitch patterns or techniques. For example, you can use a ribbed stitch or create a textured effect by alternating between knit and purl rows. This will help give the trumpet a more realistic and interesting appearance.
As you progress with knitting the trumpet, be mindful of the shape and size. It is important to gradually decrease the number of stitches towards the top to form a tapered shape. This can be achieved by knitting two stitches together at regular intervals or using specific decrease stitch patterns.
To finish off the trumpet, bind off the remaining stitches and secure the end of the yarn. You can also use a tapestry needle to weave in any loose ends. Once the trumpet is complete, it can be attached to the center of the daffodil flower, adding the final touch to your knitting project.
Key Points:
- Choose a slightly thicker yarn for the trumpet to make it stand out.
- Consider using different stitch patterns to add dimension and texture.
- Gradually decrease the number of stitches to create a tapered shape.
- Secure the end of the yarn and attach the trumpet to the daffodil flower.
Finishing Touches: Securing and Styling the Daffodil
After you have completed knitting your daffodil, it’s time to add the finishing touches to ensure that your flower looks its best. This involves securing any loose ends and styling the petals to create a realistic and visually appealing flower.
To secure any loose ends, use a crochet hook or a tapestry needle to weave the yarn tails back into the knitted fabric. Thread the yarn tail through the neighboring stitches, making sure to go in different directions to secure it firmly. Once all the loose ends are secured, trim any excess yarn close to the fabric to create a neat finish.
Styling the Petals
Styling the petals of your knitted daffodil will give it a more lifelike appearance. Gently stretch and shape each petal using your fingers to create a curved and natural shape. You can also use a steam iron set on low heat, or hold the petals over a steaming kettle, to help set the shape.
For a more vibrant and textured look, you can also lightly brush the petals with fabric starch or hairspray. This will help the petals hold their shape and give them a slightly stiffened appearance. However, be cautious not to use too much starch or hairspray, as it can make the petals overly rigid and potentially damage the yarn.
Once you have secured and styled your daffodil, it’s ready to be displayed or used as desired. Whether you plan to use it as a decoration, attach it to a hat or scarf, or gift it to someone special, these finishing touches will ensure that your knitted daffodil is a beautiful and durable creation.
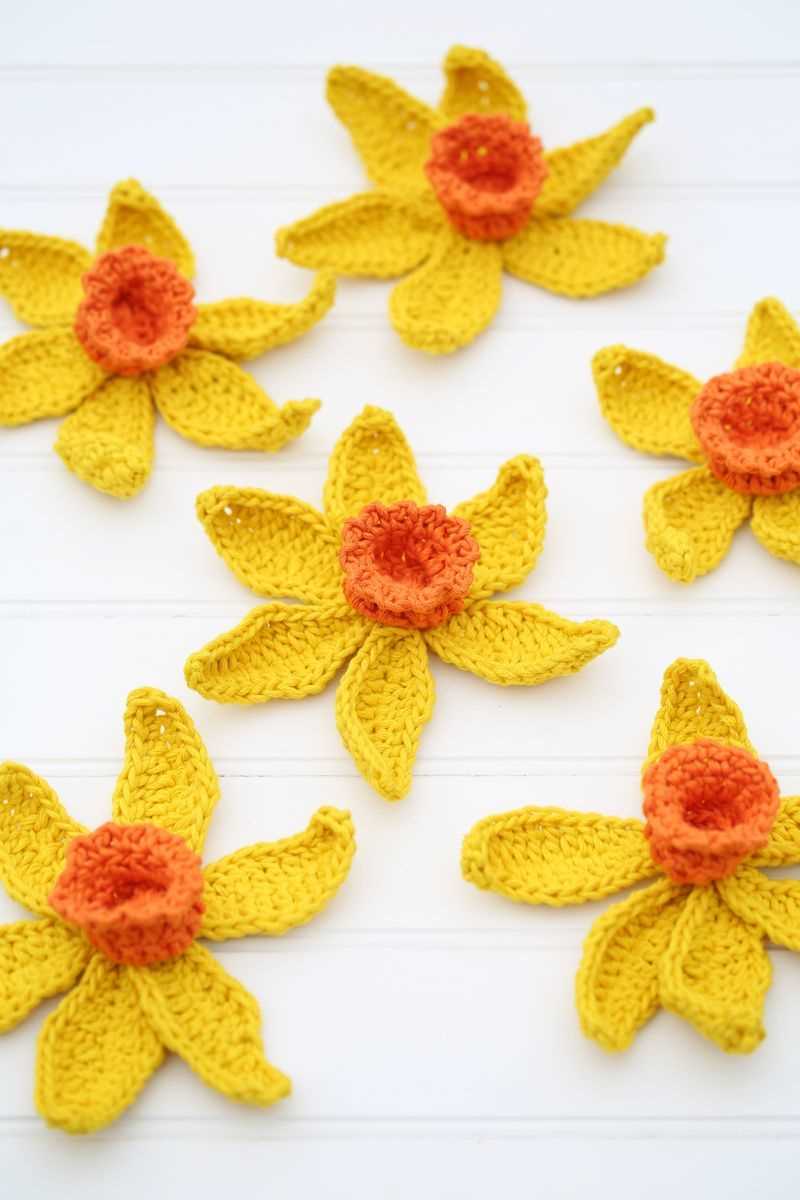
Alternative Techniques: Crocheting Daffodils Instead of Knitting
If you’re not a fan of knitting or would like to try a different technique, crocheting daffodils can be a fun and creative alternative. Crochet allows for intricate detailing and can result in daffodils with a unique texture and appearance. Here are some tips and techniques for crocheting daffodils:
1. Choosing the right crochet hook and yarn
To achieve the desired look, it’s important to choose the right crochet hook and yarn. A smaller hook and a lighter weight yarn can create delicate petals, while a larger hook and a chunkier yarn can result in larger, more textured petals.
2. Crocheting the petals
Start by crocheting the petals of the daffodil. Use a simple stitch, such as the double crochet, to create elongated and pointed petals. You can create as many petals as you like, depending on how full you want your daffodil to be.
Once you have crocheted the petals, shape them by gently blocking or stretching them with your hands. This will give them a more natural and realistic appearance.
3. Adding the trumpet
The trumpet of the daffodil is the central part that gives it its distinctive shape. Crochet a small tube or cone shape using a different color yarn to create the trumpet. You can experiment with different stitch patterns to add texture and dimension to the trumpet.
4. Assembly
Once you have crocheted all the elements, it’s time to assemble your daffodil. Attach the petals to the trumpet by stitching them together, making sure they are evenly spaced. You can also sew or glue a small button or bead in the center of the trumpet for added detail.
Finally, attach a stem made of wire or floral tape to complete your crocheted daffodil.
Crocheting daffodils can be a fun and rewarding alternative to knitting. The possibilities are endless when it comes to color choices and stitch patterns, allowing you to create unique and personalized daffodils. Whether you’re an experienced crocheter or a beginner, give crocheting daffodils a try and enjoy the process of creating beautiful and lifelike flowers.
Using Your Knitted Daffodils: Ideas for Decor and Gift Giving
Now that you have completed your beautiful daffodil knitting project, you may be wondering how to make the most of your creations. Whether you want to add a touch of spring to your home decor or give a thoughtful handmade gift, there are plenty of creative ways to use your knitted daffodils.
Here are some ideas to inspire you:
1. Spring Table Centerpiece
Arrange your knitted daffodils in a vase or a shallow bowl and use them as a stunning centerpiece for your dining table or sideboard. You can mix them with fresh flowers or other spring-themed decorations to create a vibrant and festive display.
2. Wall Art

Create a unique piece of wall art by framing your knitted daffodils. Arrange them in a pleasing pattern and mount them in a shadow box or a traditional picture frame. Hang your creation on the wall to bring a touch of handmade charm to any room.
3. Gift Toppers
Add a special touch to your gifts by using knitted daffodils as gift toppers. Attach them to gift boxes, bags, or even cards for a personalized and handmade finishing touch. Your loved ones will appreciate the extra effort and thought put into their gifts.
4. Hair Accessories
Transform your knitted daffodils into lovely hair accessories. Attach them to hair clips, headbands, or bobby pins to add a whimsical touch to your hairstyle. They make great accessories for spring weddings, parties, or simply to brighten up your everyday look.
5. Easter Decorations
Add a touch of spring to your Easter celebrations by incorporating knitted daffodils into your decorations. Place them in Easter baskets, use them as table decorations, or even create a knitted daffodil garland to hang around your home. They will create a cheerful and festive atmosphere for the holiday.
These are just a few ideas to get you started. The possibilities are endless, and you can let your creativity shine by finding unique ways to use and display your knitted daffodils. Whether you choose to keep them for yourself or give them as gifts, your knitted daffodils are sure to bring joy and a touch of springtime beauty wherever they go.