
If you’re looking for a new knitting project that is both stylish and practical, then you should consider making a flat knit hat. Flat knit hats are a great choice for beginners or experienced knitters alike. They are quick and easy to make, and their simple design allows for endless customization options.
When it comes to flat knit hat patterns, the possibilities are endless. You can choose from a variety of stitch patterns, such as ribbing, garter stitch, or even cables. You can also experiment with different yarn weights and colors to create a hat that is unique to you.
Flat knit hats are not only fashionable, but they are also functional. They provide warmth and protection from the elements, making them the perfect accessory for any season. Whether you’re braving the cold winter months or enjoying a sunny day at the beach, a flat knit hat is a must-have item.
So, why not take up knitting and try your hand at making a flat knit hat? With so many patterns to choose from, you’re sure to find one that suits your style and skill level. Don’t be afraid to get creative and make a hat that is truly one-of-a-kind. Happy knitting!
The Basics of Flat Knitting
Knitting is a popular craft that allows you to create beautiful and functional items using yarn and knitting needles. Flat knitting is one of the most common techniques used in knitting, and it involves working back and forth in rows to create a flat piece of fabric. Whether you’re a beginner or an experienced knitter, understanding the basics of flat knitting is essential for creating hats, scarves, and other accessories.
Tools and Materials: To get started with flat knitting, you’ll need a few basic tools and materials. These include knitting needles, which come in various sizes and materials, and yarn, which can be made from natural or synthetic fibers. You’ll also need a pair of scissors and a yarn needle for weaving in ends and sewing seams.
Casting On: Before you can begin knitting, you’ll need to cast on stitches to create your foundation row. There are several methods for casting on, but one of the most common is the long-tail cast on. This method creates a neat and stretchy edge that is perfect for flat knitting. To cast on, you’ll need to estimate the length of yarn needed for your project, leaving a tail that is long enough to work with. Then, using both hands, you’ll create a slipknot and place it on one of the knitting needles. From there, you’ll proceed to cast on the desired number of stitches using a specific hand and finger movement.
Knit and Purl Stitches: The two basic stitches in knitting are the knit stitch and the purl stitch. The knit stitch creates a smooth, v-shaped texture, while the purl stitch creates a bumpy, horizontal texture. In flat knitting, you’ll alternate between these two stitches to create different patterns and textures. To knit, you’ll insert the right-hand needle into the front of the first stitch on the left-hand needle, bring the yarn over the right-hand needle, and pull it through the stitch. To purl, you’ll insert the right-hand needle into the front of the first stitch on the left-hand needle, bring the yarn in front of the right-hand needle, and pull it through the stitch.
Working Rows: Once you’ve cast on your stitches and you know how to knit and purl, you’re ready to start working rows. In flat knitting, you’ll work one row from right to left, and the next row from left to right. This creates a flat piece of fabric that can be used for various projects. To work a row, you’ll turn your work and begin knitting or purling across the stitches on the needle, following the pattern or instructions for your specific project. You’ll repeat this process until your piece reaches the desired length.
Finishing: Once you’ve completed your flat knitting project, you’ll need to finish off your work. This typically involves binding off or casting off stitches to create a neat edge, and then weaving in any loose ends or sewing seams to join pieces together. Blocking may also be necessary to shape your finished item and give it a professional appearance. Blocking involves soaking your item in water, gently shaping it, and allowing it to dry flat.
Overall, flat knitting is a versatile and satisfying technique that allows you to create a wide range of items. By mastering the basics of casting on, knitting and purling, working rows, and finishing, you’ll be able to create beautiful flat knit hats and other accessories.
Choosing the Right Yarn for Your Flat Knit Hat
When it comes to knitting a flat knit hat, one of the most important aspects to consider is choosing the right yarn. The yarn you select will not only determine the final look and feel of your hat, but also its durability and ability to withstand regular wear.
First and foremost, it’s important to choose a yarn that is appropriate for the season or climate you’ll be wearing the hat in. For colder weather, you may want to opt for a wool or wool-blend yarn, as these fibers are known for their excellent insulation properties. On the other hand, if you’re knitting a hat for warmer weather or indoor use, a cotton or bamboo yarn might be a better choice, as they are breathable and lightweight.
Next, consider the gauge or thickness of the yarn. The pattern you’re using for your flat knit hat will typically specify a recommended gauge, and it’s essential to match this gauge to ensure that your hat turns out the correct size. The gauge is determined by the number of stitches and rows per inch, and if your yarn is too thick or thin for the recommended gauge, your hat may end up too large or too small.
Additionally, think about the texture and appearance you want for your hat. Different yarns have different characteristics, such as smoothness, fuzziness, or sheen. Take into account the stitch pattern you plan to use and how it will interact with the chosen yarn. For example, if you’re planning on knitting a hat with intricate cable or lace designs, a smoother yarn may showcase the pattern more effectively.
Lastly, consider the care instructions of the yarn you’re considering. Some yarns require special washing conditions, such as hand washing or dry cleaning, while others can be machine washed and dried. Make sure to choose a yarn that aligns with your lifestyle and the amount of effort you’re willing to put into maintaining your hat.
Overall, selecting the right yarn for your flat knit hat is crucial for achieving the desired result. Taking into account factors such as season, gauge, texture, appearance, and care instructions will help ensure that your finished hat is not only beautiful but also functional and long-lasting.
Essential Knitting Tools for Making Flat Knit Hats
When it comes to making flat knit hats, having the right tools is essential to ensure a successful and enjoyable knitting experience. Whether you are a beginner or an experienced knitter, having the following tools in your knitting collection can make a significant difference in the outcome of your projects.
Knitting Needles: To create flat knit hats, you will need a pair of straight knitting needles in the appropriate size for your chosen yarn. Generally, hat patterns will recommend using a specific needle size to achieve the desired gauge and fit. It’s important to have a variety of needle sizes in your collection to accommodate different yarn weights.
Stitch Markers

Stitch Markers: Stitch markers are crucial tools for keeping track of stitch patterns and decreases in your flat knit hat. They can be placed on the needles to mark specific stitches or sections and help you stay organized as you work through your project. Using stitch markers can prevent mistakes and make it easier to follow the pattern instructions.
Tape Measure and Gauge Ruler
Tape Measure and Gauge Ruler: Accurate measurements are crucial when making flat knit hats, especially if you are following a specific pattern. A tape measure will help you determine the circumference of the hat and ensure it will fit properly. Additionally, a gauge ruler will allow you to measure your knitting tension and ensure you are achieving the correct number of stitches and rows per inch.
Darning Needle
Darning Needle: A darning needle, also known as a yarn needle or tapestry needle, is an essential tool for finishing your flat knit hat. It is used to weave in loose ends and sew seams, giving your hat a polished and professional look. A darning needle with a large eye and a blunt tip is ideal for ease of use and can handle various yarn thicknesses.
Scissors or Yarn Cutter
Scissors or Yarn Cutter: To complete your flat knit hat, you will need a reliable pair of scissors or a yarn cutter. These tools allow you to cut the yarn cleanly and neatly, both when starting and finishing your project. It’s essential to have sharp scissors or a yarn cutter at hand to avoid damaging the yarn or creating uneven edges.
In summary, the essential knitting tools for making flat knit hats include knitting needles in various sizes, stitch markers, a tape measure and gauge ruler, a darning needle, and scissors or a yarn cutter. With these tools at your disposal, you’ll be well-equipped to create beautiful and well-finished hats for yourself or others.
How to Cast On for Your Flat Knit Hat
If you’re new to knitting or just starting your first flat knit hat project, casting on is the first step you’ll need to master. Casting on is the process of creating the first row of stitches on your knitting needle, and it’s important to get it right to ensure a successful project. Here are a few steps to help you cast on for your flat knit hat.
1. Choose your cast on method: There are several methods you can use to cast on your stitches, including the long tail cast on, the knit cast on, and the cable cast on. Each method has its own benefits and characteristics, so choose the one that you feel most comfortable with.
2. Prepare your yarn: Before you begin casting on, make sure you have enough yarn for your project. It’s also a good idea to wind your yarn into a ball or cake to prevent any tangles or knots as you work.
3. Make a slip knot: To start your cast on, make a slip knot by creating a loop with your yarn, crossing the end of the yarn over the loop, and pulling it through. This slip knot will be the first stitch on your knitting needle.
4. Hold your needle and yarn: Hold your knitting needle in your dominant hand and the end of your yarn in your other hand. Keep the slip knot secure by holding it between your thumb and index finger.
5. Cast on your stitches: Take the working end of the yarn and insert your needle into the slip knot loop from left to right. With your needle, catch the yarn and bring it through the loop, creating a new stitch on your needle. Repeat this process for the desired number of stitches for your hat pattern.
6. Continue working: Once you have cast on all your stitches, you can continue with the next steps of your flat knit hat pattern. This may involve joining in the round or working back and forth in rows, depending on your chosen pattern.
By following these steps and practicing your casting on technique, you’ll be well on your way to creating a beautiful flat knit hat. Remember, casting on is just the beginning, and with each stitch you make, you’ll be one step closer to completing your project.
Knitting Stitch Patterns for Flat Knit Hats
Flat knit hats are a popular choice for those looking to create stylish and cozy headwear. While the basic construction of these hats is fairly simple, adding unique stitch patterns can take your knitting to the next level. There are countless stitch patterns to choose from, each offering its own distinct texture and style.
One popular stitch pattern for flat knit hats is the garter stitch. This stitch pattern is created by knitting every row, resulting in a textured fabric that is both warm and visually appealing. The garter stitch is a great option for beginners, as it is easy to learn and produces a timeless look.
If you’re looking for a more intricate stitch pattern, the cable stitch is a fantastic choice. This pattern creates twisted rope-like cables that add depth and interest to your hat. Cable knitting requires a bit more skill and concentration, but the end result is well worth the effort.
For those who prefer a lighter and more delicate look, lace stitch patterns are a wonderful option. These patterns feature openwork and intricate designs that can create a feminine and airy texture. Lace knitting can be challenging, but the end result is truly stunning.
- Another popular stitch pattern for flat knit hats is the seed stitch, which alternates between knit and purl stitches to create a bumpy texture.
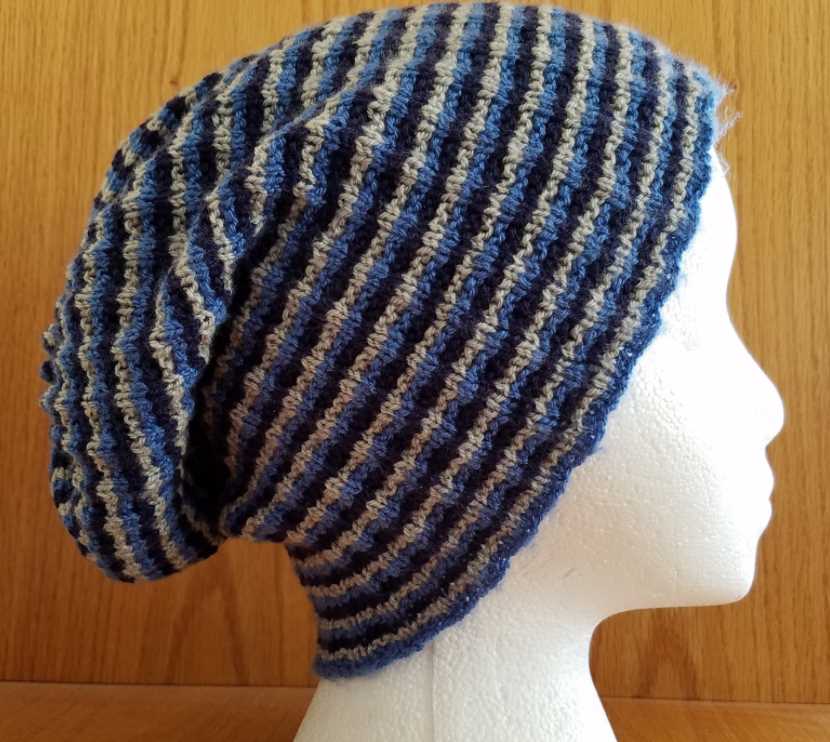
- The ribbing stitch pattern is another classic choice that creates a stretchy and snug fit for your hat.
- If you’re feeling adventurous, you can also experiment with colorwork stitch patterns, such as fair isle or intarsia, to create colorful and eye-catching designs.
When choosing a stitch pattern for your flat knit hat, consider the overall style and the wearer’s preferences. Some patterns may require a different number of stitches or a specific multiple, so be sure to check the pattern instructions before getting started. With so many stitch patterns to choose from, you’re sure to find the perfect one to create a unique and beautiful flat knit hat.
Creating Ribbing for a Flat Knit Hat
When knitting a flat knit hat, adding ribbing to the bottom edge can provide both a decorative touch and an element of stretchiness to ensure a snug fit. Ribbing is created by alternating knit and purl stitches in a specific pattern, and there are several variations to choose from.
1. K1, P1 Ribbing: The most common type of ribbing is k1, p1 ribbing, where you knit one stitch and purl one stitch across the row. This creates a stretchy fabric that is ideal for hat cuffs. To create this ribbing, simply alternate between knitting and purling stitches throughout the desired length of the ribbing.
2. K2, P2 Ribbing: Another popular option is k2, p2 ribbing, which involves knitting two stitches and purling two stitches across the row. This ribbing pattern creates a slightly wider rib and can offer a different texture and visual appeal. Similarly, alternate between knitting and purling stitches to achieve the desired length.
There are variations of ribbing patterns that use different numbers of knit and purl stitches, such as k3, p1 or k2, p3 ribbing. These variations can be used to create unique designs or to match specific stitch patterns in the hat body. Experimenting with different ribbing patterns can add interest and variety to your flat knit hat.
Tip: When adding ribbing to a flat knit hat, it’s recommended to use smaller needles than what is used for the main body of the hat. This helps the ribbing to hold its shape and provides a tighter fabric.
In conclusion, creating ribbing for a flat knit hat involves alternating knit and purl stitches in a specific pattern to add stretchiness and decorative detail to the bottom edge. Common ribbing patterns include k1, p1 and k2, p2 ribbing, but there are many variations to explore and customize your hat design. Remember to use smaller needles for the ribbing to ensure a snug fit and well-defined fabric.
Shaping Your Flat Knit Hat with Decreases
When it comes to creating a flat knit hat, shaping is essential to achieve the desired fit and style. One of the most common shaping techniques in knitting is decreasing, which involves reducing the number of stitches on your needles to create a more tapered shape.
To shape your flat knit hat with decreases, you can use various decrease stitches such as knit two stitches together (K2tog), slip slip knit (SSK), or purl two stitches together (P2tog). These decrease stitches are used to eliminate stitches and create a smoother transition between different sections of your hat.
Here are a few tips for shaping your flat knit hat with decreases:
- Start by determining the rate of decrease by calculating how many stitches you need to eliminate in each round or row. This will depend on your desired hat size and the gauge of your knitting.
- Choose the type of decrease stitch that best matches the stitch pattern of your hat. For example, if you’re working in a rib stitch pattern, you might want to use a knit two stitches together through the back loop (K2tog tbl) decrease to maintain the pattern.
- Continue shaping your hat by working the decrease stitches at regular intervals, usually at the beginning and end of each round or row. You can also incorporate decreases within the body of your hat to create more intricate shaping.
Remember to keep track of your decrease stitches:
- Use stitch markers or highlighter tape to mark the decrease stitches in your pattern. This will help you stay on track and ensure that your shaping is consistent.
- Check your stitch count regularly to make sure you’re following the decrease instructions correctly. If you notice any discrepancies, double-check your counting and adjust as needed.
Once you’ve completed the shaping with decreases, you can finish off your flat knit hat by gradually closing the top:
- Cut the yarn, leaving a long tail for sewing.
- Thread the tail through a yarn needle and pass it through the remaining stitches on your needles, removing them as you go. This will close the top of your hat.
- Secure the yarn tail on the inside of the hat and weave in any loose ends.
By understanding how to shape your flat knit hat with decreases, you can create hats that fit perfectly and have a professional look. Whether you’re following a pattern or designing your own, mastering the art of shaping will take your knitting skills to the next level.
Adding Colorwork to Your Flat Knit Hat

Flat knit hats are a popular choice among knitters, as they are versatile, easy to make, and can be customized to suit your style. One way to add interest and variety to your flat knit hat is by incorporating colorwork techniques. Colorwork involves knitting with multiple colors to create patterns or motifs within your hat, adding visual appeal and making it truly unique.
Choosing Colors: The first step in adding colorwork to your flat knit hat is selecting the colors you want to use. Consider the overall look you want to achieve and the color palette that will complement your outfit or personal style. You can go for a bold and contrasting color combination or opt for a more subtle and harmonious blend. Experiment with different color combinations to find the one that speaks to you.
Introducing Colorwork Techniques: Once you have chosen your colors, there are several colorwork techniques you can employ to incorporate them into your flat knit hat. One popular technique is stranded knitting, also known as Fair Isle. This involves carrying the unused color along the back of your work while knitting with the main color. Another technique is intarsia, which allows you to knit individual large motifs or blocks of color. You can also try duplicate stitch or embroidery to add small pops of color to specific areas of your hat.
Planning the Design: Before you start knitting, it’s important to plan out your design and chart it on graph paper or using a digital knitting design tool. This will help you visualize how the colors will interact and ensure that your pattern is evenly distributed across your hat. You can find a variety of colorwork chart resources online or create your own. Take your time to plan and experiment with different designs until you find the one that makes your flat knit hat truly special.
Knitting with Multiple Colors: When knitting with multiple colors, there are a few techniques that can help you achieve clean and even colorwork. One technique is to catch the floats, or strands of yarn, behind your knitting every few stitches to prevent long floats on the back of your work. Additionally, make sure to keep your tension consistent to avoid puckering or pulling in the fabric. Practice and patience are key when it comes to mastering colorwork knitting, so don’t be discouraged if it takes some time to get it just right.
Finishing Touches: Once you have completed the colorwork on your flat knit hat, it’s time to finish it off and make it ready to wear. Weave in any loose ends from changing colors, block your hat to ensure it maintains its shape, and consider adding a decorative pom-pom or tassel to the top. With these final touches, your flat knit hat with colorwork will be ready to keep you warm and stylish during the colder months.
Finishing Touches: Blocking and Weaving in Ends
When it comes to completing your flat knit hat, there are a few finishing touches that can make all the difference. Two important steps in this process are blocking and weaving in ends. These steps ensure that your hat has a polished, professional look and will help it maintain its shape and structure over time.
Blocking
Blocking is the process of shaping and sizing your hat once it is complete. This step can help even out any uneven stitches and give your hat a more uniform look. To block your hat, you will need a blocking board or a clean towel that can be pinned to. Lay your hat flat on the board or towel, gently stretching it to the desired shape and size. Secure the hat in place with blocking pins or T-pins. Allow the hat to dry completely in this stretched shape. Blocking not only improves the appearance of your hat, but it can also help to even out any tension issues and improve the overall fit.
Weaving in Ends
After you have blocked your hat, the next step is to weave in any loose ends. These loose ends are the yarn tails from where you started and ended each color or skein of yarn. Weaving in ends is important for both the appearance and durability of your hat. To weave in ends, thread the yarn tail onto a tapestry needle and simply weave it back and forth through several stitches on the wrong side of the fabric, making sure to avoid any visible loops or bumps. Trim any excess yarn close to the fabric, being careful not to cut the hat itself. By properly weaving in ends, you are securing the yarn and preventing it from unraveling over time.
By taking the time to block your hat and weave in ends, you are giving your flat knit hat the finishing touches it deserves. These steps will not only improve the appearance of your hat but will also help it to maintain its shape and last for years to come. So don’t skip these important steps in your knitting process! Take the time to block and weave in ends, and enjoy the satisfaction of a beautifully finished flat knit hat.
Personalizing Your Flat Knit Hat with Embellishments
Adding embellishments to your flat knit hat can be a fun and creative way to make it uniquely yours. Whether you’re knitting a hat for yourself or as a gift, there are endless possibilities for customizing it with different decorations and accessories.
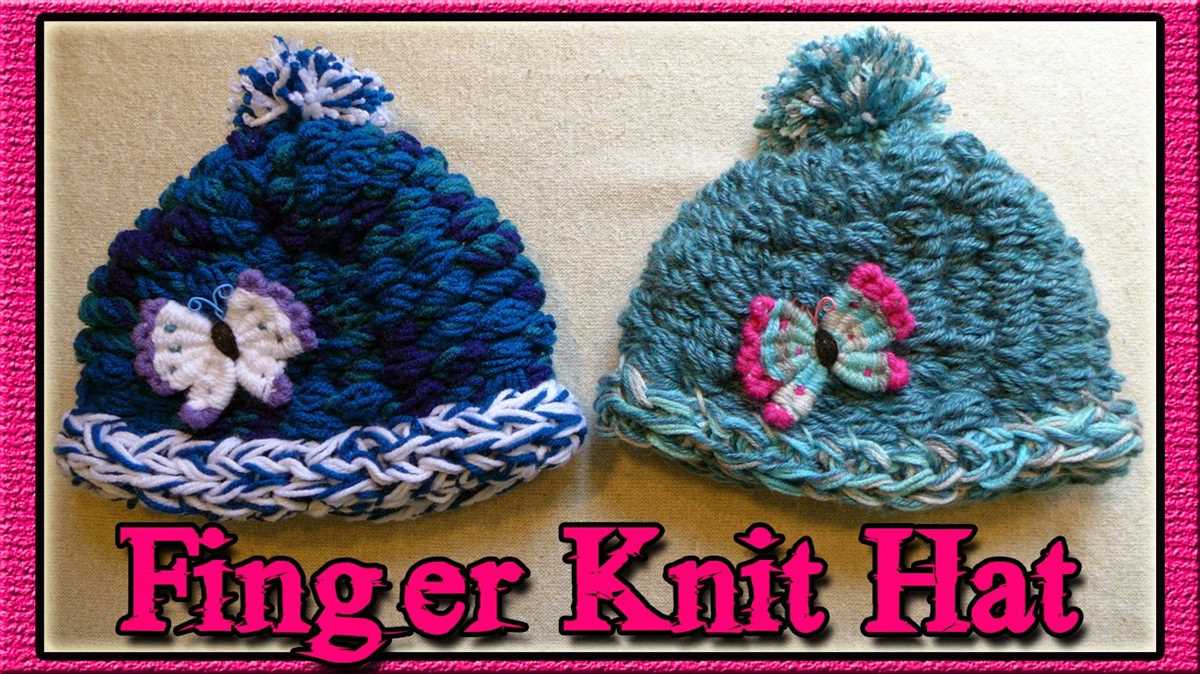
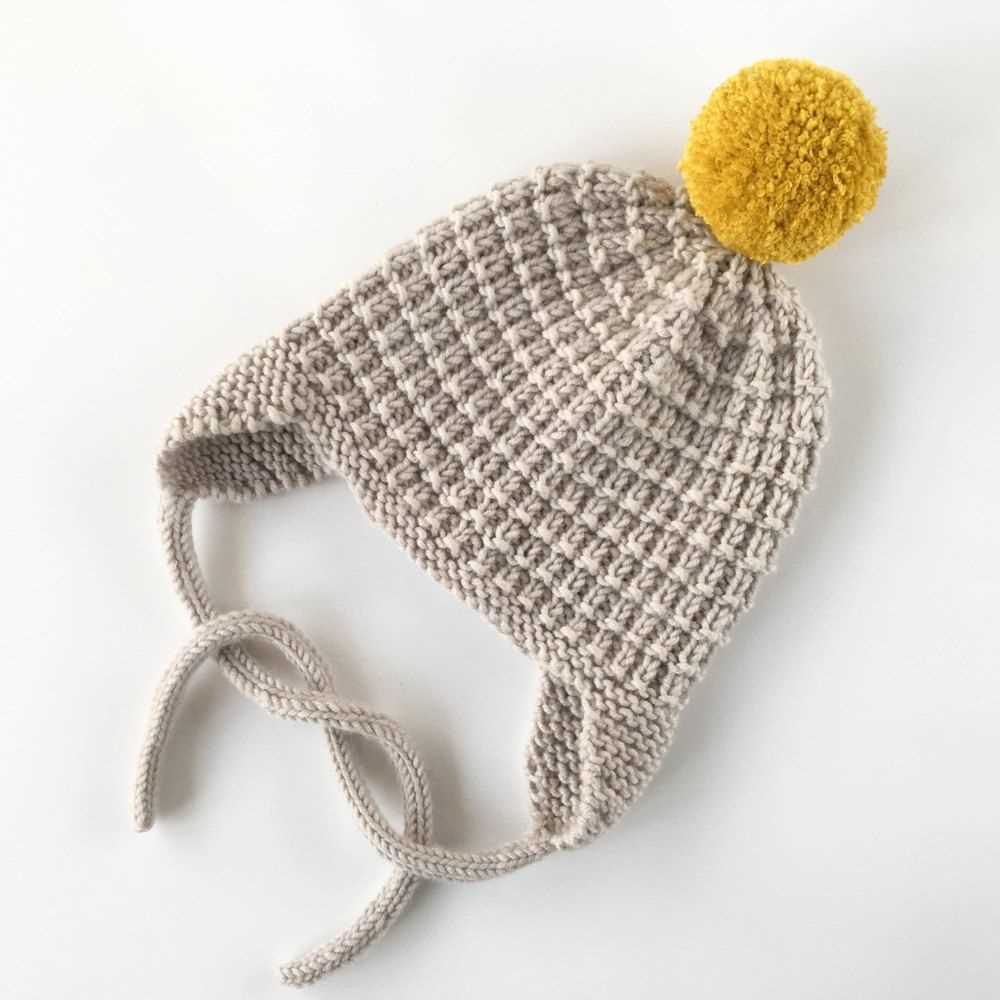
1. Pompoms: One of the most popular and classic ways to embellish a hat is by adding a pompom on top. You can use a contrasting color yarn to make the pompom stand out or match it with the main color of the hat for a more subtle look.
2. Embroidery: Embroidering a design or pattern onto your flat knit hat can instantly add a personal touch. You can use different colored threads to create intricate details or keep it simple with a basic stitch. Popular motifs for hat embroidery include flowers, animals, and initials.
3. Buttons: Sewing buttons onto your hat can give it a unique and playful look. You can choose buttons that match the color of the hat or go for a contrasting color to make them stand out. Buttons can be arranged in patterns or randomly placed for an eclectic style.
4. Ribbons or bows: Attaching a ribbon or bow to your hat can give it a feminine and elegant touch. You can use a grosgrain ribbon for a polished look or opt for a satin ribbon for a more delicate feel. Bows can be tied at the back or side of the hat, depending on your preference.
5. Beads or sequins: If you want to add some sparkle and shine to your flat knit hat, consider embellishing it with beads or sequins. You can sew them onto the surface of the hat in a specific pattern or randomly scatter them for a more whimsical effect.
Remember, when adding embellishments to your flat knit hat, it’s important to consider the material and weight of the decorations. You don’t want them to be too heavy or cause the hat to lose its shape. Additionally, make sure that the chosen decorations are securely attached to prevent them from coming loose during wear. With a bit of creativity and imagination, you can transform a simple flat knit hat into a personalized and stylish accessory.
Advanced Techniques for Flat Knit Hat Patterns
Flat knit hats are a popular and versatile accessory that can be made using a variety of techniques. For those looking to take their hat knitting skills to the next level, there are several advanced techniques that can be incorporated into flat knit hat patterns.
1. Colorwork: Colorwork is a technique that involves using multiple colors of yarn to create patterns or designs within the knitted fabric. Fair Isle and stranded knitting are two popular forms of colorwork that can be used to create stunning flat knit hat patterns. By learning to carry multiple colors of yarn across the back of the work, knitters can create intricate and eye-catching designs.
2. Cabling: Cabling is a technique that involves crossing stitches over each other to create a textured pattern. Incorporating cables into flat knit hat patterns can add depth and interest to the design. By following cable charts or instructions, knitters can create a variety of cable patterns, such as braids, twists, or diamonds.
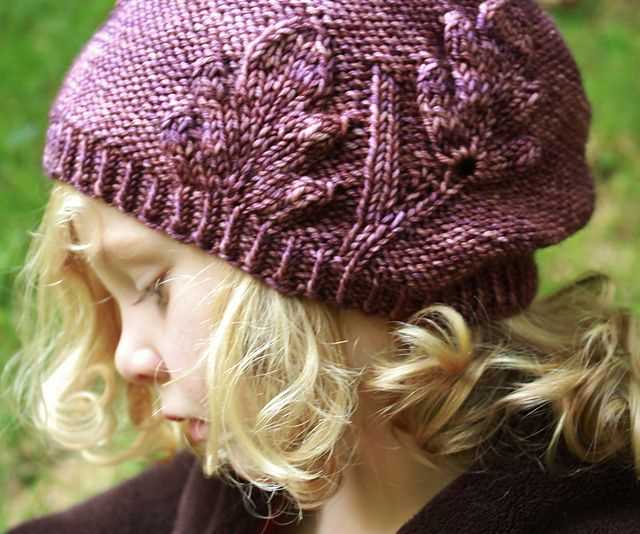
3. Lacework: Lacework involves creating patterns with strategically placed yarn overs and decreases to create an open, airy fabric. While lacework is often associated with shawls and garments, it can also be incorporated into flat knit hat patterns to create a delicate and feminine look. Knitters can experiment with different lace stitch patterns to add elegance to their hats.
4. Texture: Knitting hats with texture can add visual interest and dimension to the finished product. Techniques such as seed stitch, ribbing, and garter stitch can all be used to create unique textures in flat knit hat patterns. By combining different stitch patterns or alternating between different textures, knitters can create hats that are both interesting to look at and fun to knit.
By incorporating these advanced techniques into flat knit hat patterns, knitters can take their knitting skills to new heights. Whether it’s adding colorwork, cabling, lacework, or texture, these techniques allow for endless possibilities and the creation of truly stunning hats.
Troubleshooting Common Issues in Flat Knit Hat Knitting

Knitting flat knit hats can be a fun and rewarding project, but like any knitting project, it can come with its own set of challenges. Here are some common issues you might encounter while knitting flat knit hats and how to troubleshoot them.
1. Uneven tension
Issue: Sometimes, the tension of your knitting stitches may vary, resulting in an uneven appearance.
Troubleshooting:
- Take breaks and stretch your hands and fingers to prevent any tension build-up.
- Try adjusting the way you hold your yarn and needles to find a more comfortable and consistent tension.
- Practice knitting at a slower pace, focusing on creating even, consistent stitches.
2. Twisted stitches

Issue: Twisted stitches can occur when the yarn is twisted while knitting, resulting in a different look and feel to the fabric.
Troubleshooting:
- Pay attention to the orientation of your stitches as you knit. Make sure the leading leg of the stitch is in the front and not twisted.
- If you notice twisted stitches, you can either leave them as a design element or tink (reverse) the stitches to correct them.
3. Uneven decreases or increases
Issue: It can be challenging to maintain an even decrease or increase rate, resulting in an uneven shape.
Troubleshooting:
- Use stitch markers to clearly mark the placement of your decreases or increases, helping you maintain a consistent pattern.
- Count your stitches regularly to ensure you are on track and haven’t missed any increases or decreases.
- When increasing or decreasing, take your time and make sure each stitch is properly formed to maintain an even shape.
4. Yarn breakage or splitting
Issue: Yarn breakage or splitting can be frustrating and interrupt your knitting process.
Troubleshooting:
- Check your knitting needles for any sharp edges that may be causing the yarn to split. Smooth any rough areas with sandpaper or a nail file.
- Avoid working with yarns that have a tendency to split. Choose quality yarns with good twist and avoid very fine or delicate yarns.
- If your yarn does split, pause and rejoin the broken or split sections.
In conclusion, while flat knit hat knitting can be challenging at times, these common issues can usually be resolved with some practice and attention to detail. By troubleshooting and making adjustments, you’ll be on your way to creating beautiful, well-knit flat knit hats.
Q&A:
What is a flat knit hat?
A flat knit hat is a type of hat that is knitted using a flat knitting technique, where each row is knitted in the same direction. This creates a smooth and even fabric without any visible seams or ridges.
How do you knit a flat knit hat?
To knit a flat knit hat, you will need to have basic knitting skills and know how to knit and purl stitches. You will start by casting on the desired number of stitches and then knitting each row in the same direction. You can follow a pattern or create your own design.
What are some common patterns for flat knit hats?
There are many different patterns available for flat knit hats, ranging from simple and basic designs to more complex and decorative patterns. Some common patterns include ribbed hats, cabled hats, and colorwork hats.
Can I personalize a flat knit hat pattern?
Yes, you can personalize a flat knit hat pattern by adding your own design elements or modifying the pattern to suit your preferences. You can change the color, stitch pattern, or add embellishments such as buttons, pom-poms, or embroidery.
Are flat knit hats suitable for beginners?
Flat knit hats can be suitable for beginners, especially if you choose a simple pattern with basic stitches. It’s a good way to practice your knitting skills and create a practical and wearable item. Start with a basic hat pattern and gradually increase the complexity as you gain more experience.
What is a flat knit hat pattern?
A flat knit hat pattern is a knitting pattern that creates a hat with a smooth, flat surface. It typically involves using knit and purl stitches to create a textured or patterned design on the surface of the hat.