
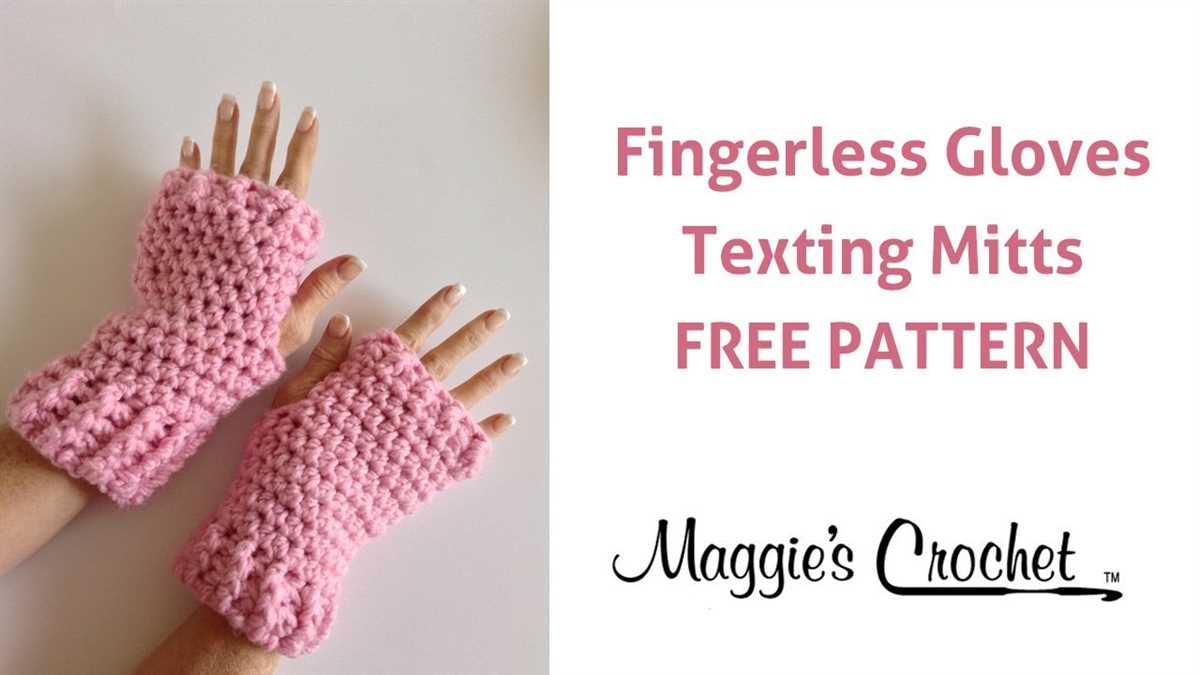
Knitting fingerless gloves is a great project for beginners and experienced knitters alike. Not only are they stylish and practical, but they can also be completed relatively quickly and make for excellent gifts. Fingerless gloves are perfect for keeping your hands warm while still being able to use your fingers for texting, typing, or any other activity that requires dexterity.
This easy fingerless gloves knitting pattern is perfect for knitters of all skill levels. The pattern uses basic stitches, such as knit and purl, and can be completed with just one skein of yarn. Whether you’re a beginner knitter looking to take on a new challenge or an experienced knitter looking for a quick and satisfying project, this pattern is for you.
With this fingerless gloves knitting pattern, you’ll be able to create cozy and stylish accessories for yourself, your friends, and your family. The pattern is highly customizable, allowing you to adjust the length, width, and design to fit your preferences. So grab your knitting needles, your favorite yarn, and get ready to create the perfect fingerless gloves this winter!
Why choose fingerless gloves
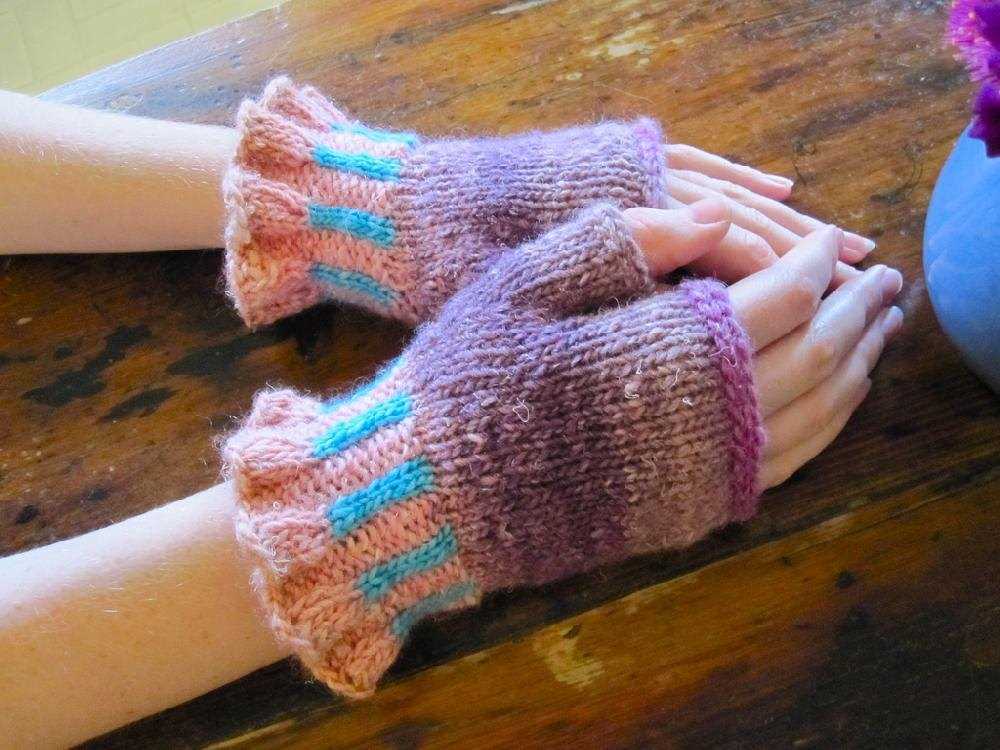
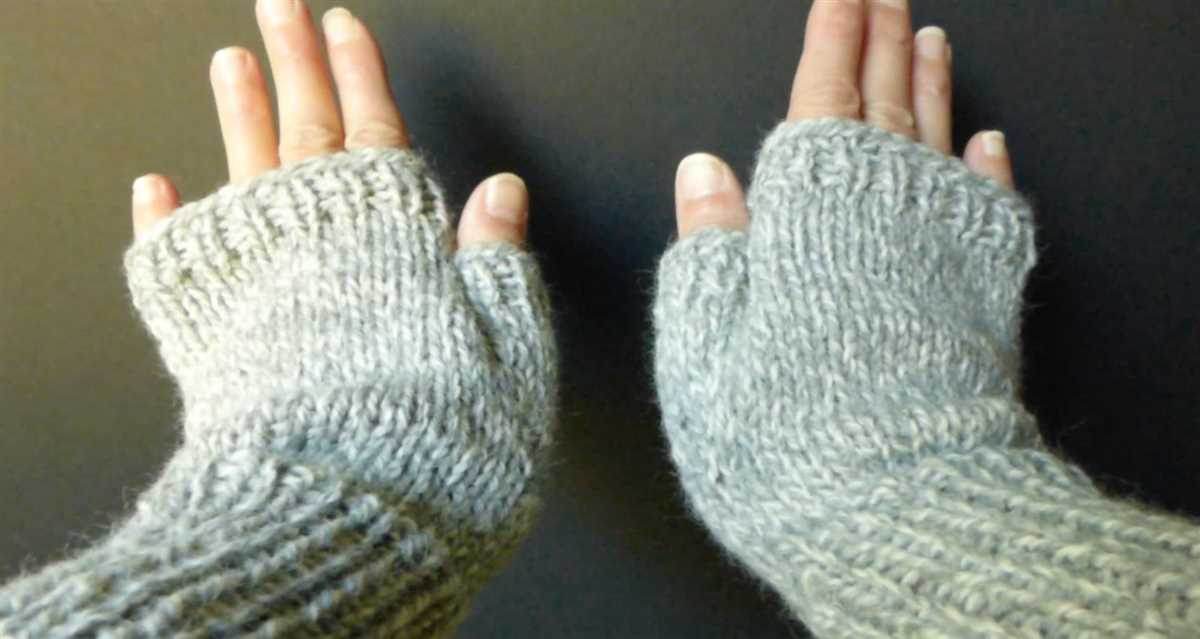
Fingerless gloves are a popular choice for many reasons. They provide warmth and comfort to the hands while allowing for full dexterity and freedom of movement. With their unique design, fingerless gloves cover the hand and wrist but leave the fingers exposed, making them an ideal choice for various activities.
One of the main advantages of fingerless gloves is their versatility. They can be worn indoors or outdoors, making them suitable for a wide range of situations. Whether you are typing on a keyboard, using your phone, knitting, or engaging in any other activity that requires precise finger movements, fingerless gloves provide the perfect solution.
Fingerless gloves are also a fashionable accessory. They come in a variety of styles, colors, and patterns, allowing you to express your personal style and add a touch of uniqueness to your outfit. From simple and classic designs to more intricate and eye-catching ones, there is a fingerless glove pattern to suit every taste.
In addition to their practicality and style, fingerless gloves are also an excellent option for those who experience cold hands but still want to enjoy the tactile sensations of direct contact with objects. They provide warmth to the hands while preserving the sensitivity of the fingertips, making them an excellent choice for individuals who need to feel and touch objects with precision.
Overall, fingerless gloves are a practical, versatile, and stylish accessory that offers both warmth and dexterity. Whether you are knitting them yourself or purchasing them, fingerless gloves are a great addition to your wardrobe and an essential item for those wanting to keep their hands cozy while maintaining their ability to perform various tasks.
Fingerless gloves knitting basics
Knitting fingerless gloves is a practical and stylish project for knitters of all skill levels. Whether you’re a beginner or an experienced knitter, fingerless gloves are a great way to practice new techniques and create a functional accessory. These gloves are perfect for keeping your hands warm while allowing your fingers to remain free for tasks such as typing or using your phone. In this guide, we’ll cover some basic techniques and tips to help you get started on your fingerless glove knitting journey.
Choose the right yarn and needles
When it comes to knitting fingerless gloves, choosing the right yarn and needles is essential. Select a yarn that is soft and warm, such as merino wool or alpaca blend, as these fibers will provide the necessary insulation for your hands. As for the needles, use a circular or double-pointed needles in a size that allows you to achieve the desired gauge. Remember to always check the recommended gauge on the yarn label and adjust your needle size accordingly.
Start with a simple pattern
If you’re new to knitting fingerless gloves, it’s best to start with a simple pattern. Look for patterns that have clear and easy-to-follow instructions, preferably with step-by-step photos or videos. A basic fingerless glove pattern usually involves knitting in the round, ribbing for the cuff, and basic stitch patterns for the body. As you gain confidence and experience, you can gradually try more complex patterns with different stitch patterns or colorwork.
Measure your hand
Before you begin knitting your fingerless gloves, it’s important to measure your hand to ensure a proper fit. Measure the circumference of your palm, wrist, and forearm, as well as the length from your wrist to your knuckles. Compare these measurements to the size chart provided in the pattern to determine the appropriate size to knit. Remember that fingerless gloves should fit snugly but not too tight, allowing for ease of movement.
Experiment with different stitch patterns and embellishments
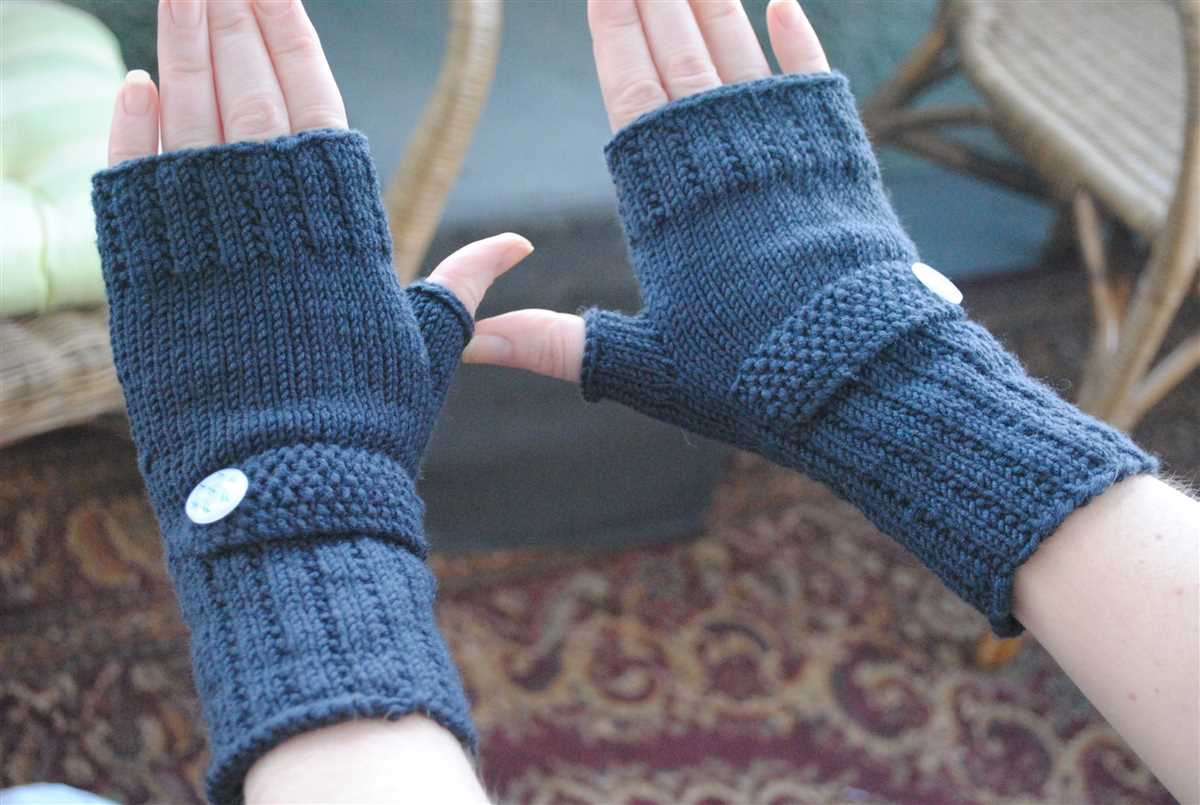
Once you’ve mastered the basics of knitting fingerless gloves, you can unleash your creativity by experimenting with different stitch patterns and embellishments. Try incorporating lace stitches for a delicate and feminine look, or cables for a more textured and rugged appearance. You can also add buttons, beads, or embroidery to personalize your gloves and make them truly one-of-a-kind. These small details can make a big difference in the overall look and feel of your fingerless gloves.
Finishing touches

After you’ve completed knitting your fingerless gloves, don’t forget to add the finishing touches. This usually involves weaving in loose ends, blocking the gloves to shape, and sewing on any additional embellishments. Blocking is especially important as it helps to even out the stitches and ensure a professional-looking finish. Once your gloves are complete, give them a gentle wash and lay them flat to dry. Then, slip on your cozy fingerless gloves and enjoy the warmth and style they provide!
Choosing the right yarn and needles
When it comes to knitting fingerless gloves, choosing the right yarn and needles is essential. The yarn you choose will determine the warmth, durability, and overall look of the gloves. The needles you use will affect the size and fit of the gloves.
Yarn:
When selecting yarn for fingerless gloves, it’s important to consider the fiber content, thickness, and texture. Wool is a popular choice for its warmth and natural insulating properties. It is also durable and has good stitch definition. Acrylic yarns are budget-friendly and easy to care for, but may not provide as much warmth as wool. For a luxurious touch, you may opt for alpaca or cashmere yarns, but these tend to be more expensive. Consider the recipient’s preferences and any potential sensitivities to certain fibers.
The thickness of the yarn will determine the weight and warmth of the gloves. Thicker yarns will produce chunkier gloves, while thinner yarns will create finer and more delicate gloves. Keep in mind that the pattern you choose may specify a certain yarn weight to achieve the intended look and fit.
Needles:
The size of the needles you choose will determine the gauge and size of the gloves. Most fingerless glove patterns will specify the recommended needle size, and it’s important to follow these guidelines to ensure the correct fit. Generally, smaller needles will produce tighter stitches and a denser fabric, while larger needles will result in looser stitches and a more open fabric.
Circular needles are often preferred for knitting fingerless gloves, as they allow for easy knitting in the round. However, if you prefer to use double-pointed needles or straight needles, they can still be used to create fingerless gloves. Consider your personal knitting style and comfort when selecting the type of needles to use.
Getting started with the Fingerless Gloves Knitting Pattern
Knitting fingerless gloves can be a fun and rewarding project to embark on, especially if you’re a beginner knitter. This easy-to-follow knitting pattern will guide you through the process of creating a cozy and stylish accessory for your hands.
Before getting started with the pattern, it’s important to gather all the necessary materials. You will need one pair of knitting needles, size 6 (4 mm), and approximately 200 yards of worsted weight yarn. You can choose any color or type of yarn that you prefer, as this pattern is versatile and can be adapted to suit different styles.
Once you have all your materials ready, it’s time to cast on. Start by making a slip knot and placing it on one of the knitting needles. Then, using the long-tail cast-on method, cast on 32 stitches. Make sure to leave a long tail for later use when finishing off the gloves.
Next, divide the stitches evenly between the two needles, 16 stitches on each. This will make it easier to work on the gloves later on. You can use stitch markers to mark the beginning and end of each round, if desired.
The first few rounds of the pattern will involve knitting in the round using the stockinette stitch. Knit all stitches in the first round, then continue knitting in the round for a few more rounds until you reach the desired length for the cuffs of the gloves. This can be adjusted depending on how long or short you want the cuffs to be.
Once the cuffs are complete, you can move on to the thumb gusset. This involves increasing stitches to create space for the thumb. The pattern will guide you through the specific instructions for this part, so make sure to follow the steps carefully.
After the thumb gusset is complete, you can continue knitting in the round until you reach the desired length for the gloves. The length can be adjusted based on how long or short you want the gloves to be. Finally, finish off the gloves by binding off all stitches and weaving in any loose ends.
With this fingerless gloves knitting pattern, you’ll be able to create a stylish and functional accessory while honing your knitting skills. Whether you’re a beginner or an experienced knitter, this pattern is easy to follow and allows for customization to suit your personal style.
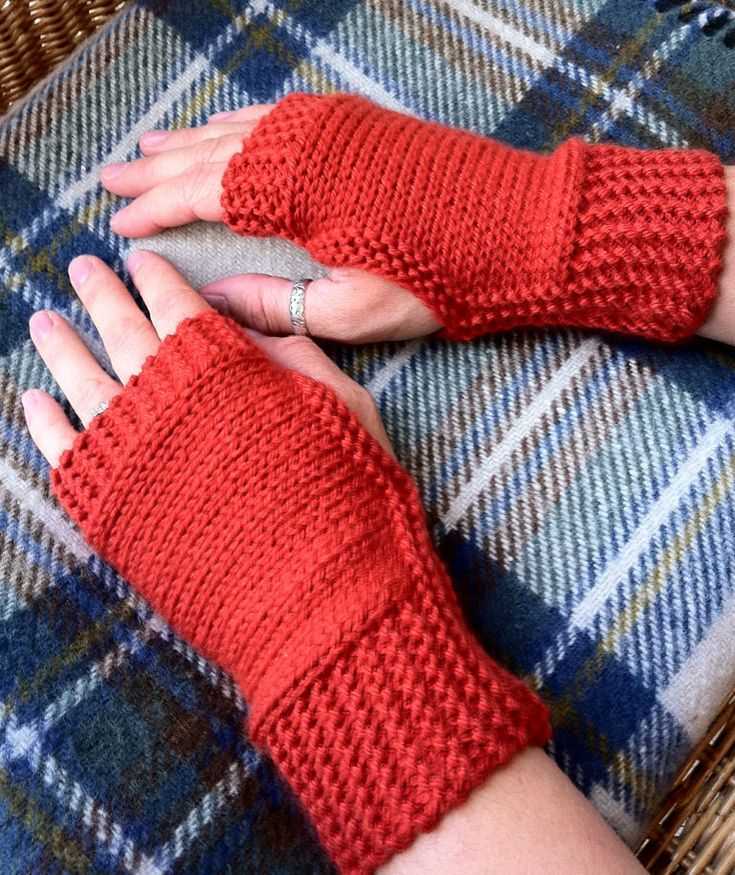
Knitting the ribbed cuff
When knitting fingerless gloves with a ribbed cuff, you will begin by casting on the desired number of stitches using the long tail cast on method. The ribbed cuff is typically created using a combination of knit and purl stitches to give it a stretchy, comfortable fit.
To create the ribbed pattern, you will alternate between knitting and purling stitches in a specific pattern. For example, you could create a 2×2 rib pattern by knitting 2 stitches and purling 2 stitches across the row. Repeat this pattern for the desired length of the cuff.
If you prefer a narrower or wider ribbed cuff, you can adjust the number of stitches in the pattern accordingly. Just make sure to keep an even number of stitches.
Once you have completed the ribbed cuff section, you can continue knitting the main body of the fingerless glove. This typically involves working in the round, either using double-pointed needles or circular needles, depending on your preferred method. You can choose to continue with the same ribbed pattern or switch to a different stitch pattern for the body of the gloves.
Remember to take accurate measurements of your hand and adjust your knitting accordingly to ensure the gloves fit comfortably.
Creating the thumb opening
Once you have reached the desired length for your fingerless gloves, it’s time to create the thumb opening. This step is essential to ensure that the gloves fit snugly and comfortably on your hands while still allowing your fingers to move freely.
To create the thumb opening, you will need to place a certain number of stitches on hold while continuing to work on the rest of the glove. This can be done by transferring the desired stitches onto a stitch holder or scrap yarn. Make sure to mark the beginning and end of the held stitches to keep track of the thumb opening.
Method 1:
- Knit to the first marked stitch.
- Transfer the next X number of stitches onto a stitch holder or scrap yarn, where X represents the desired width of the thumb opening.
- Continue knitting the remaining stitches until you reach the end of the round.
- Turn your work and purl the stitches back to the beginning of the thumb opening.
- Continue knitting in the round, working on the stitches that were on hold once you reach them again.
Method 2:
- Knit to the first marked stitch.
- Using waste yarn, knit the next X number of stitches, where X represents the desired width of the thumb opening.
- Switch back to your working yarn and continue knitting the remaining stitches until you reach the end of the round.
- Remove the waste yarn carefully, placing the live stitches onto your needles.
- Continue knitting in the round, working on the stitches that were on hold once you reach them again.
Whichever method you choose, remember to adjust the thumb opening width based on your hand size and personal preference. Once you have completed the thumb opening, you can continue knitting the remaining rounds until the gloves reach the desired length.
Shaping the Hand Section
Once you have finished the cuff section of your fingerless gloves, it’s time to start shaping the hand section. This is where you will create the opening for the fingers and work on shaping the glove to fit your hand perfectly.
To begin, you will need to decide how many fingers you would like your gloves to have. Most fingerless gloves have either a thumb hole and four finger holes, or just a thumb hole and an opening for all the fingers together. Once you have decided on the number of finger openings, you can start working on shaping the hand section.
Start by decreasing the number of stitches gradually to create the finger holes. You can do this by knitting or purling two stitches together at regular intervals. The exact number of stitches to decrease will depend on the size of your hand and the desired fit of the gloves. You may need to experiment a bit to find the right balance.
Once you have created the finger openings, you can continue knitting in the desired stitch pattern until the glove reaches the desired length. Remember to keep trying on the gloves as you go to ensure a good fit. Once you are happy with the length, you can finish off the gloves by binding off the stitches and weaving in any loose ends.
With just a few simple shaping techniques, you can create a pair of fingerless gloves that fit perfectly and keep your hands warm during the colder months. So grab your knitting needles and get started on your own pair of cozy fingerless gloves!
Adding decorative stitches
Decorative stitches can add a unique touch to your fingerless gloves and make them stand out. There are several different stitches you can use to add decorative elements to your gloves. Here are a few ideas:
- Ribbing stitch: The ribbing stitch is a common choice for adding texture and elasticity to fingerless gloves. It involves alternating knit and purl stitches to create a ribbed pattern.
- Cable stitch: Cable stitches create a twisted pattern that adds depth and intricacy to your gloves. This stitch involves crossing a set of stitches over another set to create a cable-like effect.
- Seed stitch: The seed stitch creates a bumpy texture that can add visual interest to your gloves. It involves alternating knit and purl stitches in a specific pattern.
- Lace stitch: Lace stitches create an elegant and delicate look. There are numerous lace stitch patterns to choose from, ranging from simple to more complex designs.
When adding decorative stitches to your fingerless gloves, it’s important to consider the overall design and functionality of the gloves. Some stitches may be more suitable for decorative purposes only, while others can add both beauty and functionality to the gloves.
Finishing Touches and Blocking
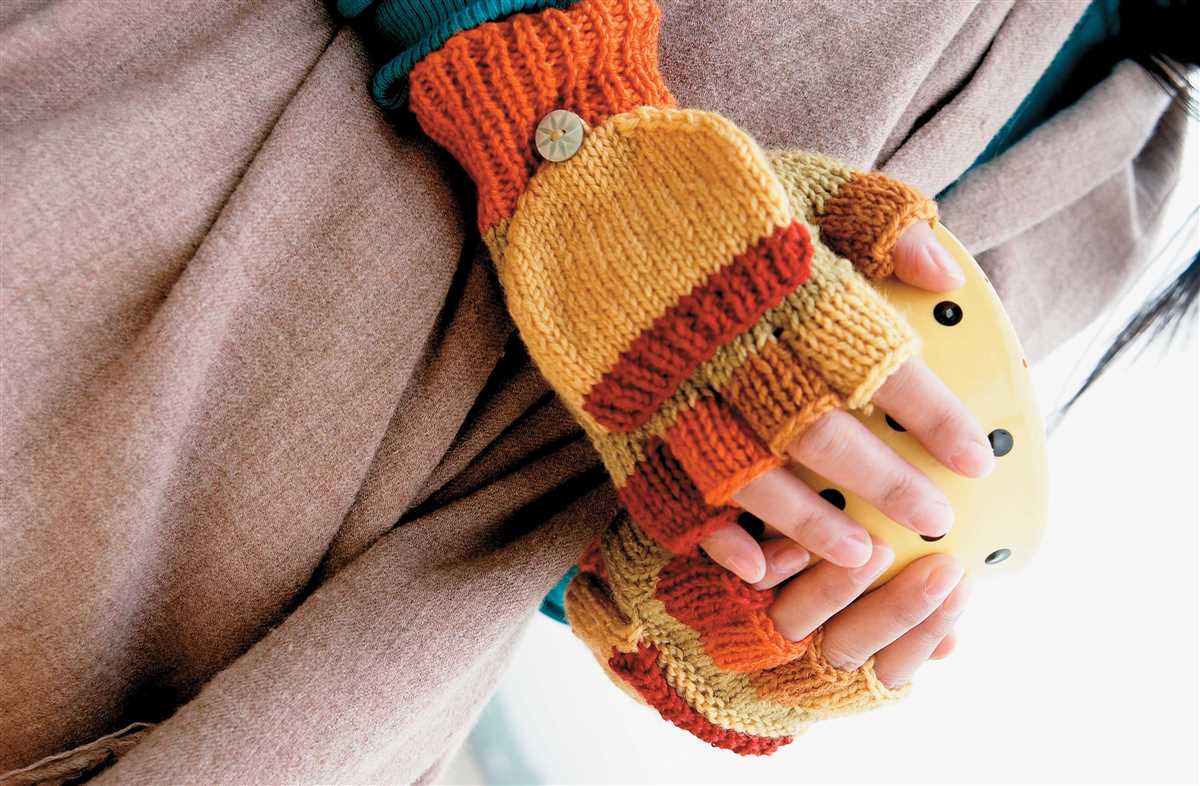
Once you have completed knitting your fingerless gloves, there are a few finishing touches that you can add to give them a polished look. One option is to add ribbing or a decorative border to the cuffs of the gloves. This can be done by picking up stitches along the edges and working in a rib stitch pattern or a pattern that matches the rest of the gloves. Another option is to add buttons or other fasteners to the cuffs to secure them in place and add an extra detail.
After you have added any desired finishing touches, it is important to block your fingerless gloves to give them a professional finish. Blocking helps to even out the stitches and shape the gloves to the desired size. To block your gloves, fill a basin or sink with lukewarm water and a small amount of gentle soap. Gently submerge the gloves in the water, making sure they are fully saturated.
Next, remove the gloves from the water and gently squeeze out the excess moisture. Lay the gloves flat on a clean towel and reshape them to the desired size and shape. Pin the gloves in place using rustproof pins, being careful not to stretch the fabric too much. Allow the gloves to dry completely before unpinning and wearing.
Blocking is an important step in the knitting process that can make a big difference in the final appearance of your fingerless gloves. It helps to smooth out any uneven stitches and ensures that the gloves will fit well and hold their shape. With the finishing touches and blocking complete, your fingerless gloves are ready to be worn or gifted to someone special!
Enjoying your fingerless gloves
Fingerless gloves are not only practical but also fashionable accessories. They can keep your hands warm and cozy while leaving your fingers free for tasks that require dexterity. Whether you have just finished knitting your fingerless gloves or purchased a pair, here are a few tips on how to enjoy wearing them.
1. Stay Warm: Fingerless gloves are perfect for transitional weather when it’s not too cold but still a bit chilly. They provide just the right amount of warmth without making your hands sweat. Wear them while driving, typing, or enjoying outdoor activities like hiking or biking.
2. Style Them Up: Fingerless gloves come in various designs and colors, allowing you to express your personal style. Pair them with your favorite outfit to add a touch of sophistication or a pop of color. Experiment with different combinations to create unique and fashionable looks.
- 3. Use Them for Tech: Fingerless gloves are ideal for using touchscreen devices. Whether you need to answer a call, send a text, or browse the internet, you can comfortably do so without taking off your gloves. They have become a must-have accessory for tech-savvy individuals.
- 4. Embrace Comfort: Fingerless gloves provide warmth without restricting your movements. They allow your hands to breathe and maintain a comfortable temperature. Enjoy the convenience of wearing gloves while still being able to use your fingers freely.
- 5. Share the Love: If you have enjoyed knitting fingerless gloves, consider making them as gifts for your loved ones. They are thoughtful presents that show you care about their comfort and style. Spread the joy of fingerless gloves and share your knitting skills with others.
With their practicality and style, fingerless gloves are a versatile accessory that can enhance your daily activities. Whether you’re running errands, working on your computer, or simply enjoying a cup of coffee outdoors, fingerless gloves provide warmth, comfort, and a touch of fashion. Embrace the convenience and style of fingerless gloves and make them a staple in your wardrobe.