
Are you looking for a fun and easy knitting project? Look no further than a felted knit hat! Felted knitting is a technique that involves knitting with wool and then shrinking the finished piece in hot water to create a dense, durable fabric. This process not only makes the fabric thicker and warmer, but also gives it a unique texture.
Creating a felted knit hat is a great way to experiment with different stitches and patterns while also creating a practical and stylish accessory. Whether you’re an experienced knitter or just starting out, this pattern is suitable for all skill levels. Plus, the felting process helps hide any imperfections and gives the hat a professional finish.
This article will provide you with a step-by-step guide on how to knit and felt your own hat. We’ll cover everything from choosing the right yarn and needles, to casting on, knitting the body and crown, and finally felting and shaping the finished hat. So dust off your knitting needles and get ready to create your own one-of-a-kind felted knit hat!
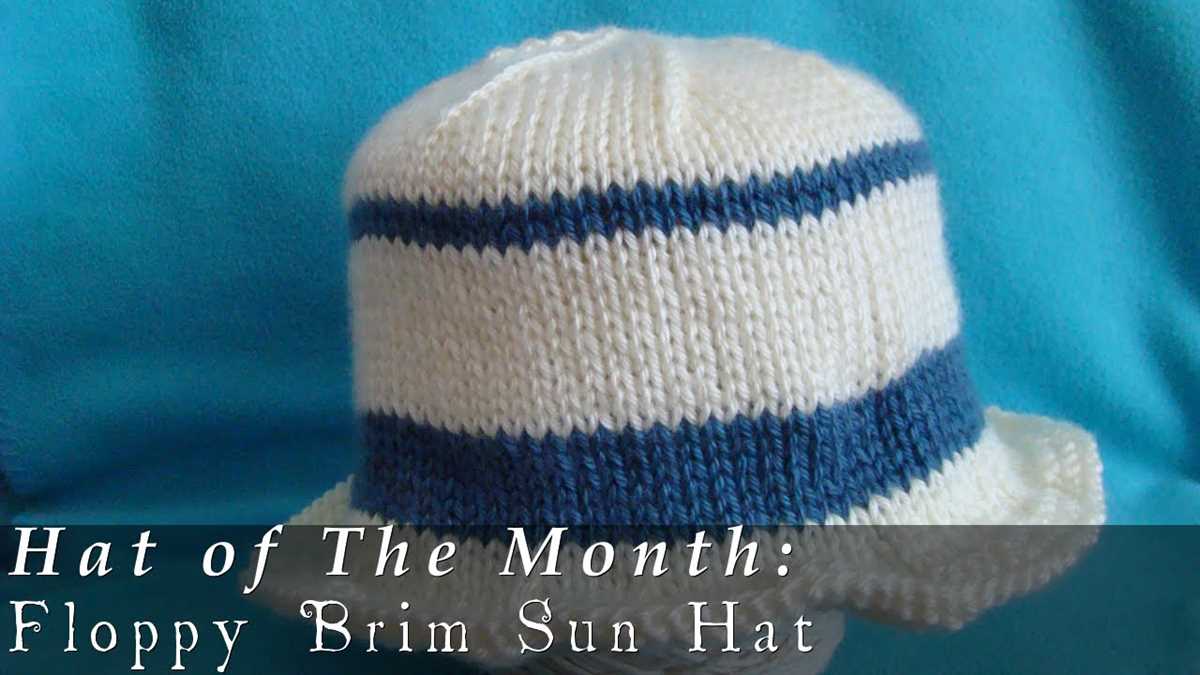
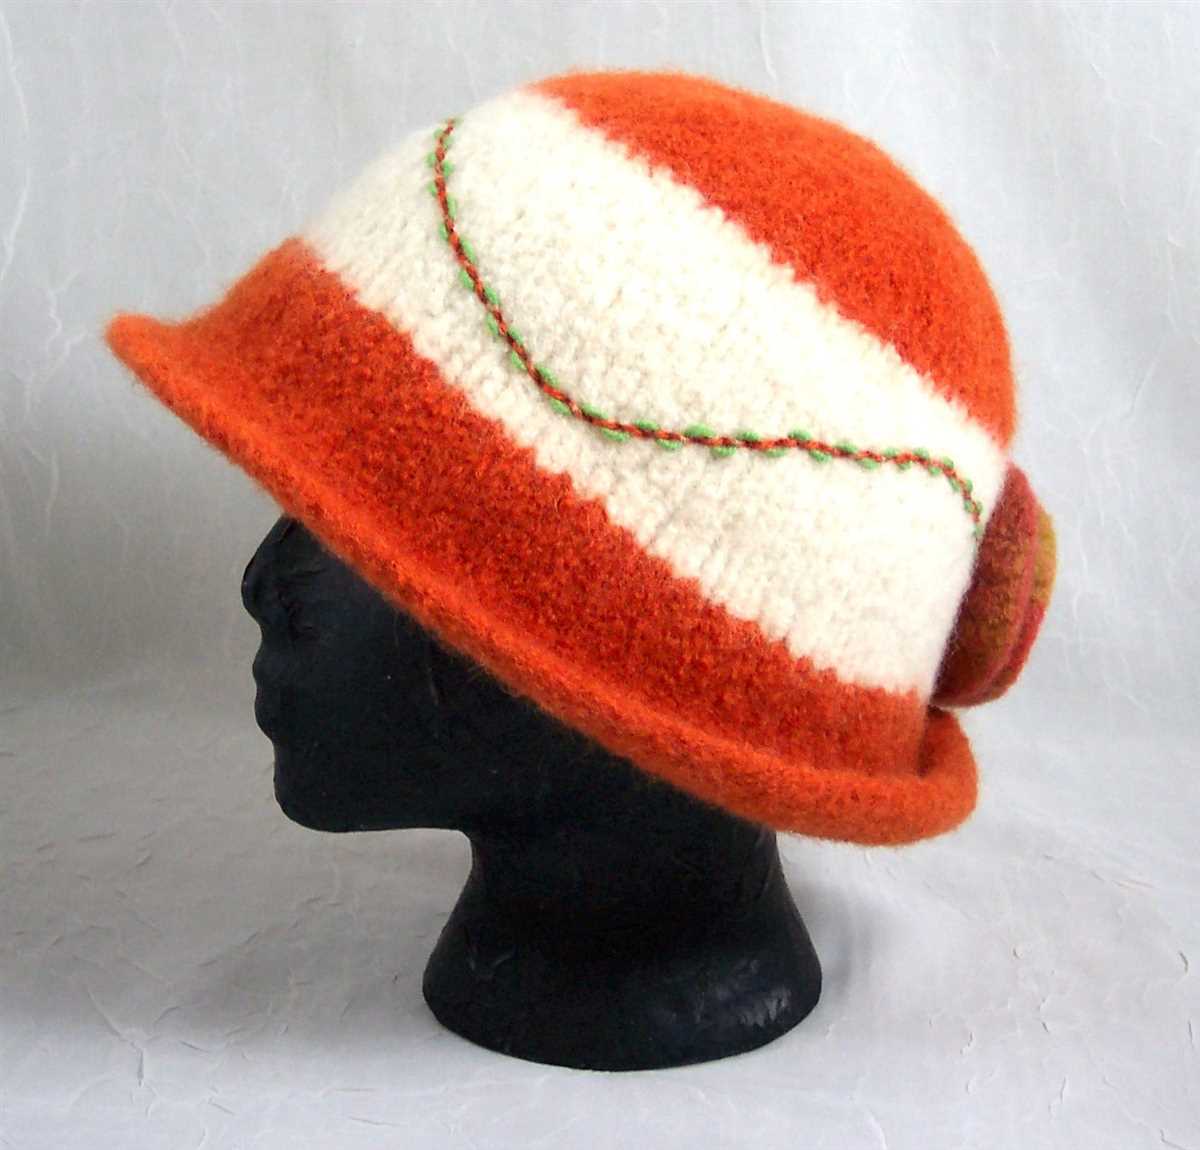
Felted Knit Hat Pattern
If you’re looking to create a unique and cozy hat, consider making a felted knit hat. Felting is the process of shrinking and matting wool fibers together to create a dense and sturdy fabric. This technique is perfect for creating warm winter accessories like hats, as the felted fabric provides excellent insulation.
To make a felted knit hat, you’ll need a few supplies. Start by choosing a yarn made from 100% wool, as synthetic fibers won’t felt properly. You’ll also need circular knitting needles in the appropriate size for your chosen yarn, as well as a set of double-pointed needles for the crown decreases. Additionally, you’ll need a tapestry needle for seaming and a pair of scissors.
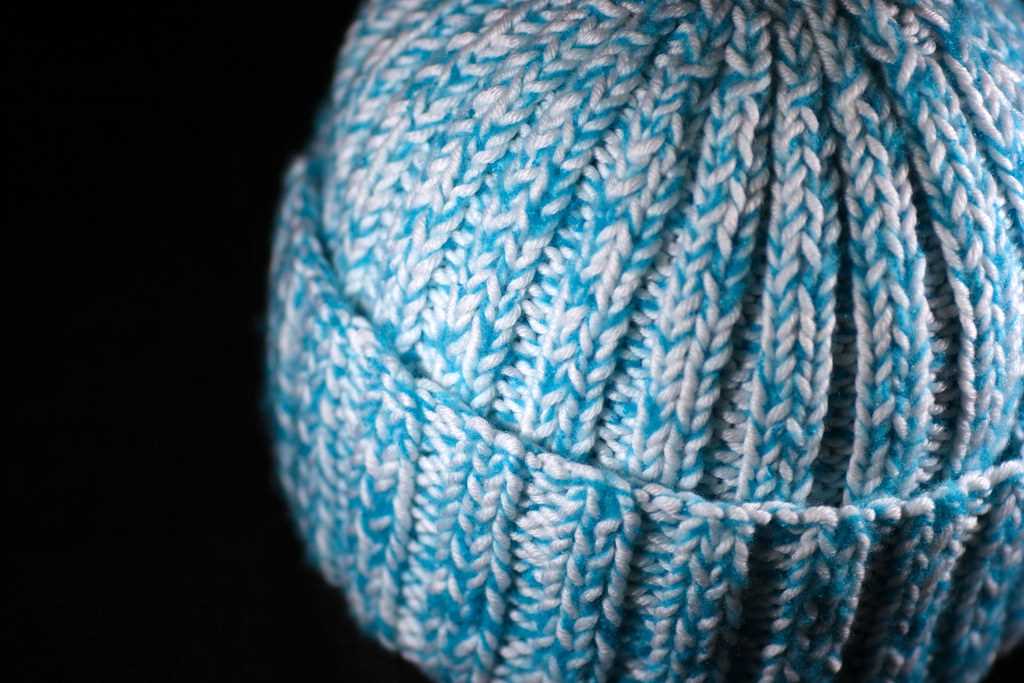
Begin by casting on the desired number of stitches onto your circular needles. Knit the brim of the hat in a ribbed stitch pattern, such as a 1×1 or 2×2 rib, for a stretchy and comfortable fit. Once you’ve reached the desired length for the brim, switch to stockinette stitch for the body of the hat. Continue knitting until the hat measures the desired height, keeping in mind that the hat will shrink during the felting process.
After completing the knitting, it’s time to felt the hat. Fill a sink or basin with hot water and add a small amount of gentle soap or wool wash. Place the hat in the water and gently agitate it to encourage the felting process. You can also rub the hat between your hands to help the fibers mat together. Rinse the hat thoroughly in cool water, squeezing out any excess water.
Next, shape the hat to the desired size. If you’d like a slouchy hat, stretch it over a round object like a bowl or balloon. For a more fitted hat, shape it over your head or a hat form. Allow the hat to air dry completely, which may take several days depending on the thickness of the fabric.
Once the hat is dry, you can add any desired embellishments such as a pom-pom or embroidered design. Use a tapestry needle and matching yarn to attach the embellishments securely. Finally, try on your handmade felted knit hat and enjoy the cozy warmth and unique style it provides.
Why Choose Felted Knit Hats?
Felted knit hats are a popular choice for many reasons. Firstly, they offer a unique and stylish look that can’t be replicated with other materials. The felting process creates a smooth texture and dense fabric, giving the hat a high-quality finish.
Another reason to choose felted knit hats is their excellent insulation. The tightly knitted fibers make these hats incredibly warm and cozy, perfect for keeping your head protected and comfortable in cold weather. The felted fabric also provides excellent wind resistance, making it an ideal choice for blustery days.
Moreover, these hats are incredibly durable and long-lasting. The felting process makes the fabric more resistant to wear and tear, ensuring that your hat will withstand years of use. This durability makes felted knit hats an excellent investment, as they will remain in excellent condition over time.
Furthermore, felted knit hats are versatile and can be easily customized to suit your personal style. Whether you prefer a simple and classic design or something more unique and eye-catching, you can easily find or create a pattern that suits your taste. Additionally, felted knit hats can be made in a variety of colors and patterns, allowing you to express your personality and create a hat that stands out.
In conclusion, whether you’re looking for warmth, durability, style, or the ability to personalize, felted knit hats are an excellent choice. With their unique look and excellent insulation, they are perfect for keeping you cozy and fashionable during the colder months.
Felted Knit Hat Patterns: Materials Needed
If you’re interested in knitting your own felted hat, there are a few materials you’ll need to get started. With these supplies in hand, you’ll be on your way to creating a cozy, stylish hat that you can enjoy wearing during the colder months.
1. Yarn:
Choose a feltable wool yarn for your hat. Look for a yarn that is labeled as “feltable” or “100% wool.” Avoid yarns that contain synthetic fibers, as they do not felt well. Make sure to select a color or colors that you love and that will complement your wardrobe.
2. Knitting Needles:
You’ll need a set of knitting needles in the appropriate size for your chosen yarn. Check the label on your yarn to determine the recommended needle size, or use a gauge swatch to determine the correct size for your project.
3. Felting Agent:
To felt your hat, you’ll need a felting agent. This can be either a bar of olive oil soap or a liquid soap specifically designed for felting. The felting agent will help the wool fibers shrink and matt together during the felting process.
4. Hot Water:
Hot water is essential for the felting process. You’ll need a large basin or sink where you can soak your hat in hot water. The water should be as hot as you can comfortably handle.
5. Towel:
Have a towel on hand to help with the shaping and drying of your hat after felting. You’ll want to roll the hat in the towel to remove excess water and then shape it to the desired size and style.
6. Optional Embellishments:
If you’d like to add some extra flair to your felted hat, consider adding embellishments such as buttons, ribbons, or pom-poms. These can be sewn on after the felting process is complete.
With these materials, you’ll have everything you need to start knitting and felting your own cozy hat. Get creative with your color choices and add personal touches to make your hat truly unique.
Felted Knit Hat Patterns: Basic Knitting Techniques
Knitting a felted hat is a fun and rewarding project that allows you to create a unique and cozy accessory. Whether you’re a beginner or an experienced knitter, mastering a few basic techniques will ensure success in creating beautifully felted hats.
One of the first techniques to learn for felting a knit hat is choosing the right yarn. Opt for 100% wool or a wool-blend yarn that will felt well in the washing machine. Avoid yarns with synthetic fibers, as they won’t felt properly. It’s also important to pick a yarn in the desired color and thickness for your hat.
Once you have your yarn, it’s time to start knitting. Begin by casting on the desired number of stitches using a circular needle or double-pointed needles, depending on your preferred method. Knit in the round using the stockinette stitch or any other stitch pattern you prefer for the body of the hat. Remember to measure your gauge as you knit, as felting will significantly shrink the hat.
After completing the body of the hat, it’s time to shape the crown. This can be done by decreasing stitches evenly around the hat to create a smooth and rounded top. There are various methods for decreasing stitches, such as knitting two stitches together or using the slip-slip-knit technique. Choose the method that yields the best results for your desired shape.
Once the hat is finished, it’s time to felt it. Place the hat in a lingerie bag or pillowcase to protect your washing machine from loose fibers. Set your washing machine to a hot water cycle and add a small amount of laundry detergent. Check the hat periodically during the washing cycle to monitor the felting process. Once the hat has reached the desired size and texture, remove it from the washing machine and reshape it while it’s still wet.
In conclusion, knitting a felted hat is an enjoyable project that allows you to showcase your knitting skills while creating a warm and stylish accessory. By mastering the basic techniques of choosing the right yarn, knitting in the round, shaping the crown, and felting, you can create beautifully felted knit hats that will be cherished for years to come.
Choosing the Right Yarn for Felted Knit Hat
When it comes to knitting a felted hat, choosing the right yarn is crucial. The yarn you choose will ultimately determine the success and durability of your project.
Wool yarn is the most common choice for felting projects due to its natural ability to felt. It is important to choose a wool yarn that is labeled as “feltable” or “non-superwash” to ensure that it will felt properly. Superwash wool yarn, which has been treated to prevent felting, should be avoided for felting projects.
Things to consider when choosing the right yarn for a felted hat:
- Fiber content: Opt for 100% wool yarn as other fibers may not felt as well or might not felt at all.
- Yarn weight: Consider the weight of the yarn and whether it will create the desired thickness and warmth for the hat.
- Color: Keep in mind that colors may appear darker after felting, so choose a slightly lighter shade if you want a specific color outcome.
- Texture: Smooth, tightly spun yarns will felt more evenly and give a polished finish to the hat.
- Amount needed: Make sure to calculate the amount of yarn required for your hat project, considering the potential shrinkage during the felting process.
Remember, felting is a process that involves matting the fibers of the yarn together, so choosing a yarn that has a high percentage of wool and is suitable for felting is essential to achieve the desired result. Take your time to select the perfect yarn that fits both your project’s requirements and your personal preferences for color and texture.
Felted Knit Hat Patterns: Step-by-Step Guide
Knitting your own hat can be a rewarding and creative way to stay warm during the colder months. Felted knit hats are a popular choice, as the felting process creates a dense and cozy fabric. In this step-by-step guide, we will walk you through the process of knitting and felting your own hat, complete with a free pattern to get you started.
Materials Needed:
- Worsted weight yarn
- Size 10.5 (6.5mm) circular knitting needles
- Double-pointed knitting needles
- Tapestry needle
- Scissors
- Stitch markers
- Large pot for felting
- Access to hot water and a washing machine
Step 1: Cast on and Knit the Hat
Using the circular knitting needles, cast on the required number of stitches for your hat size. Follow the pattern instructions for the specific stitch pattern and shaping. Continue knitting in the round until your hat measures the desired length.
Step 2: Shape the Crown
When your hat has reached the desired length, it’s time to shape the crown. This is typically done by decreasing stitches evenly throughout each round. Follow the pattern instructions for the specific crown shaping.
Step 3: Bind off and Secure Ends
Once you have completed the crown shaping, bind off all stitches and secure the loose ends. Use a tapestry needle to weave in any remaining yarn tails.
Step 4: Felting the Hat
Fill a large pot with hot water and add a small amount of soap. Place your knitted hat in the pot and agitate it gently for a few minutes. Carefully remove the hat from the pot and squeeze out any excess water.
Step 5: Fulling the Hat
Place the partially felted hat in a washing machine and run it through a hot water cycle. Check on the hat periodically to monitor the felting process. Once your hat has reached the desired size and density, remove it from the washing machine and reshape it if necessary.
Step 6: Drying and Finishing
Lay your felted hat flat to dry, shaping it to your desired fit. This is a great time to add any embellishments or finishing touches. Once your hat is completely dry, it’s ready to be worn and enjoyed!
With this step-by-step guide, you’ll be able to create your own felted knit hat and customize it to your personal style. Happy knitting!
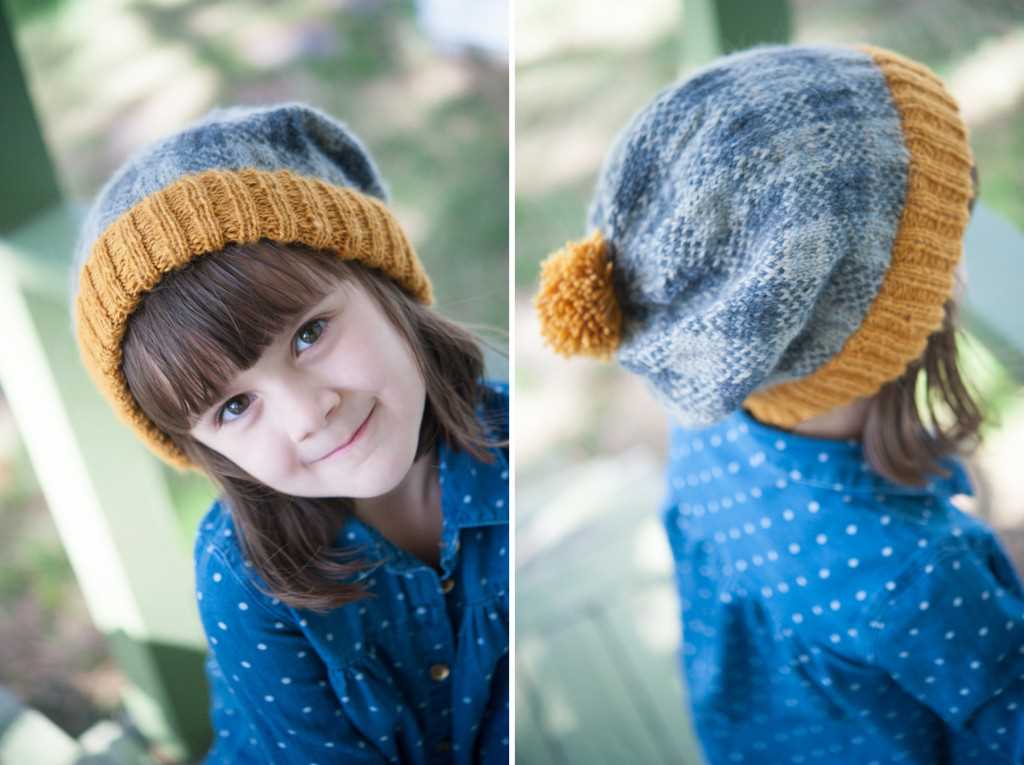
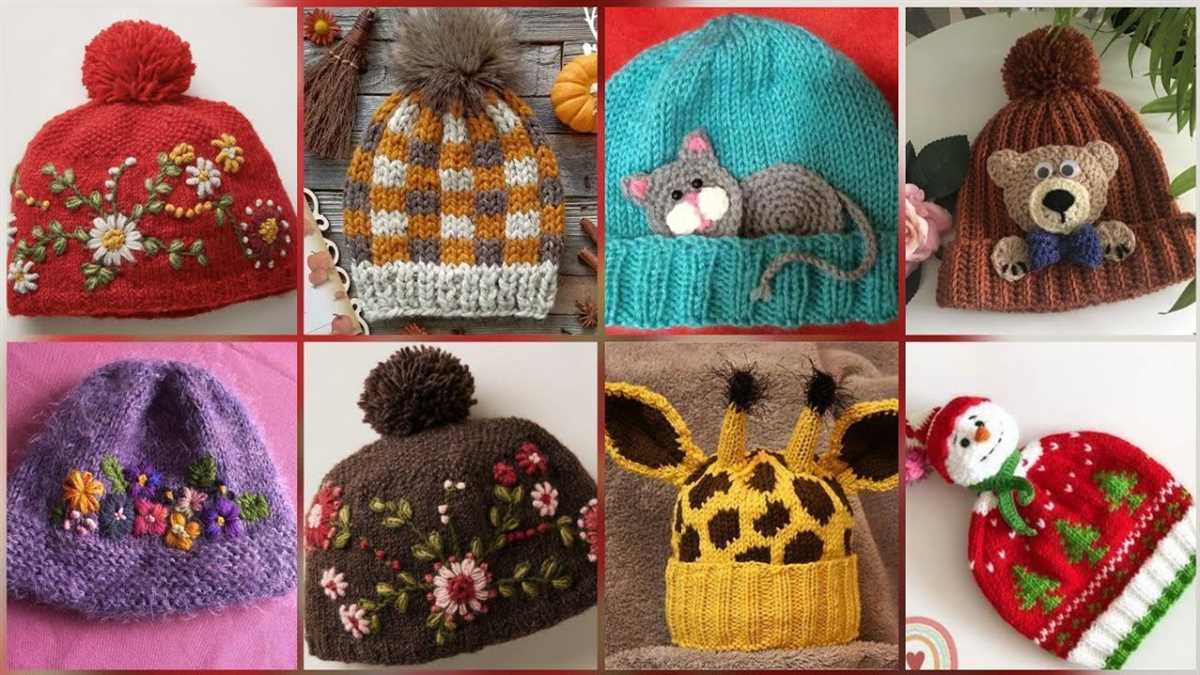
Personalizing Your Felted Knit Hat
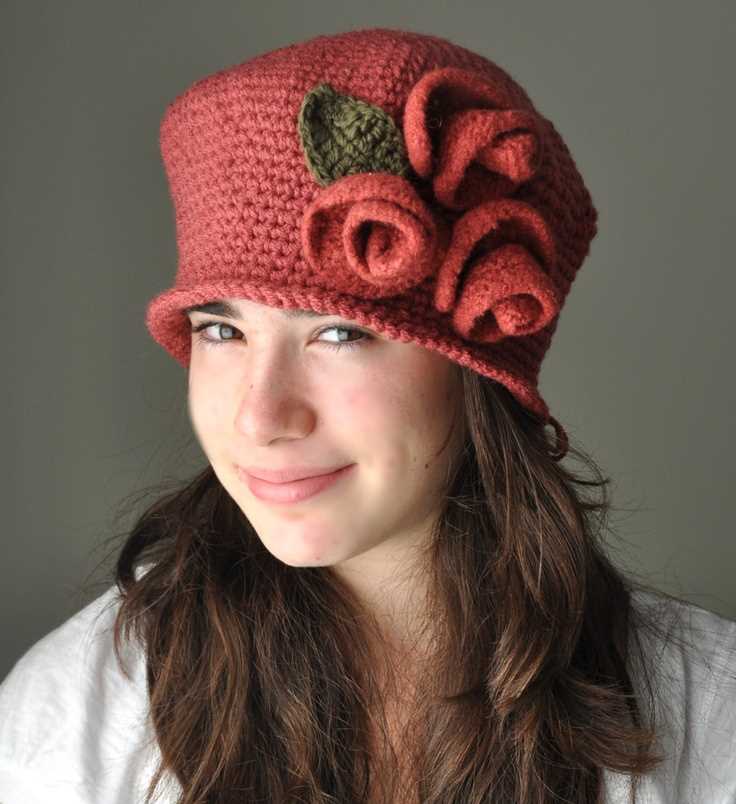
When it comes to knitting a hat, the possibilities for personalization are endless. Whether you want to add a pop of color, a unique pattern, or even some fun embellishments, there are plenty of ways to make your felted knit hat truly one-of-a-kind.
One of the easiest ways to personalize your hat is by choosing the perfect color palette. Consider incorporating your favorite colors or selecting hues that match your wardrobe. A vibrant, bold color can make a statement, while a neutral shade can create a versatile accessory. Alternatively, you can experiment with color blocking or gradient effects to add visual interest.
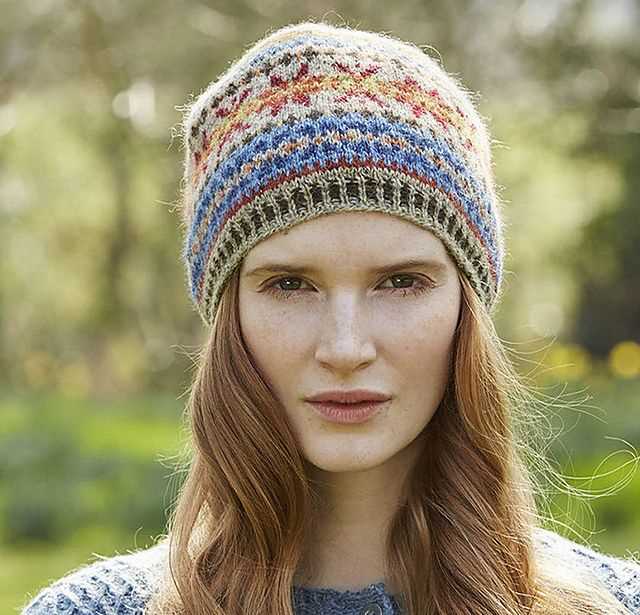
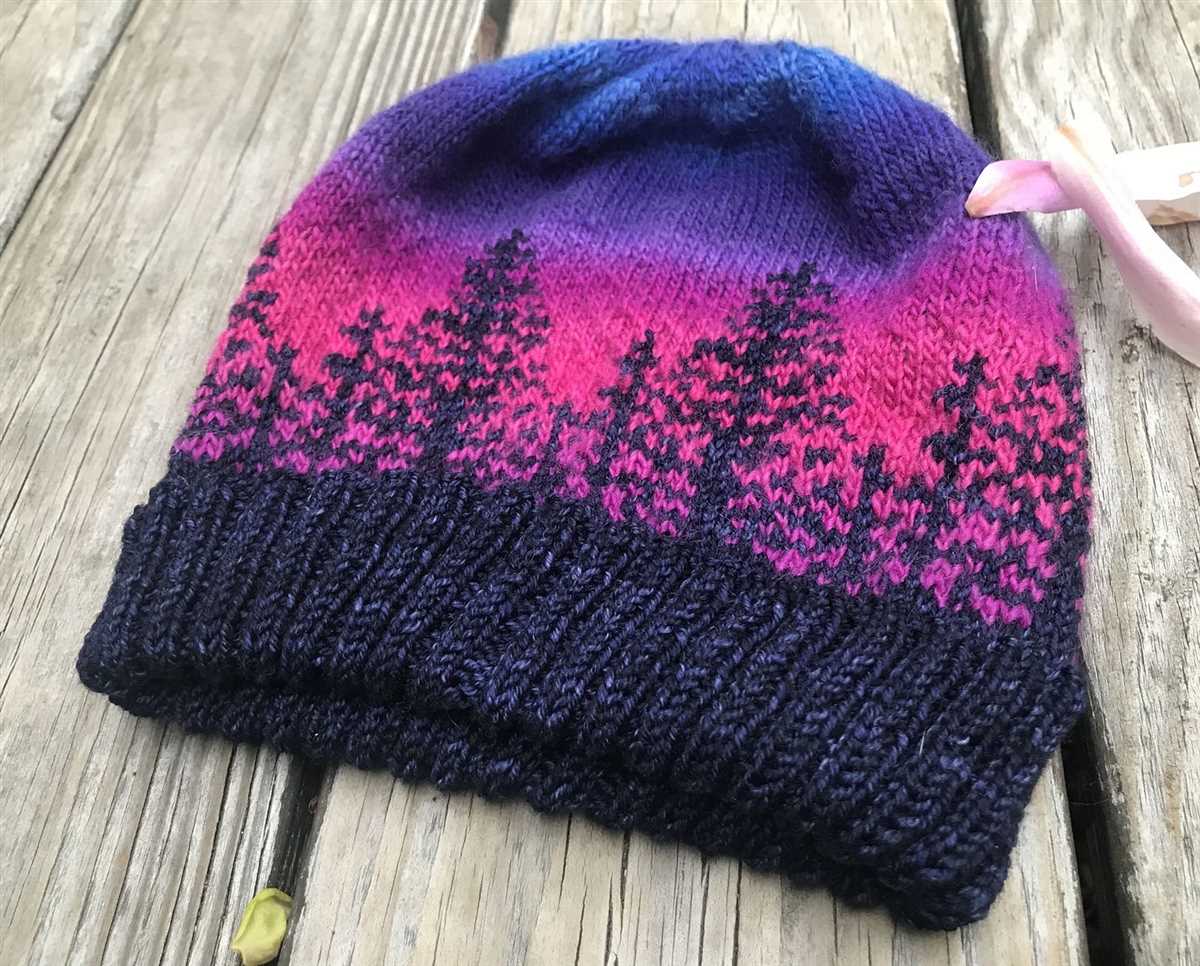
Another way to personalize your felted knit hat is by adding a unique pattern. You can choose to knit a simple ribbed design or explore more intricate stitch patterns. Fair Isle or stranded knitting can create beautiful colorwork, while cables and lace stitches can add texture and elegance. Whether you prefer a classic or contemporary look, there are patterns available for every style.
Embellishments are yet another way to personalize your felted knit hat. You can add buttons, beads, or even a pom-pom to give your hat some extra flair. Embroidery or appliqué techniques can also be used to create custom designs, such as flowers, animals, or initials. These small details can make a big impact and reflect your personal style.
Troubleshooting Common Issues with Felted Knit Hats
Felted knit hats are not only stylish but also provide warmth during the cold winter months. However, like any knitting project, issues can arise that may affect the final result. Here are some common problems that may occur when felting knit hats and how to troubleshoot them.
1. Hat Not Felting Enough
If your knit hat is not felting enough, it may be due to insufficient agitation or incorrect yarn choice. Make sure to follow the felting instructions carefully, including the recommended amount of agitation. If you find that your hat is still not felting enough, try increasing the time or intensity of agitation. Additionally, certain yarns may not felt as well as others, so choose a yarn specifically labeled as “feltable” for best results.
2. Hat Shrinking Too Much
On the other hand, if your hat is shrinking too much during the felting process, it could be due to excessive agitation or prolonged felting. Remember that felting is a process of shrinking the fibers, so if you agitate or felt for too long, your hat may become too small. To troubleshoot this issue, try reducing the agitation time or intensity. You can also check the felting progress periodically to ensure that the hat has reached the desired size before stopping the process.
3. Hat Losing Shape
If your felted knit hat is losing its shape, it may be because the yarn used does not have enough structure to hold its form. To prevent this issue, choose a yarn with sufficient elasticity or strength to maintain the shape of the hat. You can also try reinforcing the brim or any other weak areas with a crochet or slip stitch to provide added stability. Blocking the hat after felting can also help reshape and define the desired form.
4. Uneven Felting or Patchy Appearance
If your felted hat has an uneven felting or patchy appearance, it could be due to variations in agitation or inadequate distribution of soap and water. Make sure to agitate the hat evenly and ensure that it is fully submerged in soapy water during the felting process. If you notice any areas that are not felting properly, you can target those specific areas by rubbing them gently with your hands or using a felting needle to encourage the fibers to felt together.
- Ensure sufficient agitation and choose feltable yarn for proper felting.
- Avoid excessive agitation and prolonged felting to prevent excessive shrinking.
- Select a yarn with enough structure to maintain the shape of the hat.
- Distribute soap and water evenly for uniform felting and avoid patchy appearance.
Caring for Your Felted Knit Hat
Maintaining the quality and appearance of your felted knit hat is important to ensure its longevity and to keep it looking its best. Here are some tips to help you care for your felted knit hat:
Hand-washing
It is best to hand-wash your felted knit hat to avoid damaging the delicate fibers. Fill a basin or sink with lukewarm water and add a mild detergent specifically designed for wool or delicate fabrics. Gently agitate the hat in the soapy water, taking care not to stretch or twist it. Rinse the hat thoroughly with clean water and gently squeeze out the excess moisture. Avoid wringing or twisting the hat, as this can cause it to lose its shape. Lay the hat flat on a clean towel to dry, reshaping it if necessary.
Storing
When not in use, it is important to store your felted knit hat properly to prevent it from getting damaged. Avoid hanging the hat, as this can cause it to stretch out of shape. Instead, fold the hat neatly and place it in a clean, dry box or drawer. If you have multiple hats, you can stack them on top of each other, but be sure to place a layer of tissue paper or fabric between each hat to prevent them from rubbing against each other and causing friction damage.
Spot-cleaning
If your felted knit hat only has a small stain or spot, you can spot-clean it instead of washing the entire hat. Dampen a clean cloth or sponge with lukewarm water and a small amount of mild detergent. Gently dab the stained area, taking care not to rub or scrub it. Rinse the cloth or sponge with clean water and continue to dab the area until the stain is removed. Blot the spot with a dry towel to remove excess moisture and allow the hat to air dry.
Final Thoughts on Felted Knit Hat Patterns
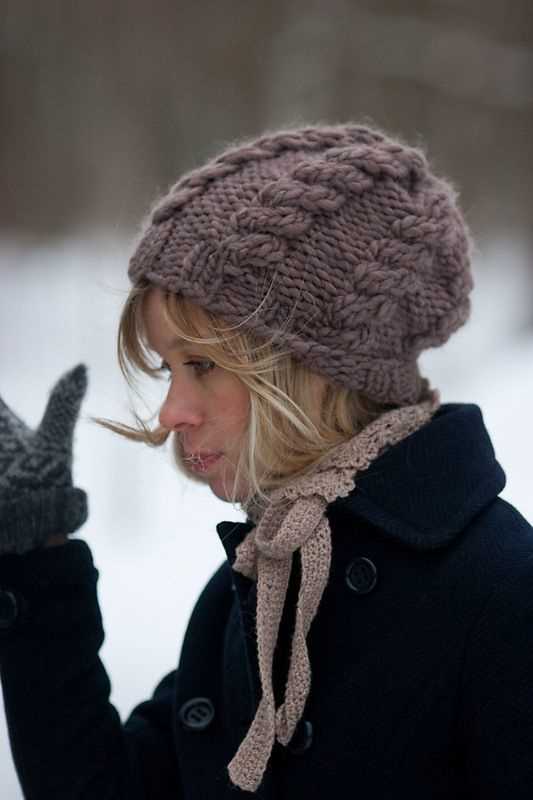
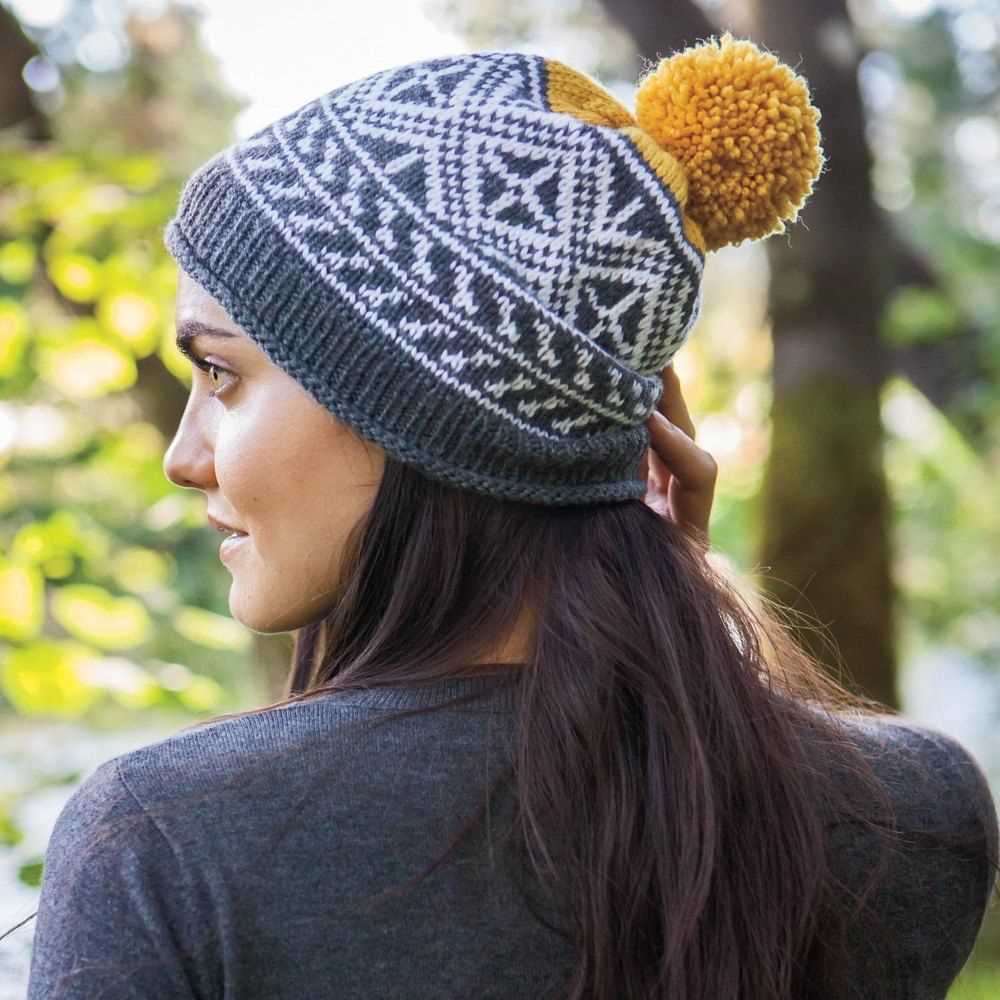
Knitting and felting your own hat is a rewarding and enjoyable experience. With a wide variety of felted knit hat patterns available, you can create unique and stylish hats for yourself, your friends, and your family. Whether you want a classic beanie, a slouchy hat, or a fun and funky design, there is a pattern out there for you.
When choosing a felted knit hat pattern, consider the level of difficulty, the type and weight of the yarn, and the final size and fit of the hat. Make sure to follow the instructions carefully and gauge your work to ensure a proper fit and finish.
Benefits of felting:
- Felted hats are warm and cozy, perfect for chilly days.
- Felting adds durability to your knit hat, allowing it to withstand everyday wear and tear.
- You can customize your hat by adding embellishments, such as buttons, flowers, or pom-poms.
- Felting can transform a simple knit hat into a unique and eye-catching accessory.
Tips for felting:
- Use hot water and agitation to felt your hat. You can use your washing machine or hand wash in a basin.
- Avoid using soap with lanolin, as it may interfere with the felting process.
- Check your hat regularly during the felting process to ensure it is not shrinking too much or felting unevenly.
- When your hat has reached the desired size and texture, rinse it thoroughly and shape it to dry.
With the right pattern and a bit of creativity, you can create beautiful felted knit hats that are both stylish and functional. So grab your knitting needles and get started on your next felted hat project!
Q&A:
What materials do I need to make a felted knit hat?
To make a felted knit hat, you will need yarn made of wool or another feltable material, knitting needles, a tapestry needle, and a large pot or basin for felting.
What size knitting needles should I use for a felted hat?
The recommended size for knitting needles when making a felted hat is typically larger than what the yarn label suggests. For example, if the yarn label suggests using size 8 needles, you may want to use size 10 or 11 needles to create a looser gauge for felting.
Can I use any type of yarn for felting a hat?
Not all yarns are suitable for felting. Choose yarns that are made of animal fibers, such as wool or alpaca, as these fibers have the ability to felt. Avoid yarns made of plant or synthetic fibers, as they will not felt properly.
How do I felt a knit hat?
To felt a knit hat, you will need to wash it in hot water and agitate it. You can do this by hand or by using a washing machine set to a hot water cycle. Check on the hat periodically to monitor the felting process, as different yarns may felt at different rates. Once the hat has reached the desired size and texture, remove it from the water and shape it to dry.
Can I add decorations or embellishments to a felted knit hat?
Yes, you can add decorations or embellishments to a felted knit hat. However, it is best to do this after the felting process, as the additions may interfere with the felting process. You can sew on buttons, attach a pom-pom, or even needle felt designs onto the hat once it is fully felted and dry.
What is a felted knit hat pattern?
A felted knit hat pattern is a set of instructions that guide you through the process of creating a hat using knitted fabric that is then felted to create a denser, more compact material. This pattern typically includes information on the size, gauge, materials needed, and step-by-step instructions for knitting and felting the hat.