
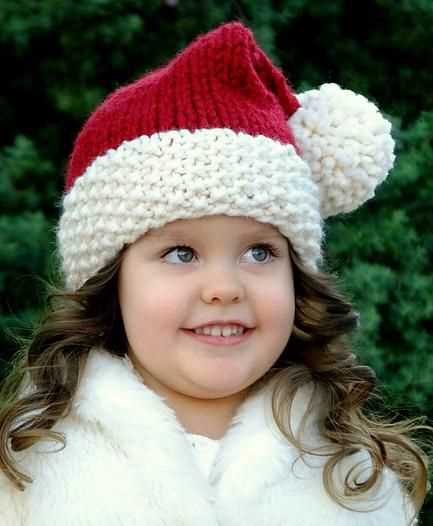
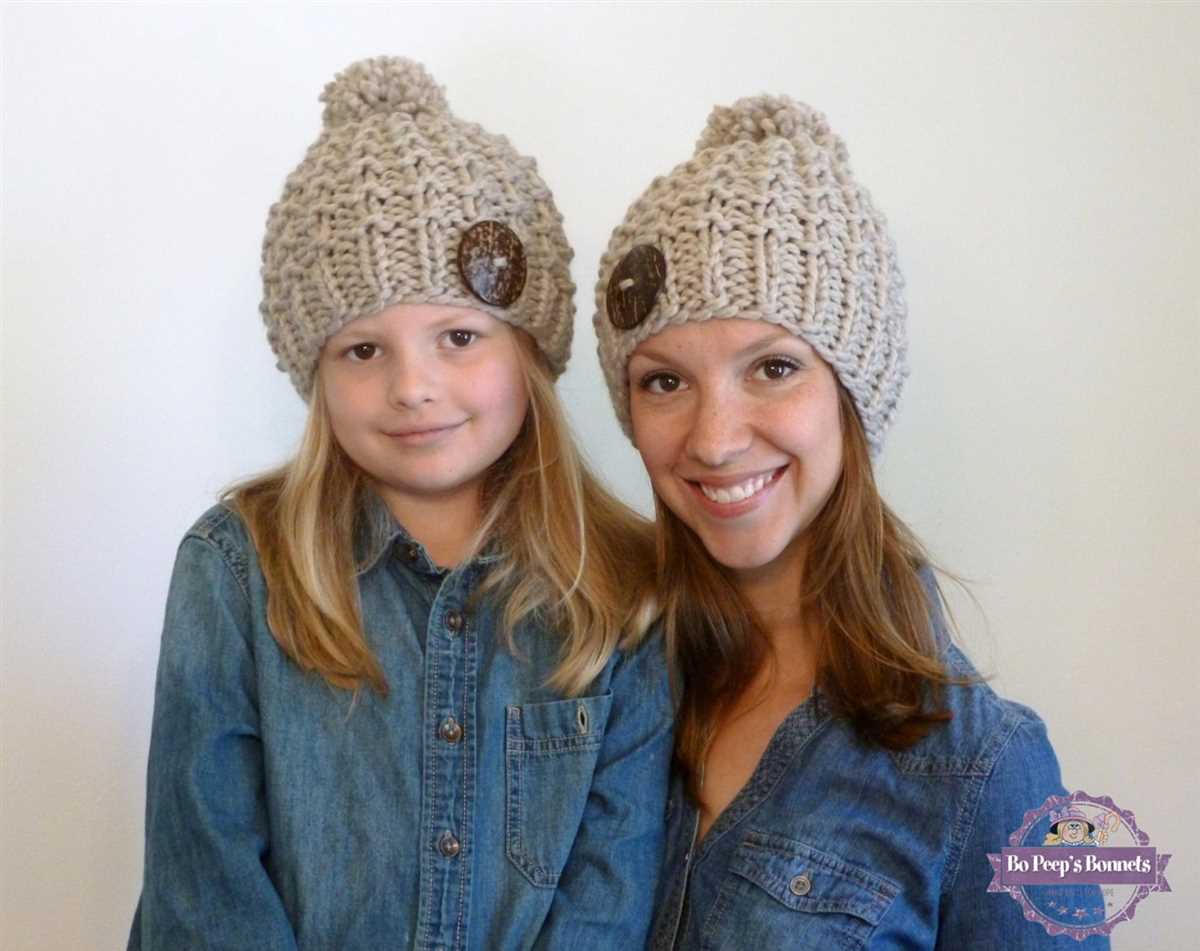
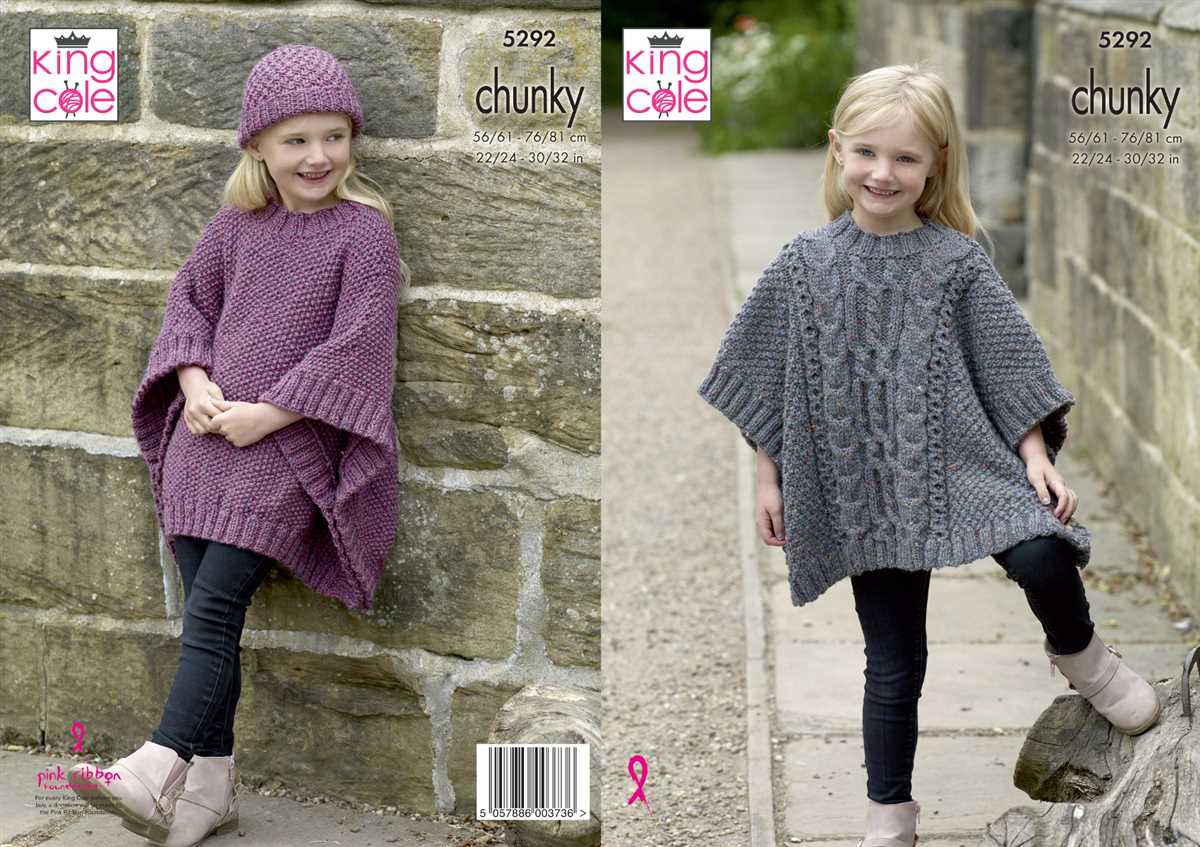
When the cold weather rolls around, it’s time to start thinking about keeping your little one warm and cozy. One of the best ways to do that is with a chunky hat. Not only is it stylish, but it’s also a great way to protect their little heads from the harsh winter winds.
If you’re looking for a new knitting project, we’ve got you covered. In this article, we’ll be sharing a childs chunky hat knitting pattern that’s perfect for beginners. Whether you’re new to knitting or just looking for a quick and easy project, this pattern is sure to fit the bill.
This childs chunky hat knitting pattern calls for chunky yarn and a size 10 knitting needle, making it a quick project that you can complete in just a few hours. The pattern includes instructions for different sizes, so you can make a hat that fits your child perfectly.
So grab your knitting needles and dive into this childs chunky hat knitting pattern. With just a little bit of time and effort, you’ll have a cozy hat that your child will love to wear all winter long!
Childs Chunky Hat Knitting Pattern
Knitting a chunky hat for a child is a great way to keep them warm and stylish during the colder months. With this simple knitting pattern, you can easily create a cozy hat that will fit snugly on a child’s head.
To start, you will need a few essential materials. Make sure you have a pair of knitting needles, preferably size 10 or 11, and a ball of chunky yarn in your desired color. You can also choose to use circular knitting needles if you prefer. Additionally, you may want to have a stitch marker and a yarn needle for finishing touches.
Begin by casting on 48 stitches using the long-tail cast-on method. This will form the base of the hat. As you knit, be mindful of the gauge and adjust your needle size if necessary to achieve the desired measurements.
Next, knit in a rib stitch pattern for approximately 2 inches. This will create a stretchy band that will fit comfortably around the child’s head. You can choose to knit in a 1×1 or 2×2 rib, whichever you prefer.
After completing the rib stitch pattern, switch to knitting in stockinette stitch for the body of the hat. Continue knitting until the hat measures approximately 6 inches from the cast-on edge. If you want a longer hat, you can continue knitting until you reach the desired length.
When you reach the desired length, it’s time to decrease the stitches to shape the top of the hat. Start by knitting two stitches together across the row. Continue this decrease row every other row until you have only a few stitches left.
Finally, cut the yarn, leaving a long tail. Thread the tail through the yarn needle and pull it through the remaining stitches, removing them from the needle. Cinch the top of the hat closed by pulling the yarn tight, then weave in any loose ends.
With this easy-to-follow knitting pattern, you can create a stylish and warm chunky hat for a child. The chunky yarn makes it a quick and enjoyable project, perfect for beginners or experienced knitters looking for a fun and satisfying project.
Overview
Looking for a cozy and stylish hat to knit for your little one? Look no further! This childs chunky hat knitting pattern is the perfect project for both beginner and experienced knitters alike. With its simple yet classic design, this hat will keep your child warm and fashionable during the colder months.
The pattern is easy to follow, with step-by-step instructions and helpful tips along the way. Whether you’re new to knitting or have been doing it for years, you’ll find this pattern accessible and enjoyable. Plus, the chunky yarn used in this pattern makes for a quick and satisfying knit, so you’ll have a finished hat in no time!
Materials Needed
- Chunky yarn in your desired color
- Size 8mm knitting needles
- Yarn needle
- Stitch marker
- Scissors
Don’t worry if you’re not familiar with some of these materials – the pattern includes explanations and suggestions for each item needed. You’ll be able to find everything you need at your local yarn store or online.
So why wait? Gather your materials and get ready to create a beautiful and cozy hat for your child. Download the childs chunky hat knitting pattern today and get started on your knitting adventure!
Materials Needed
Before you begin knitting the child’s chunky hat, make sure you have all the necessary materials. Here is a list of items you will need:
- Yarn: Choose a chunky weight yarn in the color of your choice. Make sure you have enough yarn to complete the project.
- Knitting needles: You will need a pair of size 10mm knitting needles, or a size that will give you the correct gauge for the pattern.
- Tape measure: This will be useful for measuring the gauge as well as the circumference of the child’s head.
- Stitch markers: These will help you keep track of your stitches as you knit.
- Yarn needle: This will be used for weaving in ends and finishing the hat.
- Pom pom maker (optional): If you want to add a pom pom to the top of the hat, you will need a pom pom maker.
Make sure you have all these materials before you start knitting. Having everything prepared will make the knitting process smoother and more enjoyable.
Gauge

Gauge is an important factor when knitting a hat, as it determines the size and fit of the finished project. It refers to the number of stitches and rows per inch in the knitted fabric. To ensure that your hat turns out the right size, it is crucial to match the gauge specified in the pattern.
To check your gauge, you will need to create a swatch by knitting a small portion of the pattern using the recommended needle size. The swatch should be at least 4 inches by 4 inches in size, and it is important to follow the pattern instructions exactly, including any stitch patterns or color changes.
Measuring gauge:
- After completing the swatch, lay it flat on a surface.
- Using a ruler or tape measure, count the number of stitches horizontally across 1 inch of the fabric. This will give you the stitch gauge.
- Next, count the number of rows vertically within 1 inch. This will give you the row gauge.
- Compare your stitch and row counts to the gauge specified in the pattern. If your counts match the pattern gauge, congratulations! Your gauge is correct. If not, you will need to adjust your needle size.
Adjusting gauge:
If your stitch gauge is too small (fewer stitches per inch than specified), you will need to use smaller needles to achieve a tighter tension. Conversely, if your stitch gauge is too large (more stitches per inch than specified), you will need to switch to larger needles to create a looser tension.
To adjust the row gauge, you may need to experiment with different needle sizes as well. Keep in mind that changes in needle size can also affect the overall drape and feel of the fabric, so it’s important to find a balance between achieving the correct gauge and maintaining the desired texture of the knitted fabric.
Size
To ensure that the chunky hat fits perfectly, it is important to choose the right size. The pattern provides instructions for three different sizes: small, medium, and large.
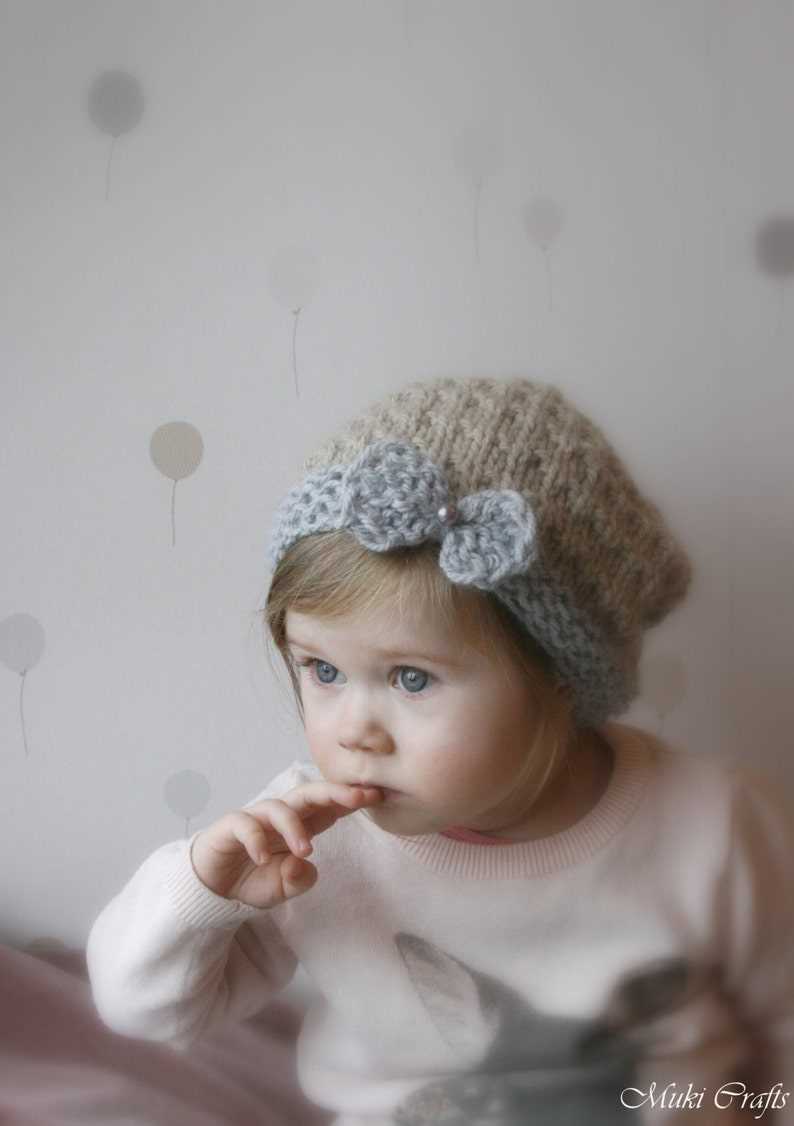
Small: This size is suitable for babies and toddlers, with a head circumference of approximately 16-18 inches. The hat will have a snug fit on smaller heads, keeping them warm and cozy during colder months.
Medium: The medium size is designed for children aged 3-7 years, with a head circumference of around 18-20 inches. This size offers a comfortable fit, providing adequate warmth without being too tight or loose.
Large: For older children and teenagers, the large size is recommended. It has a head circumference of approximately 20-22 inches, accommodating for growth and providing a comfortable fit.
To determine the correct size, it is recommended to measure the child’s head circumference and compare it to the size chart provided in the pattern. It is important to keep in mind that different yarns and knitting tension can affect the final size of the hat, so adjusting needle sizes or yarn weight may be necessary to achieve the desired fit.
Abbreviations
In knitting patterns, you will often come across abbreviations that can seem confusing if you are new to knitting. However, understanding these abbreviations is essential for following the pattern correctly and creating a beautiful child’s chunky hat. Here are some common abbreviations you may encounter:
- K: knit
- P: purl
- K2tog: knit two stitches together
- P2tog: purl two stitches together
- YO: yarn over
- RS: right side
- WS: wrong side
- St(s): stitch(es)
- Rep: repeat
- Rnd(s): round(s)
- Dec: decrease
- Inc: increase
These abbreviations are often used to condense instructions and make the pattern easier to read. By familiarizing yourself with these abbreviations, you will be able to follow the child’s chunky hat knitting pattern more efficiently. Keep in mind that different patterns may use different abbreviations, so always refer to the pattern’s key or legend if you come across an unfamiliar abbreviation.
Pattern Instructions
In this pattern, you will find detailed instructions to knit a chunky hat for a child. The pattern is relatively simple and suitable for knitters of all skill levels. To complete this project, you will need a set of size 10 knitting needles and chunky yarn in the color of your choice.
Materials:
- Size 10 knitting needles
- Chunky yarn
Size:
This pattern is designed to fit a child’s head circumference of approximately 18-20 inches.
Instructions:
- Cast on 60 stitches using the long-tail cast on method.
- Begin the ribbing pattern by knitting 1 stitch, purling 1 stitch across the first row. Repeat this pattern for a total of 8 rows.
- Switch to stockinette stitch and knit every row until the hat measures approximately 6 inches from the cast-on edge.
- Shape the crown by starting the decrease rounds. On the next row, *knit 6 stitches, knit 2 together* and repeat from * to * until the end of the row. You should have 52 stitches remaining.
- Knit the following row.
- Continue to decrease in this manner by knitting 5 stitches, knitting 2 together, until you have 44 stitches remaining.
- Knit the following row
- Continue to decrease by knitting 4 stitches, knitting 2 together, until you have 36 stitches remaining.
- Knit the following row.
- Continue to decrease by knitting 3 stitches, knitting 2 together, until you have 28 stitches remaining.
- Knit the following row.
- Continue to decrease by knitting 2 stitches, knitting 2 together, until you have 20 stitches remaining.
- Knit the following row.
- Continue to decrease by knitting 1 stitch, knitting 2 together, until you have 12 stitches remaining.
- Knit the following row.
- Cut the yarn, leaving a long tail. Thread the tail through the remaining stitches and draw tight to close the top of the hat.
- Weave in any loose ends and block the hat to shape if desired.
This pattern should result in a warm and cozy hat that is perfect for any child. Feel free to experiment with different yarn colors and embellishments to make it unique!
Row 1
The first row of the chunky hat knitting pattern sets the foundation for the rest of the project. It is crucial to start off on the right foot to ensure that the hat turns out the way you want it to.
To begin row 1, the pattern instructs you to cast on the required number of stitches. This will vary depending on the size of the hat and the gauge you are using. Make sure to follow the instructions carefully to achieve the correct number of stitches.
Next, you will need to work the first row of stitches. This typically involves knitting or purling each stitch across the row. The pattern may specify a particular stitch pattern or texture for the first row, so be sure to take note of any special instructions.
You may find it helpful to use stitch markers to keep track of certain sections or pattern repeats as you work row 1. This can make it easier to count your stitches and ensure that you are following the pattern correctly.
Once you have completed row 1, take a moment to double-check your work. Make sure that you have the correct number of stitches and that your tension is consistent. This will ensure that your hat turns out the right size and shape.
Row 2
In the second row of the child’s chunky hat knitting pattern, you will continue to knit in a ribbing pattern. This will create a stretchy and snug fit for the hat. To start, you will need to repeat the same instructions as in row 1.
Instructions:
- Continue knitting in the ribbing pattern, alternating between knit and purl stitches.
- Repeat the ribbing pattern for the desired length of the hat, following the measurements specified in the pattern.
- Make sure to maintain the correct tension and gauge as you knit to ensure the hat fits properly.
- Continue to work row 2 until you reach the next specified row in the pattern.
Row 2 is an important part of the child’s chunky hat knitting pattern as it helps to establish the ribbing pattern that will continue throughout the hat. It is crucial to follow the instructions and maintain tension to achieve the desired fit. Once you have completed row 2, you can move on to the next row as specified in the pattern.
Finishing
Once you have finished knitting the chunky hat for your child, it’s time to complete the finishing touches. This includes weaving in any loose ends and blocking the hat to give it a polished look. Here are the steps to finish your child’s chunky hat:
Weaving in ends: Take a yarn needle and thread it with the loose end of yarn from your knitting. Starting from the wrong side of the hat, weave the needle through the stitches, following the path of the yarn. Make sure to weave in the end securely so it doesn’t unravel. Repeat this process for any other loose ends.
Blocking: To give your hat a neater appearance, you can block it. Fill a sink or basin with lukewarm water and add a few drops of mild detergent. Gently immerse the hat in the water and let it soak for a few minutes. Remove the hat and gently squeeze out excess water. Place the hat on a towel and roll it up to remove even more water. Lay the hat flat on another dry towel and shape it to your desired size and shape. Allow the hat to air dry completely.
Once the hat is dry and the finishing touches are complete, it’s ready to be worn by your child! Your child will love the warmth and comfort of their new chunky hat, and you can feel proud of your knitting skills.
Variations
There are endless possibilities to customize this chunky hat knitting pattern and make it unique. Here are a few variations you can try:
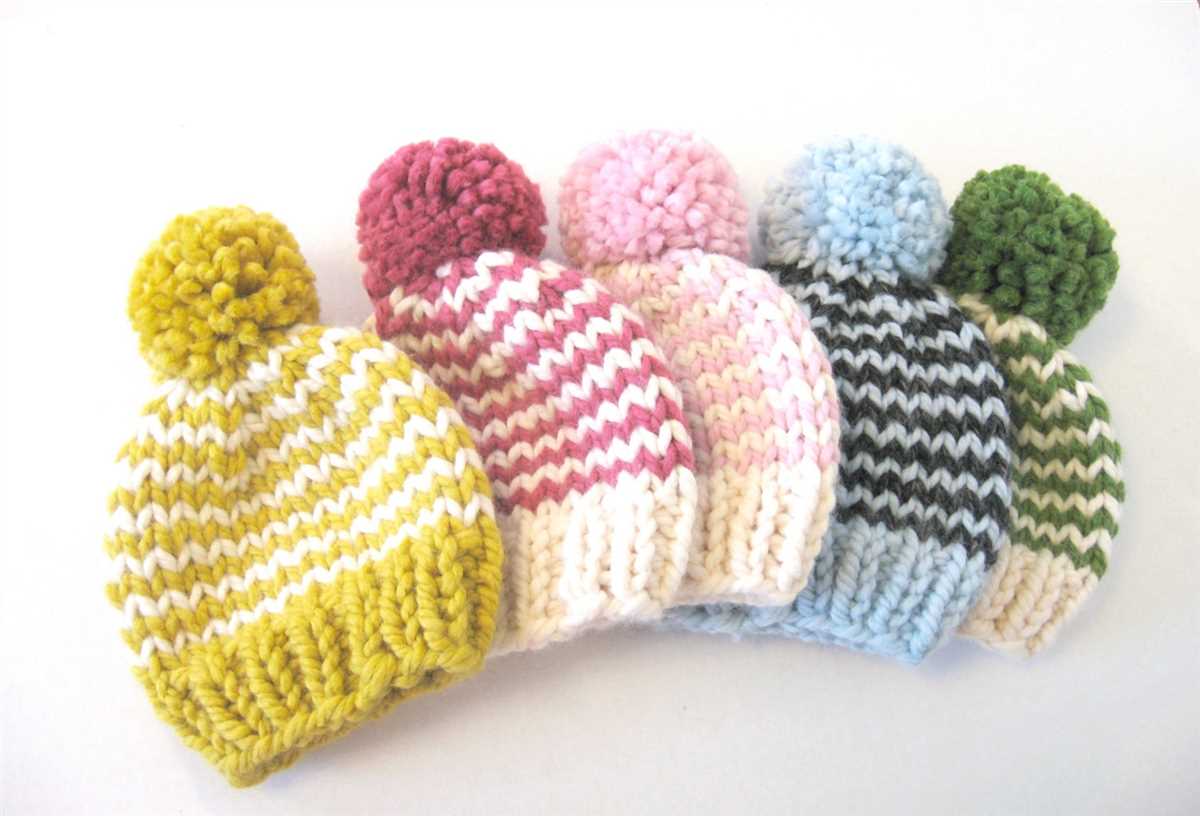
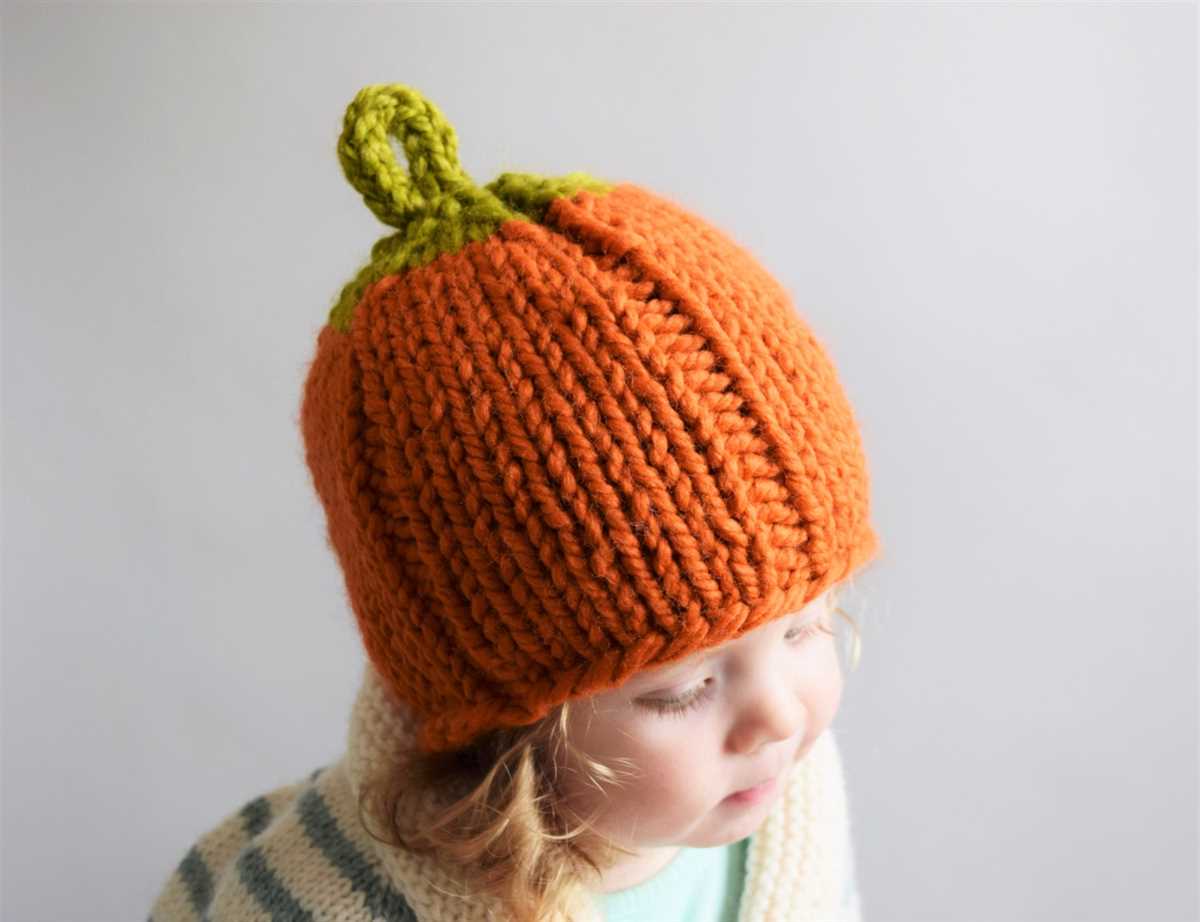
- Color variations: Experiment with different colors by using contrasting or complementary yarns. You can create striped patterns or combine multiple colors for a fun and vibrant look.
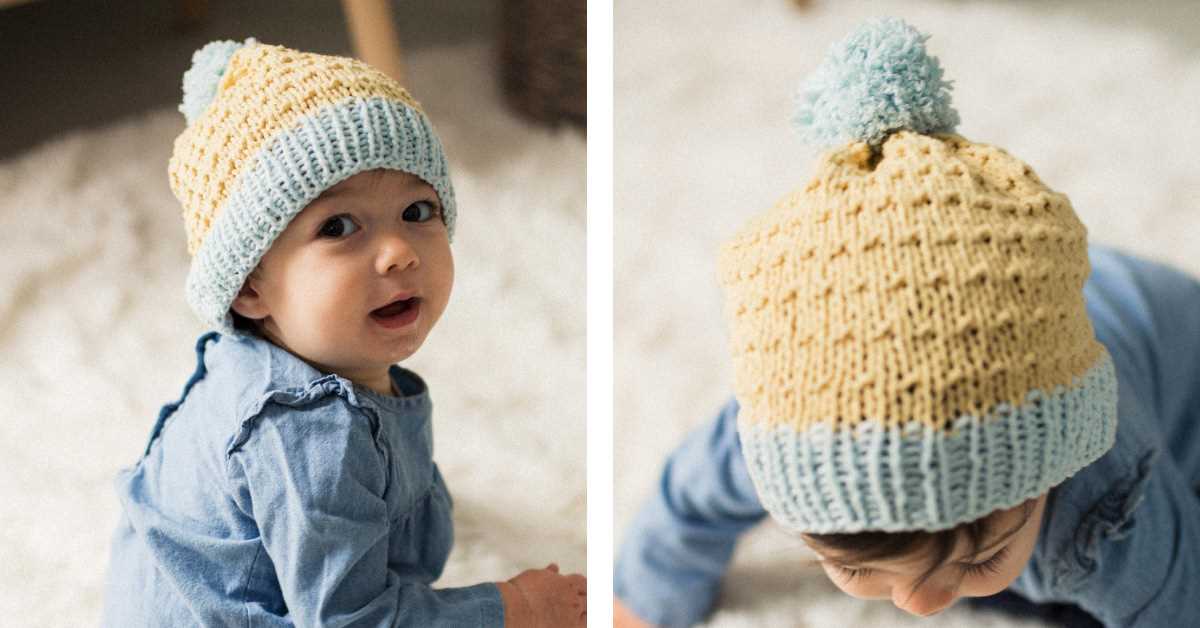
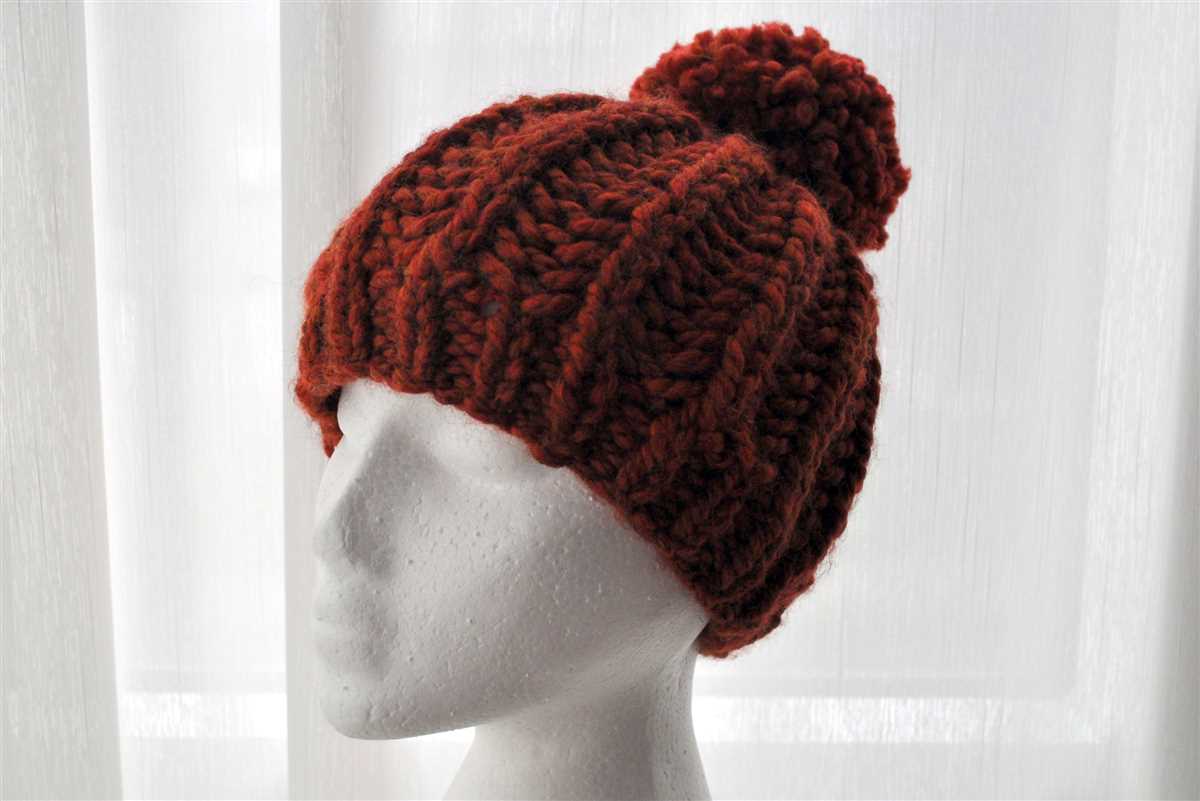
- Texture variations: Play around with different stitch patterns to add texture to your hat. You can try ribbing, cables, or even lace stitches to create a unique and eye-catching design.
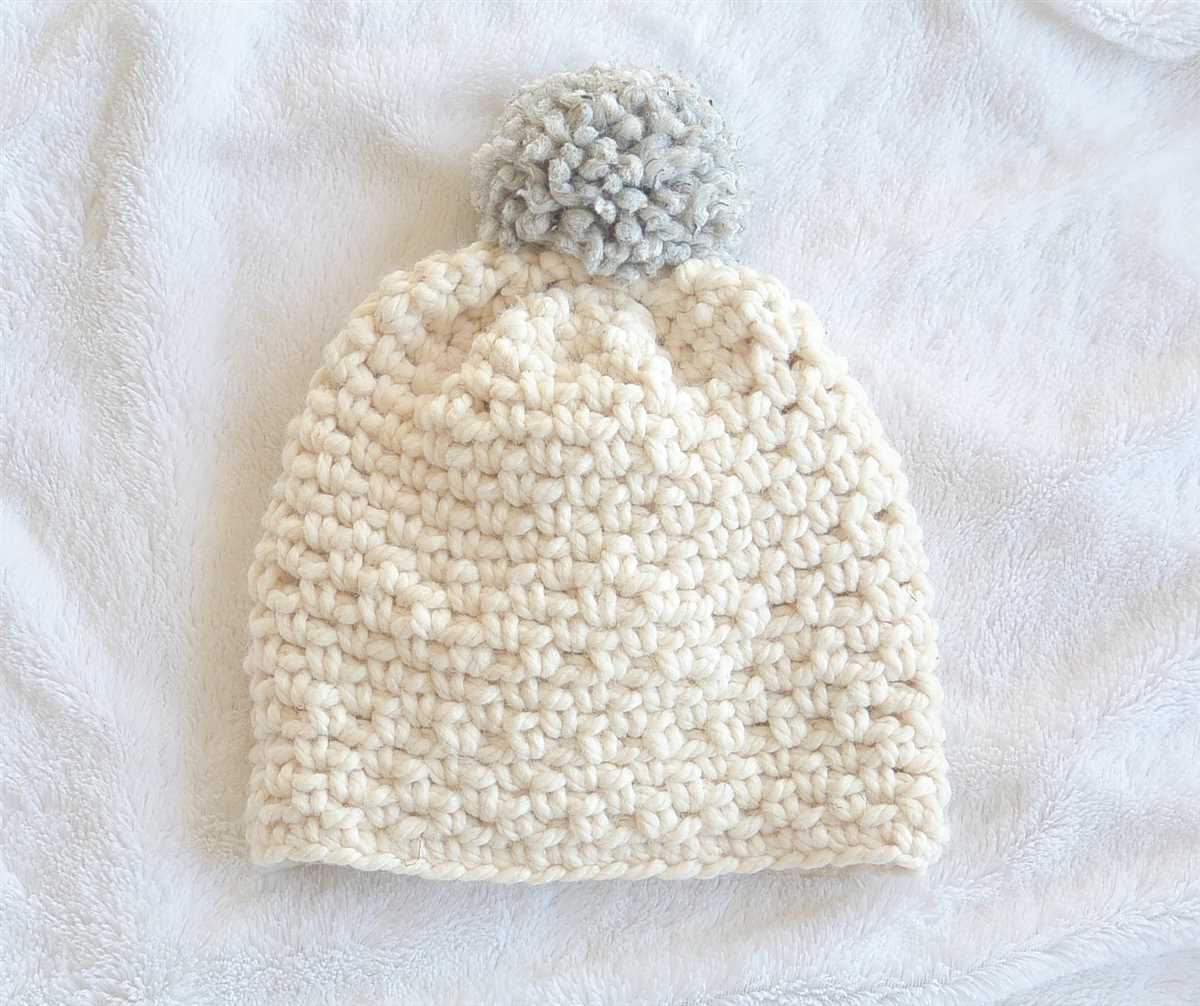
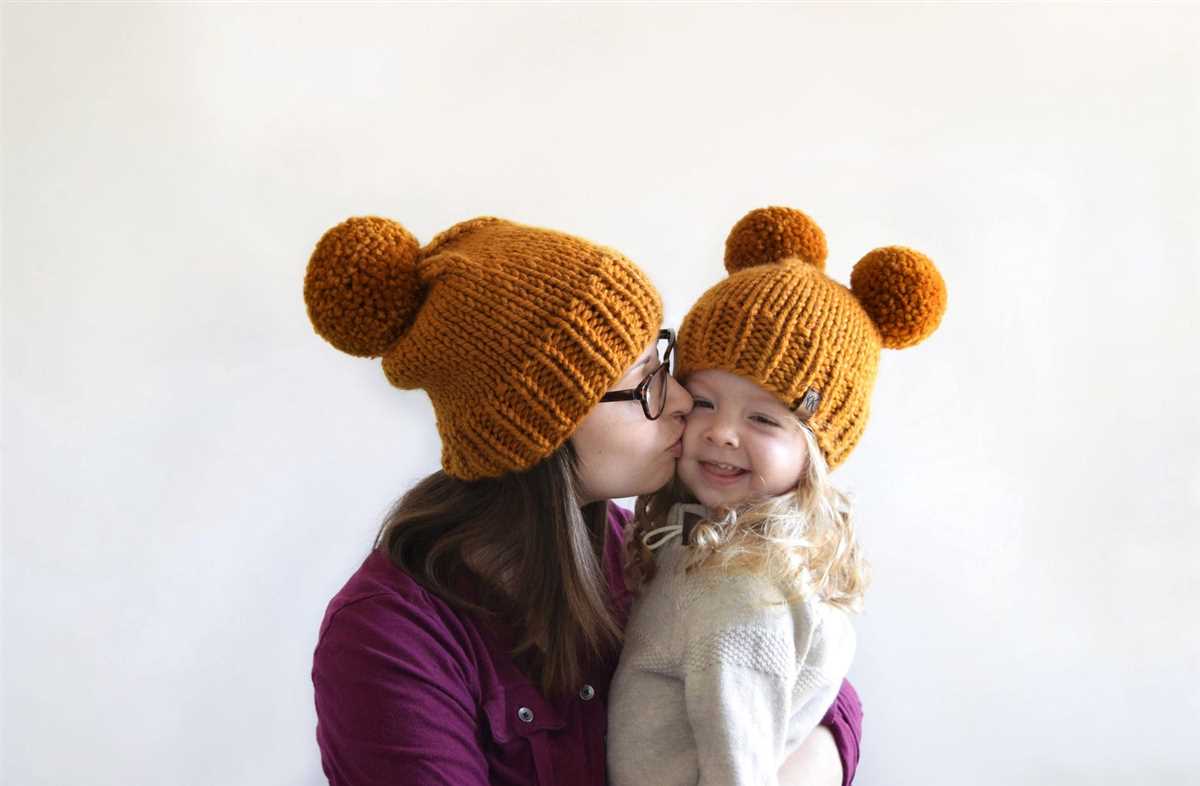
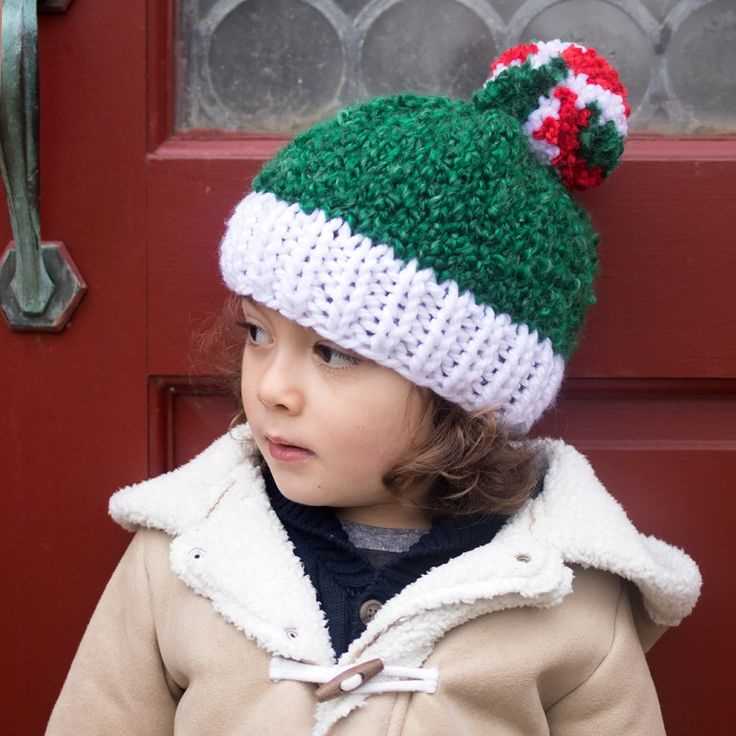
- Pom-pom variations: Add a playful touch to your hat by attaching a pom-pom on top. You can use matching or contrasting yarns to create a pom-pom that matches your hat perfectly.
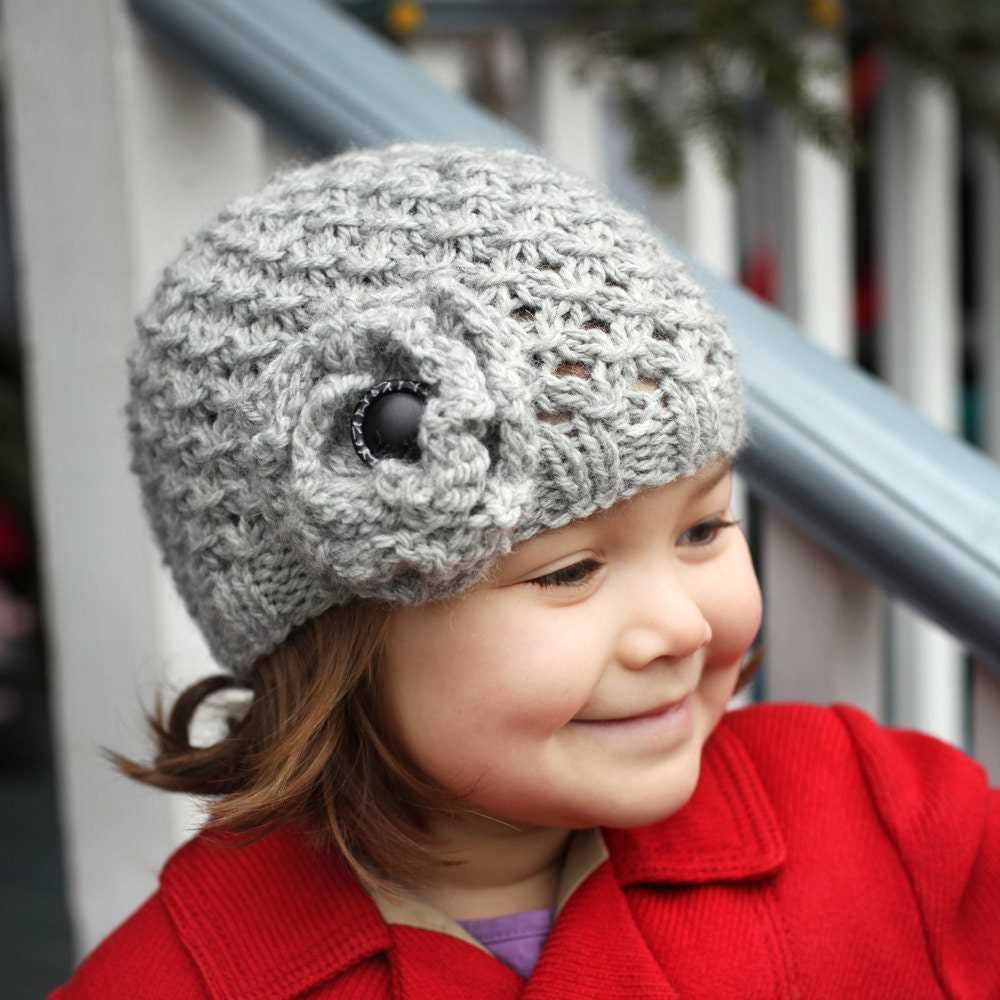
- Embroidery variations: Personalize your hat by adding embroidery. You can stitch in a name, a fun design, or even a favorite character to make it extra special.
With these variations, you can create a chunky hat that not only keeps your child warm but also reflects their style and personality. Get creative and have fun with your knitting!
Q&A:
What is a child’s chunky hat?
A child’s chunky hat is a knitted hat that is made with thick or bulky yarn. It is designed to be warm and cozy, perfect for keeping a child’s head and ears protected during colder months.
How do I knit a child’s chunky hat?
To knit a child’s chunky hat, you will need thick or bulky yarn and large knitting needles. Start by casting on the appropriate number of stitches for the size of hat you want to make. Then, work in a simple knit stitch in the round until the hat reaches the desired length. Finally, bind off and sew up the top of the hat. You can also add embellishments or a pom-pom if desired.
What size needles should I use for a child’s chunky hat?
The size of needles you should use for a child’s chunky hat will depend on the thickness of your yarn and the desired gauge. Typically, you would use larger needles, such as US 10.5 or US 11, to create a looser, chunkier fabric. However, it is always best to check the recommended needle size on the yarn label and swatch to achieve the desired gauge.
Can I use different colors of yarn for a child’s chunky hat?
Absolutely! You can use whichever colors of yarn you prefer for a child’s chunky hat. You can use a single color throughout the entire hat, or you can incorporate multiple colors in stripes or patterns. It’s a great way to add some fun and variety to the hat.
Are there any patterns available for knitting a child’s chunky hat?
Yes, there are many patterns available for knitting a child’s chunky hat. You can find patterns in books, magazines, and online knitting websites. Some patterns may be free, while others may require a purchase. Simply search for “child’s chunky hat knitting pattern” and you will find a wide variety of options to choose from.
What materials do I need for knitting a child’s chunky hat?
To knit a child’s chunky hat, you will need chunky weight yarn, circular knitting needles in size US 10.5 (6.5mm), a set of double-pointed knitting needles in the same size, a stitch marker, a yarn needle, and scissors.