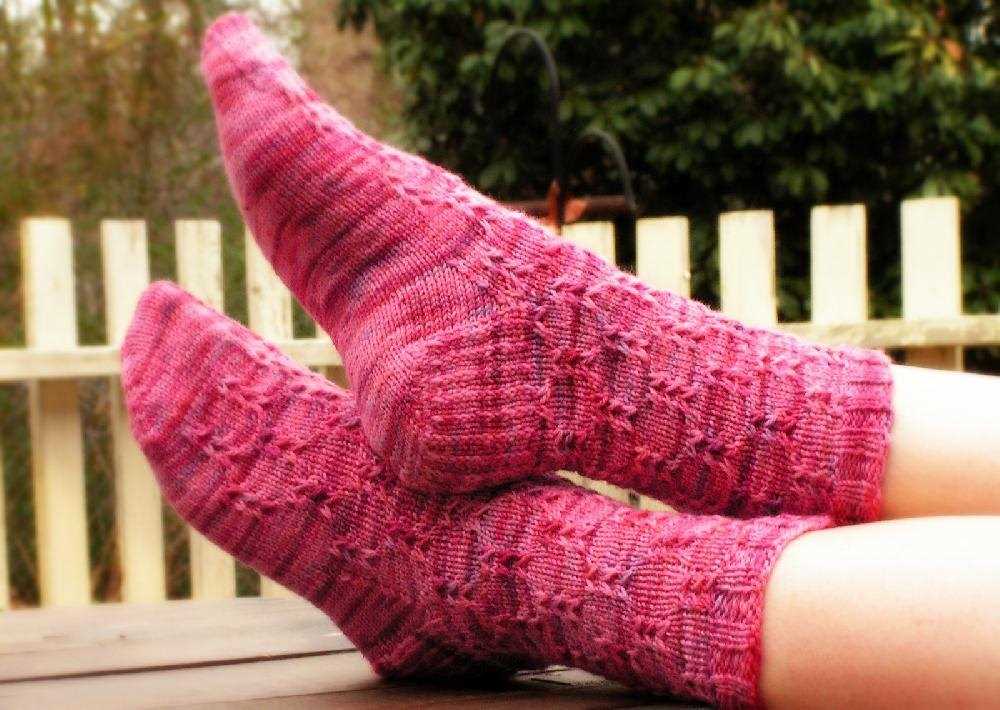
Knitting is a beloved craft that has been passed down through generations. It’s a relaxing and rewarding way to create beautiful and functional items. However, even the most experienced knitters can make mistakes or encounter errors in knitting patterns. That’s where errata comes in.
Errata, derived from the Latin word erratum meaning “mistake,” refers to corrections or updates made to knitting patterns. When a mistake is discovered in a pattern, it’s important for the designer or publisher to inform knitters of the error and provide the corrected information. This allows knitters to complete their projects without frustration or confusion.
Errata can occur for a variety of reasons. Sometimes, a mistake is simply overlooked during the pattern development or editing process. Other times, a pattern may need to be adjusted due to feedback from knitters. Regardless of the reason, errata provides a valuable resource for knitters to ensure their projects turn out as intended.
Common knitting pattern mistakes and how to fix them
Knitting patterns can sometimes be confusing, and it’s not uncommon to make mistakes along the way. Whether you’re a beginner or an experienced knitter, here are some common knitting pattern mistakes and how to fix them.
1. Misread or Misunderstood Instructions
One common mistake is misreading or misunderstanding the instructions. Knitting patterns can be complex, with abbreviations and symbols that may be unfamiliar to you. If you find yourself unsure about what the pattern is asking you to do, try reading the instructions again slowly and carefully. If you’re still confused, check if there’s a glossary at the beginning or end of the pattern that explains the abbreviations.
2. Wrong Gauge

Gauge is an important factor in knitting, as it determines the size and fit of your finished project. If your gauge doesn’t match the gauge specified in the pattern, your project may turn out too small or too large. To fix this mistake, it’s important to swatch before starting your project. Make a small sample using the recommended needle size and yarn and compare it to the gauge in the pattern. If your gauge is off, try adjusting the needle size until you match the specified gauge.
3. Dropping Stitches
Accidentally dropping stitches is a common mistake that can be frustrating to fix. If you notice that you’ve dropped a stitch, it’s important not to panic and start unraveling your work. Instead, use a crochet hook or a spare knitting needle to pick up the dropped stitch and place it back on the needle in the correct order. Take your time and be patient, as it may take a few tries to get it right.
4. Twisted Stitches

Twisted stitches can occur when you accidentally twist the stitch as you insert your needle or when you knit into the back loop instead of the front loop. To fix twisted stitches, you can either drop the stitch and reknit it correctly or use a crochet hook to untwist the stitch on the needle. It’s important to fix twisted stitches as soon as you notice them to prevent any distortion in the pattern or finished project.
5. Incorrect Stitch Count
Keeping track of your stitch count is essential to ensuring that your project turns out as intended. If you realize that your stitch count doesn’t match the pattern, review the previous rows or rounds to identify where you made a mistake. Count your stitches carefully and compare them to the instructions to figure out where you went wrong. Once you’ve identified the mistake, you can either frog (undo) a few rows to correct it or try to fix the mistake within the current row or round.
6. Uneven Tension
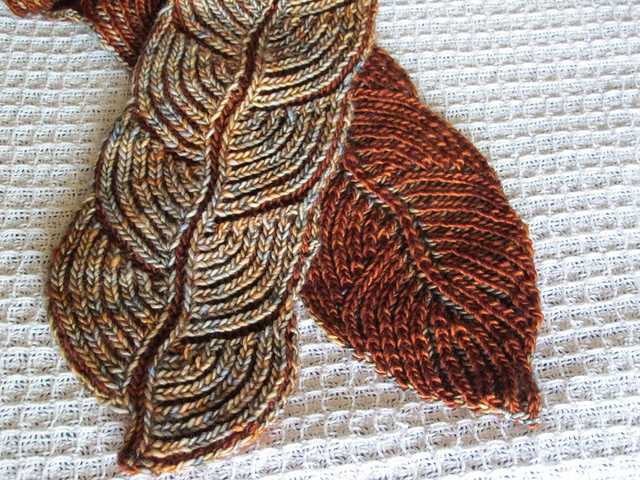
Uneven tension is a common mistake that can result in an inconsistent and unprofessional-looking finished project. To fix uneven tension, take a break and stretch your hands and fingers. When you resume knitting, try to relax your grip and take regular breaks to prevent your tension from becoming too tight or too loose. If you notice a significant difference in tension, you can also try using a different needle size or adjusting your knitting technique.
Understanding knitting pattern abbreviations
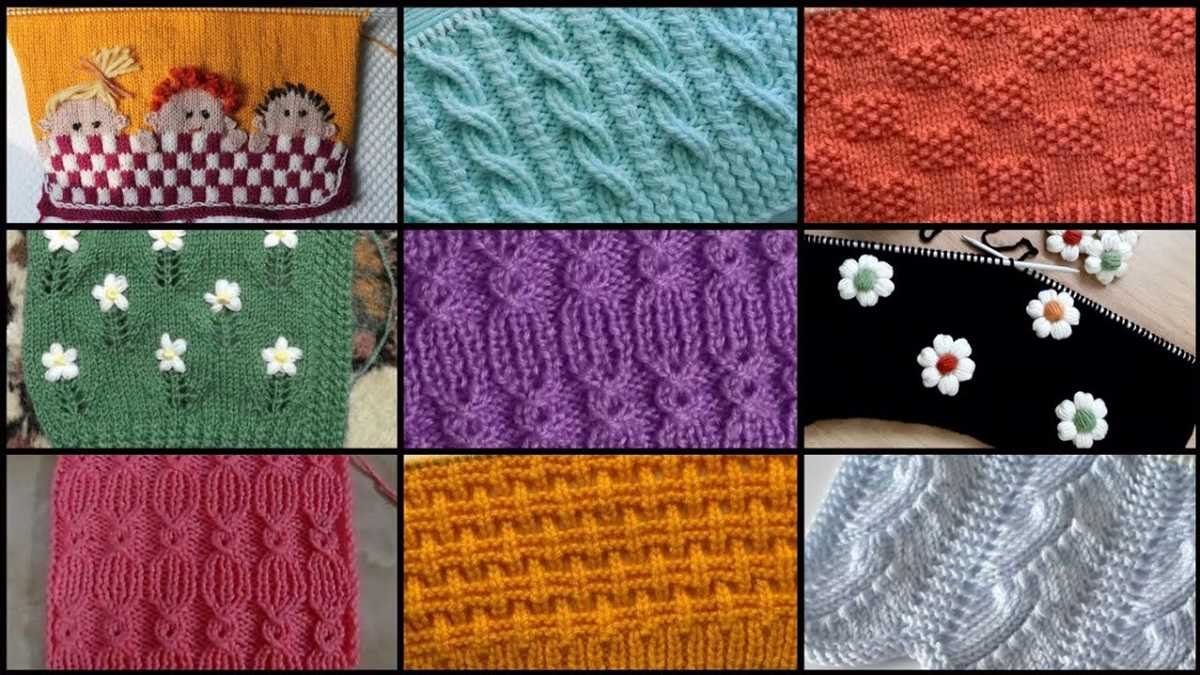
In the world of knitting, patterns are essential guides that help knitters create beautiful garments and accessories. However, understanding knitting pattern abbreviations can be a bit challenging for beginners. Abbreviations are commonly used in knitting patterns to make instructions more concise and easier to read. Once you become familiar with these abbreviations, you’ll be able to decipher knitting patterns with ease.
There are several types of knitting pattern abbreviations that you should be aware of:
- Stitches: Abbreviations for different types of stitches are often used in knitting patterns. For example, “k” represents a knit stitch, while “p” stands for purl stitch. These abbreviations are usually followed by a number to indicate how many times the stitch should be repeated.
- Decreases and increases: Knitting patterns often include abbreviations for various decrease and increase techniques. For instance, “k2tog” means knitting two stitches together, creating a decrease, while “yo” stands for yarn over, which is an increase.
- Pattern repeats: To save space and make patterns more readable, designers often use abbreviations to represent pattern repeats. For example, “rep” stands for repeat, and “*” indicates the beginning of a repeat section. These abbreviations help knitters understand how a pattern is structured and repeated throughout the project.
- Special techniques: Some knitting patterns may include special techniques or stitches that have their own abbreviations. These abbreviations might be explained in the pattern’s glossary or notes section.
To successfully navigate knitting patterns, it’s important to carefully read the pattern notes and abbreviations section before starting your project. Make sure to consult the pattern’s glossary if you encounter unfamiliar abbreviations. With practice and experience, you’ll become more comfortable with knitting pattern abbreviations and be able to tackle more complex projects!
Common errors in knitting pattern instructions
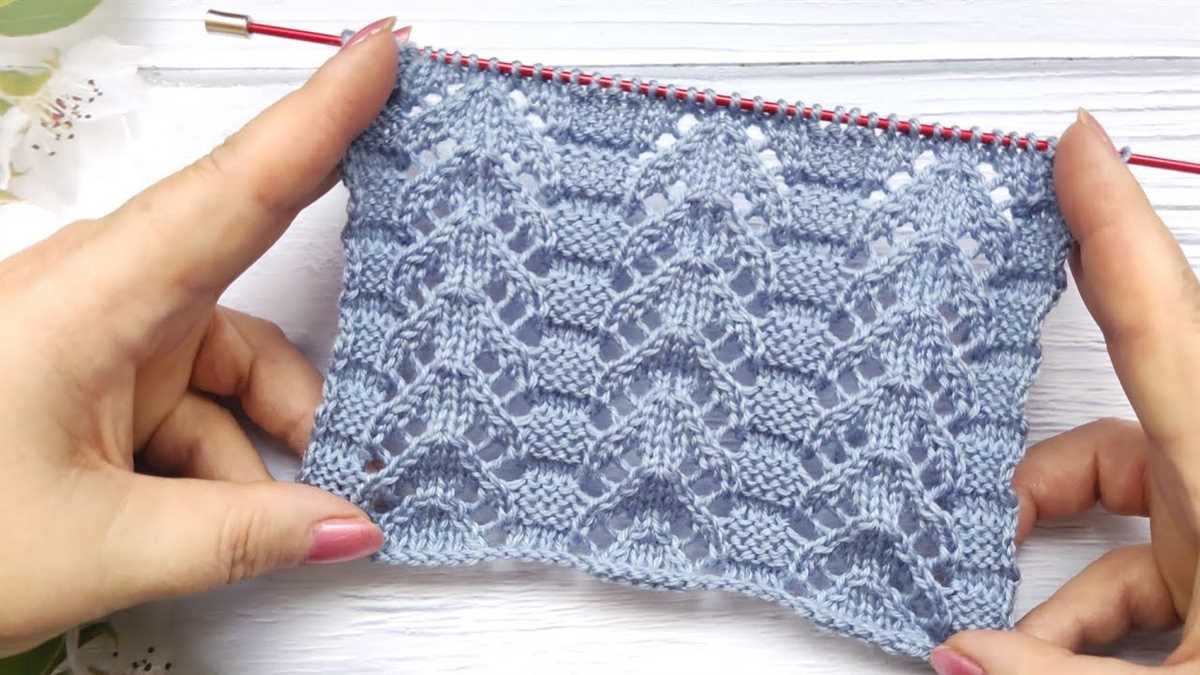
Knitting patterns are a great way to create beautiful and unique garments and accessories. However, sometimes errors can occur in the instructions, leading to confusion and frustration for the knitter. It’s important to be aware of these common errors so that you can avoid them and ensure your knitting project goes smoothly.
1. Incorrect stitch counts
One of the most common errors in knitting patterns is incorrect stitch counts. This can happen when the pattern is being written or formatted, and can lead to issues with the sizing and overall fit of the item. Make sure to double-check the stitch counts given in the pattern, especially at key points such as increases or decreases.
2. Missing or incorrect abbreviations
Abbreviations are commonly used in knitting patterns to save space and make the instructions more concise. However, errors can occur when abbreviations are misspelled, missing, or incorrect. This can result in confusion and difficulty understanding the instructions. Always check the abbreviations section of the pattern and cross-reference with a reliable knitting abbreviation guide.
3. Confusing or unclear instructions

Another common error in knitting patterns is confusing or unclear instructions. This can be due to poorly written or ambiguous wording, lack of detail, or missing steps. It’s important to carefully read through the instructions before starting a project and make sure you fully understand what is being asked of you. If something doesn’t make sense, don’t hesitate to reach out to the pattern designer or an experienced knitter for clarification.
4. Inconsistent gauge information
Gauge is an important factor in knitting, as it determines the size and fit of the finished item. However, errors can occur in the gauge information provided in knitting patterns. This can result in an item that is too big or too small. Be sure to check the gauge information and make a gauge swatch before starting your project to ensure the correct sizing.
5. Mismatched stitch patterns
In some cases, knitting patterns may include stitch patterns that do not match the given instructions or charts. This can create confusion and difficulties in achieving the desired result. Check the stitch patterns carefully and compare them to the instructions or charts provided. If they don’t match up, it’s best to contact the pattern designer for clarification.
By being aware of these common errors in knitting pattern instructions, you can avoid frustration and ensure a successful knitting project. Always double-check stitch counts, be mindful of abbreviations, carefully read and understand the instructions, check gauge information, and compare stitch patterns to instructions. Happy knitting!
Fixing mistakes in stitch counts
One of the most common mistakes in knitting patterns is an incorrect stitch count. This can be frustrating for knitters who are following a pattern and suddenly find that their stitch count doesn’t match what the pattern says it should be. However, there are several ways to fix mistakes in stitch counts.
Double-check the pattern: The first step in fixing a mistake in stitch counts is to double-check the pattern. Make sure you are reading the instructions correctly and counting the stitches accurately. It’s possible that the mistake is not in your knitting, but in the pattern itself.
Tink back or frog: If you’ve determined that the mistake is in your knitting, you may need to tink back or frog a few rows to correct the stitch count. Tinking back means unraveling your knitting stitch by stitch, while frogging means ripping out several rows or even the entire project. It can be time-consuming and frustrating, but sometimes it’s the best way to fix a mistake and ensure that your stitch count is correct.
Add or decrease stitches: In some cases, you may need to add or decrease stitches to fix a mistake in the stitch count. This can be done by increasing or decreasing stitches evenly across a row or by working a specific stitch pattern to adjust the count. Make sure to carefully follow the instructions in the pattern to ensure that your stitch count is correct.
Use stitch markers: Stitch markers can be a helpful tool when trying to keep track of the stitch count. You can place stitch markers at regular intervals to help you count your stitches and ensure that you are on track. If you notice that your stitch count is off, you can go back to the previous stitch marker and check your work.
Consult other knitters or resources: If you’re still struggling to fix a mistake in the stitch count, don’t be afraid to reach out for help. Online knitting communities and forums are a great resource for getting advice and troubleshooting common knitting problems. You can also consult knitting books, videos, or other resources for guidance on fixing stitch count mistakes.
Fixing mistakes in cable knitting patterns
Knitting cables can add beautiful texture and depth to your projects, but it can also be tricky to fix mistakes once they occur. However, with the right techniques and a little patience, you can quickly and easily correct any errors in your cable knitting patterns.
1. Identifying the mistake: The first step in fixing mistakes in cable knitting patterns is to identify where the mistake occurred. Carefully examine your cables and look for inconsistencies or errors in the pattern.
2. Dropping stitches: If you notice a mistake in your cable, you may need to drop some stitches to correct it. Use a small crochet hook or tapestry needle to unravel the stitches in the affected cable, bringing them down to the point of the mistake.
3. Reversing the cables: Once you have dropped the necessary stitches, you can reverse the cable by working the crossed stitches in the opposite direction. Use your cable needle to hold the stitches, and then rearrange them so that they cross in the correct order according to the pattern.
4. Reknitting the stitches: After reversing the cable, reknit the dropped stitches by picking them up with your knitting needle. Make sure to carefully insert your needle into each stitch and work them in the correct order. Follow the pattern instructions for the specific cable.
5. Fixing any resulting tension issues: Sometimes, fixing a mistake in a cable can cause tension issues in the surrounding stitches. If this happens, you may need to adjust the tension of these stitches to match the rest of your work. Gently stretch or tighten the stitches as needed to create an even fabric.
6. Checking and continuing: Once you have corrected the mistake in your cable, take a moment to check the surrounding rows and stitches for any additional errors. If everything looks good, continue knitting according to the pattern.
Troubleshooting lace knitting patterns
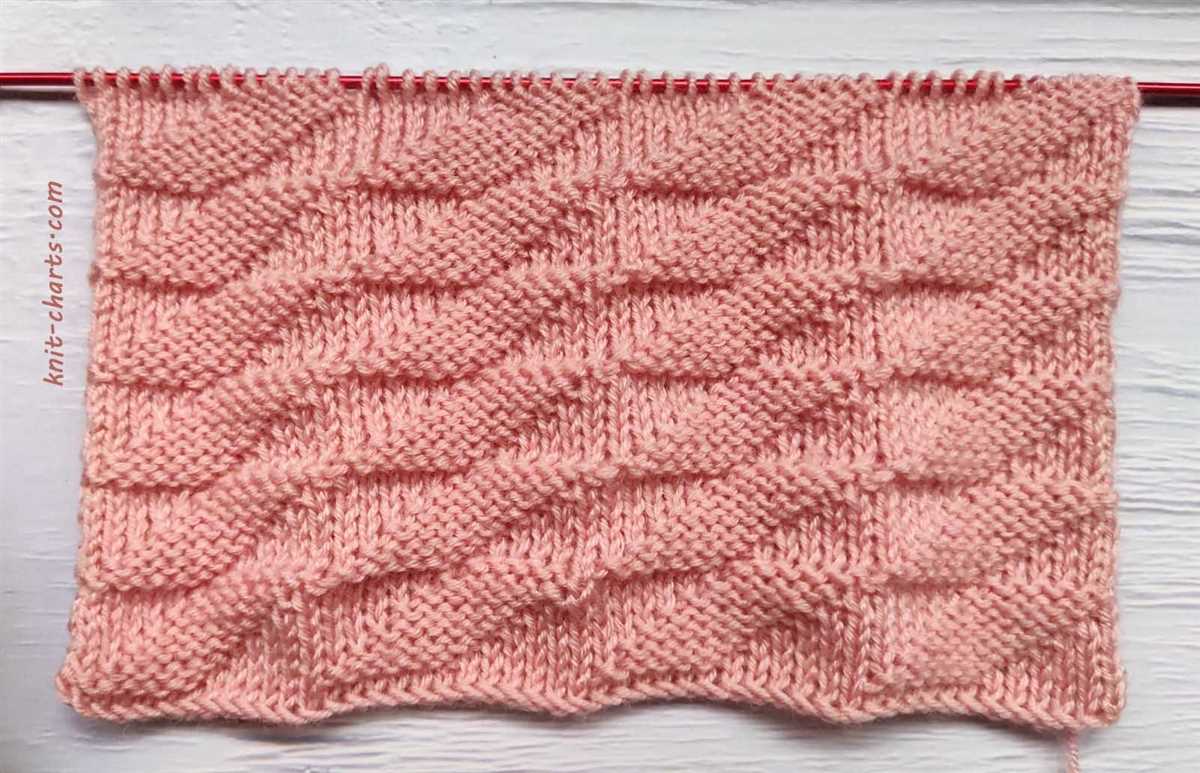
Knitting lace patterns can be both challenging and rewarding. However, it’s not uncommon to encounter some issues along the way. Here are a few common troubleshooting tips and solutions to help you navigate through common lace knitting problems.
Mistakes in the chart or written instructions
One of the most frustrating issues you may encounter while knitting lace patterns is mistakes in the chart or written instructions. These mistakes can cause confusion and lead to incorrect stitches or patterns. To troubleshoot this problem, make sure to thoroughly read through the pattern instructions before starting. Compare the chart and written instructions, and if you notice any discrepancies or errors, contact the pattern designer for clarification or look for any published errata.
Uneven tension and blocking
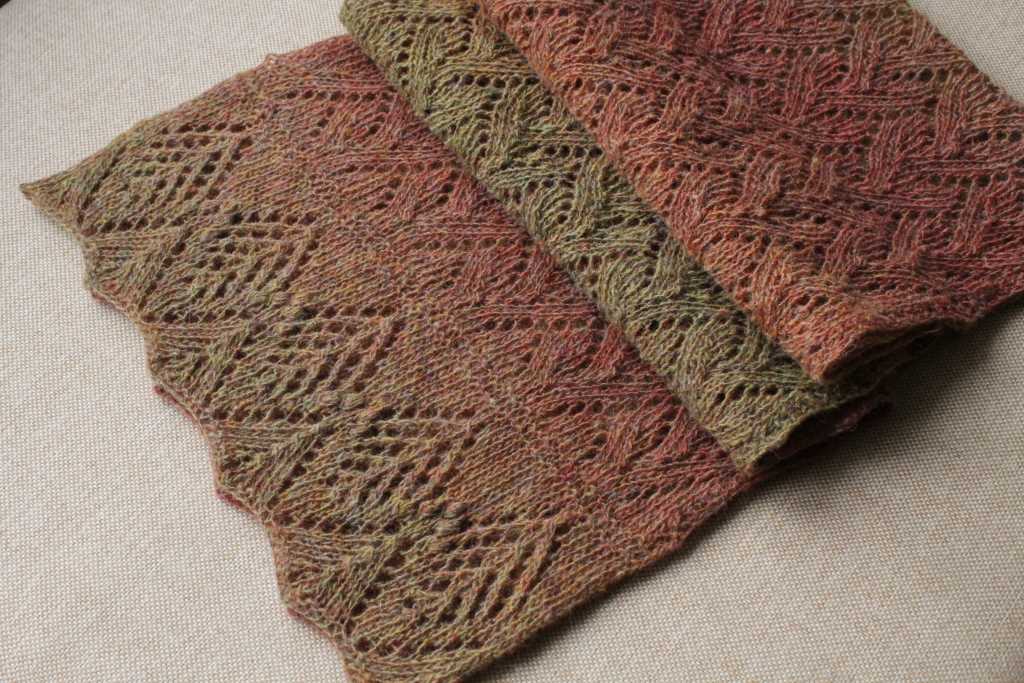
Another common issue with lace knitting is uneven tension, which can result in uneven stitches and an overall messy-looking lace pattern. To troubleshoot this problem, practice maintaining even tension while knitting and consider using stitch markers to help maintain consistent spacing between lace motifs. Additionally, blocking your finished lace project can greatly improve the appearance of your pattern by stretching the stitches and opening up the lace.
Missing or extra stitches
Lace patterns often involve intricate stitch counts, and it’s easy to accidentally omit or add stitches while knitting. To troubleshoot this issue, carefully count your stitches after completing each row or lace repeat. If you are missing stitches, double-check that you have followed the pattern correctly and haven’t accidentally skipped any decreases or yarn overs. If you have extra stitches, make sure you haven’t accidentally made any yarn overs or added extra stitches unintentionally. Using stitch markers can also help you keep track of stitch counts and identify any mistakes more easily.
Difficulty reading complex lace charts
Complex lace charts can be challenging to decipher, especially if you’re new to lace knitting. If you’re having trouble reading a chart, take a breath and study the symbols and their meanings. Consider using a highlighter or pen to mark your progress as you work through the chart, and use stitch markers to mark significant points in the pattern, such as stitch repeats or center stitches. Don’t hesitate to reach out to other knitters or the pattern designer for assistance if you’re still struggling.
By keeping these troubleshooting tips in mind, you’ll be better equipped to tackle common problems that may arise when knitting lace patterns. Remember to take your time, practice, and seek help when needed, and you’ll be creating beautiful lace projects in no time.
Adjusting knitting pattern sizes
When working with knitting patterns, it’s important to ensure that the size of the finished garment matches your measurements. This is especially true if you’re making the garment for someone else or if you’re in-between sizes. Fortunately, many knitting patterns include instructions for adjusting the size to fit your specific measurements.
1. Gauge
The first step in adjusting knitting pattern sizes is to check your gauge. Gauge refers to the number of stitches and rows per inch that you achieve when knitting with a specific yarn and needle size. The pattern will provide a recommended gauge, and it’s important to match this gauge in order to get the correct sizing. If your gauge is larger than the recommended gauge, your finished garment will be larger; if your gauge is smaller, your finished garment will be smaller. Adjusting your needle size can help you achieve the correct gauge.
2. Measurements
Next, take accurate measurements of the person who will be wearing the garment. This includes bust or chest circumference, waist circumference, hip circumference, and desired length. Compare these measurements to the size chart provided in the knitting pattern. If your measurements fall in-between sizes, you may need to modify the pattern to accommodate your specific measurements.
3. Modifying the pattern
When modifying a knitting pattern to adjust the size, it’s important to keep track of the stitch counts and pattern repeats. To make the garment larger, you may need to add stitches or increase the number of pattern repeats. To make the garment smaller, you may need to omit stitches or decrease the number of pattern repeats. It’s helpful to use a pencil or highlighter to mark the instructions specific to your desired size.
4. Test knitting
Before diving into the full project, it’s recommended to work a swatch or a small test piece to ensure that your modifications are yielding the desired size. This will help you identify any issues with gauge or sizing before investing time and effort into the full project.
By following these steps and making adjustments as necessary, you can ensure that your finished knitting project fits perfectly and matches the intended size.
Updating vintage knitting patterns
When it comes to vintage knitting patterns, it’s not uncommon to come across errors or inconsistencies. This is where the need for updates and corrections arises. Updating these patterns allows knitters to recreate timeless designs with accuracy, ensuring that the final product matches the original vision.
Identifying errors and inconsistencies: The first step in updating vintage knitting patterns is to carefully review and identify any errors or inconsistencies. This involves comparing the pattern instructions with the final product to pinpoint any discrepancies. Common errors may include incorrect stitch counts, unclear or confusing instructions, or mistakes in the shaping of the garment.
Providing clear explanations: Once errors have been identified, it is crucial to provide clear explanations or corrections for the knitter. This may involve rewriting certain sections of the pattern, providing additional notes, or offering alternative instructions. Clear explanations help ensure that knitters can follow the pattern without confusion and achieve the desired results.
Modernizing techniques and terminology: Vintage knitting patterns may use outdated techniques or terminology that are no longer widely used or understood. As part of the update, it is important to modernize these aspects, making them more accessible to contemporary knitters. This can include replacing outdated abbreviations, clarifying terminology, or updating instructions to reflect more current knitting techniques.
Including alternative sizing options: Vintage knitting patterns often come in a limited range of sizes, which may not cater to all body types. In updating these patterns, it is beneficial to include alternative sizing options to make them more inclusive. This can involve providing instructions for different sizes or offering guidance on how to modify the pattern to achieve a desired fit.
Testing and confirming: Before finalizing the update, it is important to test the revised pattern and confirm its accuracy. This can involve knitting the garment according to the updated instructions and carefully examining the results. If any issues or errors are discovered during this testing phase, further revisions and corrections may be necessary to ensure a well-functioning and accurate pattern.
Providing an errata sheet: Once the updated pattern has been finalized and confirmed, it is helpful to provide an errata sheet that includes all the necessary corrections and updates. This allows knitters who may have obtained the original pattern to easily access the updated information. The errata sheet can be included as a separate document or made available online for easy reference.
Interpreting charts in knitting patterns
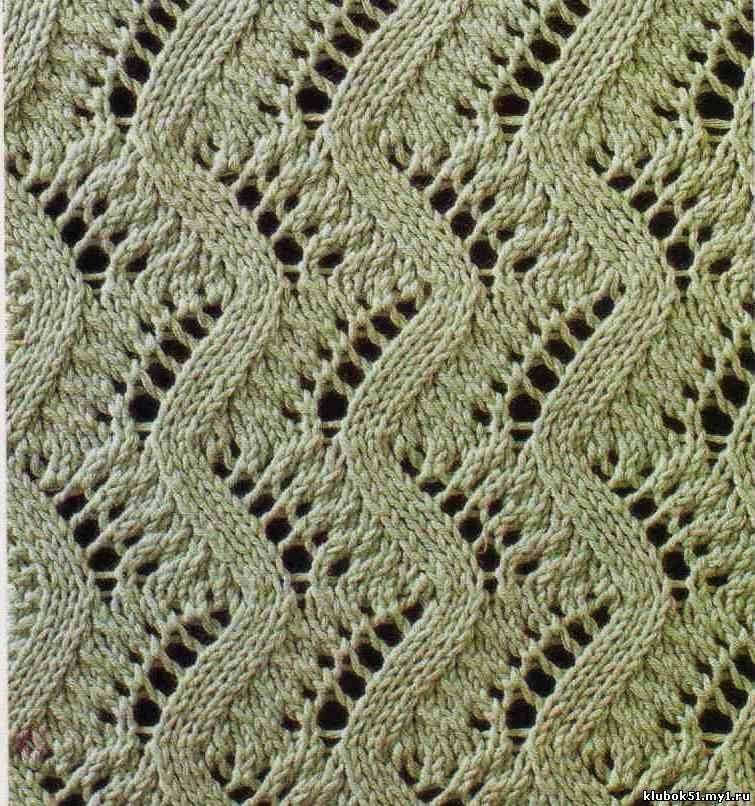
Charts are an important tool in knitting patterns as they provide a visual representation of the stitches and allow knitters to easily see the pattern and follow along. However, interpreting charts can sometimes be challenging, especially for beginners or those who are not familiar with chart symbols and terminology.
Understanding the symbols: Before starting a knitting project that includes a chart, it is essential to familiarize yourself with the symbols used in the chart. Each symbol represents a specific stitch or action, such as knit, purl, yarn over, or decrease. The pattern’s key or legend will explain what each symbol means, so take the time to read and understand it before diving into the project.
Following the chart: When working with a chart, it is essential to remember that each square represents one stitch. The chart is typically read from right to left for right-handed knitters and left to right for left-handed knitters. The numbers at the beginning of the rows indicate the row number and should be followed sequentially. To keep track of your progress, consider using stitch markers or a row counter to mark off completed rows.
Checking for errors: Even the most carefully designed knitting patterns can contain errors, so it’s important to double-check the chart for any mistakes or inconsistencies. Look for any missing or extra stitches, misaligned symbols, or confusing instructions. If you notice any errors, consult the pattern’s errata or reach out to the designer for clarification.
Using written instructions alongside the chart: Some knitting patterns provide both a chart and written instructions. If you find the chart challenging to follow, try referring to the written instructions for additional guidance. It can be helpful to read through the written instructions before working with the chart to ensure a clear understanding of the pattern.
Practice and patience: Interpreting charts in knitting patterns can be a skill that improves with practice. As you work on more projects that include charts, you will become more familiar with the symbols and techniques. Don’t be discouraged if you make mistakes or find it challenging at first. With patience and perseverance, you’ll soon be able to confidently read and interpret charts in knitting patterns.
Fixing mistakes in colorwork knitting patterns

Colorwork knitting patterns can be beautiful and intricate, but they can also be prone to mistakes. Whether it’s a misplaced color change, an extra stitch, or a missed decrease, fixing mistakes in colorwork can be a challenge. However, with a little patience and attention to detail, these mistakes can be easily corrected.
One common mistake in colorwork knitting is a misalignment of the colors. This can happen when switching between different colored yarns or when working with a complex pattern. To fix this mistake, carefully examine the stitches and identify where the color change should have occurred. With a crochet hook or a tapestry needle, gently unravel the incorrect stitches and rework them with the correct color.
Another mistake that can occur in colorwork knitting is adding or dropping a stitch. This can disrupt the pattern and affect the overall design. If you notice an extra stitch, carefully unravel the stitches below it until you reach the mistake. Then, with a crochet hook or a tapestry needle, drop the extra stitch and rework the stitches correctly. If you have dropped a stitch, use a crochet hook to pick up the dropped stitch and rework it back into the pattern.
Correcting mistakes in colorwork knitting patterns requires attention to detail and patience. It’s important to carefully examine the stitches, identify the mistake, and take the necessary steps to fix it. By doing so, you can preserve the beauty and integrity of your colorwork project.
Tips for Reading and Understanding Complex Knitting Patterns
Reading and understanding complex knitting patterns can be a challenging task, especially for beginners. However, with some practice and attention to detail, you can become proficient at interpreting even the most intricate knitting instructions. Here are some tips to help you navigate complex knitting patterns:
- Study the Abbreviations: Knitting patterns often use abbreviations to save space and make instructions more concise. Take the time to familiarize yourself with the common knitting abbreviations used in patterns. These are typically listed at the beginning of a knitting pattern or in a separate section. Understanding the abbreviations will make it easier to follow the instructions.
- Read the Pattern in its Entirety: Before you start knitting, read the entire pattern from start to finish. This will give you a better understanding of the construction and different sections of the project. It will also help you identify any potential challenges or areas where you may need to pay extra attention.
- Use Stitch Markers: Complex knitting patterns often involve multiple stitch and row repeats. Using stitch markers can help you keep track of your progress and prevent mistakes. Place markers at the beginning and end of each repeat section, and any other key points indicated in the pattern.
- Highlight or Write Notes: Consider using a highlighter or pen to mark important sections or instructions in the pattern. You can also write notes directly on the pattern to remind yourself of certain techniques or adjustments you made. This will make it easier to refer back to the pattern as you work.
- Check for Errata: Before starting a complex knitting pattern, always check if there are any available errata or corrections. Mistakes or typos may sometimes occur in published patterns, and it’s important to be aware of any updates or changes. Check the designer’s website or the platform where you obtained the pattern for any available errata.
In conclusion, reading and understanding complex knitting patterns requires attention to detail and familiarity with common knitting abbreviations. Take the time to study the pattern and make use of tools like stitch markers and highlighting. And don’t forget to check for any available errata or corrections. With practice and patience, you’ll be able to successfully tackle even the most intricate knitting patterns.