
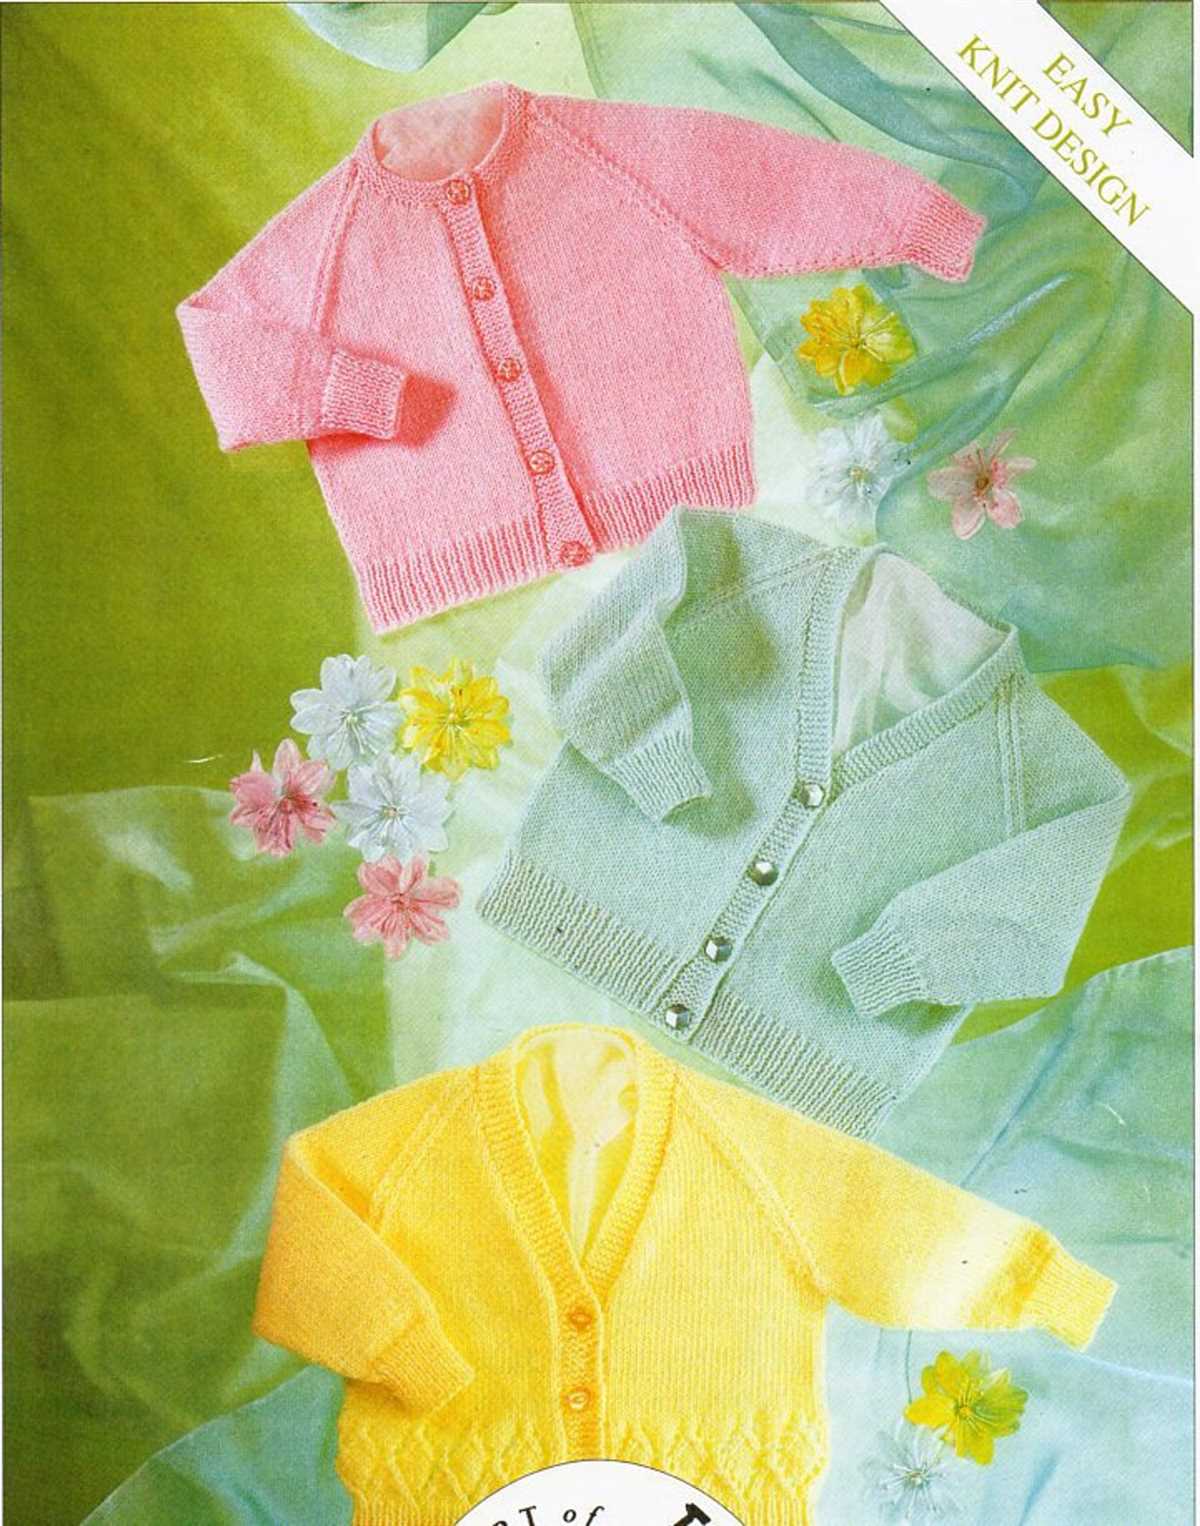
If you’re an avid knitter or someone who’s new to the craft, finding a baby sweater pattern that’s both easy to follow and free can be a game-changer. Knitting a sweater for a baby is not only a great way to show off your talent and create something beautiful, but it’s also a practical and thoughtful gift for new parents. Luckily, there are many easy knit baby sweater patterns available online that you can use to create a cozy and adorable garment.
When looking for a free pattern, it’s important to choose one that suits your skill level and knitting preferences. Some patterns may require more advanced techniques, while others are specifically designed for beginners. No matter what your level of experience is, there’s a pattern out there that’s perfect for you.
In addition to being free and easy to follow, the best baby sweater patterns also take into consideration the comfort and safety of the baby. Look for patterns that use soft and gentle yarns that won’t irritate the baby’s sensitive skin. It’s also important to choose a pattern that has clear instructions and a detailed sizing guide, so you can create a sweater that fits perfectly.
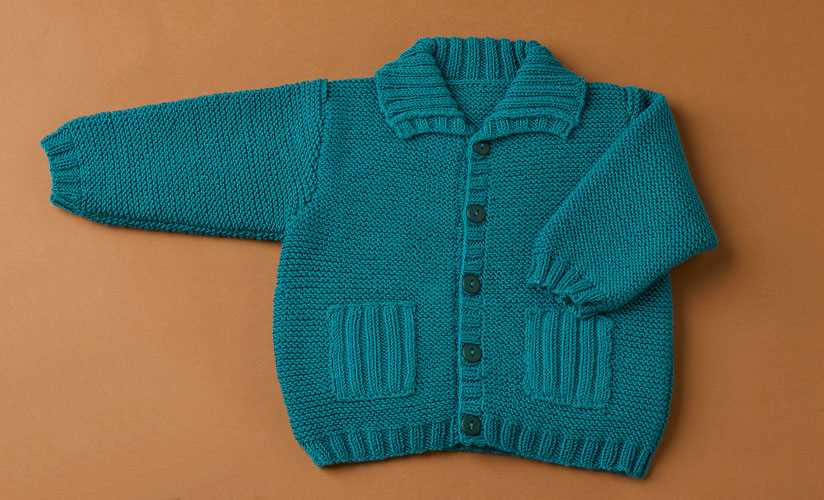
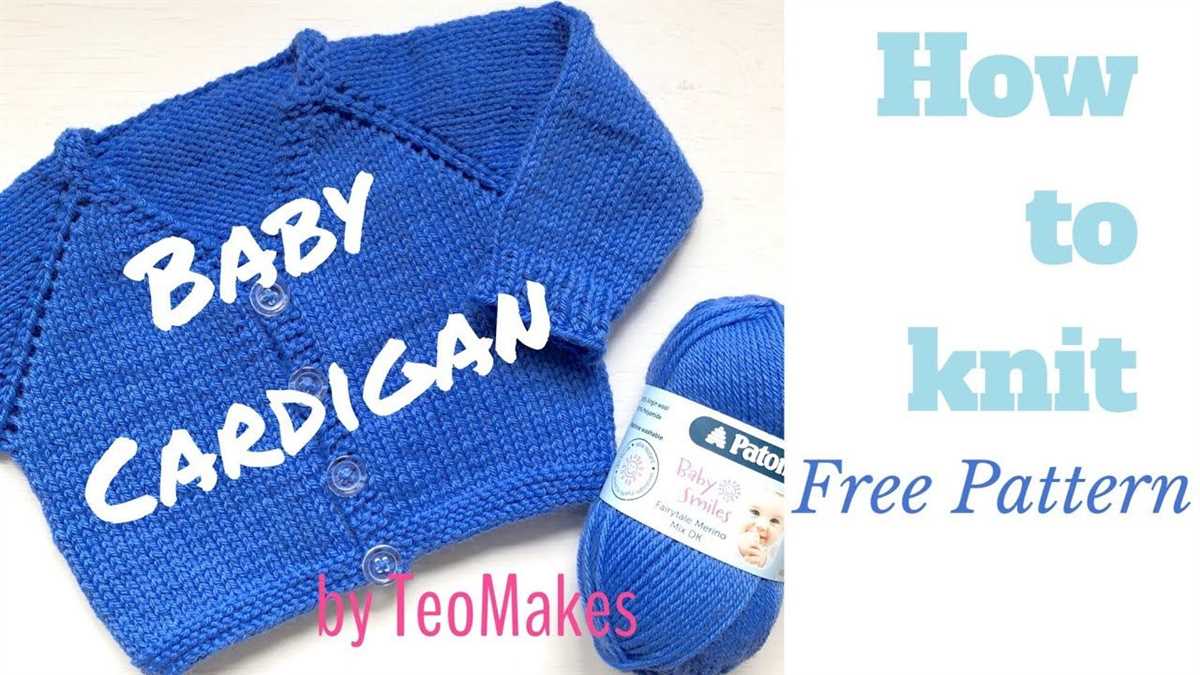
Easy Knit Baby Sweater Pattern Free
If you’re looking for a simple and free knitting pattern for a baby sweater, you’ve come to the right place! This easy knit baby sweater pattern is perfect for beginners and can be completed in no time. Whether you’re knitting a sweater for your own little one or as a gift for someone else, this pattern is sure to impress.
This free pattern uses basic knitting techniques and requires only a few simple stitches. The sweater is knit in one piece, making it easy to follow along and see your progress. The pattern includes sizes for newborns to 12 months old, so you can easily customize it to fit any baby.
Materials Needed:
- Worsted weight yarn
- Size 8 knitting needles
- Tapestry needle
- Scissors
Instructions:
- Cast on the desired number of stitches for the size you are making.
- Knit in garter stitch for the length specified in the pattern.
- Begin shaping the sweater by knitting in stockinette stitch and following the instructions for decreasing and increasing stitches.
- Continue knitting in stockinette stitch until the desired length is reached.
- Finish the sweater by knitting in garter stitch for the specified number of rows.
- Bind off all stitches and weave in any loose ends.
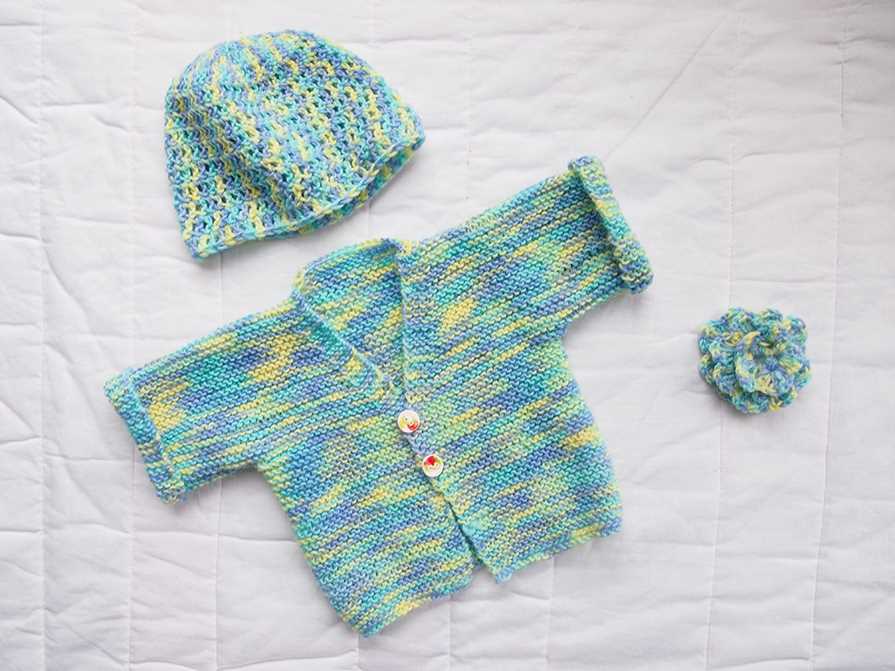
This easy knit baby sweater pattern is a great project for knitting beginners or anyone looking for a quick and satisfying knit. The finished sweater is cozy and adorable, making it the perfect addition to any baby’s wardrobe. So grab your knitting needles and get started on this free pattern today!
Choose the Right Yarn
When knitting a baby sweater, it is essential to choose the right yarn that is soft, comfortable, and safe for your little one. The type of yarn you choose will greatly impact the overall feel and quality of the finished sweater.
Safety First: When selecting yarn for a baby sweater, it is important to consider the safety of the material. Avoid yarns that contain small fibers or strands that can easily come loose and pose a choking hazard. Look for yarns that have been specifically labeled as safe for babies and meet safety regulations.
Softness and Comfort: Babies have delicate skin, so it is crucial to choose a yarn that is soft and gentle against their skin. Opt for yarns that are made from natural fibers such as cotton, bamboo, or merino wool. These materials are not only soft but also breathable and hypoallergenic, making them ideal for sensitive baby skin.
Easy Care: Babies can be messy, so it is important to choose a yarn that is easy to care for. Look for yarns that are machine washable and can withstand frequent washing without losing their shape or color. This will save you time and effort in maintaining the baby sweater and ensure that it can be easily cleaned when needed.
Weight and Gauge: Consider the weight of the yarn and the recommended gauge for the pattern you are using. Different baby sweater patterns may call for different yarn weights, such as fingering, sport, or worsted. It is important to match the recommended gauge to ensure that the finished sweater will fit correctly. Pay attention to the yarn label for information on the recommended gauge and needle size.
Color and Design: Lastly, consider the color and design of the yarn. Baby sweaters are often made in bright and cheerful colors, but you can also opt for more subtle shades or even multi-color yarns for a unique look. Consider the overall style and theme of the sweater and choose a yarn that complements the design well.
- Choose a yarn that is safe, soft, and comfortable for your baby.
- Opt for yarns made from natural fibers such as cotton, bamboo, or merino wool.
- Look for yarns that are machine washable and easy to care for.
- Match the recommended gauge and needle size for the pattern.
- Consider the color and design of the yarn to complement the sweater’s style.
Gather Your Knitting Supplies
Before starting your easy knit baby sweater project, it’s important to gather all the necessary knitting supplies. Being prepared with the right tools and materials will ensure a smooth and enjoyable knitting experience.
1. Yarn: Selecting the right yarn is crucial for the success of your project. Look for a soft, baby-friendly yarn in a color of your choice. Make sure to check the recommended yarn weight and yardage for the pattern.
Needles:
- Straight Needles: You will need a pair of straight knitting needles in the size recommended by the pattern. These are typically used for knitting the sweater body and sleeves.
- Circular Needles: If the pattern calls for circular knitting, you will need a pair of circular needles in the appropriate size. These are commonly used for knitting the sweater’s yoke or collar.
- Double-Pointed Needles: Some patterns may require double-pointed needles for knitting small sections, like cuffs or neckline. Make sure to have the recommended size on hand.
Notions:
- Tape Measure: To ensure accurate sizing, a tape measure is essential for taking baby’s measurements and checking gauge.
- Stitch Markers: These small plastic or metal rings are used to mark specific stitches or pattern sections. They help you keep track of your progress and prevent mistakes.
- Yarn Needle: A yarn needle with a large eye is essential for sewing seams, weaving in ends, and other finishing touches.
- Scissors: A pair of sharp scissors is necessary for cutting yarn and snipping any excess threads.
Gathering these knitting supplies will ensure that you have everything you need to get started on your easy knit baby sweater project. Remember to read the pattern instructions carefully and have fun creating a beautiful, cozy garment for your little one!
Understanding the Pattern
When it comes to knitting a baby sweater using a free pattern, it is important to first understand the pattern before getting started. This will help ensure that the final product turns out as expected and that you don’t encounter any difficulties along the way. Here are some key points to keep in mind when reading and interpreting the pattern.
Materials and Gauge
The pattern will list the materials you need to complete the sweater, including the type of yarn and needle size. It is important to use the recommended materials in order to achieve the desired size and fit. In addition, the pattern may specify a gauge, which is the number of stitches and rows that should be achieved per inch of knitting. This is important to ensure that your gauge matches the one specified in the pattern, as it will affect the final size and fit of the sweater.
Instructions
The pattern will provide step-by-step instructions on how to knit the baby sweater. It will outline each section of the sweater, such as the body, sleeves, and collar, and provide specific directions for each. It is important to carefully read and follow these instructions to ensure that you are knitting the sweater correctly and achieving the desired results.
Abbreviations and Stitches
Knitting patterns often use abbreviations to save space and make the instructions more concise. The pattern will typically include a key or legend that explains the meaning of each abbreviation used. In addition, the pattern will specify the stitches that should be used, such as knit, purl, and various types of decreases and increases. It is important to be familiar with these stitches and their techniques in order to successfully knit the baby sweater.
Finishing and Assembly
Finally, the pattern will provide instructions on how to finish the sweater and assemble any separate pieces. This may include instructions on seaming, weaving in ends, and adding any necessary buttons or closures. It is important to carefully follow these instructions to ensure that the final product is clean, neat, and ready to be worn by the baby.
By understanding the pattern and following the instructions carefully, you can successfully knit a baby sweater using a free pattern. Taking the time to read and interpret the pattern before getting started will help ensure that your knitting project is enjoyable and that you end up with a beautiful finished piece.
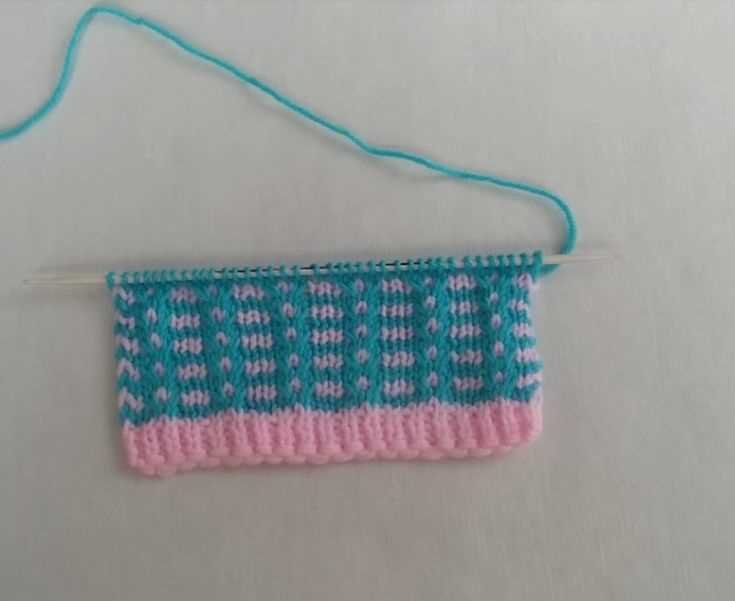
Cast On Stitches
When beginning your easy knit baby sweater, the first step is to cast on the stitches. This is the process of creating the foundation row of stitches that will become the base of your sweater. There are several different methods for casting on, but in this pattern, we will be using the long-tail cast on method.
To begin, you will need a pair of knitting needles and the yarn of your choice. To estimate the amount of yarn needed for the long tail cast on, measure out a length of yarn that is approximately four times the width of your finished sweater. This will ensure that you have enough yarn to cast on all the necessary stitches.
Step 1: Create a slipknot by making a loop with the yarn and pulling the end through, leaving a small loop.
Step 2: Insert your knitting needle into the slipknot and tighten it slightly.
Step 3: Hold the yarn in your right hand and the needle with the slipknot in your left hand.
Step 4: Using your right hand, bring the yarn over your thumb and hold it in place with your middle finger.
Step 5: Insert the needle into the loop on your thumb from the bottom, going from right to left.
Step 6: Bring the needle back through the loop on your thumb, bringing the yarn with it.
Step 7: Slip the loop off your thumb and tighten the stitch on the needle.
Repeat steps 4-7 until you have cast on the desired number of stitches for your pattern. Keep in mind that different patterns may require different stitch counts, so be sure to follow the instructions provided.
Once you have cast on all of your stitches, you can proceed to the next step of your baby sweater pattern. The cast on stitches will serve as the foundation for the body and sleeves of your sweater, and they will be worked into as you progress through the pattern.
Knitting the Body of the Sweater
After completing the ribbing and the sleeves, it’s time to start knitting the body of the baby sweater. The body is essentially a large rectangle that will be sewn together later on to create the finished garment.
Using the same size needles as before, cast on the required number of stitches for the size you are making. These stitches will determine the width of the sweater. Be sure to check the pattern for the specific number of stitches to cast on.
Once the stitches have been cast on, begin knitting in the chosen stitch pattern for the body. This could be plain stockinette stitch, a textured pattern, or any other stitch pattern of your choice. Repeat the pattern until the desired length of the body is reached.
Remember to periodically check your gauge as you go along to ensure that the sweater is turning out the correct size. You can do this by measuring the number of stitches and rows per inch using a gauge ruler. Adjust your tension if necessary to achieve the correct measurements.
At the desired length, bind off all stitches, ensuring that the bind off edge is loose enough to allow for stretching and movement. Cut the yarn, leaving a tail for weaving in later.
With the body of the sweater complete, you can now move on to attaching the sleeves and finishing off the sweater with the neckline and buttons.
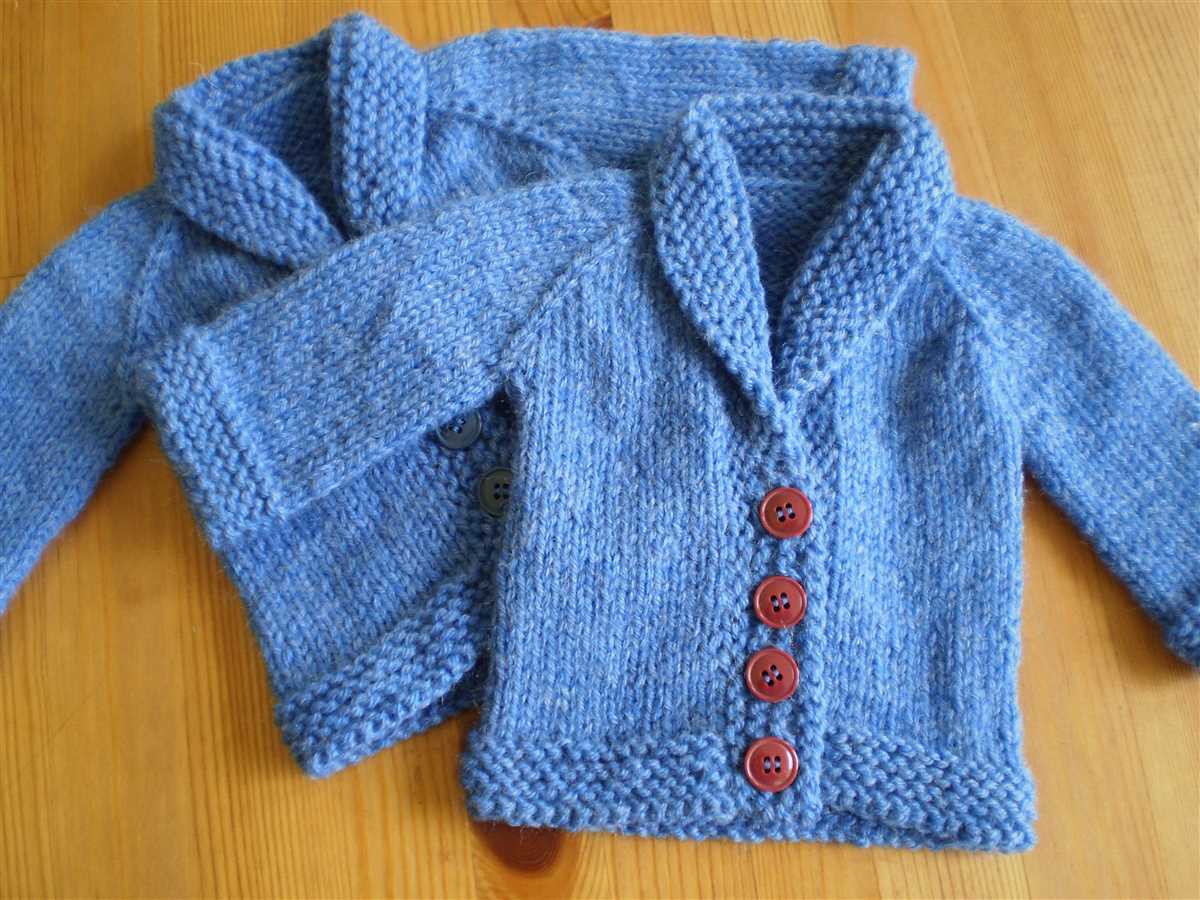
Creating the Neckline
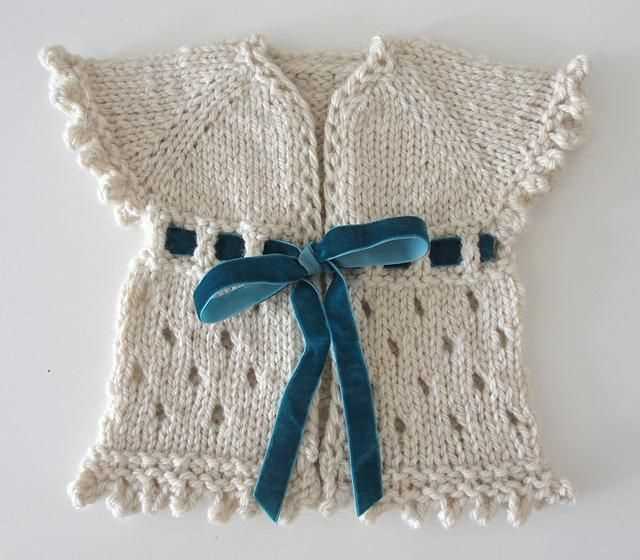
When it comes to creating the neckline for your easy knit baby sweater, there are a few different options you can choose from. One popular choice is the crew neck, which is a classic and simple neckline that is easy to knit. To create a crew neck, you will start by binding off a certain number of stitches at the center of the front of the sweater. Then, you will continue knitting the front and back separately, decreasing stitches along the edges to create the desired neckline shape. Once the front and back are complete, you will then join them together at the shoulders using a simple seam.
Another option for the neckline is the V-neck, which adds a bit more detail to the sweater. To create a V-neck, you will start by knitting the front and back separately, shaping the neckline gradually as you go. This is typically done by decreasing stitches along both sides of the front and back at the center of the sweater, creating a diagonal line that forms the V-shape. Once both the front and back are complete, you will then join them together at the shoulders using a simple seam.
If you want to add a bit of variety to your baby sweater, you could also consider adding a collar to the neckline. This can be done by picking up stitches along the neckline and knitting in a ribbed or garter stitch pattern to create a contrasting texture. The collar can be as wide or narrow as you like, and you can experiment with different stitch patterns to achieve the desired look. Adding a collar can give the sweater a more polished and finished appearance, making it a great option for dressier occasions.
In conclusion, when creating the neckline for your easy knit baby sweater, you have options such as the crew neck, V-neck, and adding a collar. Each option provides a different look and level of detail, allowing you to customize the sweater to your taste. Consider trying out different necklines to see which one you prefer and to add variety to your knitting projects. Happy knitting!
Adding the Sleeves
After completing the body of the baby sweater, it’s time to move on to adding the sleeves. This is an important step as it will give the sweater its complete look and functionality.
To start, place the body of the sweater flat on a surface with the right side facing up. Position the seam of one of the sleeves at the center of the underarm on the body. Make sure the right side of the sleeve is facing the right side of the body. Use stitch markers or pins to secure the sleeve in place.
Next, thread the appropriate yarn onto a tapestry needle. Starting at one end of the sleeve, sew it to the body using a whipstitch or a mattress stitch. Make sure to sew through both the sleeve and the body, taking care not to catch any other stitches. Continuously check to ensure that the sleeve is securely attached and lies flat against the body.
- Continue sewing along the length of the sleeve until you reach the other end. Be mindful of any stitch patterns or design elements on the sleeve that need to be aligned with the body.
- Repeat these steps for the other sleeve. Make sure that the sleeves are symmetrical and aligned with each other.
Once both sleeves are attached, examine the sweater to make sure everything is in place. If necessary, make any adjustments to the sleeves or seams. Take the time to weave in any loose ends and give the sweater a final inspection before continuing onto the next steps.
Finishing the Sweater
Once you have completed knitting the body and sleeves of the baby sweater, it’s time to finish the garment. Here are the steps to follow:
1. Assembly
Begin by seaming the shoulder seams using the mattress stitch. Place the body and sleeves right side up and align the edges of the shoulders. Thread a tapestry needle with the same yarn and weave it through the live stitches, starting from the bottom of one shoulder to the top. Repeat this process for the other shoulder. Make sure to secure the ends of the yarn once the seams are complete.
Next, sew the sleeves to the body using the mattress stitch. Align the edges of the sleeves with the armholes and use the same method as before to join the pieces. Take care to match the stitch pattern and ensure that the sleeves are centered on the shoulders. Finish off the yarn ends when you have finished seaming.
2. Neckband
To create the neckband, pick up stitches along the neckline using circular needles. Using the same yarn, start at the right shoulder and work your way around to the left shoulder. Make sure to spaced the picked-up stitches evenly. Knit in the pattern stitch for a few rows and then bind off. This will create a nice finished edge for the neckline.
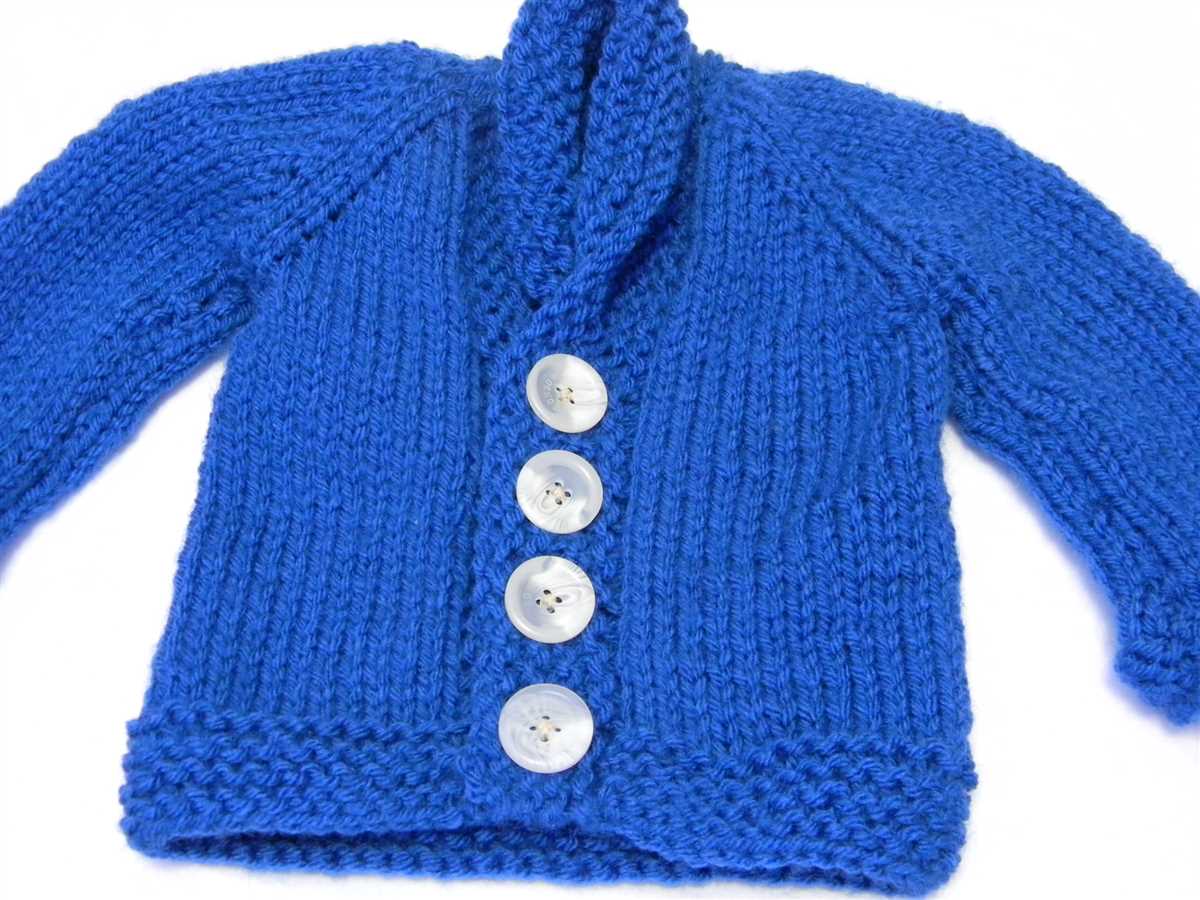
3. Buttonband and Buttons
To add buttons and create a buttonband, pick up stitches along the front edges of the sweater using circular needles. Start at the bottom edge and work your way up, making sure to maintain the stitch pattern. Knit in the pattern stitch for a few rows and then bind off. Sew buttons onto the opposite side of the buttonband, aligning them with the buttonholes.
Congratulations! You have now completed your knitted baby sweater. It is ready to be worn or gifted to a special little one. Happy knitting!
Blocking the Sweater
Blocking is an essential step in finishing your knitted baby sweater. It helps to even out the stitches, enhance the drape, and give the garment its final shape and size. To block the sweater, you will need a flat surface and some rustproof pins.
Start by soaking the sweater in a basin filled with lukewarm water and mild soap or a wool wash. Gently squeeze out the excess water, being careful not to wring or twist the garment. Lay the sweater flat on a clean towel and roll it up to remove more moisture.
Next, gently stretch the sweater into the desired shape and size, making sure to follow the measurements provided in the pattern. Pin the edges and seams of the garment to the flat surface, using rustproof pins to avoid any staining.
Allow the sweater to dry completely before unpinning. This can take anywhere from 24 to 48 hours, depending on the humidity and air circulation in your home. Once dry, unpin the sweater and carefully remove it from the flat surface.
- You can then sew up any remaining seams or add any additional features, such as buttons or embellishments.
- If needed, you can also steam the sweater lightly with a steam iron, being careful not to touch the iron directly to the fabric.
- Finally, give the sweater a gentle shake to fluff up the stitches and achieve the desired look.
Blocking your knitted baby sweater is a crucial step that will ensure your hard work is showcased in the best possible way. Taking the time to block your garment will result in a professional-looking finish and a sweater that fits beautifully.
Enjoying Your Finished Knit Baby Sweater
Congratulations on completing your knit baby sweater! Now that it’s finished, it’s time to sit back and admire your beautiful handiwork. Your little one is sure to look adorable in this cozy and stylish garment. Here are a few suggestions for how you can enjoy your finished knit baby sweater:
- Dress up your baby: Put the knit sweater on your little one and see how cute they look! Take some adorable photos to capture the moment and share with family and friends.
- Stay warm and cozy: The knit baby sweater will keep your baby warm and comfortable during the cooler months. Enjoy seeing them bundled up and feeling snug in your handcrafted creation.
- Gift it to a loved one: If you’re not a parent yourself, you can still enjoy the satisfaction of knitting a baby sweater by gifting it to someone special. Whether it’s for a family member, friend, or colleague, your hand-knit sweater will make a thoughtful and cherished present.
- Share your knitting journey: If you documented the process of knitting the baby sweater, consider sharing your journey with others. You can write a blog post, create a social media post, or even host a knitting tutorial to inspire and encourage others to try their hand at this rewarding craft.
- Create more knitwear: If you enjoyed knitting this baby sweater, why not try your hand at more knitwear? There are plenty of free patterns available online for hats, booties, and blankets. Keep expanding your knitting skills and enjoy creating more beautiful garments.
Remember, knitting is not only a creative outlet but also a way to show love and care for your little one. Cherish the moments spent knitting and enjoy seeing your baby wear the finished sweater with pride.