
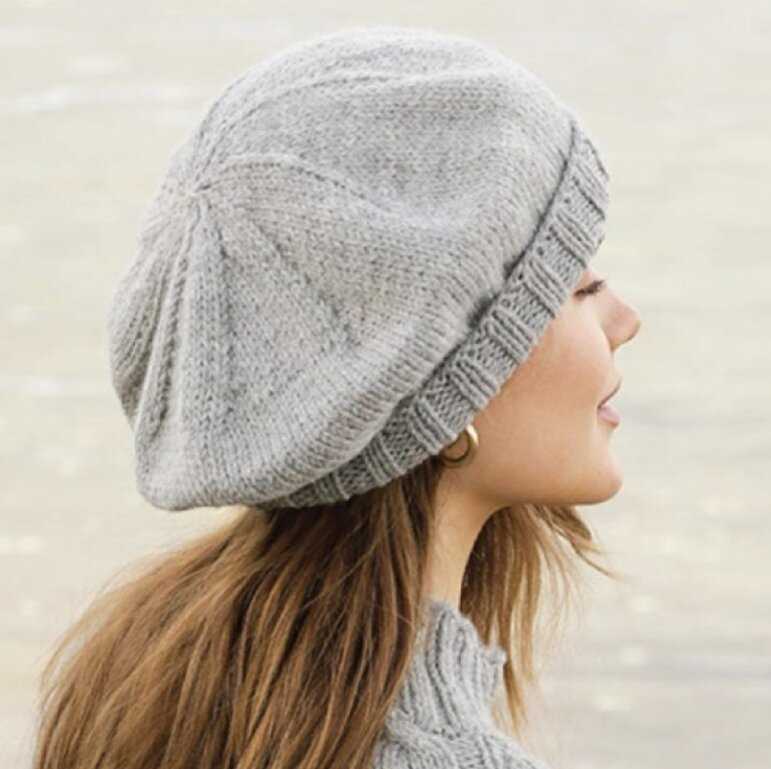
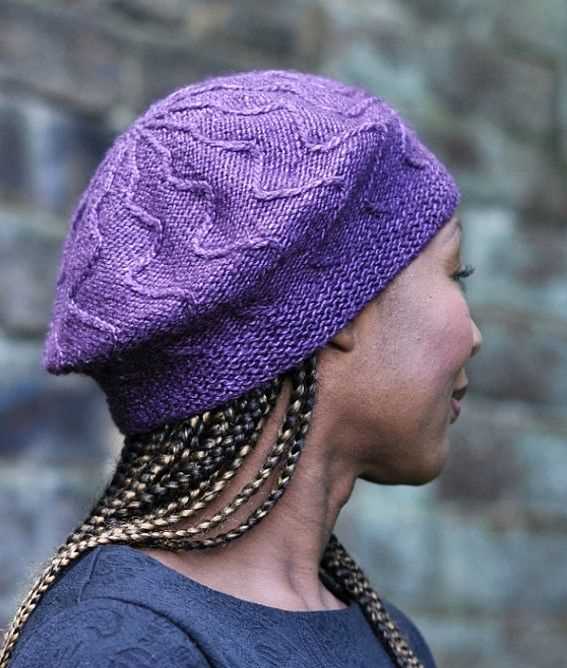
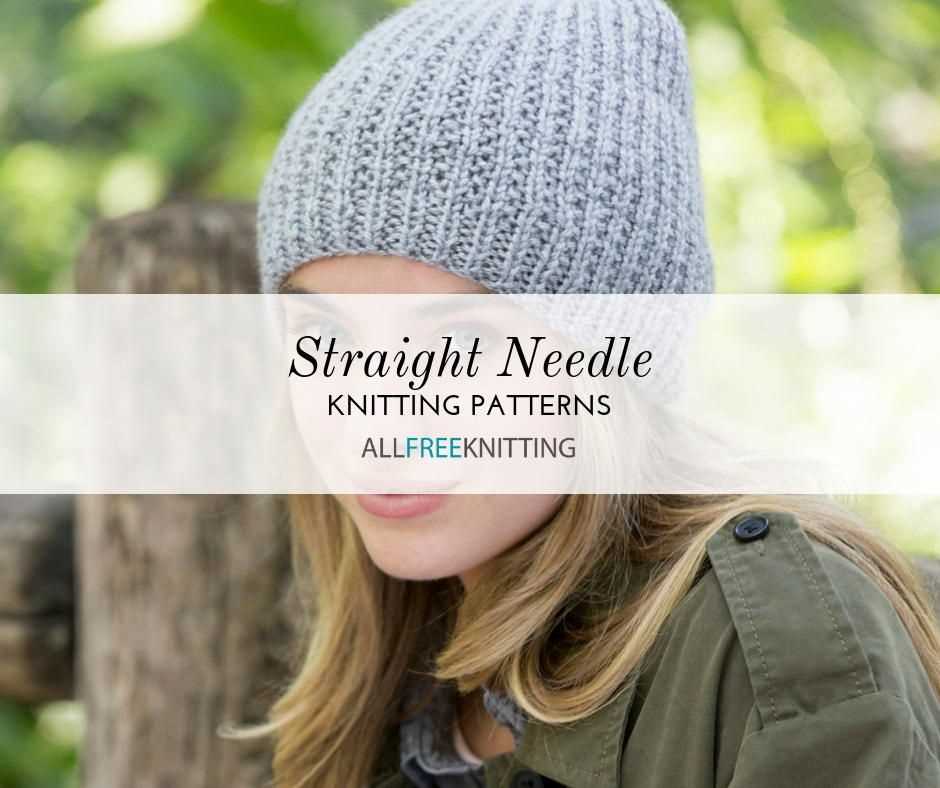
Knitting a cozy beret is a fantastic way to showcase your knitting skills while adding a touch of style to your winter wardrobe. Whether you’re a beginner or an experienced knitter, this easy beret knitting pattern is perfect for you. The best part? You can create this stylish accessory using just straight needles, making it accessible to knitters of all skill levels.
This pattern incorporates basic knitting stitches, such as the knit stitch and the purl stitch, making it a great project for beginners looking to expand their skills. With the use of straight needles, you won’t have to worry about using double-pointed needles or circular needles, making the process even simpler.
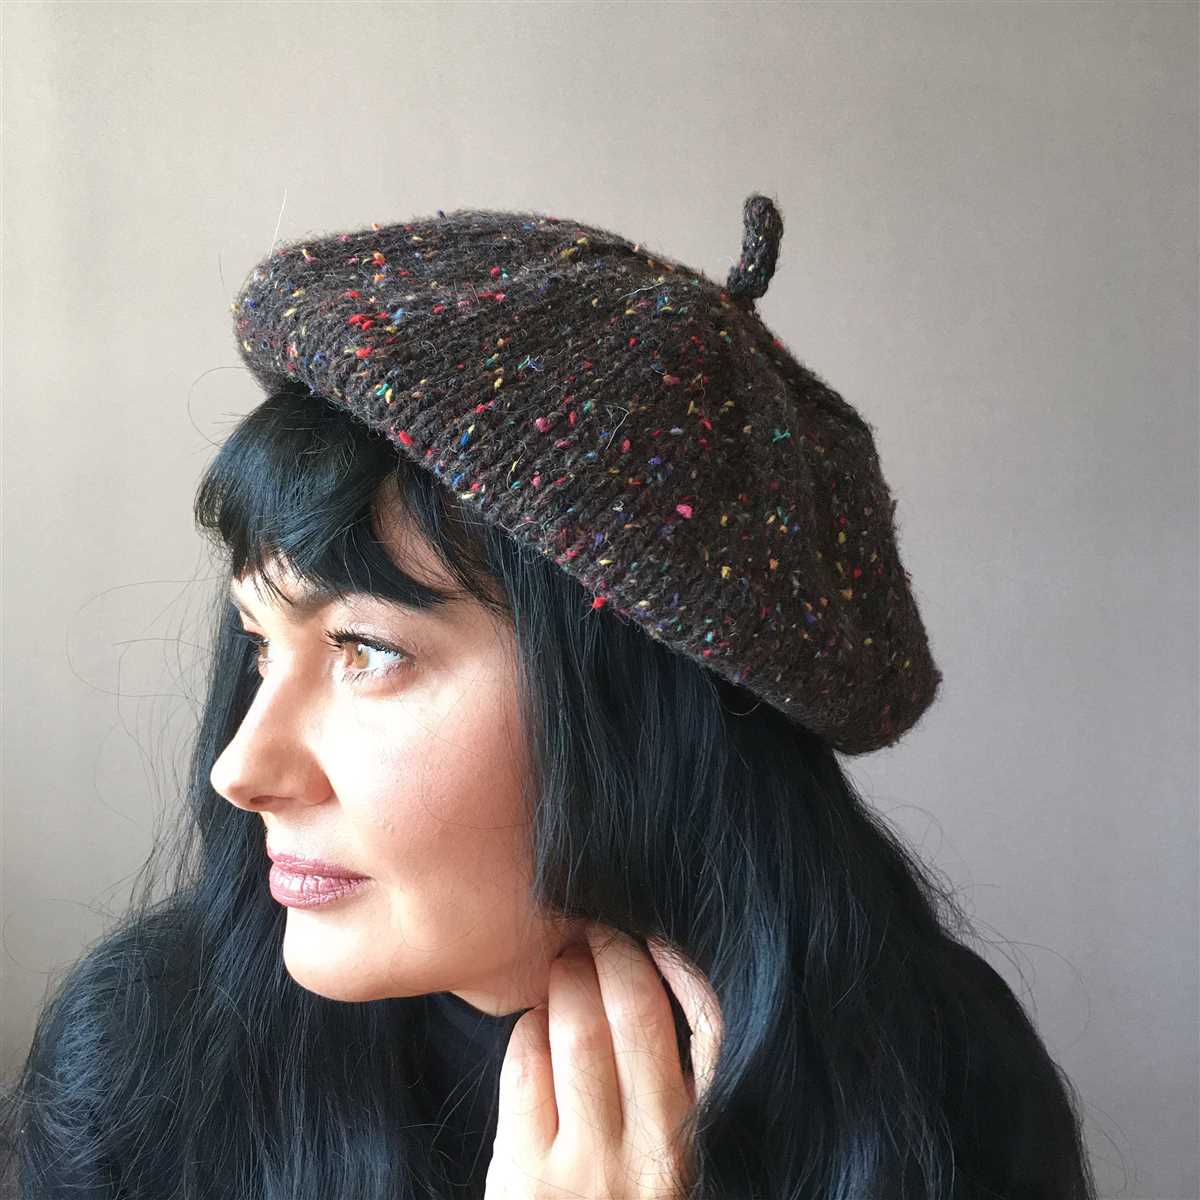
By following this pattern, you’ll have a beautiful beret in no time. It’s a versatile accessory that can be worn with any outfit, adding a touch of elegance and warmth to your look. So grab your needles and get ready to knit your way to a stylish winter accessory!
Easy Beret Knitting Pattern with Straight Needles
Looking to create a stylish and comfortable beret? Look no further! This easy beret knitting pattern with straight needles is perfect for beginners and experienced knitters alike.
To start, gather the following supplies:
- Straight knitting needles, size 8 or as desired
- Yarn, medium weight
- Tape measure
- Yarn needle
Begin the pattern by casting on 80 stitches. This will create a beret that fits most head sizes.
Next, knit every stitch for the first row, creating a base for your beret.
Continue knitting every stitch for the next few rows, until the desired length of the beret is reached. You can customize the length to your preference.
To shape the beret, start decreasing stitches. Knit 2 stitches together at the beginning and end of each row until you have 6 stitches remaining.
Once you have 6 stitches left, cut the yarn, leaving a long tail. Thread the yarn through a yarn needle and slide the needle through the remaining stitches. Pull tight to close the top of the beret.
To finish off your beret, weave in any loose ends and block the beret to shape. You can use a plate or other round object to help shape the beret while it dries.
And there you have it! With this easy beret knitting pattern, you can create a stylish and cozy accessory to complete any outfit. Whether you’re a beginner or an experienced knitter, this pattern is sure to be a fun and enjoyable project.
Materials and Tools
Before starting your easy beret knitting project, it is important to gather all the necessary materials and tools. This will ensure that you have everything you need to complete the project without interruptions.
Yarn:
Choose a yarn that is suitable for the season and desired look of your beret. You can opt for a lightweight cotton yarn for spring and summer berets, or a warmer wool or acrylic blend for fall and winter berets. The yarn should be soft and comfortable to wear.
Needles:
You will need a pair of straight knitting needles in the appropriate size for your yarn. The size of the needles will depend on the gauge and tension you want for your beret. Consult the yarn label for recommended needle size, or swatch with different needle sizes to achieve the desired tension.
Stitch markers:
Stitch markers are useful for keeping track of pattern repeats and shaping in your beret. You can use commercial stitch markers, or simply make your own with spare yarn or small rings.
Tape measure:
A tape measure will help you ensure that your beret has the correct size. Measure your head circumference and use this measurement to guide your knitting. Remember to account for any stretchiness in the chosen stitch pattern.
Yarn needle:
A yarn needle is essential for weaving in loose ends and sewing any seams in your beret. Choose a needle with a large eye that can easily accommodate the yarn you are using.
Scissors:
Keep a pair of sharp scissors handy for cutting yarn and trimming any excess.
With these materials and tools at hand, you are ready to start your easy beret knitting pattern on straight needles. Happy knitting!
Gauge
When knitting a beret, it is important to pay attention to gauge. Gauge refers to the number of stitches and rows per inch in your knitting. It is crucial to achieve the correct gauge in order for your beret to fit properly. If your gauge is too loose, your beret will end up too big, and if your gauge is too tight, your beret will be too small.
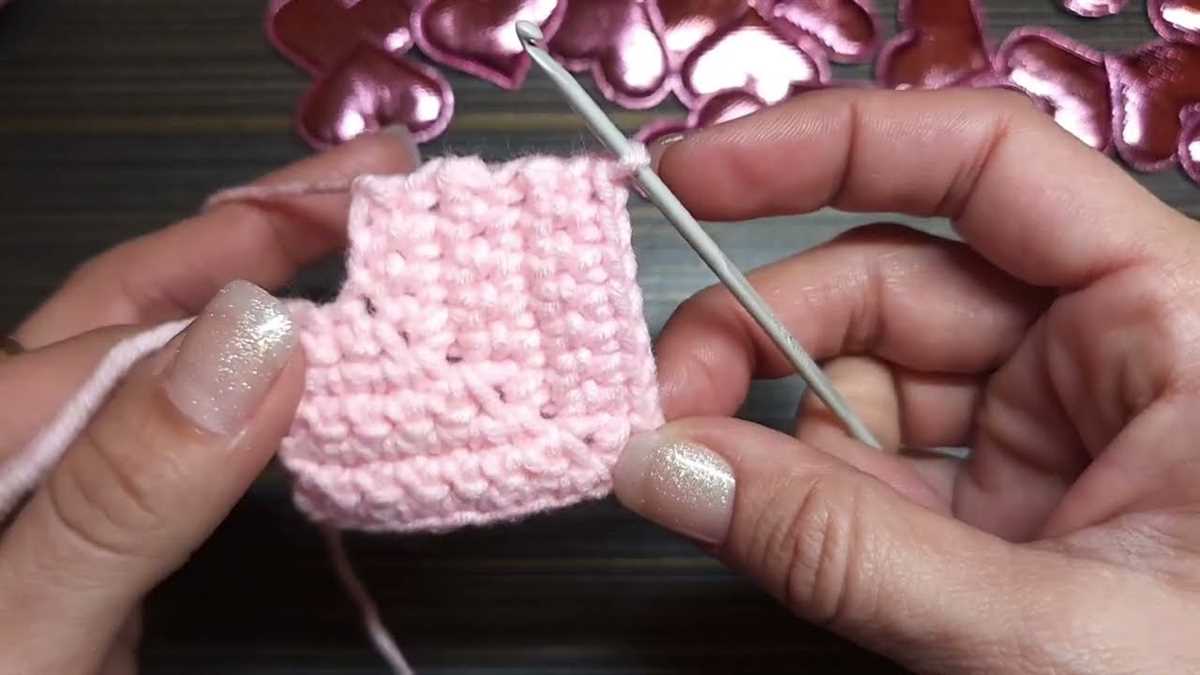
To determine your gauge, you will need to create a swatch. A swatch is a small square of knitting that you will measure to determine your stitch and row count. You will need to use the same yarn and needles that you plan to use for your beret.
- Begin by casting on a few stitches, typically around 20.
- Knit a few rows in the stitch pattern you plan to use for your beret.
- After a few rows, measure the swatch to see how many stitches and rows fit within one inch.
- If your gauge is too loose, you will need to switch to smaller needles. If your gauge is too tight, you will need to switch to larger needles.
- Continue making swatches and adjusting your needle size until you achieve the correct gauge.
It is important to note that every knitter knits at a different tension, so it is crucial to create a swatch and measure your gauge before starting your beret. Taking the time to properly determine your gauge will ensure that your beret fits perfectly and looks as good as you imagined.
Abbreviations
In knitting patterns, abbreviations are used to shorten the instructions and make them more concise. This allows the pattern to be easier to read and follow. Understanding the various abbreviations used in knitting patterns is essential for successfully completing a project.
Here are some common abbreviations you may come across in an easy beret knitting pattern:
- K: Knit
- P: Purl
- YO: Yarn Over
- K2tog: Knit Two Together
- SSK: Slip Slip Knit
- P2tog: Purl Two Together
- PM: Place Marker
- SM: Slip Marker
- RS: Right Side
- WS: Wrong Side
These abbreviations are commonly used throughout knitting patterns and having a good understanding of them will make it easier to read and follow the instructions. If you come across any abbreviations that you are unfamiliar with, you can usually find explanations or tutorials online.
Size
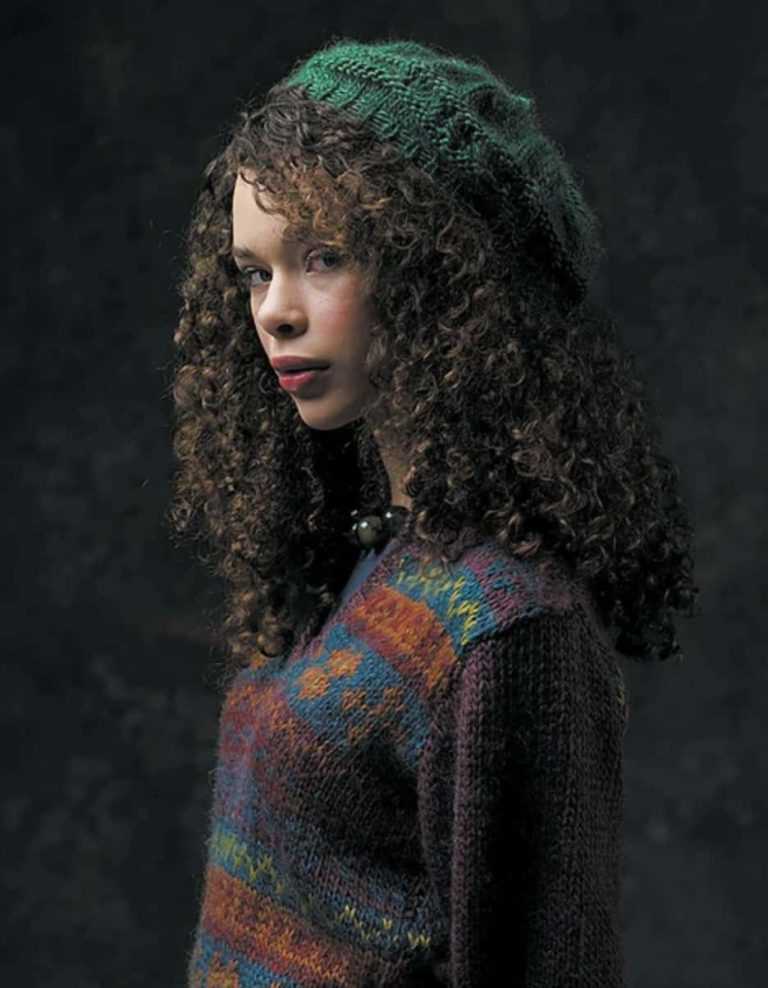
When it comes to knitting a beret, size is an important factor to consider. You want your beret to fit comfortably and securely on your head, so choosing the right size is crucial. The size of your beret will largely depend on the gauge of your knitting needles and the size of your head.
To determine the size of your beret, you can measure the circumference of your head with a measuring tape. Make sure to measure around the widest part of your head, which is usually right above the ears. This measurement will serve as a guideline for the size of your beret.
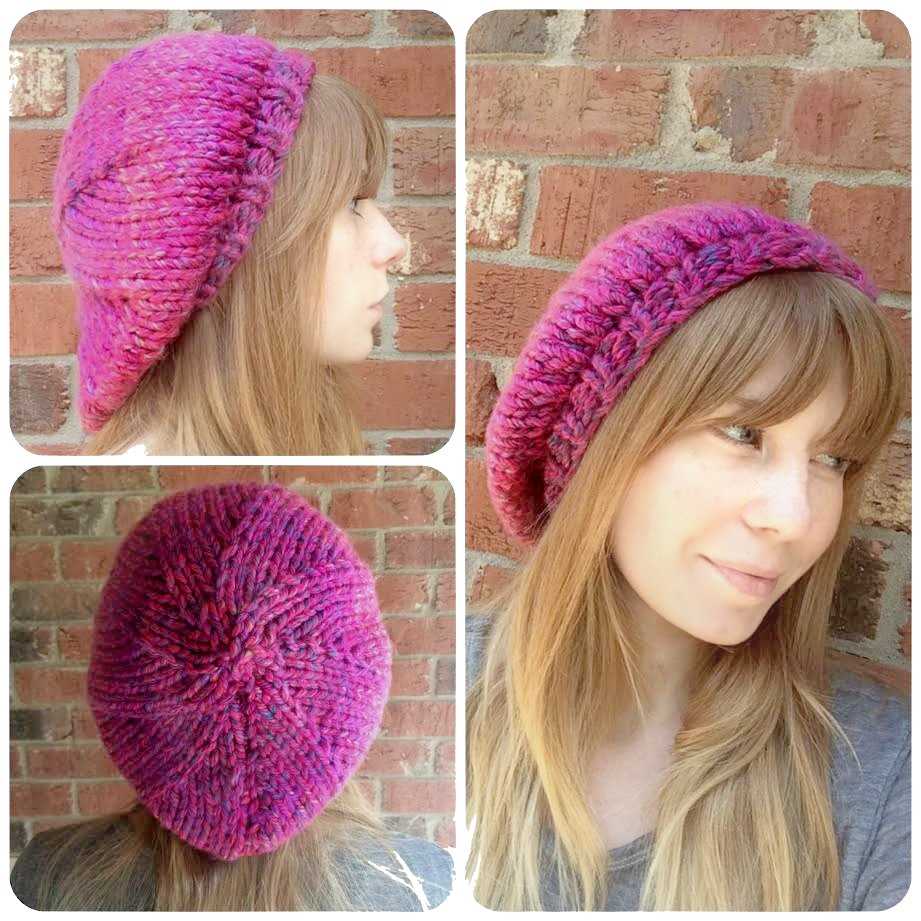
Once you have the measurement, you can reference a sizing chart to determine the appropriate size. Beret sizes are typically given in small, medium, or large, but some patterns may provide specific measurements in inches or centimeters. It’s important to note that berets are meant to have a slightly slouchy fit, so they may appear larger than a regular hat.
If you find that your beret is too tight or too loose, you can easily adjust the size by using larger or smaller knitting needles. Be sure to also check your gauge and make any necessary adjustments to achieve the desired size. Remember, having a properly sized beret will ensure a comfortable and stylish fit.
Instructions
In this easy beret knitting pattern, you will be using straight needles to create a stylish and cozy beret. Follow these step-by-step instructions to create your own fashionable accessory.
Materials Needed:
- Size 8 (5mm) straight knitting needles
- Medium weight yarn in your desired color
- Tapestry needle
- Scissors
Instructions:

- Cast on 88 stitches onto your knitting needles.
- Work in a 1×1 ribbing pattern (k1, p1) for the first 3 inches.
- Switch to stockinette stitch (knit on the right side, purl on the wrong side) and continue until the piece measures 6 inches from the cast-on edge.
- Next, decrease 8 stitches evenly across the row. This can be done by knitting 2 stitches together (k2tog) at regular intervals.
- Continue working in stockinette stitch for another 3 inches.
- Decrease 8 stitches evenly across the row again.
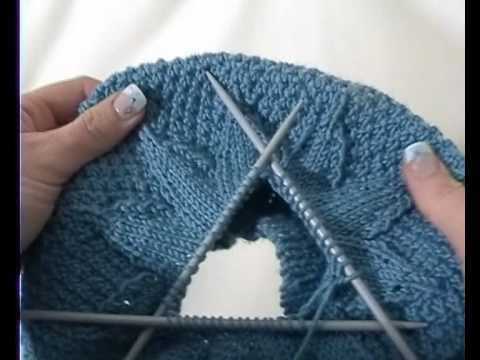
- Switch to knitting in the round by joining the stitches in a circle using the magic loop method or by transferring the stitches to double-pointed needles.
- Continue decreasing 8 stitches evenly across every other row until there are only 8 stitches remaining.
- Cut the yarn, leaving a long tail. Thread the tail through the remaining stitches and pull tight to close the top of the beret.
- Weave in any loose ends and trim excess yarn.
With these easy-to-follow instructions, you’ll have a beautiful beret to wear in no time. Customize it with your favorite yarn color and enjoy your new handmade accessory!
Cast On
When starting any knitting project, it is important to cast on stitches to create the foundation for your work. In the case of an easy beret knitting pattern using straight needles, you will need to cast on a specific number of stitches to match the pattern.
To cast on, you can use a basic method such as the long-tail cast on. This involves creating a slip knot on one of the needles and then using the long tail of yarn to form the first stitch. The size of the slip knot determines the length of the tail needed. You can estimate the tail length by measuring it against the needle and keeping in mind that you will need extra length for each stitch to be cast on.
If you prefer, you can also use alternate cast on methods, such as the knitted cast on or the backward loop cast on. These methods are simpler and require less yarn, but they may not be as stable as the long-tail cast on. The choice of cast on method depends on your personal preference and the type of project you are working on.
Once you have cast on the required number of stitches, you can proceed with the rest of the knitting pattern. It is important to ensure that the stitches are evenly distributed along the needle and that there are no twists in the cast on row. Taking the time to properly cast on your stitches will set you up for success in creating an easy beret using straight needles.
Ribbing
Ribbing is a popular technique used in knitting to create flexible and stretchy fabric, often seen at the edges of garments, cuffs, and collars. It is achieved by alternating knit and purl stitches in a specific pattern. The most common ribbing patterns are the 1×1 rib and the 2×2 rib. In the 1×1 rib, one knit stitch is followed by one purl stitch, while in the 2×2 rib, two knit stitches are followed by two purl stitches.
Ribbing is often used at the beginning of a project to create a firm and elastic edge. It helps prevent the edges from rolling and gives the finished piece a polished look. Ribbing is also frequently used for cuffs, as it provides a snug fit and helps the garment retain its shape. Additionally, ribbing can be added to the brims of hats and the bands of berets to create a comfortable and secure fit.
When working ribbing, it’s important to maintain an even tension between the knit and purl stitches. This helps create a consistent texture and prevents the fabric from pulling or puckering. Some knitters find it helpful to use markers or a different color yarn to distinguish between the knit and purl stitches. It’s also important to pay attention to the stitch count when transitioning from ribbing to other stitch patterns, as the number of stitches may need to be adjusted.
Advantages of ribbing

- Creates an elastic and stretchy fabric
- Prevents edges from rolling
- Gives a polished look to the finished piece
- Provides a snug fit for cuffs and hat brims
Ribbing is a versatile technique that adds both functionality and style to knitted garments. Whether you’re an experienced knitter or just starting out, mastering the art of ribbing will open up a world of possibilities for your knitting projects.
Body
In this section, we will discuss the body of the beret knitting pattern using straight needles. The body of the beret refers to the main part of the hat, excluding the brim.
To start knitting the body, you will need to cast on the required number of stitches. This can vary depending on the size of the beret and the desired fit. You can refer to the pattern instructions for the specific number of stitches to cast on.
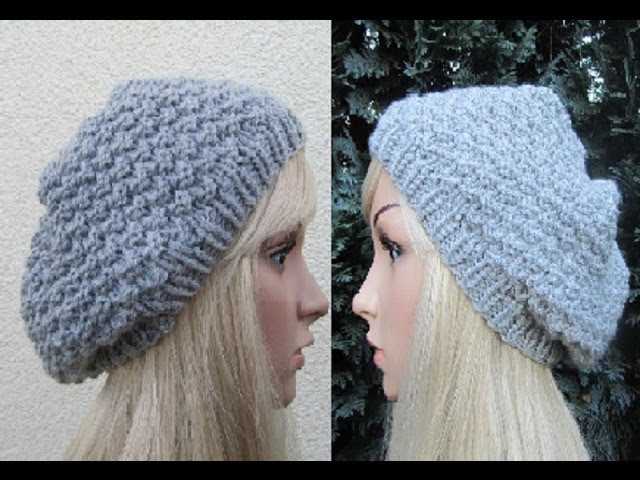
Once you have cast on the stitches, you will begin working the body of the beret in a specific stitch pattern. This can be a simple stockinette stitch, a textured pattern, or even a lace pattern, depending on the design of the beret.
As you progress in knitting the body, you may need to make increases or decreases to shape the hat. This can be done by adding or removing stitches at specific intervals to achieve the desired shape and fit. The pattern instructions will guide you on when and how to make these adjustments.
Continue knitting the body of the beret until you reach the desired length. This can also vary depending on the design, but typically, the body will be knitted until it measures a certain number of inches or centimeters.
Once you have completed the body, you can move on to the next section of the pattern, which may involve knitting the brim, adding any finishing touches, or sewing the beret together, depending on the design.
Decrease Round 1
Decreasing rounds are an essential part of knitting a beret. They help give the beret its shape and create a snug fit. In Decrease Round 1, you will be decreasing the number of stitches on your needles to continue shaping the beret.
Here are the steps for Decrease Round 1:
- Start by knitting the first two stitches together. Insert your right-hand needle into the first stitch on the left-hand needle and then into the second stitch. Wrap your yarn around the needle and pull it through both stitches, dropping them off the left-hand needle.
- Purl the next stitch. Insert your right-hand needle into the front of the next stitch on the left-hand needle, from right to left. Wrap your yarn around the needle and pull it through, dropping the stitch off the left-hand needle.
- Repeat these two steps until you reach the end of the round. You should have decreased the total number of stitches by half.
Decrease Round 1 is just the first step in shaping your beret. By following these instructions, you will be on your way to creating a beautiful beret using straight needles.
Decrease Round 2
In the second round of decreases, you will continue to decrease the number of stitches to shape the beret. Follow these steps to complete Decrease Round 2:
- Step 1: Knit the first stitch.
- Step 2: Slip the next stitch knitwise onto the right needle.
- Step 3: Knit the following two stitches together.
- Step 4: Pass the slipped stitch over the knitted stitches.
- Step 5: Repeat steps 1-4 until you reach the end of the round.
This decrease technique creates a neat and subtle decrease that helps shape the beret. By knitting two stitches together and passing a slipped stitch over, you are effectively eliminating two stitches in each round. This gradual decrease helps create the classic beret shape with a slightly tapered crown.
Finishing
Once you have completed knitting your beret, there are a few finishing steps to make it look polished and ready to wear.
Weaving in the ends: Start by weaving in any loose ends of yarn that are sticking out from your knitting. This will give your beret a clean and neat finish. Use a tapestry needle to thread the yarn through the stitches on the wrong side of the work, making sure to avoid pulling too tightly or distorting the shape of the beret.
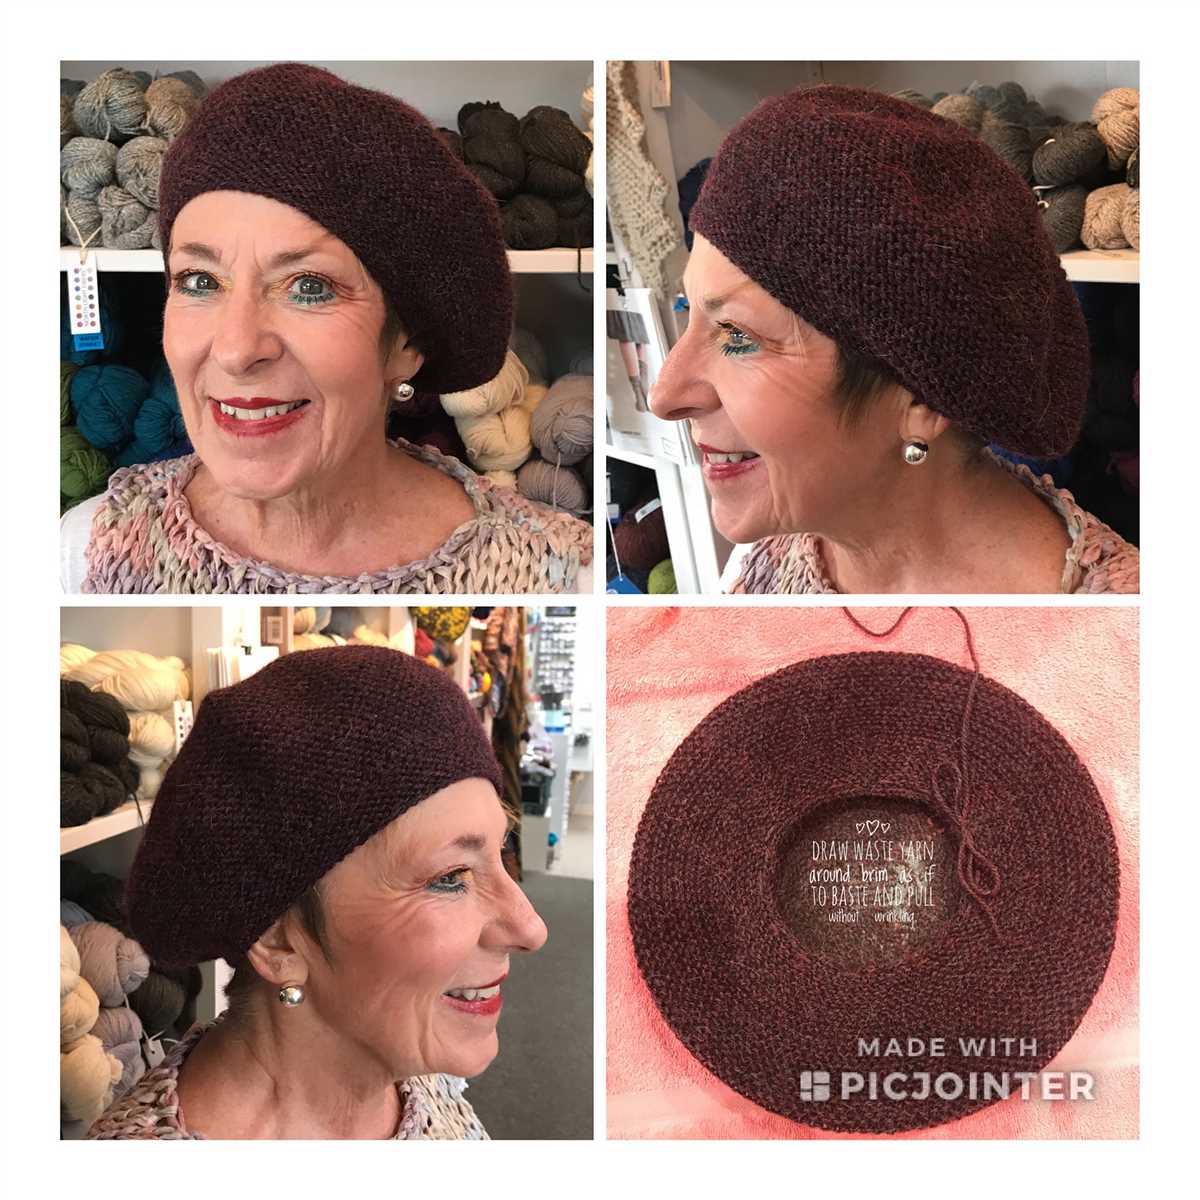
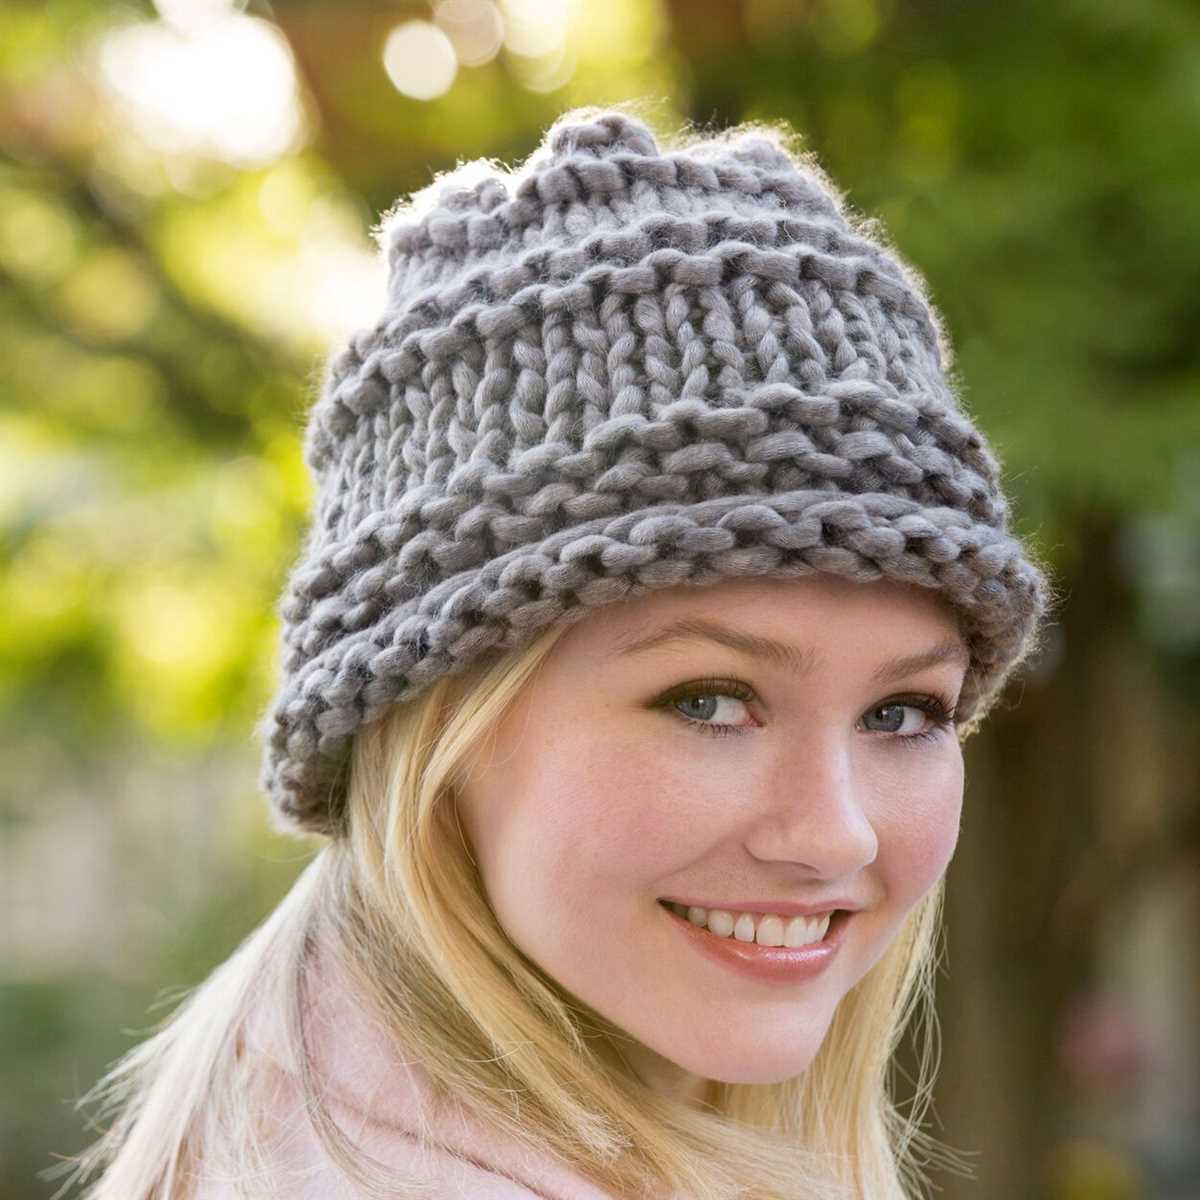
Blocking: In order to shape your beret and give it the desired slouchy look, blocking is essential. Wet your finished beret in lukewarm water and gently squeeze out the excess moisture. Then, lay it flat on a towel and use your hands to shape it into the desired shape, smoothing out any wrinkles or unevenness. Leave it to dry completely before removing it from the towel.
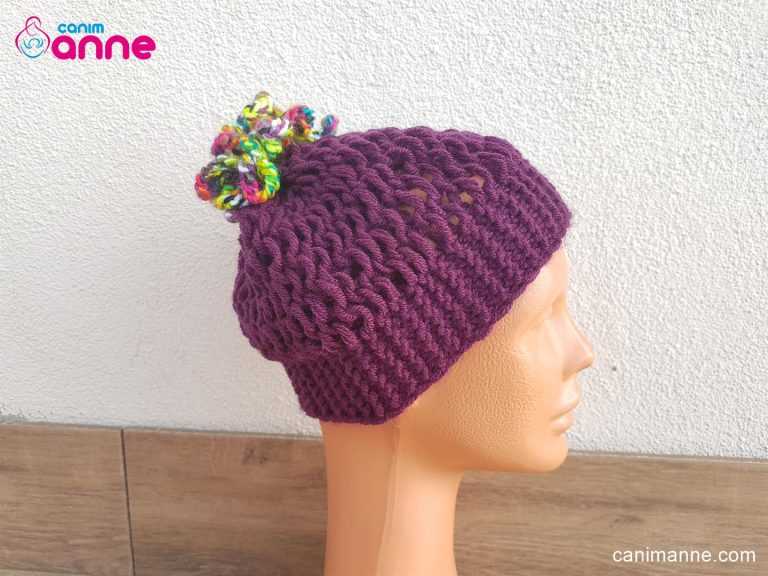
Add a pom-pom (optional): To add a playful and trendy touch to your beret, you can attach a pom-pom. There are many different types of pom-poms available at craft stores, or you can easily make your own using yarn. Using a tapestry needle, thread the pom-pom onto the top of the beret and secure it tightly.
With these finishing touches, your beret is now ready to be worn and enjoyed. Whether you’re going for a casual or chic look, your handmade beret will add a stylish flair to any outfit.
Optional Embellishments
Once you have finished knitting your beret, you can add optional embellishments to make it truly unique and personalized. Here are a few ideas to consider:
- Pom-pom: Attach a pom-pom to the top of your beret for a playful and festive touch.
- Buttons: Sew on some decorative buttons around the brim of the beret for an added pop of color.
- Embroidery: Add intricate embroidery designs to the body of the beret for a beautiful and handmade look.
- Ribbons: Attach ribbons in contrasting or complementary colors to the brim or top of the beret for a feminine touch.
- Brooch: Pin a brooch or decorative pin to the side of the beret to add a touch of elegance and sophistication.
With these optional embellishments, you can transform a simple beret into a stylish accessory that reflects your personal taste and style.
Conclusion
In conclusion, with the easy beret knitting pattern using straight needles, you can create a fabulous accessory for yourself or as a gift. The pattern is beginner-friendly, and with its versatility, you can experiment with different yarns and colors to create a variety of berets. The straight needle technique makes it accessible for those who may not be comfortable with circular needles. So, grab your favorite yarn and get started on knitting your own chic beret!