
Knitting your own cushion cover is a wonderful way to add a personal touch to your home decor. Whether you’re a novice knitter or an experienced one, there are many patterns available to suit your skill level and style. In this article, we’ll explore a simple and versatile cushion cover knitting pattern that you can easily customize to fit your needs.
This pattern uses basic knitting stitches and requires only a few materials, making it a great project for beginners. You’ll need a pair of knitting needles, a yarn of your choice, and a cushion insert. The pattern consists of a front and back panel that are knit separately and then sewn together, creating a seamless and professional-looking cover.
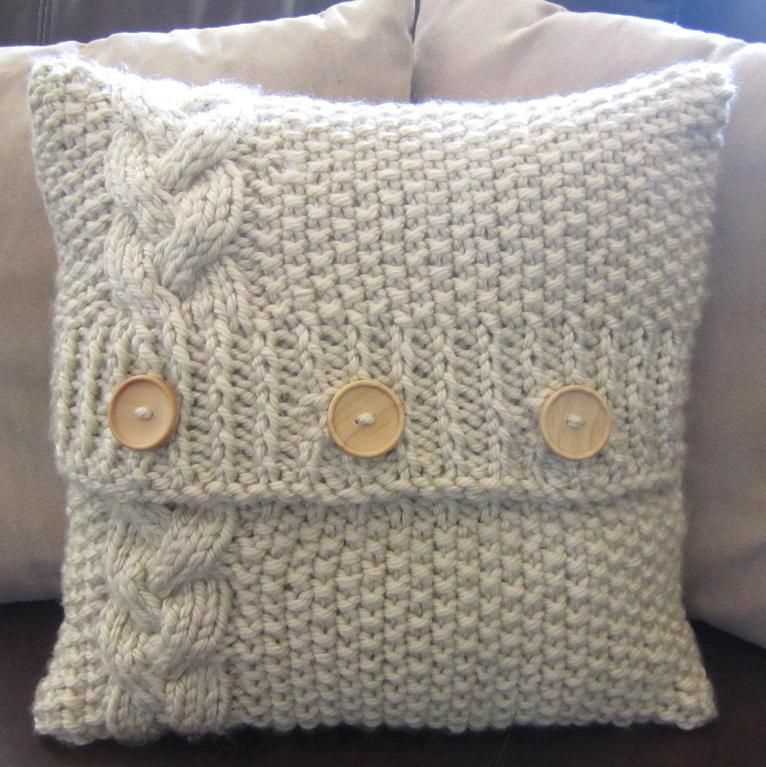
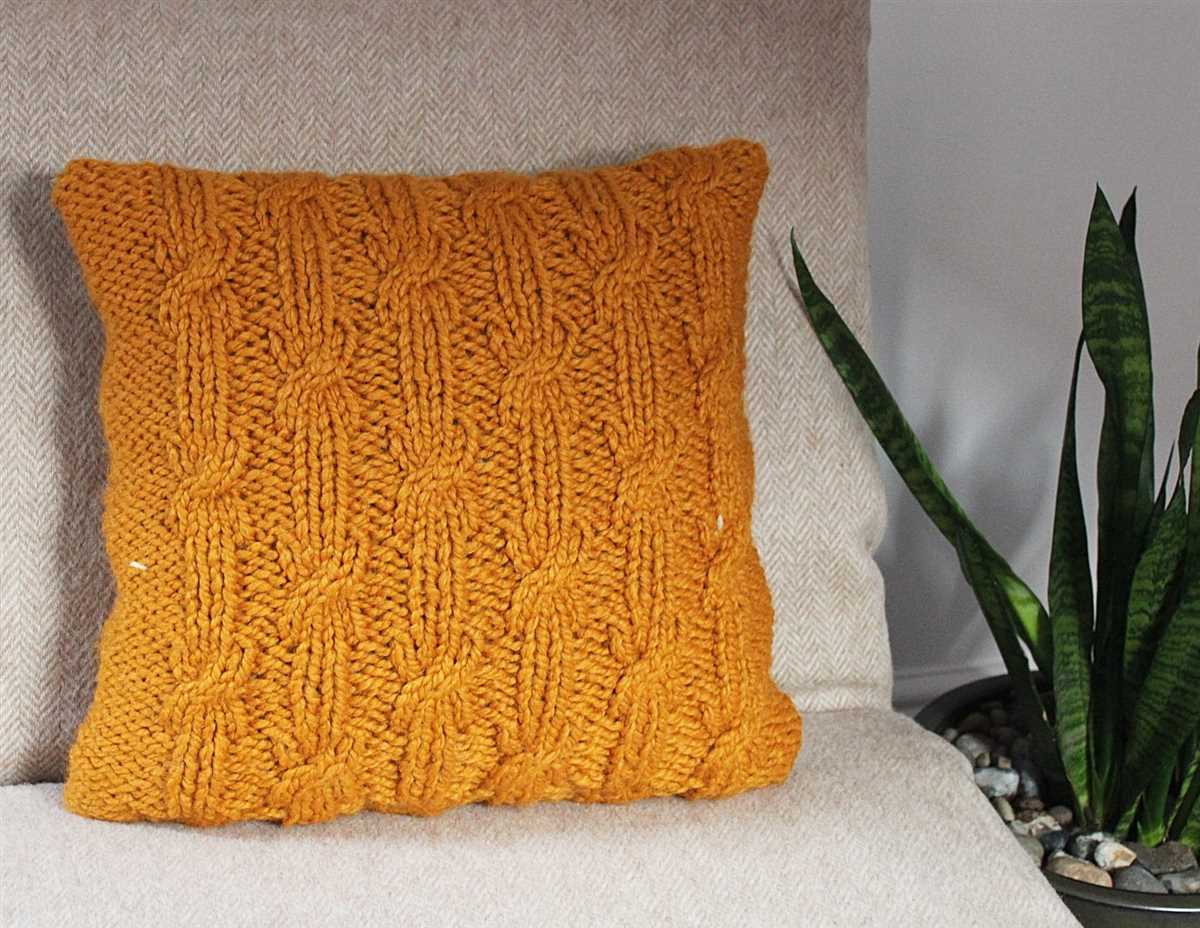
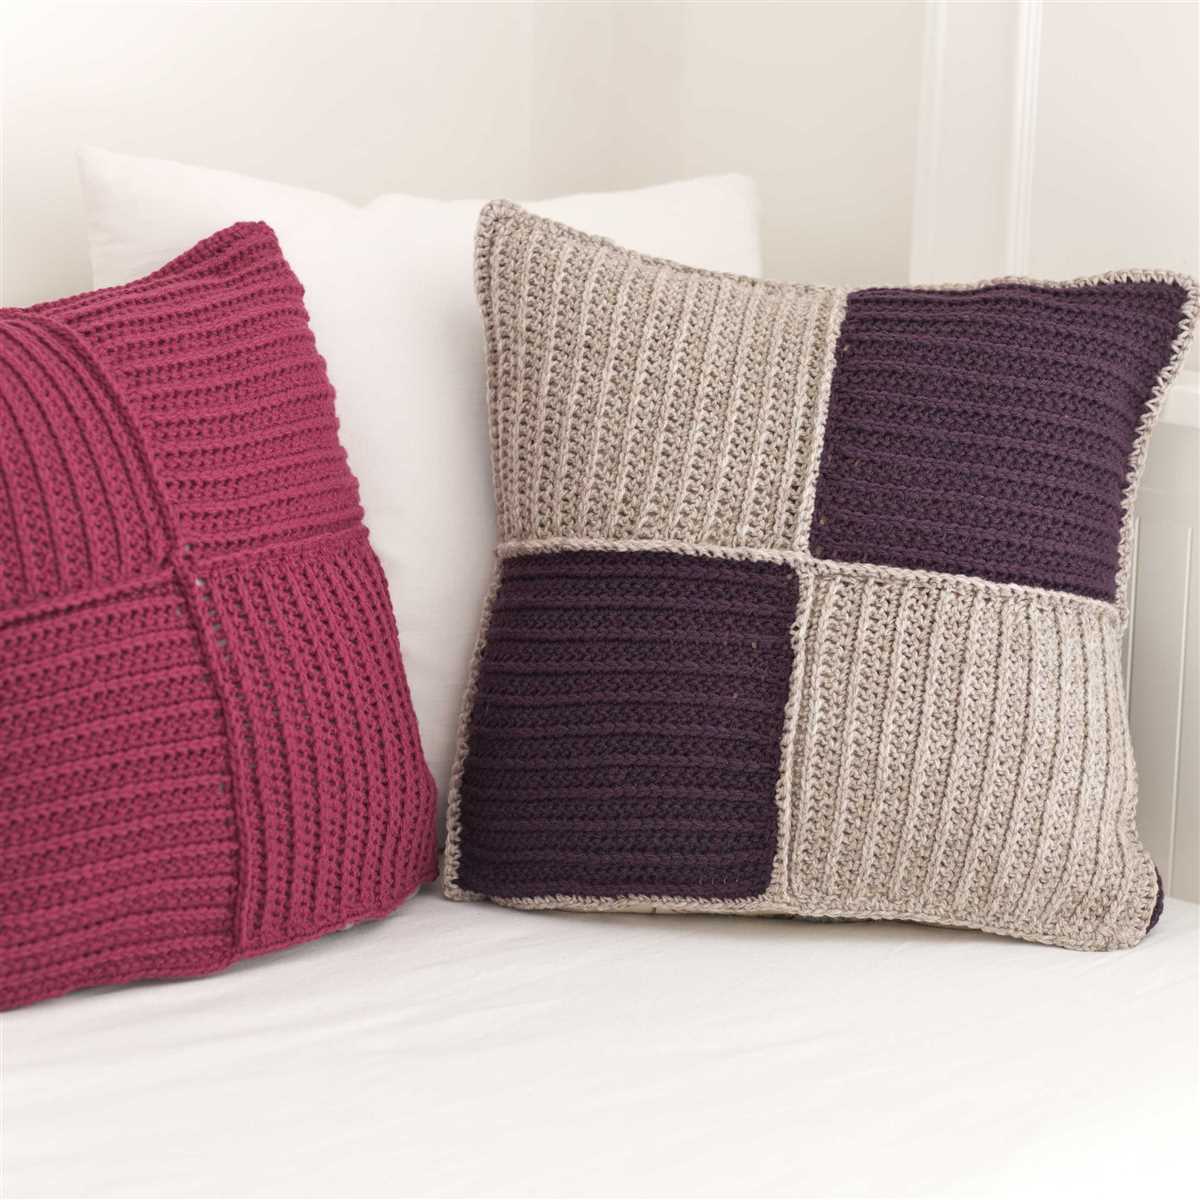
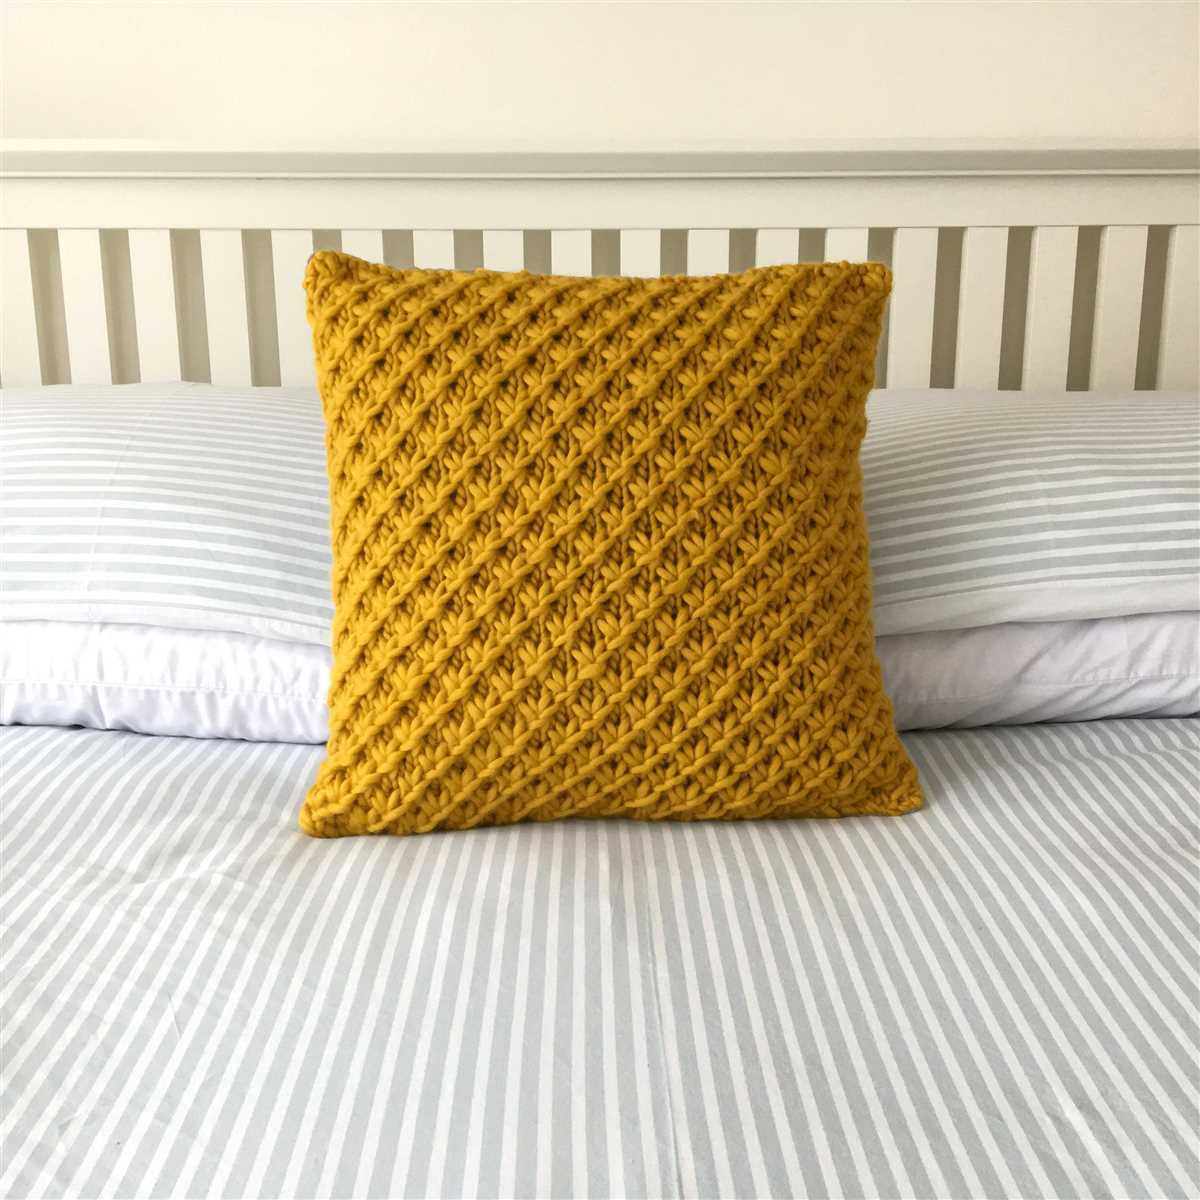
One of the great things about this pattern is that it can be easily modified to fit any cushion size. Simply adjust the number of stitches and rows to match the dimensions of your cushion insert. You can also experiment with different yarns and stitch patterns to create a unique and textured design. Whether you prefer a classic cable pattern or a modern color-block design, this cushion cover knitting pattern is versatile enough to accommodate your personal style.
Cushion Cover Knitting Pattern
If you’re looking for a new knitting project, why not try making a cushion cover? Knitting a cushion cover is a fun and creative way to add a personal touch to your home decor. Plus, it’s a practical and functional item that can be used to add comfort and style to any living space.
When it comes to finding the perfect cushion cover knitting pattern, the options are endless. You can choose from a variety of different designs, stitches, and colors to create a unique and custom piece. Whether you prefer a simple, classic design or something more intricate and detailed, there is a knitting pattern out there that will suit your style and skill level.
Materials Needed
- Knitting needles (size may vary depending on the pattern)
- Yarn (choose a soft and durable yarn that matches your desired color scheme)
- Tapestry needle
- Scissors
- Measuring tape or ruler
- Cushion insert (to fit the size of your finished cover)
Instructions
- Start by choosing the knitting pattern you want to use. You can find free patterns online or in knitting magazines and books.
- Gather all your materials and make sure you have everything you need.
- Measure your cushion insert to determine the size of your cover. You’ll want to add a few inches to allow for a snug fit.
- Follow the pattern instructions to cast on the required number of stitches. Pay attention to any special stitches or techniques that may be involved.
- Continue knitting according to the pattern, making sure to keep track of your rows and stitches.
- Once you’ve reached the desired size, it’s time to finish off your cushion cover. Follow the pattern instructions for binding off and weaving in any loose ends.
- Block your finished cover to ensure it holds its shape and size.
- Insert your cushion and enjoy your new, handmade cushion cover!
Knitting a cushion cover is a great way to relax and unwind while creating something beautiful for your home. Whether you’re a beginner or an experienced knitter, there is a pattern out there that will inspire and challenge you. So grab your needles and yarn, and start knitting your own custom cushion cover today!
About the Cushion Cover Knitting Pattern
Knitting a cushion cover is a fun and rewarding project. It allows you to showcase your knitting skills and create a beautiful and personalized home decor item. Whether you are a beginner or an experienced knitter, this cushion cover knitting pattern is a great way to challenge yourself and create something unique.
This knitting pattern includes step-by-step instructions and detailed diagrams to guide you through the process. It provides you with all the information you need to get started, from choosing the right yarn and needles to understanding the different stitches required. Whether you prefer a simple design or a more intricate pattern, there are various options available to suit your style and skill level.
With this cushion cover knitting pattern, you have the freedom to choose your own colors, textures, and patterns. Whether you want to create a cozy, rustic look or a bold and modern design, the options are endless. You can experiment with different yarn weights and needle sizes to achieve the desired texture and thickness for your cushion cover.
Knitting a cushion cover not only allows you to express your creativity, but it also offers practical benefits. A handmade cushion cover adds a personal touch to your home decor and can be a great conversation starter. It also makes for a thoughtful and personalized gift for friends and family.
Key Features of the Cushion Cover Knitting Pattern:
- Step-by-step instructions and diagrams for easy understanding
- Various design options to suit different styles and skill levels
- Guidance on choosing the right yarn, needles, and stitches
- Freedom to choose your own colors, textures, and patterns
- Adds a personal touch to home decor and makes for a thoughtful gift
Materials
Before you start knitting your cushion cover, you will need to gather the necessary materials. Here is a list of the items you will need:
- Yarn: Choose a yarn that is suitable for cushion covers. Look for yarn that is durable and easy to care for. You will need enough yarn to complete the size of cushion cover you are making. Consider the color and texture of the yarn to match your desired aesthetic.
- Knitting needles: Depending on the pattern you are using, you may need either straight or circular knitting needles. Make sure you have the correct size needles for the yarn you are using.
- Tapestry needle: This blunt-ended needle is used for sewing the seams of your cushion cover and weaving in loose ends. Choose a needle with a large enough eye to thread your yarn through.
- Scissors: A good pair of sharp scissors is essential for cutting yarn and trimming any excess.
- Measuring tape: This will help you determine the correct size of your cushion cover and measure your gauge.
- Cushion insert: Don’t forget to have a cushion insert that fits the size of your cover. This will give your cushion a nice, plump shape.
Once you have gathered all of these materials, you will be ready to start knitting your cushion cover. Make sure to have everything prepared and organized before you begin, so you can focus on the knitting process.
Gauge
Gauge is an important aspect of knitting, as it determines the size and fit of the finished project. It refers to the number of stitches and rows per inch achieved when knitting with a specific yarn and needle size. The gauge is usually stated in the pattern and serves as a guide to ensure that the knitter’s tension matches the intended measurements.
When following a cushion cover knitting pattern, it is crucial to check the gauge. To obtain accurate results, it is recommended to knit a swatch using the specified yarn and needle size. The swatch should be large enough to measure at least 4 inches by 4 inches. By comparing the number of stitches and rows in the swatch to the gauge specified in the pattern, adjustments can be made if necessary.
Measuring the gauge:
- Use the recommended yarn and needle size to knit a swatch.
- Make sure the swatch is flat and not stretched or distorted.
- Count the number of stitches and rows within a 4-inch section.
- If the stitch count is higher than specified in the pattern, try using larger needles. If the stitch count is lower, try smaller needles.
- Repeat the process until the gauge matches the pattern’s requirements.
By achieving the correct gauge, knitters can ensure the cushion cover will fit properly and have the desired dimensions. It is important to keep in mind that different knitters may have slightly different tensions, so it is essential to check the gauge for each project.
Pattern
When it comes to knitting a cushion cover, having a pattern is essential. A pattern acts as a guide, providing instructions on how to create the desired design. It outlines the number of stitches, rows, and the specific knitting techniques required to achieve the desired result. Whether you are a beginner or an experienced knitter, using a pattern can help ensure that your cushion cover turns out just the way you want it.
The cushion cover knitting pattern usually starts with an overview of the materials needed. This may include the type of yarn, the size of knitting needles, and any additional supplies such as buttons or zippers. It is important to gather all the necessary materials before starting the pattern to avoid any interruptions or delays once you begin knitting.
The pattern itself consists of step-by-step instructions that guide you through the knitting process. It may include variations in stitches, color changes, or pattern repeats to add texture and visual interest to your cushion cover. Some patterns may also include charts or diagrams to help visualize the design. It is important to read the pattern carefully and follow the instructions accurately to ensure that your cushion cover turns out as desired.
Once you have finished knitting the cushion cover according to the pattern, there may be instructions for finishing touches such as sewing up seams or adding decorative elements. These final steps can help give your cushion cover a polished and professional look.
Overall, having a pattern is an essential tool for knitting a cushion cover. It provides guidance and direction, allowing you to create a beautiful and unique piece. Whether you choose a simple or intricate pattern, following the instructions carefully will help you achieve the desired result.
Cast On
When starting a knitting project, one of the first steps is to cast on. This is the process of creating the foundation row of stitches that will form the base of the project. There are several different methods for casting on, each with its own advantages and uses.
Long-tail cast on: This is one of the most common methods used in knitting projects. It creates a neat and flexible edge that is suitable for many different types of projects. To do a long-tail cast on, you will need to estimate the amount of yarn you need for the foundation row, plus a bit extra for the tail. This method requires yarn and knitting needles.
Cable cast on: The cable cast on method is often used when you need to add stitches to an already established piece of knitting, such as when creating buttonholes or adding stitches for a thumb in a mitten. It creates a sturdy and firm edge. To do a cable cast on, you will need knitting needles and yarn.
Knitted cast on: The knitted cast on is a simple and quick method that creates a very elastic edge. It is often used for projects like hats or socks that require a stretchy edge. To do a knitted cast on, you will need knitting needles and yarn.
- Long-tail cast on: suitable for a variety of projects
- Cable cast on: great for adding stitches to an existing piece of knitting
- Knitted cast on: creates an elastic edge for stretchy projects
Choosing the right cast on method for your project can depend on the type of project, the desired edge, and personal preference. It’s important to practice different cast on methods to find the one that works best for you. Once you have mastered the cast on, you can move on to the next steps in your knitting project.
Knitting
Knitting is a popular craft that involves creating fabric by looping and interlacing yarn with needles. It has been practiced for centuries and is enjoyed by people all over the world. Knitting can be a relaxing and creative activity, allowing individuals to express their personal style and create unique and functional items.
To knit, you need basic materials such as yarn and knitting needles. There are many different types of yarn available, each with its own texture, color, and thickness. Knitting needles come in various sizes and are usually made of wood, metal, or plastic. They have a pointed end to help you pick up and manipulate the yarn.
Benefits of Knitting
- Creativity: Knitting allows you to explore your creativity and make one-of-a-kind creations. You can experiment with different stitches and patterns to achieve unique designs.
- Relaxation: Knitting can be a meditative and calming activity that helps reduce stress and anxiety. The repetitive motion of the needles and the focus required can bring a sense of peace and tranquility.
- Productivity: Knitting allows you to produce useful and tangible items, such as clothing, accessories, and home decor. It gives you a sense of accomplishment and satisfaction to see your finished projects.
- Community: Knitting is often enjoyed in social settings, such as knitting circles or classes. It can be a great way to connect with others who share your passion for knitting and learn from each other.
Knitting Resources

If you are new to knitting and looking to learn, there are many resources available to help you get started. Online tutorials, books, and local knitting groups can provide guidance and support as you embark on your knitting journey. Whether you want to knit a cushion cover or a cozy sweater, knitting offers endless possibilities for creativity and self-expression.
So grab your yarn and needles, and let the soothing rhythm of knitting guide you in creating beautiful and functional pieces. Happy knitting!
Shape the Cushion
After completing the desired number of rows for the cushion cover, it’s time to shape the cushion. This will give the cover a more tailored look and ensure a snug fit around the cushion.
To shape the cushion, start by decreasing stitches evenly across the row. This can be done by knitting two stitches together at regular intervals. The number of decreases will depend on the size and shape of the cushion, as well as personal preference.
Continue to decrease stitches in this manner for several rows until the desired width for the cover is reached. Remember to keep track of the number of decreases made to ensure symmetry.
Once the desired width is achieved, it’s time to shape the corners of the cushion cover. This can be done by knitting together the last few stitches on each side, creating a tapered edge. The number of stitches to decrease will depend on the size of the cushion and how tapered you want the corners to be.
After shaping the corners, bind off the remaining stitches and cut the yarn, leaving a long tail for seaming. Fold the cover in half to form a square shape, with the wrong side facing out, and use the long tail to seam the sides together. Make sure to leave an opening for inserting the cushion.
With the seaming complete, turn the cover right side out and insert the cushion. Adjust the fit and shape of the cover as needed by tugging on the fabric and smoothing it out. And voila, your cushion cover is now complete and ready to add a cozy touch to your home!
Finishing
Once you have completed knitting the cushion cover, it’s time to finish it off and give it a polished look. Here are some steps to follow:
- Weaving in ends: Begin by securing all the loose yarn ends from changing colors or joining new balls of yarn. Use a yarn needle to weave these ends into the back of the knitting, ensuring that they are secure and won’t come undone with use.
- Blocking: Depending on the yarn you used and the desired shape of your cushion cover, you may want to block it before assembling. Blocking involves wetting the knitting and gently shaping it to the desired dimensions while it dries. This can help even out any uneven stitches and give a more professional finish.
- Assembly: If you knitted the cushion cover in multiple pieces, such as front and back panels or separate sides, now is the time to sew them together. Use the mattress stitch or your preferred seaming method to join the pieces, making sure the seams are neat and hidden.
- Button or zipper: If you want to add a closure to your cushion cover, now is the time to attach it. You can sew on buttons or install a zipper, depending on your preference and skill level.
- Finishing touches: Finally, give your cushion cover one last thorough inspection. Check for any loose threads or uneven edges and fix them if necessary. You might also want to consider adding decorative touches, such as pom-poms, tassels, or embroidery, to personalize your cushion cover.
By following these steps, you can ensure that your cushion cover looks professionally finished and ready to adorn your living space.
Tips and Tricks
If you’re planning to knit a cushion cover using a pattern, here are some tips and tricks to help you along the way.
1. Choose the Right Yarn
Choosing the right yarn is essential for a successful knitting project. Consider the durability and comfort desired for your cushion cover. Opt for a yarn that is soft but also durable enough to withstand daily use. Look for yarns specifically labeled for home decor or cushion covers.
2. Gauge Swatch
Before starting your project, it is crucial to knit a gauge swatch. The gauge will determine the size of your stitches and ensure your cushion cover turns out the right size. Follow the pattern’s instructions for the recommended needle size and stitch count.
3. Read the Pattern Carefully
When working with a knitting pattern, it is essential to read the pattern carefully before starting. Make sure you understand all the instructions and have all the necessary materials and tools. Take note of any abbreviations or special stitches used in the pattern.
4. Use Stitch Markers
When working with complex patterns or stitch repeats, it can be helpful to use stitch markers. Place them at specific points in your knitting to help you keep track of where you are in the pattern. This will help prevent mistakes and make it easier to correct any errors if they occur.
5. Block Your Finished Cushion Cover
Once you have completed your cushion cover, it is essential to block it. Blocking involves wetting the knitted piece and shaping it to the desired size. This step will help even out your stitches and give your cushion cover a more professional finish.
By following these tips and tricks, you’ll be well on your way to knitting a beautiful cushion cover using a pattern. Remember to take your time, stay organized, and enjoy the process of creating something unique and functional for your home. Happy knitting!
Customization
One of the great things about knitting your own cushion covers is that you can easily customize them to suit your personal style and preferences. Whether you want to add some extra flair or make a unique design, there are several ways to customize your cushion covers.
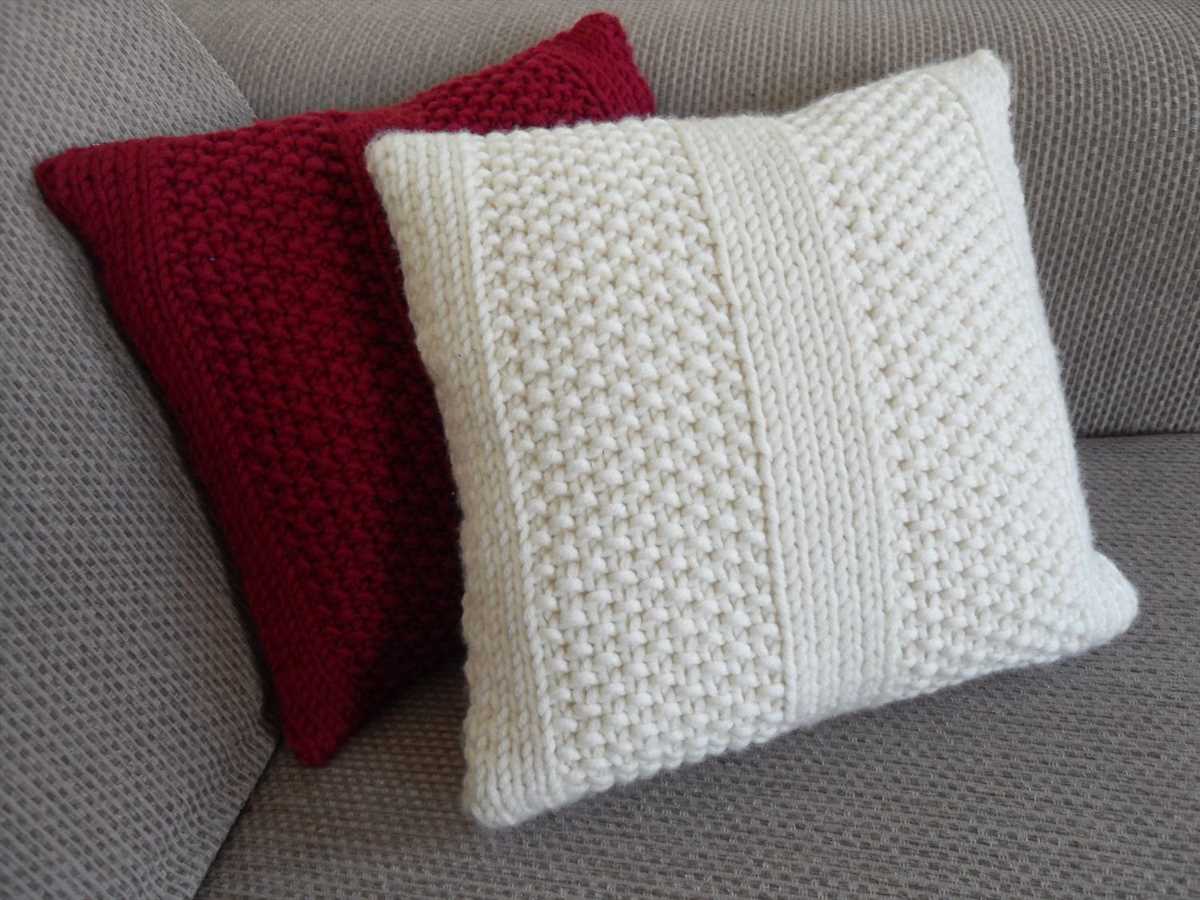
Firstly, you can choose your own colors and yarns. Knitting patterns often come with suggestions for yarn choices, but you can always select different colors or types of yarn to create a completely different look. Experiment with different combinations to find a color palette that matches your home decor or personal taste.
Additionally, you can also modify the pattern itself. If you want a larger or smaller cushion cover, you can adjust the number of stitches and rows accordingly. You can also add or remove pattern repeats to create a different design. Take your time to plan out any modifications and make sure to calculate the necessary adjustments before starting your project.
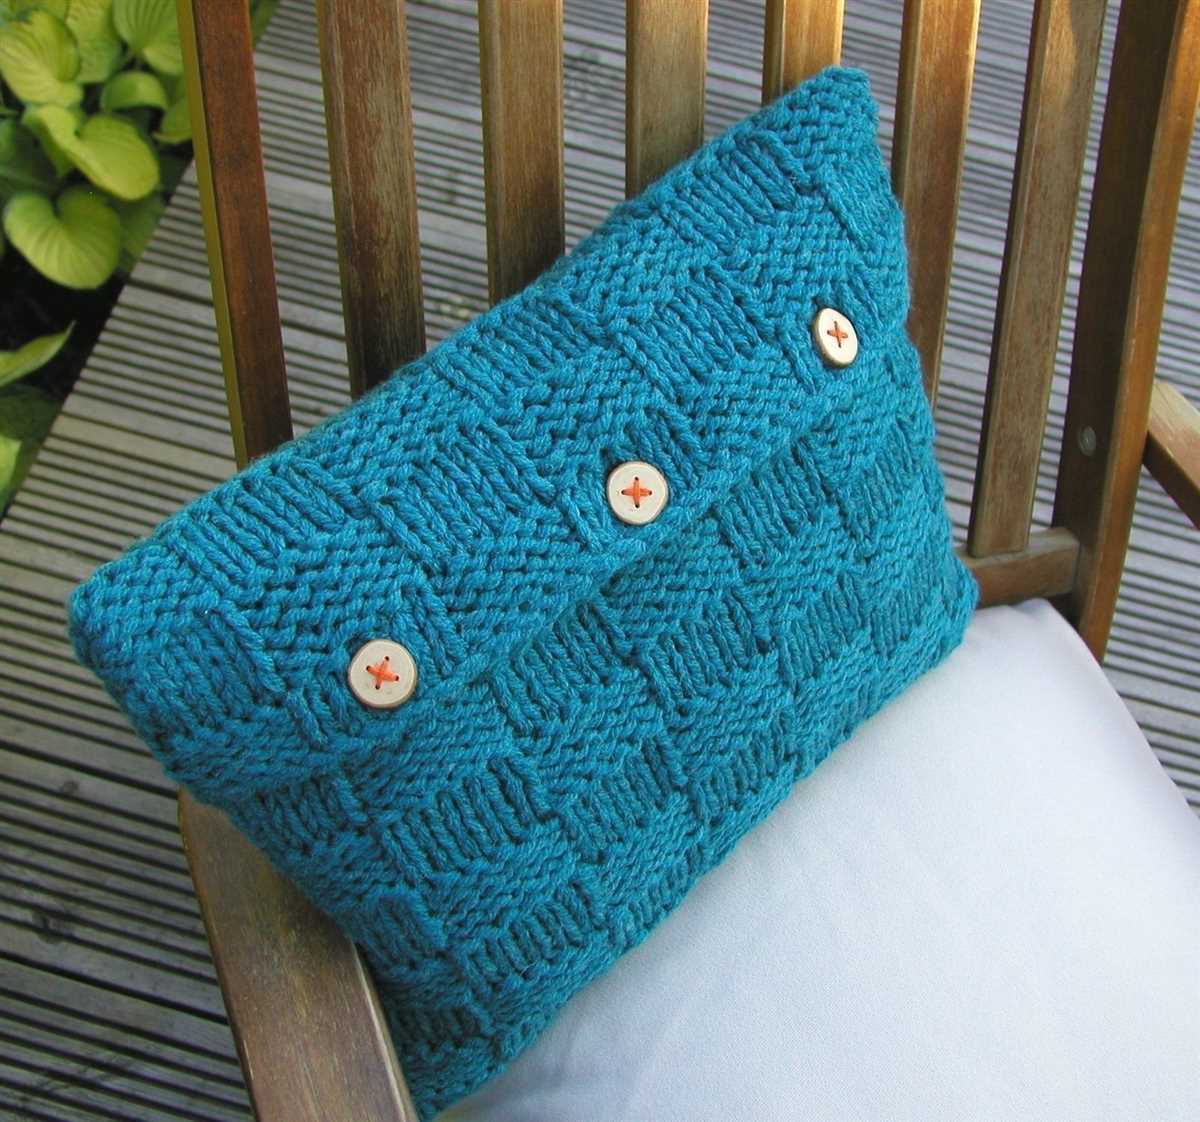
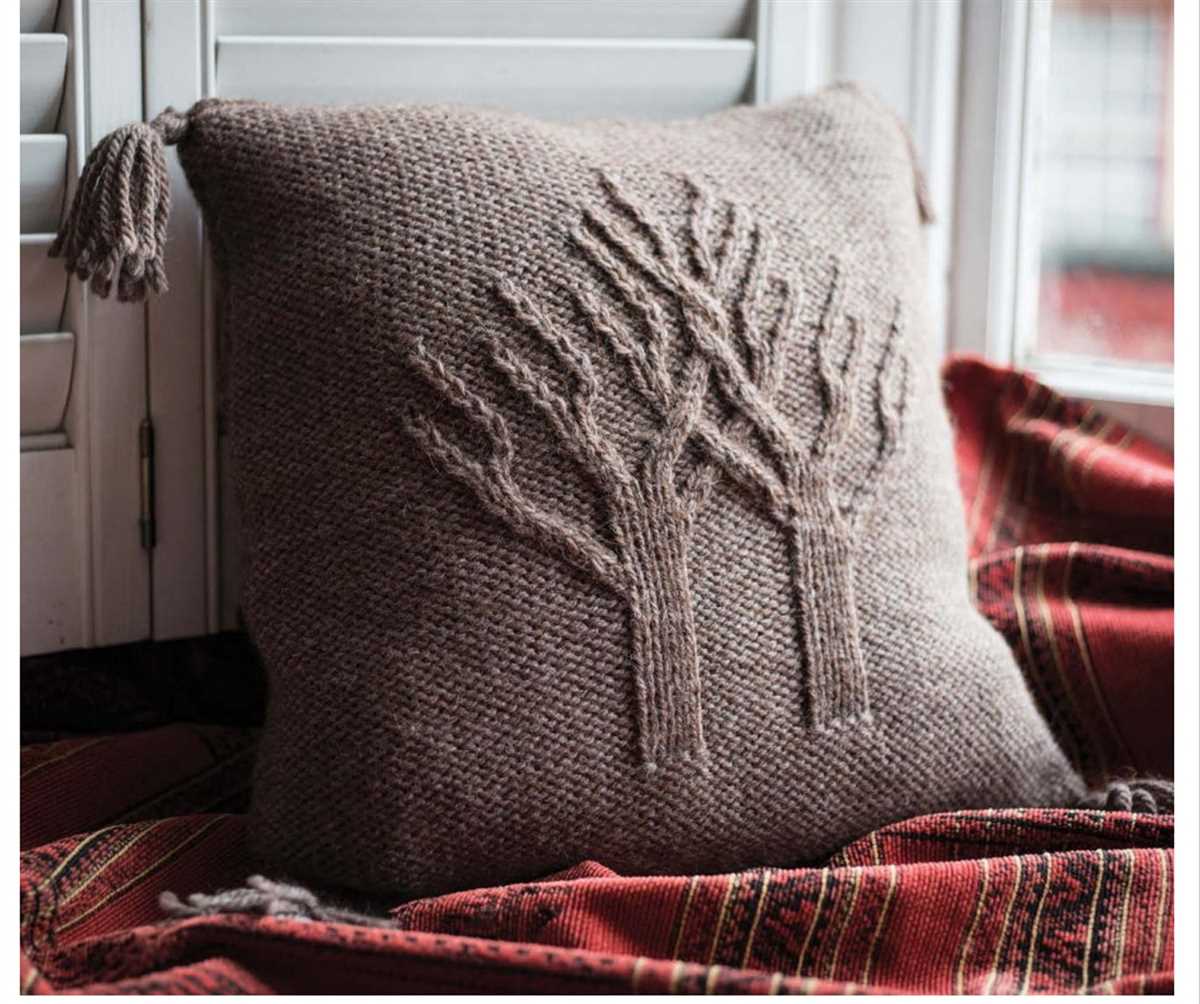
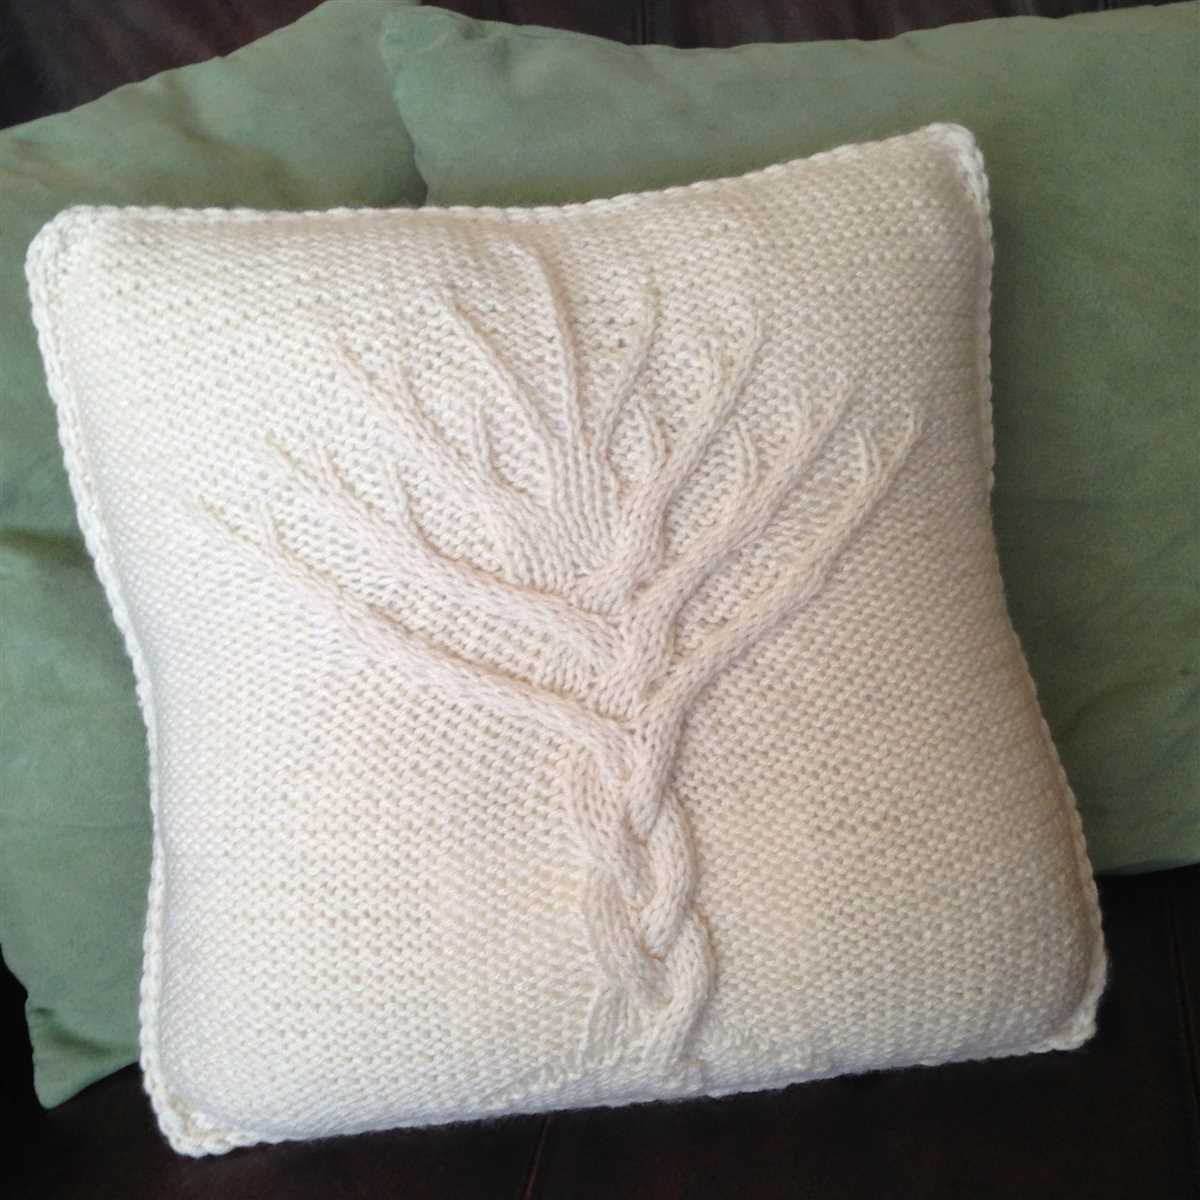
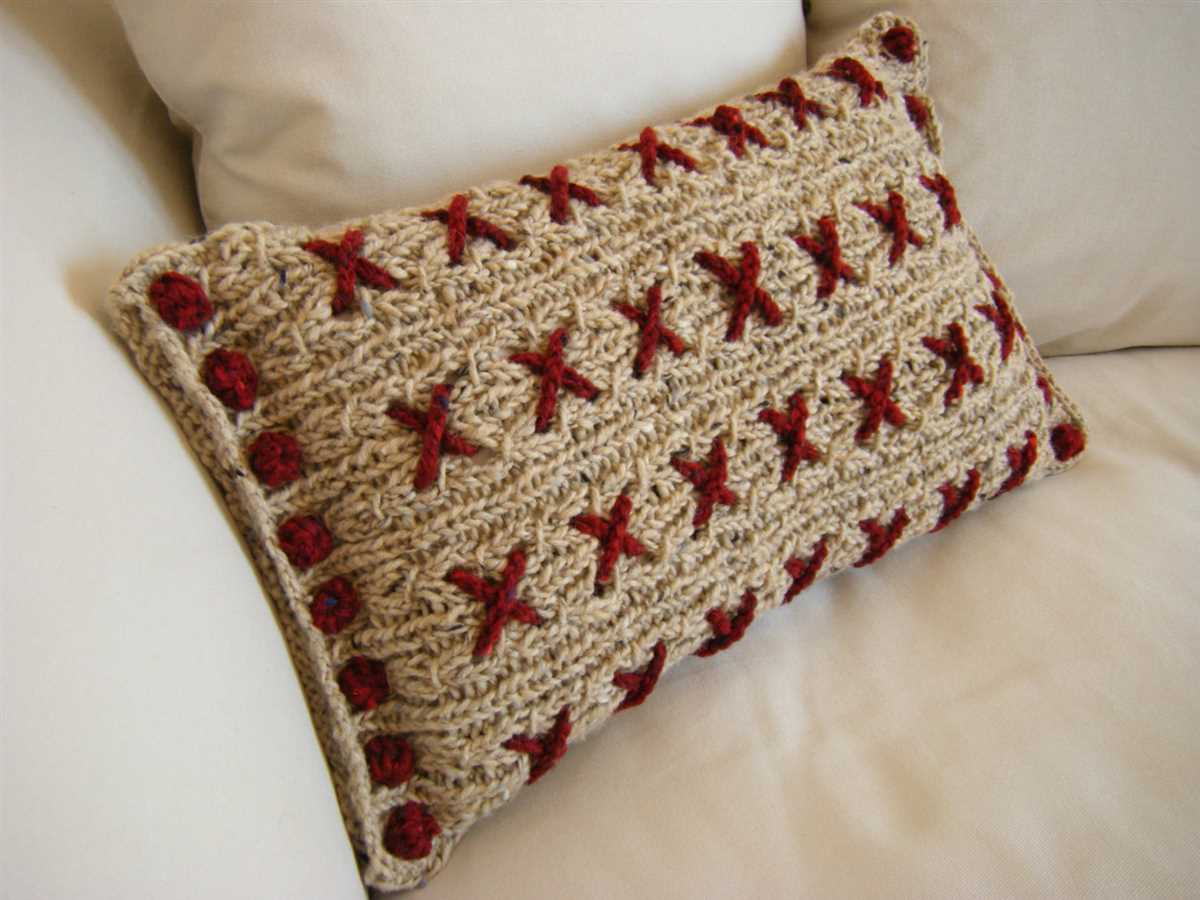
Furthermore, you can incorporate different stitch patterns or techniques to make your cushion covers more unique. Try experimenting with cables, lace, or colorwork to add interesting textures or patterns to your project. You can also add embellishments like buttons, beads, or tassels to further enhance the aesthetic appeal.
Lastly, don’t forget about personalization options. You can embroider initials, names, or other designs onto your cushion cover using duplicate stitch or embroidery techniques. This can make your cushion covers truly one-of-a-kind and add a personal touch to your home decor.
In conclusion, knitting your own cushion covers allows you to have complete control over the customization process. From choosing colors and yarns to modifying the pattern and adding personal touches, the possibilities are endless. Get creative and have fun making cushion covers that reflect your personal style and add a cozy touch to your living space.