
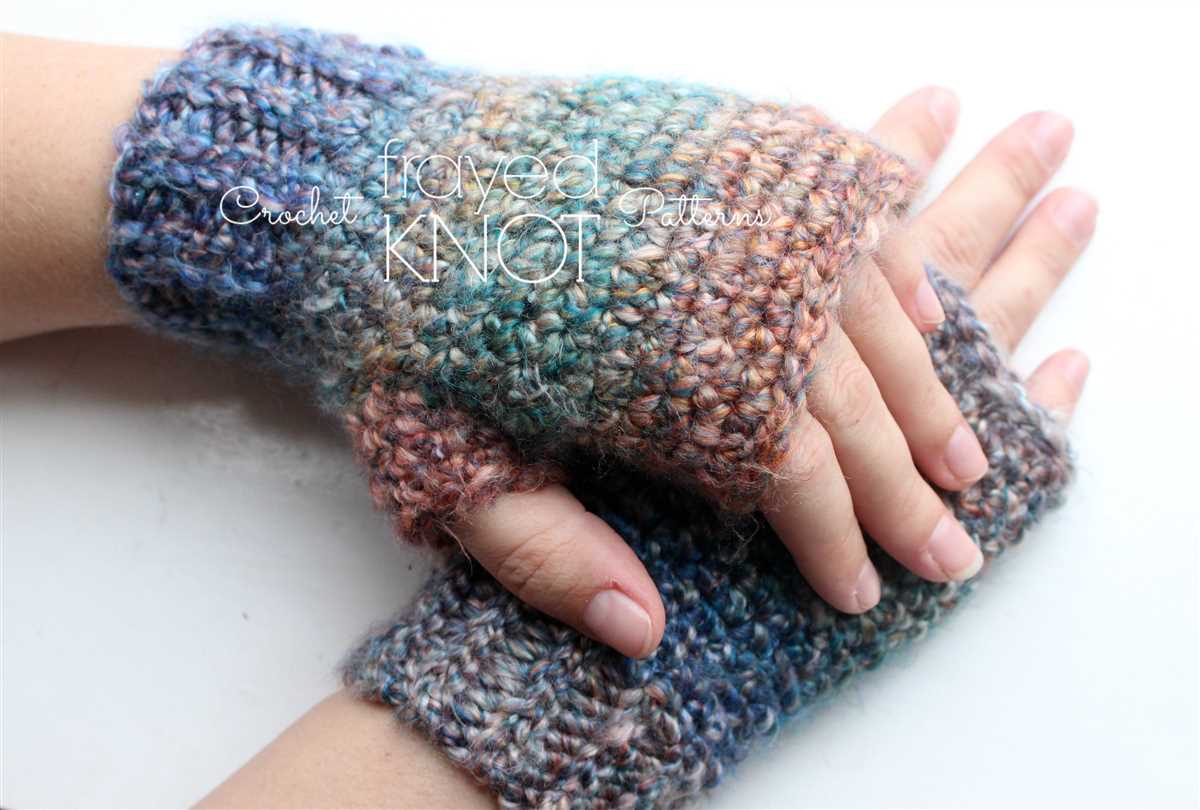
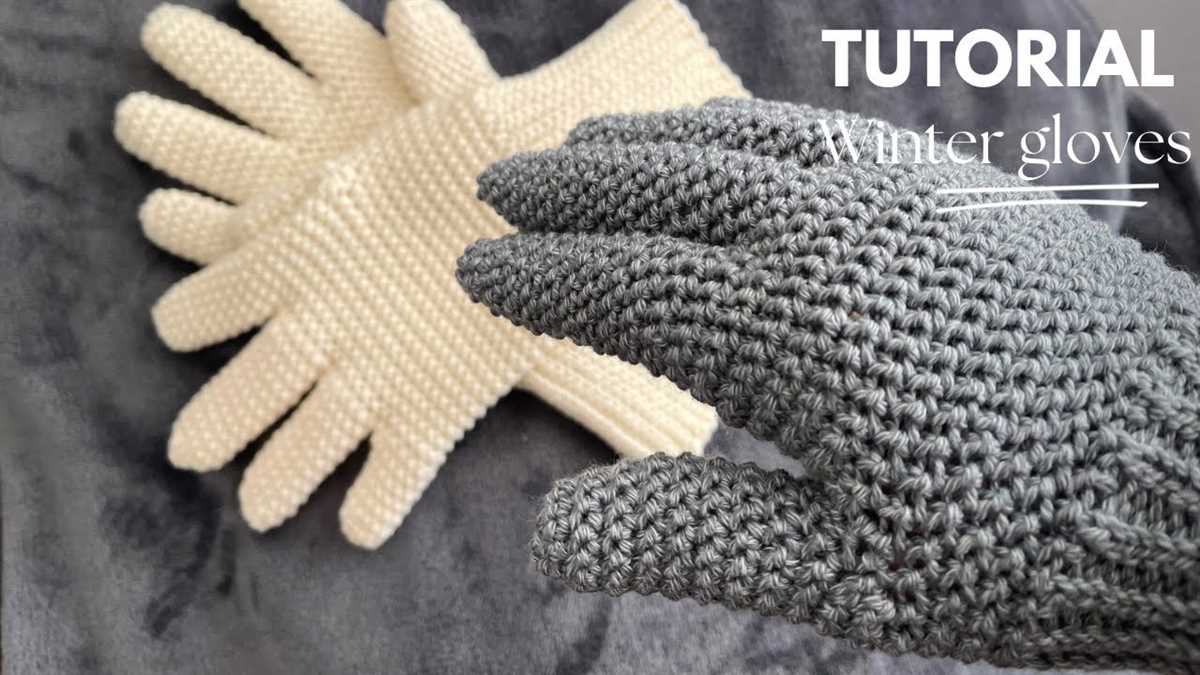
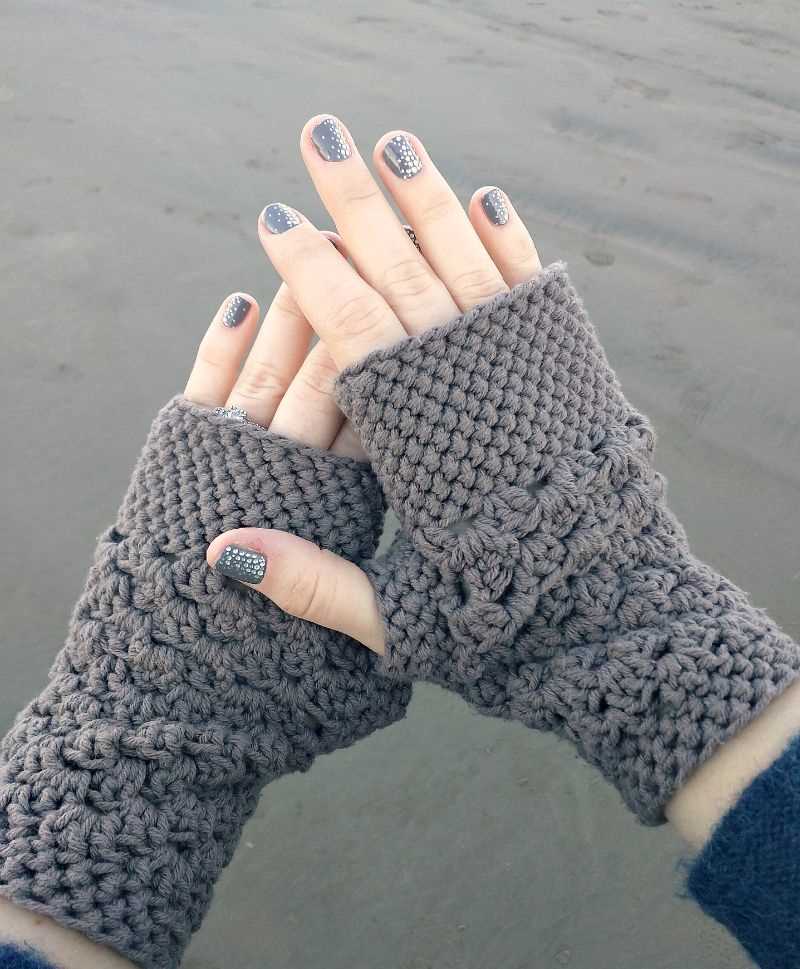
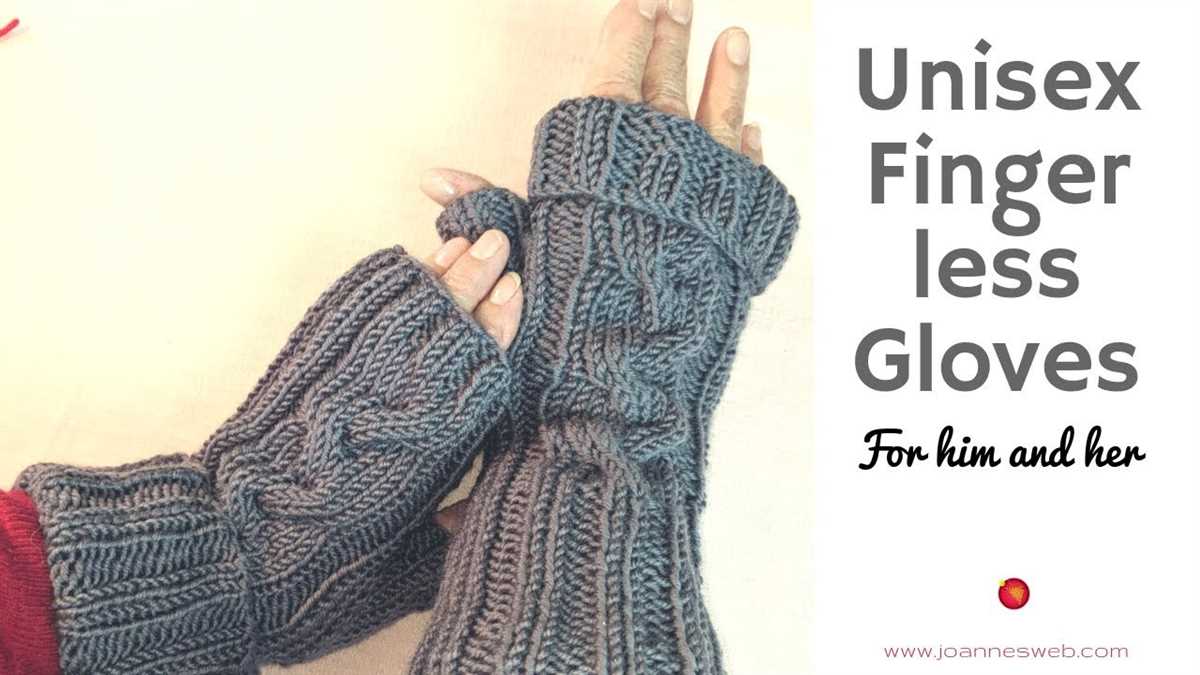
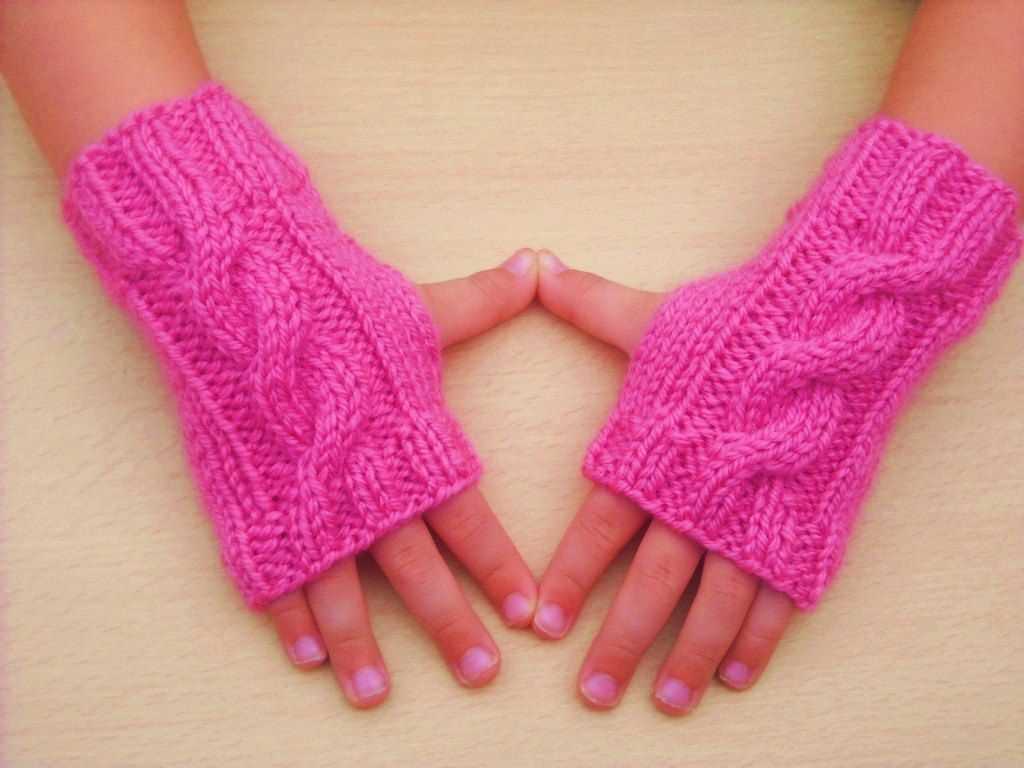
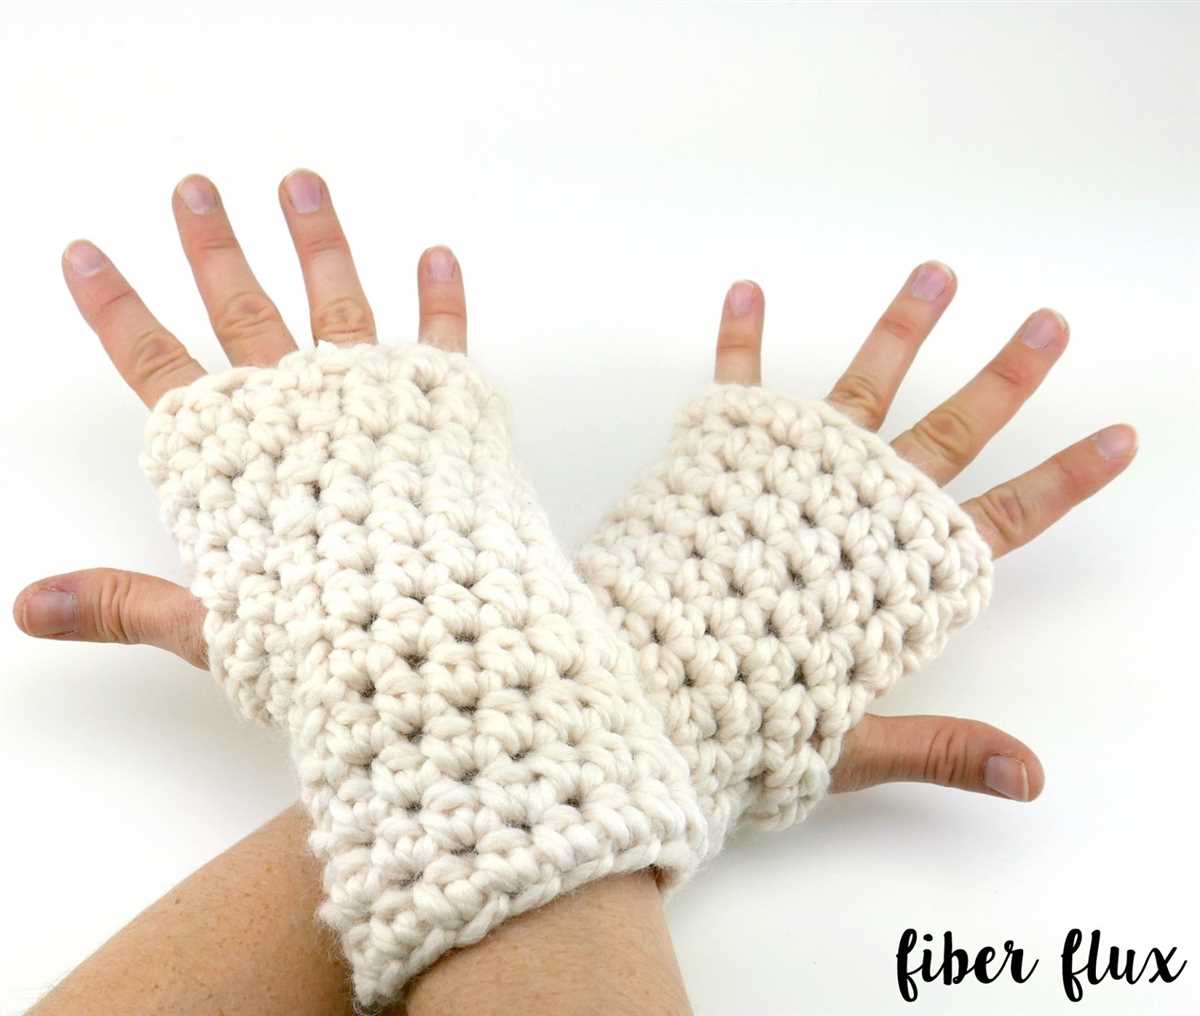
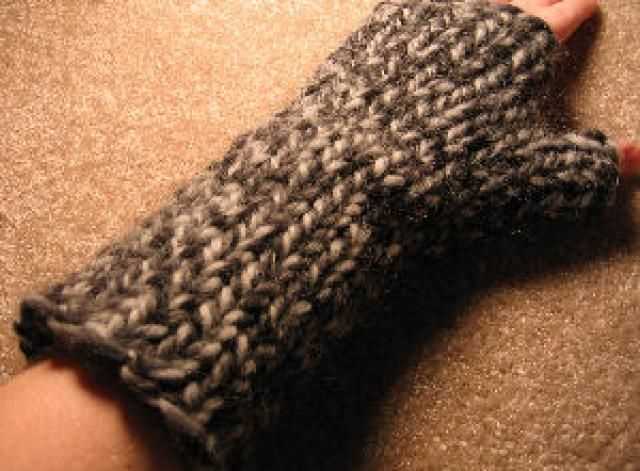
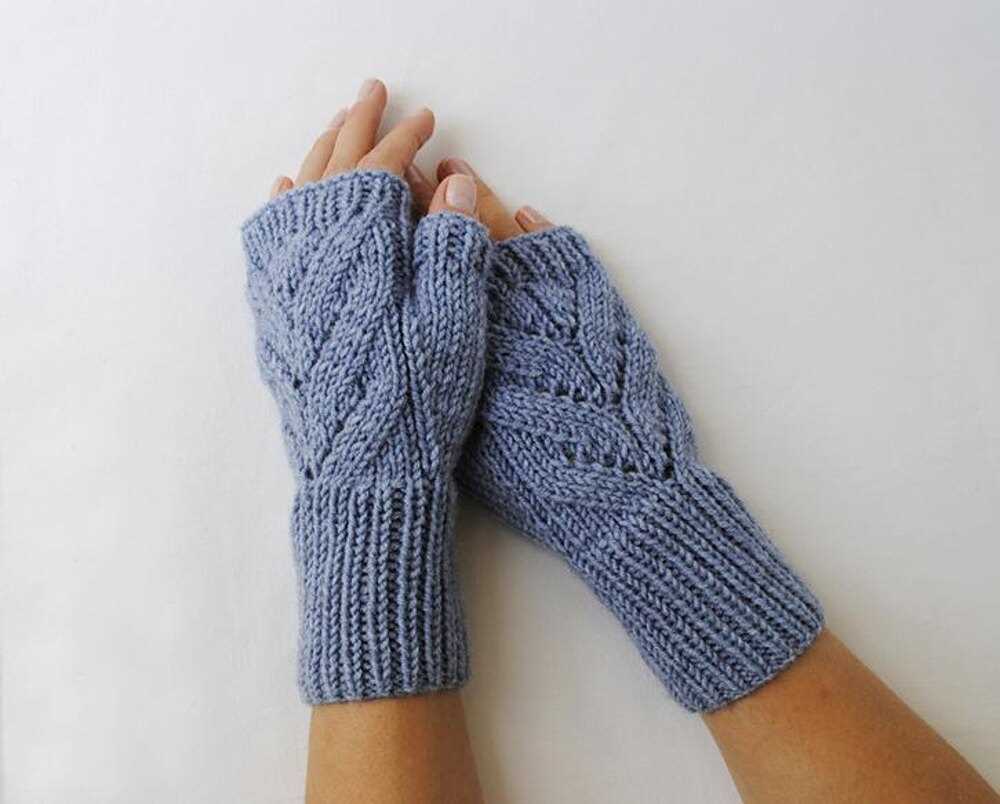
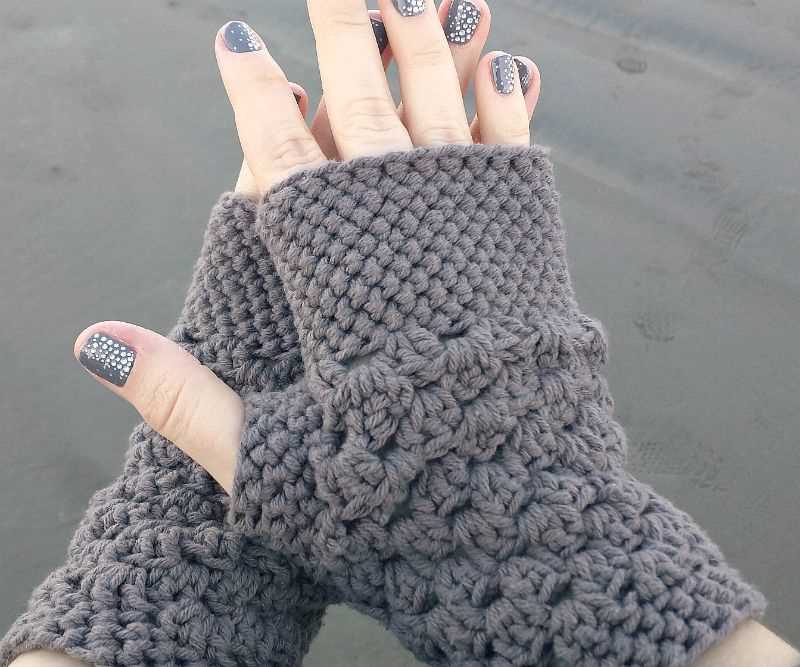
If you’re looking for a quick and easy knitting project that will keep your hands warm and stylish, look no further than chunky fingerless gloves. Fingerless gloves are a popular accessory because they allow you to stay warm while still being able to use your fingers. Plus, they are a great project for beginners because they require less yarn and time than traditional gloves.
This article will provide you with a free knitting pattern for chunky fingerless gloves. The pattern is simple and easy to follow, making it a perfect project for both new and experienced knitters. The best part is that you can customize the gloves to fit your personal style by choosing different colors and patterns.
Chunky fingerless gloves are not only practical, but they also make a fashionable statement. They can be worn with any outfit and are perfect for adding a touch of warmth and style during the colder months. Whether you’re heading out for a walk or sitting at your desk, these gloves will keep your hands cozy and your fingers free to type, text, or knit.
Materials needed for knitting chunky fingerless gloves
Are you ready to start knitting your own chunky fingerless gloves? Before you begin, make sure you have all the necessary materials on hand. Here is a list of everything you will need:
- Chunky yarn: Choose a soft and warm chunky yarn in the color of your choice. This type of yarn will give your gloves a cozy and comfortable feel.
- Knitting needles: You will need a pair of knitting needles in the appropriate size for your chosen yarn. Check the label of your yarn for the recommended needle size.
- Cable needle: If you want to add a cable pattern to your gloves, you will need a cable needle to help you create the twists and turns of the design.
- Tapestry needle: A tapestry needle will be useful for weaving in the loose ends of yarn and finishing off your gloves.
- Stitch markers: Stitch markers can help you keep track of your stitches and make it easier to follow the pattern.
With these materials in hand, you will be well-equipped to tackle the knitting pattern for chunky fingerless gloves. So gather your supplies, find a comfortable knitting spot, and get ready to create a stylish and practical accessory for the colder months!
Choosing the right yarn for your fingerless gloves
When it comes to knitting fingerless gloves, choosing the right yarn is essential. The yarn you choose will determine the warmth, comfort, and overall look of your gloves. There are a few factors to consider when selecting the perfect yarn for your project.
Fiber content: The fiber content of the yarn is an important factor to consider. Wool is a popular choice for fingerless gloves as it is warm, breathable, and has good elasticity. It also has moisture-wicking properties, keeping your hands dry. Other natural fibers such as alpaca, cashmere, and silk can also provide warmth and softness to your gloves. Synthetic fibers like acrylic and nylon are great options for those with wool allergies or for those who prefer a vegan-friendly yarn.
Weight and thickness: The weight and thickness of the yarn will affect the drape and fit of your fingerless gloves. If you want a more lightweight and flexible pair, opt for a fingering or sport weight yarn. Bulky or chunky yarns will create a thicker and warmer glove. Consider the knitting pattern you’ll be using and choose a yarn that matches the required gauge and desired look.
Color and texture: The color and texture of the yarn will impact the final appearance of your gloves. Solid colors will give a classic and timeless look, while variegated or self-striping yarns can add interest and dimension. If you want a textured glove, choose a yarn with a unique fiber structure or added texture like boucle or slub yarn.
Overall, take your time to choose a yarn that suits your personal preferences and meets the requirements of your fingerless glove knitting pattern. Consider the fiber content, weight and thickness, as well as color and texture to create a pair of gloves that are not only functional but also stylish and cozy.
Tools required for knitting chunky fingerless gloves
Knitting chunky fingerless gloves requires a few essential tools to ensure that the gloves turn out well and the knitting process is smooth. Here are the tools you will need:
- Chunky yarn: Choose a thick yarn that is appropriate for knitting chunky fingerless gloves. This type of yarn will create a warm and cozy pair of gloves.
- Knitting needles: Select a pair of needles that are the appropriate size for your chosen chunky yarn. The size will depend on your personal knitting style and the pattern you are using.
- Tape measure: A tape measure is essential for measuring the gauge and size of your gloves as you knit them. This will help ensure that the gloves fit properly.
- Scissors: You will need a pair of scissors to cut the yarn when you finish knitting the gloves and to snip any loose threads.
- Tapestry needle: A tapestry needle is used for weaving in the loose ends of yarn and finishing off the gloves. It’s helpful to choose a needle with a large eye that can easily accommodate the bulky yarn.
- Stitch markers: Stitch markers are useful for keeping track of specific stitches or sections of the glove pattern. They can be moved as you progress through the knitting.
- Row counter: To keep track of the number of rows you have knitted, a row counter is a handy tool. It eliminates the need to constantly count rows manually.
By having these tools on hand, you will be well-equipped to knit a pair of chunky fingerless gloves that are warm, stylish, and tailored to your specific size and preferences.
Understanding the gauge for fingerless gloves
When knitting fingerless gloves, it is essential to understand the concept of gauge. Gauge refers to the number of stitches and rows per inch in a particular knitting pattern. It is important to achieve the correct gauge to ensure that the finished gloves fit properly.
The gauge for fingerless gloves can vary depending on the yarn weight and needle size used. It is often provided in the knitting pattern and is typically expressed as a ratio, such as “20 stitches x 26 rows = 4 inches” using a specific needle size. This means that when using the recommended needle size and yarn, 20 stitches and 26 rows should measure 4 inches.
Importance of gauge
Obtaining the correct gauge is crucial for fingerless gloves because it ensures that the finished gloves will be the right size and fit well. If the gauge is too tight, the gloves will be too small and may not fit over the hands or arms comfortably. On the other hand, if the gauge is too loose, the gloves will be too big and may slide around or not provide enough warmth.
To achieve the correct gauge, it is important to swatch before starting the fingerless gloves. A swatch is a small sample of knitting that allows you to measure your stitch and row gauge. By knitting a swatch and measuring the gauge, you can adjust your needle size if needed to obtain the correct gauge specified in the pattern.
- Start by casting on a few more stitches than the pattern specifies.
- Knit a few rows and then measure the gauge by counting the stitches and rows within a 4-inch square.
- If the gauge is too tight, try using larger needles. If it’s too loose, switch to smaller needles.
- Continue swatching until you achieve the correct gauge.
By understanding the importance of gauge and taking the time to swatch, you can ensure that your fingerless gloves will fit properly and be comfortable to wear. Following the recommended gauge in the knitting pattern will help you achieve the desired result and create beautiful, functional gloves.
Step-by-step instructions for casting on:
Before you can start knitting your chunky fingerless gloves, you first need to cast on. Casting on is the process of creating the initial row of stitches on one of the knitting needles. Here are step-by-step instructions to help you get started:
1. Begin with a slipknot:
To start casting on, you will need to create a slipknot. To do this, make a loop with the yarn and pass the end of the yarn through the loop. Pull both ends of the yarn to tighten the knot around the needle.
2. Insert the needle:
Take the needle with the slipknot in your dominant hand and insert it into the loop of the slipknot. Hold the needle with your non-dominant hand.
3. Make a new loop:
With the needle in your dominant hand, bring the yarn over the needle from back to front, creating a new loop. Allow this loop to slide onto the needle.
4. Repeat steps 2 and 3:
Continue to insert the needle into the loop created in the previous step and make a new loop by bringing the yarn over the needle. Repeat this process until you have cast on the desired number of stitches.
5. Tighten the stitches:
Once you have cast on all the stitches, you can gently tighten the stitches by pulling on the working yarn. Be careful not to pull too tightly and make sure the stitches are still able to move freely along the needle.
Now that you have successfully cast on, you can proceed with the knitting pattern for your chunky fingerless gloves. Happy knitting!
Knitting the ribbing for your fingerless gloves
When knitting fingerless gloves, the ribbing is an important element of the design as it provides stretch and helps the gloves stay in place on your hands. The ribbing is usually knitted using a smaller needle size than the rest of the glove, creating a tighter fabric.
To start knitting the ribbing, cast on the desired number of stitches using the smaller needle size. The most common ribbing pattern for fingerless gloves is the 1×1 rib, which alternates between knit and purl stitches. This pattern creates a stretchy fabric that will fit snugly around your wrist and forearm.
Row 1: Knit 1, purl 1, repeat until the end of the row.
Row 2: Purl 1, knit 1, repeat until the end of the row.
Continue repeating these two rows until the ribbing measures the desired length. Keep in mind that the ribbing will stretch when worn, so it’s better to make it slightly shorter than your actual wrist measurement.
If you prefer a different ribbing pattern, there are other options to choose from, such as the 2×2 rib or the seed stitch. The 2×2 rib alternates between two knit stitches and two purl stitches, while the seed stitch alternates knit and purl stitches within the same row. Experiment with different patterns to find the one that you like best for your fingerless gloves.
Once you have finished knitting the ribbing, you can switch to the larger needle size and continue with the main part of the fingerless gloves pattern. The ribbing will provide a nice transition between the cuff and the rest of the glove, giving it a polished and professional look.
Working the main body of the gloves
Once you have completed the cuff of the fingerless gloves, it’s time to start working on the main body. Here, you will be creating the section that covers the hand and fingers.
Start by continuing the pattern from the cuff. This may involve repeating rows or following a specific stitch pattern. Make sure to follow the instructions carefully to ensure that your gloves turn out as desired.
- Continue knitting in the round, using the designated stitch pattern, until you reach the desired length for the hand portion of the glove.
- If you are planning to include a thumb hole in your gloves, you will need to create an opening. This can be done by binding off a certain number of stitches, typically around 10-15, and then casting them back on a few rows later. This will create a gap for the thumb to fit through.
- Continue knitting in the round until you reach the desired length for the fingers. This may vary depending on how long you want the gloves to be or if you are including specific shaping for individual fingers.
Remember to check your gauge as you work to ensure that the gloves will fit properly. You can try them on periodically to make any necessary adjustments.
Once you have completed the main body of the gloves, you can move on to finishing touches such as sewing the ends together and adding any additional details or embellishments.
Adding thumb gusset to the fingerless gloves
When knitting fingerless gloves, adding a thumb gusset helps improve the fit and comfort of the gloves. The thumb gusset is an additional section of knitting that allows for better flexibility and movement of the thumb. It is a triangular-shaped panel that is inserted into the glove, providing extra space for the thumb to move and bend.
To add a thumb gusset to your fingerless gloves, you will need to make some adjustments to your knitting pattern. Start by determining where you want the thumb gusset to be placed on the glove. This is usually on the side of the glove, slightly away from the hand. Mark the stitches where the gusset will be inserted.
1. Increase stitches: To create the thumb gusset, you will need to increase stitches. This is typically done by knitting into the front and back of a stitch or by making yarn overs. The number of stitches you increase will depend on the size of the glove and the desired width of the thumb gusset. After increasing the stitches, you will have a larger number of stitches between the markers.
2. Knit the thumb gusset: Once you have increased the stitches, you will knit the thumb gusset section. This involves working back and forth on the increased stitches until the gusset reaches the desired length. You can use any stitch pattern you like for the gusset, such as stockinette stitch or ribbing, to match the rest of the glove.
3. Place the stitches on hold: After knitting the thumb gusset, you will place these stitches on hold. You can use a stitch holder or a piece of scrap yarn to keep the stitches secure while you continue working on the rest of the glove.
4. Continue knitting the glove: With the thumb gusset stitches on hold, you will continue knitting the rest of the glove as per the original pattern. Once the glove is complete, you can go back to the thumb gusset stitches and knit them to create the thumb section of the glove.
Adding a thumb gusset to fingerless gloves is a great way to enhance their fit and functionality. With a properly placed and well-designed gusset, your gloves will provide better flexibility and comfort, allowing you to move your thumb freely while keeping your hands warm.
Shaping the thumb opening
In order to create the thumb opening for the chunky fingerless gloves, you will need to make a few adjustments to the pattern.
First, you will need to determine the desired width of the thumb opening. This can vary depending on personal preference and hand size. Once you have decided on the width, calculate the number of stitches that need to be cast off in the middle of the row to create the opening.
One way to create the thumb opening is to place a marker on the stitch where you want the opening to begin. Knit up to the marker, then cast off the desired number of stitches. After casting off, continue knitting the remaining stitches on the row.
Another method is to work the thumb opening as you go. When you reach the point where the thumb opening should begin, simply slip the next few stitches onto a stitch holder or piece of scrap yarn. This will create a gap in your knitting that will become the thumb opening. When you reach the end of the row, join a new ball of yarn and continue knitting the remaining stitches.
Regardless of the method you choose, it’s important to keep track of the number of stitches you cast off or place on hold for the thumb opening. This will ensure that both gloves have the same sized opening. And remember, practice makes perfect, so don’t be afraid to experiment and adjust the pattern to fit your own hand and preferences. Happy knitting!
Finishing the fingerless gloves
After completing the knitting portion of the fingerless gloves, it’s time to finish them off and make them ready for wear. First, you’ll need to securely bind off the stitches to prevent any unraveling. To do this, simply knit two stitches, then pass the first stitch over the second stitch and off the needle. Repeat this process until you’ve bound off all the stitches.
Once the stitches are bound off, you’ll want to weave in any loose ends to create a clean and polished look. To do this, thread a tapestry needle with the loose end of the yarn and weave it in and out of the nearby stitches, being careful not to pull too tight or distort the fabric. Continue weaving in the yarn until the loose end is securely hidden.
Tip: If you prefer a neater finish, you can use a crochet hook to slip stitch along the edges of the gloves. This will create a more defined edge and add a touch of elegance to your fingerless gloves.
Finally, if you want to add some extra embellishments or personal touches to your gloves, now is the time to do so. You can add buttons, beads, or even embroidery to make them unique and special. Get creative and have fun with it!
Once you’ve completed these finishing touches, your fingerless gloves are ready to be worn and enjoyed. They make the perfect accessory for those chilly days when you need a little extra warmth, but still want the freedom to use your fingers. Whether you’re knitting these gloves for yourself or as a gift, they are sure to be appreciated for their style and functionality.
Don’t forget to share your finished gloves with the knitting community, and spread the joy of handcrafted creations!
Tips for customizing your fingerless gloves
Fingerless gloves are a stylish and practical accessory, and knitting your own pair allows you to customize them to your exact preferences. Whether you want to add extra warmth, incorporate a unique design, or adjust the fit, here are some tips for personalizing your fingerless gloves knitting pattern:
1. Add length to the gloves
If you have longer arms or prefer more coverage, you can easily customize the length of your fingerless gloves. Simply knit additional rows before starting the thumb gusset or after completing the thumb opening. This will ensure a better fit and keep your hands and wrists warm.
2. Incorporate colorwork or stitch patterns
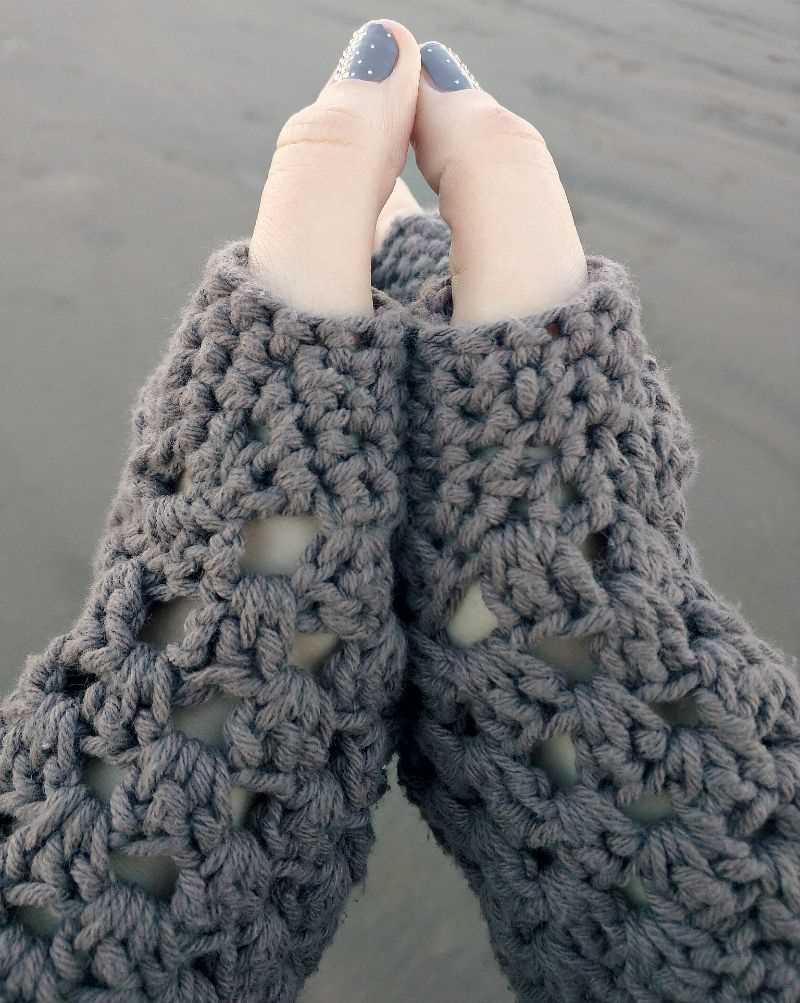
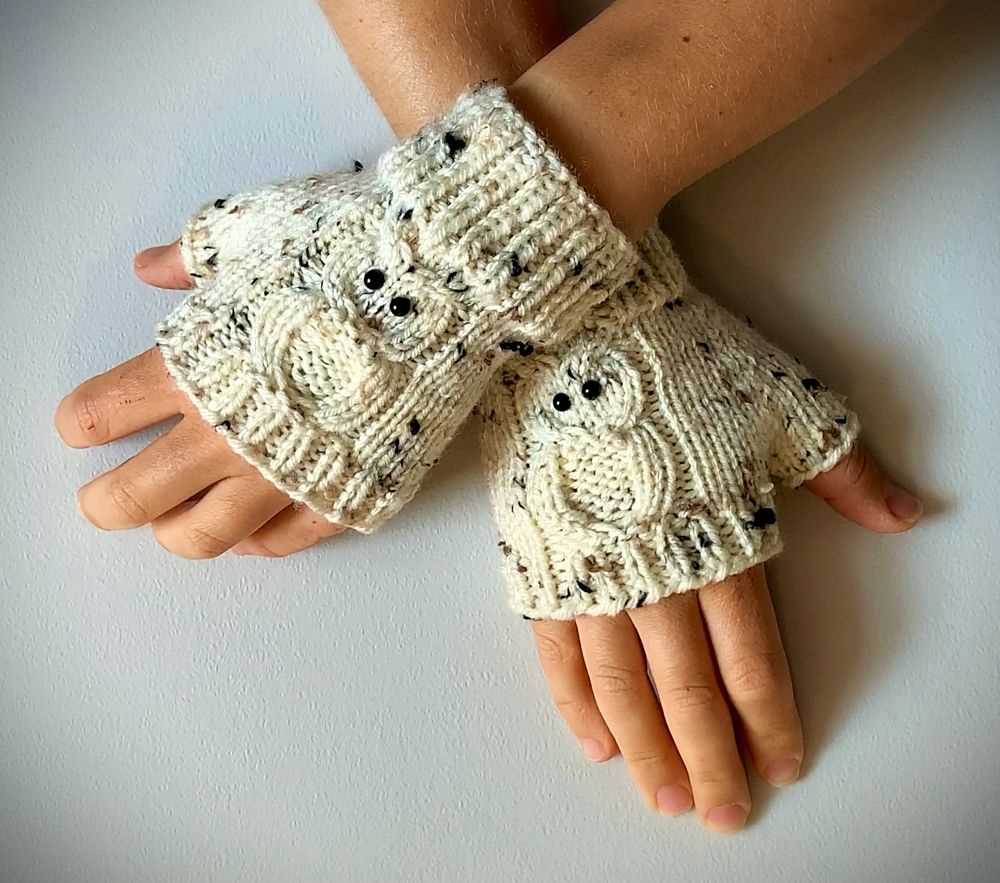
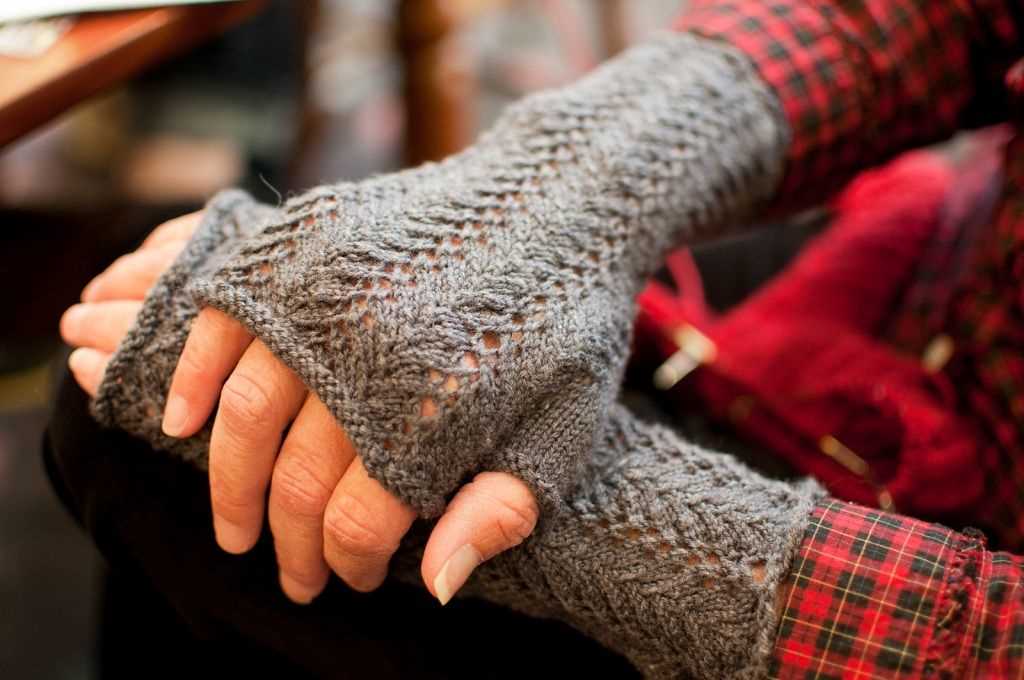
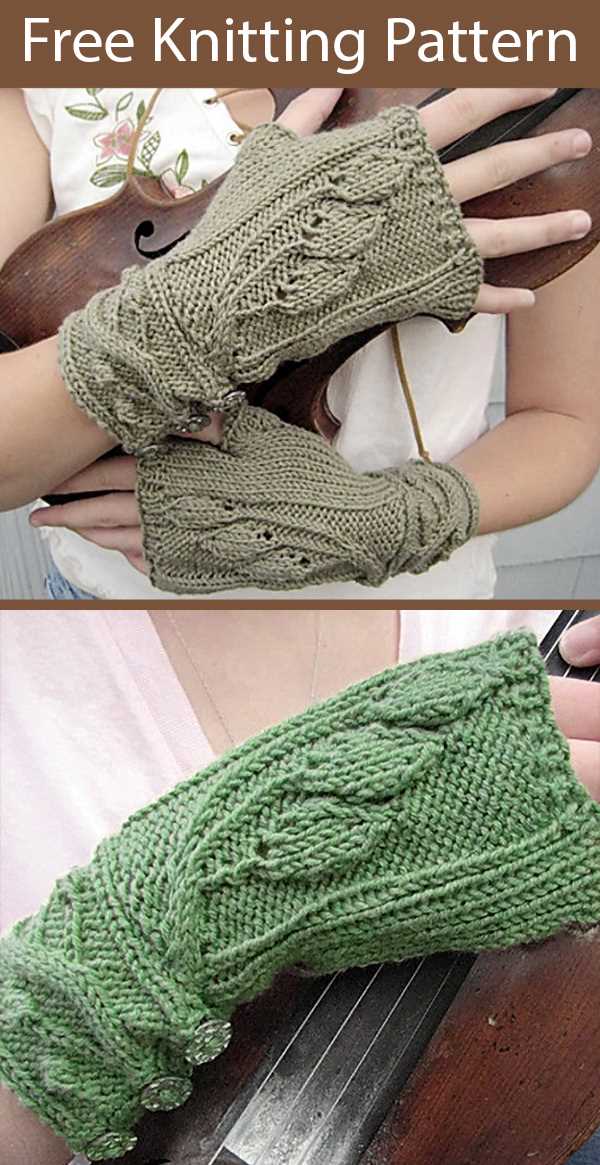
To add visual interest and create a one-of-a-kind look, consider incorporating colorwork or stitch patterns into your fingerless gloves. You can use stranded knitting techniques to create colorful designs or experiment with different stitch patterns like cables or lace. This customization will make your gloves unique and showcase your knitting skills.
3. Adjust the thumb size
If you find that the thumb opening in your fingerless gloves is too small or too big for your thumb, you can modify the size to ensure a better fit. You can easily increase or decrease the number of stitches for the thumb gusset or adjust the placement of the thumb opening. This will make your gloves more comfortable and functional.
4. Add a ribbed or cabled cuff
To add extra warmth and texture to your fingerless gloves, consider adding a ribbed or cabled cuff. This will not only provide a snug fit around your wrists but also add a decorative element to your gloves. You can experiment with different ribbing patterns or cable designs to achieve the desired look.
5. Customize the size
If you have smaller or larger hands, you may need to adjust the size of the fingerless gloves to ensure a comfortable fit. You can easily modify the circumference by adding or subtracting stitches. Additionally, you can adjust the length of the hand section to accommodate shorter or longer fingers. This customization will ensure that your gloves fit perfectly and provide the desired level of warmth and flexibility.
Where to find more free fingerless gloves knitting patterns
If you’re interested in exploring more free fingerless gloves knitting patterns, there are several websites and online communities that offer a wide variety of options. Here are some popular resources to check out:
- Ravelry: Ravelry is a popular online community for knitters and crocheters. It has an extensive database of free knitting patterns, including many fingerless gloves patterns. Simply create an account and use the search bar to find patterns that match your preferences.
- AllFreeKnitting: AllFreeKnitting is a website that curates and shares free knitting patterns. They have a section dedicated to fingerless gloves patterns, which you can browse through and download for free.
- Knitty: Knitty is an online knitting magazine that publishes free knitting patterns. They have a collection of fingerless gloves patterns in various styles and skill levels.
- Lion Brand Yarn: Lion Brand Yarn is a well-known yarn brand that also provides free knitting patterns on their website. They have a section specifically for fingerless gloves patterns, which you can access and download for free.
With these resources, you’ll have plenty of options to choose from and experiment with different fingerless gloves knitting patterns. Whether you prefer a simple and classic design or something more intricate and unique, you’re sure to find a pattern that suits your style and skill level.